
With so many podcasts competing for attention, sometimes you only have a matter of seconds to rope in a potential viewer and convince them to stick around. Interesting subject matter and compelling hosts can help, but the visual aesthetics of your podcast could be the X factor that leads to success. Thoughtful lighting choices often have an even larger impact than your camera or lens, so let’s dive into four important considerations when plotting out the lighting scheme of your podcast.
Size and Power
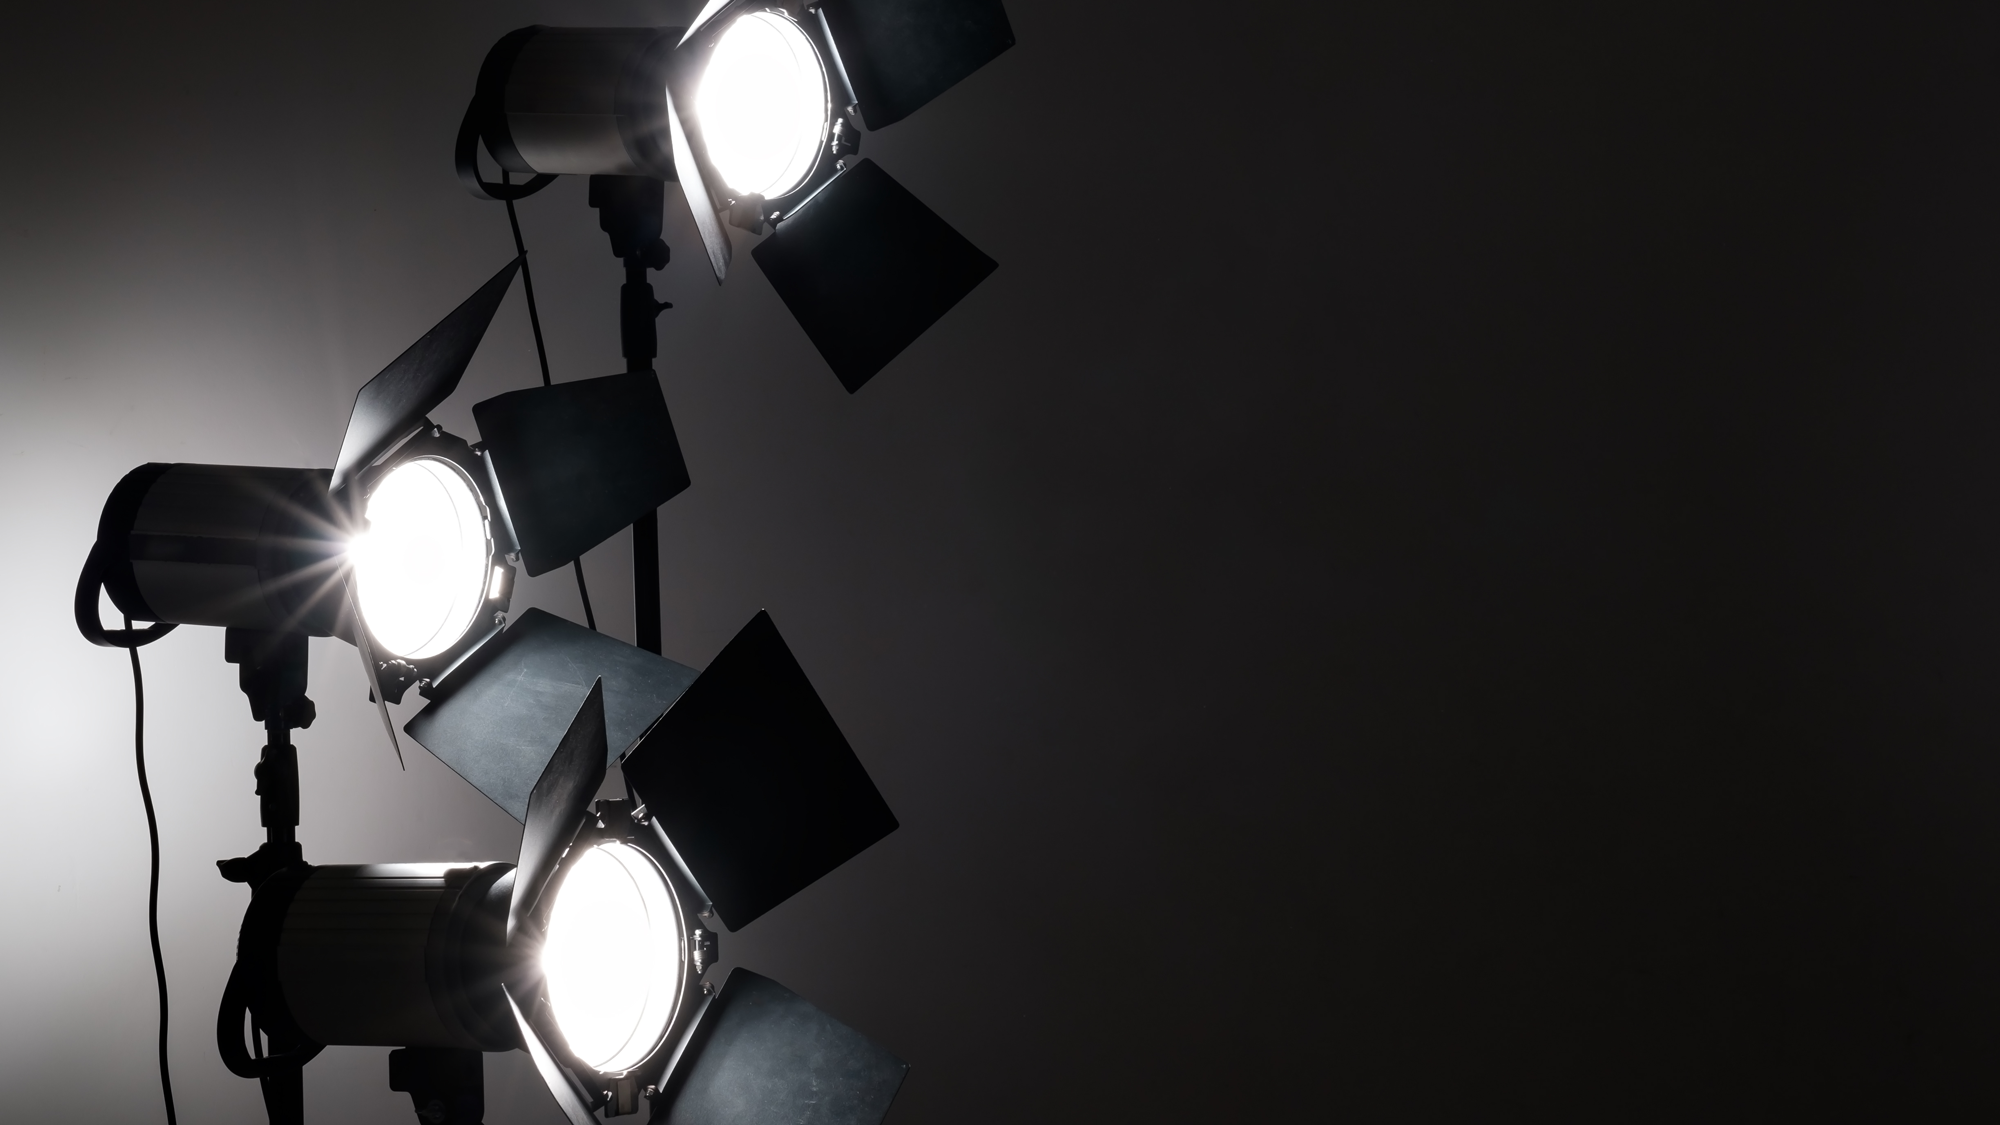
The first step is figuring out what kind of space you’re going to be shooting in. Is it a huge industrial warehouse or a tiny closet? An entire garage or the inside of a car? If you have plenty of space, traditional COB monolights give you the best bang for your buck as far as output goes, but don’t shine them directly onto your talent. Instead, diffuse them with softboxes, grids, fabrics, or by bouncing them off white surfaces. This will give the light a softer, more flattering appearance. If you’re tight on space, light panels can give you a softer look right out of the box, but are more limited in their throw. You’ll need at least a few if you want to light multiple people well. Tube lights are perfect for accents and pops of light in the background, but don’t have enough power to work as key lights. All three categories have battery-powered options if you’re trying to create a fully portable setup.
So what is a key light? That’s your primary source of light in the scene. If you’re recording outside, it will probably be the sun, but if you’re indoors, it will be your most powerful fixture. In traditional three-point lighting technique, the shadow side of your subjects is then filled in with a fill light, which can be an actual physical light or just a reflector bouncing back some of your key light. The final piece is then a hair light or rim light that comes from behind your subject and gives them separation from the background. This three-point technique can apply whether you’re shooting a solo podcast or a multi-person, though more people will require more fixtures and extra caution to avoid unwanted shadows.
Softness and Spill
Soft light is more diffused light that softens the transitions between the brighter and darker parts of your image. You can soften a light by increasing the physical size of the output (sending a monolight light through a large sheet of diffusion) and/or putting it closer to a subject. Hard light has very defined shadows and edges, and typically looks more dramatic, especially on people’s faces. Out of the box, a monolight will be extremely hard, as it’s a tiny chip putting out a ton of light, but having it then bounce off a wall, piece of fabric, or a modifier like a softbox will dramatically increase its softness and the surface area it’s covering. Sometimes you only want it to hit a face or a certain part of the image though, so you’d then control this “spill” of light with modifiers like flags and grids.
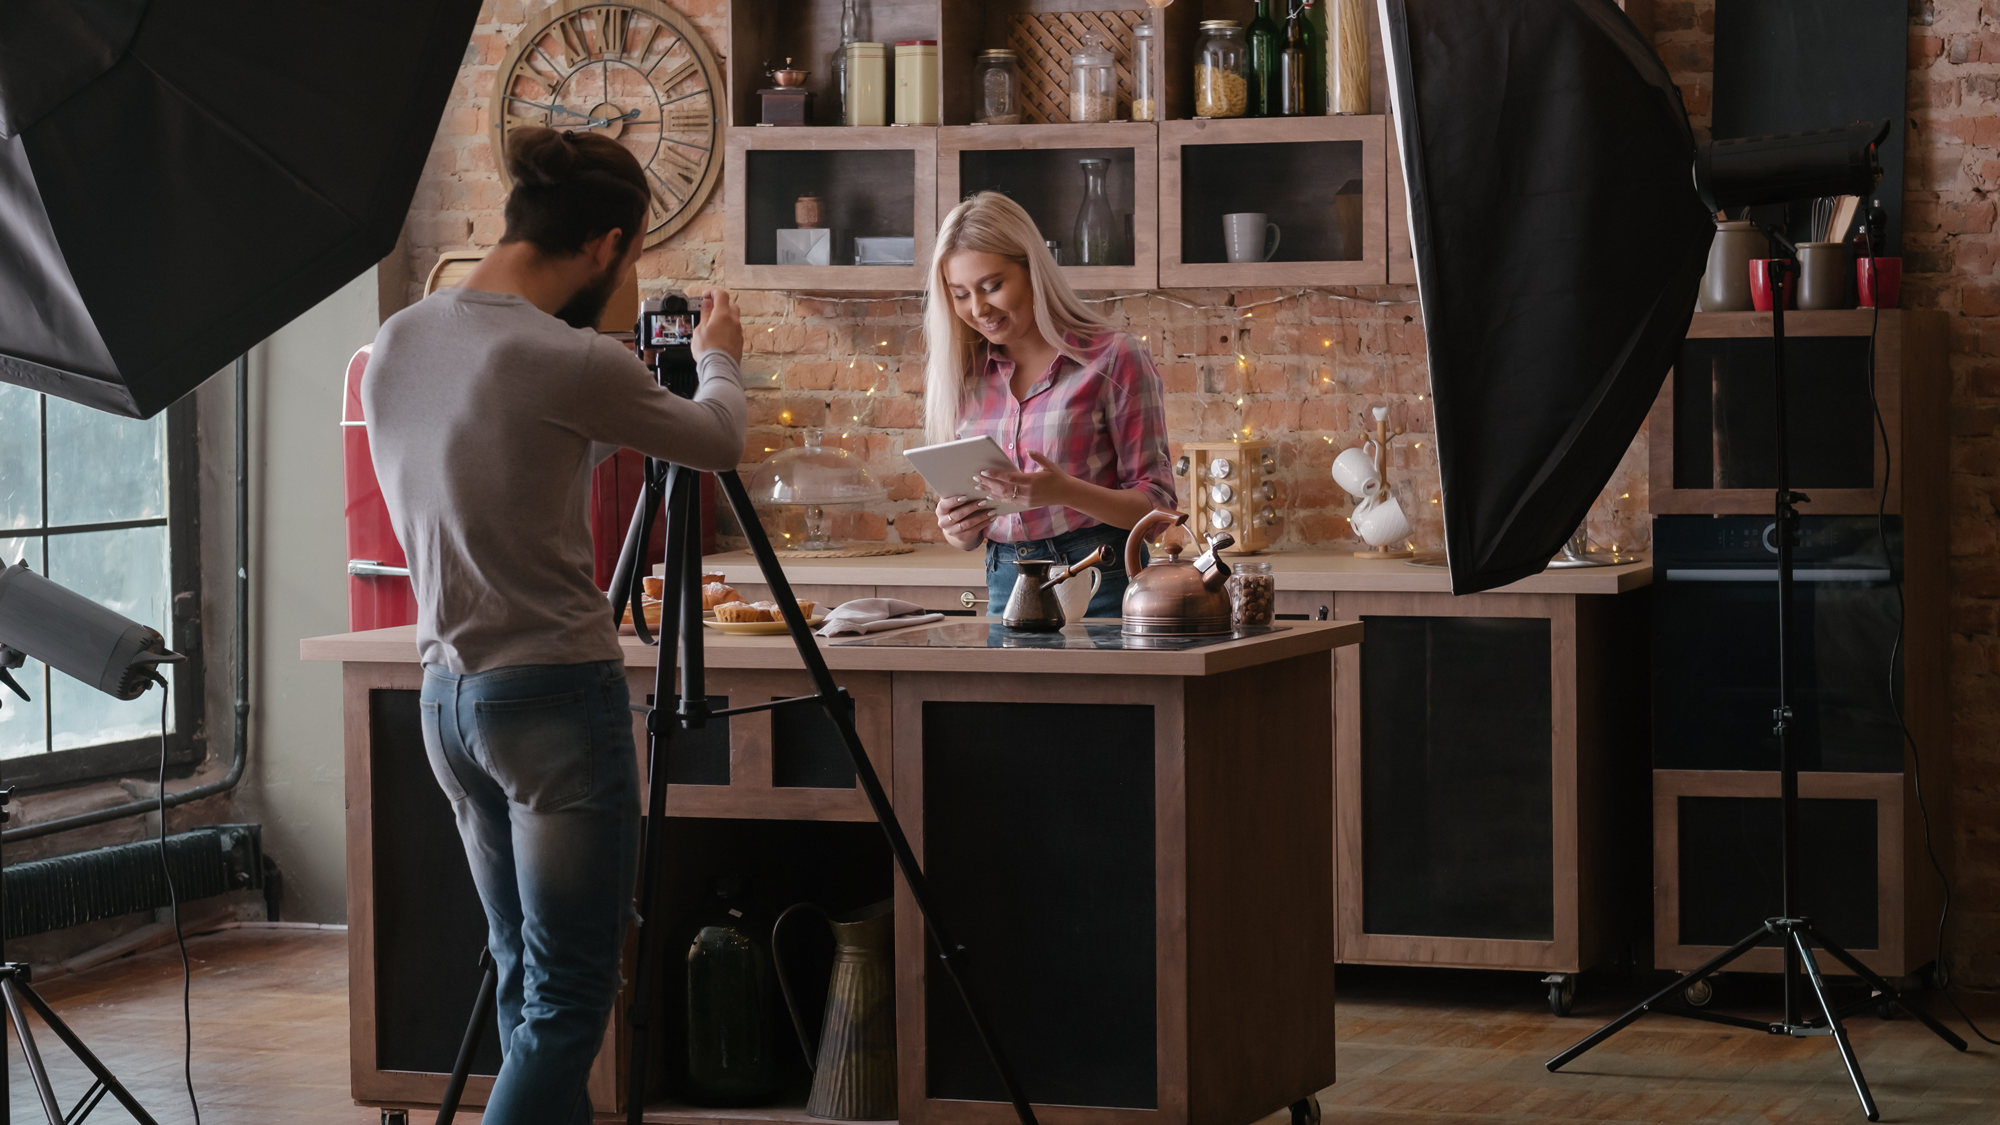
This can sound complicated when put into words, so the best way to learn is through photos, video breakdowns, or actually testing things out yourself while at your podcast’s location. Ideally you want nice, soft light on everyone featured in the episode, but you will also be limited by the framing, as you don’t want distracting lighting equipment creeping into the edge of your image. If you only have a few feet to spare between the edge of the frame and the edge of the room (and/or cameras), panels or monolights with softboxes might be the solution. If you have more space, experiment with bouncing light or using large diffusion materials to create a more flattering, painterly look.
Colors and Effects
With so many lights now including RGB capabilities, it can be tempting to dial up the style on your video podcast and go crazy with colors. That can easily become garish or overstimulating though, and the long duration of most podcasts means you’d probably be better off with a restrained, naturalistic touch. Most video podcasts operate with a standard color temperature around 5600K. This looks akin to daylight, and makes most skin tones appear as they do in real life. Older studio lights and some household lights operate at 3200K, a warmer, tungsten look, but this is becoming less and less common. Setting all your cameras and lights to the same color temperature is a great way to start to create a unified look.

Where RGB can benefit is in the background of your podcast. Dynamic sets that mix in relevant props, practical lights, and accent lighting (often tube lights) can really make a video pop. It sets a tone and style for your podcast in every frame, just be careful not to make the background too busy or cluttered. Setting your lenses to around an f/2.8 or f/4 can keep backgrounds from appearing either too mushy or too detailed. Rim lights, hair lights, and accent lighting between talent and the backdrop are always a great way to create separation too.
Control Methods
Many of your lights will offer various special effects, but most podcasts don’t need to utilize those. That is unless you want to create dynamic lighting sequences that can be triggered by a host or technician and used to signal changes in the episode—think a dramatic lightning storm for the start of a new segment, or colorful flashing strobes for a music break. Creating these effects sometimes requires the use of DMX control, a feature seen mostly in professional light offerings. For typical podcasting needs, the onboard buttons and dials are sufficient and easy to use if the light is within reach. If you can’t reach the light once it’s rigged up, smartphone control via Bluetooth has become a standard feature in almost every modern LED fixture. This is perfect for making adjustments and tweaks from afar.

Whether you’re using DMX or a manufacturer’s smartphone app, there will likely be a way to group your lights and create various presets that can be easily switched between. This is extremely useful for consistent setups like a video podcast that still could require slight tweaks each episode. Lighting control software can be incredibly flexible and definitely worth diving more into as you continue your lighting journey. While you may start with a simple 1x1’ panel or a single COB light, expect to want to grow your setup and experiment with shape, softness, and directionality. Endless exciting possibilities await!
