
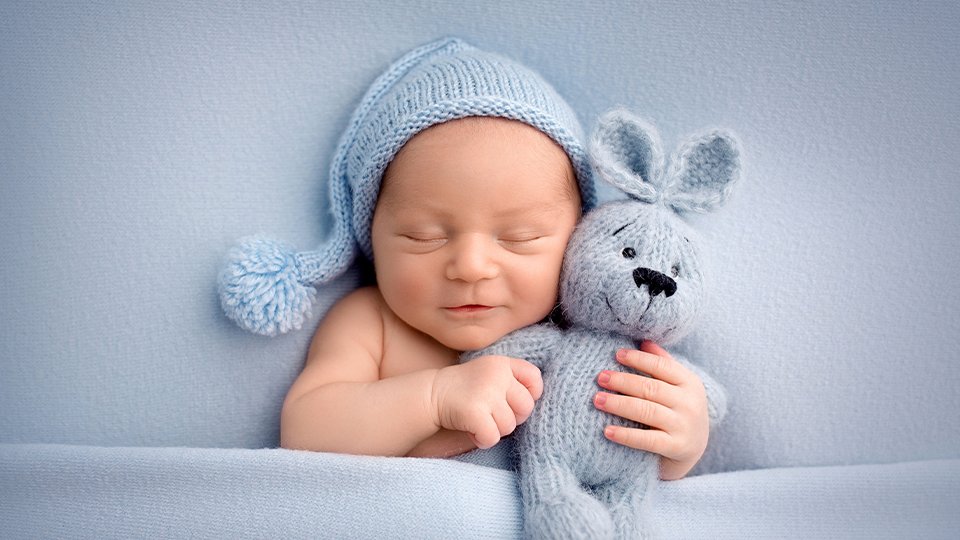
Everyone loves cute baby photos. It may seem simple, but these are important images. These little ones won’t be this small again, and they certainly don’t remain that size for long. Whether you have a little experience under your belt or just getting started, one area that can seem overwhelming is lighting. In this guide, we’re looking at the lighting tools needed to capture stunning portraits of infants and newborns.
The Basics
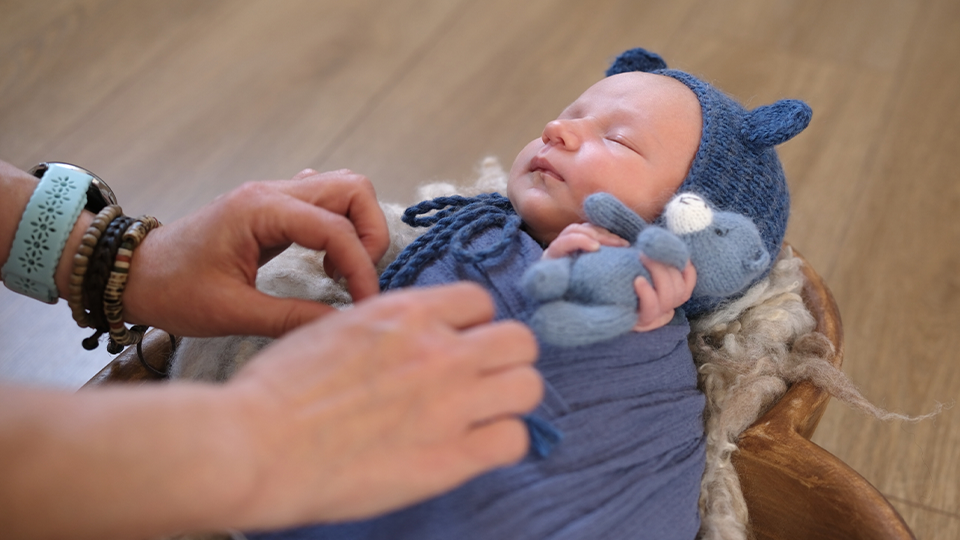
First, some general newborn photography pointers. The most important topic to cover is safety, especially when posing. Luckily, most parents know the essentials, and there are plenty of resources to learn from. Remember that a comfy baby is a happy baby. Bonus points if your subject is a bit sleepy too!
Fast apertures are a staple of the genre, so photographers don’t need particularly strong lighting to capture the shots they want. With that said, there are some drawbacks to prioritizing aperture. A common drawback to shooting wide open for portraits, is the narrow depth of field. While that’s still a concern, smaller subjects can work rather well with a smaller depth of field. If the light allows it, and your artistic vision demands it, shoot wide open.
The Lighting
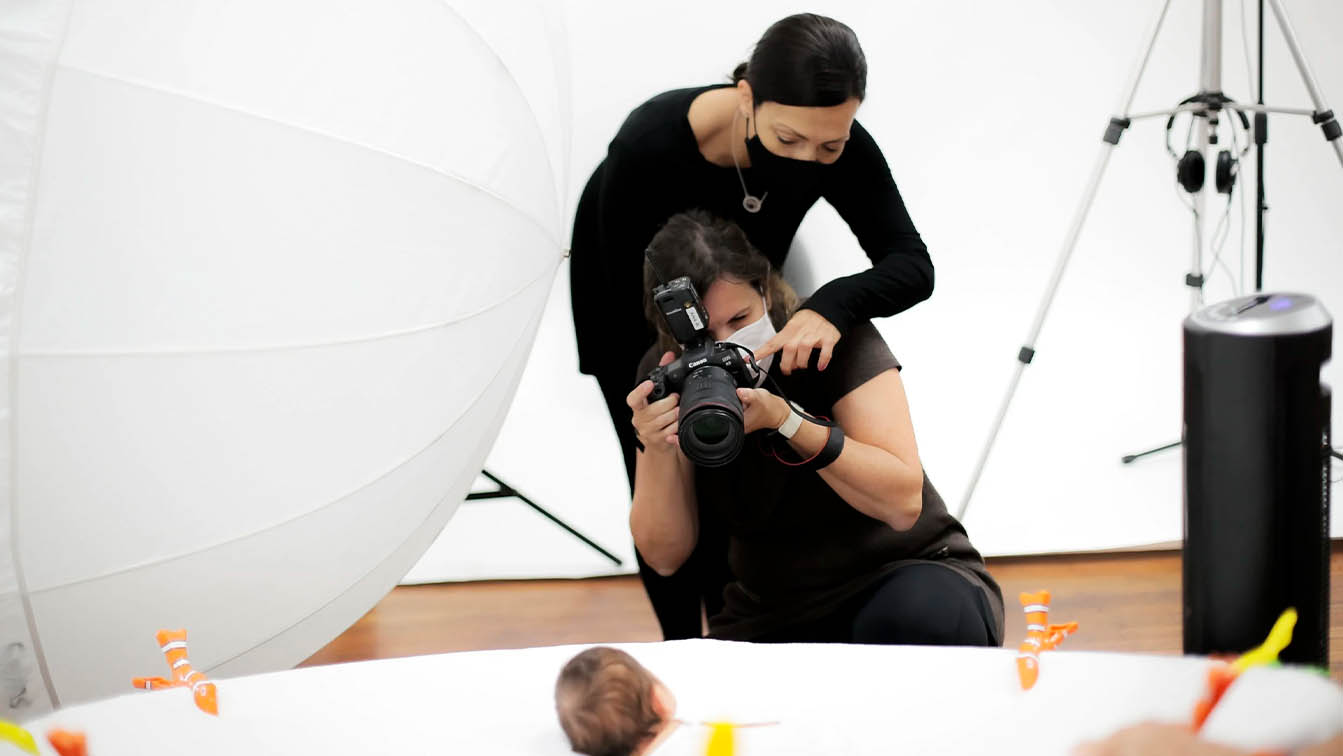
One of the biggest advantages of photographing newborns and infants is the simple fact that they are small. We don’t need to cast light over entire adult person or worse, a group of adult persons. Keep things simple by using just one light and pair it with a large modifier like a soft box. After all, the larger the source of light, the softer the quality of light. One large soft box is enough to cast plenty of light on our tiny subjects.
A soft box can be mounted on a number of lights, with flash or strobe being the most common weapons of choice. An on camera flash is essential tool for any portrait photographer, as flash can bring out detail and add life to a scene. The only challenge is that infants’ tiny, underdeveloped eyes can’t handle bright lights for extended periods, nor are they fans of sudden flashes of bright, blinding light. Flash power can be adjusted in both manual and TTL flash modes for flash units and strobes or via a simple dial for constant LEDs. Flash is often underpowered for portraits, as it often serves to fill or compliment ambient or natural lighting.
For the same reason, you may opt for constant lighting, such as an LED panel. While not inexpensive, an LED panel casts a constant, soft light, which additionally allows you to see your images before you shoot. No guesswork, and no futzing with strobes or speedlights. If you’ve already invested in larger, studio strobes, you may have a built-in modelling light to make use of. These often offer control of color temperature and power, so you can easily adjust to your needs.
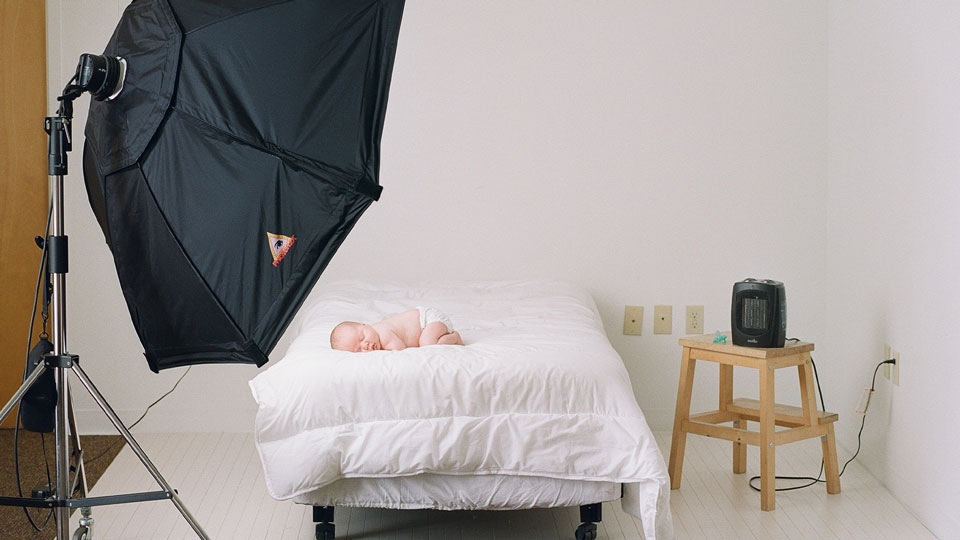
You’ll also want to get your light source close to the subject in order to create that soft, yet natural-looking light. The light source should be positioned above the baby, allowing the light to fall down over the face. Avoid uplighting just as you would for any standard portrait. For a softer look and softer shadows, you can try feathering your light, which is angling the light source so that the edge of the light (or “feathers”) fall on the subject, rather than setting the light head on and blasting the brightest part of the light on your subject.
While feathering should aid you in controlling shadows, this method is not perfect. If your shadows are too harsh, or you simply want a little kickback, employ a reflector to bounce some of the light back into the scene and fill those shadows. Just be wary of adding too much reflected light. Adjust the reflectors distance to the subject to control the intensity of the bounce. There are versatile 5-in-1 reflectors available that provide the standard white along gold, silver, and even black which darkens shadows.
As you can tell, lighting can be quite simple, especially for infant portraits. Experiment with different lighting tools to find which solution works best for your needs. You can also consult with our other lighting and light modifier articles. For more information on lighting and portraiture, check out the other guides on the B&H Explora page.
