
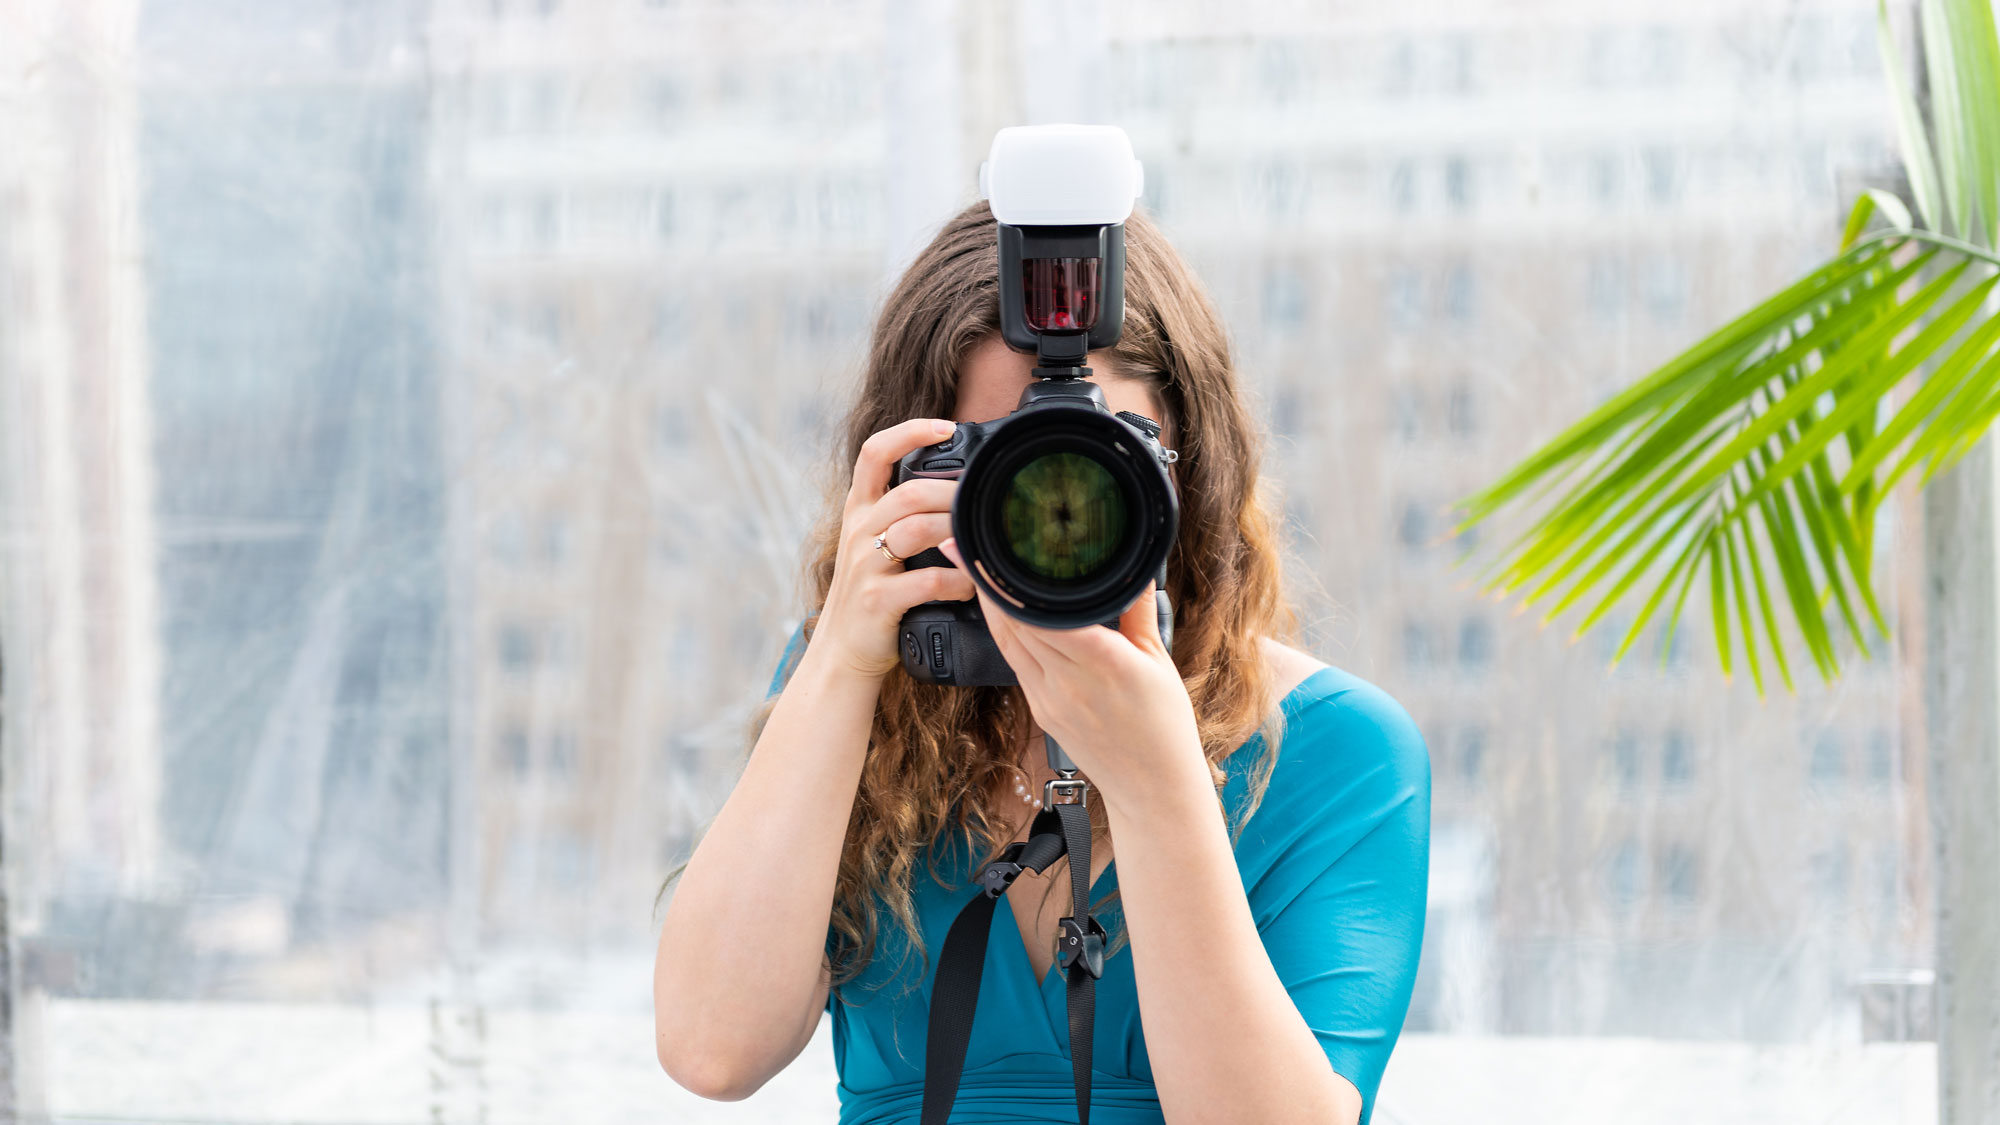
When photographing a wedding, we face a wide array of lighting conditions, ranging from bright sunlight to dimly lit interiors. Photographing in any of these scenarios is a challenging endeavor, with our exposures pushed to their limits and our post-processing routines shaken with heavy edits.
Many photographers opt to shoot with ambient lighting, and clients may prefer this style as well. Natural light has an organic look to it that flash seldom replicates. At least, that is, not at full power. The “natural light” look has become quite popular in recent years, though this is not always the most advantageous approach.
While opening your aperture and keeping shutter speeds low can produce good results, it’s not always efficient, especially when time is of the essence. Weddings are fast-paced events, and we need to be able to quickly get the shots without worrying about blurry images. In order to freeze our clients’ special moments, we’ll need to employ other tools in our photographic arsenal. We’ll need to use flash.
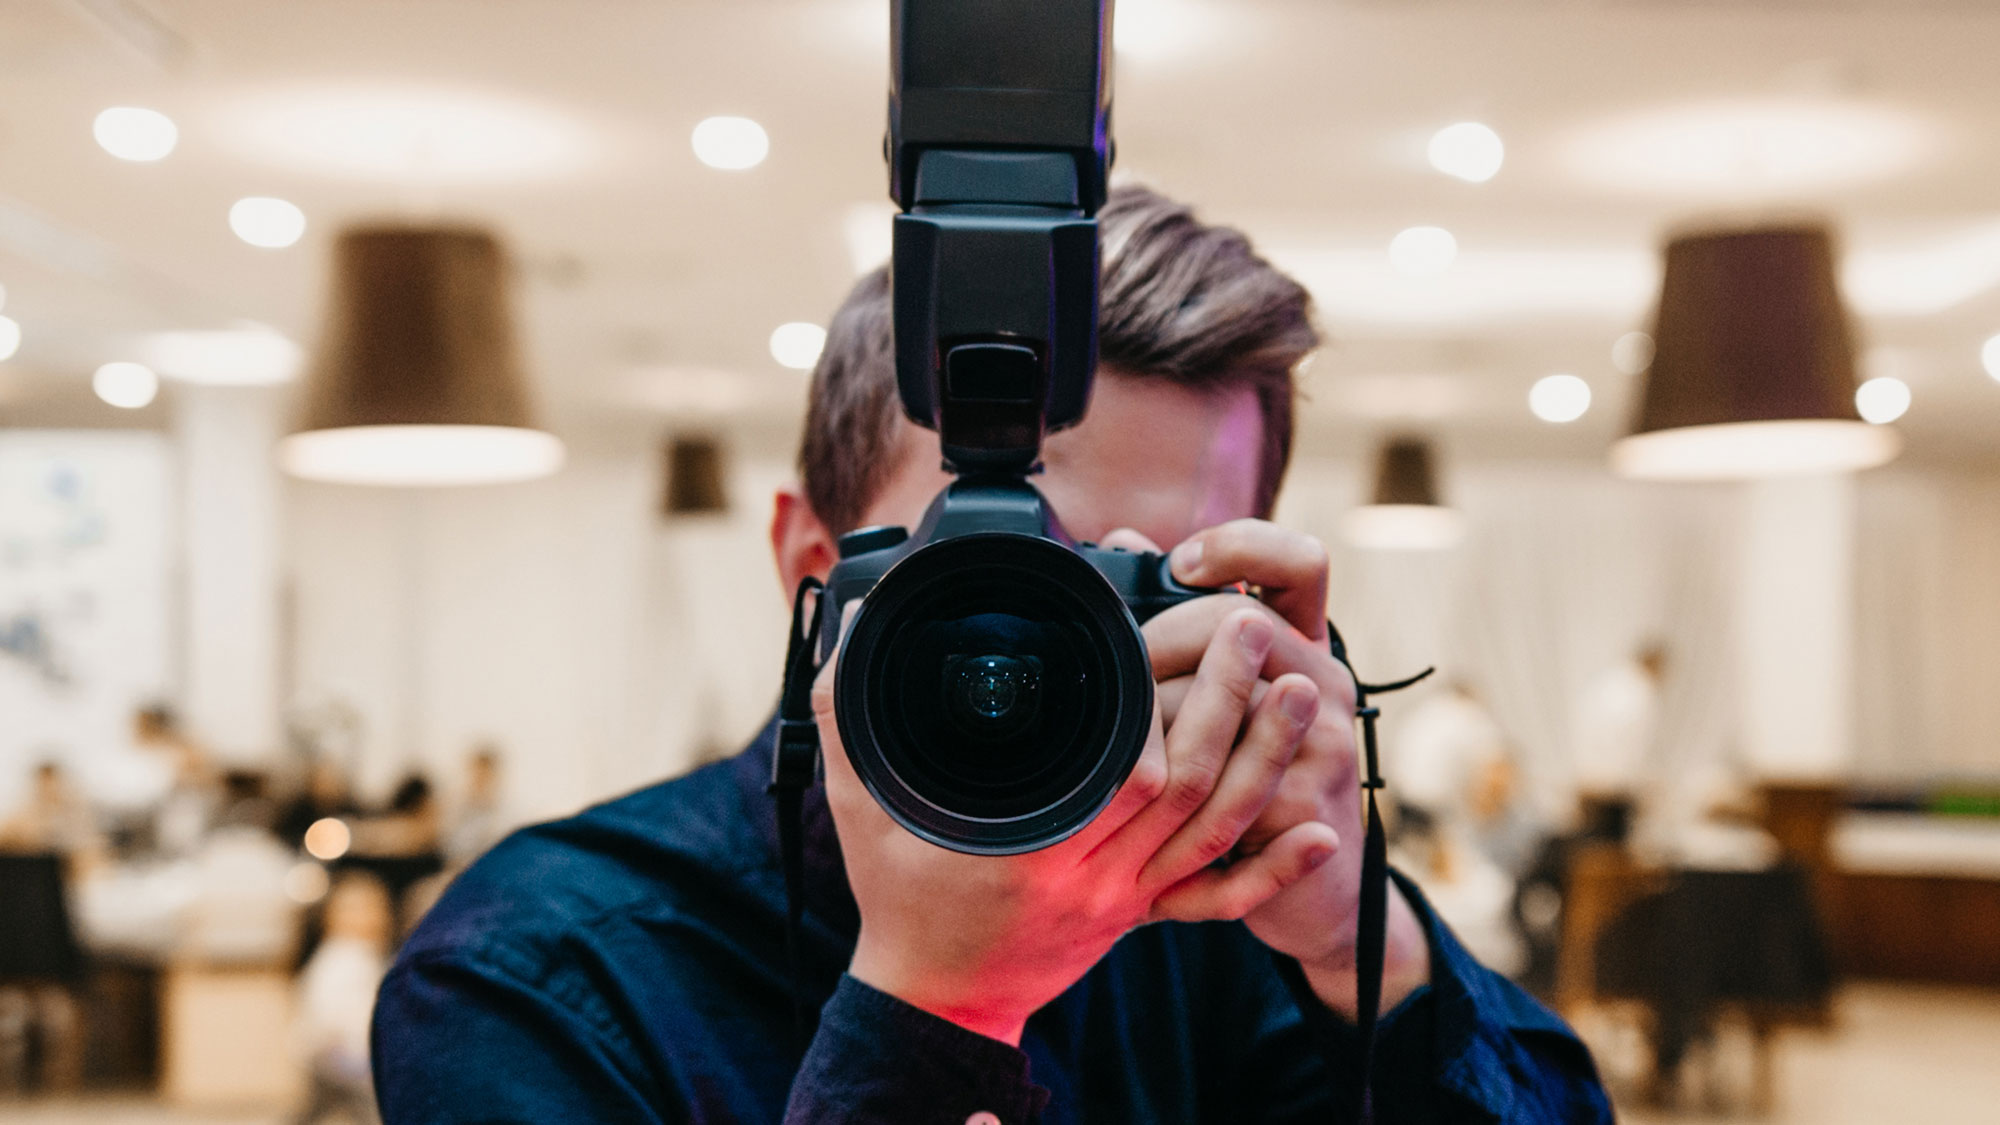
In this article, we hope to not only demystify the use of flash in general, but to inspire curiosity in the matter. Flash is not a tool we need to use throughout the day, but it has its moments. When natural light is available, we implore you to use it, but when the light grows dimmer or shadows are harsh, flash can make or break our images. A flash on camera can aid us in filling shadows or adding a catchlight to our subject’s eye, but we won’t get the most of it until we take our flash off camera.
Why Off-Camera Flash?
Once your light source is taken off the camera, you have greater control of your lighting, from direction, to angle, and of course, intensity. Think back to family photo albums or even your own images taken with your camera’s built-in flash. You know the look: bright, flat subject with a dark, almost imperceptible background.
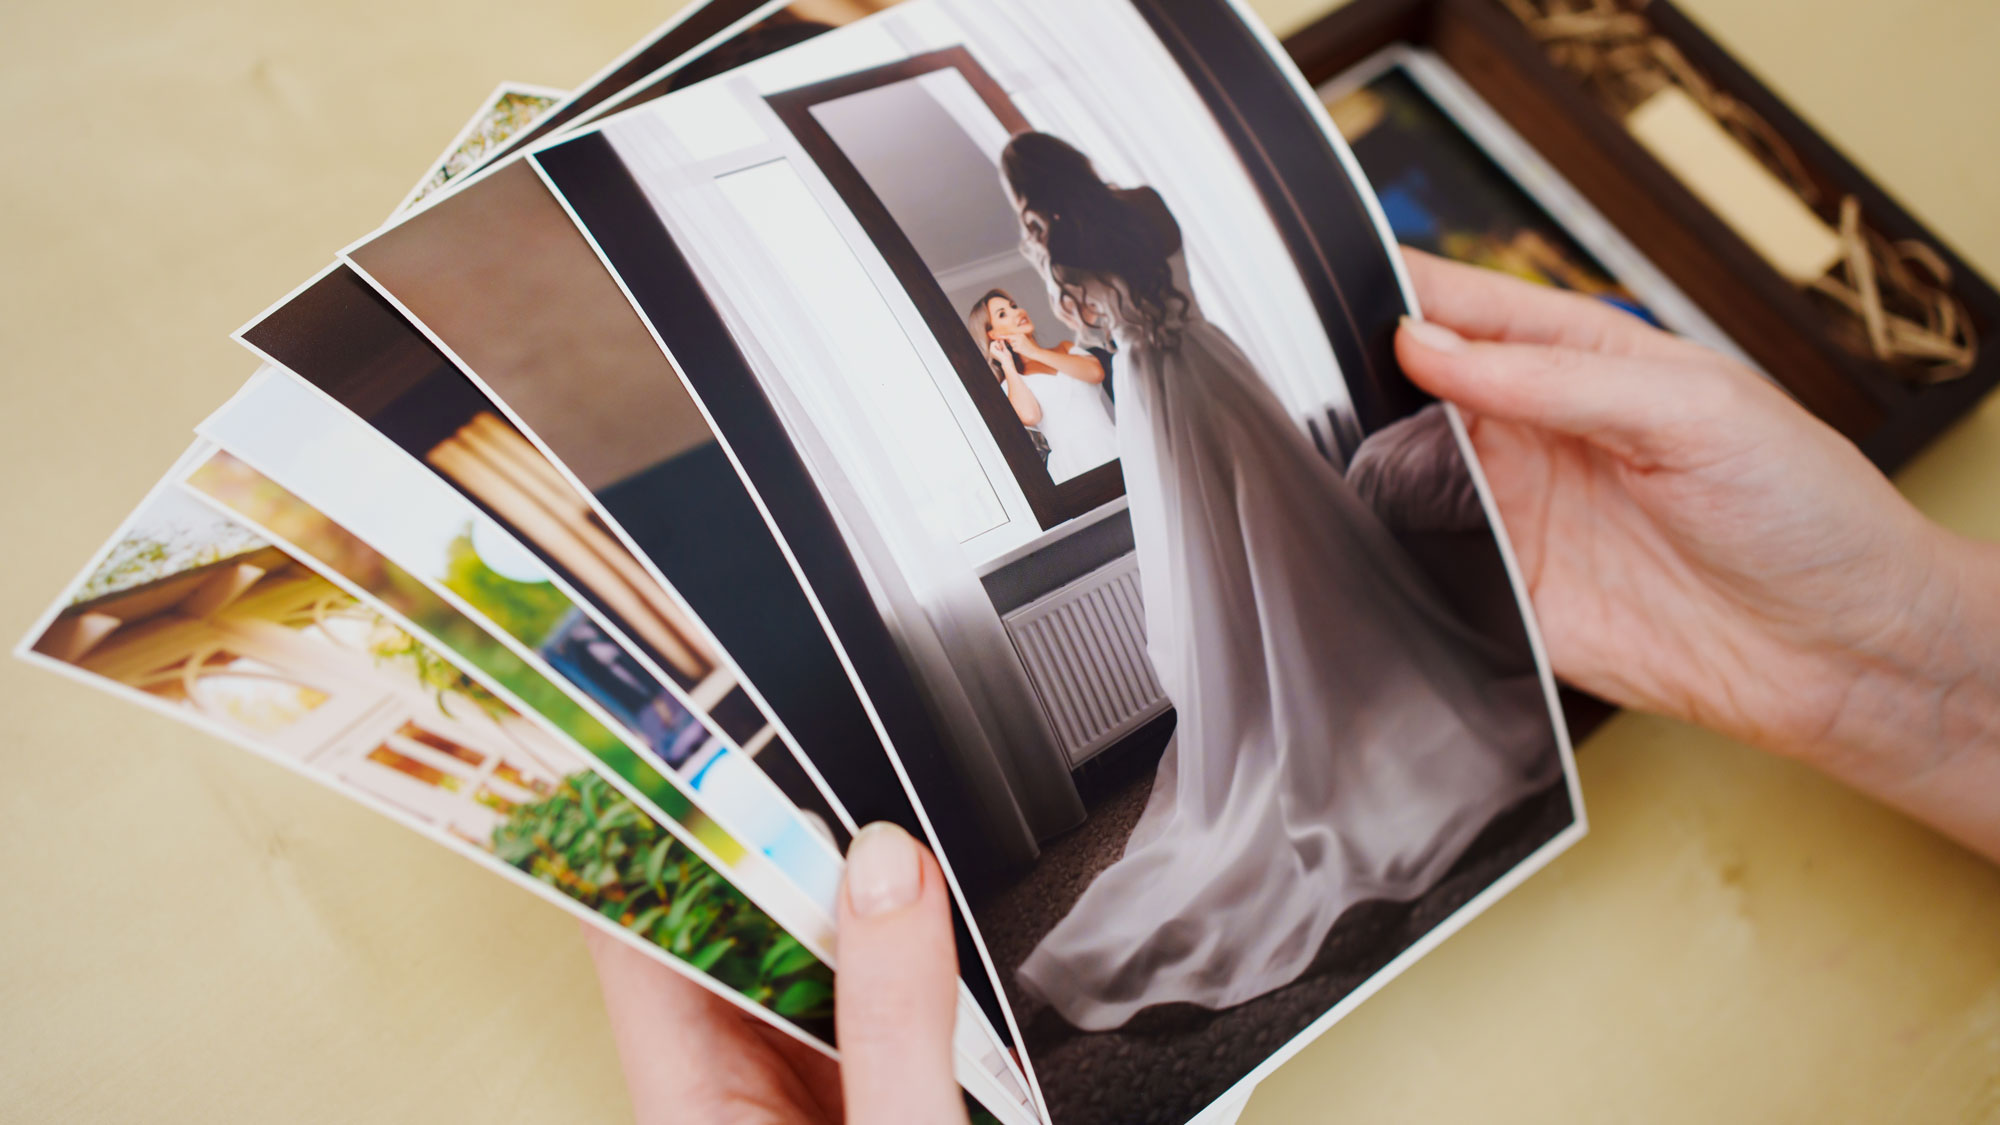
Off-camera flash is the key to adding depth and dimension to your images, taking an otherwise flat shot, and introducing intentional shadows and highlights for a more natural, yet refined look. It provides an editorial, almost magazine worthy look that adds a sense of glamour to your client’s special day.

Another benefit of off-camera flash that the current generations may take for granted is the elimination of red-eye. Red-eye is the reflection of the flash on the blood vessels in your subject’s eye. When a flash is positioned close to or on top of our camera, the light will reflect directly back into the lens, creating this undesirable effect.
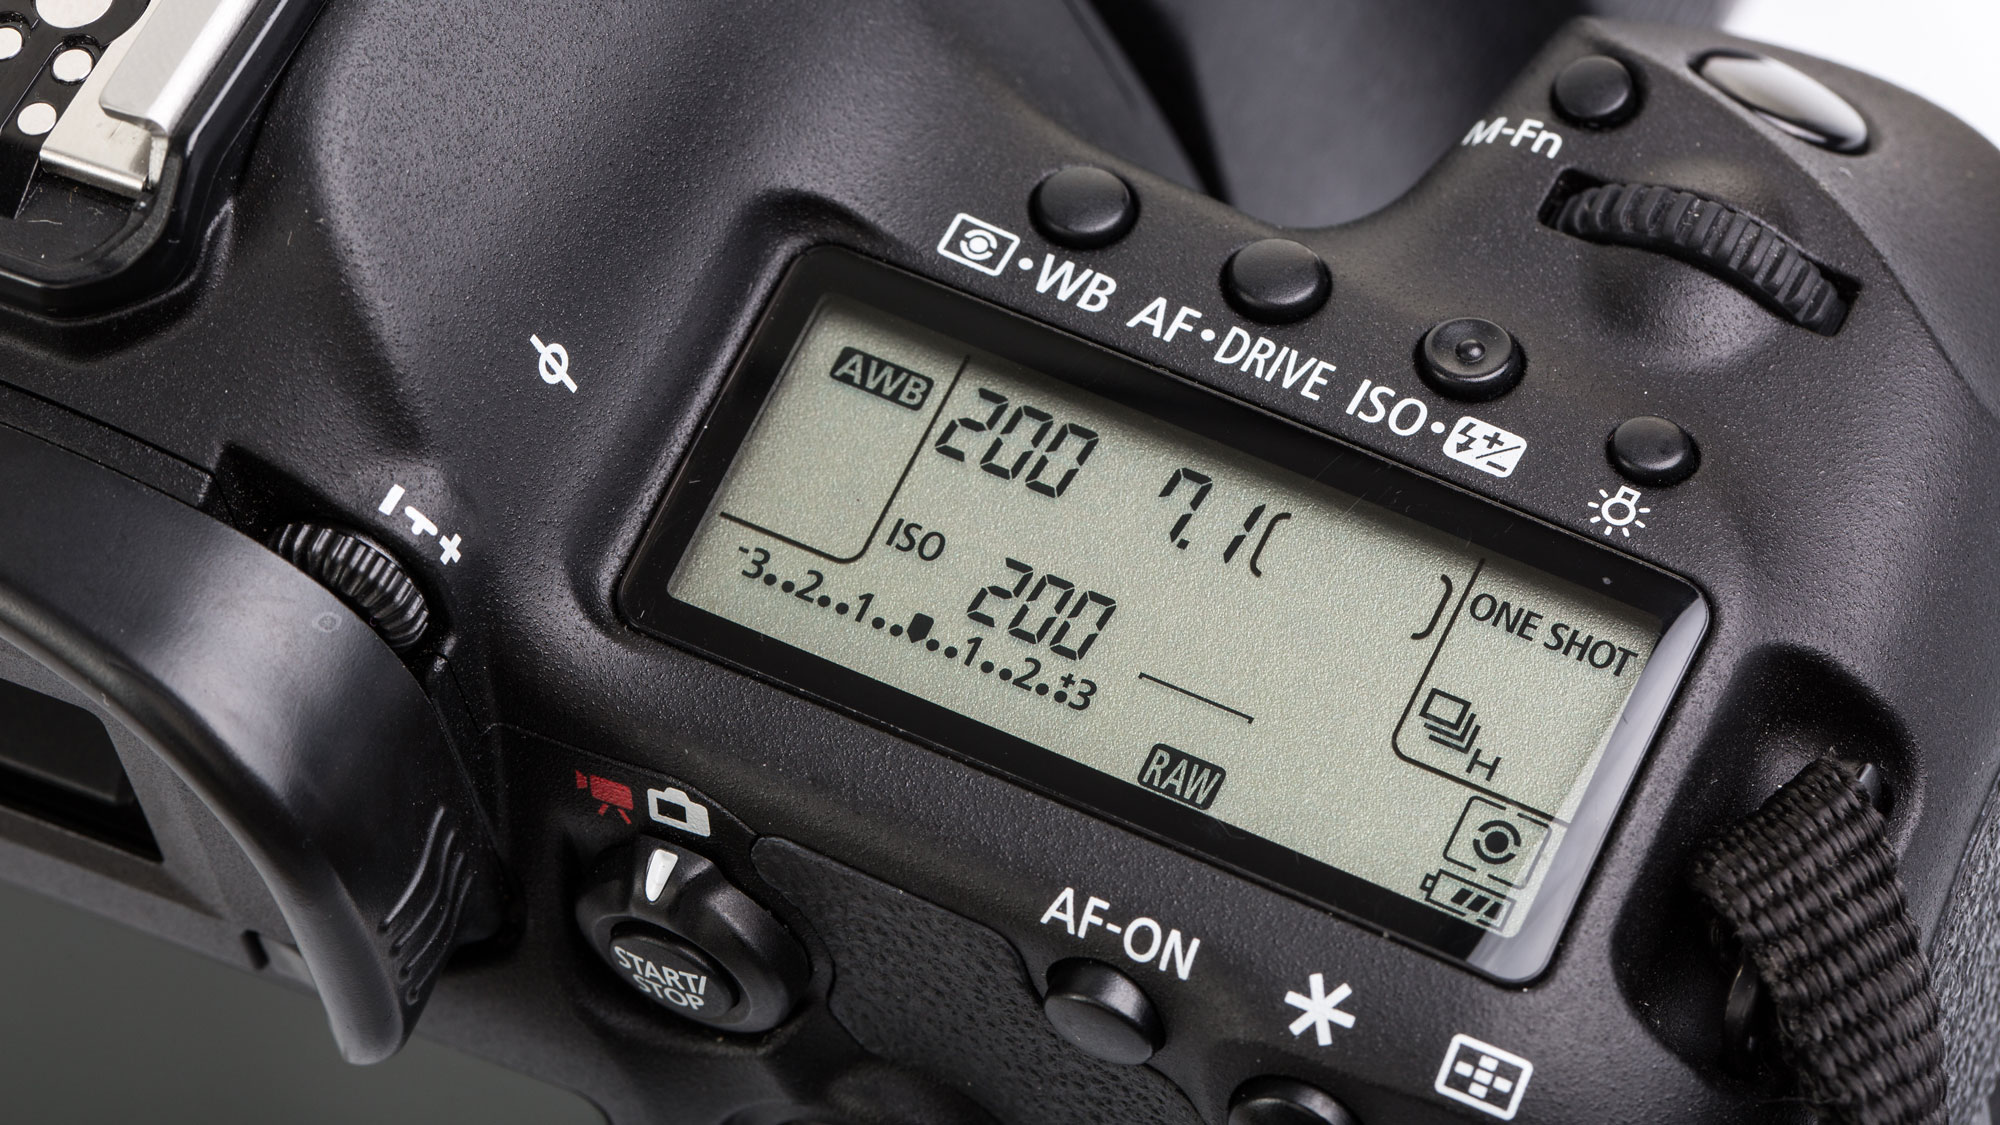
Newer cameras have largely eliminated this conundrum via internal software, but only if you’re shooting in JPEG. Even then, this feature is not perfect. If you’re shooting in a RAW file format, you won’t be as lucky. You will need to rely on post-processing software to do the trick, but wouldn’t it be so much easier to just get it right in camera? We think so too. To accomplish this goal, we first need to make sure we have the right tools for the job.
What Do You Need?
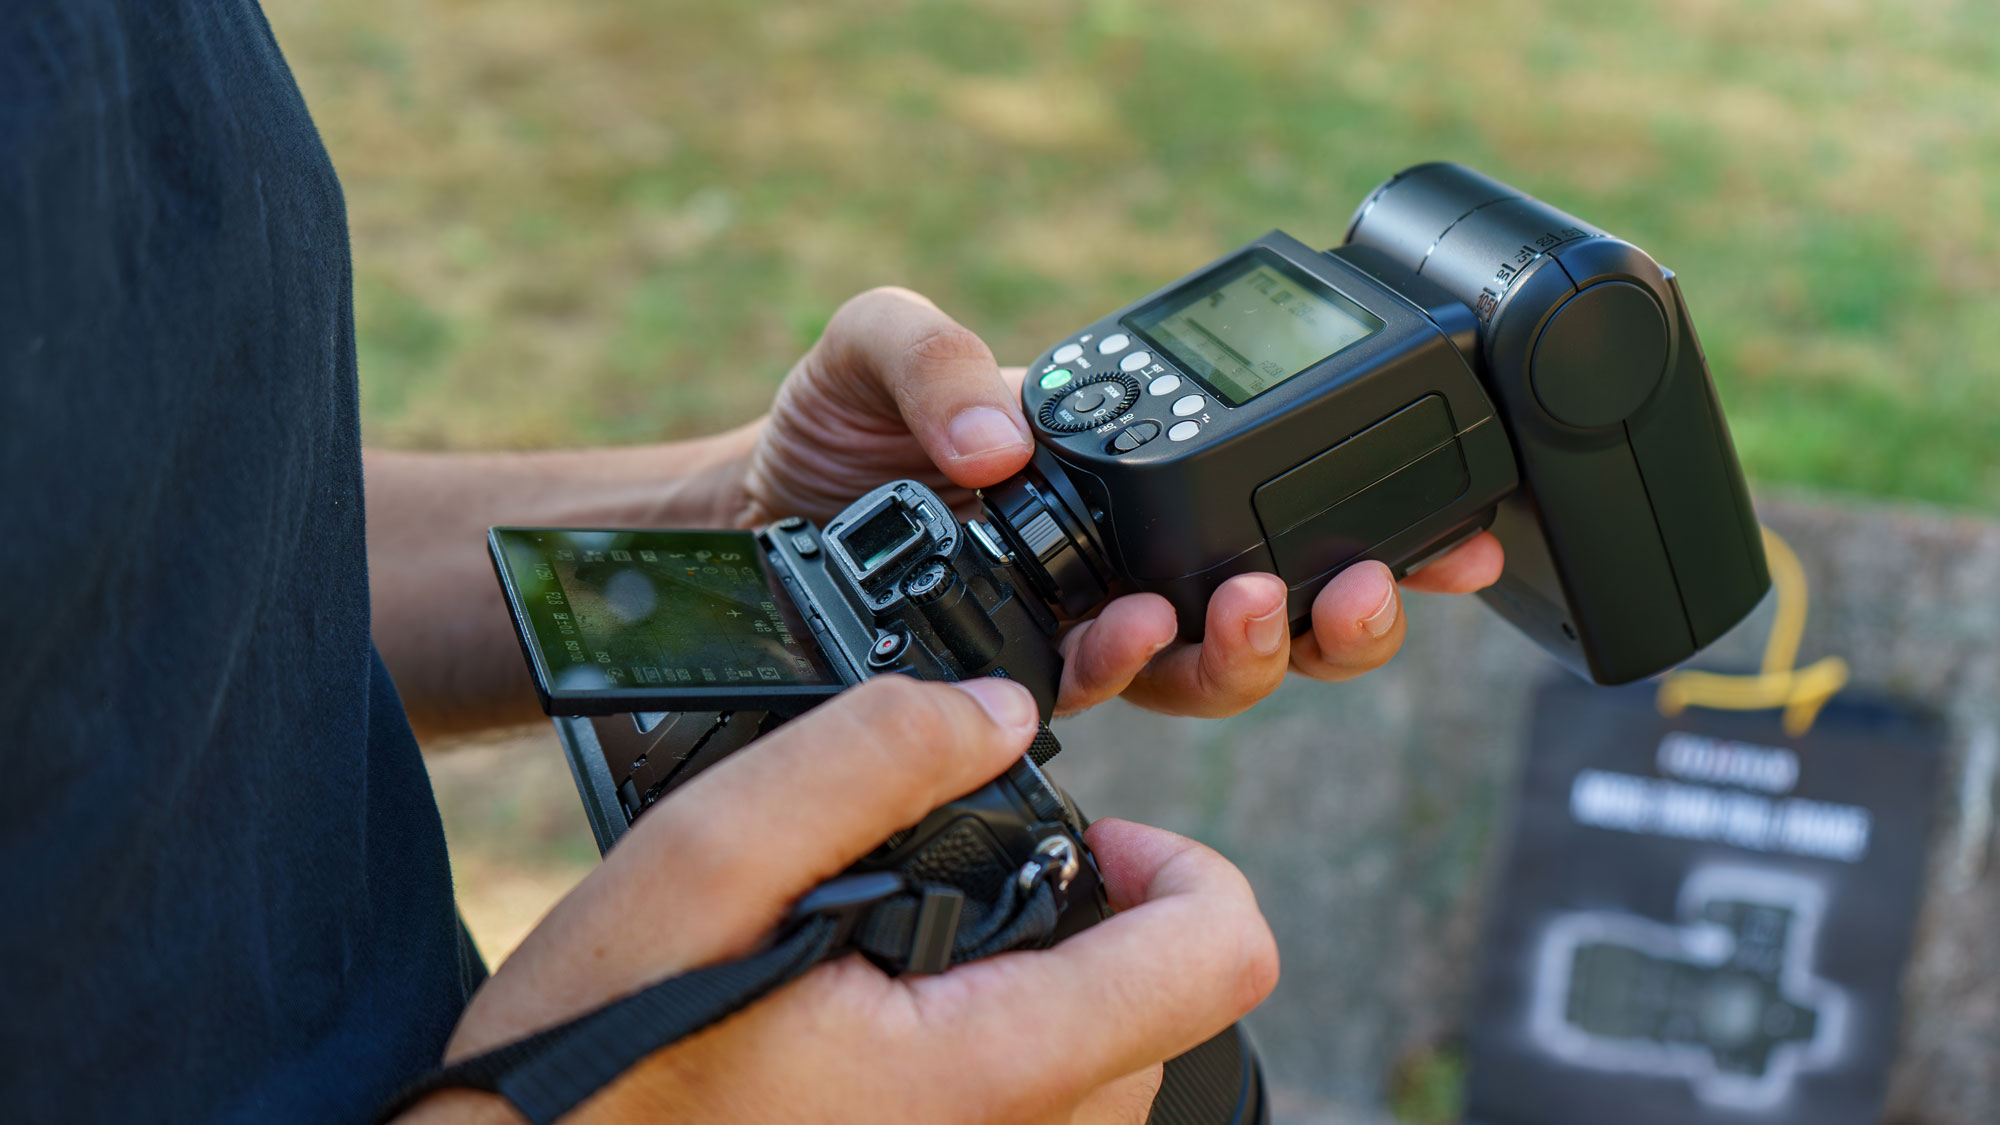
If you have a flash unit (or “speedlight”), you’re off to a great start. Not only do these work on camera as a standard flash but they can be set off the camera and triggered remotely. Triggering a light is simple enough—just make sure that your light and trigger are compatible and can communicate properly.
A good lighting setup for a wedding photographer usually consists of anywhere from one to three lights. You can always add more, but this range suits most users. For simplicity’s sake, we recommend starting with one light as you learn. This will help us in two ways. First, it’s much less intimidating to work with a single light. Second, as you add more lights to the mix, you have the skills and experience to work with fewer in case of emergencies. More on that later. As you become more proficient in the art of lighting, you can add more lights to achieve your creative vision, while having the knowledge to work with what you’ve got.
The light we chose as our main weapon can be something as simple as a speedlight, which can be triggered by a dedicated radio transmitter or even an additional speedlight. For larger family formals or to illuminate a large reception hall, a larger studio strobe or monolight may be needed. You don’t need the most powerful light on the market. Any light with a 200-300Ws power output will do just fine. What matters most is that this is battery powered for greater mobility.
Next, you’ll need to pair your light of choice with the right light shaping tool. These light modifiers can take the harsh, contrasty illumination of a bare strobe and soften, diffuse, or even intensify it. Our quality of light is dependent on these accessories, and choosing the right tool for the job is essential. Just as lighting conditions change, so do the types of modifiers we need. When photographing individual portraits of the bride, a folding beauty dish is often used, whereas larger group portraits may benefit best from a soft box or umbrella. To learn more about light modifiers, check out our guide to finding the right one for your needs.

As we begin to master lighting, we can add numerous lights to our kit. One of the more efficient combinations is one speedlight paired with two strobes. Alongside these lights, you’ll need a radio transmitter or trigger and enough stands to cover every light in your kit. As always in the wedding photography industry, be ready for anything. Always bring a backup. This means having two flash units and two triggers. A third strobe is a big investment to have sitting in your bag in case of emergencies, this is why we recommend slowly learning flash with one light first, as this will teach you how to work with limited tools god forbid a light goes down on a job in the future.
We also can’t stress enough the need for extra batteries. You need at least three batteries in rotation. Bring chargers and set your gear near an outlet so you can keep a rotating stock of batteries going throughout the shoot. Hopefully you don’t need all three, but it pays to be prepared, especially when you’re getting paid!
Off-Camera Flash in Use
Once our rig is configured for the task at hand, putting them to use. This can be as unceremoniously simple or as complicated as you want it to be. For the sake of getting comfortable, we recommend using any lights in TTL or “through-the-lens” flash. This is as close to automatic mode as you can get, as it adjusts power based on the camera’s internal light meter. TTL is preferred by many wedding shooters as the changes in light condition and subject distance can change rapidly.
We can suggest adjustments to our lights by using a setting known as flash exposure compensation. This is similar to the exposure compensation feature found in most digital cameras in that it is a way of changing how our camera automatically adjusts certain settings. Essentially, by dialing our compensation to a positive value, we’re telling our camera and flash to overexpose the image. We can fine-tune exactly how much brighter we want to make a scene, but this can be extremely useful in situations such as combating strong backlighting from the sun.
After fine tuning our settings, take a few test shots. Make any adjustments you need and proceed accordingly. We can now worry about where to set up our flash. As always keep an eye on the background and be sure there are no distracting elements within the frame. Pose your subject as needed then add your light to the mix. Our main light, or “key” light, should be positioned in front of your subject at a 45-degree angle. The height will vary depending on height of your subject and your distance to them.
Ceremonies are where lighting gets tricky. If it is held in a church or temple, flash photography may not be allowed at all. In cases where it is, check with the bride and groom and proceed from there. You may just opt to forgo the use of flash on your own accord to avoid bothering guests. Do what feels right and what the venue demands. We can always put our gear aside and grab it again before the post ceremony festivities. If you were unable to capture any portraits or formals before the ceremony, there’s no better time than immediately after.
For the reception, we’ll have to be on our toes. When guests are dancing, your light should be set aside toward a corner of the dance floor and raised to your desired height. You may opt for to shoot “bare bulb” without any modifiers, but if the light looks to intense, we have options. For greater spread and a softer quality of light, use a large umbrella to bounce the light back into the scene. Alternatively, a soft box can produce a similar, diffused effect.
The reception is also a situation where having multiple lights comes in quite handy. Depending on the available lighting or the desired look you’re going for, you may opt to use a room light. This is off set to a corner of the most photogenic space in the venue. This is typically the dance floor, though every wedding is a bit different. The purpose of this light is too illuminate the room, creating a cohesive look to your images.
Now, a professional tip for your consideration. Make sure your light stands are out of frequented pathways and away from where anyone can easily trip over it. It’s also good practice to weigh your light stands down with a sandbag, so as to avoid catastrophe.

Additionally, pace yourself. Flash units have recycle times in which they essentially recharge between full powered pulses of light. The more powerful the unit, the shorter this recycle time typically is, but take it easy. Don’t fire away in continuous shooting mode, as you’ll burn out your light and prevent it from recycling. The result will be one or two properly exposed images followed by a series of darker ones. Be intentional and precise with your clicks, and you’ll be fine.
Put It to Practice
Off-camera flash is an integral tool in the wedding photographer’s arsenal. Master it, and not only will your images improve, but so will your confidence while on the job. Experiment with one light, then expand your kit as needed. There’s no one system that will work for every situation, nor every photographer.
As artists, we’re always learning. Never discount the benefits of a new tool in your arsenal and always be open to new ways of doing things. If you’d like to learn more about flash and wedding photography, check out our other guides and articles, check out the B&H Explora page!
