
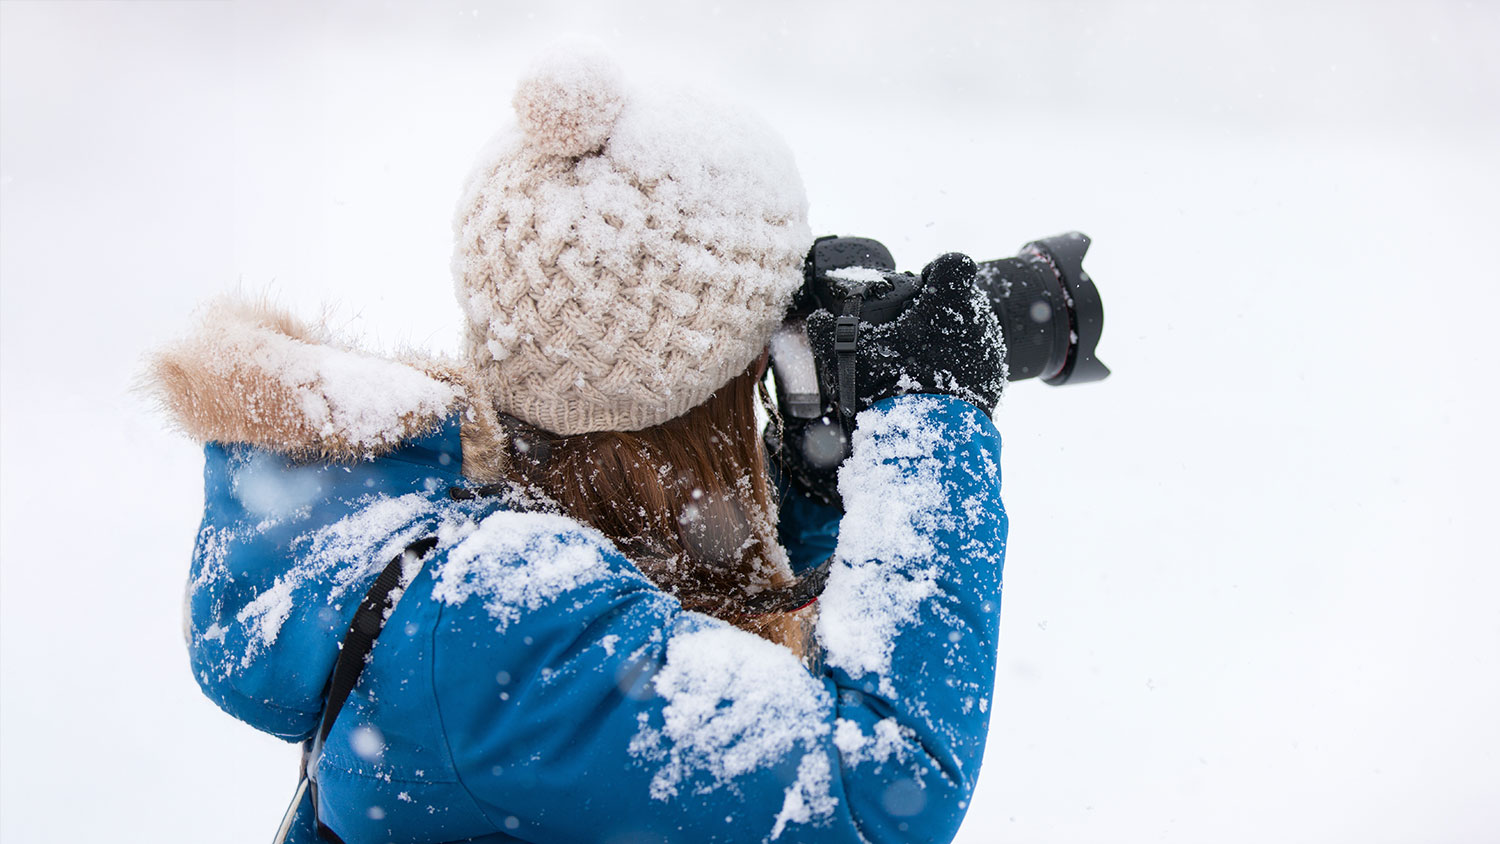
Winter brings with it some of the best photographic opportunities imaginable. As the temperatures begin to drop, our approach to photography changes a bit. Cooler weather brings with it snow, stunningly colorful evening skies, wintering birds, and an assortment of beautiful weather conditions. Some of the best photographic opportunities present themselves in these unfortunately cold times. That being said, if we prep ourselves and our gear appropriately, we can capture stunning images.
Before You Head Out
First, some safety precautions. Cold weather can be dangerous, so it’s important to prepare appropriately. Extreme cold can cause frostbite and even hypothermia. No photo is worth injuring yourself or worse. Dress for the expected conditions, keep your phone charged, and always let someone know where you’re going before you head out.
How well does camera gear and cold weather mix? Like any electronic device, the cold will affect our camera and its performance. Extreme cold puts strain on moving components, thickens lubricants, and can cause water to condense within the device itself as temperatures shift. Sounds fun, right? Luckily, there are ways we can keep our gear warm, and more importantly, dry.
This is especially true for batteries, which are noticeably slowed by the colder temperatures. Not that the cameras are slowed, but the chemical reactions within the batteries that emit power are slowed. As a result, power output is weakened. The batteries are unable to keep their energy levels and loose charge faster than in warmer temperatures.
Cameras do have a range of operational temperatures. You can find these exact temperatures in your instruction manual, and on the low end are usually rated for anywhere from freezing down to zero degrees Fahrenheit. They can typically handle colder temperatures for short periods of time, though there may be some performance issues. As mentioned earlier, lubricants and mechanical elements can react to the cold, so be aware of the risks before heading out in exceptionally cold weather.
How to Prepare
Bring plenty of batteries – As mentioned above, battery life is shortened by cold weather so prepare well and have extras. Additionally, store batteries within inner pockets of jackets and vests to keep them warm. Body heat can not only prevent batteries from losing power but can revive those that appear to be dead from the cold. A warning though. Do not place batteries in pockets with hand warmers. These are too hot and contain volatile substances which can start a fire or worse when combines with a rechargeable Lithium battery.
Keep your gear dry - Snow will melt very quickly when it comes in contact with your gear, so consider having a rain sleeve handy. Use your lens hood to keep snowflakes and rain droplets off the front of your front element. If your hands are cold and you have a rig small enough, consider a camera parka, which serves to keep both your gear dry and warm. Even if your gear is “weather sealed” this does not mean that it is waterproof.

It’s also important to acclimate your gear to the ambient temperature. If you’re quickly moving from a warm car or hotel room into the frigid outdoors, you’re going to fog up your gear. Worst case scenario is that you’ll form condensation within the camera itself and risk damaging the sensitive electronics inside! Moving from a warm space to a cold one and vice versa is always a risky move, but more on that later.
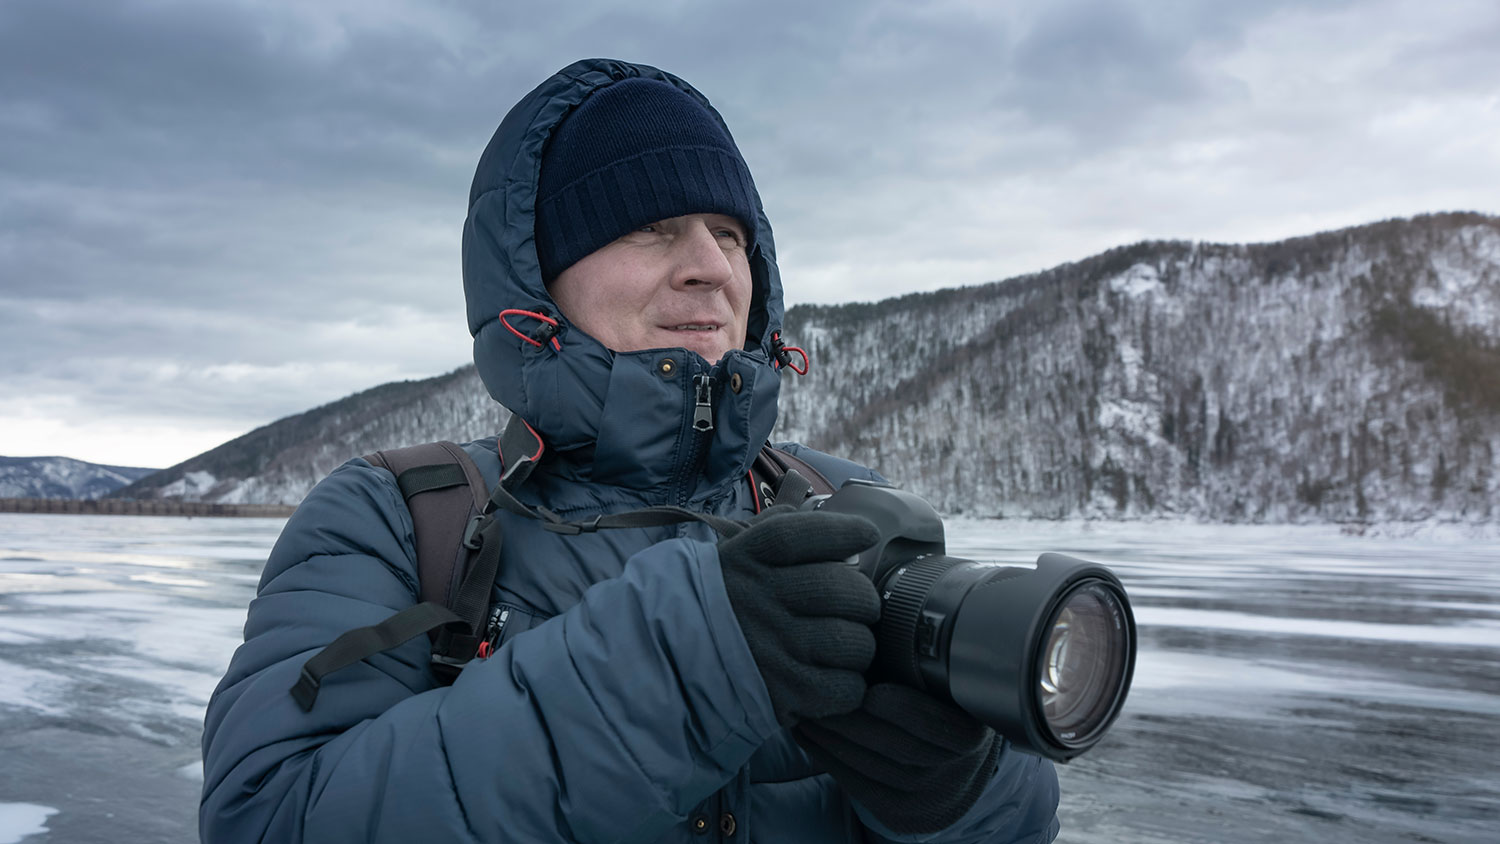
Dress for the weather - If you’re cold and uncomfortable, you’re not focused on the shot. Dress for the weather and be prepared for anything. Make sure your hands and especially your feet are warm so you can stay out longer and stay sharp. A solid pair of winter boots can keep your feet nice and toasty. Another tip from experience, keep snow off your boots as this will quickly diminish the insulating quality of any winter boot.
Nothing can ruin a shoot quicker than frigid fingers. Photo gloves are great when you need to shoot, but if you’re sitting still for extended periods of time, they’re not as effective. Heavy duty mittens can be used to keep your hands warm during down time, but you can also use a handwarmer muff. This sits around your waist and takes less. We actually have a winter glove guide for you to reference as you find the right pair.

Cameras come with straps for a reason! Straps free your hands to warm up in your pockets, grab a warm drink, or play rock, paper, scissors. The possibilities are endless. Manufacturer straps that come packaged with the camera, while convenient, are not the most comfortable nor are they exceptionally long. Luckily, there are a plethora of strap options for you to choose from. A sturdy, crossbody strap is recommended as they allow the user to more comfortably carry their gear and have it within easy grabbing distance from their hands at rest.

Straps are useful for most situations, but they have some drawbacks. Most pressing is the swinging of your camera as you move around. This can be avoided by holding the camera while walking or hiking, but then again, doesn’t that render the strap pointless? Some users may benefit from a harness system. This distributes weight across the entire torse to reduce fatigue and keeps your camera from swinging around at your hip as mentioned earlier. For longer or more strenuous hikes, this is a valuable piece of equipment to use.
For smaller setups, you can equip a camera clip to your backpack strap or even a belt. These can support a full-frame camera with a standard zoom lens easily and don’t involve an elaborate harness system. A clip like the PGYTECH Beetle V2 is compatible with most Arca-type plates, which are among the most common quick release plates available.

In the Field
Now we can head outside. Yes, it’s cold! Make sure your batteries are in those inner pockets and that you have quick and easy access to essential gear like rain covers and of course, your memory cards. It’s important to note that photography in winter is basically the same as it is in any other season, though there are some key aspects to consider before we head out.
Watch your exposure! Snow can easily trick a camera’s metering system as it is programmed to make everything a neutral gray color. For that reason, you want to slightly overexpose your images to make snow a true white tone. Otherwise, it’ll come out a muddy gray. If you hear someone suggest that you “expose to the right” this is what they’re referring to. It can apply to any situation with copious amounts of bright highlights, but especially in snowy environments. For more information on shooting in these challenging scenarios, you can refer to our guide on Exposure for Snow Photography.
Watch your white balance. Auto white balance in a modern marvel, but snow and cloudy conditions can still trick our sophisticated camera systems from time to time. This can result in magenta hues or excessively blue images. This can be corrected in post if you’re shooting in a RAW file format. Just note that a blue tone can be used creatively if you wish to convey a cooler wintery feel to your images.
Watch out for heat shimmer. Believe it or not, snow is one of the most reflective surfaces light and heat can bounce off of. When the sun is shining, snow produces more heat shimmer than most photographers would be comfortable shooting in. For that reason, stay inside during the harsh, mid-day sun. This is the warmest part of the day, but it’s also the worst when it comes to photographic conditions. While primarily an issue for long lens users, it can rear its ugly head in backgrounds as well. Aim to shoot earlier in the morning and later in the evening to avoid shimmer and to get the best light.
Other Tips & Tricks
If you’d like to capture falling snow, you’ll need to do some shutter speed experimenting. Each storm behaves differently and snow from one shower may fall faster or slower than the last. Try multiple shutter speeds to capture the desired effect. Remember, faster shutter speeds freeze motion, capturing white dots while slower one’s blur motion, creating white streaks!


Avoid flash when it’s actively snowing, as falling snowflakes close to the lens will be illuminated, creating bright hot spots throughout your image. Even when the showers have stopped, additional lighting is often not needed as snow works as a natural reflector, bouncing light back up to fill shadows.
If using a tripod, gripping those cold aluminum legs can be a chilling experience. Winter gloves may also make securely gripping a tripod challenging. For that reason, tripod leg wraps can be used to more comfortably adjust and tote around your tripod. Many of these are padded so you can also more easily rest the legs on your shoulder while covering more ground.

This one comes from experience. When you’re raising your camera to your eye, avoid exhaling as you’ll fog up your viewfinder and rear LCD something fierce. This may not be the biggest headache to a landscape shooter, but a sports or wildlife shooter with a split second to capture THE shot will certainly end up frustrated.
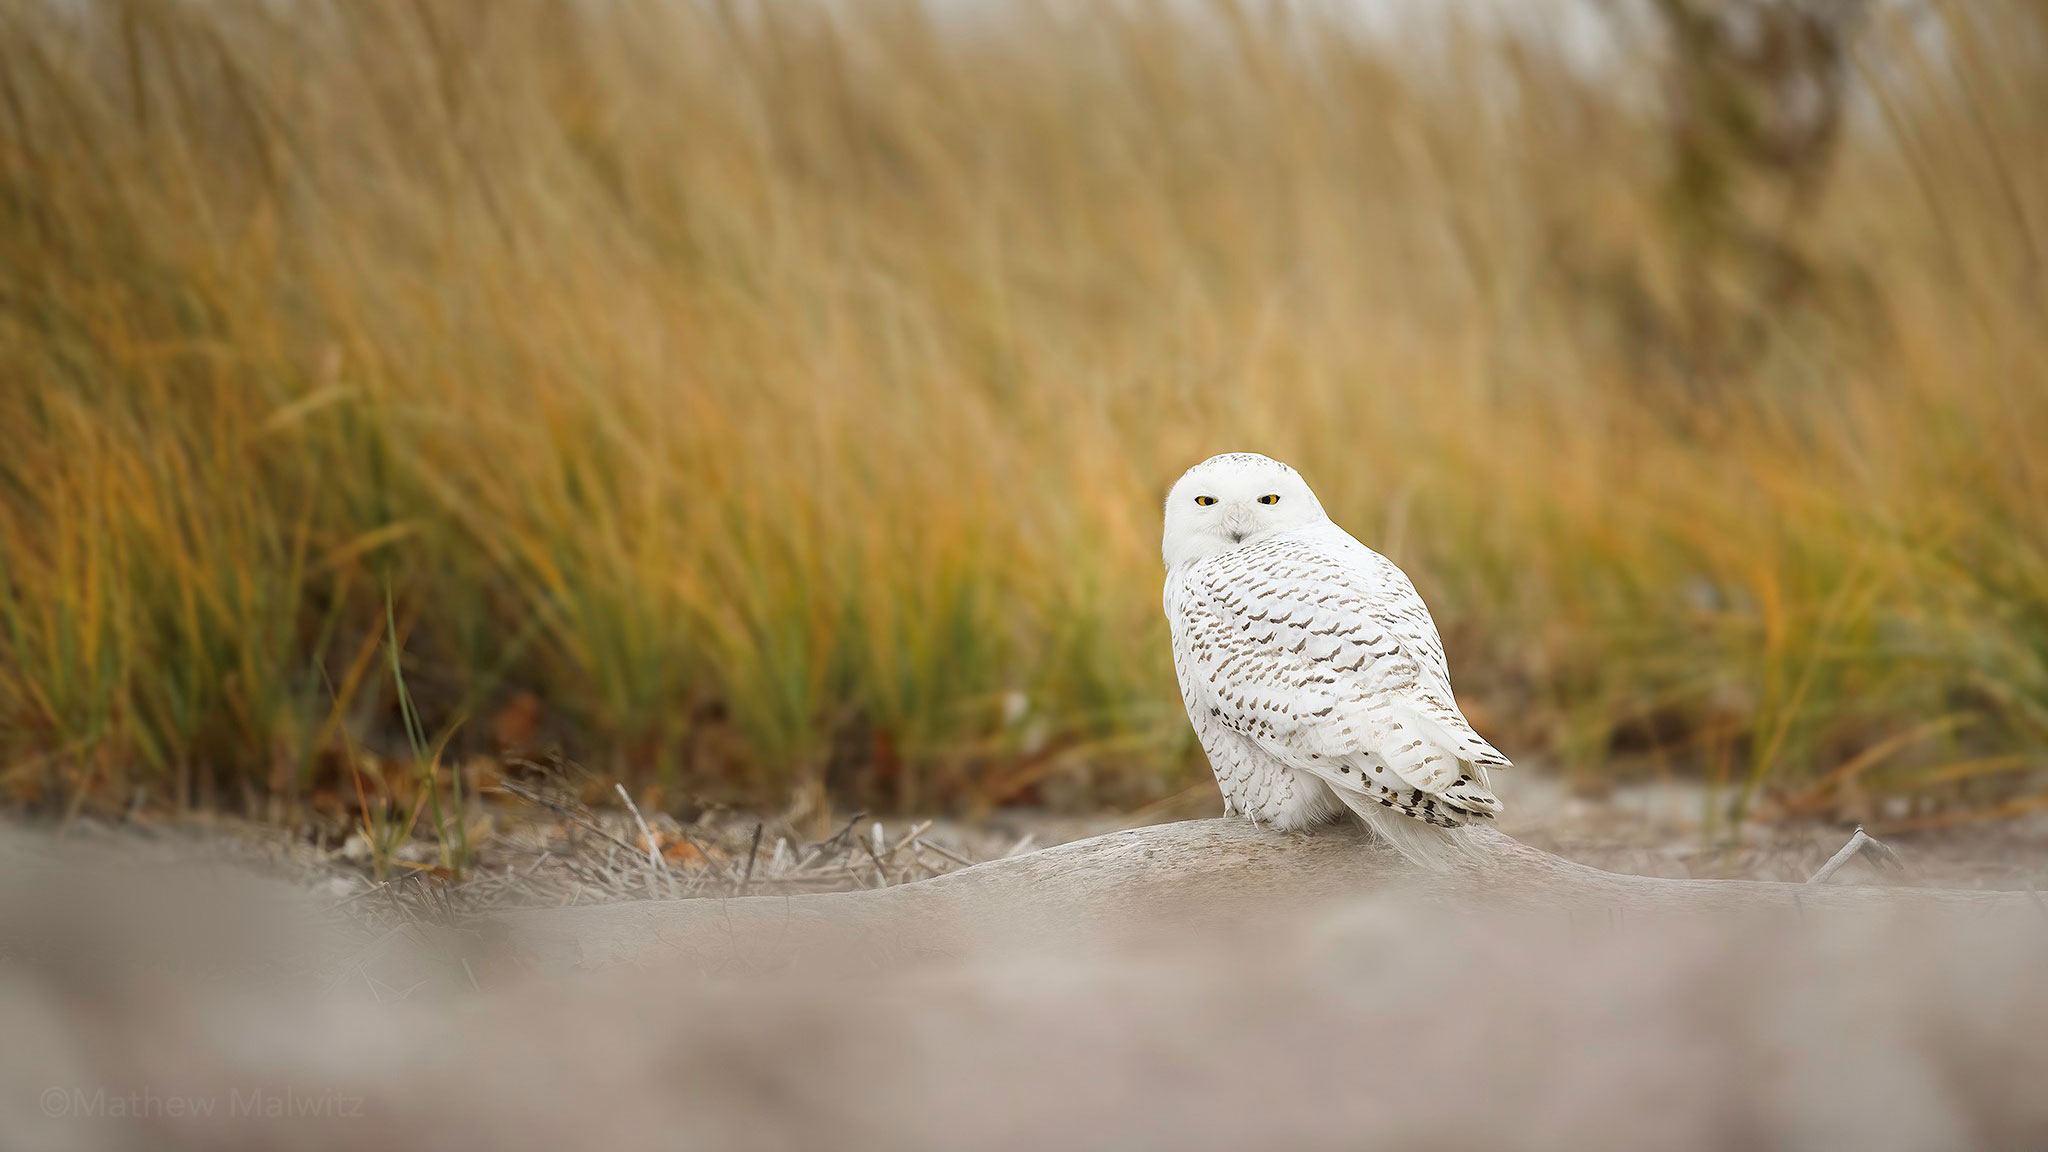
Speaking of wildlife, remember to keep a safe distance when photographing animals. Spooking an animal will create undue stress in a period where they’re already under the pressures of their environment. Use a telephoto lens where possible, and if you don’t have access to one, think outside the box and use the environment to your advantage. Watch your backgrounds and aim for a small-in-frame composition.
Warming Up
After a long shoot in the cold, there’s nothing sweeter than getting back to the cozy indoors. But wait! Before you head inside, you’ll want to get your gear ready for the sudden change in temperature just as you did before heading out. In this case, take any memory card or battery out of the camera before heading in and leave your gear sealed away in your camera bag for a few hours. This will allow the gear to slowly acclimate to room temperature and avoid the sudden buildup of condensation.
An alternative solution is to place your gear in a plastic bag. Condensation will form on the bag instead of the camera itself. Leave this for a few hours while you sit back, transfer your photos, and sip some tea, hot cocoa, or whatever warm beverage you like. Odds are we won’t be needing our camera gear anytime soon once we’re settled in for the day, so the technique is up to you.
Getting Out There
When the weather outside looks frightful, don’t hunker down, be sprightful. Wait for the roads to be cleared then get out and take some photos. With the tips above and a little practice, you’ll be well on your way to nailing shot after shot in some of the coldest, snowiest weather out there. You can even create stunning images right from your window!
Think creatively and think ahead. Even if conditions don’t look dangerous, be prepared and have the necessary gear to safely reach your destination and complete your photoshoot. For more tips and guides, check out the B&H Explora page!
