
Welcome to sunny Vermont? The sun was shining during our adventure north, though it did little to warm us up, with temperatures consistently hovering in the single digits. Hopefully, you are reading this along with a cup of hot tea or coffee so you can stay warm yourself as you enjoy some tips on action sports photography and working in snowy conditions.

Our destination was Killington Mountain, in Rutland, Vermont. This was chosen at the recommendation of Jake Estes, one of our in-house Vermont experts, whom you may recognize from the B&H YouTube Channel. Our other winter sports pros were Bjorn Petersen, who assured us he had spent many days on his snowboard growing up in Colorado, and Juliana Broste, aka Traveling Jules, who helped us put together a review of the Olympus OM-D E-M1X. With this pair to guide us, we set out hoping to survive a ride up a ski lift and get some killer shots while we did it.
It’s Winter Adventure Week this time, so it only makes sense that our sports have a chilly theme. Admittedly, many of the same techniques for shooting winter sports apply to your run-of-the-mill sports. The big difference is thicker clothing. So, don’t turn away just because you’d rather be photographing football—there is information for all types and levels of sports photographers.

Getting on Skis for the First Time
This was my first time getting on skis. I know, super-risky move. But how else was I supposed to navigate a mountain? It also leads me to my first tip for shooting: knowing the sport. In college, I shot a lot of basketball, baseball, and soccer, each being a sport I knew well. I was even a referee for intramural, meaning I had a good understanding of various rules, as well as a lot of time watching games in person. This knowledge base helps you capture the best possible shots because, for fast-moving athletes, you need to be able to predict what is going to happen next to make sure you trip the shutter at the right time.
If you watch football with your friends and must ask what happened after nearly every play, you’ll likely find your trigger finger is equally slow when you are out on the field. This is the reason Bobby Sansivero, from the B&H video team, and I spent the first morning getting used to the variety of equipment we would be using. It did not go as well as hoped, and Bobby is still limping around the office. Still, the practice helped when it came to shooting later.
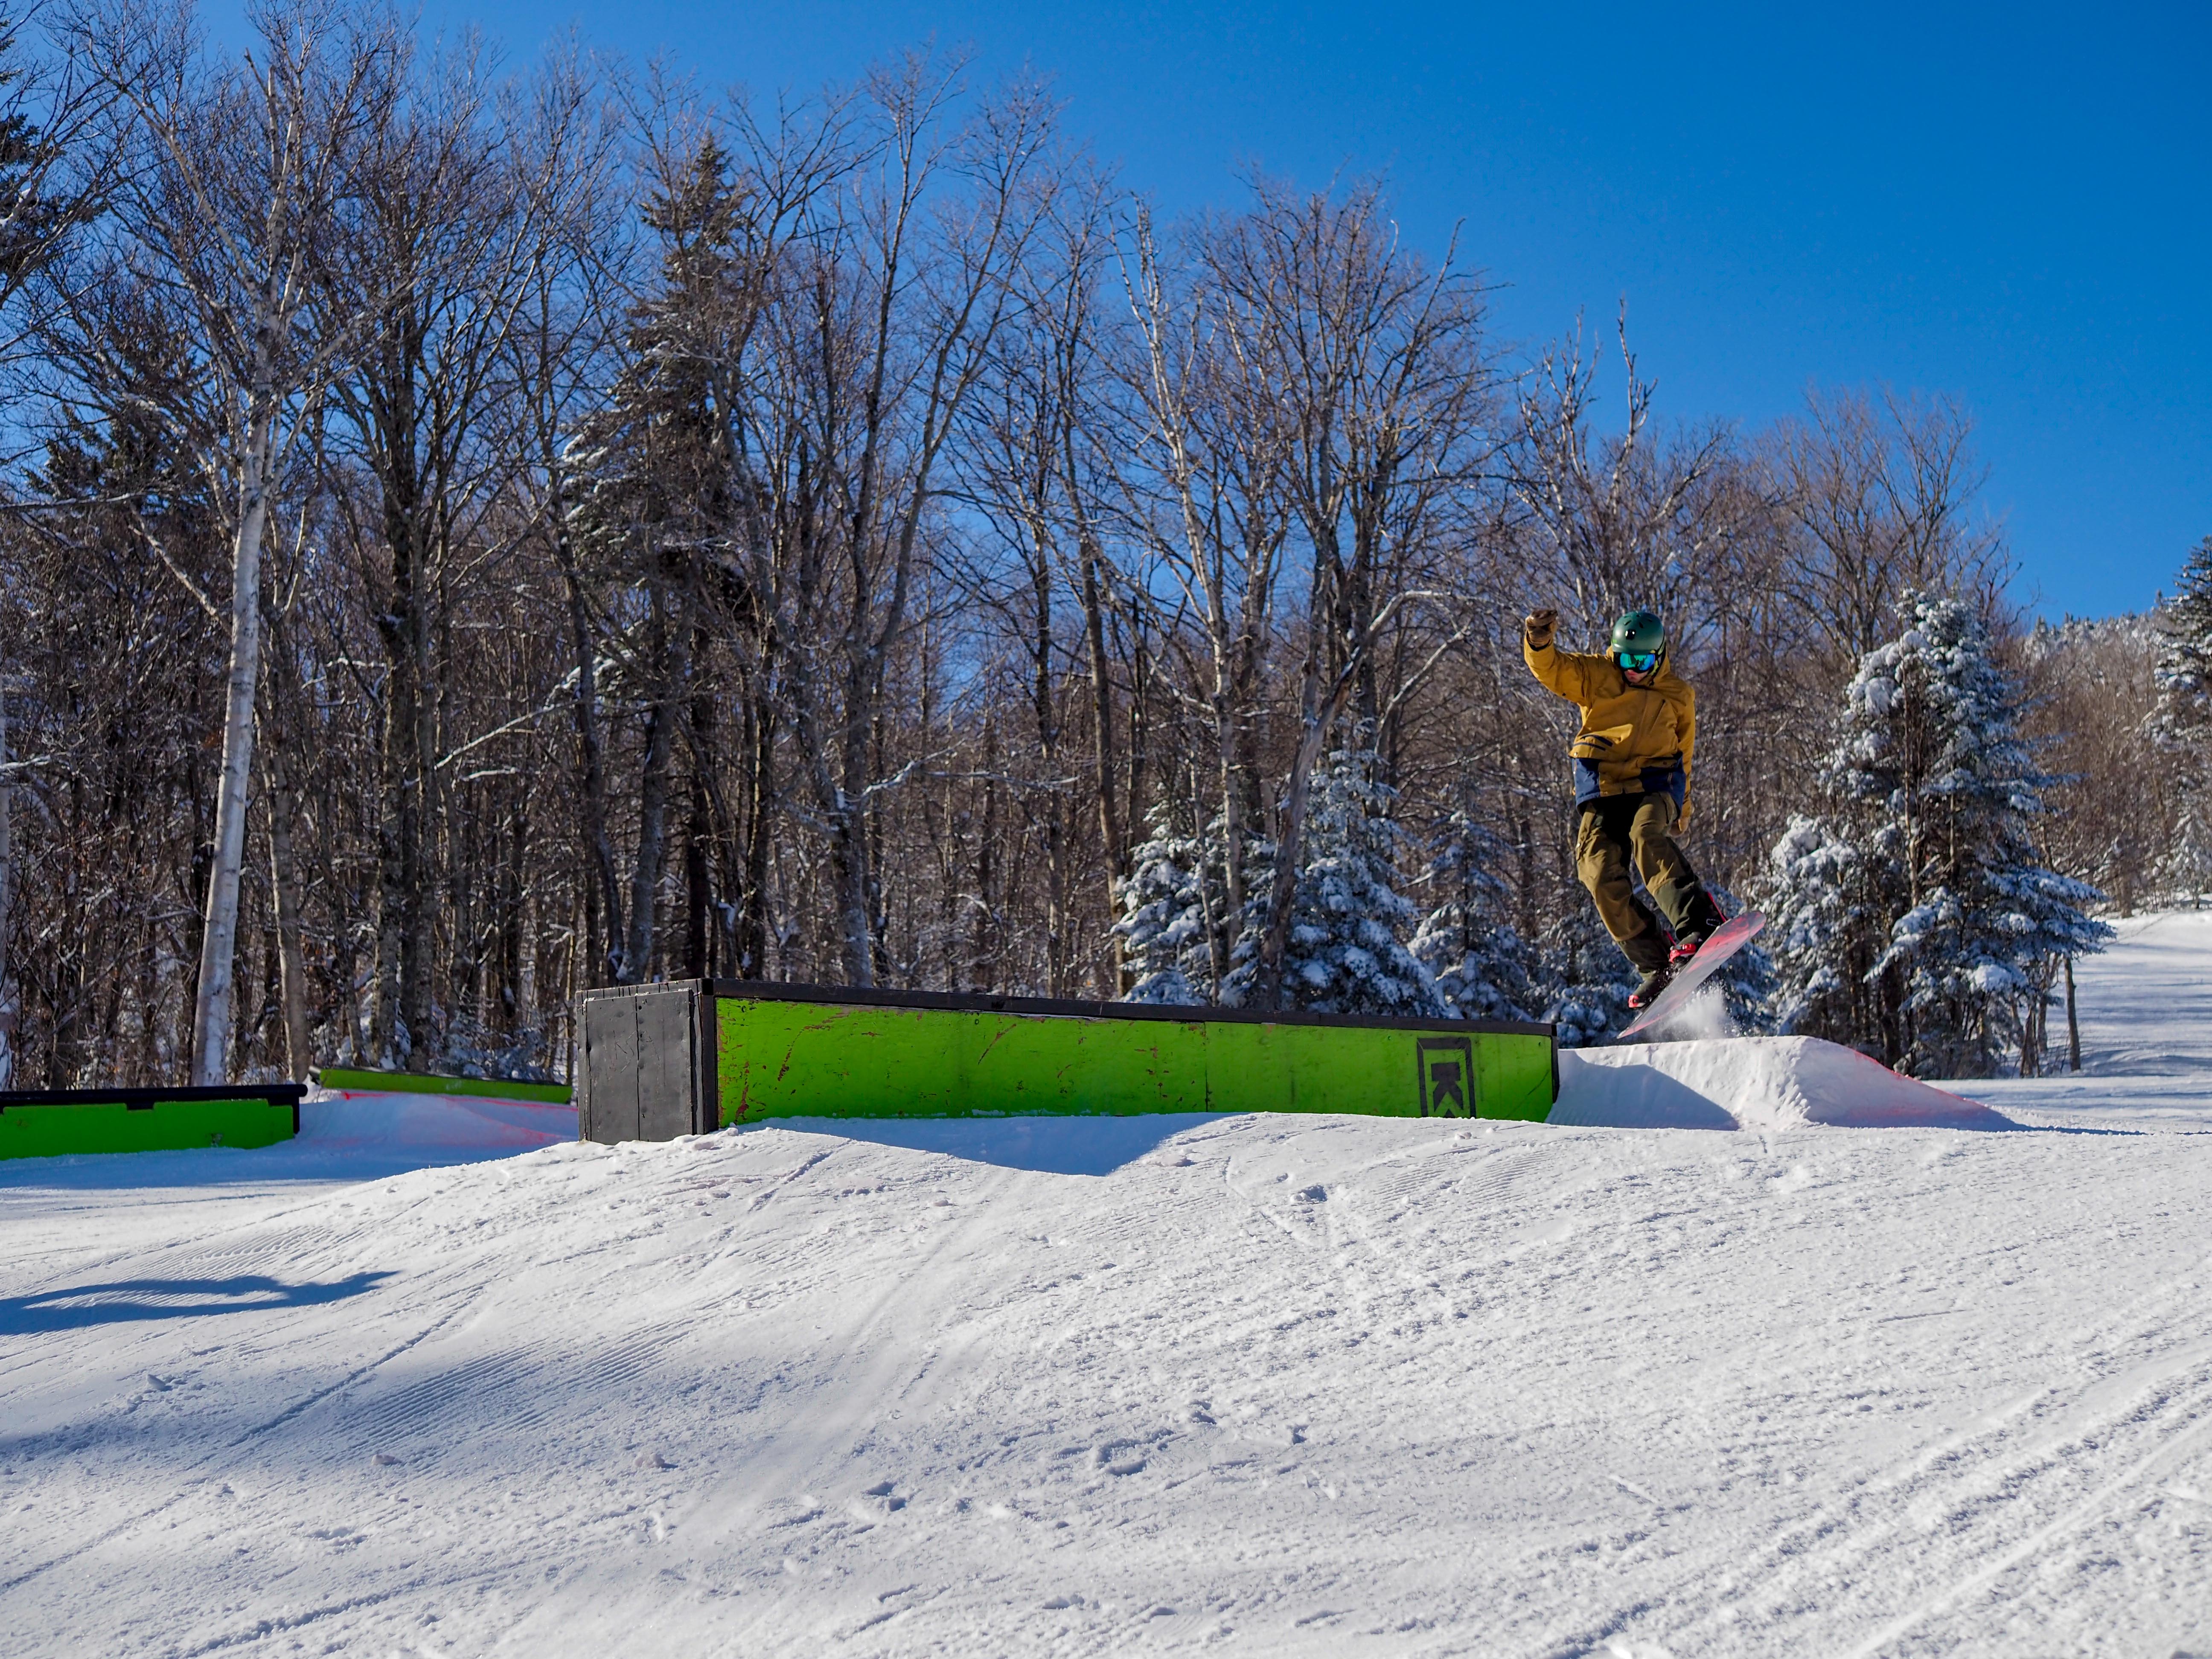
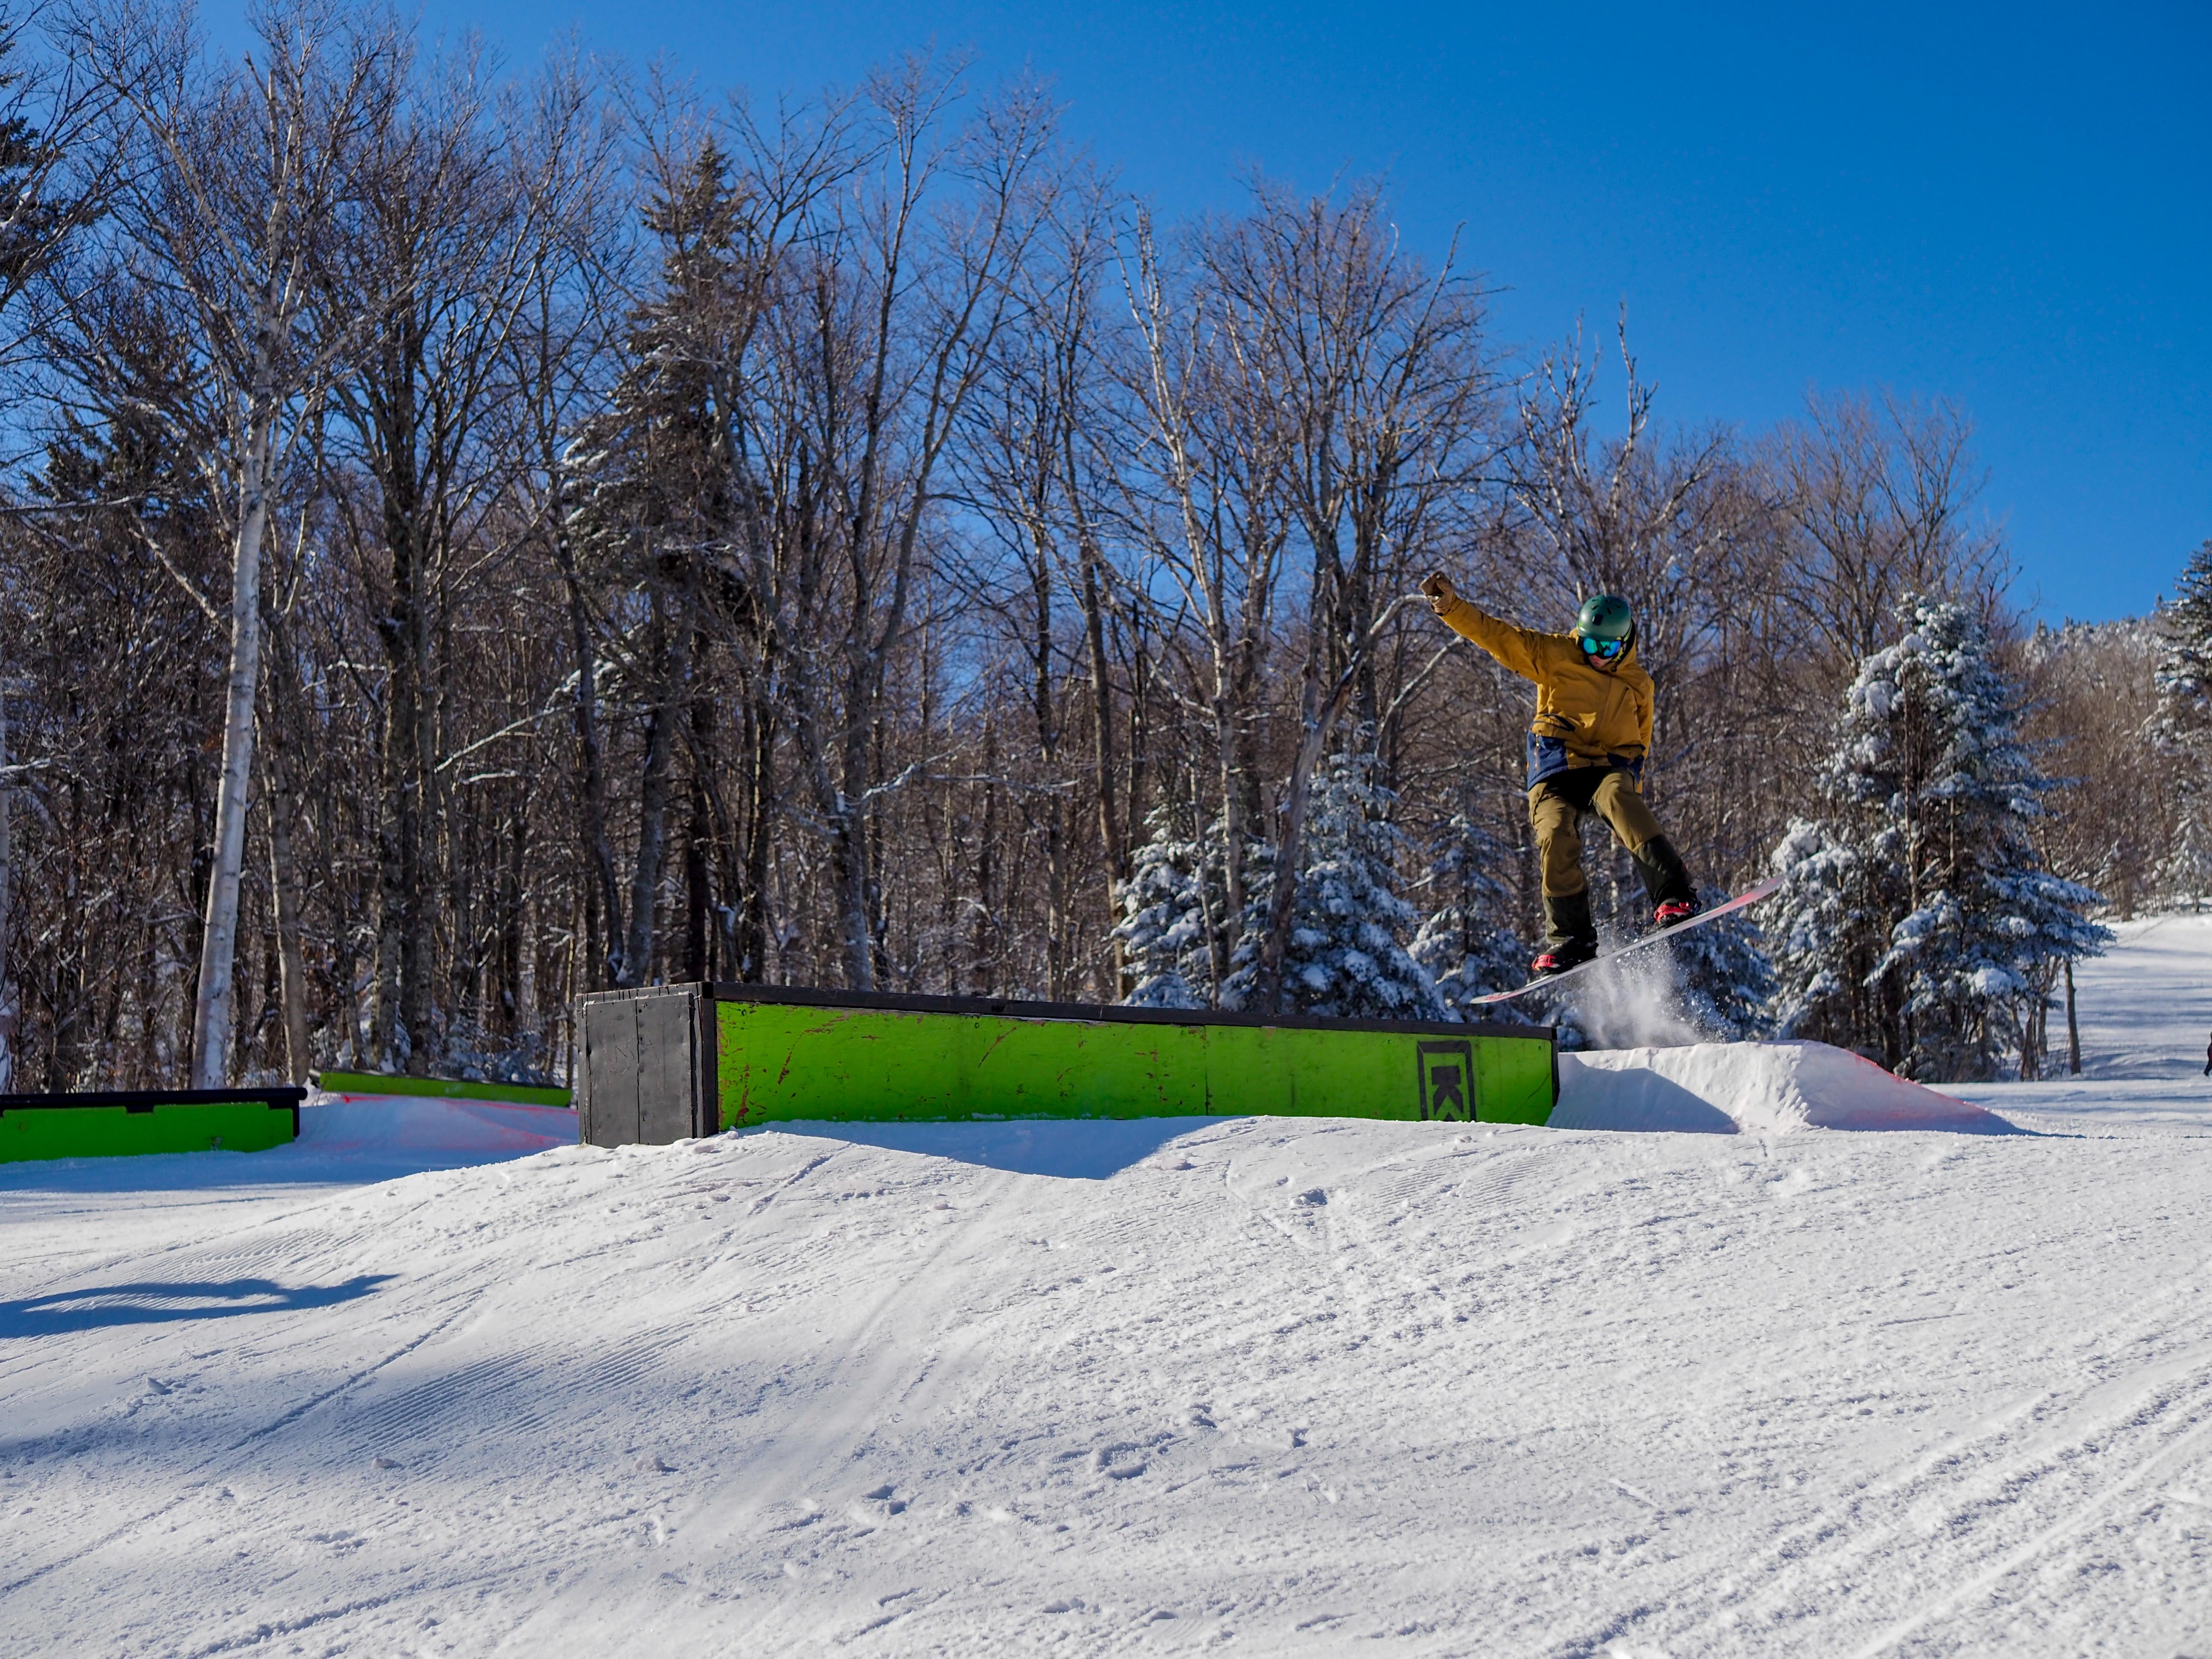
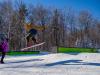
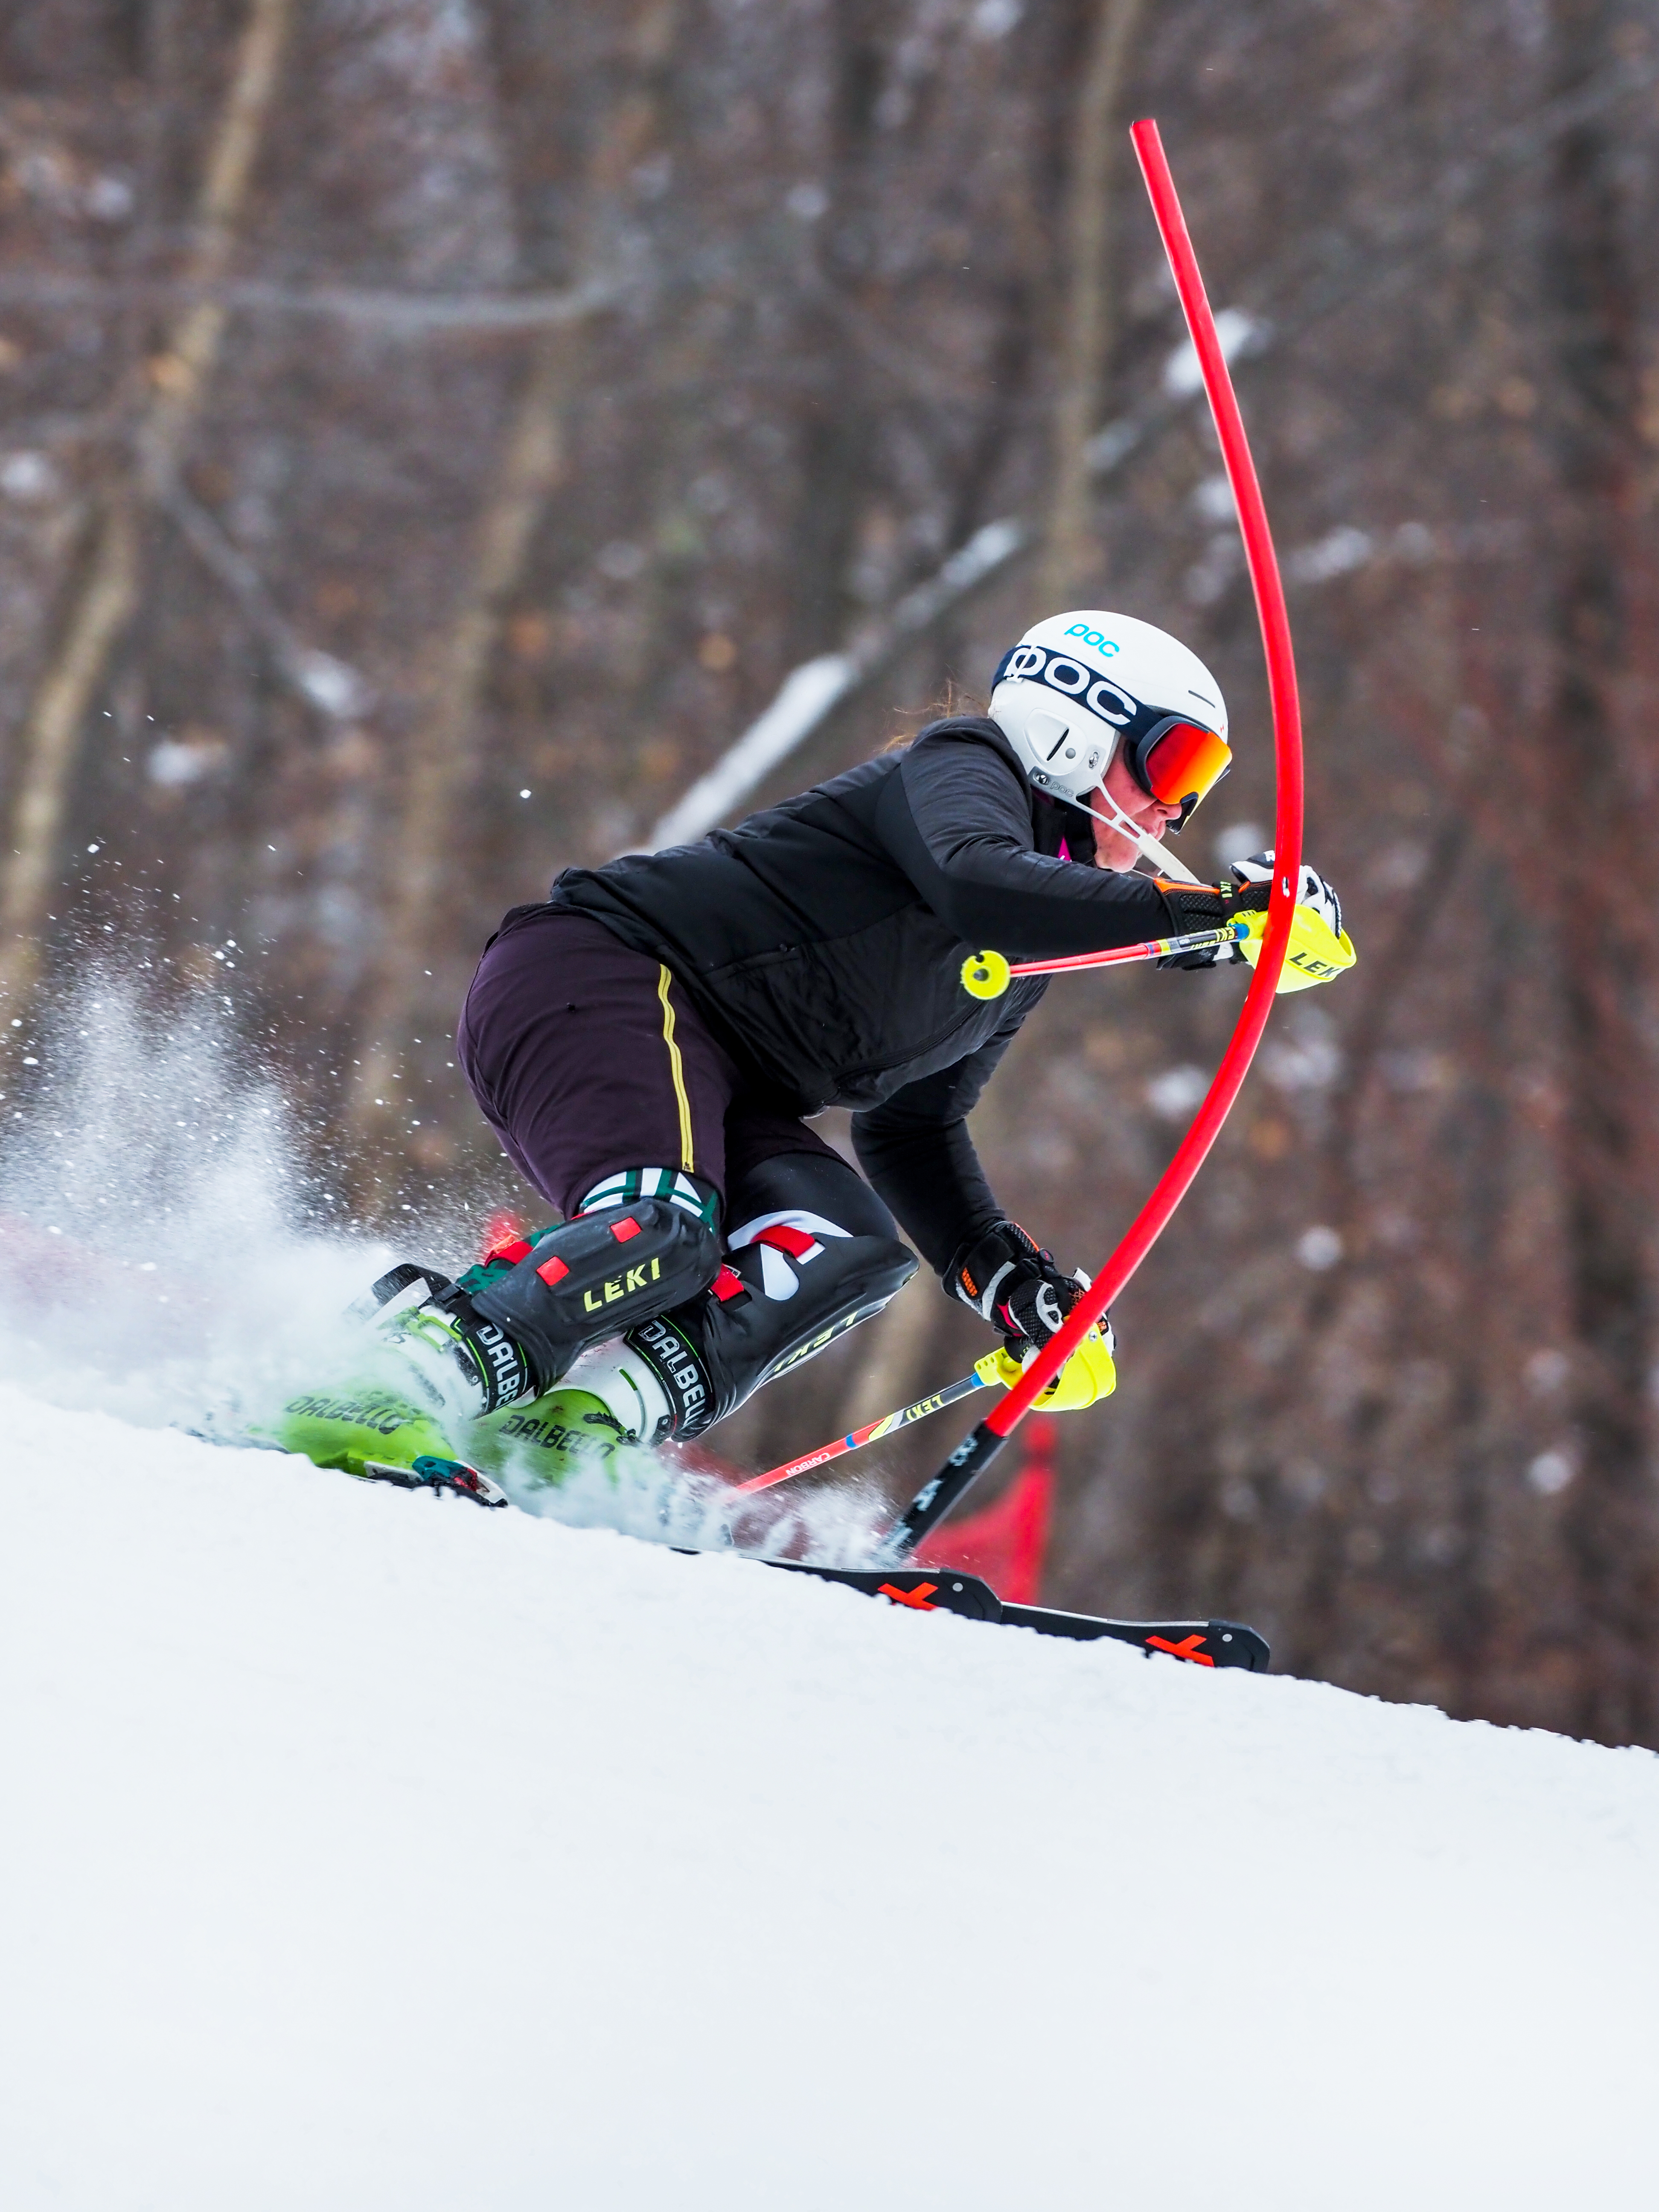
Relying on my limited experience, time spent watching the Winter Games every four years, and my co-workers, I was able to capture some nice photos of skiers and snowboarders. Part of that was because of my experience shooting action in the past, and a fast camera setup.
Your Camera Needs to Be Your Best Friend
Athletes are just too damn fast. I don’t know about you, but I don’t want to be tracking focus manually. Modern autofocus systems are quite outstanding, and make it so that we almost don’t have to worry about it. Almost. Professional-focused systems are incredibly complex, with multiple settings to coordinate. Sensitivity, tracking modes, AF point grouping, and joystick and touchpad functions are just a small number of potential options. There are even eye-detection settings that work on animals!
The only way to understand all these settings and how they work is to spend a lot of time working with them. You need to know your camera, as well as your actual best friend. Taking a hundred shots a second won’t help if none of them are in focus. Also, you probably don’t need to shoot 100 frames per second. Choosing a more reasonable shooting speed can prevent you from filling up your buffer constantly, and save you time in the edit.
Assuming a 1-5 selection, standard use likely dictates a default of 3 for your AF sensitivity and speed. Sensitivity is a critical setting because it determines how “sticky” your focus will be. Too low of a setting and it may not keep up with a new subject. Too high and it might switch too quickly to something other than your desired target. Generally, you will want something faster than your normal, so go with 4-5, depending on how fast the subject is moving. Skiing and snowboarding, we were able to get by with 4, but if I had been shooting motorsports, I would have certainly bumped that up to 5.


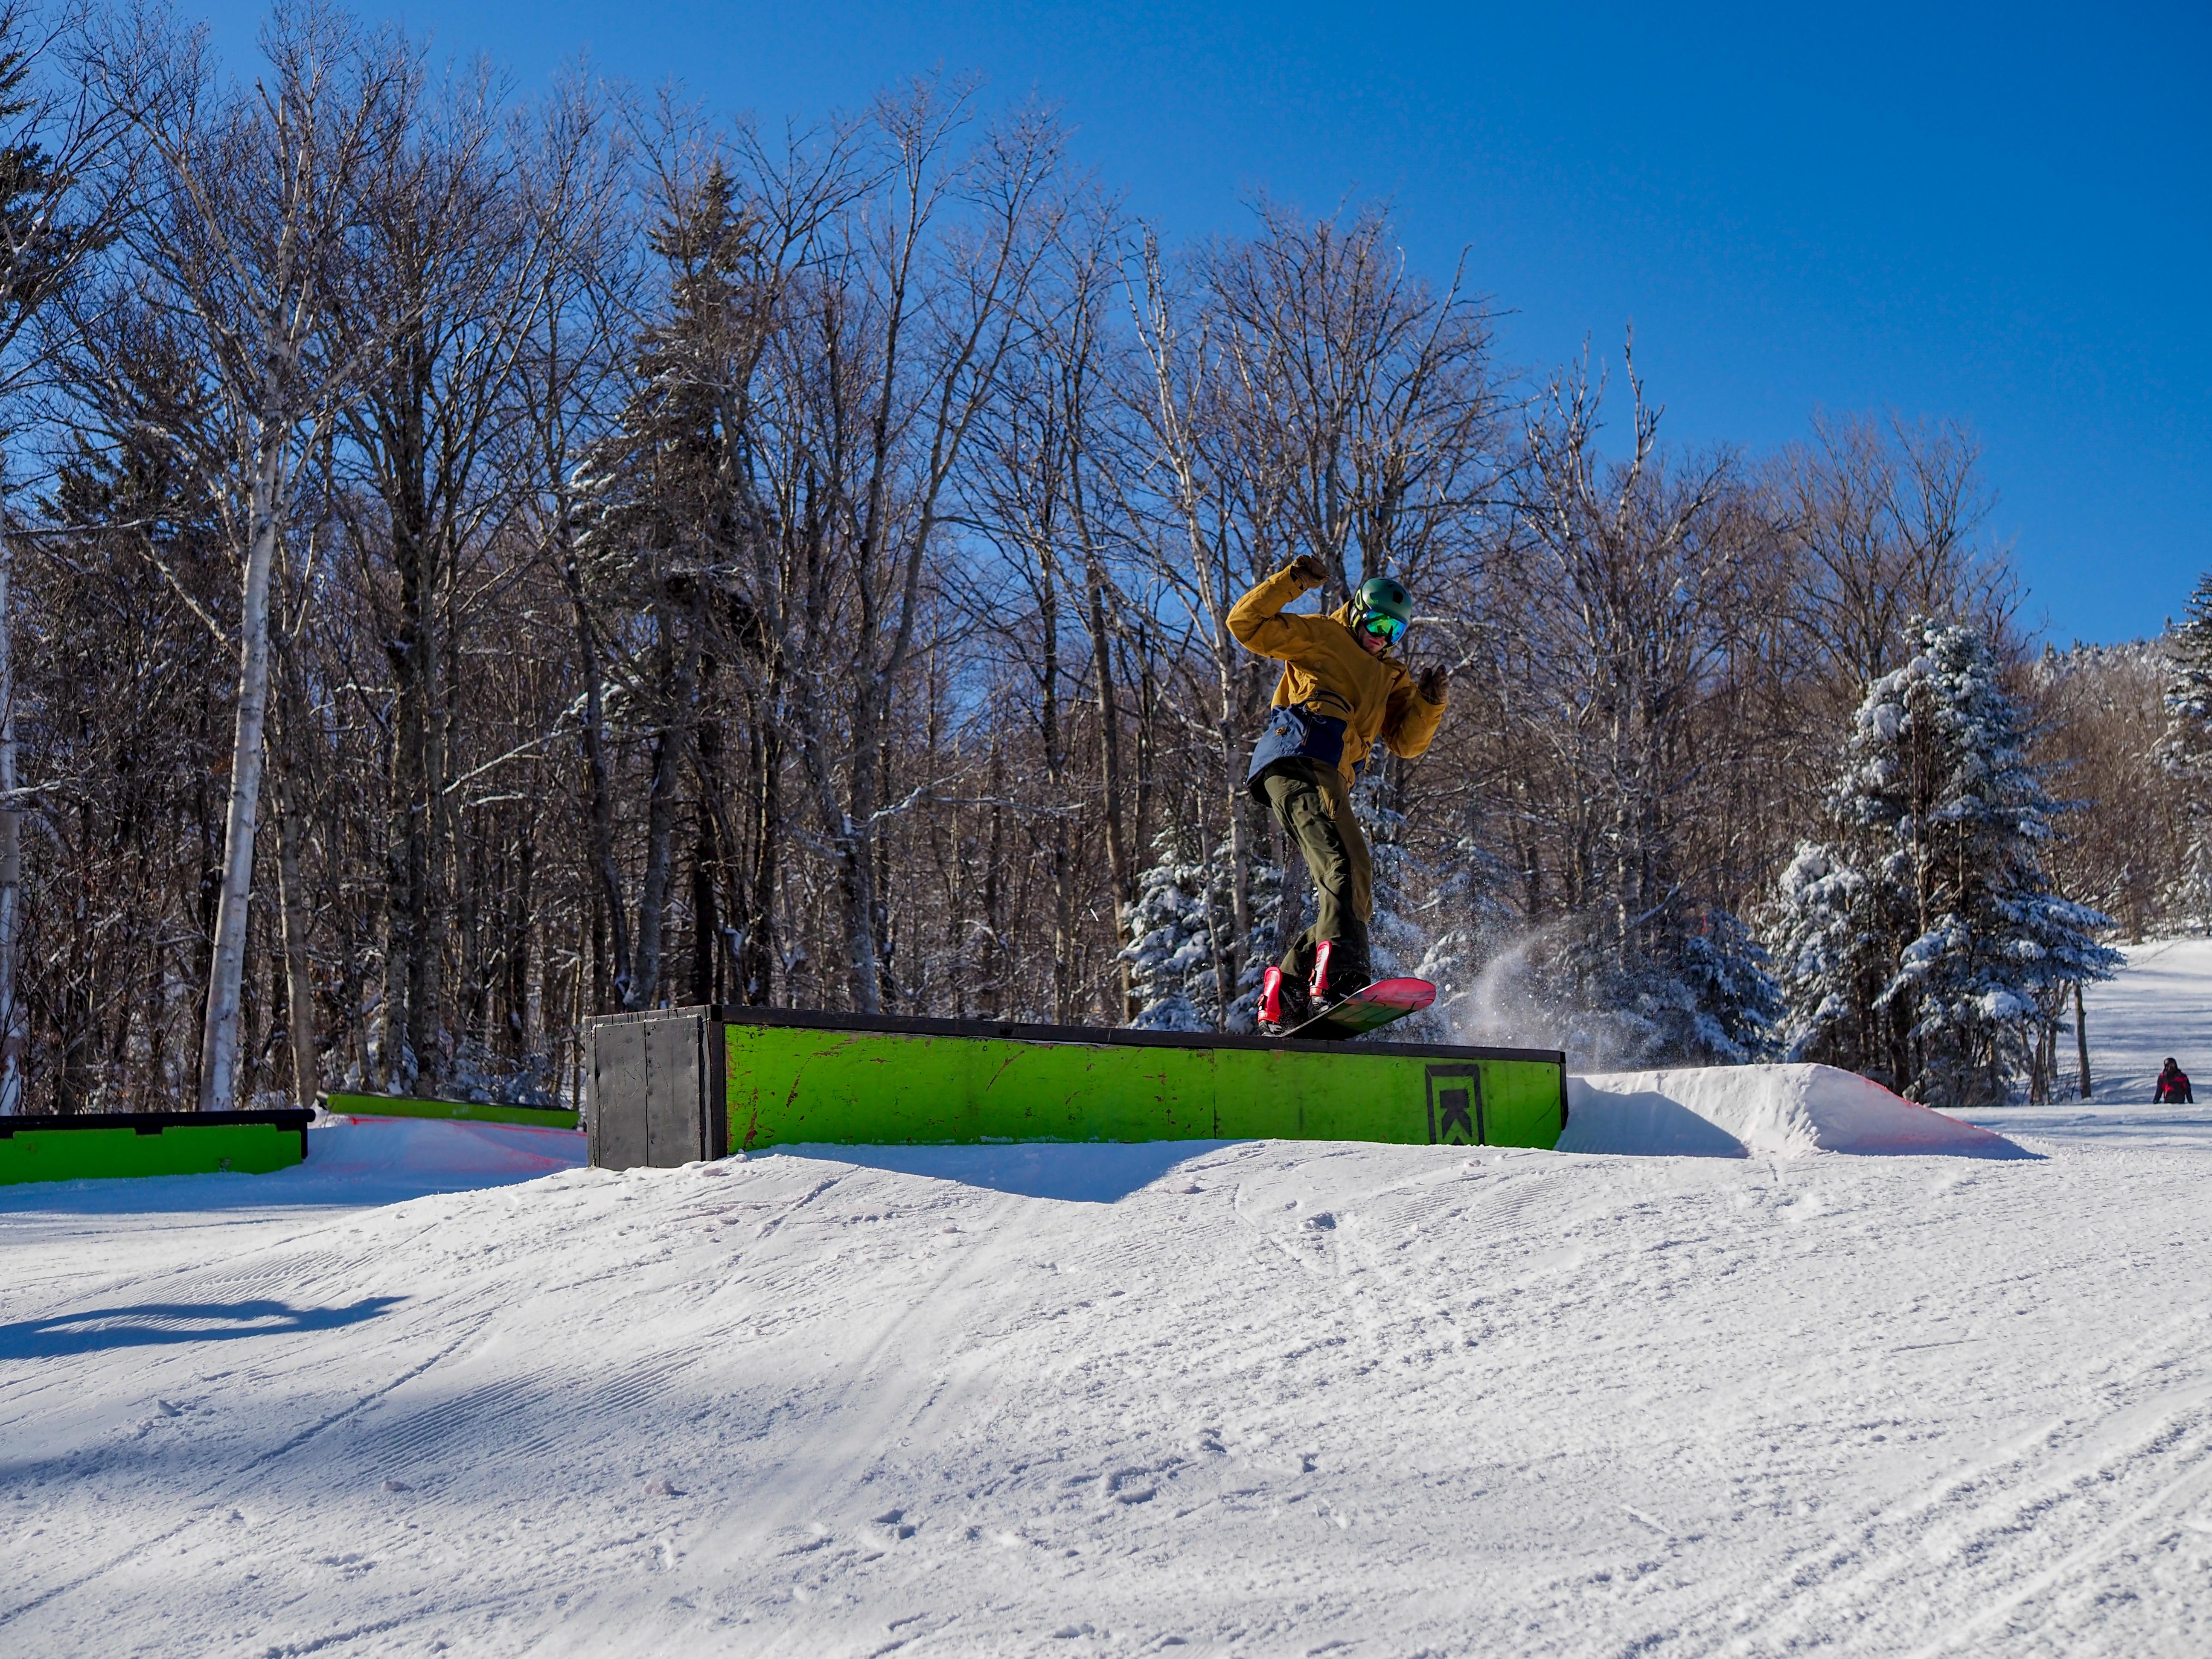


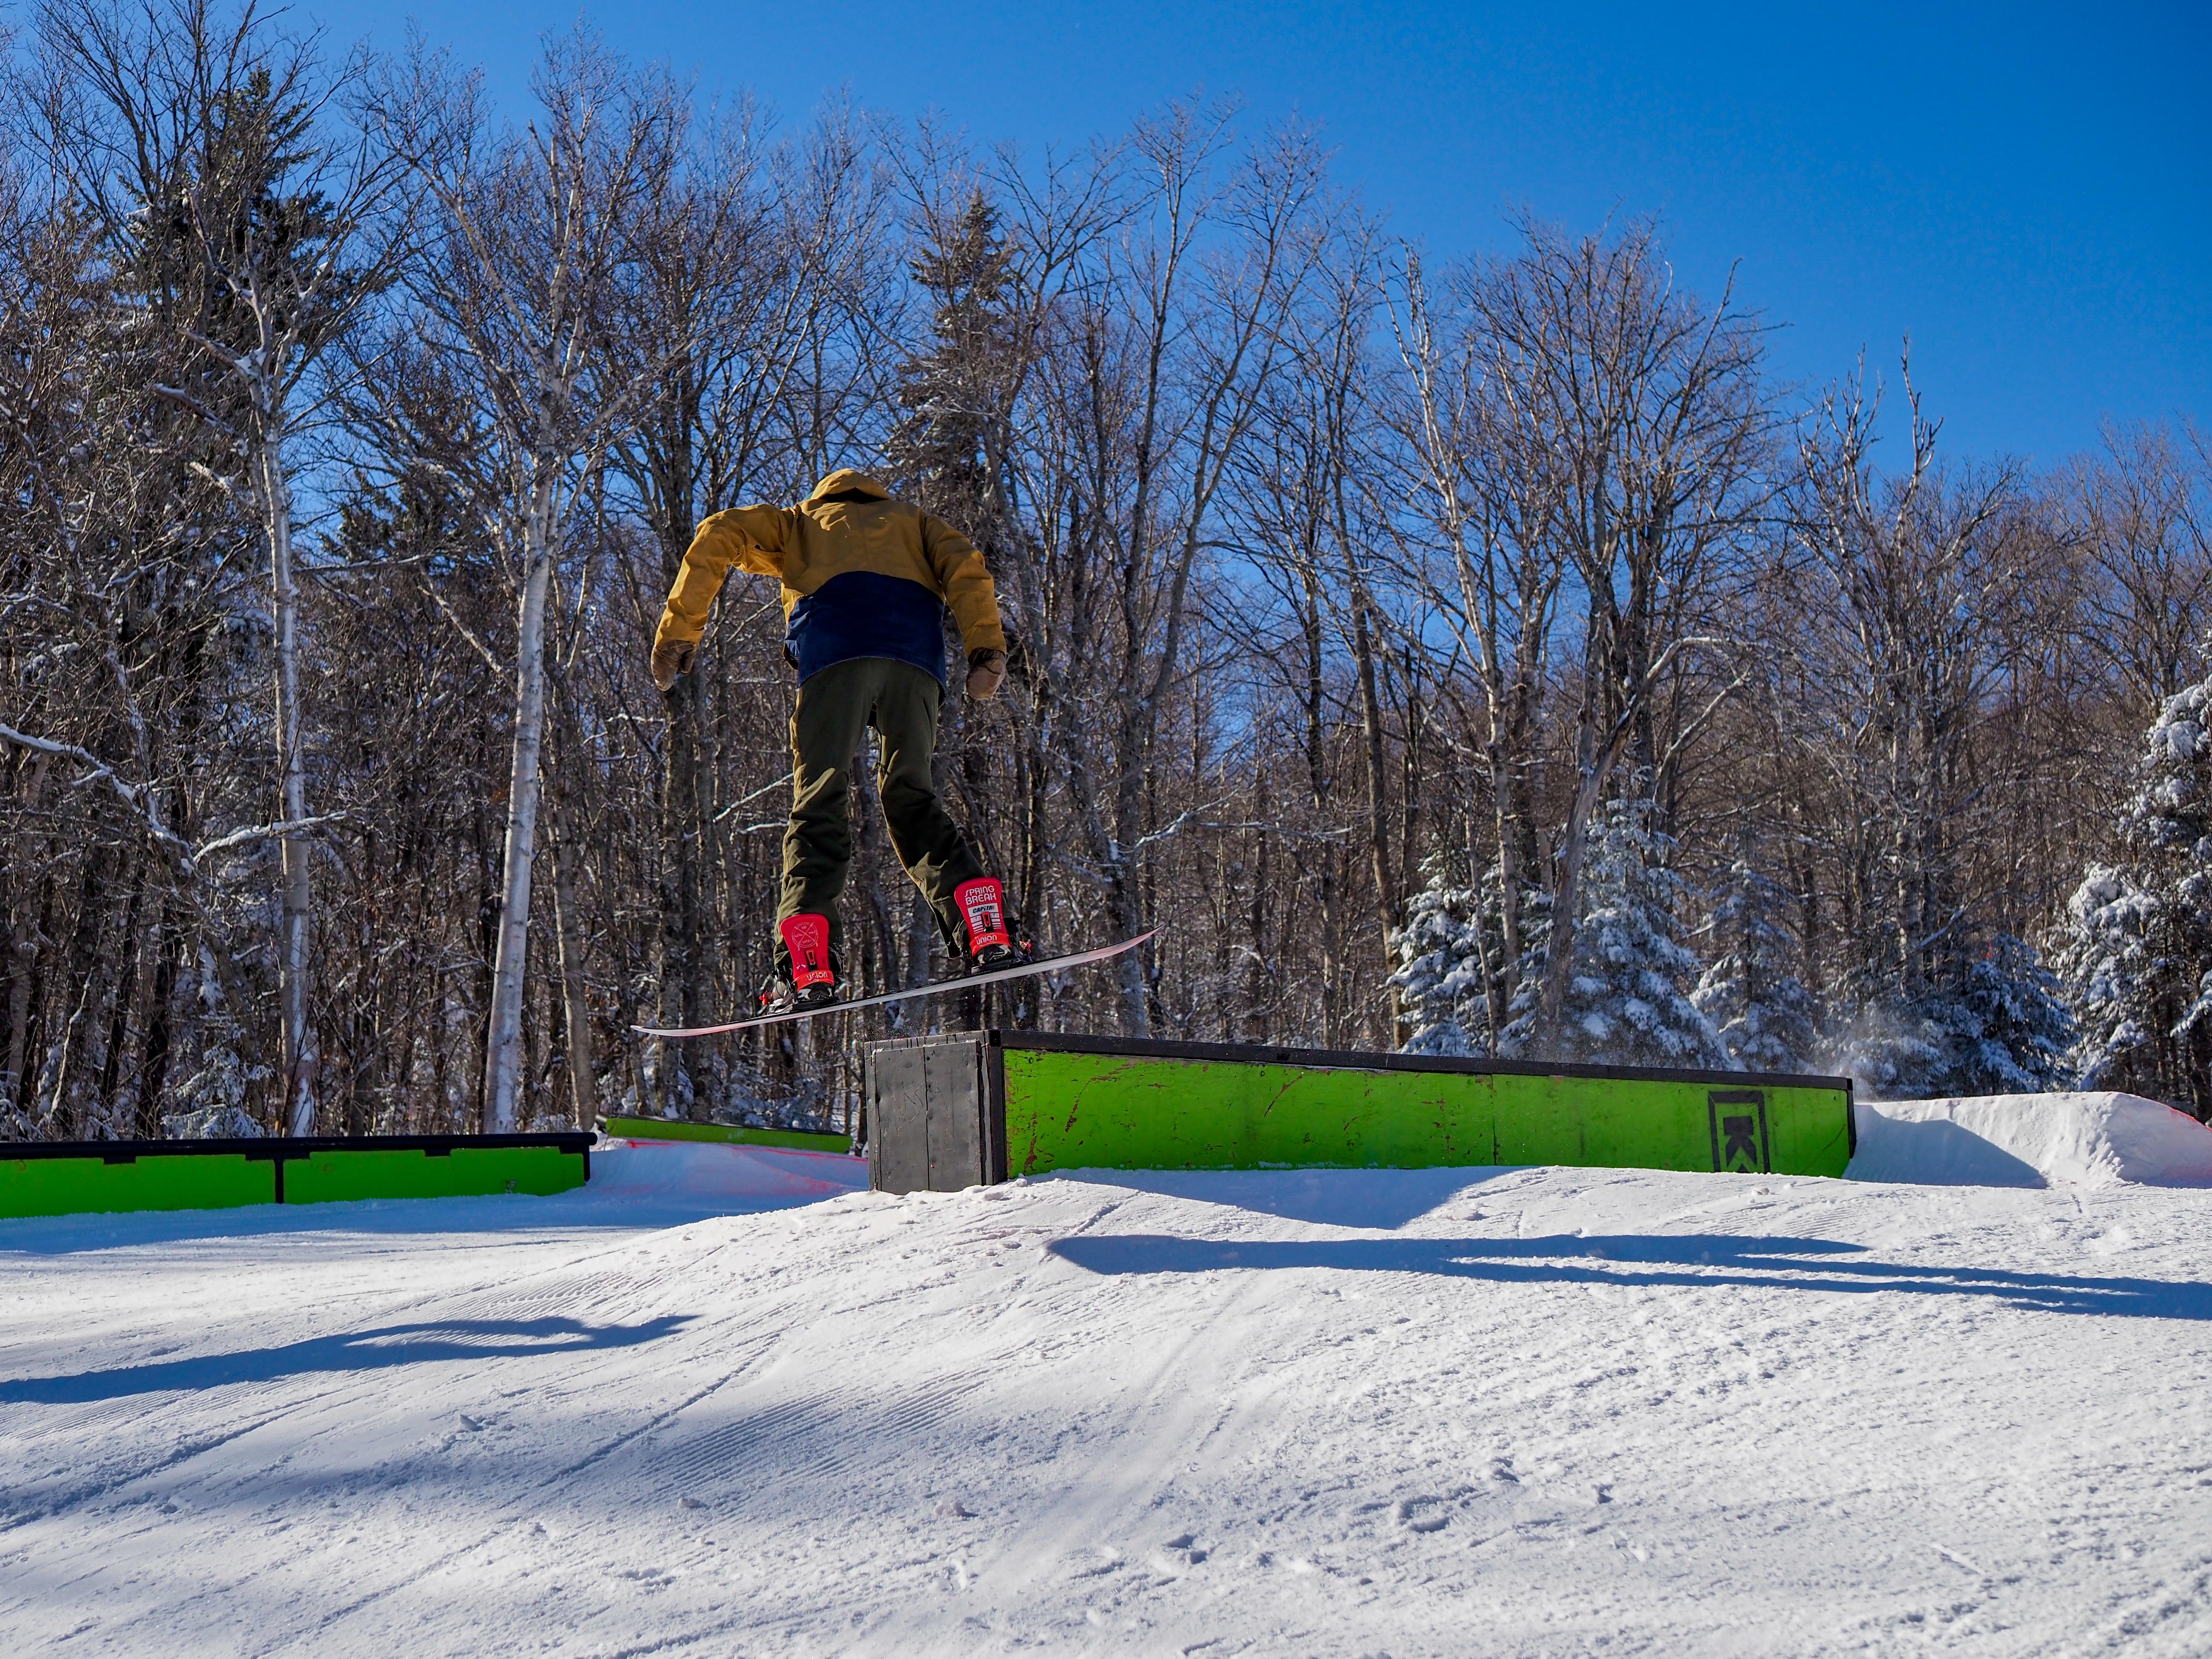


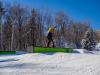
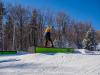

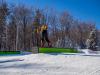
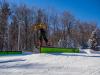

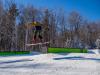

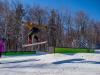
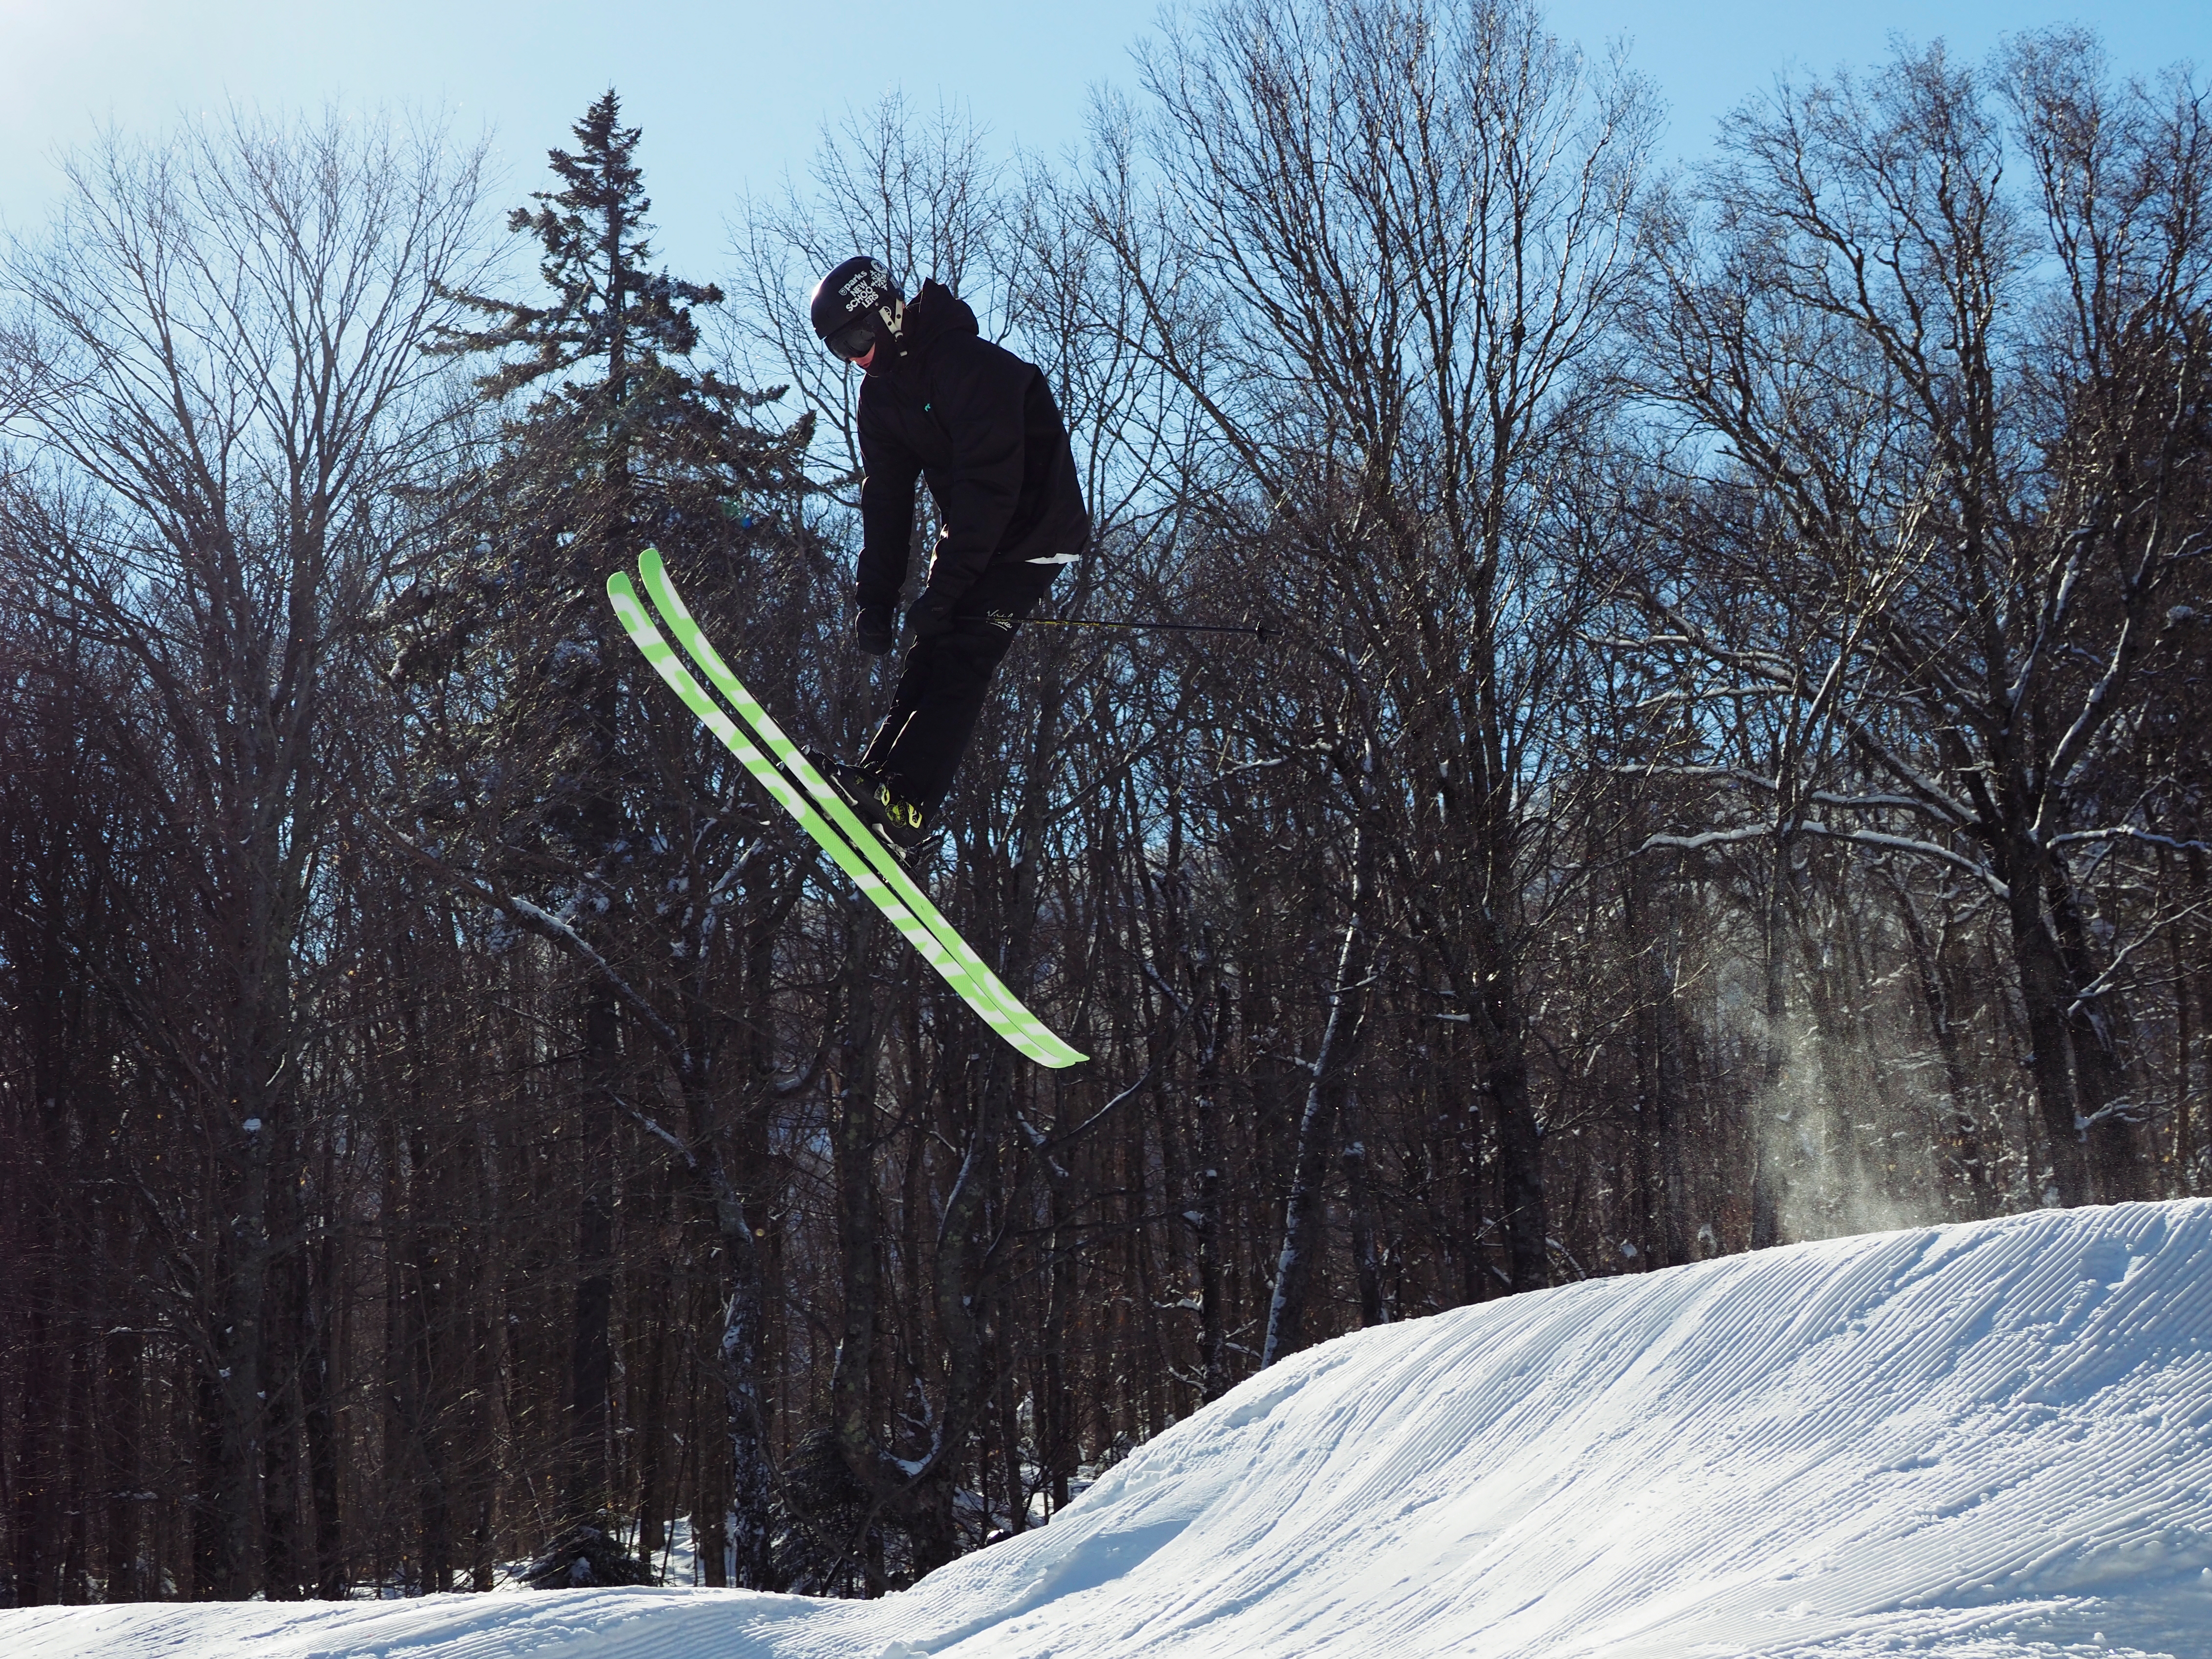
Deciding your shooting rate should be easy. For almost everything, you shouldn’t need more than 10 fps. More than 10 is nice for certain things—we used it for capturing jumps/tricks—but for people playing sports who aren’t moving extraordinarily fast, it’s more important to time your shutter press. If you go all the way, you’ll just end up filling your cards faster, even if shooting that fast is really cool.
Once everything is set up, you must trust that when you are taking photos, the camera is keeping everything in focus. You can chimp a little when you are out there to double-check, but the last thing you want to be doing is manipulating your major camera settings on location and hoping for the best.

Be Patient and Always Be Ready
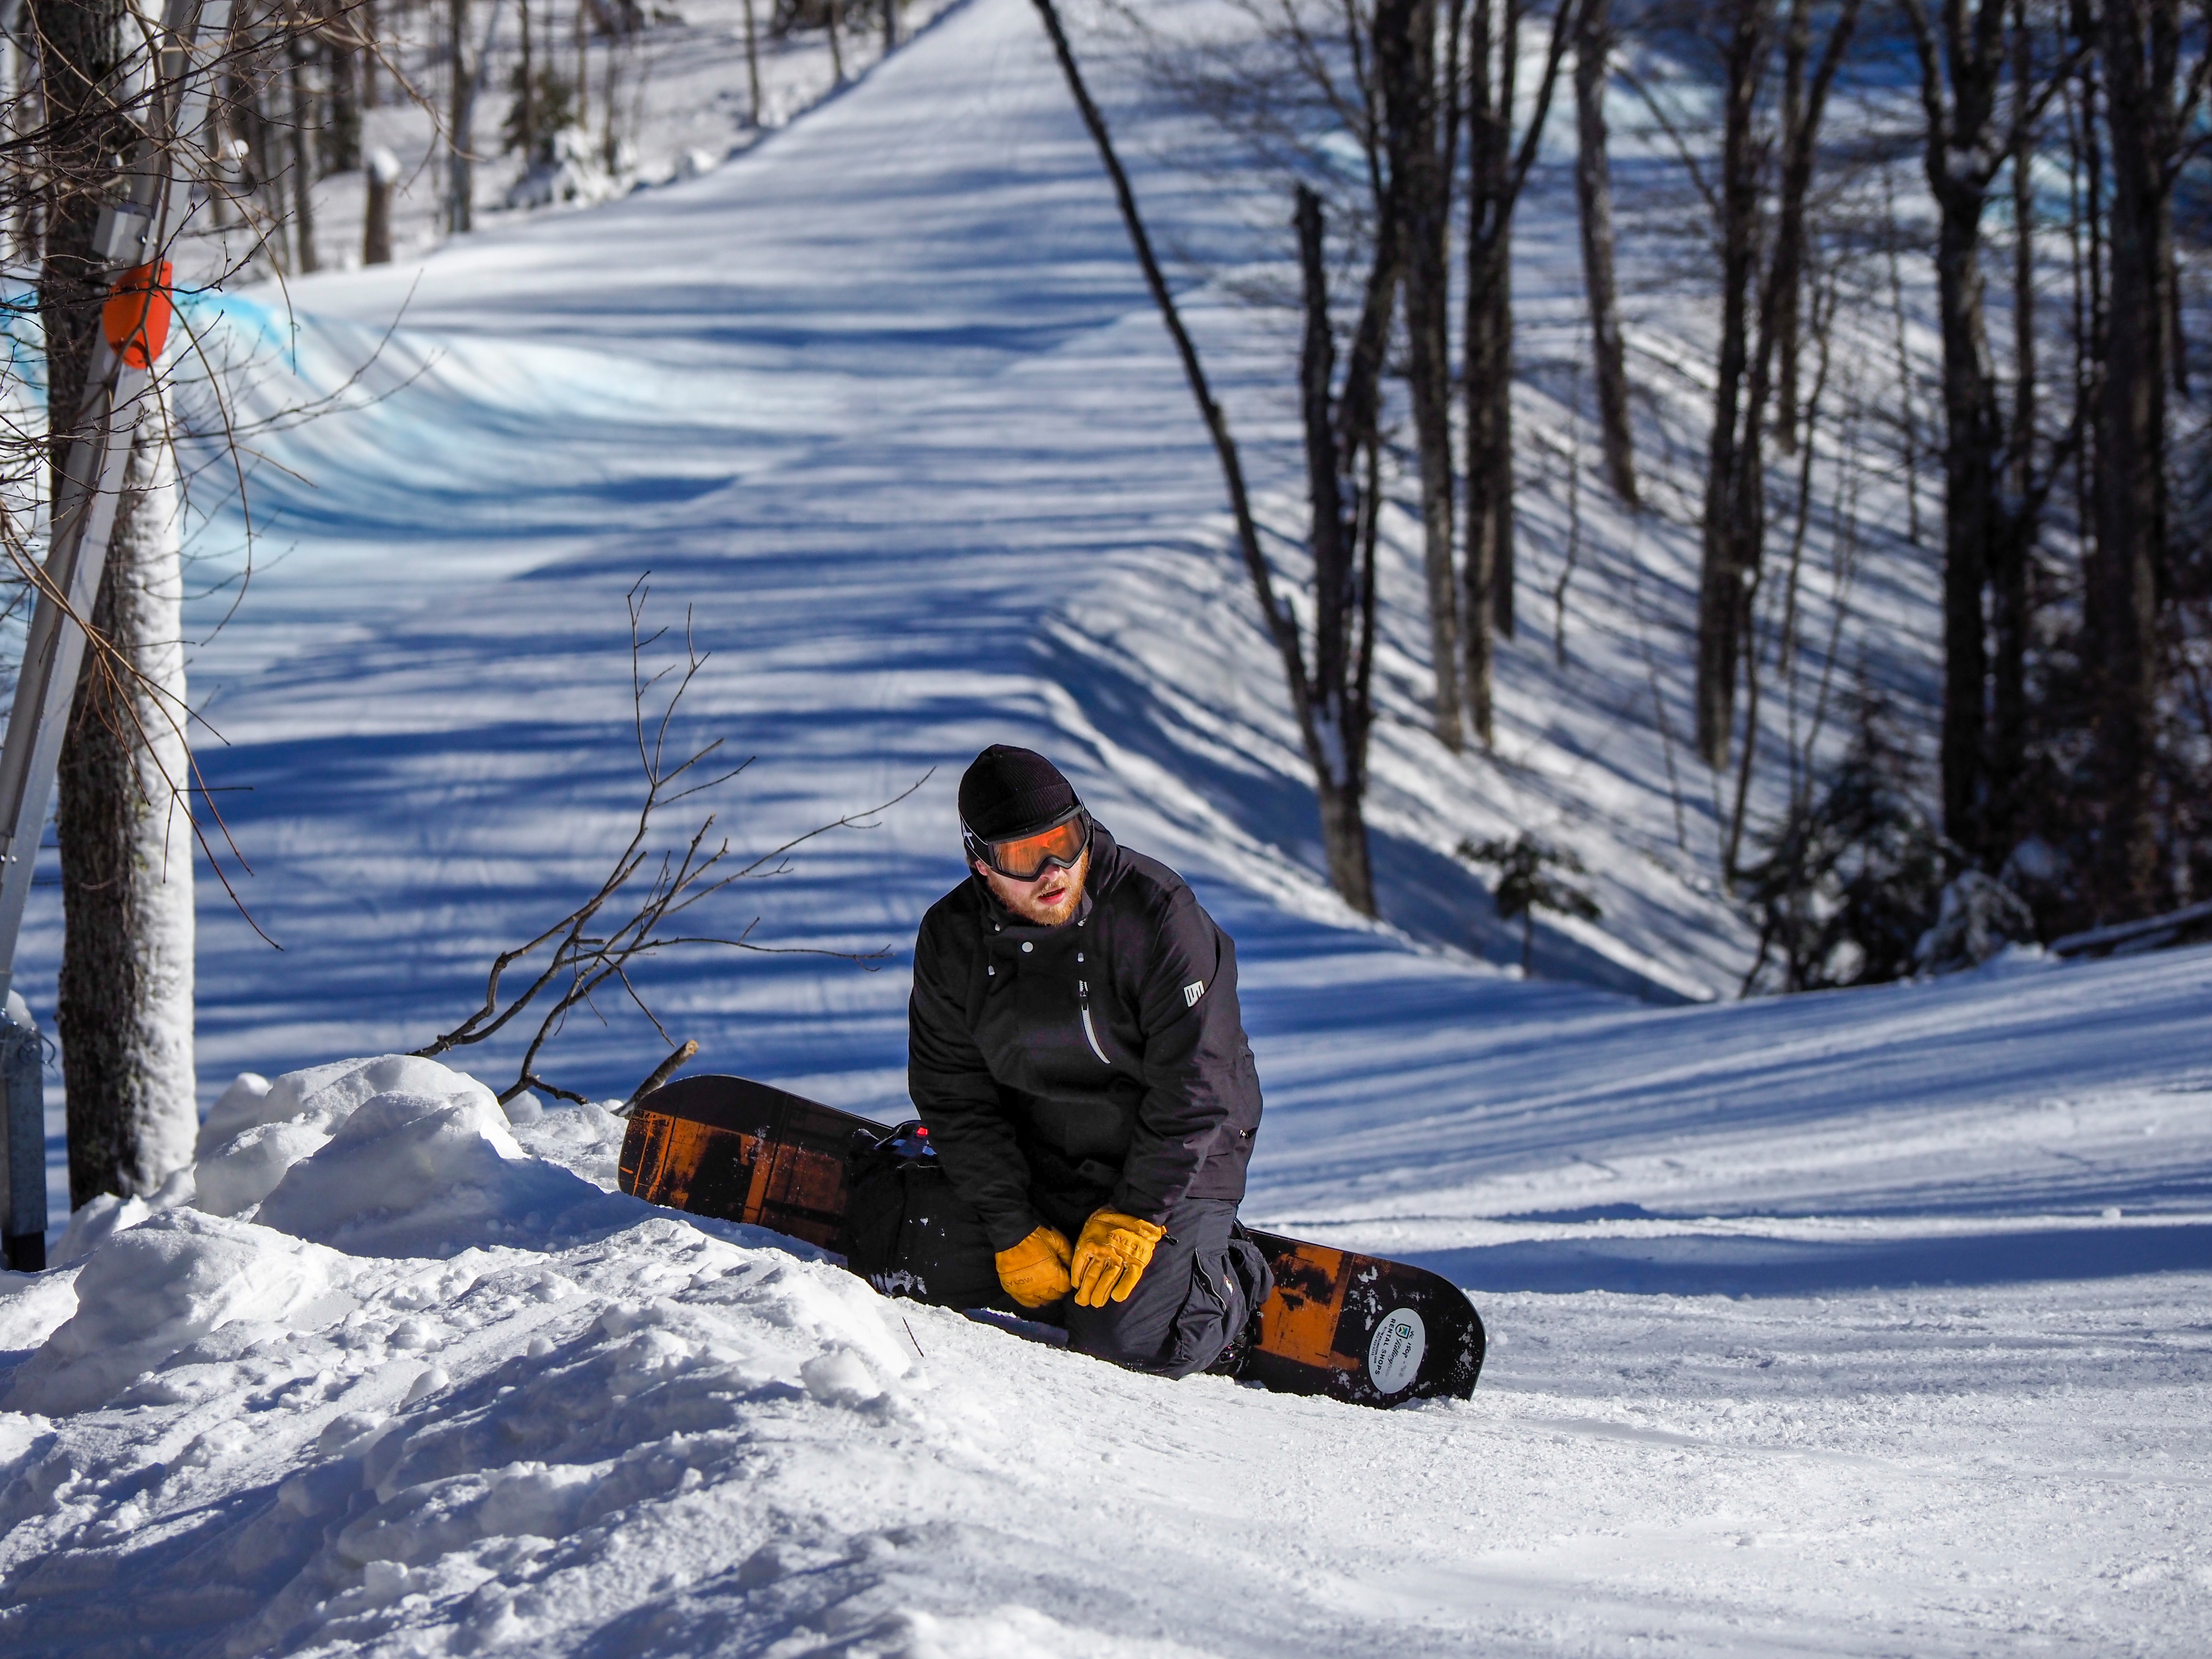
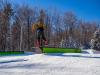
Ironically, to capture a stunning sports photo, you will likely spend a lot of time waiting. Less surprising, it gets cold waiting on a mountain. This is two lessons in one, that you must be patient and be prepared for the conditions. Never head outside to shoot without checking a weather report first.
Many photographers may opt to stay inside once the thermometer drops below a certain temperature or if rain is forecast. Athletes may not share that same mindset. Football and soccer are games that play, rain or shine. Skiing and snowboarding is a sport that lives in the snow. It’s likely if you take a liking to action sports photography, you will be getting a little dirty. Be prepared to handle the conditions.
In Vermont, that meant thick jackets, snow pants, boots, and a couple of pairs of gloves (heavy-duty gloves for skiing and thinner, touch-sensitive gloves for handling the camera). If you aren’t keeping warm and comfortable, that will affect your shooting abilities and desire to stay out longer. Due to the nature of working on a mountain, we posted up and had to wait for a while to get a few groups of skiers and snowboarders to go by, and not every one of them was trying tricks.
Zoom Lenses FTW
Primes are my usual choice for shooting, but with action I quickly opt for a zoom. Keep in mind that this doesn’t recommend zooms over purpose-built super-tele primes, such as a 400mm f/2.8. Those of us who can’t afford to sell a car or kidney will be just fine with a good ol’ 70-200mm. Perhaps add a teleconverter if you need some extra range.

Zooms are faster than primes. You can just spin the zoom ring to change focal lengths instead of needing to change out your lenses. When tracking subjects, it makes it easier to get tight framing and to make sure you are wide enough that you aren’t going to cut off someone’s arms and legs as they get closer to you.
Finally, make sure you pick a sport you enjoy watching. If you aren’t pumped up when someone nails a trick or makes an awesome play, you may not find sports and action photography to be that exhilarating.

What sports do you enjoy shooting? Do you have some of your own tips to share? Please leave them in the Comments section, below.
Be sure to check back on B&H Explora for more of Adventure Week: Winter Edition—and don't forget to follow B&H on Twitter @BHPhotoVideo for up-to-the-minute #adventureweek news.
