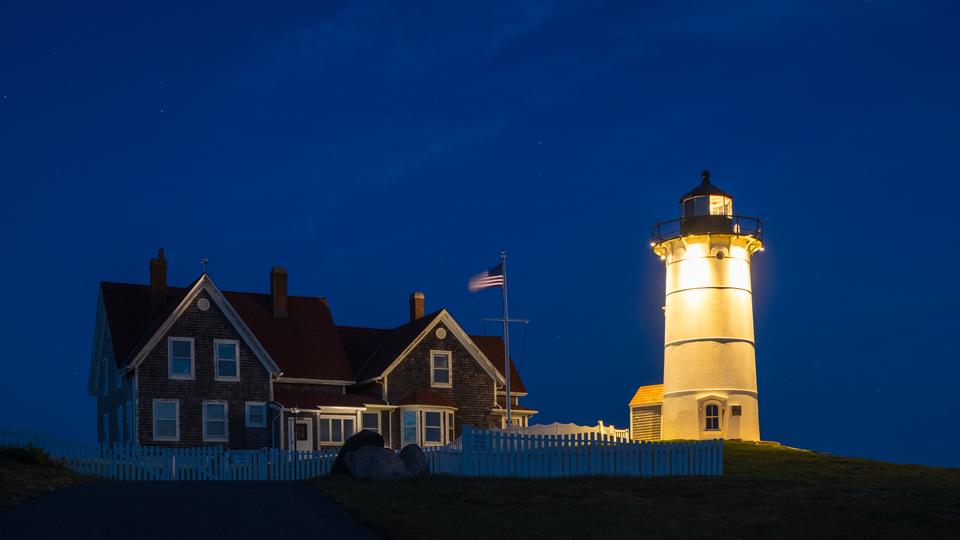
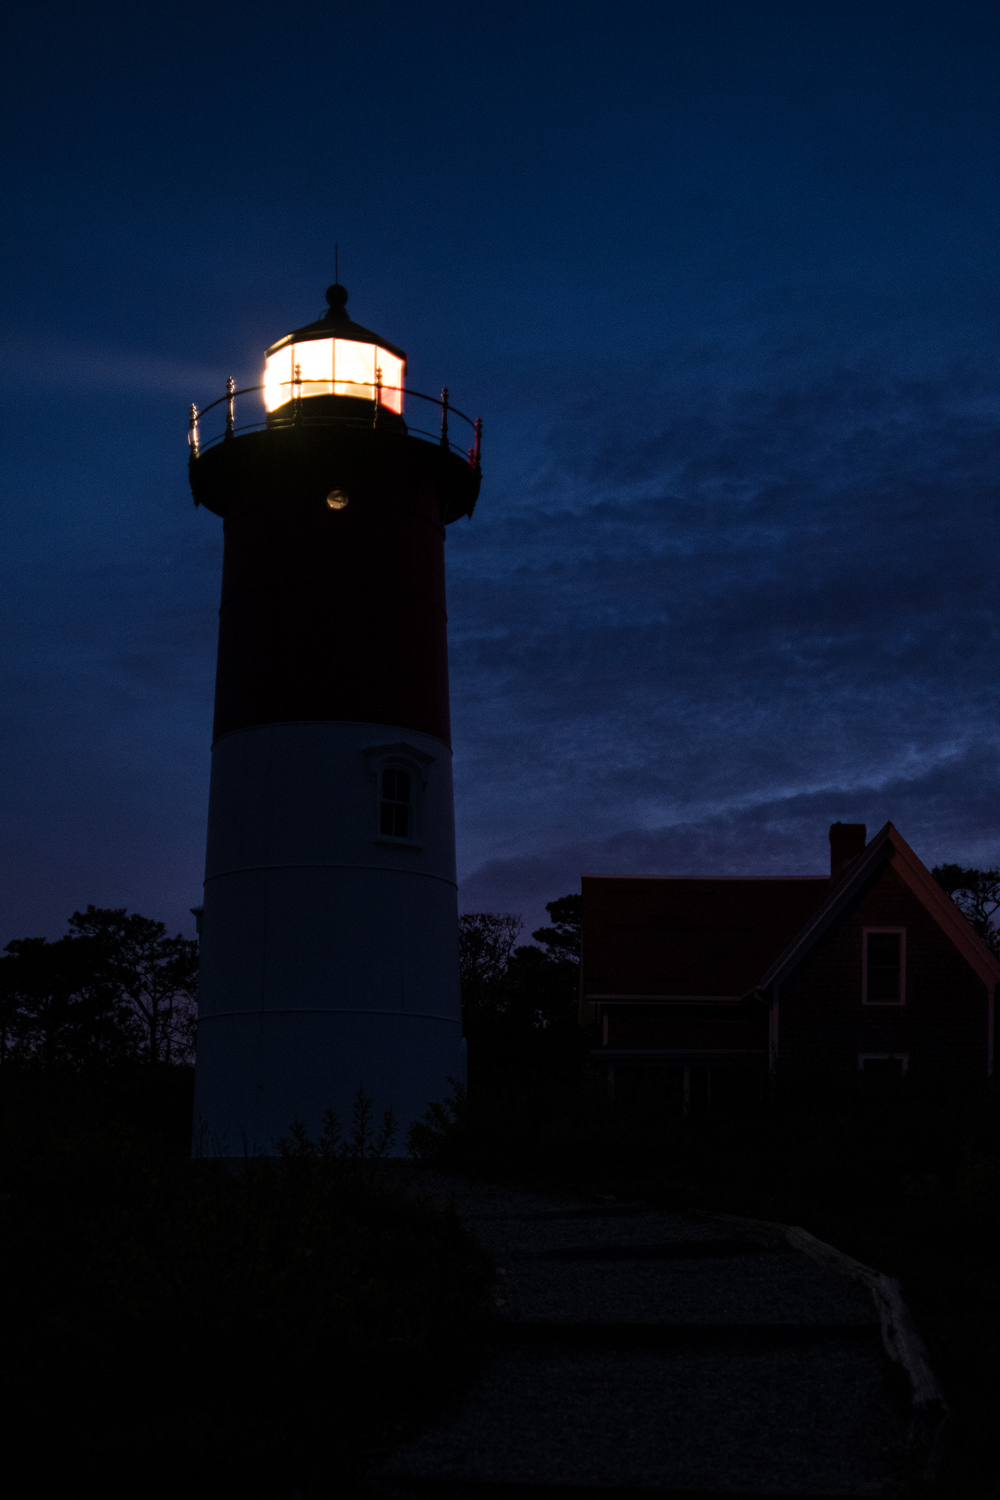
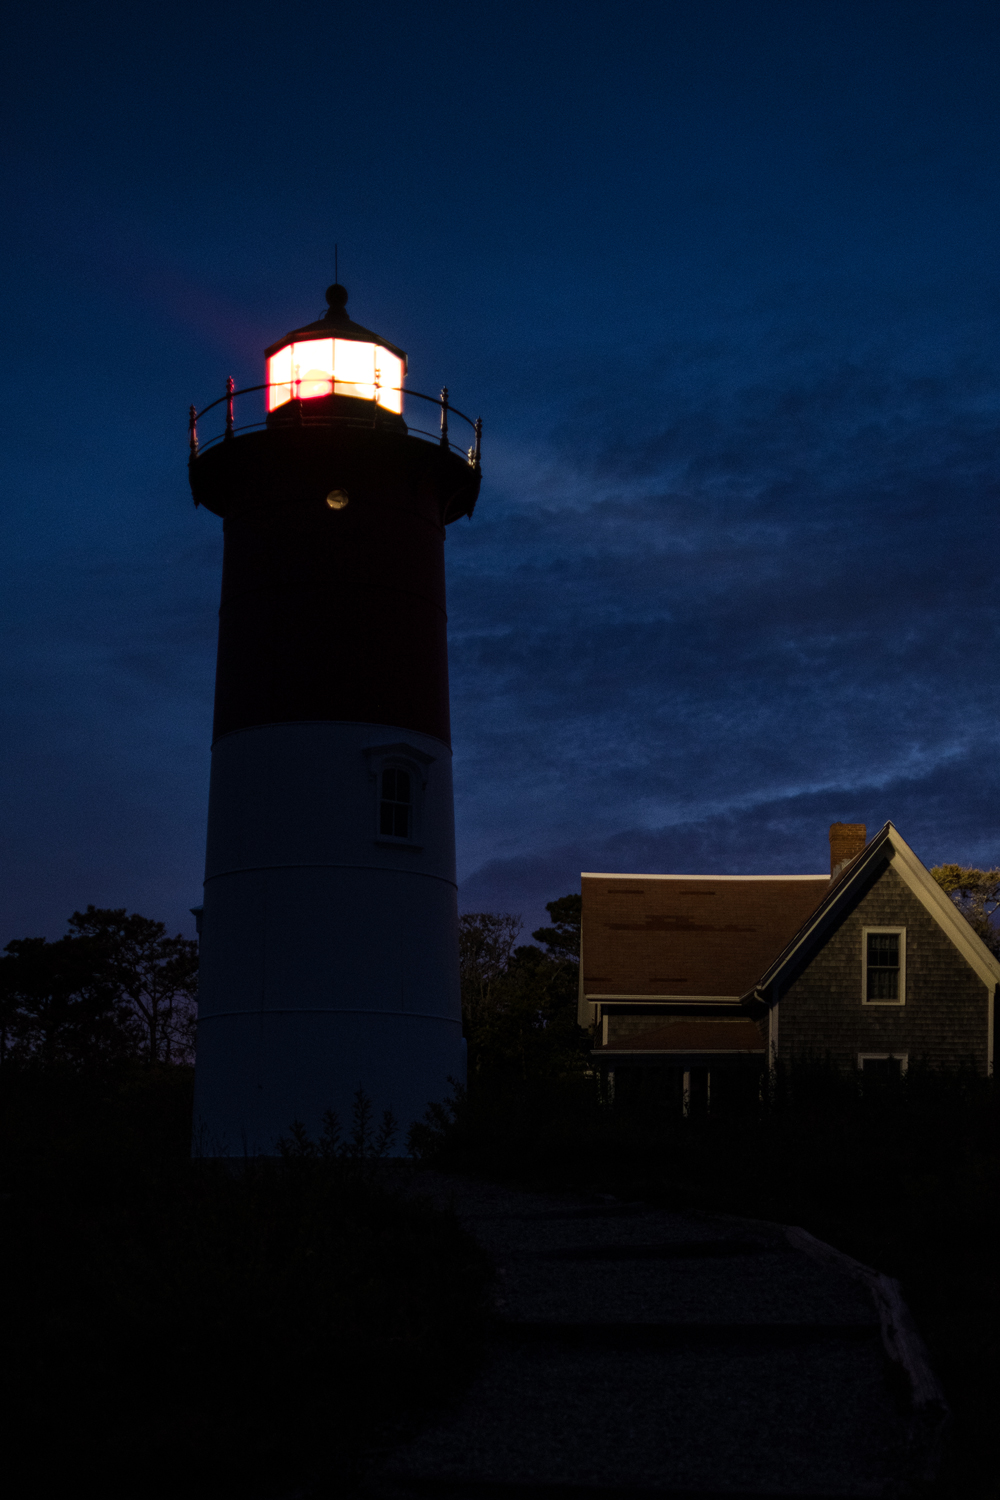
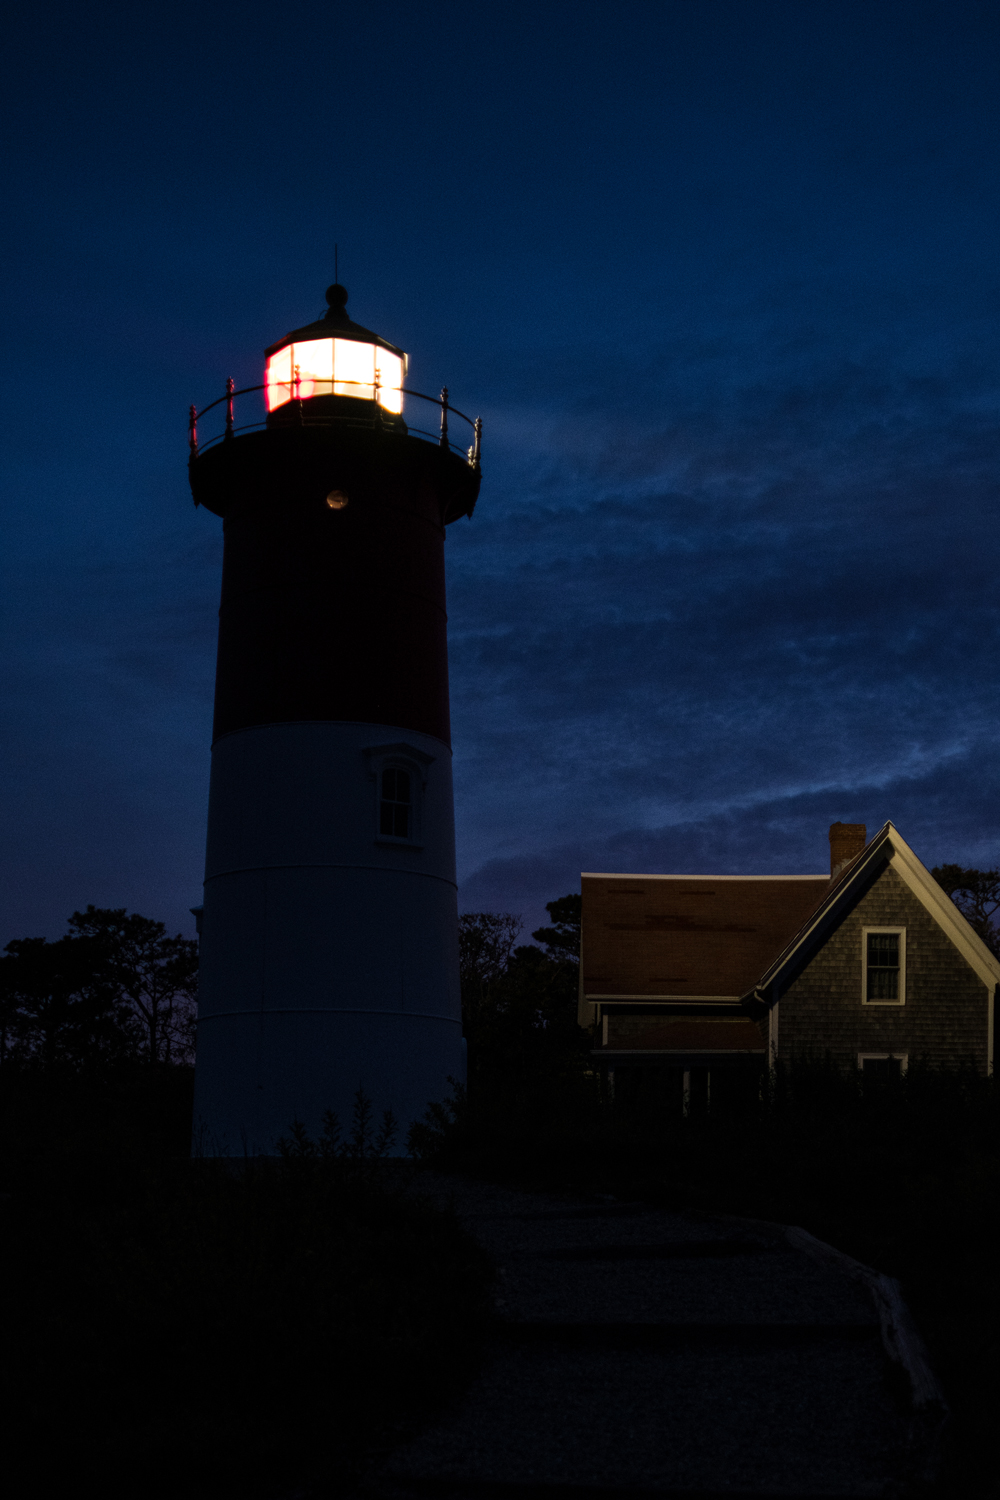
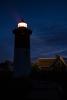
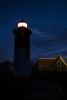
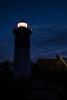
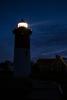
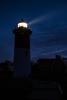
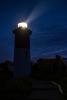
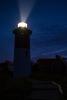
If there is a time when a lighthouse really shines, it is after dark. Duh. Lighthouses are favorite photographic subjects because of their charming beauty, and you can photograph them any time, but they are especially gorgeous when illuminated to protect mariners and vessels from foundering in shallow waters and on rocks.

If you want some general tips on lighthouse photography that can be applied to photographing lighthouses at any time of day or night, click here. If you have graduated from those tips and want to see a few techniques for photographing them at night, keep reading.
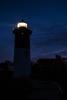
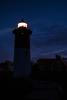
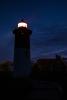
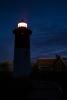
Photographs © Todd Vorenkamp

1. Dynamic Range
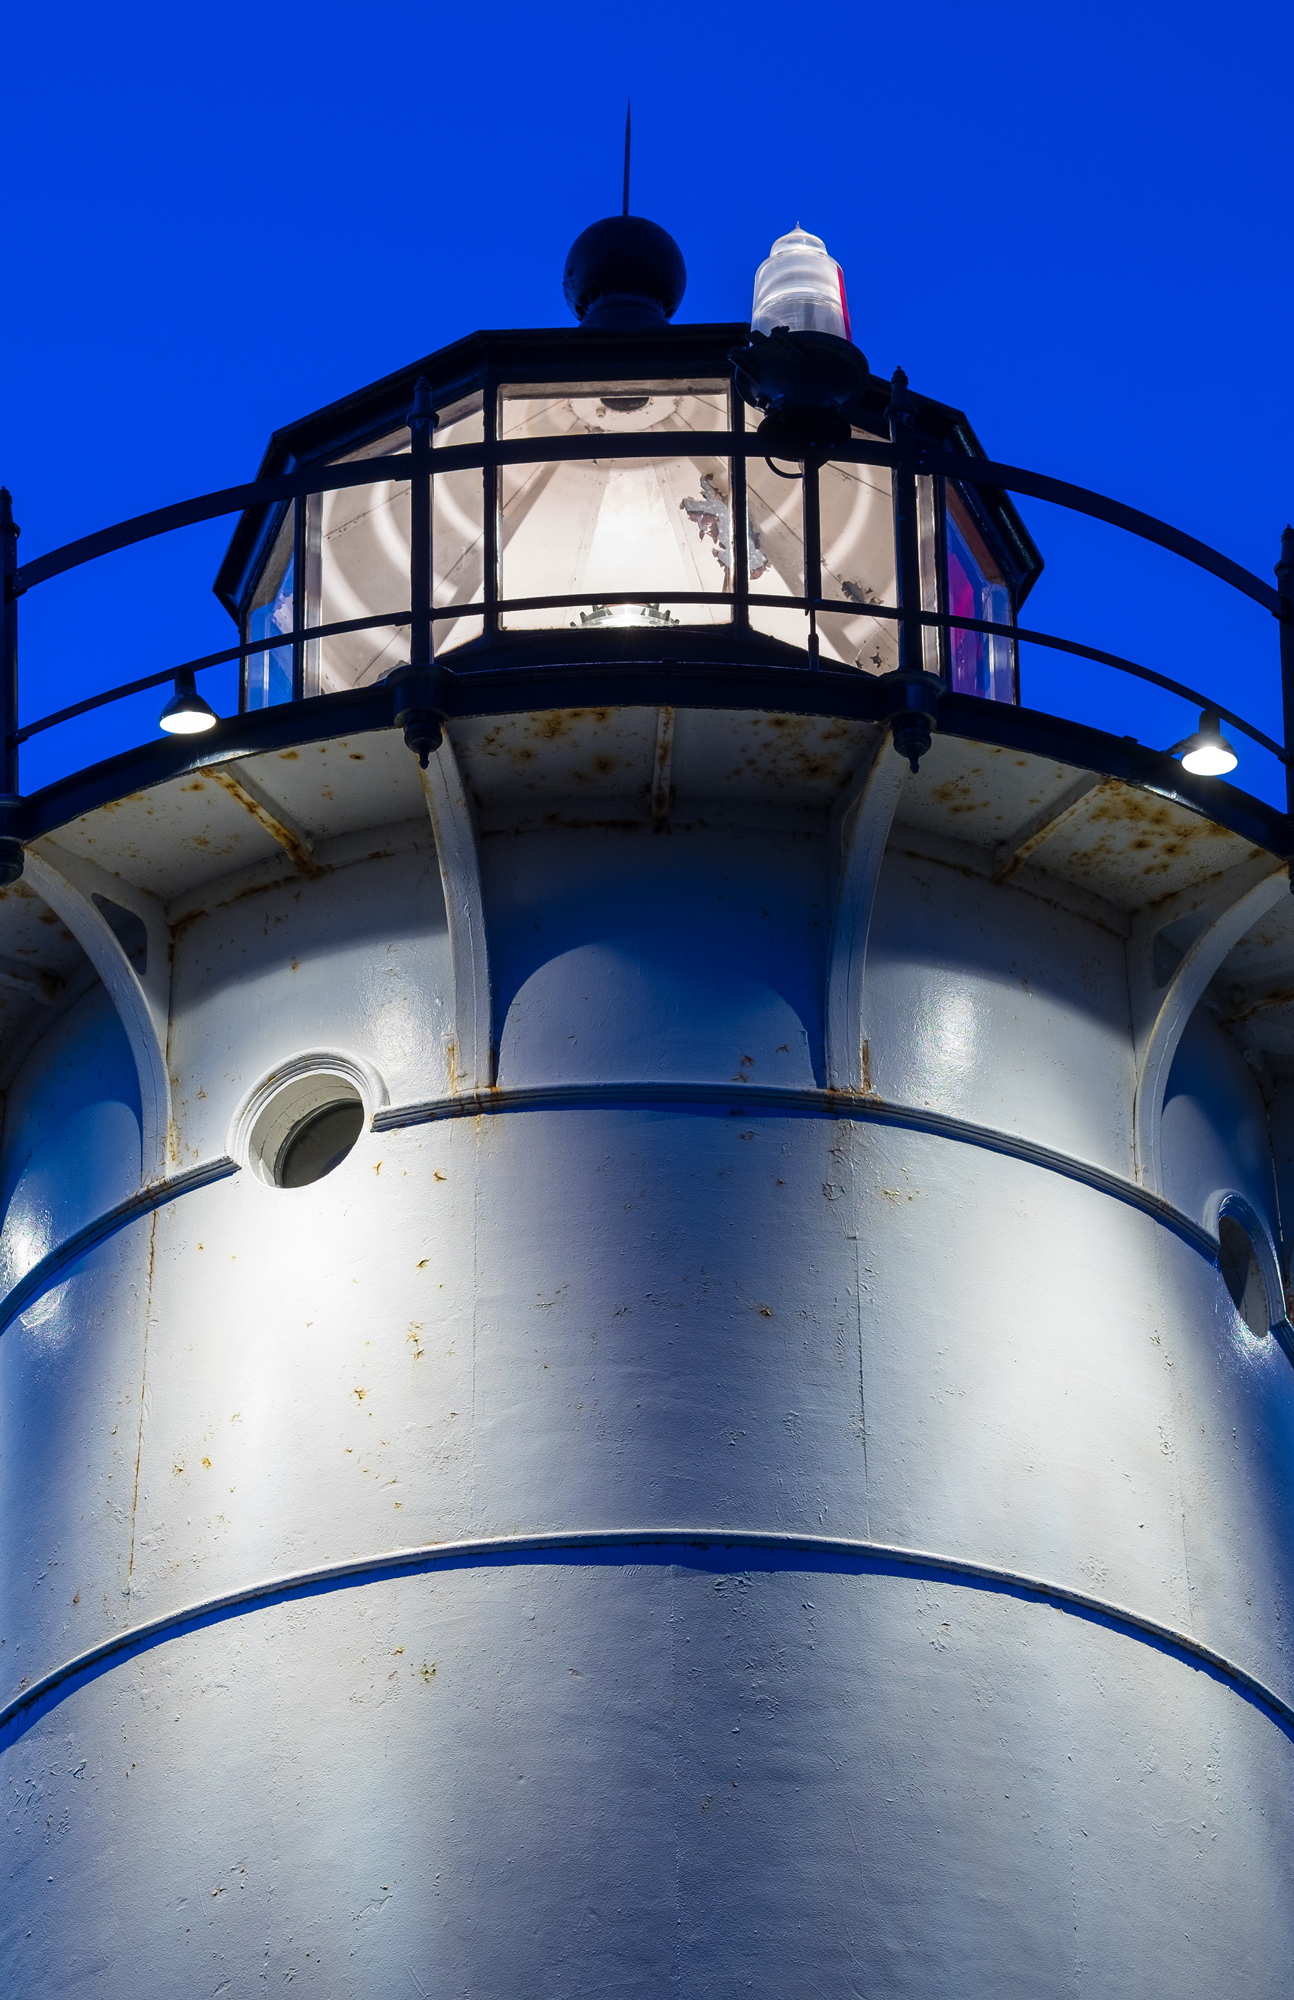
The big challenge in nighttime lighthouse photography is the dynamic range—the value difference between the bright and dark areas of a scene. Lighthouses, due to their very purpose, are illuminated. As night photography veterans know, a photo with a very bright area surrounded by a very dark area often means that you can either meter for the bright light and lose the rest of the image into dark shadow, or meter for the dark areas and blow out the light.

As the photographer, there are several tips you can use to mitigate the dynamic-range challenge at capture and in post-processing. Here we will look at some tips and share some techniques you can employ for creative results when photographing lighthouses at night.
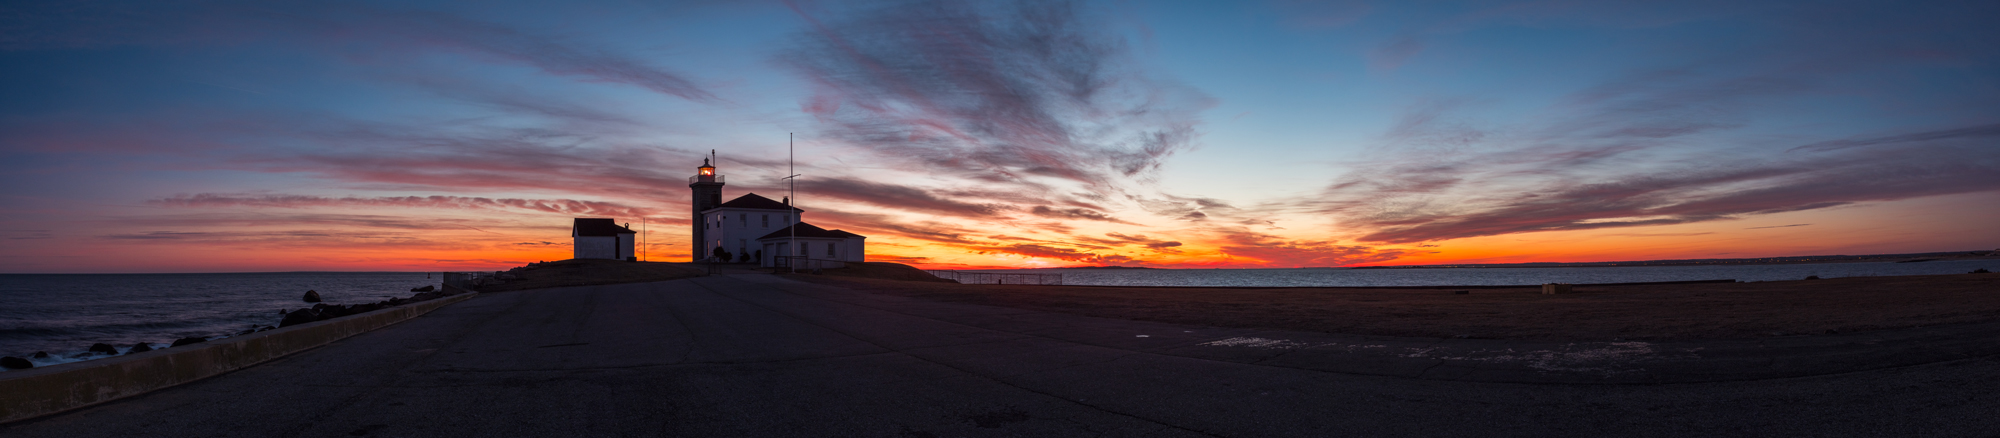
2. Golden Hours
Dusk and dawn are your friends in the battle against dynamic-range issues. Shooting when the sky is still full of light allows you to narrow the gap between the bright light of the lighthouse and the ambient light of the scene.
Plan your lighthouse photo excursions accordingly. But, I also encourage you to go out early, before sunrise, or stay well past sunset to see what kinds of images you can get as the light changes.

3. Sunstars
If you are a fair distance from the lighthouse, you can stop-down your lens or use a lens-effect star filter to get your image some sparkle by physically creating a sunstar.

4. What else is illuminated?
Some lighthouse beams are “sectored”—meaning they only shine through a predetermined arc and the remaining areas are masked off. There are different reasons for this, but one is to keep the lighthouse from blasting those who are already safely ashore with a concentrated beam of light every few seconds.

Regardless, sometimes the beam of the lighthouse will illuminate surrounding structures, foliage, cliffs, etc. Analyze where the beam goes and think about ways of using this to your advantage in a photograph.

5. Freeze the Beam
Lighthouses have either a 360º beacon (sectored or not) or a rotating beacon. If the light is rotating, you have the option of trying to freeze the beam in one place using a fast shutter speed or digitally simulating 360º coverage.

If you want to freeze the beam, that fast shutter speed is not going to jibe with the darkness of night. To compensate, you must open up your aperture and/or crank up your ISO.

6. 360º Beam
If you want to capture 360º (or maximum sector) coverage of the beam, you will likely find that leaving your shutter open for an entire sweep of the beam leads to an overexposed lighthouse lantern. If you want to simulate the beam shining in all directions, you can capture multiple shorter exposures and then blend the images in Photoshop as layers.

Night photographer Jürgen Lobert has published a tutorial on his technique—multiple light beams—which is easy to use, fun, and it works well. Check it out!


7. Add-a-Beam
For the lighthouse beacon to project a beam, there needs to be particulate matter in the air, be it dust, smoke, or water vapor. On a dry day, or even during golden hour, the beam may be subtle or virtually undetectable. If you cannot wait for a humid night and need to press on with your photographic adventures, photographer Moose Peterson can teach you how to create your very own artificial lighthouse beam in post-production.

8. Artificial Flare
Did you take a second mortgage on the house to get a premium lens with half-a-dozen exotic anti-flare lens coatings? With lens flare being all the rage in Hollywood sci-fi thrillers, have you figured out that your lighthouse photo is the ideal scene with which to experiment with artificial flare? The “Lens Flare” filter in Photoshop is one way to undo the work of dozens of highly paid optical engineers. I would imagine other post-processing software applications have a similar option somewhere in their menu systems. If you want to try it, there are dozens of different methods and tutorials online to try out. Be sure to use a “non-destructive” method.

9. HDR… If you must
Last, and maybe least, we have the option of creating a high-dynamic range (HDR) image manually. You can combine two or more images using your favorite HDR technique, or the HDR Pro function that brings the images from Lightroom to Photoshop and does the blending and layer work automatically. Love it or hate it, HDR is one tool you have in your tool kit for nighttime lighthouse photography.


10. Thanks, NPAN!
I have been shooting lighthouses at all hours of the day and night whenever I come across them, but last year I ventured out to the Cape Cod National Seashore with the National Parks at Night team, for some intensive night lighthouse photography. The techniques outlined above were passed to the workshop participants by instructors Lance Keimig and Chris Nicholson.

Tell us about your ideas and tricks for photographing lighthouses after dark, and let us know if you have any questions!
Click here for tips on photographing lighthouses during the day!
