
Welcome to Part 4 of my guide to Basic Backyard Astrophotography. If you missed Part 1, Part 2, or Part 3, please click these links, and we will see you back on this page in a few minutes. In this segment, I share how I post-process some of my astrophotos. As you are about to see, processing astrophotography images is fairly basic and, in my world, is as much about art as it is about science, with a lot of experimenting sprinkled in.
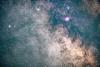
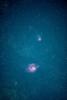
Photographs © Todd Vorenkamp
, Saturn, the Milky Way, a lighthouse, and a few people who stood in the right place at the right time")
Post-Process
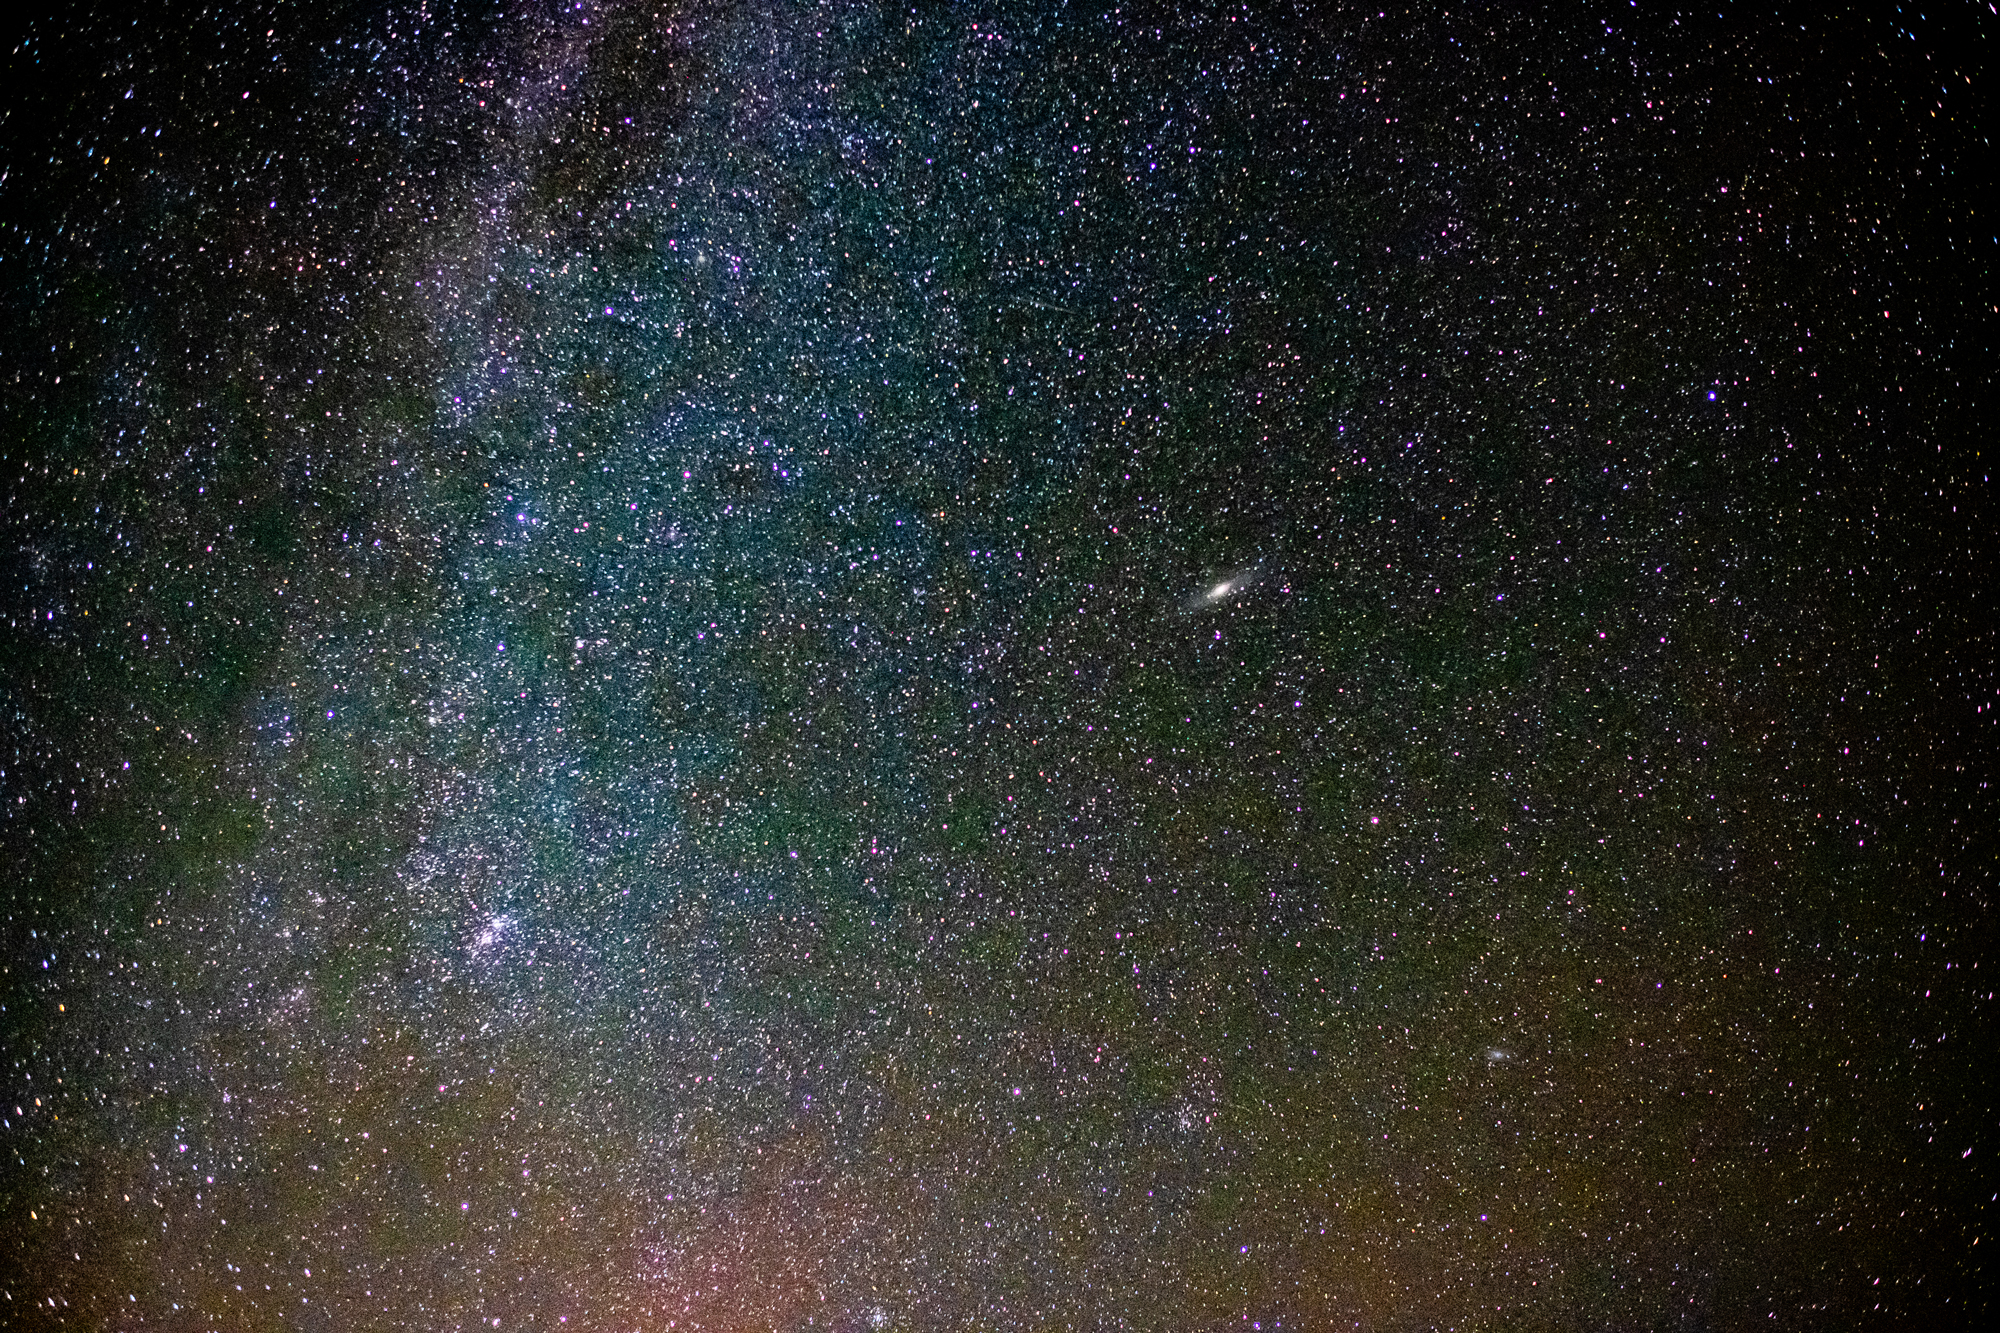
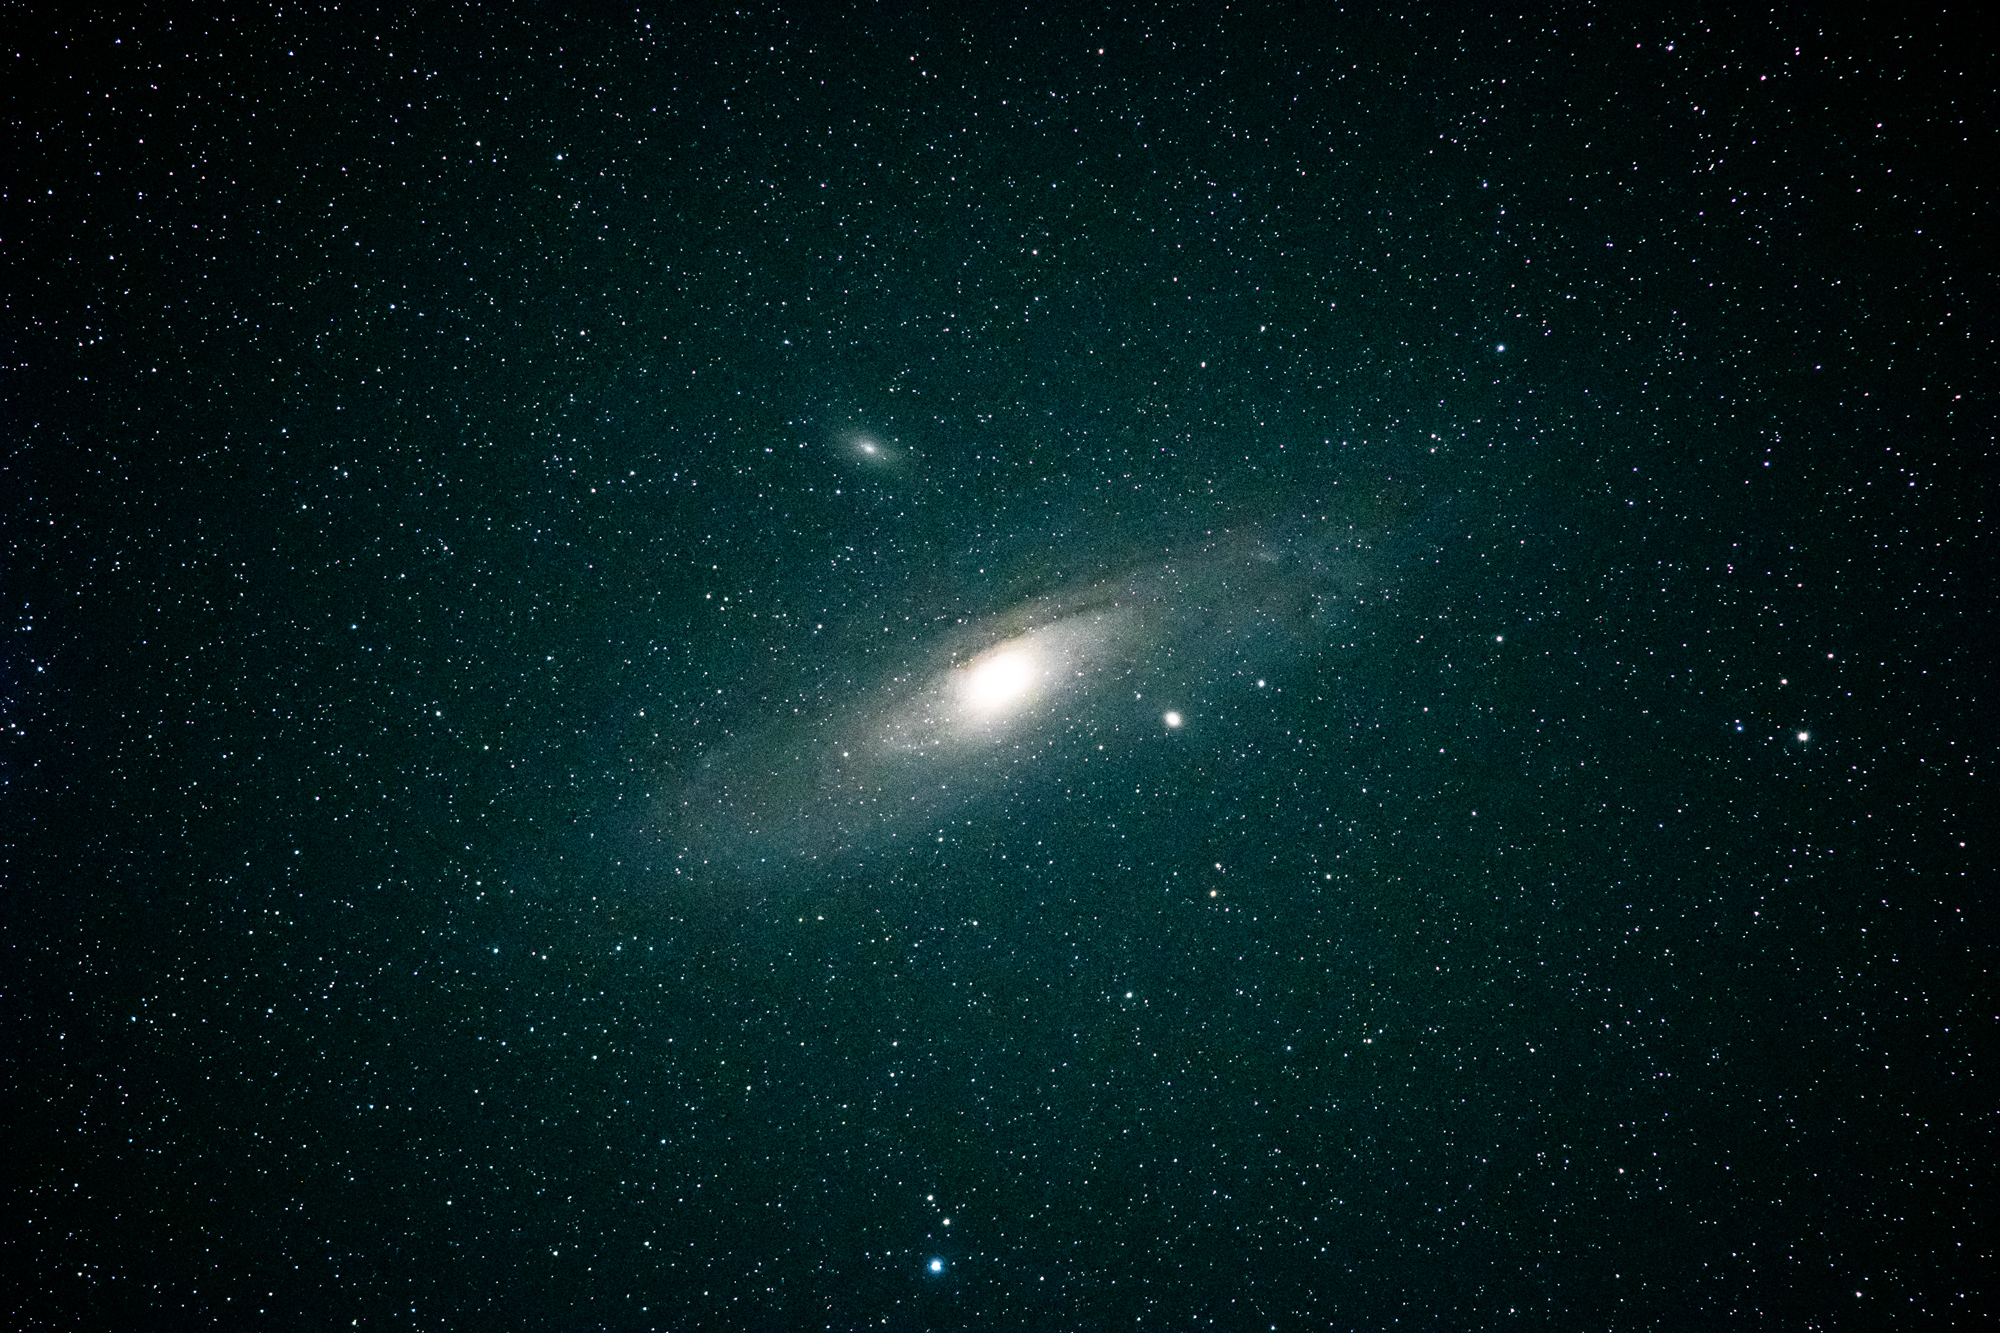
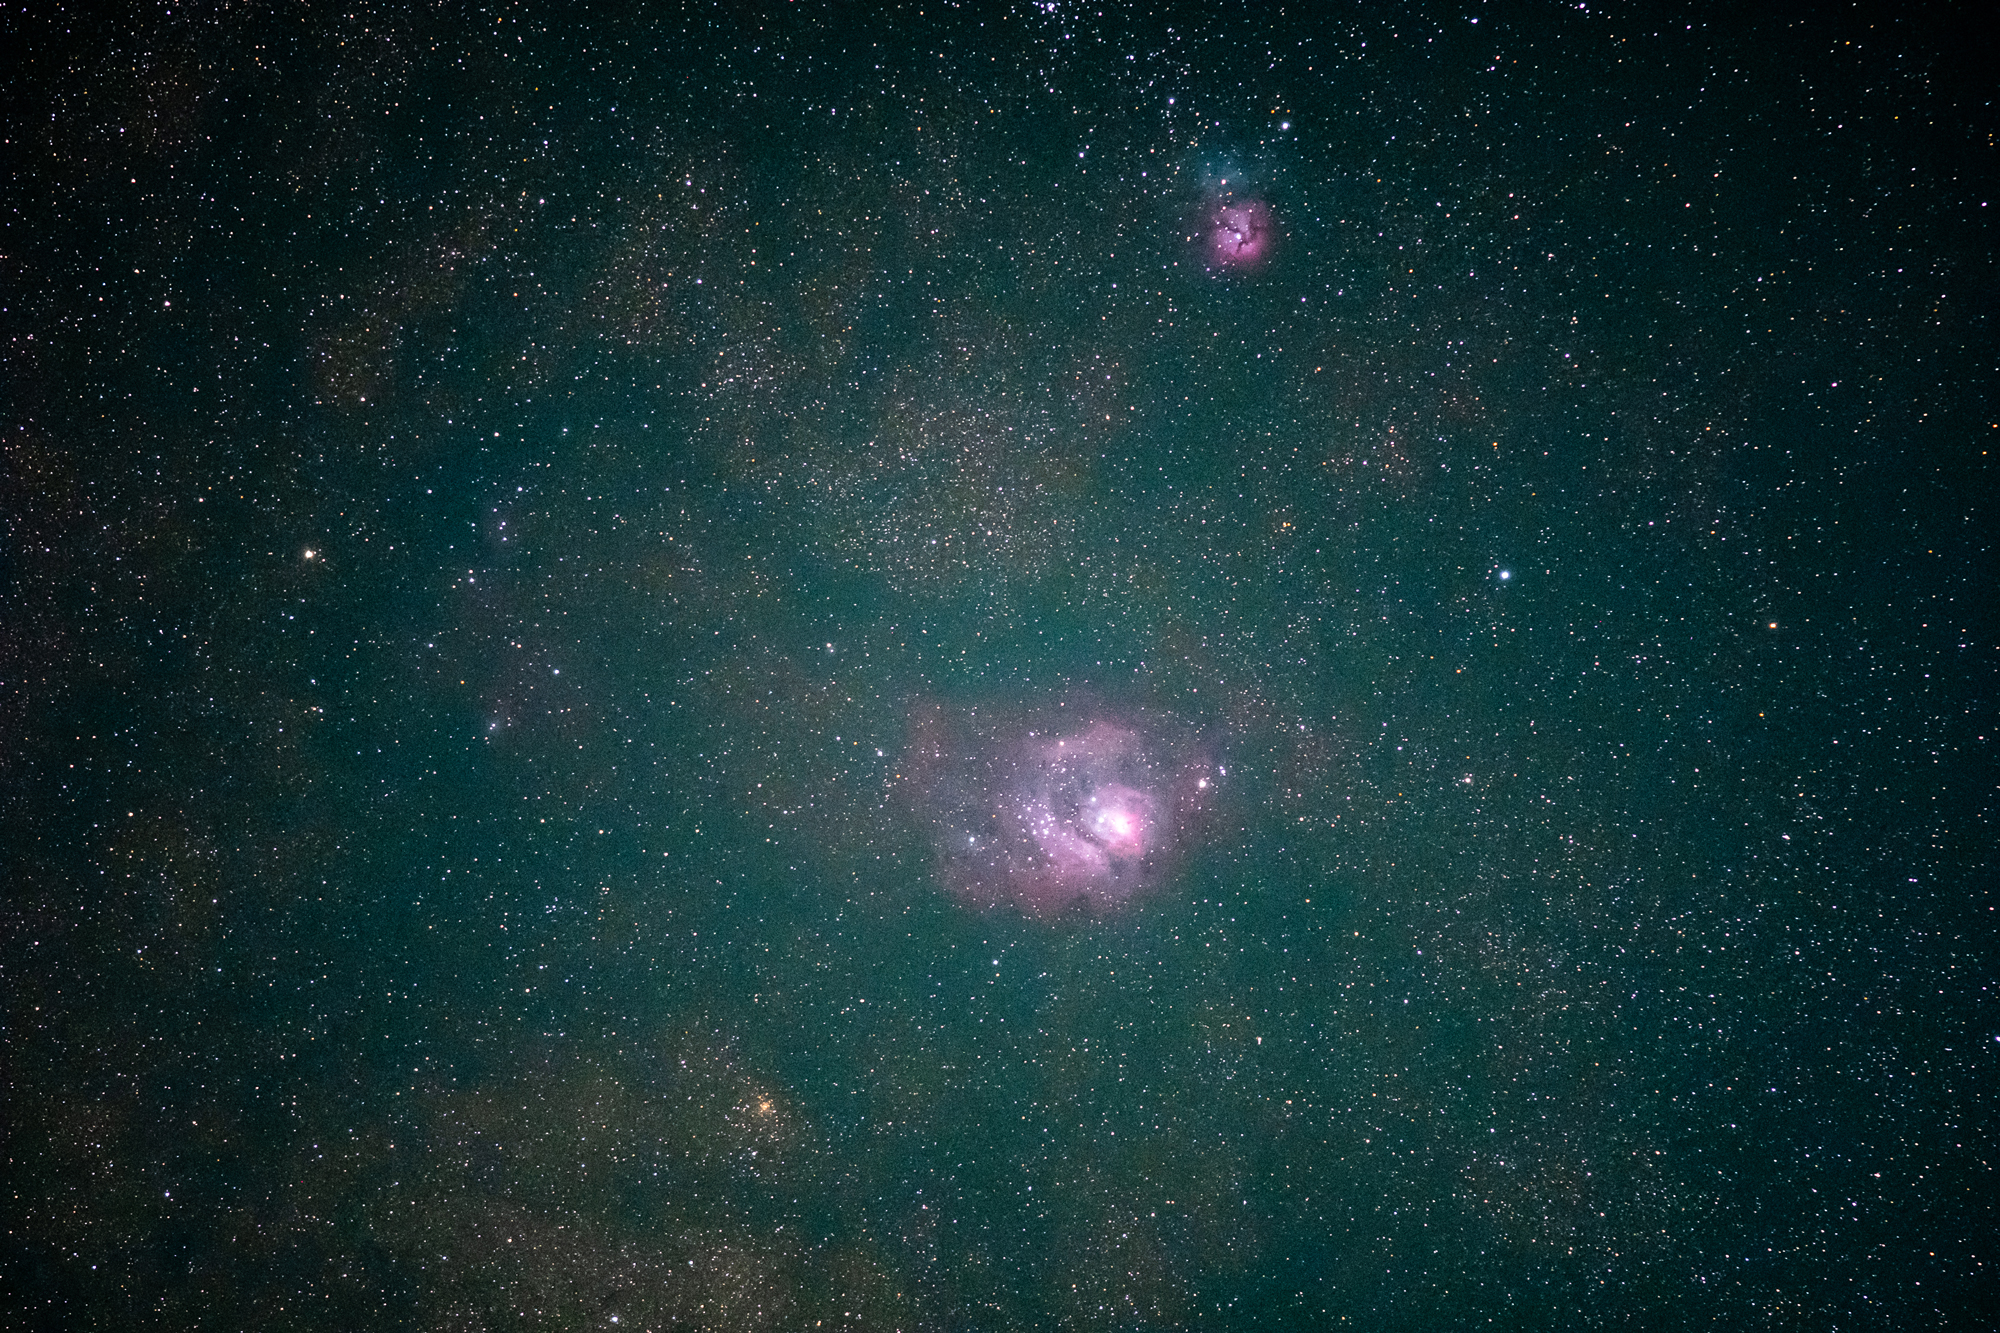
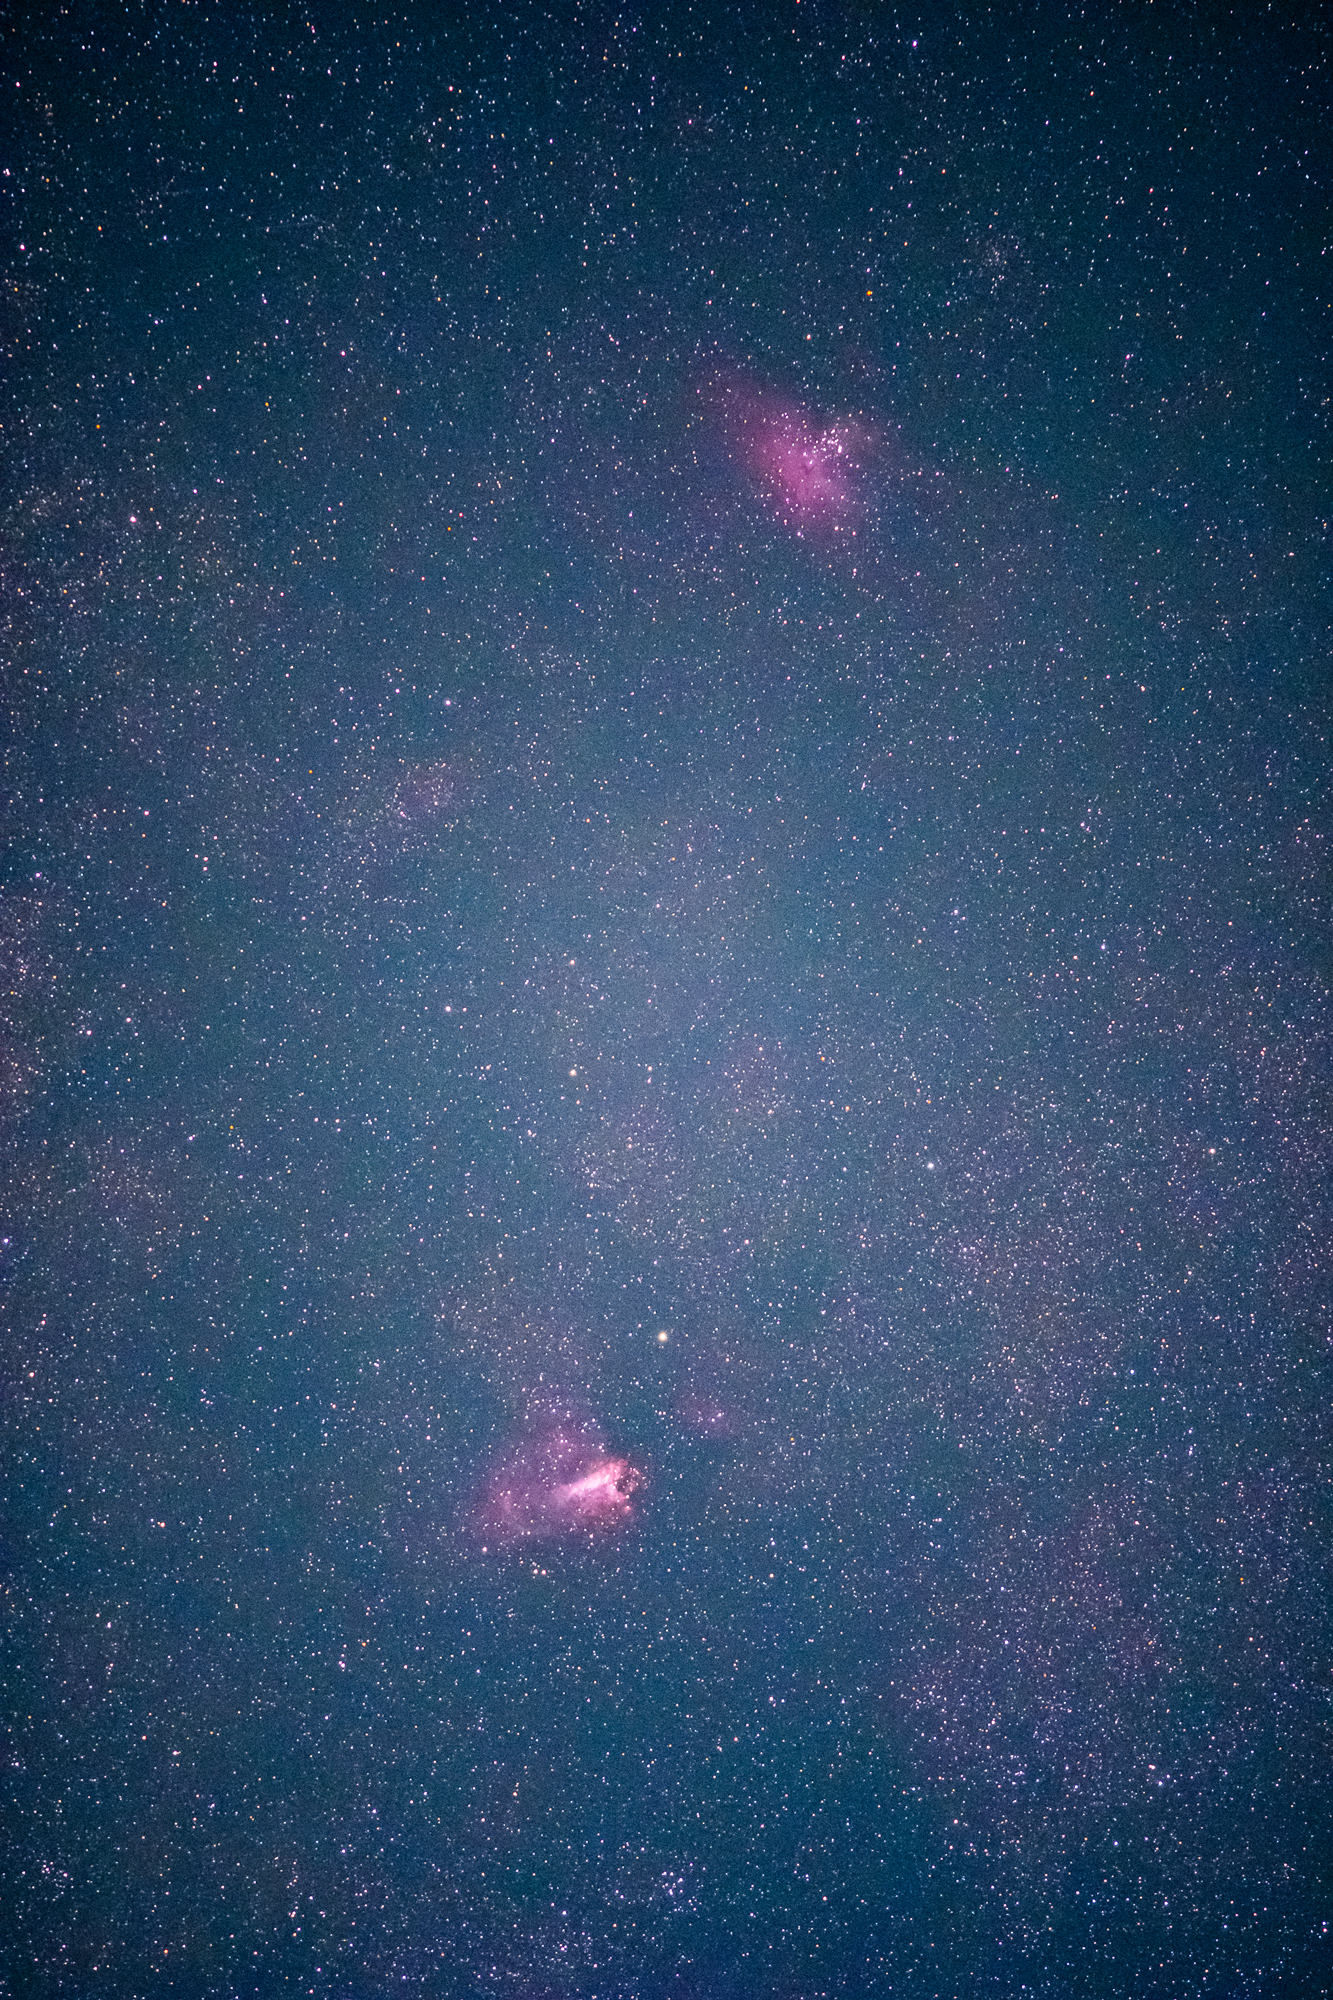
Just like the fact that there is no universal exposure for capturing portions of the night sky, there is no fixed and firm recipe for how to post-process astrophotography images. I will show you what works for me on some images, but it may not work for other photos. The cool part about post-processing astro images is that it is really up to you, the photographer, to play with the sliders in your post-processing software and make the image look the way you want it to look. Your “model” is the heavens, but you are the artist who gets to interpret what it looks like on your screen or in a print! (Even NASA does a lot of false-color processing of its astro images to illustrate different aspects of celestial phenomenon.)

So, here is a KISS (Keep It Simple, Stupid) rundown of ideas for sliders inside Lightroom, from top to bottom, when processing starscapes (the moon or planets will be different).
-
White Balance I don’t have much luck neutralizing astro images with the eyedropper. Try “Auto,” leave “As Shot,” or try “Daylight” (some stars are just like our sun, right?) and then move the sliders around. Be careful, a little slider goes a long way.
-
Exposure If you followed my advice and did ETTR, you will be dialing back the exposure slider toward the negative range. Depending on the image, you might be doing two or three stops of exposure reduction in post.
-
Contrast I usually dial it up a bit.
-
Highlights Mostly I go +100 here, but sometimes I dial it back.
-
Shadows Ditto on Highlights. Try +100 and adjust if needed.
-
Whites Where this slider ends up is totally dependent on the image. Sometimes it stays at 0. Sometimes it goes right, other times it goes left.
-
Blacks Same as Whites. No rhyme or reason here, either.
-
Clarity 90% of the time I set it to 100 and leave it.
-
Dehaze (This could be lower depending on what version of LR you are using.) A little goes a long way. I usually add in about 10-20.
-
Vibrance Season to taste.
-
Saturation I like to make things pop by dialing it up, but not too much!
-
Sharpening The more you add, the sharper the stars… and the noisier the noise. Use in moderation. Hopefully, your lens gives you good sharpness out of the box.
-
Noise Reduction You can watch thousands of hours of YouTube videos or spend hundreds on noise reduction LR add-ons, but I just move the sliders a bit until it looks good or better. KISS.
Believe it or not, that about covers it from capture to saving as your newest computer screen wallpaper. Not only is it easy, it’s also fun, and every time I go out shooting the stars, I come back with images that I really love to process, admire, and share.

Expand Your Gear
Many photographers have proven that you don’t need a mega-megapixel camera or the world’s most exotic optics to make captivating images of the night sky. That is the good news for those of you with entry-level DSLRs, mirrorless cameras, and kit lenses. But, say you just read the above information and went outside and made your first awesome astrophoto (Please tell me about it in the Comments section below if you want!) and you want to know what gear or tools can improve your future astro images. For those cases, here is a short list.
-
Prime Lenses As good as today’s kit zoom lenses are, nothing compares to the light-gathering capabilities of a high-quality prime lens. Note that “high-quality” need not mean “high price.” I will always be a fan of the ubiquitous 50mm lens (approximately 35mm for APS-C shooters) and, with the f/1.8 options on the market, you will not find a better value in a super-wide-aperture optic that is perfect for capturing details in the night skies above. Some of these wide-aperture primes are even less expensive than your kit zoom—and optically superior. Get one!
-
Focal Length Speaking of lenses, always consider the focal length. The wider you go, the more sky you capture and the longer shutter speeds you can use to gobble up more light (remember the Rule of 500). But, if you want to look more closely at a planet or nebula, you will need lenses on the telephoto end of the spectrum. The downside here is that shutter speeds need to be very short. You can do a 21-second exposure with a 24mm lens, but a 200mm lens on a full-frame camera needs a shutter speed faster than 2.5 seconds—that isn’t enough time to let a lot of starlight in, and that leads me to the next item…
-
Motorized Tracking Mount I did not own an equatorial camera tracking system until the run-up to the 2017 total solar eclipse, and I often wake up in a cold sweat thinking of how I should have bought one 20 years ago. If you have been bitten by the astrophotography bug, a tracking mount is—no understatement here—a game changer. With the tracking mount, I still shoot ETTR exposures, but now I can shoot a 200mm or 300mm lens for 30 seconds or more with no star movement in the frame. It opens a lot of new astro-imaging possibilities. As cameras’ high ISO performance gets better and better, there will be a day when the tracking mount will be superfluous for some images, but that day is not here yet, so bide your time with your own tracking mount.


Other Resources
There is a veritable ton of Internet and published resources on astrophotography. Since the dawn of the digital camera, this segment of the art of photography has become accessible to almost everyone with a digital camera, and there are a lot of astrophotographers like B&H Photo affiliate Ian Norman of Lonely Speck, who have poured their hearts and souls, and buckets of knowledge into their über-informative websites, to tell the rest of us how to be successful astrophotographers. This short article is just another one of my contributions to the vast Internet library of how-tos when it comes to astrophotos.
Now it is time for one of two things: 1) You can most certainly post comments, ask questions, or share your tips below or, 2) Is it dark and cloudless outside? Go take some photos of the heavens!

Additional Resources
Lonely Speck: The best Milky Way photography website
How to Set Up Your Camera for Night Photography
B&H Photo Podcast with Lonely Speck’s Ian Norman
Night Photography site on Explora
