
Imagine, if you will, a photo shoot. Your subject is a striped, orange cat bouncing off of the walls. You have your camera raised to your brow, finger on the trigger, waiting for the perfect pose. He turns his gaze toward you, but his head is constantly moving. No matter, you quickly fire a few frames, figuring that you finally nailed the shot. You check your shots, only to see a series of blurry portraits.
If this sounds like a situation you’ve been in before, we know the feeling. That’s why, today, we’re taking a look at settings for pet photography. Everything from the exposure triangle and beyond can greatly alter our final images, from how sharp they are to how bright and even how balanced the color temperature is.
In this guide, we’re going to cover settings like aperture, taking note of long snouts and how depth of field affects our ability to capture them. We’ll also discuss shutter speed where action is concerned. For the aforementioned reasons, we’re going to look at some baseline settings for pet photography starting with exposure. From there, we’ll dive into where to make adjustments and the thought process involved.
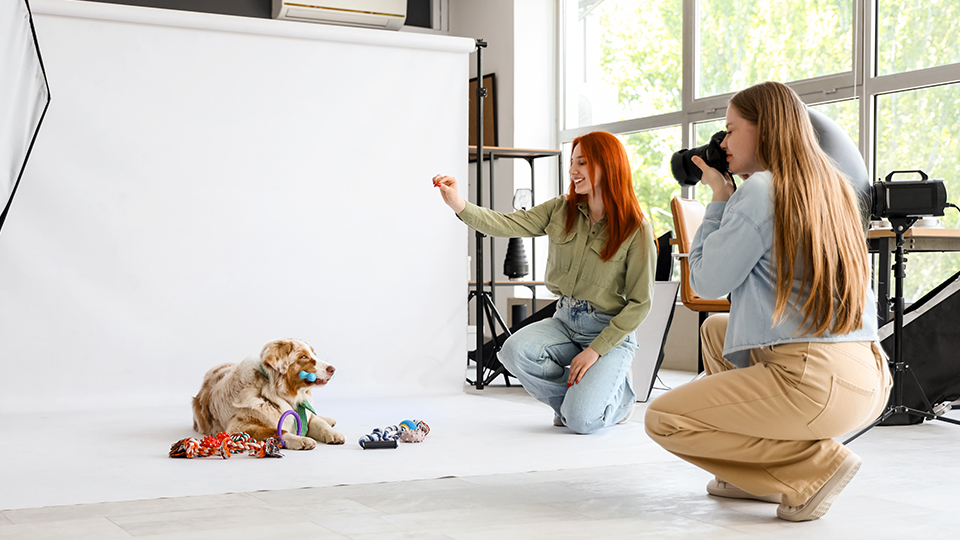
Is There Truly Such Thing as The Right Settings?
I’ve heard settings compared to ingredients in a cake, but there’s really not much room for variation in baking without some consequence. Camera settings can be better represented in the form of a golf swing. The way golfers play is greatly impacted by environmental factors like wind, humidity, or temperature which affects how far the ball travels, just as light quality, intensity, and direction affect our exposure as a photography.
It’s nearly impossible to list specific settings and hope you nail it. Every photoshoot will be different; thus, every exposure will be different. Even photographers working school picture day adjust their exposure throughout the job as skin tones, hair color, and clothing vary between subjects.
The Exposure Triangle
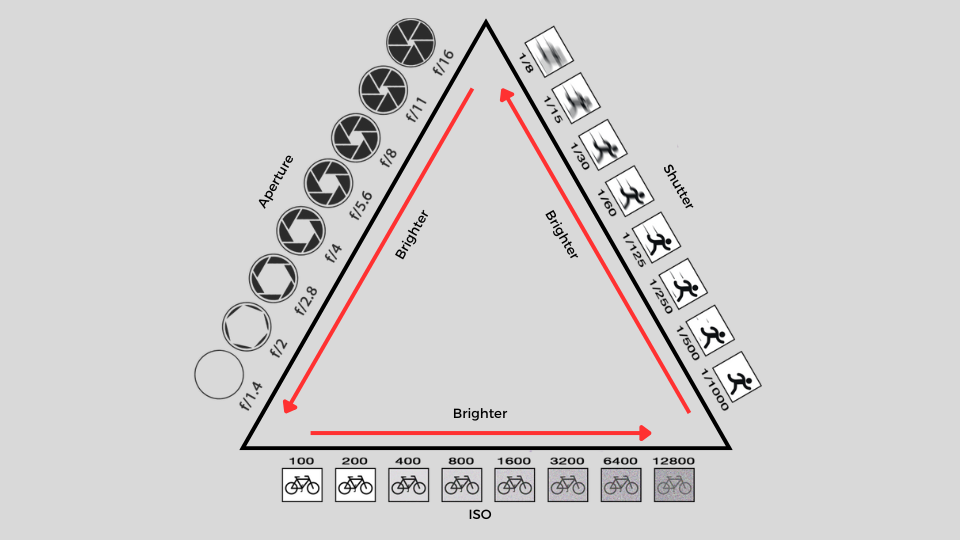
Aperture
What is aperture? This is a question we did dove deep into in our intro to aperture guide, but let’s cover the basics. The term itself refers to the physical aperture, or opening, of the lens, which controls the amount of light that is allowed to reach our imaging surface. Aperture not only impacts how much light we allow to reach our cameras imaging sensor, but our depth of field as well.
The greater our depth of field, the more of our subject we get in focus. This can be more freely adjusted when photographing a regular old run of the mill portrait, but when it comes to dogs, there’s one feature we can’t discount. Think of a dog portrait and consider what elements are in focus. Obviously, we always want the eyes to be tack sharp, but also the ears and of course the nose. But hold on, there’s a lot of distance between those ears and that schnoz.
If we use a wider aperture, and subsequently a narrower depth of field, we’ll be unable to get all of these features sharp. That is, unless we’re photographing a pug or French bulldog. Are you starting to see the challenge of recommended blanket settings for pets?
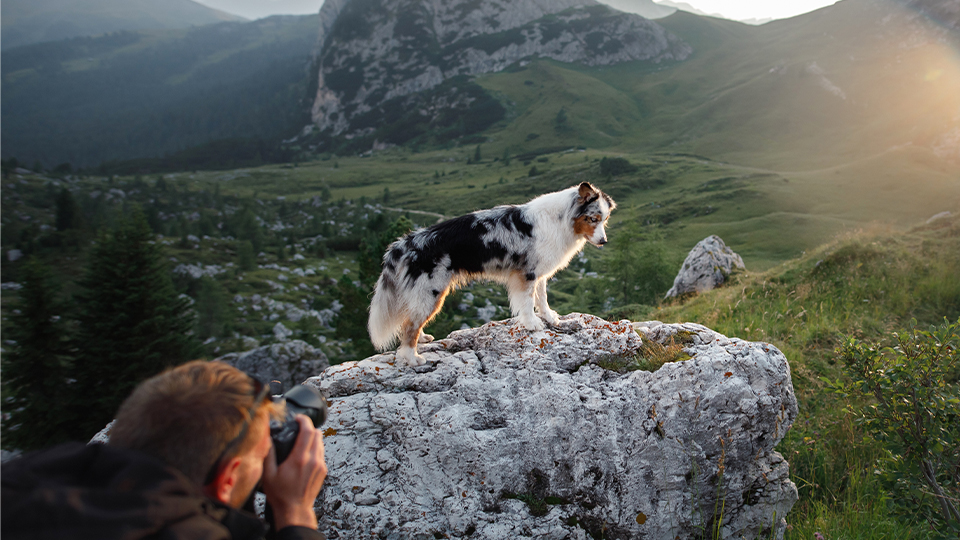
What to Consider
Of course, we need to consider available light, how bright our environment is, and how much light we need to achieve our artistic vision. Is there enough available light to stop down our aperture for the required depth of field, or do we need to adjust another setting first? If we can't adjust our other settings effectively first, and we don't have the ambient lighting to achieve the settings we need, we can supplement it with studio strobes or constant LED lights.
Next, depth of field. What’s the smallest aperture we can shoot at while retaining detail in all the areas we need? We recommend starting at f/5.6 and experimenting from there based on the subject and outside variables, such as focal length. If the light allows it, and the background is far enough away, even f/8 can be used to guarantee that our furry subject is sharp from tip of the nose to ear.
Cats are a bit easier, although their snouts are still longer than say a human face, their snouts are shorter, but follow the same guidelines provided above as a baseline. No matter the subject or aperture, always remember to put your focus point on your subject’s eye.
Shutter Speed
Shutter speed determines whether any motion in our image is blurred or frozen. The faster our shutter speed, the faster the action we can capture. That said, there’s still a minimum shutter speed we’d recommend, no matter how still your subject is. This is due to camera shake and vibrations caused by our holding of the camera.
The traditional rule of thumb for a selecting a shutter speed is to keep the value on par with or above the focal length of the lens. For instance, for a 200mm lens, we want to keep our shutter speed at or above 1/200 (of a second). For any action, photographers will want to use a faster shutter speed. This generally refers to any value over 1/1000.
If you haven’t already, check out our introductory guide to shutter speed. This goes into great detail on the setting, its values, and how it coexists with other settings in the exposure triangle, as well as how it can be used in a more creative approach.
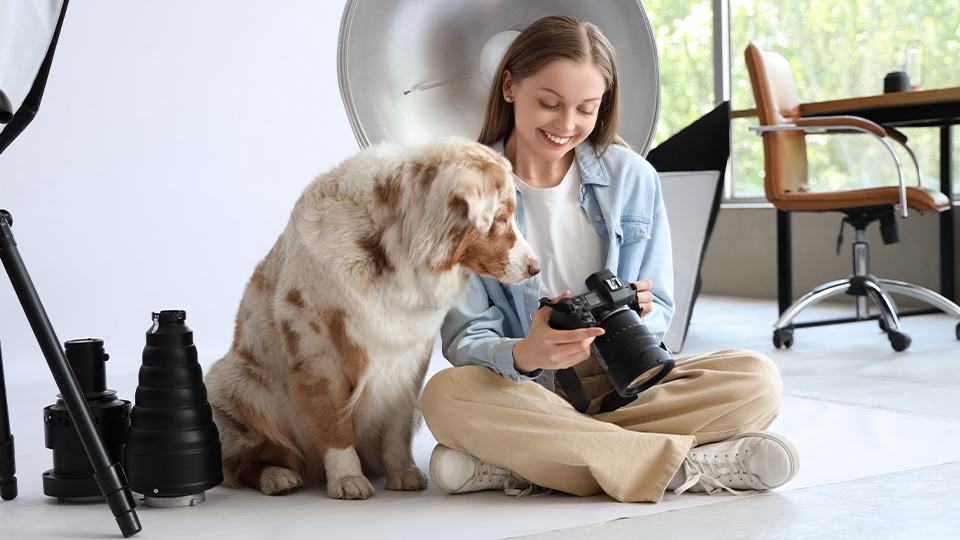
What to Consider
It may seem obvious at this point, but we need to consider whether our subject is moving or not. Pets are generally always moving in some capacity. An outright action shot will require a fast shutter speed of at least 1/2000 of a second, though this will fluctuate with the speed of the action, size of the pet, and available light.
Even a stationary subject may suddenly turn their head, yawn, or shake, meaning we should always anticipate action. Keep that shutter no lower than 1/1000 to ensure that we’re ready for some of the smaller movements whether we expect it or not.
With our shutter speed dialed in, and our aperture set as wide open as we can for the subject, we’re ready to shoot, right? Not quite! What do we do when the light doesn’t quite allow us to reach the speeds we need? We make our imaging sensor more sensitive to the available light by increasing our ISO sensitivity.
ISO
Unlike shutter speed and aperture, ISO will have no real effect on the artistic quality of our image. It won’t change our depth of field or impact our ability to freeze fast motion, that is, at least directly. What it does is alter our imaging sensors sensitivity to light, allowing us to artificially brighten or darken our scene. In turn, we can adjust our shutter speed and aperture to the value we desire.
Like all settings, ISO has values ranging from one end of the spectrum to another. At the low end, base ISOs typically start at 100. This is the cleanest value with little to no visual effect on our image. That said, it’s also the least sensitive, meaning we need bright, clear lighting conditions to use this base value.
As the value climbs, so does the sensitivity, and with that a visual artifact known as digital noise. This appears as grain or small colored specks in our images and is the bane of many a photographer's existence. There’s software that can be used to reduce the prominence of noise in our images, but it’s best to avoid introducing it at all if we can. That often means keeping our ISO value down.
What to Consider
To keep ISOs in check, it’s best to shoot when the available light is bright and even better to use flash or some form of artificial lighting. We’ve done a deep dive into flash versus continuous lighting for pet photography, so if you’re interested in lighting, we recommend giving that article a read. That said, lighting can only serve us in so many cases, and keeping our ISO in check isn’t always as easy as just keeping the value down.
To keep the dreaded digital noise at bay, many photographers intentionally keep their ISOs low, even going as far as to underexpose their images to be brightened later. This couldn’t be more counterintuitive! When we try to brighten an image in post, we actually introduce even more noise! For that reason, it’s better to shoot at a higher ISO value than to try to increase our exposure in post.
It’s good to note that darker subjects, like a black lab, will often show more noise than a yellow lab. It’s also easier to underexpose a darker pet unintentionally, as the background and highlights on the shiny coat will trick our cameras meter, so be extra cautious around these subjects and don’t always trust the meter. Though, to do this, we need to know what our particular camera is capable of when it comes to ISO performance.
What one considers to be a good ISO varies from camera to camera, but most modern cameras can handle a value as high as 6400 with ease, with select high-end ones easily reaching 12800 with minimal noise, so long as we’re not planning on cropping. You read that correctly, cropping an already noisy image will only make it appear even grainier. This occurs as we’re essentially making that noise larger and more prominent in the frame when we crop. So, if you’re planning on cropping, be extra careful about noise-causing practices.
Other Camera Settings
White Balance
White balance, in a settings article? Yes, we’re talking about white balance, as this setting alters color temperature in our images, removing color casts and ensuring that colors appear accurately. Cameras have gotten really good at properly replicating human skin tones, but fur can be tricky, especially in challenging lighting conditions.
Auto white balance, often shorted to AWB, is pretty reliable. Simply set the camera’s white balance settings to it when setting up the camera and never worry about it again. That said, auto white balance has its shortcomings. For that reason, using dedicated modes is often better, so long as you remember to set it back when you’re done.
Different lighting conditions will alter how white balance behaves. In some cases, you may use a mode that doesn’t quite match the conditions it was designed for. For instance, sunny, shade, cloudy modes are designed for their namesakes, but cloudy and shade can often add strong color hues. Experiment with various modes before committing.
Put It to Practice
Mastering your settings can seem daunting at first, but once you get familiar with them and how they alter your image, you’ll be on track to taking greater control of your photography. If you’re a pet owner, practice with your own four-legged family member and try out different settings and camera modes.
You can even take test shots with a model or plush toy before a shoot to better understand things like ISO performance and depth of field. That way we’ve removed some of the guess work that comes with a scheduled photo shoot. Notice how we said some.
If you’re looking to take your pet photography to the next level, taking control of your exposure is the first step. If you haven’t done so already, check out our beginner’s guide to pet photography to further your understanding of the genre outside of settings. To learn even more about photography, check out our other guides on the B&H Explora page!
