
Anyone who has dabbled in pet photography knows that it can be a rewarding yet challenging experience. While pets are considered to be part of the family, they’re still animals who walk to the beat of their own drum and do things at their own pace. Even the best listeners can be easily distracted or have trouble sitting still for more than two seconds. If you’re considering trying your hand at photographing our fuzzy friends, we’ve put together this helpful guide for you. In this guide, we’re going to cover the essentials for those with a desire to develop and perfect their pet photography skills.
What You’ll Need
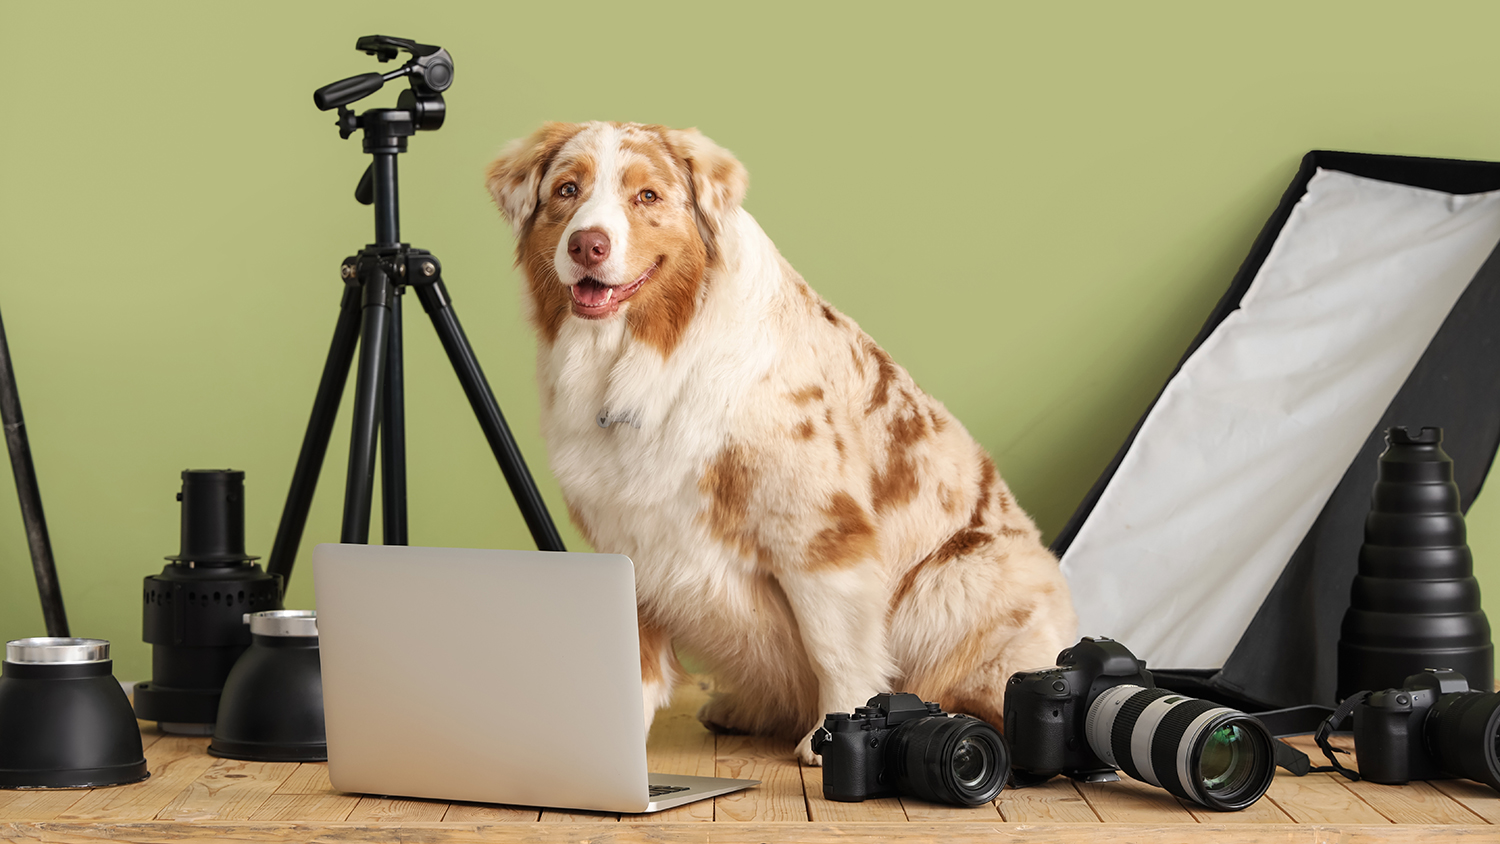
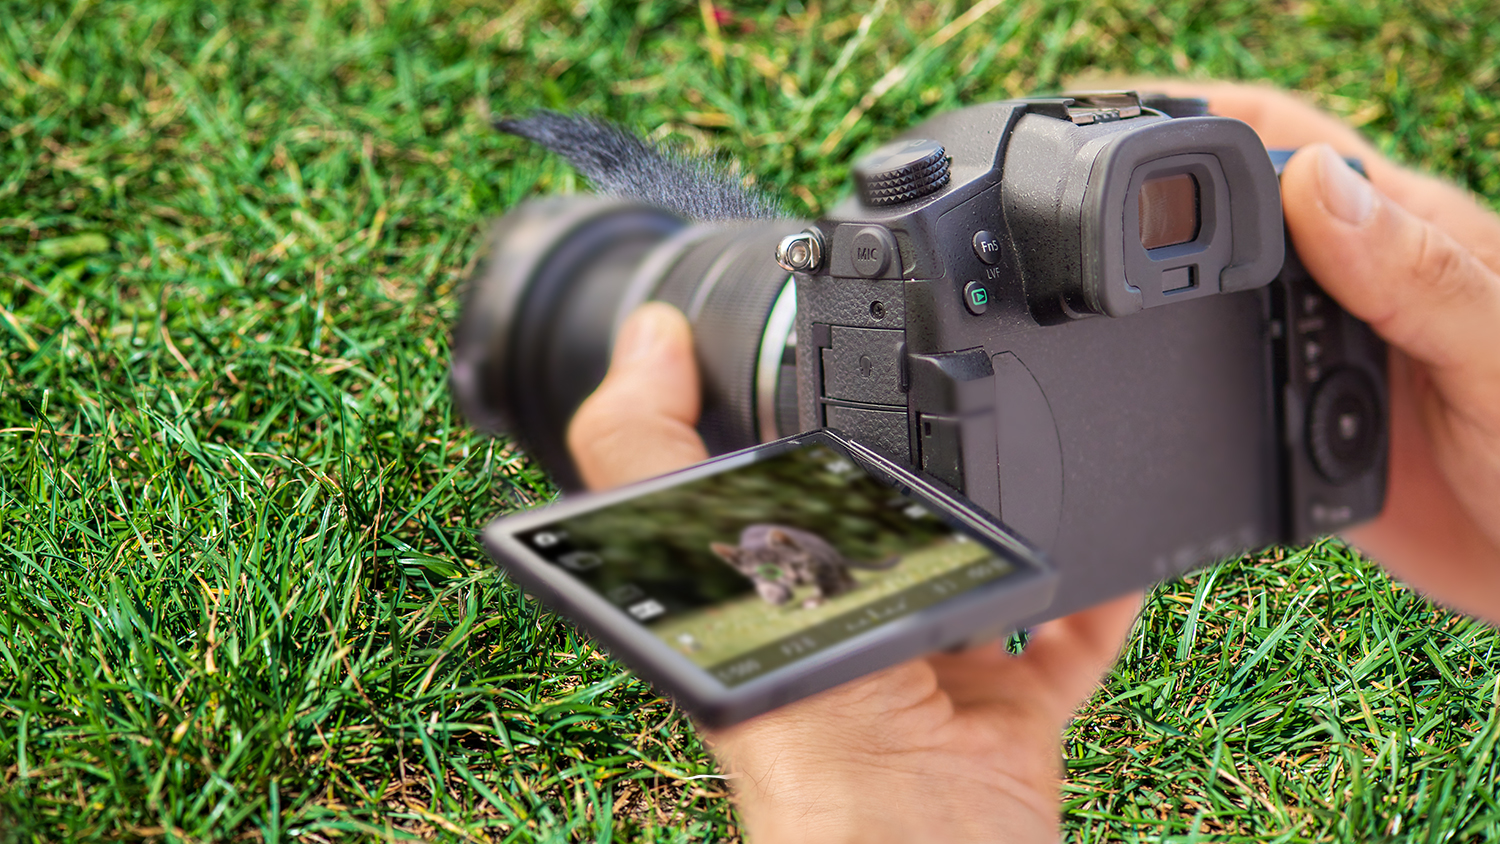
Does gear matter? For the best quality results, yes. You’ll want a camera that allows you to change lenses and manually control your exposure. Mirrorless cameras are the current standard and feature helpful tools like pet eye detection autofocus and silent shooting modes. These features are invaluable when photographing pets, as loud shutter clicks can startle a more skittish subject. Silence is golden for getting natural, relaxed behaviors.
After the camera, we come to the lens. Exactly which lens you choose to equip is a highly personal choice. There’s no shortage of options, so to help you narrow down your decision. We’ll want greater control of our depth of field, so a lens with a fast aperture is essential. A standard to medium telephoto focal length, such as a 50mm prime lens with an f/1.8 or even f/1.4 aperture, is the perfect starting point.

A more versatile option is a zoom like the 24-70mm f/2.8. Zooms provide multiple focal lengths, albeit in a larger, slightly slower package. For distant shots of the pet in its element, such as running, a longer focal length can be advantageous. A telephoto zoom will allow you to zoom in for details or more isolation as longer focal lengths increase our depth of field. Any zoom that gets you to 200mm is an excellent choice, and an f/2.8 aperture is desired, but not necessary, as this lens type will likely be used outdoors with ample light.

As always, extra batteries and memory cards are a must. You never want to be caught halfway through a shoot with a dead battery and no spare. If you plan on being out for an extended period of time, invest in a compact portable power bank. When your first battery runs low, simply swap it out and get it charging again.
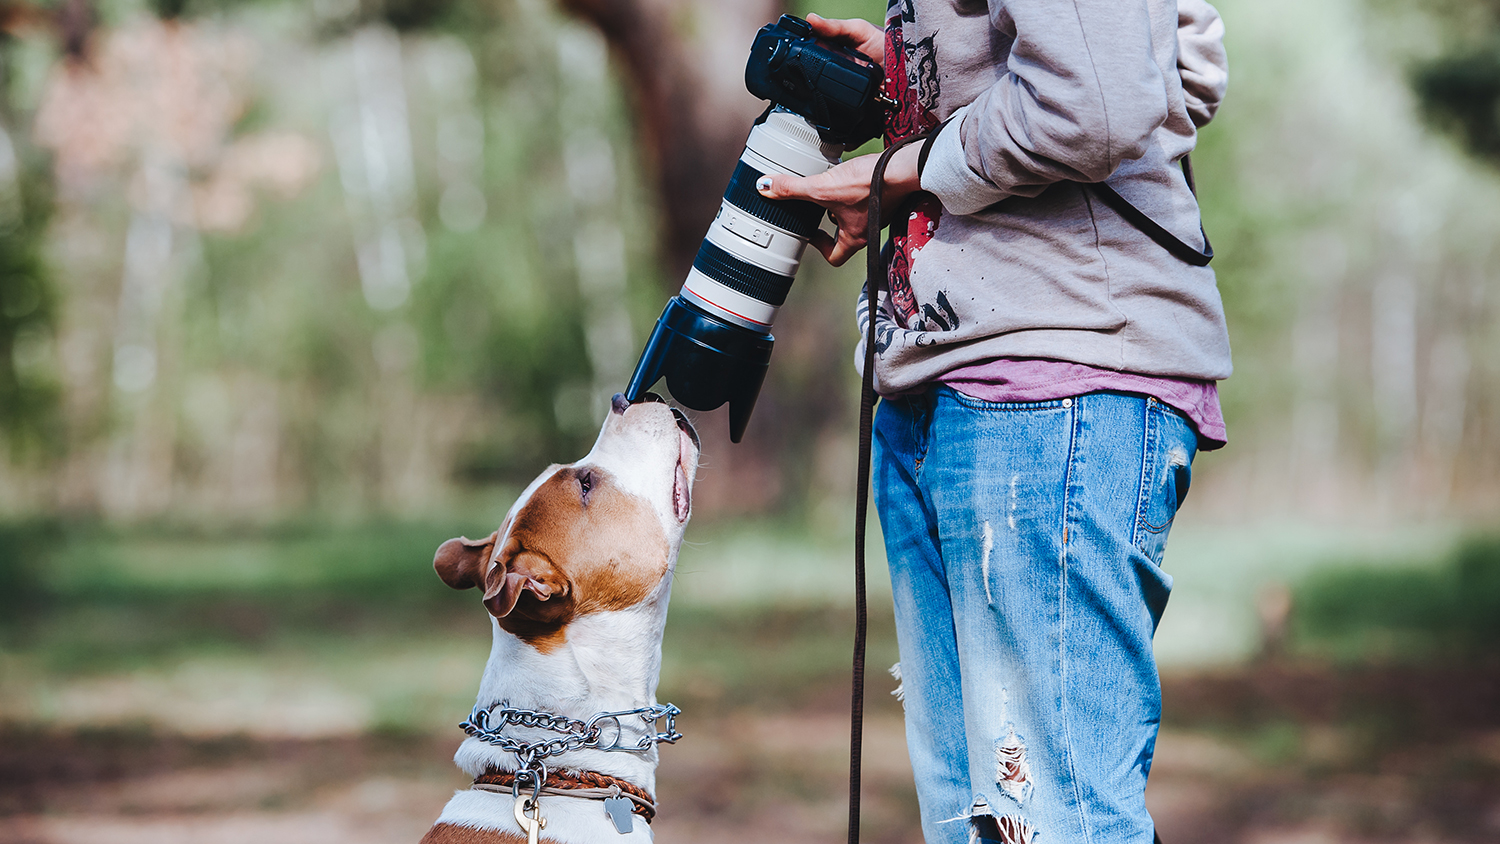
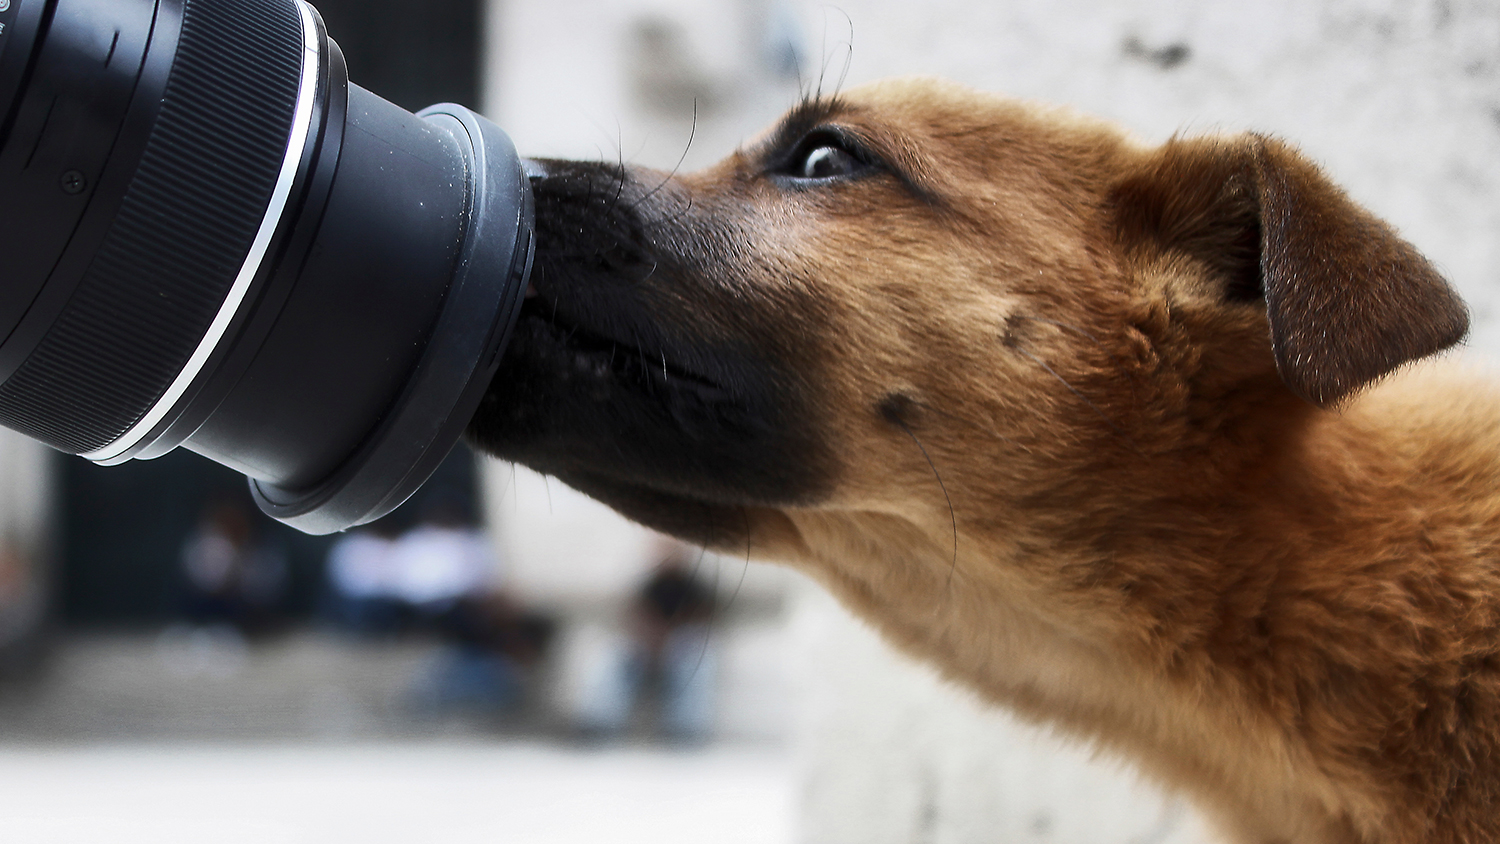
A lens cleaning kit is essential to keeping your gear up and running. This should include a brush for sand and dirt, a blub blower for the nooks and crannies, and lens cleaning wipes for those moments when a dog boops their snoot on your front element.
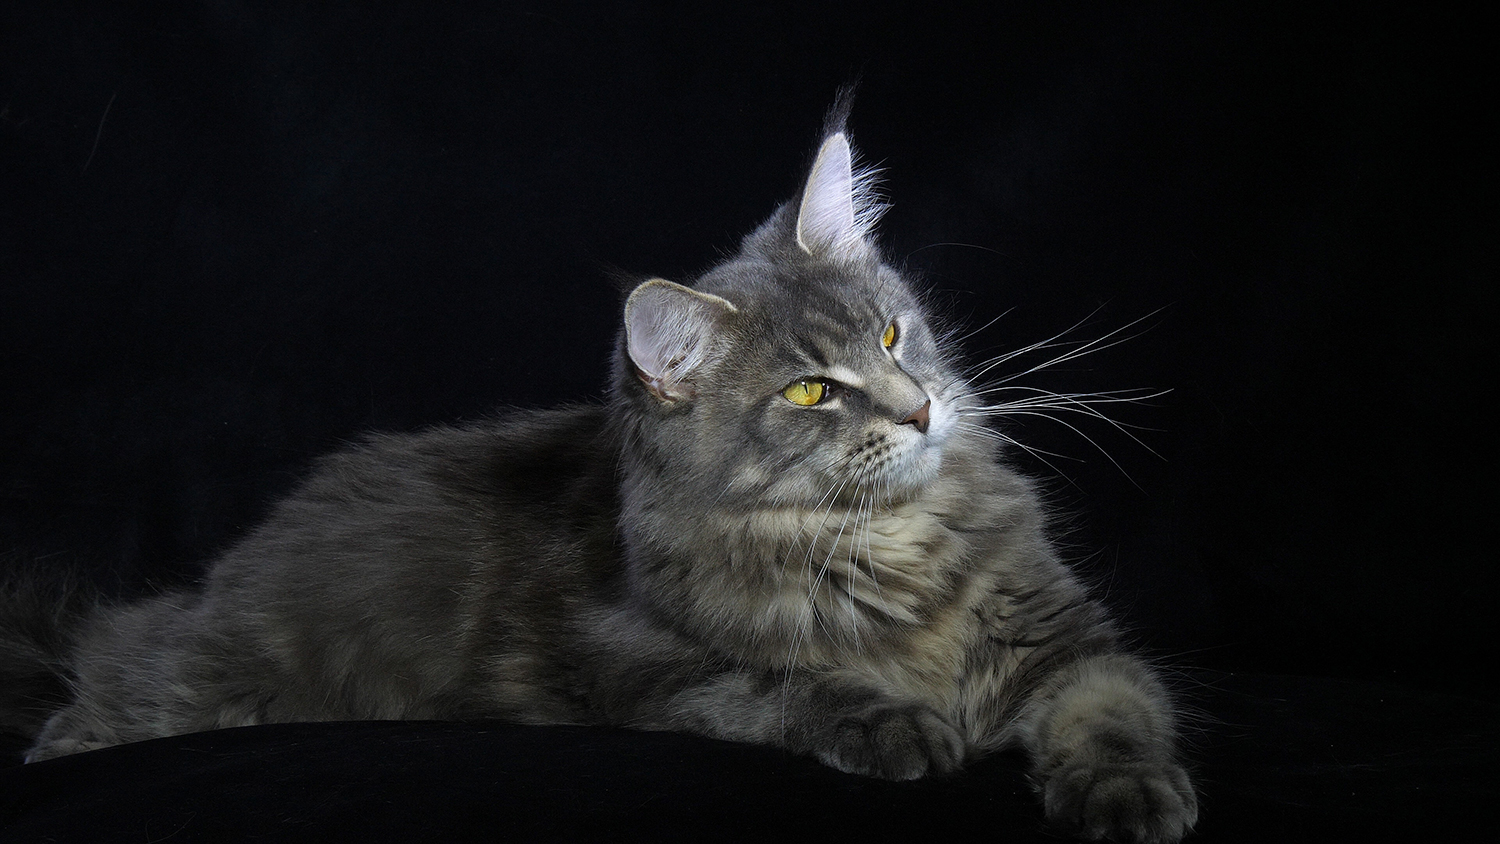
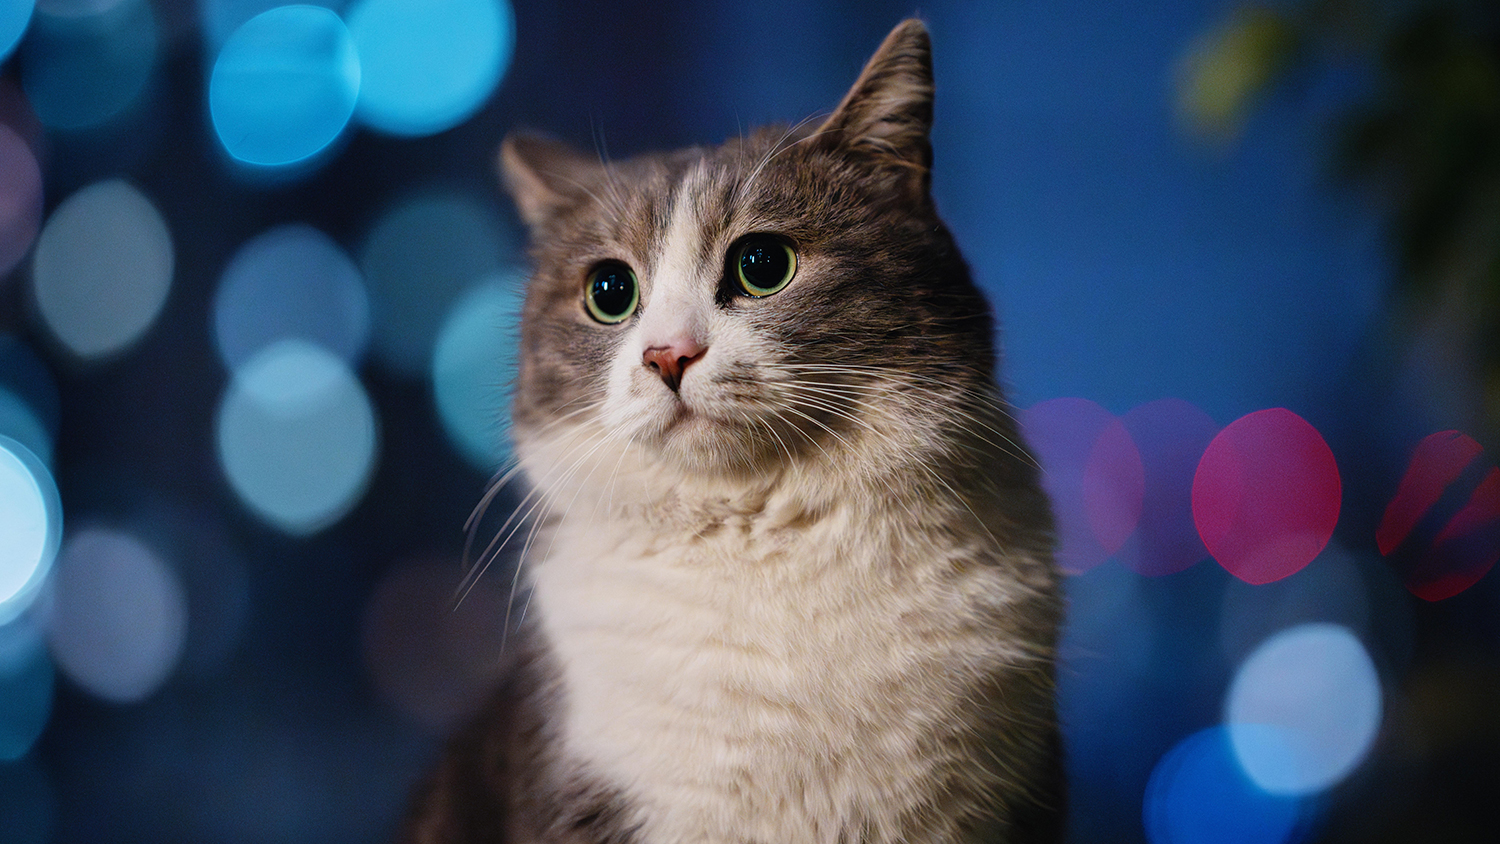
Aside from gear, it’s also important to understand that pets are animals. Even the best-behaved dogs and cats may be easily distracted or have a hard time sitting still. Cats are inherently more inquisitive, and far more likely to hold and maintain eye contact, though they can also more easily slink away and sneak off into secluded spaces. Have patience, work with the owners, and you’ll have a much easier time.
Before the Shoot
Have a plan. Heading out without an idea of the shots you want, or a rough plan is always a recipe for disaster. Sure, you may get a few nice shots here and there, but a well-thought-out photo shoot will always deliver a greater variety of results. That includes location scouting or setting up a studio space at home. This applies to those wanting to photograph their own pets or those looking to make a career out of it.
For the aspiring pro, a basic knowledge of portrait photography is a good start. If you can, plan on meeting with your client and their four-legged family member before the shoot. This way, the pet is familiar with you when the day itself comes. Some dogs and cats are wary of strangers at first, and this gives them time to acclimate.
Don’t overcomplicate your day. Choose a simple background, either natural or setup, and stick to it. Run-and-gun shoots often result in busy, cluttered backgrounds. Of course, an unusually photogenic subject may get the creative juices flowing and you can experiment to your heart’s desire. If there’s a one sentence tip to cover expectations, it would “take things as they come”.
For studio or at home shoots, a simple seamless paper backdrop can be the perfect choice. These create smooth, even backgrounds and put all attention onto the subject. This will require a background stand, but the finished images will be eye-catching.
Settings
The three main settings in our camera are Aperture, Shutter Speed, and ISO. Aperture refers to the diaphragm in the rear of a lens that controls the amount of light that reaches our imaging sensor. Shutter speed is the duration of the exposure, lasting anywhere from a fraction of a second to many hours. ISO is the last point of this exposure triangle, and it has little to no physical effect on our image. ISO is simply how sensitive our imaging sensor is to light. The higher it gets, the more susceptible our images are to digital noise or grain. This will impact the overall quality of the image but has no effect on the artistic quality.
Aperture is represented by values like f/2.8. The smaller the number, the larger the opening and the greater the amount of light we allow to hit our sensor. Aperture also plays a role in controlling our depth of field, or area of apparent focus. The wider the aperture, the narrower our depth of field, and the blurrier our background. Note that animals differ from humans as they have longer heads and snouts. A greater depth of field may be needed to get the entire head from nose to eyes in focus.


Shutter speed refers to the duration of the exposure. The faster our shutter speed, the more likely we are to freeze an object in motion. For stationary subjects, a good rule of thumb to follow is that your shutter speed should be as fast as your lens is long. For instance, if shooting a 200mm lens, your shutter would optimally be set to no less than 1/200s. Of course, modern optical and in body stabilization systems allow us to shoot at much slower speeds while retaining a good amount of sharpness. Practice with your gear before a shoot and see how slow a speed you can comfortably shoot before getting blurry images.
As mentioned before; in order to freeze fast action, we need to raise our shutter speed. For a running dog, your shutter speed may need to be as fast as 1/2000 to confidently get tack sharp images, but this is only half the equation. Tracking action itself requires good panning technique, which can be practiced on any moving subject. Essentially, you want to keep the subject as still in the frame as possible. No matter how fast a dog may be running, you can get a sharp image by keeping pace while panning.

ISO won’t alter our depth of field or freeze motion, but it will allow us to change our other settings to do so. When the available light dwindles and we need to keep our shutter speed at a certain level, we have two options. First, we can open our aperture, but this has its limits. Once our aperture is maxed out and our shutter speed is as slow as we can comfortably get it, we need to raise our ISO.
There was a point where ISO 1600 was considered a high ISO, then 3200, 6400, and so on. Most modern cameras can be used at ISO 6400 with ease, though we need to know how to use it. You will see more grain at ISOs above 1600; it’s simply the nature of digital imaging. This grain will have a more natural look, like film grain versus the digital noise earlier DSLRs saw.
One way to limit the amount of noise we see in our images is to expose properly when taking the photo. A common misconception is that if we keep our ISO down and brighten our image later, we’ll magically have less noise. This could not be further from the truth. Artificially raising our exposure in post will actually introduce more noise, which while not visible, is already in our image. If we cannot capture an image without an unusually high ISO, such as 8000 and beyond, we’ll want to light our image with flash or strobes.
Lighting
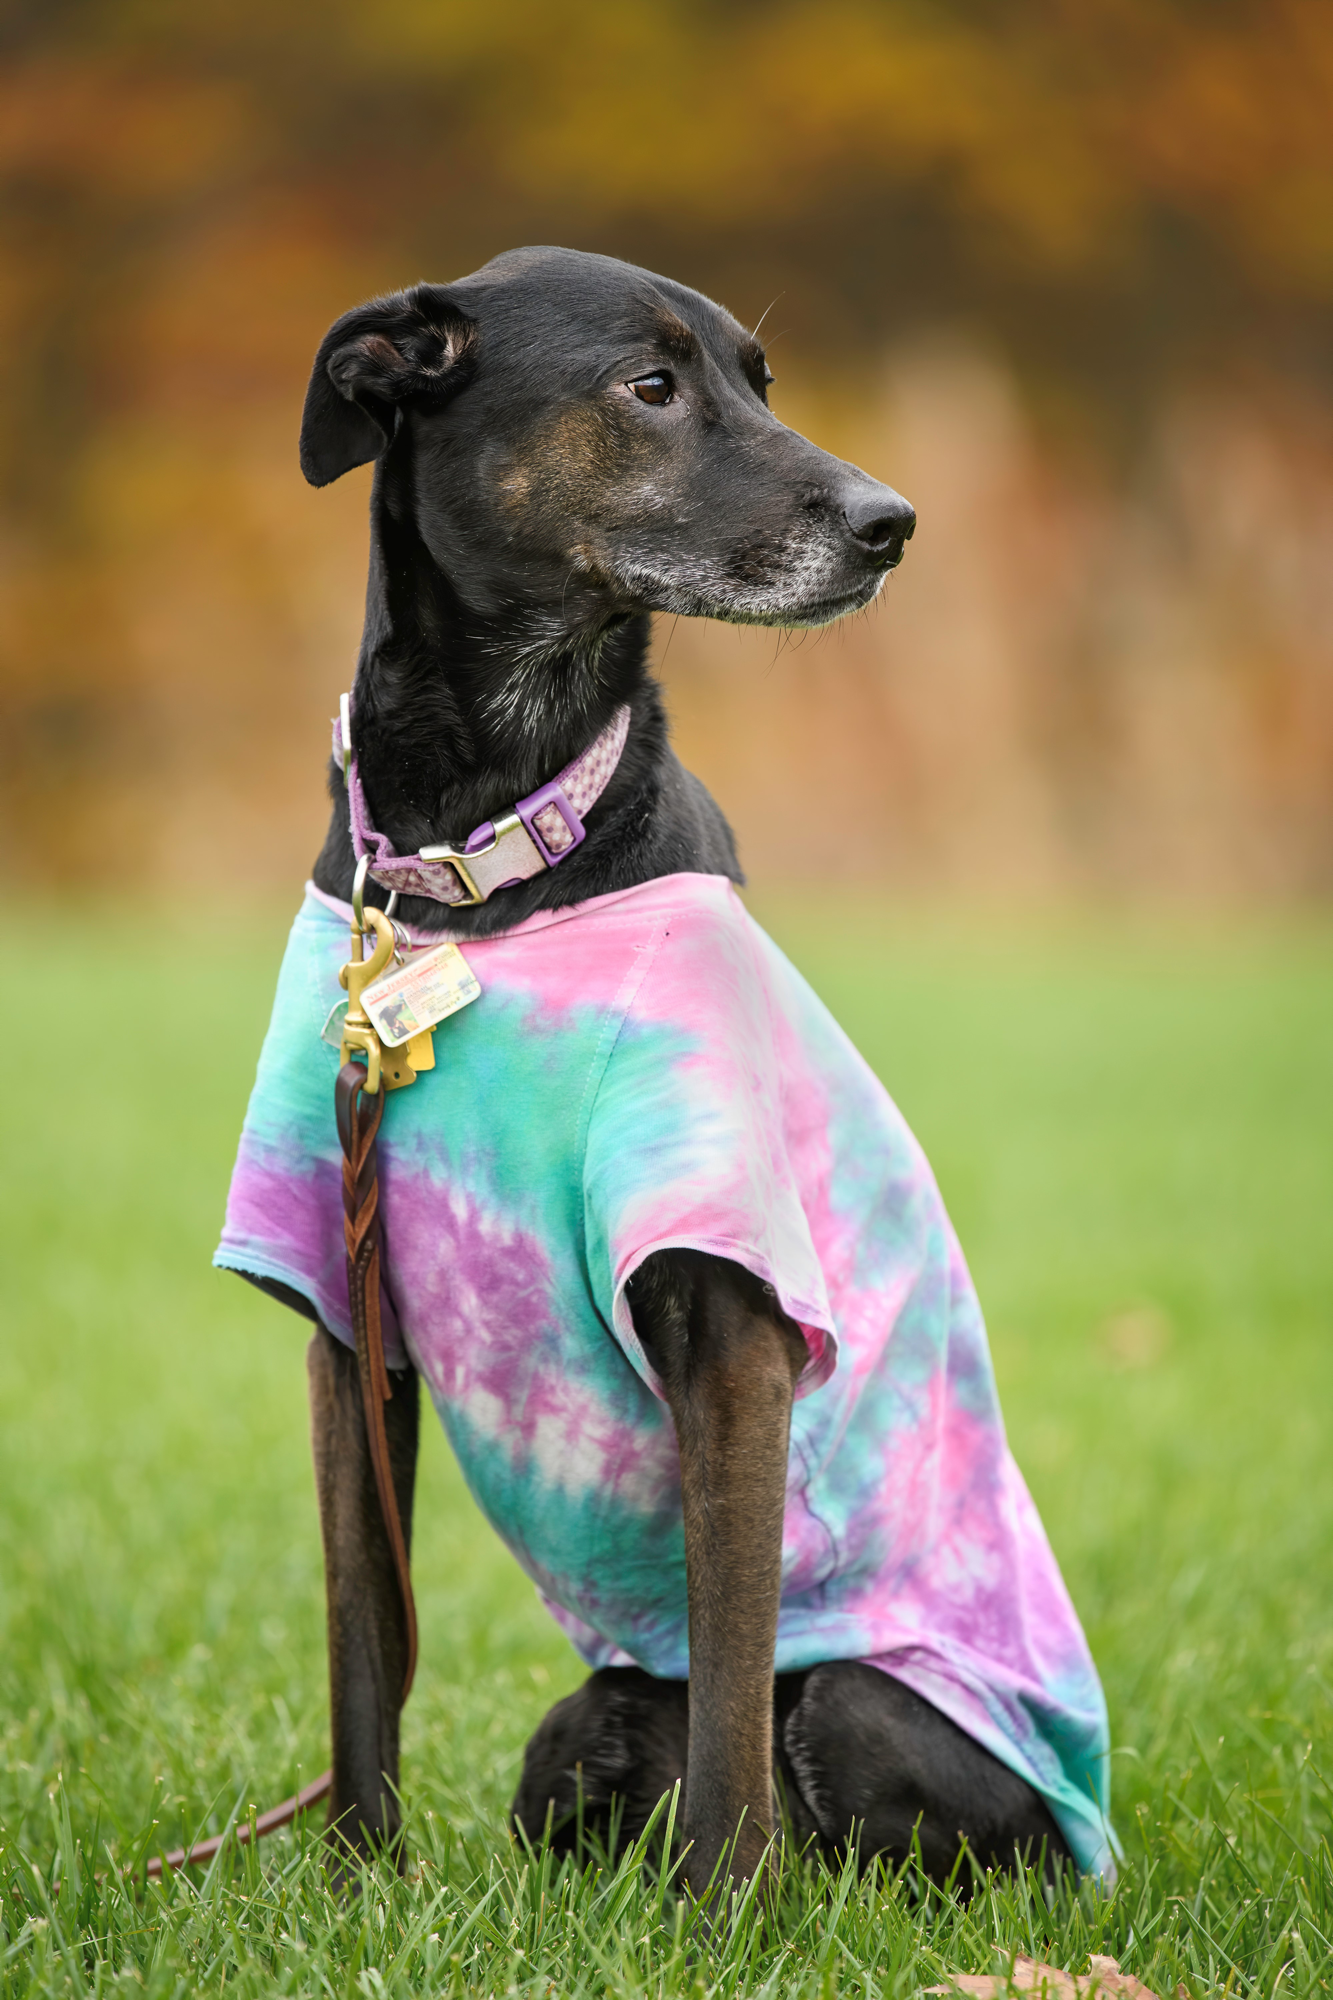
Natural light is a great place to start with pet photography. Bright, sunny days should be avoided, especially with darker colored dogs, as their coats are highly reflective. Early morning and late evening provide the softest light, which also has a warm quality to it, earning these times the nickname “golden hour”. Cloudy conditions provide good, soft light throughout the day and display fewer shadows and overwhelming highlights. Existing shadows can be filled with the use of reflectors, which bounce light back into the frame.


Indoor shoots will rely on artificial lighting such as on camera flash or constant lighting. Flash not only illuminates your scene but has the added benefit of freezing that split second into your image. If you have an exceptionally jumpy subject, this can be a life saver. As you get more familiarized with flash, you can begin experimenting with off-camera flash for a more dynamic look to your images. The only drawback of flash is that it may scare some pets. For skittish subject matter, constant lighting is recommended as it’s always on. For the new photographer, constant lighting is also recommended as what you see is what you get. There’s no guesswork as to what the final image will look like.
A byproduct of using artificial light is the creation of a bright catch light in your subjects’ eyes. Whether created by the sun or a studio strobe, the addition of a catchlight is essential for any portrait. This adds a little spark to your image and avoids the dead eyes look. Your catch light can be shaped using light modifiers like a soft box or beauty dish. Both of which spread and diffuse the light for a more pleasing result as well. Rounder catch lights tend to have a natural look, while the creative eye may prefer the unique look of a rectangular one.

Getting Their Attention
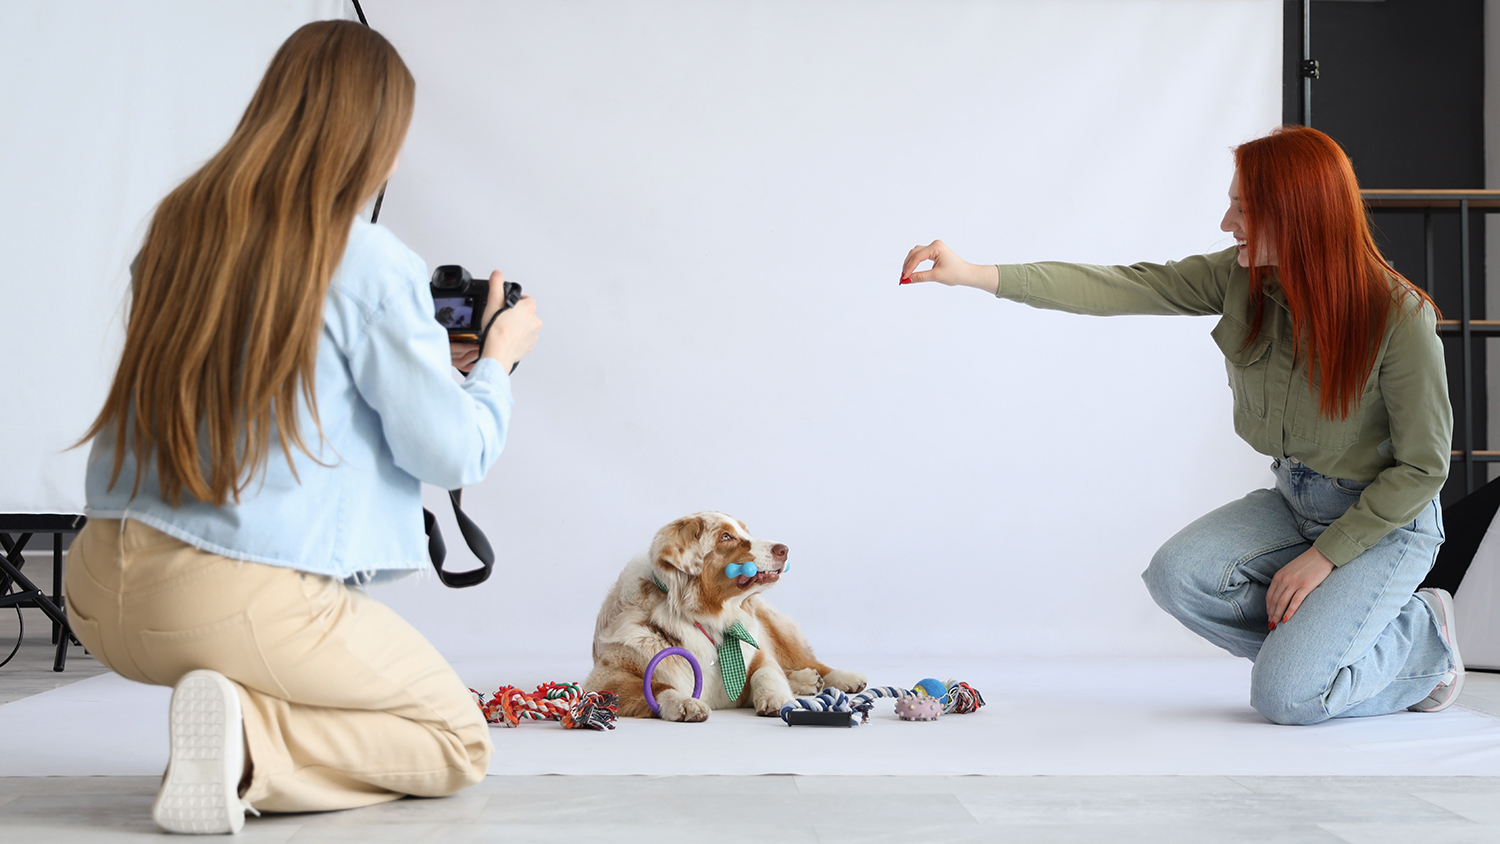
Getting and keeping a pet’s attention is likely the greatest challenge a photographer will face. This can be achieved quite easily with a toy or irresistible treat. If you’re photographing your pet, use a favorite treat to pose your furry companion as you wish. If you’re working with someone else’s pet, be sure to check with the owner for any dietary restrictions or food allergies before offering a treat. These should be smaller bite sized treats as larger ones may satiate an animal’s hunger, plus they take longer to eat and can leave a mess. Meat based treats are always more effective and always hand it to the dog/cat from the direction you want them to look in.

Now for a wild card. In my own experience, you may encounter a dog that doesn’t go for treats or toys in a photogenic way. They may also not respond consistently to their name being called, and they may be afraid of cameras. Introducing Hannah. She does all of the above. While she can be presented with treats, she can’t look at them without looking like a shark about to bite an unsuspecting victim. When I wanted to take some nice photos, I took her to a local park with the help of my sister. Having a helping hand is always useful as they can do the distracting and posing while you focus on the shots. In order to get a portrait of any kind, I needed to wait for another dog to be walked nearby. This drew her attention and allowed me to get a few good frames.
While you know your pet fairly well, new experiences can have varying results. If working with an unfamiliar animal, it’s especially important to be able to recognize signs of stress or anxiety. Dogs and cats are pretty easy to read, as they’re quite expressive with their eyes and body language. You want your subject to be at their most photogenic, so follow the above tips to help you put your subject at ease.
Composition & Other Tips
Composition refers to how we lay everything out in an image, from the subject itself to the horizon and elements in the background. Good composition can make or break an image, so it’s important to consider all aspects of a scene before pressing that shutter button.
As with any portrait, you’ll want to focus on the eye. The eye has been called the “window to the soul” and as a result, it is the first thing we look at when viewing an image of a living, breathing creature. Headroom is another important element that often goes overlooked. Leave space at the top of the frame to avoid cutting off bits of your subject’s head. For posed portraits, be careful when framing up or cropping tighter portraits. There are specific crops that look the most appealing to viewers that you should follow, such as a full body portrait, or the tight, headshot.


Watch your background for any distracting elements. This may be a bright spot that draws your viewers’ eyes away from your subject or could be a telephone pole that appears to grow out of your subject’s head. There is also the issue of color clashing. Natural tones tend to compliment most subject matter, but a studio setting presents the opportunity to create visually conflicting images. Stick to black, gray, white, and maybe soft pastel colors.
The rule of thirds is important to follow for action shots or images where your subject is looking off frame, though it can be challenging to follow when capturing tighter crops. No matter your subject’s position in the frame, there should be more space in front of them than behind them. Juxtaposing your subject with another in frame is a creative choice that adds depth to your image. This can be part of the environment, a structure, or another object in the scene. It shouldn’t distract your audience away from the primary subject, rather it should complement your subject.

While it might be difficult to do while tracking a fast-moving subject, keeping your horizons level will lead to a more visually pleasing image as well. In most cases, a little cropping can correct any askew horizon lines. After all, some cropping is almost always necessary in photography. Just be sure to level your horizons on the ground itself. Fences, wires, and other man-made structures may not be truly level. If the scenery involves uneven terrain, you can rely on head angles or good old fashion memory to crop the image to its natural orientation.
 they are undoubtably a member of the family for many and therefore earn a spot in this article.")
Another useful tip is to shoot from your subject’s eye-level. This puts your viewer in the world of the animal and makes for a more immersive experience. When photographing dogs and cats, it’s not unusual to kneel or even sit on the ground. This has the added benefit of physically putting you at the animal’s level which can encourage curiosity
If you’re a pet owner, you’re already halfway there. Practice often, experiment with different lighting setups, and go from there. If not, reach out to friends and family who do have pets and make a fun day out of it. We hope you’ve enjoyed the read. If you’d like to learn more about pet photography, there are a number of great videos available on the B&H Explora page.
