
Reverb gives sound verisimilitude. Think of it as the persistence of sound after it is produced—a phenomenon of multiple clashing and diverging sonic reflections whose characteristics are defined by the surfaces and materials they contact. It reveals the nature of a physical space in infinitesimal detail.
Reverb defines the tangible nature of space and our place within it—something that sighted and hearing humans often take for granted. You can infer a ton of knowledge about an environment simply by listening to what it sounds like.
The absence of reverb may be even more profound. Have you ever noticed how quiet it is after heavy snowfall? Because snow is an incredibly effective soundproofing material, you no longer hear the otherwise ever-present reverberation in our world, making silence the sonic backdrop of a snowy day.

Reverb, or the lack thereof, is a powerful thing and understanding it is critical to audio production.
In this guide, I’ll be going over the different types of reverbs, their controls and parameters, and some best practices of how to use them to great effect.
Controls and Parameters

Dry/Wet
A dry signal is the original source audio before any reverb added. A wet signal on the other hand, is fully processed with reverb. Most modern reverbs have a pan pot to control how dry or wet you’d like to signal to be.
Pre-Delay
Pre-delay is the amount of time between the initial (direct) sound and the start of the first early reflection, or the sound from the first surface that the sound waves bounce from. It is essentially the gap between the direct sound and the beginning of the reverb effect.
Pre-delay influences the perceived distance of a sound source as well as the size of the space it’s occurring in. Longer pre-delay suggests that the sound is closer to you, as the direct sound would hit your ears before the reflections from a surface would. Shorter pre-delay would sound like the initial sound, and its reflections are hitting your ears at about the same time, meaning the walls and the sound source are about the same distance, suggesting greater distance.
Early Reflections
Early reflections are the first soundwaves that reach your ears after bouncing off a surface, but before the true reverb trail begins, typically within 50-100 ms. Without a reverb trail, an early reflection would sound like a fast echo.
Early reflections influence the spatial positioning of the listener—louder early reflections would suggest the listener is close to a wall or object or in a smaller room, where quieter (or nonexistent) reflections suggest the listener is in the center of a large and open room. The early reflection’s timing, relative to the direct sound, also conveys the room’s size and dimensions; the longer it takes for the early reflection to begin, the bigger the space will be perceived.
Decay Time (RT60)
Decay time is the reverb tail—the amount of time for the sound to fade away. Acousticians use RT60 (Reverberation Time 60 dB) as a standardized measurement to calculate the decay time of reverberance: RT60 is the amount of time it takes for a sound’s pressure level to drop by 60 dB after the direct sound source has stopped.
Decay time indicates the size of a space and the materials (or number of people) within it. Large rooms with hard reflective surfaces like cathedrals will have a long decay time, where smaller rooms with absorbent materials, such as a carpeted living room, will have a short one. Human beings are naturally quite soft creatures, so more people in a room would decrease decay time.
Diffusion
Diffusion is the temporal dispersion of a sound source’s reflections—essentially the “smoothness” of the reverb tail. With high diffusion, the reverb tail will sound uniformly solid, like a single sound fading away, suggesting a larger room with flat surfaces and uniform dimensions.
Low diffusion results in a number of discernable echoes, indicating a smaller and more asymmetrical room, perhaps with jagged edges and random objects placed within it like the sound of a cave or a stairwell.
Diffusion is a textural tool that can transform the nature of a space and enhance the soundstage of a smaller recording environment. It’s a very “colorful” aspect of reverb.
Damping
Damping refers to how quickly high frequencies fade out in a reverb. Rooms with soft or porous materials (or one filled with people) naturally absorb high frequencies at a faster rate than lower frequencies, so damping can suggest the material within a room as well as distance, as high frequencies fade over distance faster than low frequencies.
High damping will sound darker, like the space has carpeting or thick curtains within it, while low damping will sound brighter, suggesting the walls may be made of materials like metal or glass.
Reverb Technologies
Algorithmic Reverb
Algorithmic reverb refers to a majority of digital reverb units and plug-ins, really used as a term to differentiate between conventional digital reverb the more computationally intense and verisimilar convolution reverb. Algorithmic reverbs generate reverb via mathematical calculations—digital signal processing, delay networks, loops, filters, and such—to create a sense of space. They are purely synthetic, making them highly adjustable and automatable for use on any recording, but unable to accurately produce the authentic sound of an actual space.
Convolution Reverb
Convolution reverb is a sample-based technology that replicates the sound of a real-world acoustic environment through use of an impulse response—essentially a digital sonic snapshot of a space. This is how modern reverbs can authentically recreate the sound of particular and notable acoustic spaces, such as the Sydney Opera House or the Roman Pantheon.
Because convolution reverbs are defined by real-world spaces, they are less adjustable and versatile compared to algorithmic reverbs but can replicate naturally occurring reverberation with impressive authenticity.
Modern convolution reverb plugins still allow for adjustments to basic parameters. Changing its size, length, and pre-delay are all possible, but the inherent sonic quality will remain dependent on the impulse response.
You can even make your own convolution reverb with Room EQ Wizard (a free software), a microphone, and a speaker—impulse responses aren’t difficult to make and implementing them is quite simple. You can even create “impossible” convolution reverbs by using an arbitrary audio file as an impulse response. The creative potential of convolution is pretty deep!
Reverb Types
Room
Room reverb aims to simulate the acoustic characteristics of a small to mid-sized space such as a studio, living room, or small venue. It’s meant to add a naturalistic sound that should make our brains instantly grasp the general shape and material of the space.
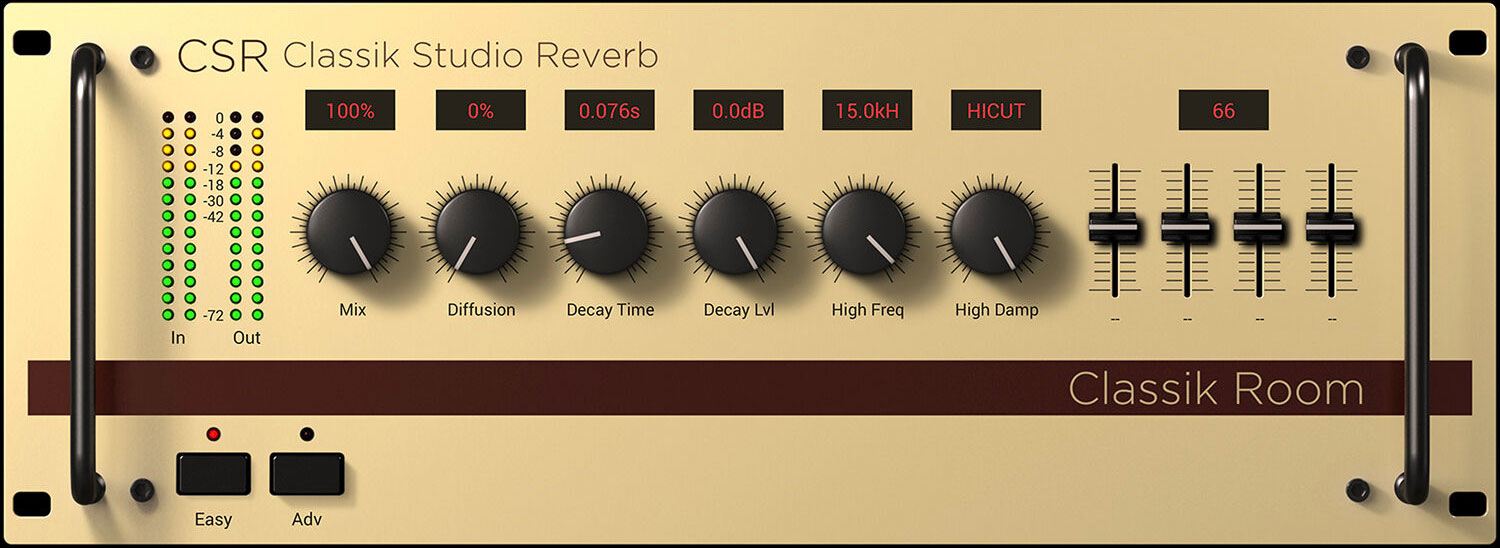
Room reverbs can add a sense of presence and intimacy as they’re not meant to push the original signal too far behind the reverb. They’re typically used with short pre-delay (0-20 ms) and decay (.5-1.5 seconds) times, prominent early reflections, and moderate diffusion.
Room reverbs are versatile and commonly used with a variety of instruments – great for gluing drums together, adding depth and presence to vocals, and blending two different inputs together to have them sound like they exist within the same space. It’s a great way to add air and shine to a track.
Hall
If room reverb simulates a studio space, hall reverb simulates a concert space, such as a concert hall, cathedral, or stadium. It’s what gives the sound of an orchestra its cohesion and what gives triumphant rock anthems their larger-than-life scale, using long early reflections and decay times, high diffusion, and natural damping.
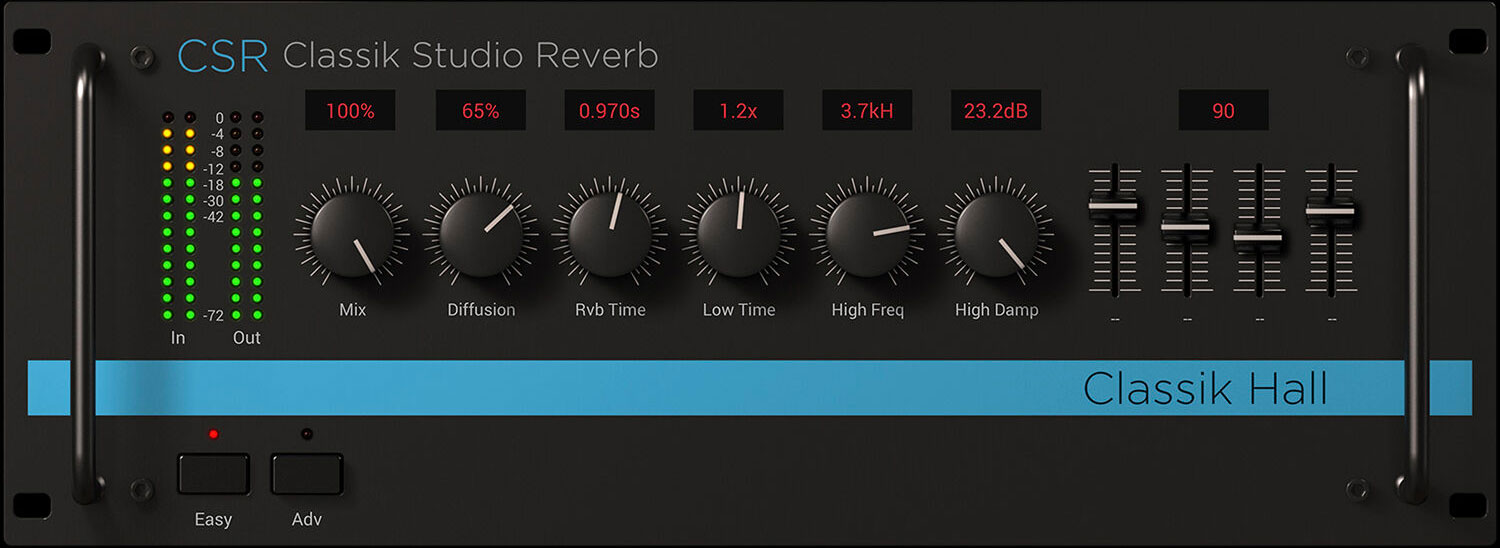
Hall reverbs are great for suggesting realism and injecting scale into larger productions, orchestral music productions, or any type of sound that needs to be huge and epic. Hall reverbs can easily wash out sounds entirely, so unless that’s your intention, be careful when using them!
Chamber
Chamber reverb refers to the sound associated with the early days of artificial reverb, when people would dedicate certain rooms—often bathrooms or stairwells—as echo chambers.

Chamber reverb creates a dense, textural, and focused sound with prominent early reflections and low diffusion, often “pingy” sound. If a hall reverb is too washed out and a room reverb isn’t giving enough juice, a chamber reverb might be your best bet.
Plate
Plate reverbs were one of the first true artificial reverbs to enter the recording space, starting with the EMT 140: an enormous quarter-ton machine meant to take the role of the echo chamber. Plate reverbs create their effect by vibrating a big thin sheet of metal with an audio signal and capturing the vibrations with a contact microphone or a magnetic pickup.
Plate reverbs sound dense, bright, and shimmery with high diffusion and little to no pre-delay, great for adding presence without implying distance. The EMT 140 plate reverb was prolific from the 1950s to the 1980’s, used on countless vocal, drum, and string section tracks.
Spring
Like plate reverb, spring reverb was another early form of artificial reverberation, first developed for Hammond organs. These instruments were meant to be played in peoples’ homes as a practice tool for church organists. That said, people’s homes usually don’t have the acoustics of a house of worship. Dealing with reverb you’re not used to hearing can be a difficult thing for musicians, so Hammond included a spring reverb in their organs to simulate the sound of the kind of room an organ would typically be played in.

Spring reverb does not even remotely sound like a church, but it has a particular “boingy” character to it, with zero pre-delay, low diffusion, and adjustable decay time. When using a physical real-deal spring reverb, kicking it or knocking it over cause the springs to crash against their casing, creating a rumbling crackle that’s often heard on dub and reggae tracks. You might have done this yourself if you ever have used a Fender Twin Reverb amp and moved it while it was on.
Reverb Tips and Tricks
1. (Almost) Always Parallel Process Your Reverbs
99% of the time you’ll want to send the audio you want to add reverb to over to a bus (or aux track/FX send) and place your reverb plug-in in that bus—not on the original track itself. This way, you’ll leave the original dry signal totally untouched while having control over the amount of reverb you want to add—just increase or decrease the output of the bus.
Some people will say that using the dry/wet knob on the reverb plug-in is the same thing. If you do this, I urge you to stop, because it is not. All effects and reverbs will distort a signal. By parallel processing, you gain significantly deeper control of the reverb while preserving the clarity of the original sound. Another advantage of this is being able to send multiple tracks to the same reverb bus. It’s a great way to glue sounds together and create cohesion in a track, particularly with drums.
Obviously, there are times when just placing a reverb on the original track is the way to go, often if the reverb is being used creatively. Use your best judgement but always have a reverb bus ready to go.
2. EQ Your Reverbs
This is another reason why parallel processing is so essential to reverb. You can use EQ (and any other effect) on ONLY the reverb track, which is something you’re going to want to do.
Reverb is naturally broadband, meaning they spread energy equally across the entire frequency spectrum. This can lead to a muddy low-end as reverb builds up over time and harsh resonance and sibilance that lingers in the high-end, making for a cluttered, messy sound. It’s common practice to use a high-pass filter around 400-600 Hz and a low-pass filter around 6 to 10 kHz—called the “Abbey Road” reverb EQ. Many reverbs will have high and low-pass filters built into their system.
EQing reverbs can also be used to create depth and separation in a sound because high frequencies don’t travel as far as low frequencies, filtering out highs can make a sound seem further away.
3. Automate Reverb Parameters to Create Movement and Intrigue
Using a reverb with only a single setting can work, but it often leads to a static mix. Use automation to create reverb swells that brings out intensity in a moment, adjust reverb tails to make sure they’re not bleeding over during transitions, ride the output after the end of a lyric to fill space or
add depth, automate pre-delay to repeat a lick or lyric. The possibilities are innumerable.
4. Pan Reverbs to Create Width and Motion
You can add some spice to your reverbs by adding some left-right information:
- Pan the reverb bus to the same position as the original sound to reinforce spatial positioning.
- Leave the original sound in the center but L/R pan the reverb to create width—or even automate the panning back and forth to create motion
- Use multiple reverbs with different settings hard-paned L/R to create larger space and deeper texture
Panning is powerful tool too often overlooked in bus and aux tracks. Take advantage of your creativity!
5. Sidechain Your Reverb: Duck and Bloom
Sidechaining is most commonly associated with compression, often used to create the pumping volume effect used in dance music but you can sidechain just about anything and reverb is one of the best things to do it with.
Large reverb tails can overlap and choke out the original signal. Sidechaining the reverb will force the reverb to duck whenever the dry signal is playing while allowing the reverb to bloom during any gaps in a phrase. This can not only clean up any muddiness in a mix but also be used to creative effect.
Sidechaining the reverb to a muted kick drum is a trick used commonly in EDM, which creates a rhythmic breathing effect that pumps in time with the beat, great for risers and generating anticipation.
Another trick is to “throw” the reverb. Setting an extremely long and bright reverb side chained aggressively to a lead vocal will cause the reverb to be completely silent until the moment the singer stops, filling the end of the phrase with an audacious bloom.
6. Reverse Reverb
This one is a commonly known technique, but it can add a dramatic entrance to a vocal line or guitar solo and can be a lot of fun to do.
You can achieve reverse reverb by reversing the first few moments of your track and applying a 100% wet long-decay time reverb to the audio and recording it. Then reverse that recording and put it in front of the original signal.
Some Rules of Thumb When Creating Space
- Closer sounds have longer pre-delay
- Closer sounds are dryer
- Closer sounds have more brightness (less damping)
- As a sound increases in distance, its frequency bandwidth narrows (bass and treble frequencies decrease)
- Further sounds have less brightness (more damping)
- Further sounds are more mono
- Further sounds have softer transients
- Further sounds are more diffused
- Small rooms have loud early reflections and short decay time
- Large rooms have quiet early reflections and long decay time
With this information, you’ve got everything you need to know to start making great sounding and creative reverbs in your mixes and recordings! Be sure to check out some of our other articles and guides we have at B&H Explora; we’ve been reviewing audio gear, remembering some of the classic studio hardware, and giving out more mixing tips.
