
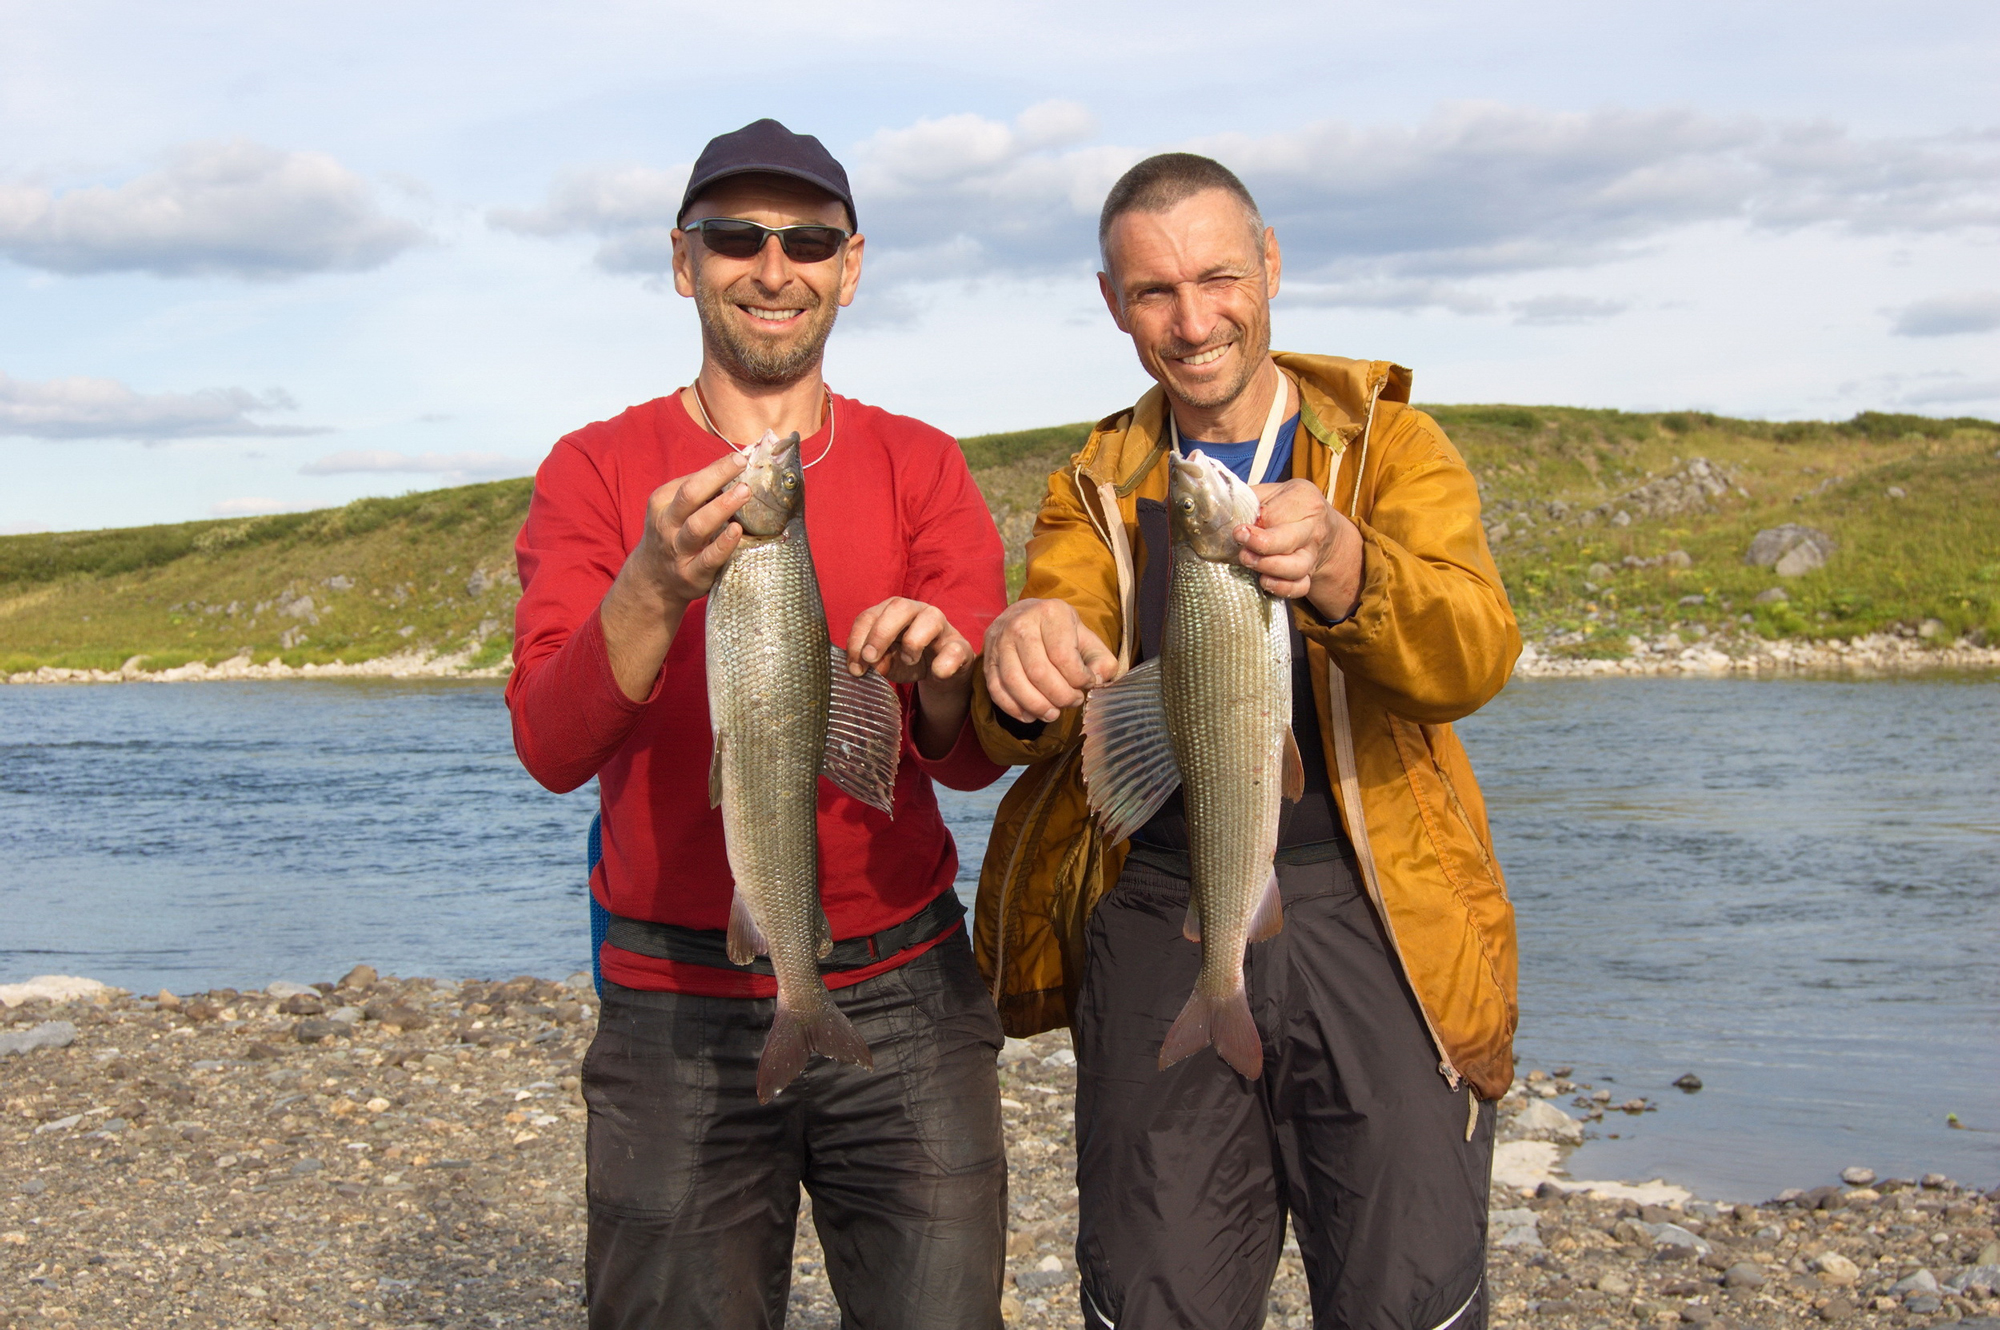
When I think of fishing photography, I think of the countless 4 x 6" snapshots taped to bait shop and barroom walls I’ve seen over the years, the ones with the proud angler holding the prized catch of the day. These are ubiquitous, universal, and really have no need for improvement, since the point is simply to show the size, quantity, or beauty of the fish—a good memory. Yes, there are terrific “fishing photographers.” Their work often blends into nature and adventure photography and they have found inventive and beautiful ways to demonstrate the process, gear, and locales for fishing, but for those “trophy” moments, the routine is established—stand there, hold your fish, and smile. This article will discuss a few techniques and pieces of gear that can improve those “grip-and-grins,” but if you decide you want to expand your photography and present the full sense of this wonderful pastime, drop us a line at Explora and we can suggest some ideas and examples.
Gear
For me, there is no application more appropriate for a “tough” point-and-shoot camera than fishing. They are compact, easy to fit into a pocket or bag, can be dropped without concern for breaking, and are waterproof. In addition to their “tough” specs, the top-end versions offer very impressive imaging capabilities with fast burst rates and wide-angle to telephoto optical zoom. In this category, the Olympus Tough TG-5 Digital Camera is a standout for its fast processor, f/2 lens, RAW capability, and built-in Wi-Fi and GPS. The Olympus Stylus Tough TG-870 can be purchased for a lower price, but is still a very good camera for this application. The Nikon COOLPIX W300 Digital Camera is the latest of Nikon’s waterproof offerings and even provides 4K video, but models from Canon, Fujifilm, Panasonic, and Ricoh are all well-suited for fishing and can live happily in your tackle box with the rest of your gear.

If you have hopes of elevating your photo game or simply want more control over imaging, you should consider a DSLR camera. Obviously, Nikon, Canon, and Sony make great cameras, and their top-tier models are as tough as they come, but recent Pentax DSLRs have built a reputation for performance in inclement weather. The Pentax K-3 II DSLR, for example, features a rigid magnesium-alloy shell over a stainless-steel chassis and is fully weather resistant, cold-proof to temperatures as low as 14°F, and sealed against dust and moisture with 92 independent seals. The company’s flagship DSLR, the Pentax K-1, is equally durable and even the more affordable models, including the K-70 DSLR, afford protection against the elements. Both the K-1 and the K-3 II feature built-in GPS, compass, and AstroTracer functions.

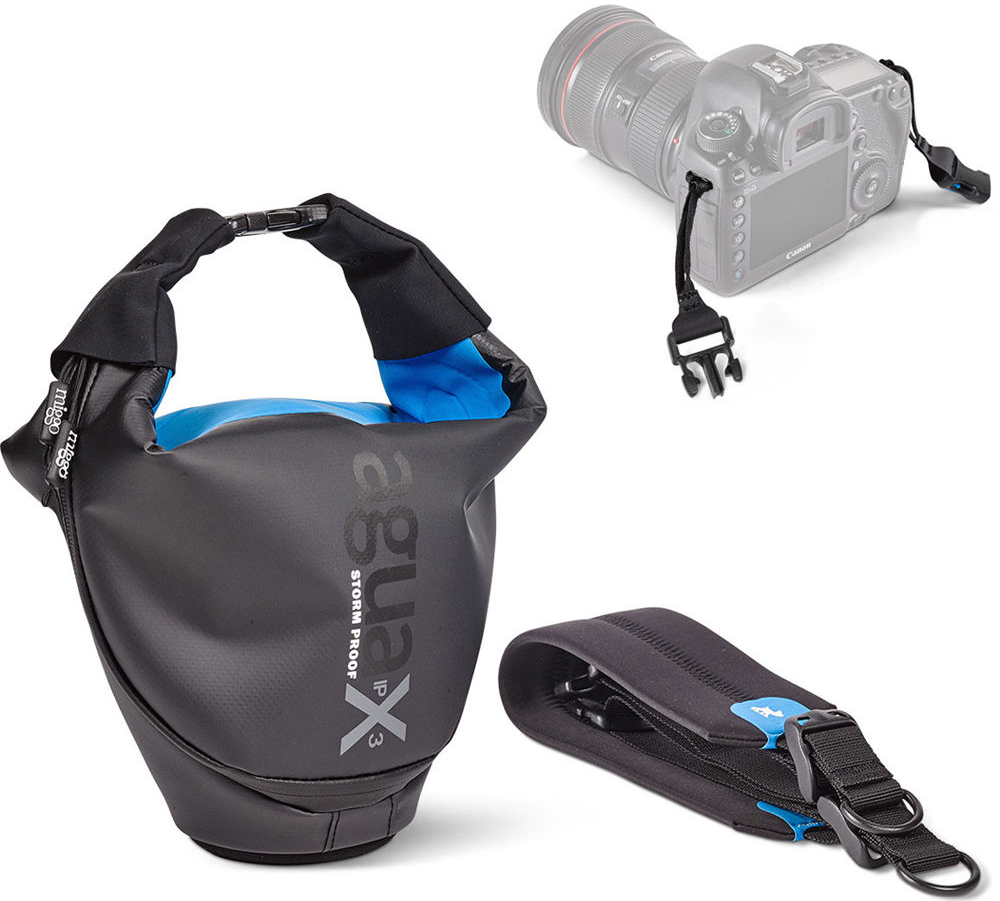
Regardless of which DSLR you purchase, protect it with a waterproof case, such as the miggo Agua 35 Stormproof Holster, which can hold a medium DSLR with lens attached and enables easy access with its quick-release, locking strap buckles. If you are determined to shoot with your cellphone, be sure that you house it in one of the many available waterproof cases or pouches. The Xuma Waterproof Pouch for Smartphones up to 5" is waterproof to 26' and allows access to buttons and touchscreen. DiCAPac also makes many models of waterproof cases for smartphones, including the Waterproof Floating Action Case for Smartphones, which as the name suggests, will float if dropped in the drink.
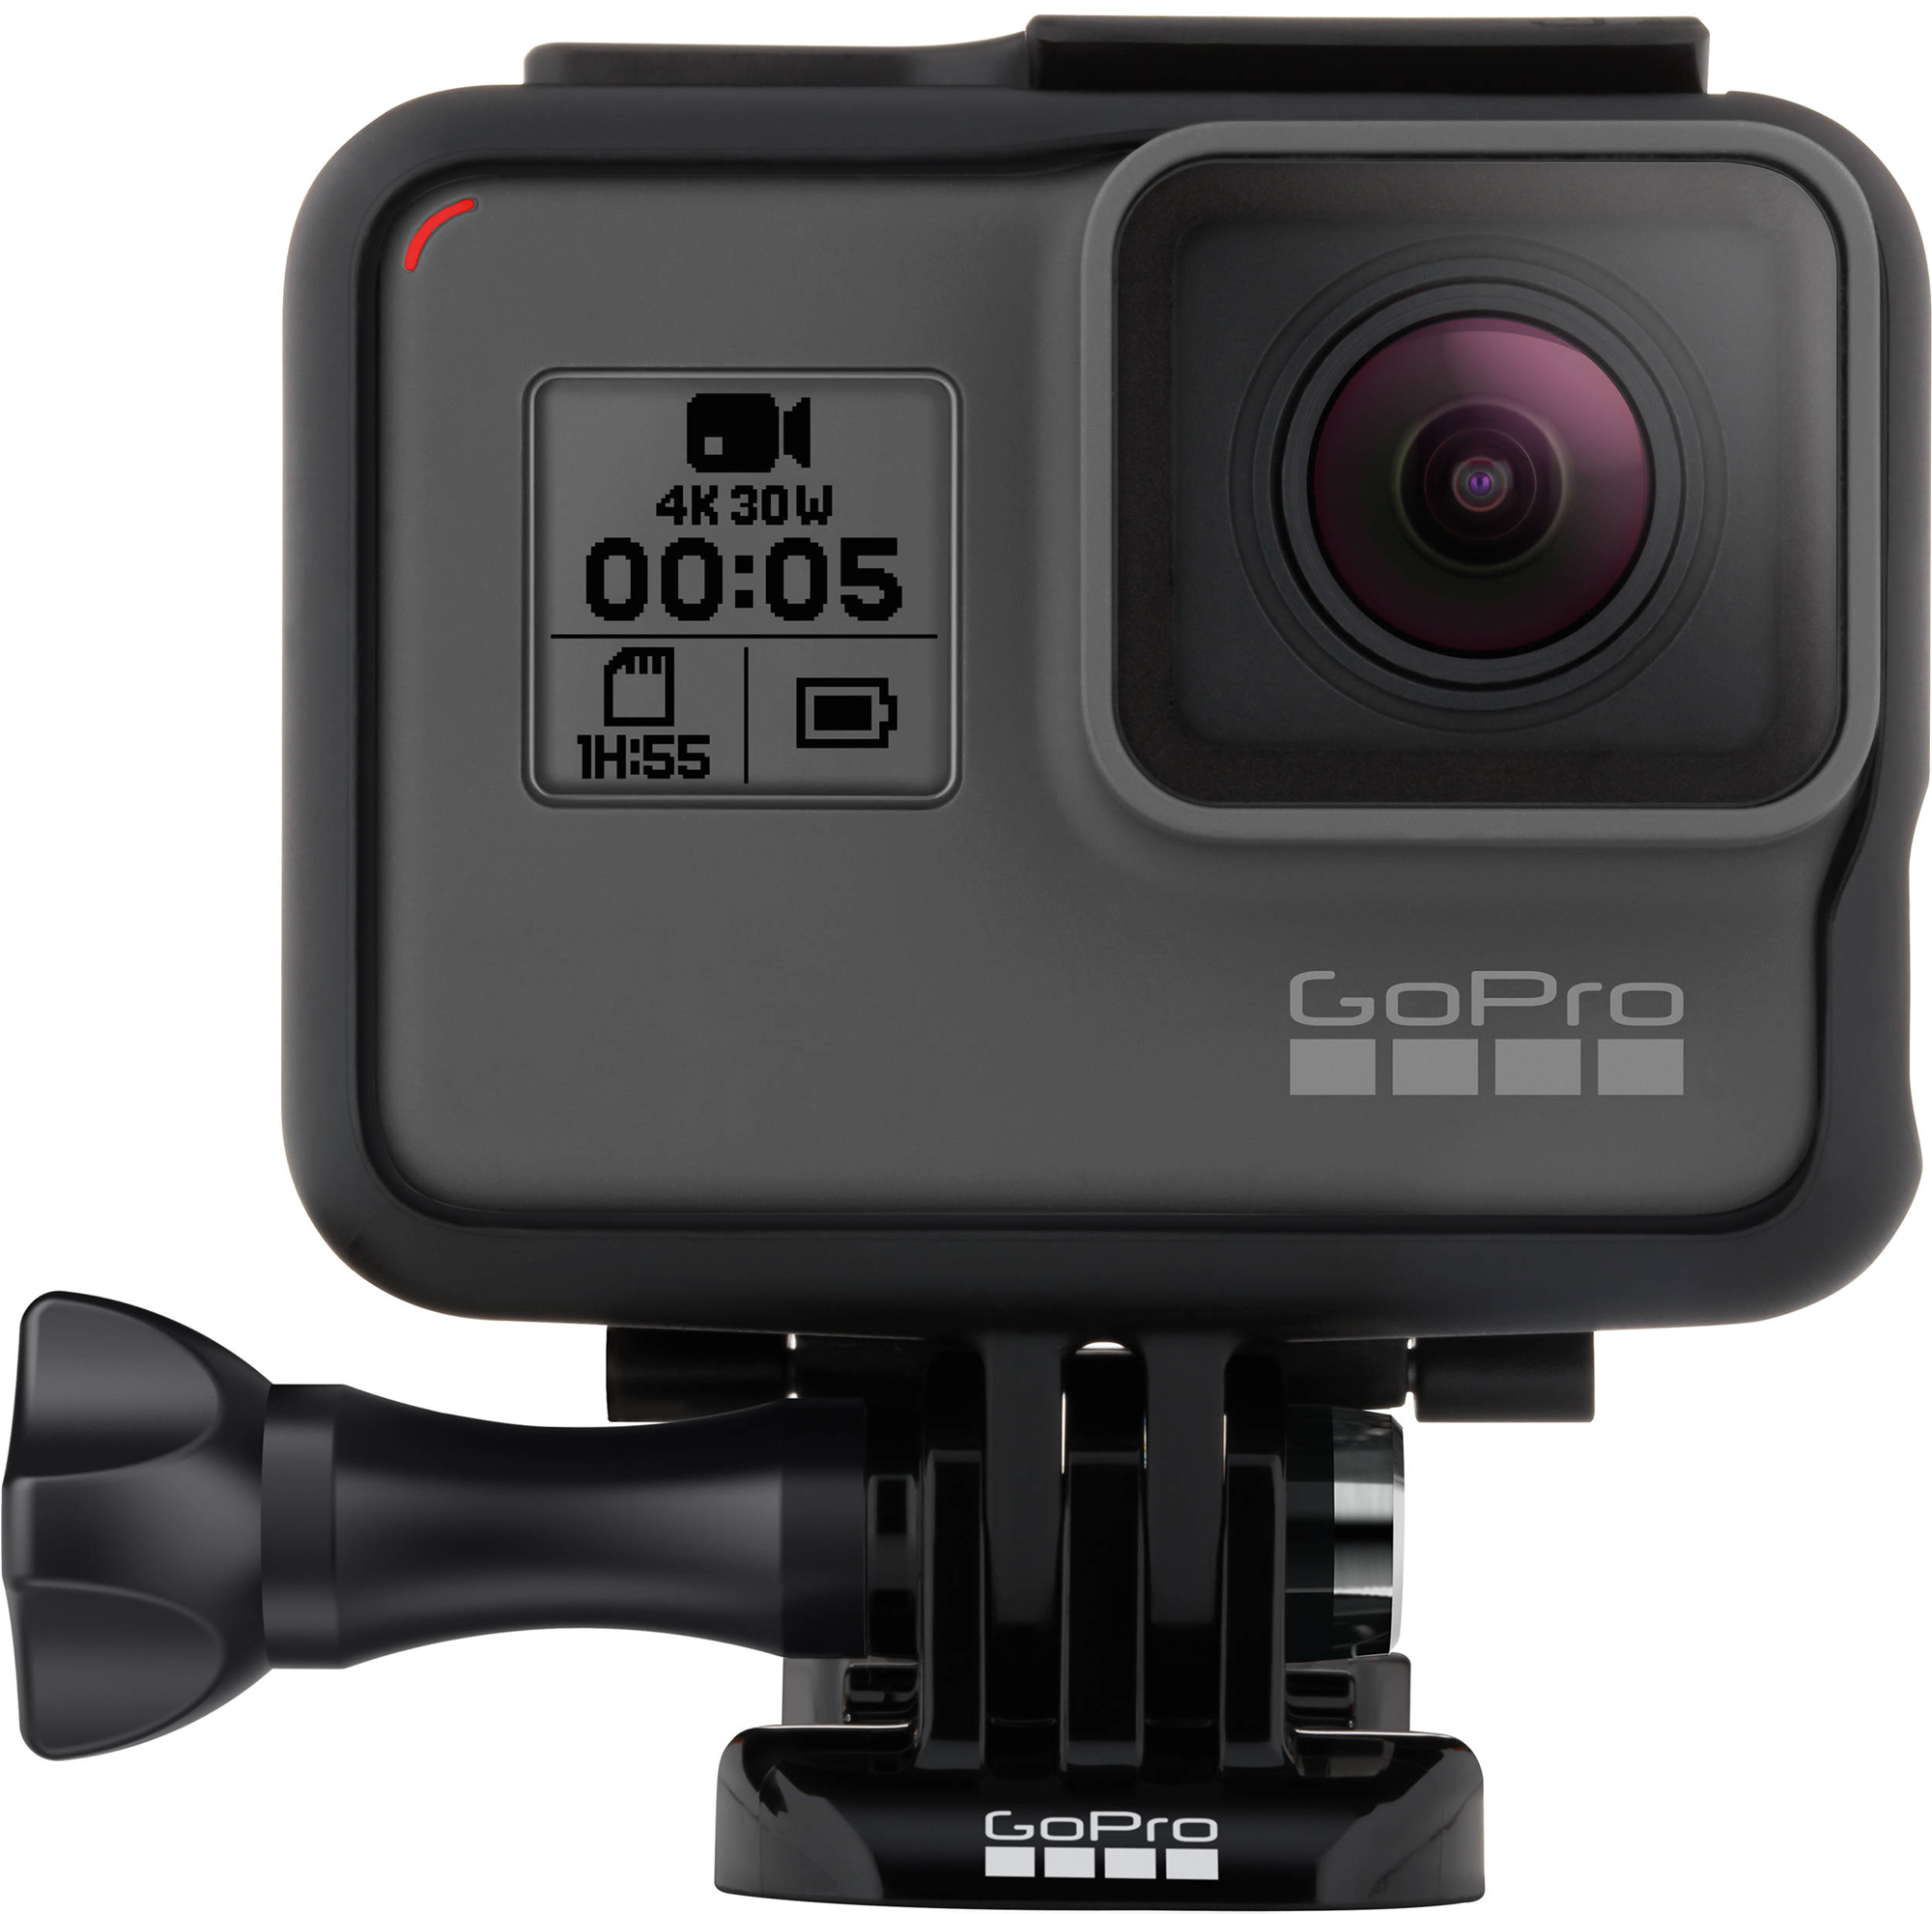
Although they can do much more than just take snaps of your catch, action cameras such as the GoPro HERO5, Sony FDR-X3000, Garmin VIRB X and many others are a good option for still photos but better capture video of the struggle to land your fish and, of course, they can be mounted and used hands-free. Most are waterproof, although some need a separate protective case to be completely water- and drop-proof and, to up your game even further and provide precise angles and smooth video when using a GoPro HERO5, HERO4, or HERO3, consider the FreeVision VILTA 3-Axis Gimbal. This little wonder can be used handheld or mounted and, because its joystick controls are in the base, you retain functionality, including 360° pan rotation, while mounted.
Technique
Despite mentioning DSLRs, action cams, and compact gimbals, the thrust of this article is about taking better “snapshots” of fishers and their fish using simple cameras and, with that in mind, here a few basic ideas.
First, make sure your camera is operating and ready to go. Photos at the end of the fishing trip may not need to be taken quickly, but if you are releasing after the catch, you want to be ready immediately to get that shot, so be sure that your camera is handy, with a charged battery, available memory, and free of condensation, mud, and other obstructions. If catch-and-release is your style, then be kind to the fish and remember to get that shot quickly. I read once that to better understand what the fish is going through, start holding your breath the moment the fish is out of water and breathe only when it’s back in. Can you take a selfie or can your mate get a shot in that time frame? Even when rushing, it’s important, though, to compose yourself and keep a steady hand the moment you press the shutter so as not to blur the image.

Regardless of when you take the photo, try to be positioned in even lighting. A cloudy day is ideal, but if it’s sunny, the photographer should be in the same light as the subject, not one in shade and the other in sun or vice versa, and if you are both in sun, position yourself with the sun behind you, not behind your subject. One thing to remember is that baseball caps, a.k.a. fishing hats, create shade over the face, making it too dark to even see the eyes. Of course, sunglasses don’t help either, in terms of registering that proud smile, so ask your subjects to take off the glasses and tip up the cap or flip it backwards. If they’re as stubborn as a bluefish and refuse, then you might want to kneel to get a better angle and use the automatic flash setting on your point-and- shoot camera to create fill flash, which will add light to the shadows without blowing out the highlights. Also, with sun directly overhead, even without a ball cap, the eyes will be lost in shadows, so waiting until evening’s “golden hour” can be advantageous, or try to find a spot where light bounces into the face without being too strong—a white wall, a boat’s deck, or improvise a reflector with the top of a Styrofoam cooler, a plastic table top, or a car’s windshield reflector.
Another concern is the background. You don’t want a background too cluttered so that the eye does not go to the fish and/or the face of the angler. Avoid busy backgrounds and, as with the light, choose a uniform background, either open sky and water or a “closed” background, such as bushes or trees, but not both. Always check the background to be sure nothing appears to be sticking out of your subject’s head or out from behind the fish that might prevent a proper sense of the size of the catch. Normally, trophy shots are taken with someone holding the fish, so scale (no pun intended) is not an issue when determining size, but be sure you back away enough to get the whole fish in the frame.
As I mentioned earlier, a shooting angle from below will help with perspective, especially if you are taking photos of kids, and it will help get some light up under that ball cap, but be careful you don’t shoot into the sun and create flare. If you are taking a photo with multiple people holding fish or multiple people taking a photo, pause a second to be sure everyone is looking at your camera and do or say something to get a reaction, whether it’s a smile you want or a look of extreme pride—anything is better than a stare as dead as the fish’s.
In terms of bringing vitality to an old form, you may want to consider using a wide-angle or a macro lens. Many point-and-shoots have macro settings, and their focal ranges start at the wide-angle end, so it’s not a matter of needing an expensive setup as much as learning the functions of the camera you have. Using the macro setting, you can get in very tight to the fish’s eye, mouth, or scales, and have that be the focus with an out-of-focus subject smiling in the background. Using a wide-angle focal length, you could have your subject hold the fish with its mouth pointing toward you as opposed to horizontal across the frame.

There are also infinite ways to inject some fun into the format. With a waterproof camera or case, you could take a photo of the fish being held underwater. You could place the fish on the ground with your rod placed artistically next to the catch, include the lure you used, have the fish popping its head out of your wading boots or as many do, hold the fish “sideways” and do a profile of both predator and prey. Whatever you decide, enjoy the moment, because these photos—whether you are an experienced angler or party boat partier—make for memories to be treasured long after the fish dinner is digested. And you never know, they may find their way to a barroom wall where a total stranger may one day muse, “hmm, nice fish.”
