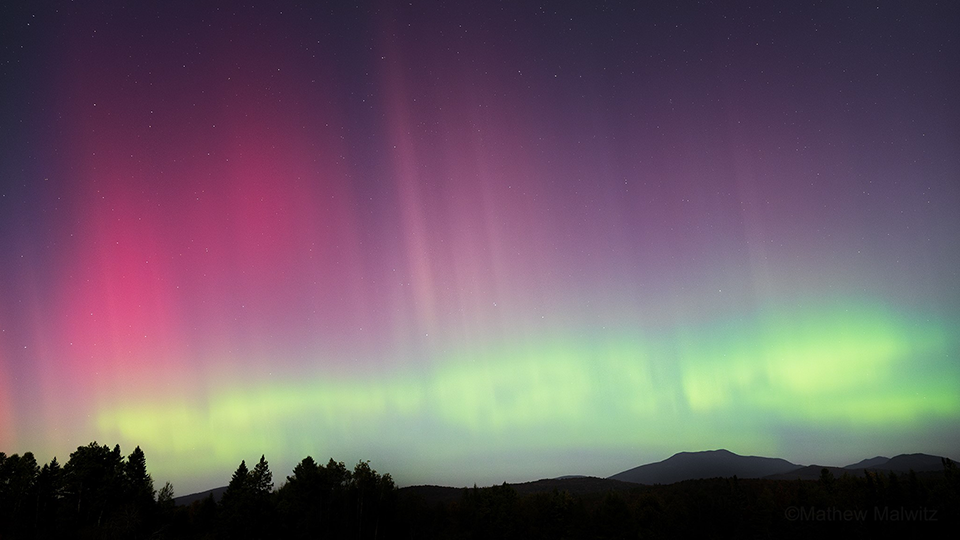
Typically confined to the northernmost latitudes of our planet, the northern lights—or "aurora borealis"—are a natural spectacle many dream of seeing. Recently, it may seem like auroras are occurring more often and are visibly farther south than ever before. Maybe you've already seen one or even photographed one with your phone.
While rare, exceptionally powerful auroras have been seen with the naked eye as far south as Alabama. These are uncommon, but in mid-latitude states, visible auroras are a bit more frequent. Last summer, I found myself heading to the more desolate regions of New York to photograph this natural phenomenon. Below, you'll see a number of images I took during those outings, which inspired this article. I've put together this guide to cover the gear, technique and compositional requirements to do so.
Getting Started
If you've been following the recent uptick in auroras, you're off to a great start. If not, a little background: Our sun goes through an 11-year (or so) cycle of activity. The peak of this cycle sees an increase in sunspots and other solar activity like flares and coronal mass ejections (or CMEs). This peak in activity is known as solar maximum. At the time of writing this article, we are past the peak of this cycle, but auroras can occur at any time. They're just more common during solar maximum.
For those looking to get started, a good resource to learn from is spaceweatherlive.com. See updates on solar phenomena and learn the ingredients that make an aurora tick. Just because a local weather station says that an aurora might be visible in your state tonight, doesn't mean it'll be visible all night. In fact, it may not be visible at all. This is why I recommend doing your homework, so you can be better prepared for the chase. Now, let's get into it.
Location Scouting
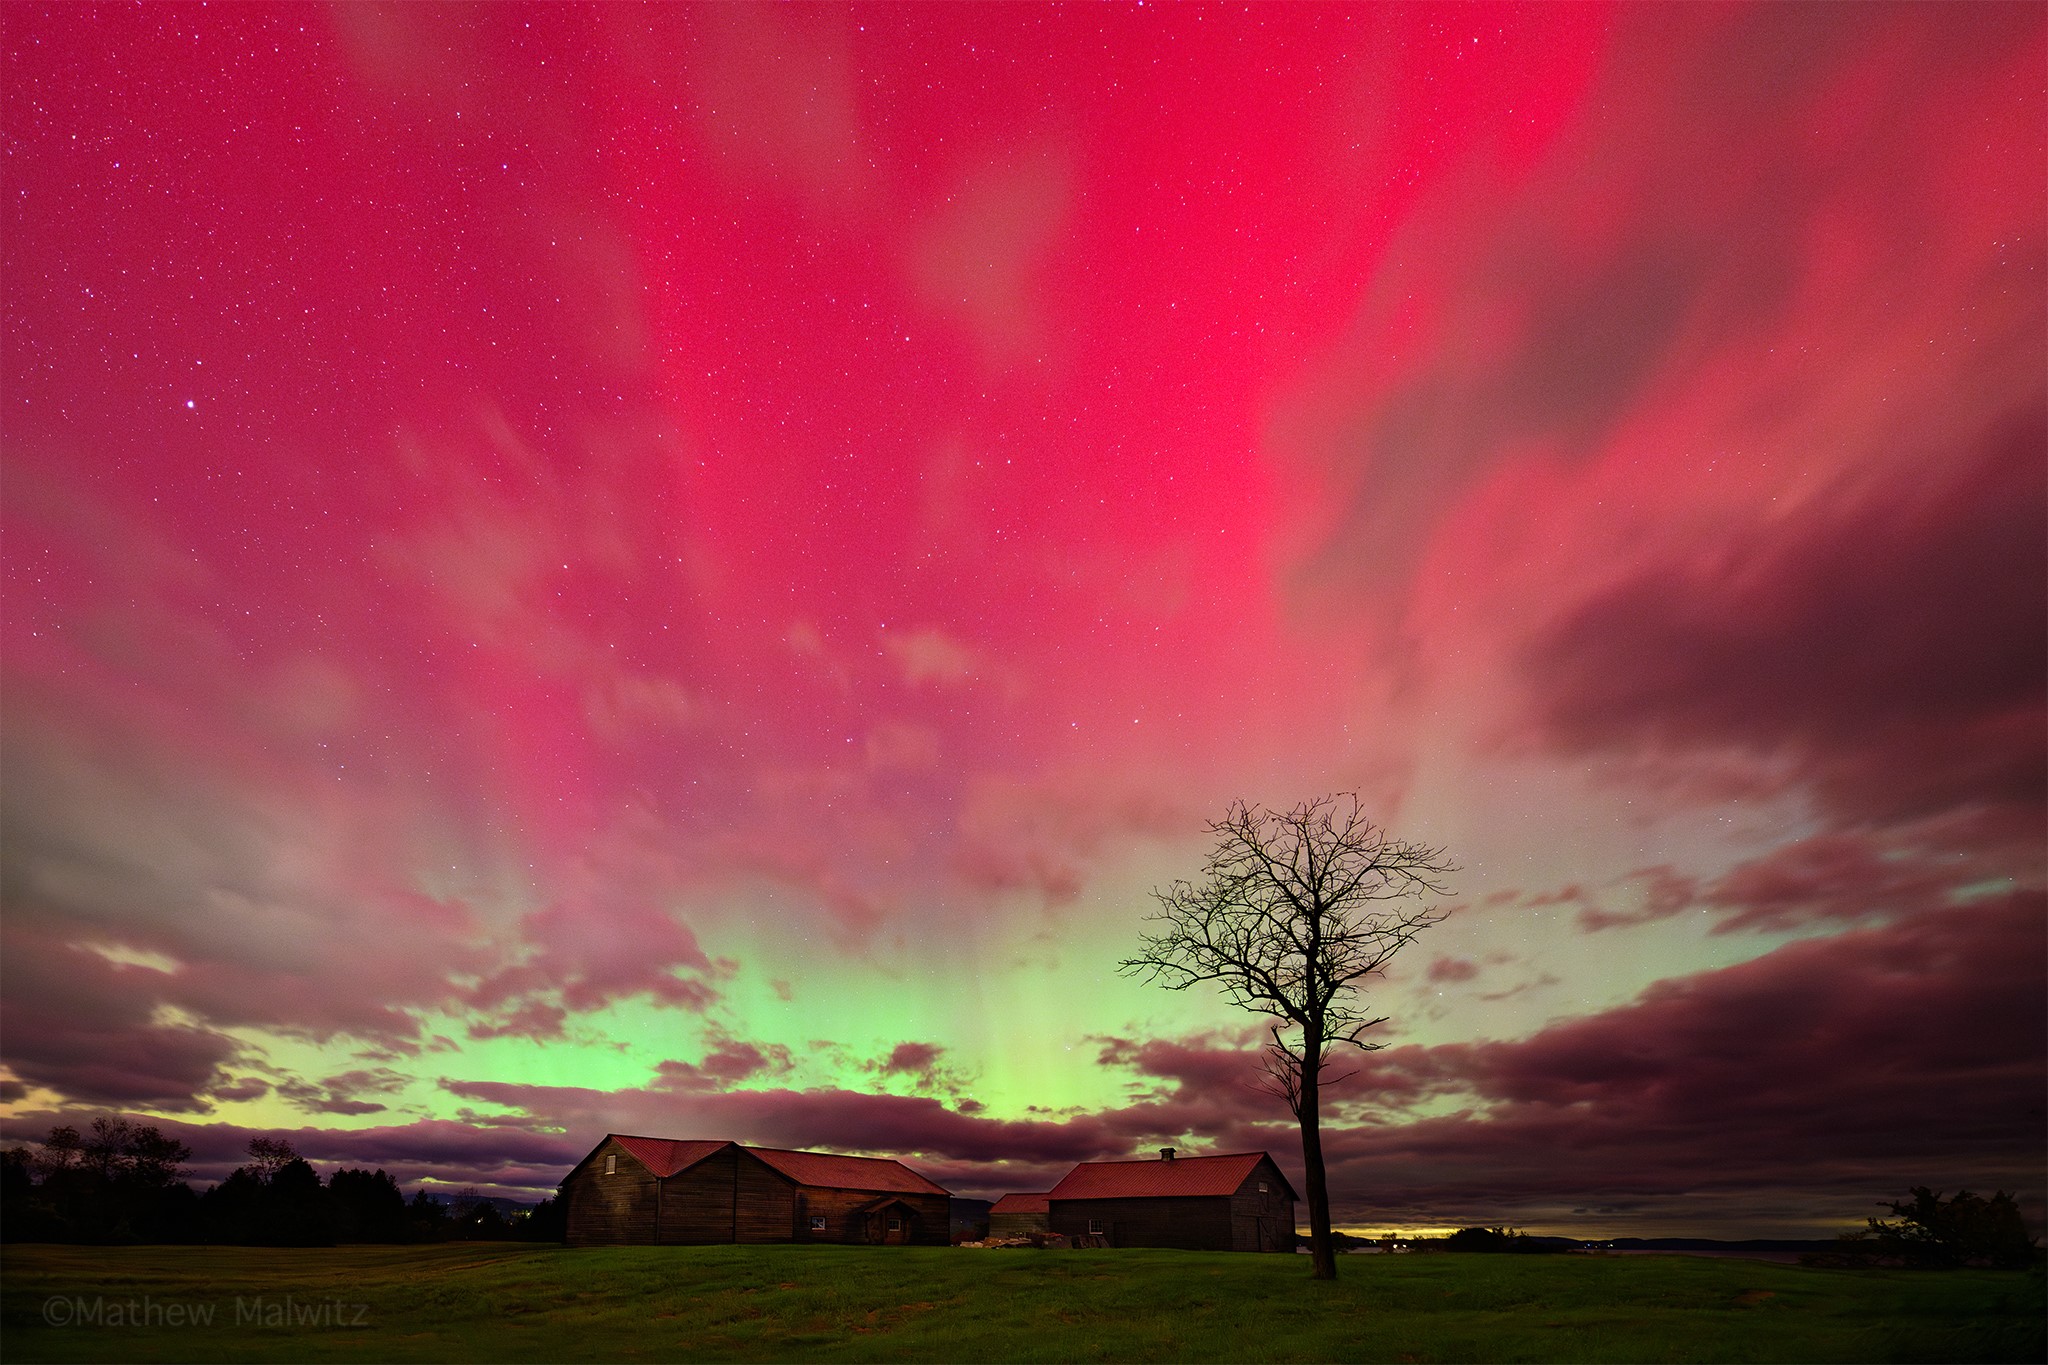
When looking for a spot to photograph an aurora from, it's important to consider the direction and light pollution. You'll want to find a space with dark skies. As stated, only the rare aurora can be seen in busy, suburban environments. You can always drive north, but you need not go far. Here in the New York Metropolitan Area, the Catskills are the closest true dark sky region. The Adirondacks are even better. Wherever you are in the world, you can use a light pollution map to find the closest dark sky region to you.
They aren't called the northern lights for nothing. Be sure to have a good, clear view facing north. Be aware of any objects or landmarks that might obscure your view. Lakes are great as they offer plenty of open space and the water can even reflect exceptionally strong displays. Of course, in the southern hemisphere you'll do the same, but facing south.
If you can, scout ahead and visit locations before you plan on shooting. This might mean visiting when there's no aurora predicted. When something like a CME is predicted to hit our planet, I spend my day or days leading up to its impact searching online for north-facing lookouts, lakeside parks, and preserves. If time permits, I may even drive around and check out the spots for specific compositions. I've always found more success this way. Popular spots are great for your first chase or two, but you'll quickly grow tired of the same scenery and begin to wish for more diversity in your compositions.
Gearing Up
Most of the gear used for photographing auroras is no different than what you'd use for a typical landscape shoot. We just so happen to have helpful guides and videos on landscape photography, as well as must-have accessories. Below, I'll quickly cover the essentials, but be sure check out these articles for detailed looks at the many tools we can employ in our adventures.
Camera: When it comes to capturing auroras, any camera that allows you to manually control your exposure will suffice. That narrows it down to most mirrorless or DSLR cameras on the market. If you can, go full-frame. The superior image quality of high megapixel full-frame bodies like the Sony A7RV will shine when printing; however, some may prefer to keep the megapixel count low for superior low-light performance.

Lenses: Your main weapon should be an ultra-wide-angle lens with a fast aperture. The Sony FE 16-25mm f/2.8 G or the Tamron 16-30mm f/2.8 Di III VXD G2 are great, compact options. I've personally used the older Nikon 14-24mm f/2.8G lens with the FTZ II adapter and it suited the situation well. I've also made do with my Z 24-120mm f/4 S lens when all else failed. The f/4 aperture forces you to use a higher ISO, but with modern denoising solutions available it's nothing that can't be fixed.

Tripod:Make sure you have a sturdy set of sticks. You're putting an expensive camera on there, so make sure it can handle the weight of your gear and keep it steady.
Shutter Release: A standard remote shutter release will allow you to fire your shutter without touching the camera and adding vibration. If you don't have a remote, set your camera to its built-in timer mode. Set it to fire after 5-10 seconds to eliminate any vibrations from pressing the shutter button.
Bag: Of course, with all that photo equipment, we need a way to transport it. Depending on the amount of gear you plan on hauling out into the field, you can get away with a variety of packs. I prefer a smaller sling bag, which allows me to carry extra memory cards, batteries, and perhaps an additional lens.

Camping Chair/Stool: A collapsible stool is small, light, and can make for a significantly more comfortable night under the stars. You may be playing the waiting game, so it is best to do so in comfort. I have one in the back of my car at all times just in case.
Headlamp: A headlamp is a staple of any landscape photographer's bag. A headlamp with a red-light setting is essential as it'll light your way hands free, so you can handle your gear worry-free. The red light is beneficial as it retains your night vision.

Setting up Your Camera
Set your camera to manual exposure mode. You'll want complete control of all basic camera functions as well as focus. Turn off image stabilization on the lens and body if applicable. You'll be shooting on a tripod and image stabilization can negatively impact image quality. Lastly, be sure to remove any polarizing or ND filters that you may have used earlier the day. These will do nothing for night sky shooting except eat up two or more stops of valuable light.
Set focus to manual. Autofocus requires hard edges and/or contrast to find focus and the night sky can be a challenging subject for it to navigate around. Manually focus your lens to infinity and once there, back it up just a bit. If shooting mirrorless, use focus peaking to fine tune. If you're using a DSLR or not a fan of focus peaking, you can use live view to focus on a distant object like the horizon line or the stars themselves.
Aperture should be set wide open to let as much light in as possible. As stated earlier, a lens with a maximum aperture of f/2.8 or faster is ideal, but f/4 is suitable in a pinch.
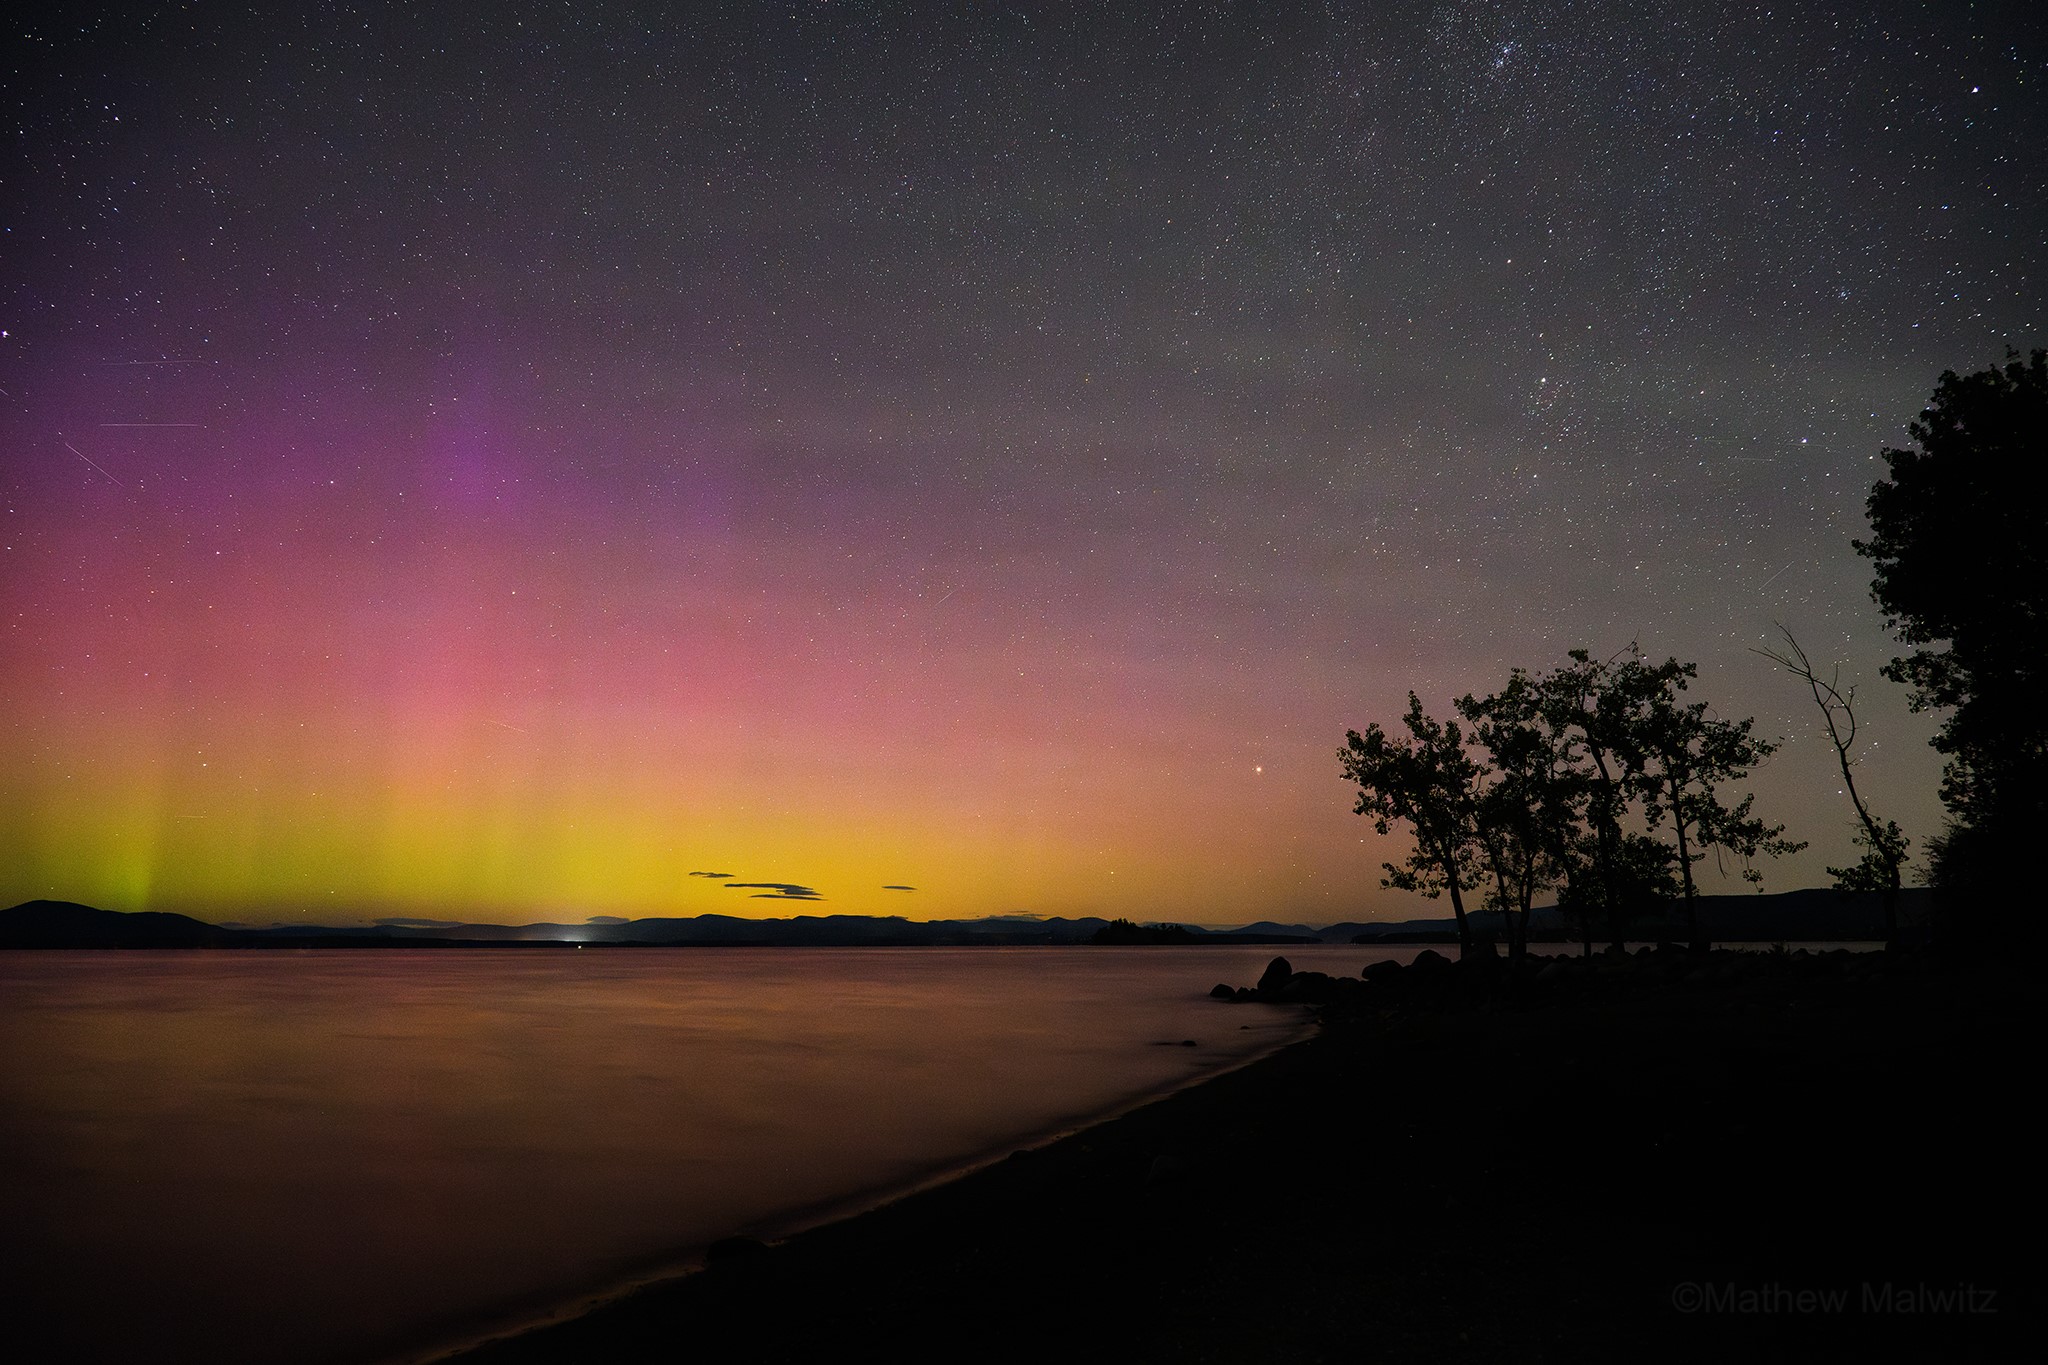
Shutter speeds will vary depending on brightness and intensity of aurora. This can be anywhere from 5-30 seconds, though 8-10 seconds seems to be the sweet spot for the displays I've photographed.
The last piece of the exposure triangle is ISO. Don't be afraid of high ISOs in these situations. You may need to set this anywhere from 1600-6400 depending on how bright conditions are. If shooting a slower lens, raise the ISO as needed. It is better to shoot at the correct ISO than to raise your exposure in post. You'll inadvertently introduce more noise brightening your exposure in post than getting it right in camera.
Adjacent to exposure is white balance. White balance is the setting that controls color temperature in your images. Light sources have temperatures ranging from warm to cool, and cameras are designed to compensate for this with a variety of white balance settings. Auto White Balance is perfectly fine for those shooting in a RAW file format, as it gets the color right most of the time. When it fails, it's quite noticeable. If possible, set your white balance manually to 3500K. This will best represent the colors in the night sky.
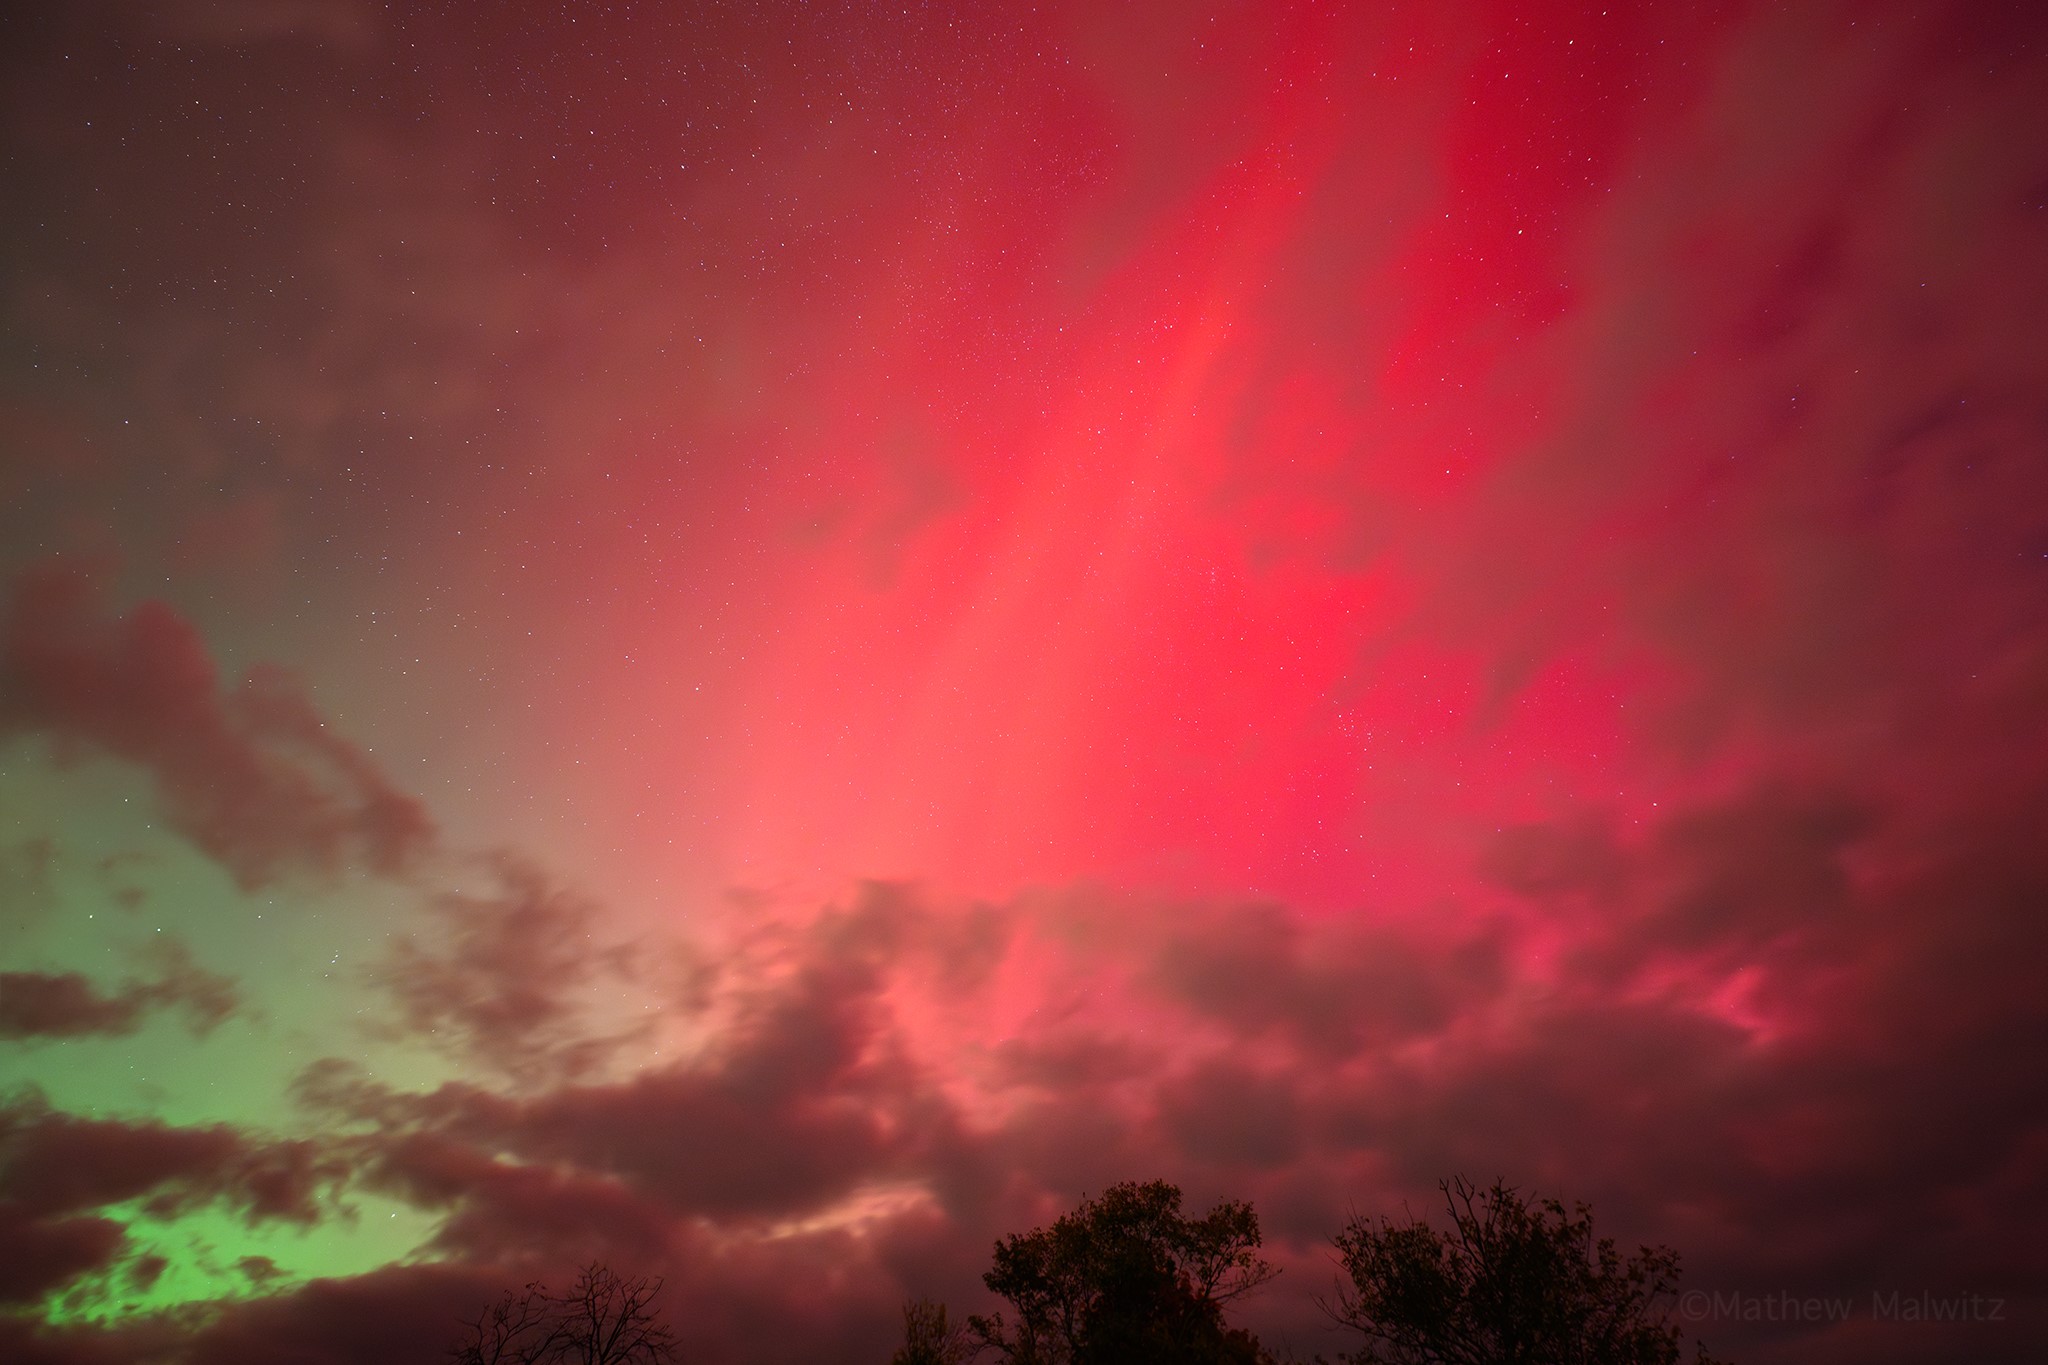
Composing Your Image
Watch your horizon. Keep it level with the built-in level in your camera's live-view display or make use of the bubble levels found on most tripod heads. Alternatively, you can always level things out by cropping in post. While it's best to get things right in camera, there's no shame in cropping.
For vast landscapes, use the rule of thirds to determine where to position your horizon. It should generally sit along the lower thirds, especially since we're paying so much attention to the sky.
Additionally, if you plan on including foreground in your images, don't forget to follow the rule of thirds here as well. Positioning an object in the left or right lower third is always more visually appealing than something right in the middle of the frame.
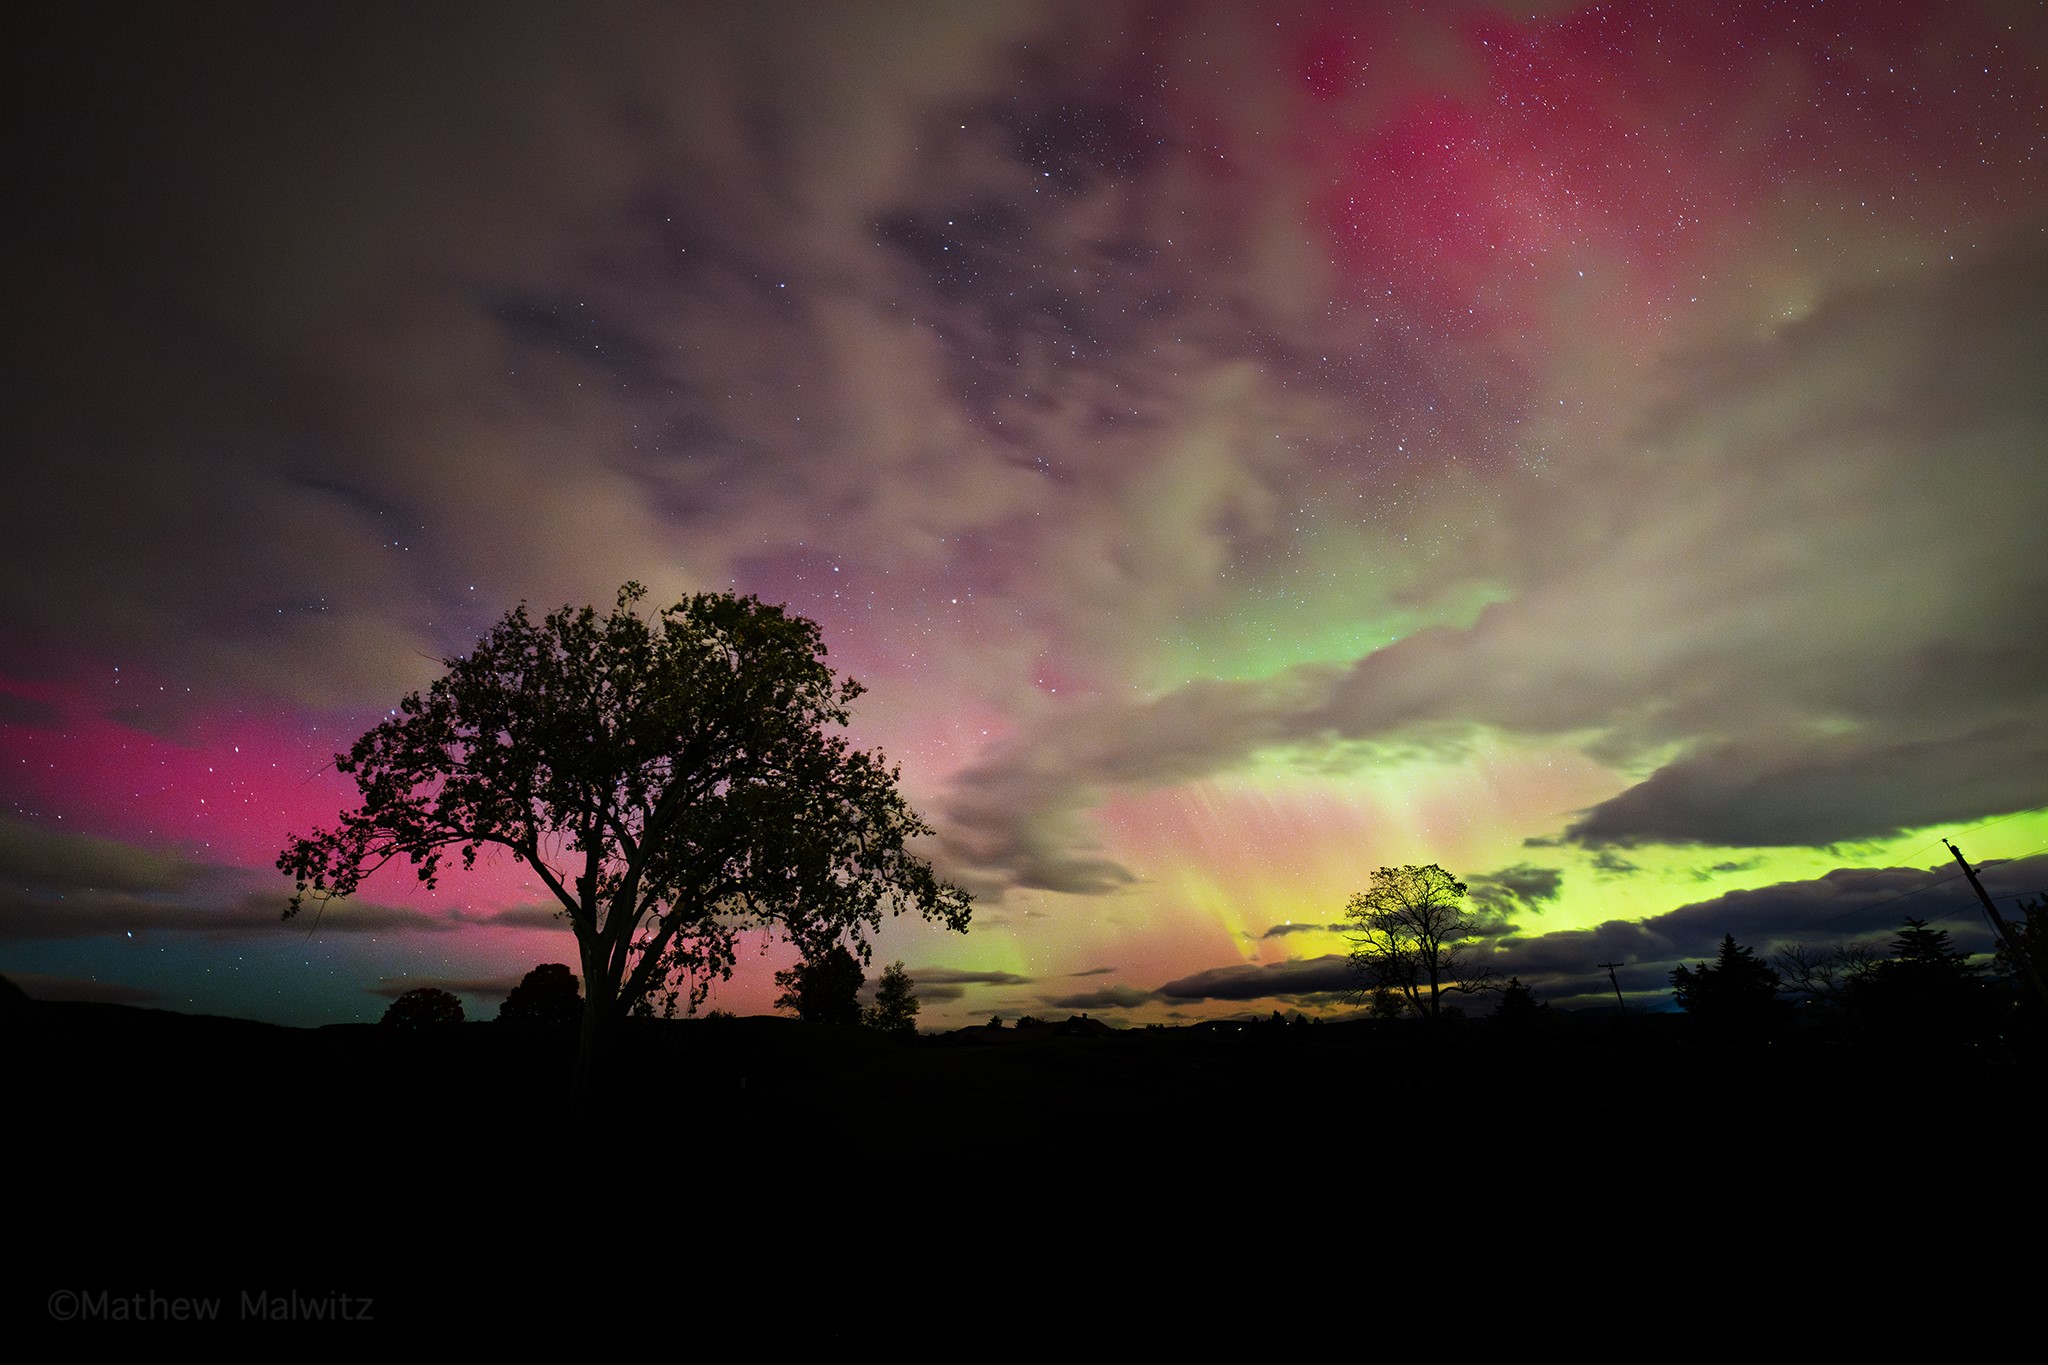
There are situations where breaking the rules can work. At the end of the day, these rules are simply guidelines to help you make your more visually pleasing to a wider audience. There's so much more to landscape composition than I can logically cover here, improve your landscape photos, and by proxy, your nightscape photos.
Light painting can be used to illuminate foreground objects of interest. This look can be achieved by using a flashlight, speedlight, or a constant LED to quickly introduce some light to the scene, specifically to one area or object. I've even used my headlamp to test out compositions. In some cases, that's been perfectly suitable, and I kept the images as is.
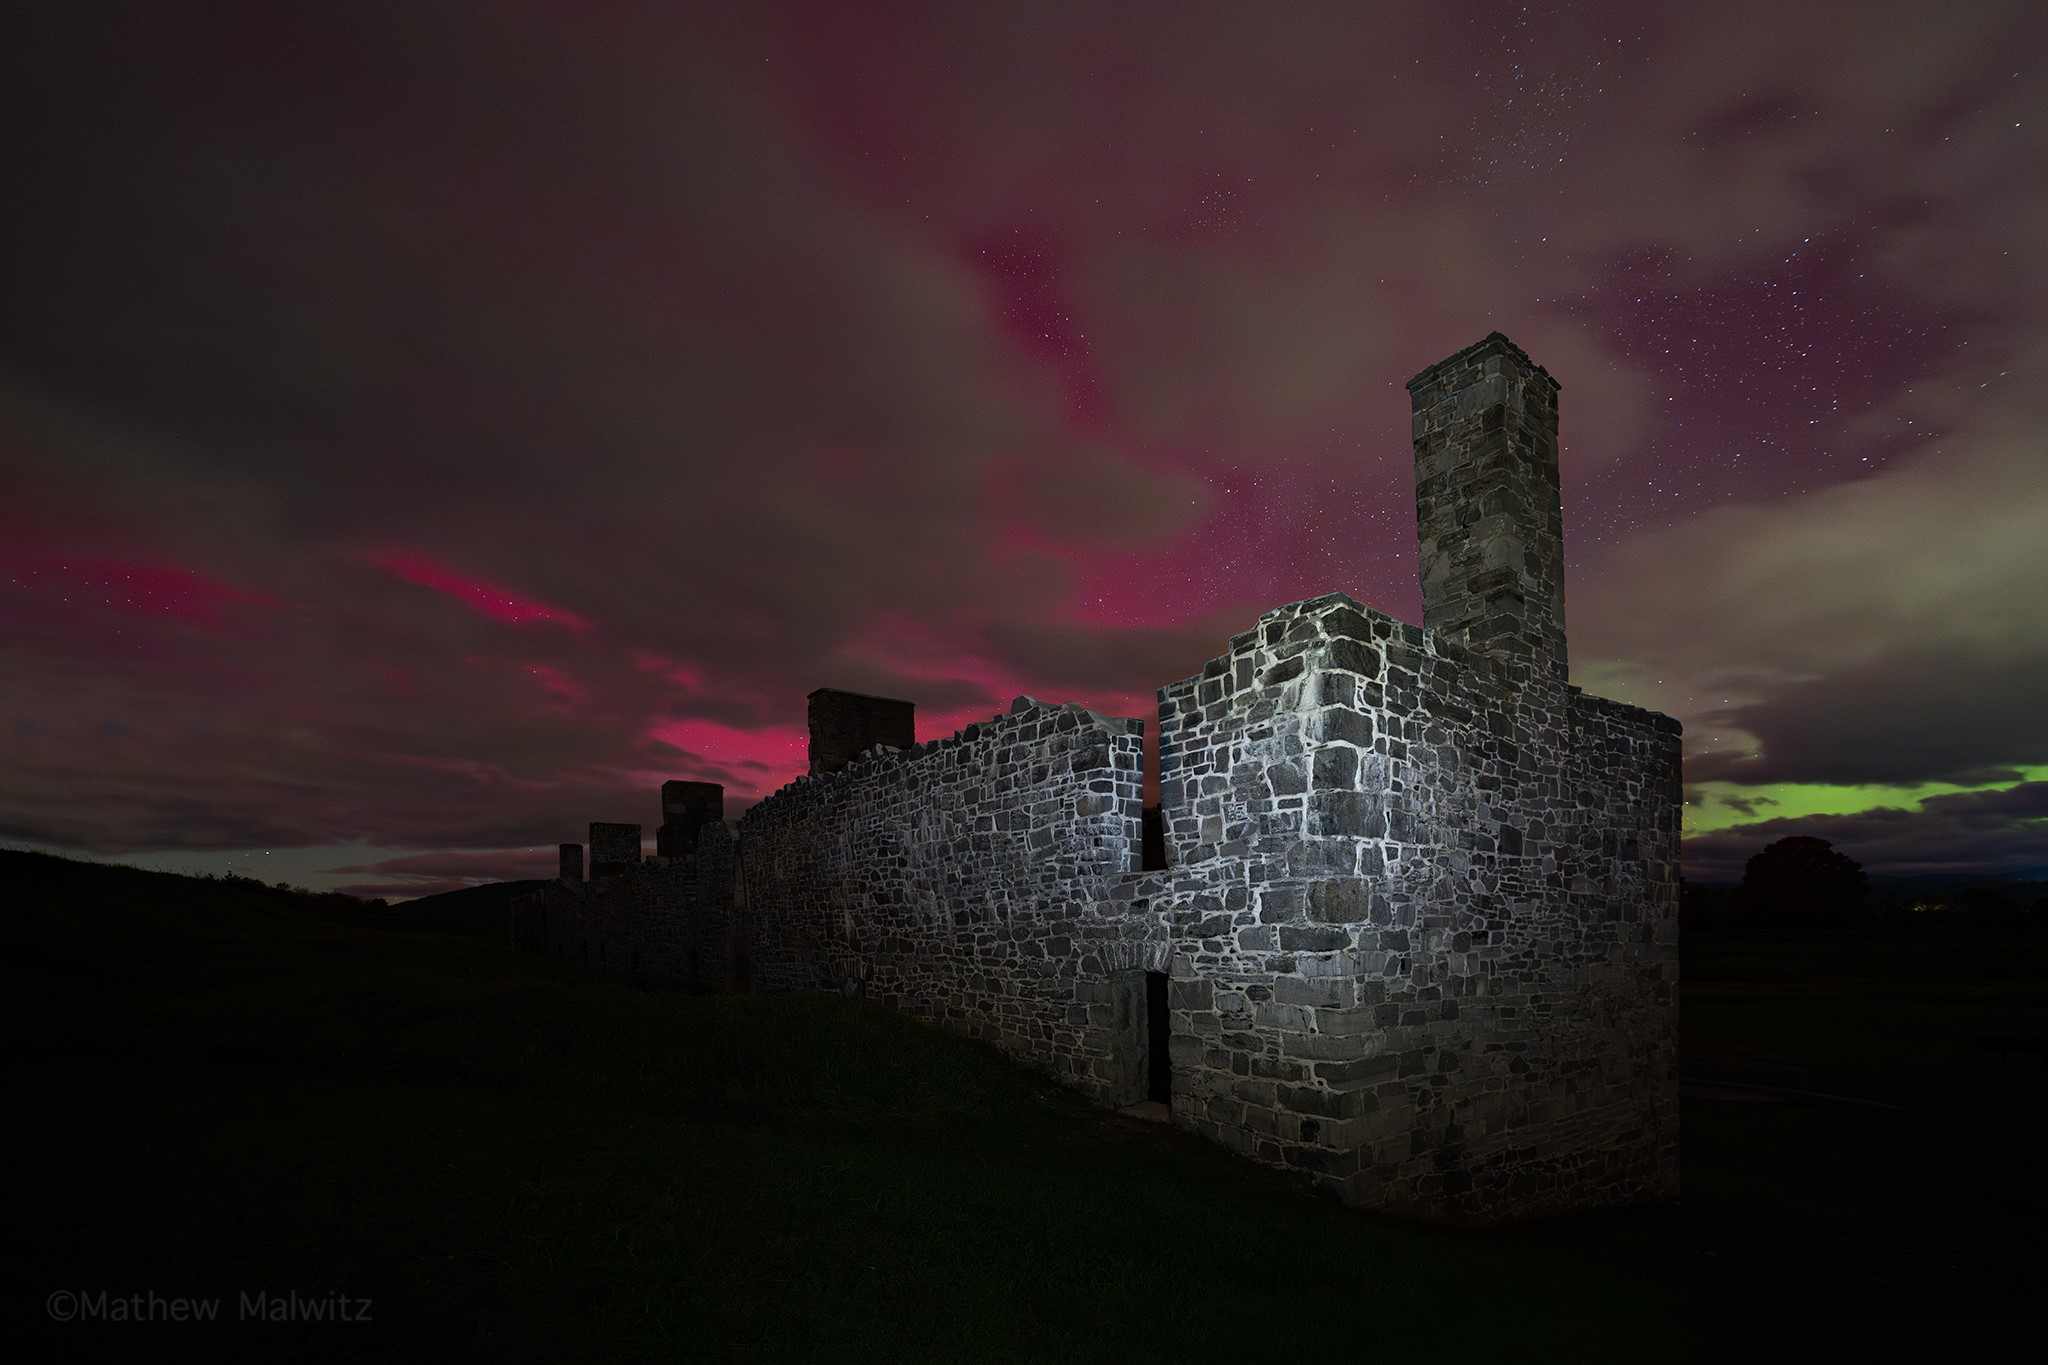
A battery-powered LED monolight is the best, as it can provide ample light to softly illuminate a foreground object without overwhelming the scene and most importantly, do so where you can see how bright it is as you're going. Many of these feature bi-color temperature and brightness control.
Post-Processing
Post-processing is essential for all photographers. You may choose to get as much as you can right in camera, but there will always be some level of work done on an image after the fact. I almost exclusively use Adobe Lightroom and Photoshop, but that's simply what I chose.
First and foremost is distortion correction. You may not need to use this tool, but part of using ultra-wide-angle lenses is dealing with things like distortion. Many new wide-angle lenses have a rectilinear design that prevents such things, but not all of us can be so lucky.

Alter brightness and contrast to your liking. Bumping the contrast slider will boost the visibility of pillars in the aurora. The dehaze slider can also remove atmospheric haze and boost contrast as well.
Burning and dodging are two of the oldest tools in the photo editor's arsenal. This is where you can selectively brighten or darken areas of the image. If there's a stray outdoor light or headlights in your image, you can either darken them with the burn tool or remove it completely with the clone stamp or spot healing brush.
Exactly how much you need to edit your images will depend on a number of factors. Due to the challenge of night sky photography in general, I recommend trying to shoot in a RAW file format. As mentioned earlier, RAW files provide the highest level of detail and the ability to correct exposure, white balance and more after the fact with minimal image degradation. If you're not fully comfortable in doing so, try RAW+JPEG, so have your easy-to-handle images in JPEG format, but RAW files to experiment with and enhance when you're ready.

Get Shooting
Auroras visible in the mid-latitudes and around major metropolitan areas are uncommon. Still, with the right knowledge and access to the proper resources, we can be ready for the next geomagnetic storm and auroral display. Have your gear ready, have a dark location to shoot from, and a pillow and blanket in the car just in case. Auroras can occur at any time of night and last anywhere from hours to just minutes.
If you're wondering, yes, you can photograph an aurora with your smartphone and do so with minimal accessories. Set your phone to night mode with the exposure time set to 10s. You can certainly handhold your phone, but for greater results, use a tripod with a smartphone adapter and a Bluetooth remote. The resulting image won't be of the same quality as one taken with an interchangeable lens camera, but it's still amazing to see.
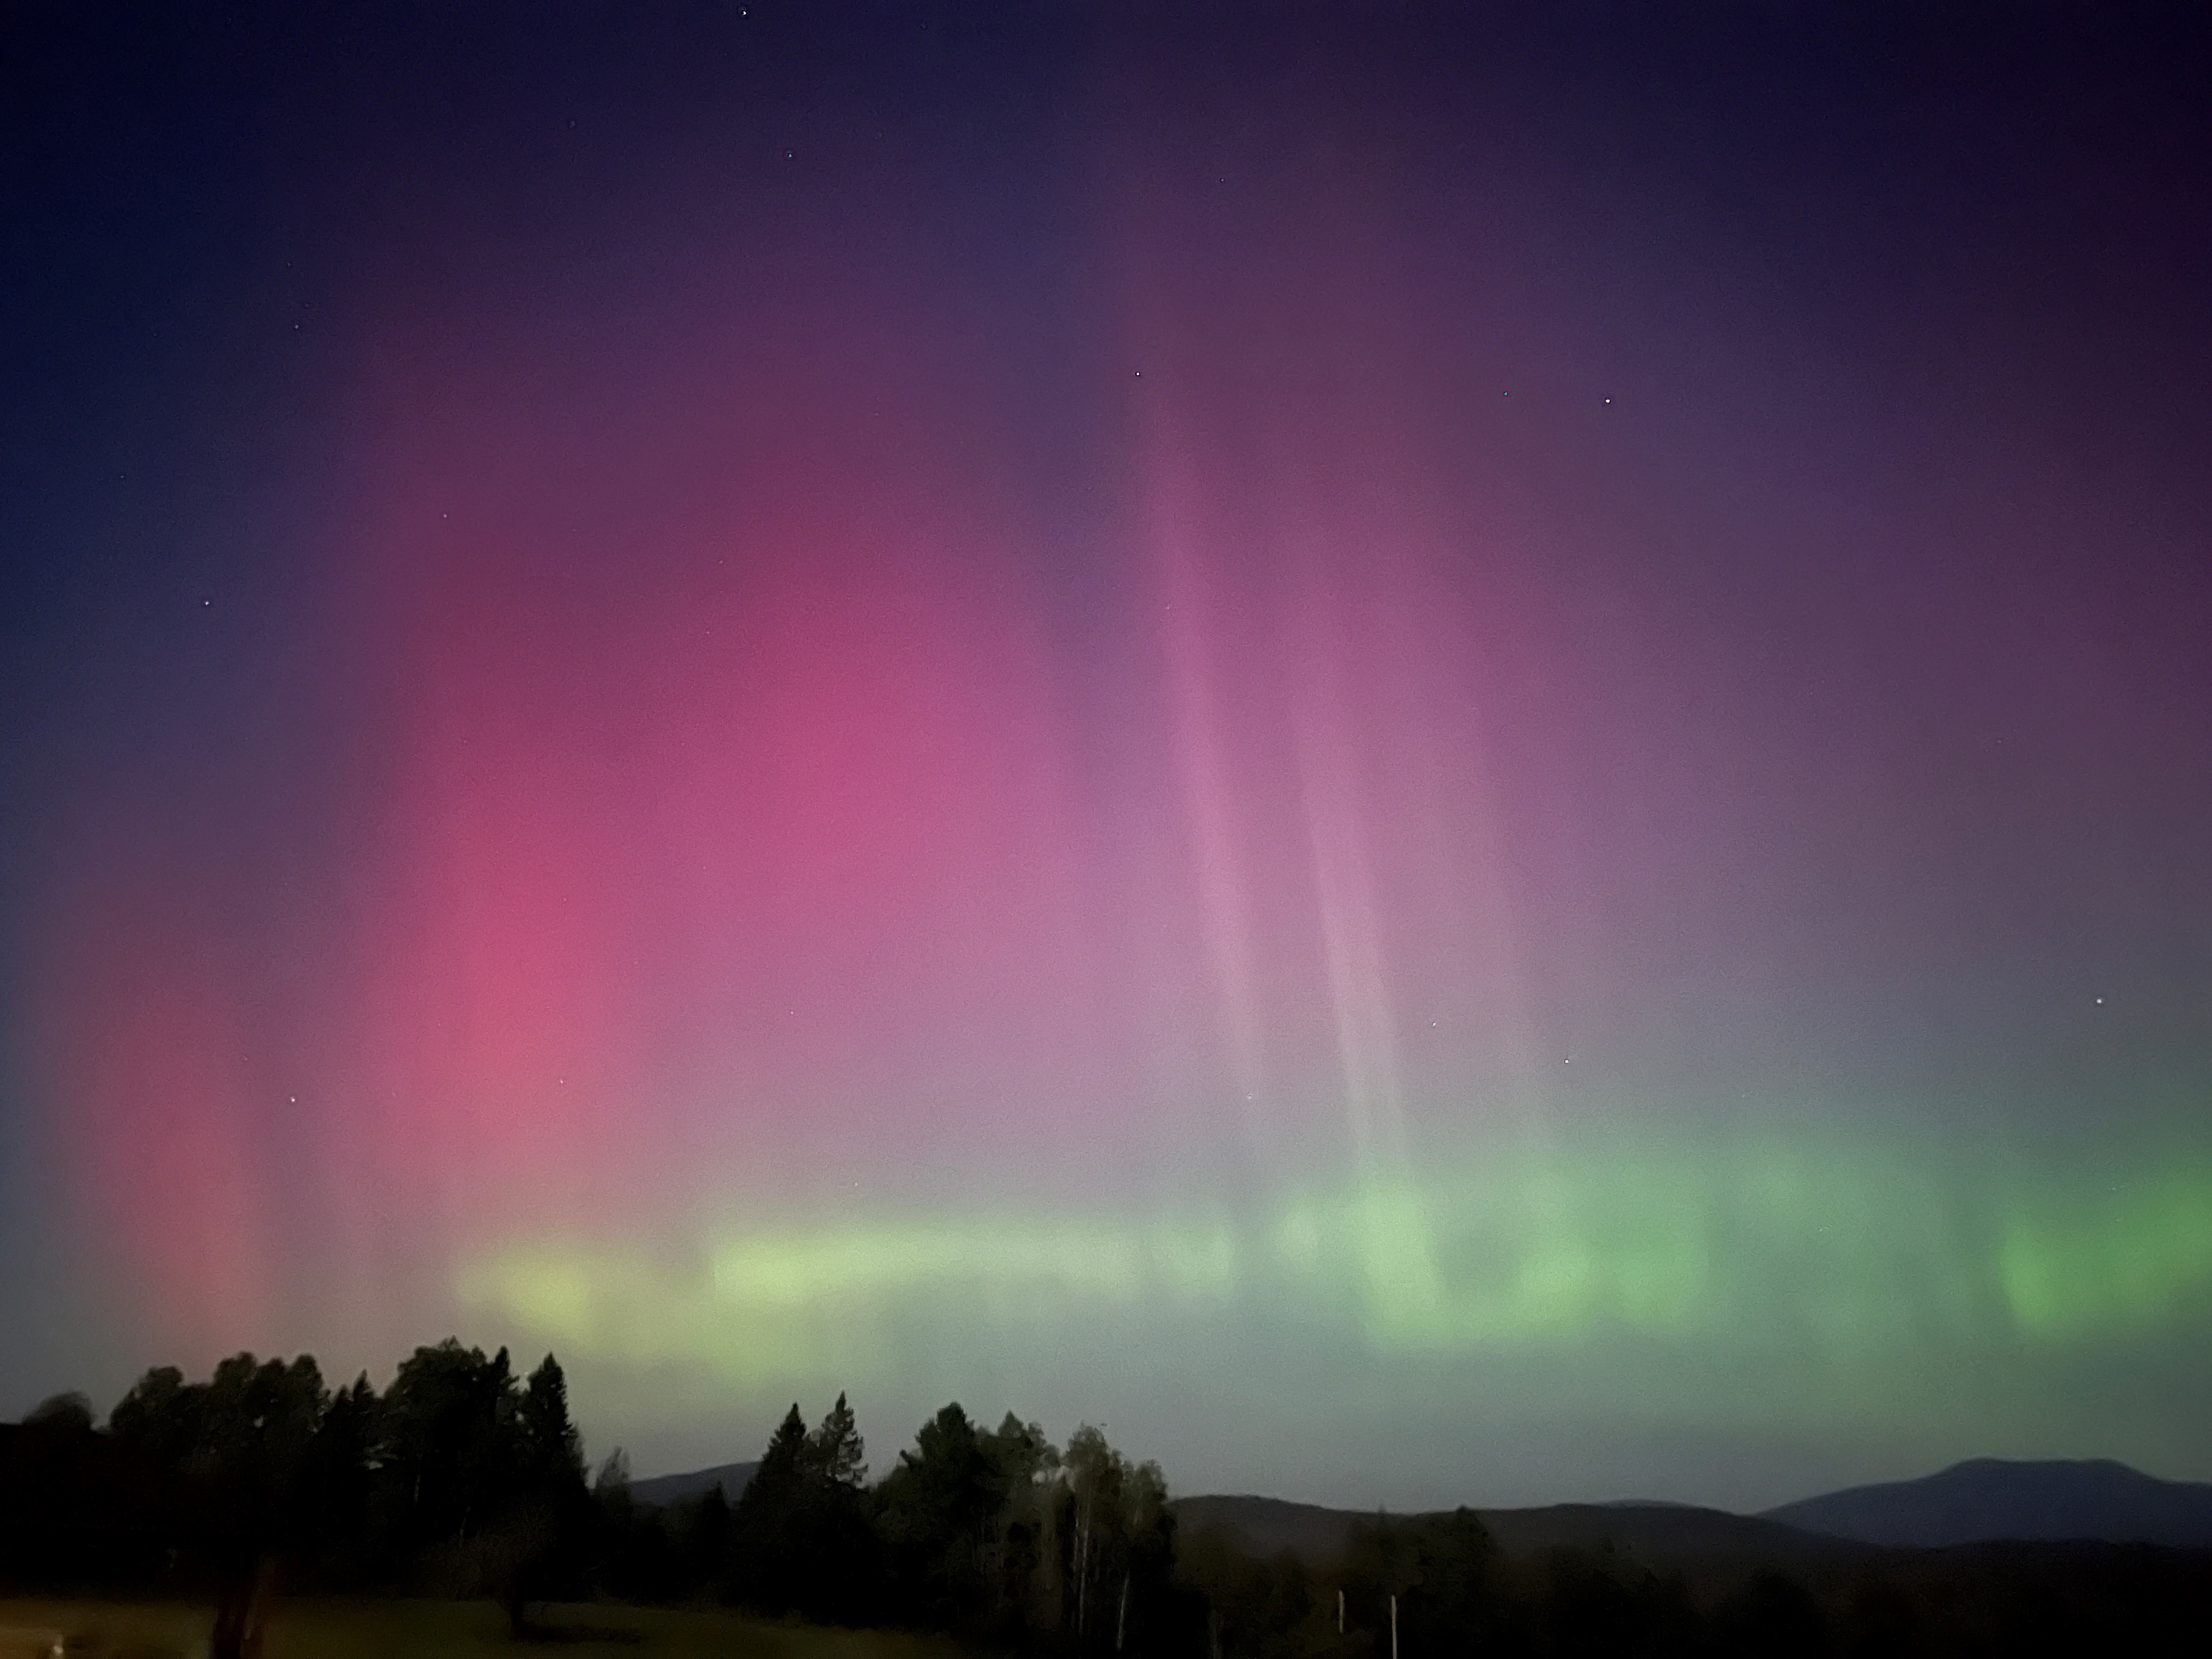
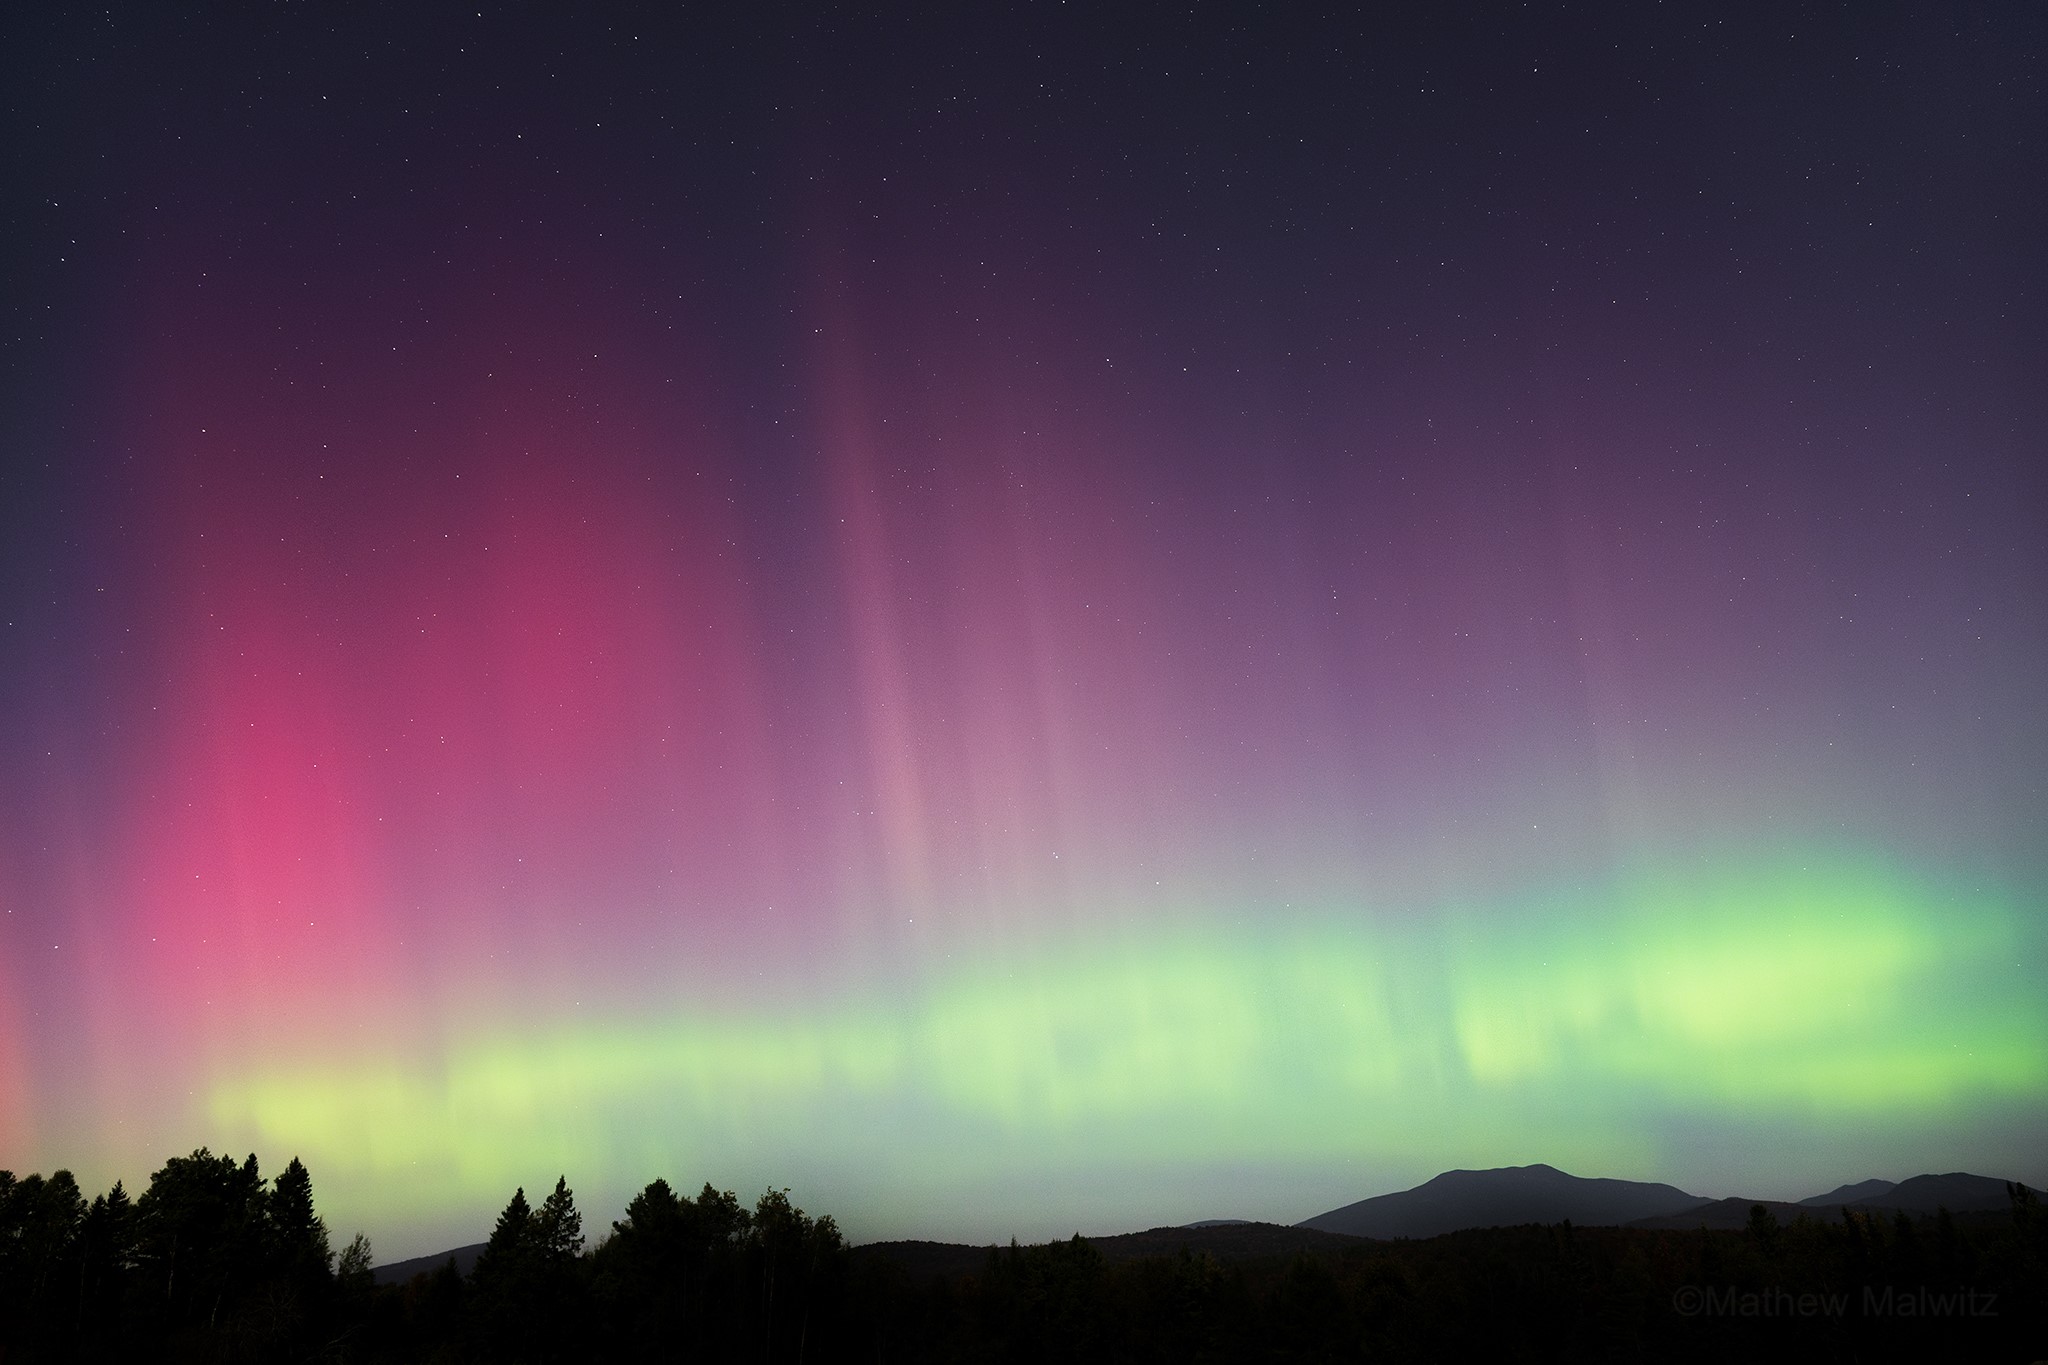
As we approached solar maximum in 2024, activity began to ramp up nearly a year prior, and if past solar cycles are any indicator of what to expect there is still ample opportunity to see stunning auroral displays over the next one to two years. After that, we'll have to wait another decade or hope for the odd solar minimum aurora. That is, unless you want to travel. I hear Fairbanks, Alaska is very nice come winter.
If you'd like to learn more about landscape and night sky photography, visit B&H Explora. And, while waiting for a substorm to flare up, why not dabble in astro photography. Dark skies provide ample opportunity for the curious photographer.
