
Getting a new camera is always an exciting affair. Whether it’s your first interchangeable lens camera or a long-awaited upgrade, there’s almost always new features to explore. Mirrorless cameras are especially exciting as they bring new and intuitive features that boost creativity while making photography easier than ever! Whether you’re new to cameras, shopping for one, or looking to dust off an old hobby, let’s get into setting up our new mirrorless camera.
What Is a Mirrorless Camera?
It’s not often something is named after a feature it lacks, but that’s exactly how the mirrorless camera earned its name. To understand this label, we need to take a brief look back at its predecessor, the DSLR. At the heart of a Digital SLR, or “single-lens reflex” camera, is a mirror. This mirror reflects light from the lens to a glass pentaprism above, which is how we see the image through the viewfinder. When we take a picture, the mirror briefly lifts out of the way, allowing light to reach our imaging sensor and an image to be recorded.
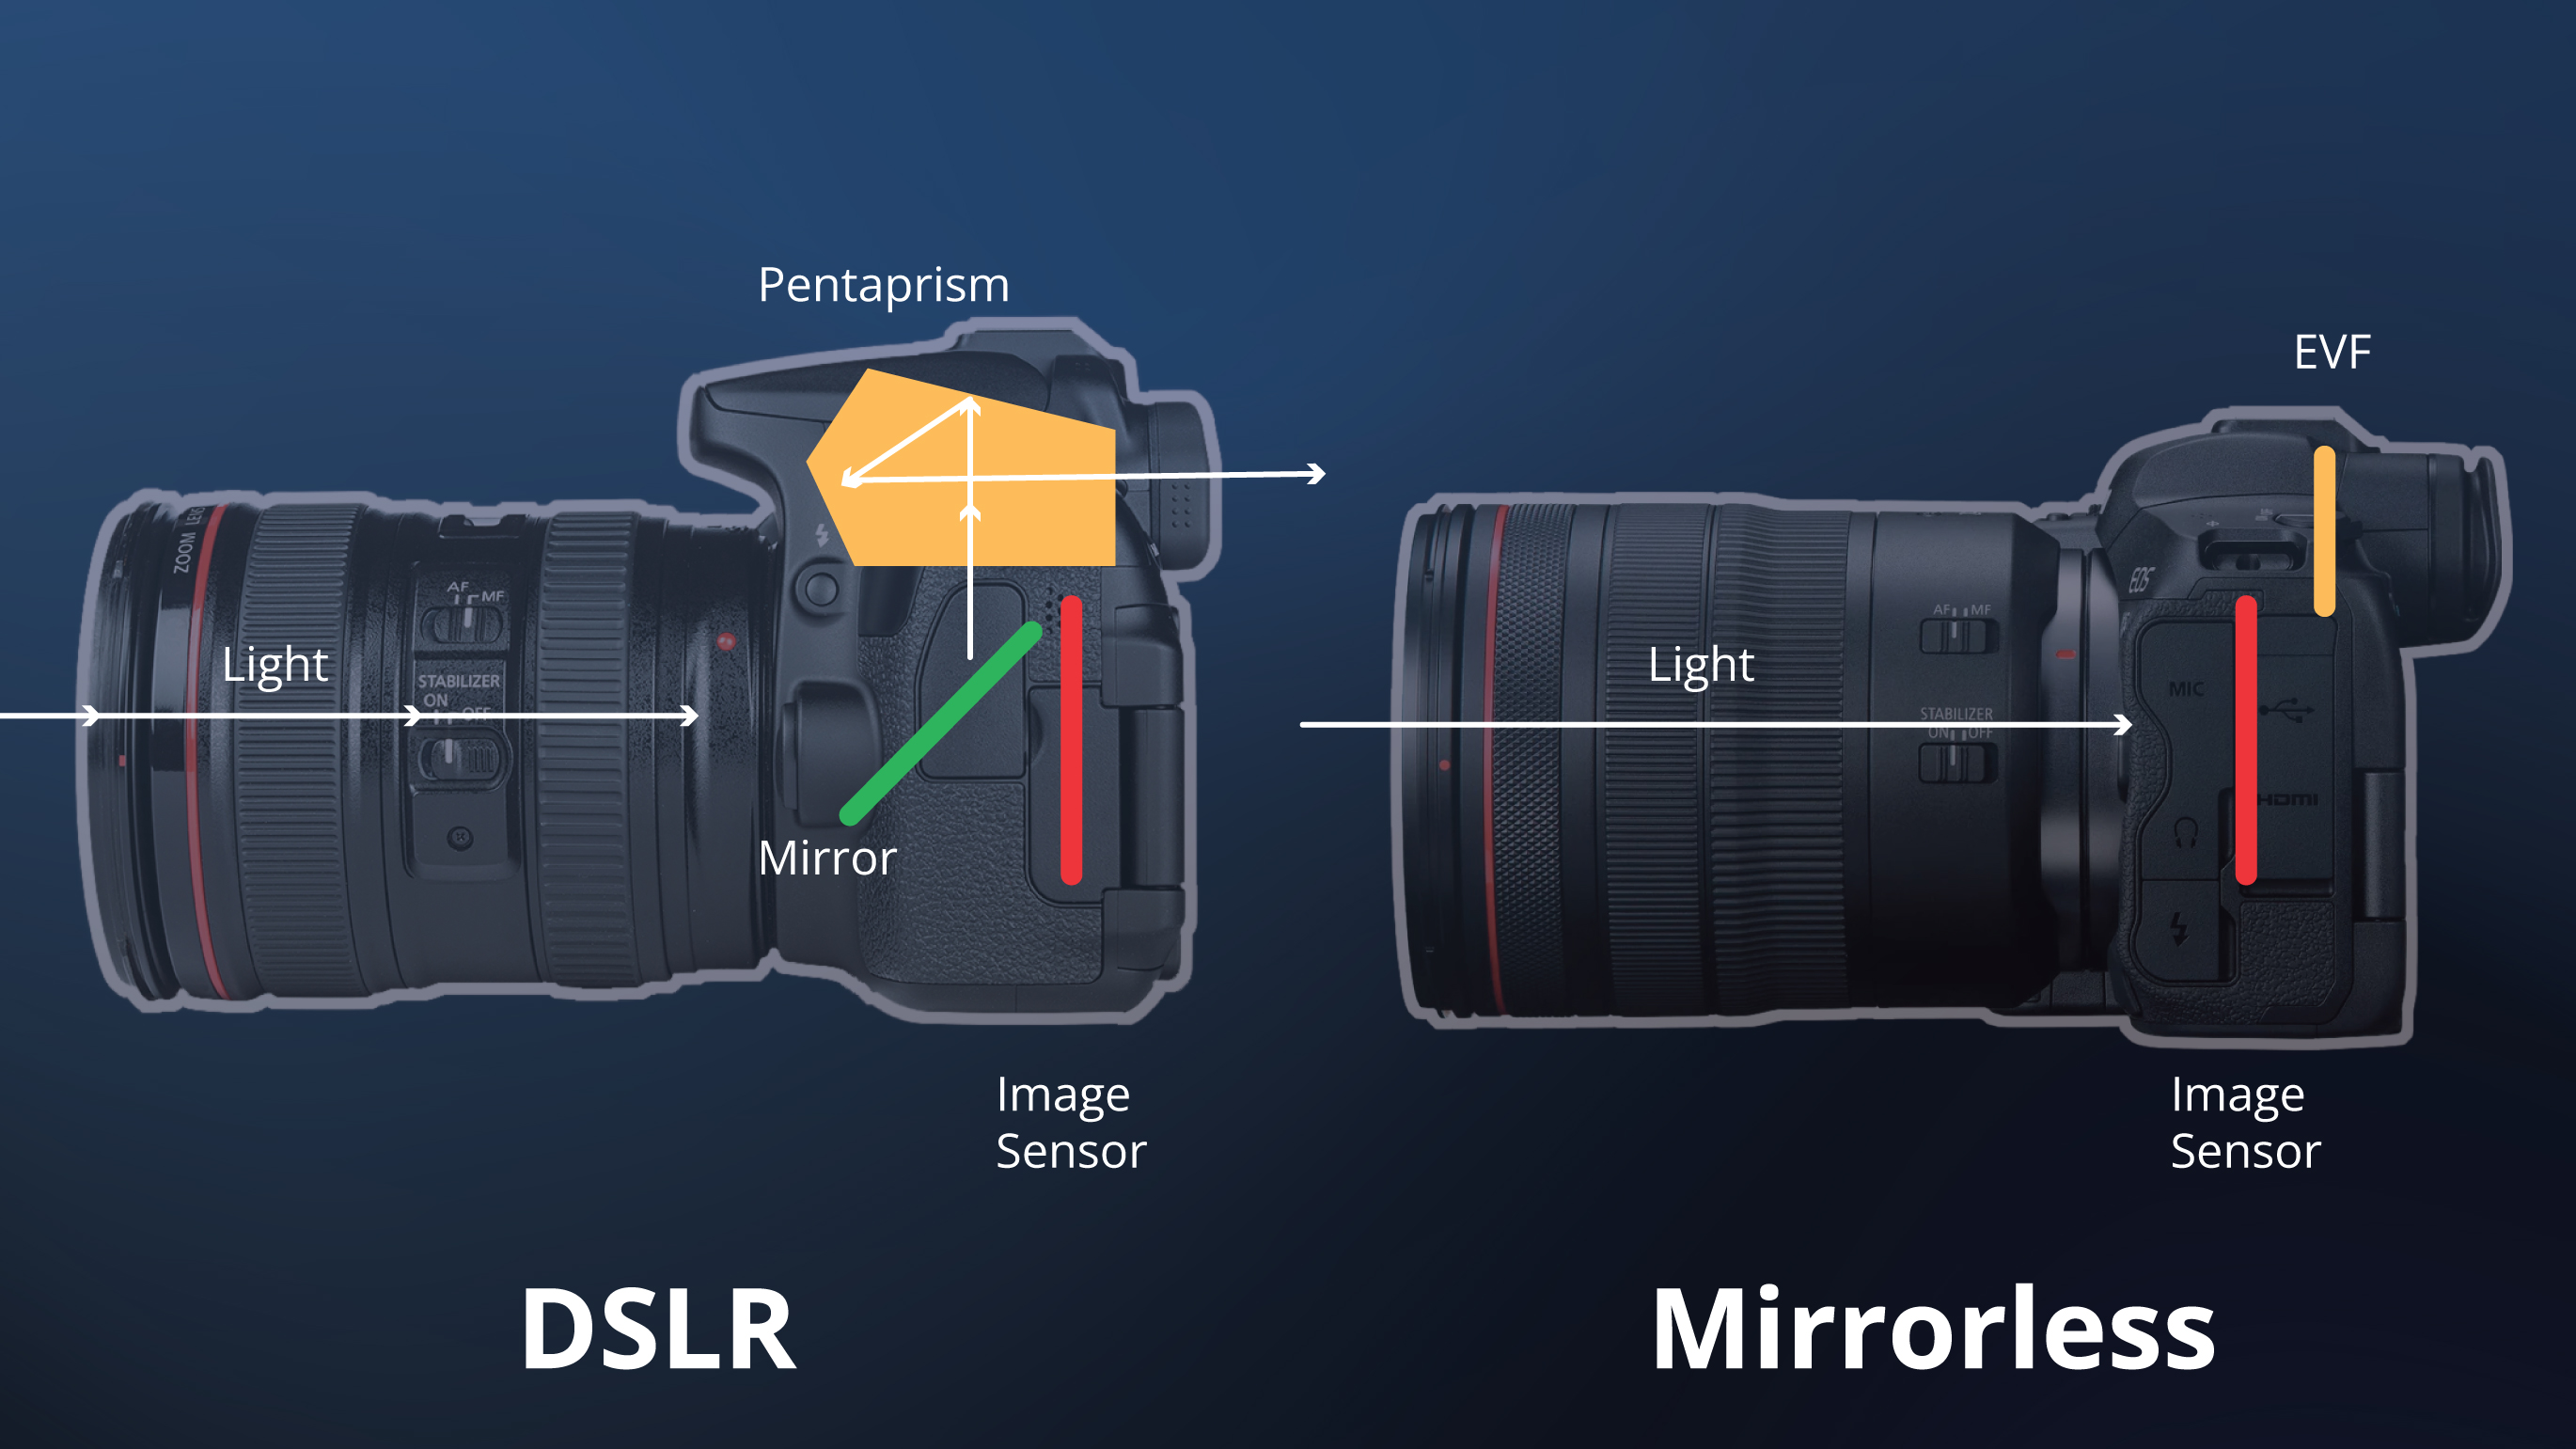
This reflex paired with the movement of a mechanism known as the shutter, create that classic camera kachunk that is now synonymous with taking a picture. So much so that even our smartphones digitally imitate the noise. That said, these noisy cameras had their flaws. Wedding photographers had to be careful not to be too noisy during the ceremony, and wildlife photographers risked spooking their subject.
Mirrorless cameras do away with this clunky mirror and simplify the system. Unlike the DSLR, the mirrorless camera has no reflexing mirror. Our lens casts light directly onto the imaging sensor, which in turn relays what it sees to our electronic viewfinder, powers our autofocus system, and of course, records images and videos. Without these bulky, moving parts, the we have a slimmer, faster, and quieter camera system.
While smaller, the overall functionality and image quality remain unchanged. Mirrorless cameras are simply the latest generation of image making tools, taking what’s worked best in previous generations and improving upon what was outdated. Our approach to using these cameras will be virtually identical, as will the setup. But before we start pressing buttons and turning dials, we need to know what we’re looking for.
Essential Controls
Aside from the on/off switch, there are a number of controls that we need to know. It’s also worth mentioning that there are a lot of buttons, dials, and dongles that we do not yet need to know. Don’t be intimidated and pace yourself. Now, let’s discuss the most important controls on our camera.
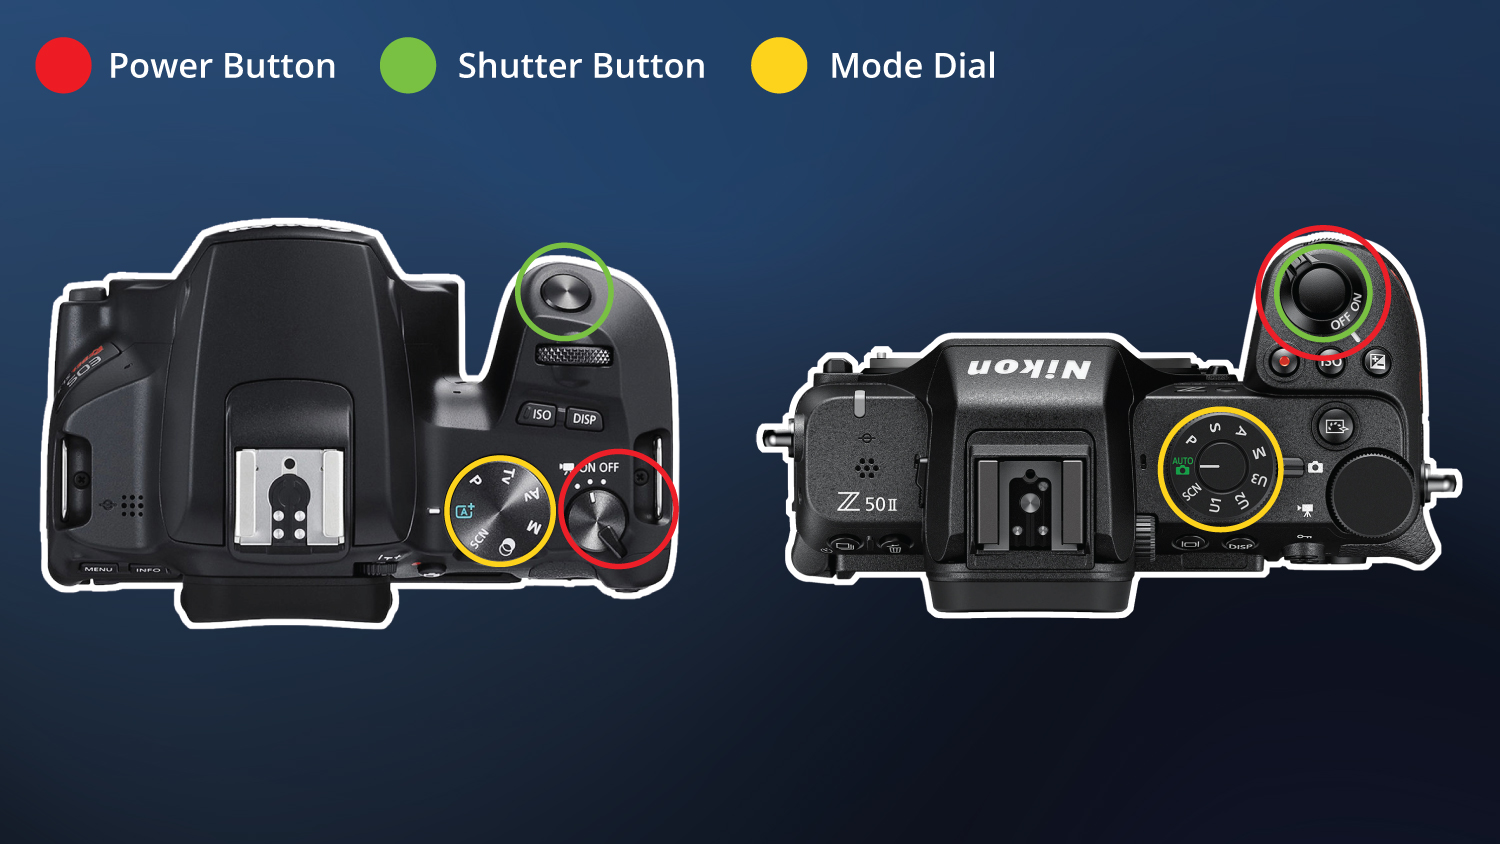
1. The on/off switch can be found on the top of the camera (circled in red). Press this for a few seconds to power the camera on and off.
2. Next up is the shutter button. This is how we take photos after all. We can find this button on the top of the camera around where our pointer finger rests (circled in green). Generally speaking, you lightly press it halfway down to initiate autofocus, and once focused, press it fully down to take the picture.
3. Atop nearly every mirrorless camera is a mode dial. It is typically situated (circled in yellow) beside the viewfinder. This is what controls how our camera (or the photographer) chooses the proper settings. Out of the box, this will likely be set on auto or program modes, and it’s best to keep it there for now.

4. The menu button (circled in red) can be intimidating, but don’t sweat it. It’s only needed for a few essential functions that we’ll cover later.
5. After we’ve taken a few photos, you may want to see how they came out. To do so, look for the rectangular icon with the play arrow in it. This is our playback button (circled in purple). Simply press it, then use the touch screen or control wheel to navigate through your images.
6. From there, tap the shutter button to exit playback or, if you wish to delete an image, press the trash can icon (circled in green) to delete an image. You may be prompted to confirm your selection using the multi-selector and ok buttons, which reminds us!
7. The multi-selector and OK/set button combo (circled in yellow) can be found on the back of the camera toward the lower right corner. It can be used to navigate the menu and the playback screen among other settings as we dive deeper into our controls.
8. The info or display button, often shortened to just DISP, controls what details appear on our rear LCD. If you want a clean, distraction free shooting experience, you can have that. If you want every setting and bit of information available, you can have that too. You can also turn the LCD off to save battery power. If your screen appears to be off, check the DISP button (circled in blue), as you likely pressed it by accident.
Other Controls to Look For
If your camera has a built-in flash, there’s a chance it’ll pop up automatically. If not, you’ll need to manually raise it via a switch or by lightly lifting the flash itself as seen in select Canon mirrorless cameras. Flash will automatically fire in auto mode but will require manual activation in program.
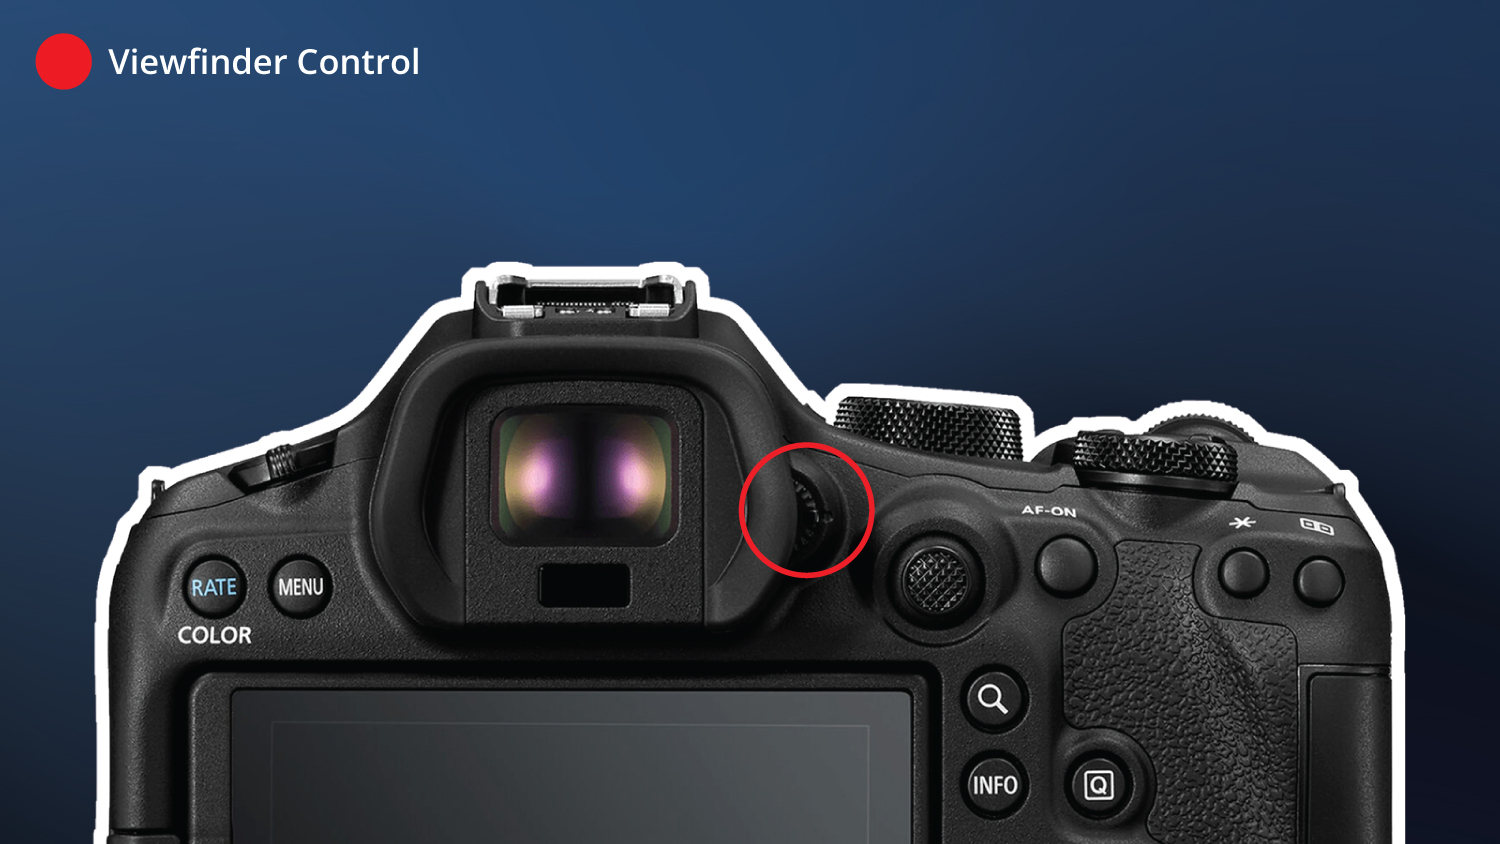
If your mirrorless camera has a viewfinder, it may have a monitor mode button that changes how and when the viewfinder activates. This setting can also be found within the menu, so check your manual. It’s important to find this, as mistakes happen and we may accidentally turn off the viewfinder and assume we’ve broken something. Customer service sees this honest mistake all the time, so don’t panic if you look through the EVF and see black. The same applies to the rear LCD.
Initial Setup
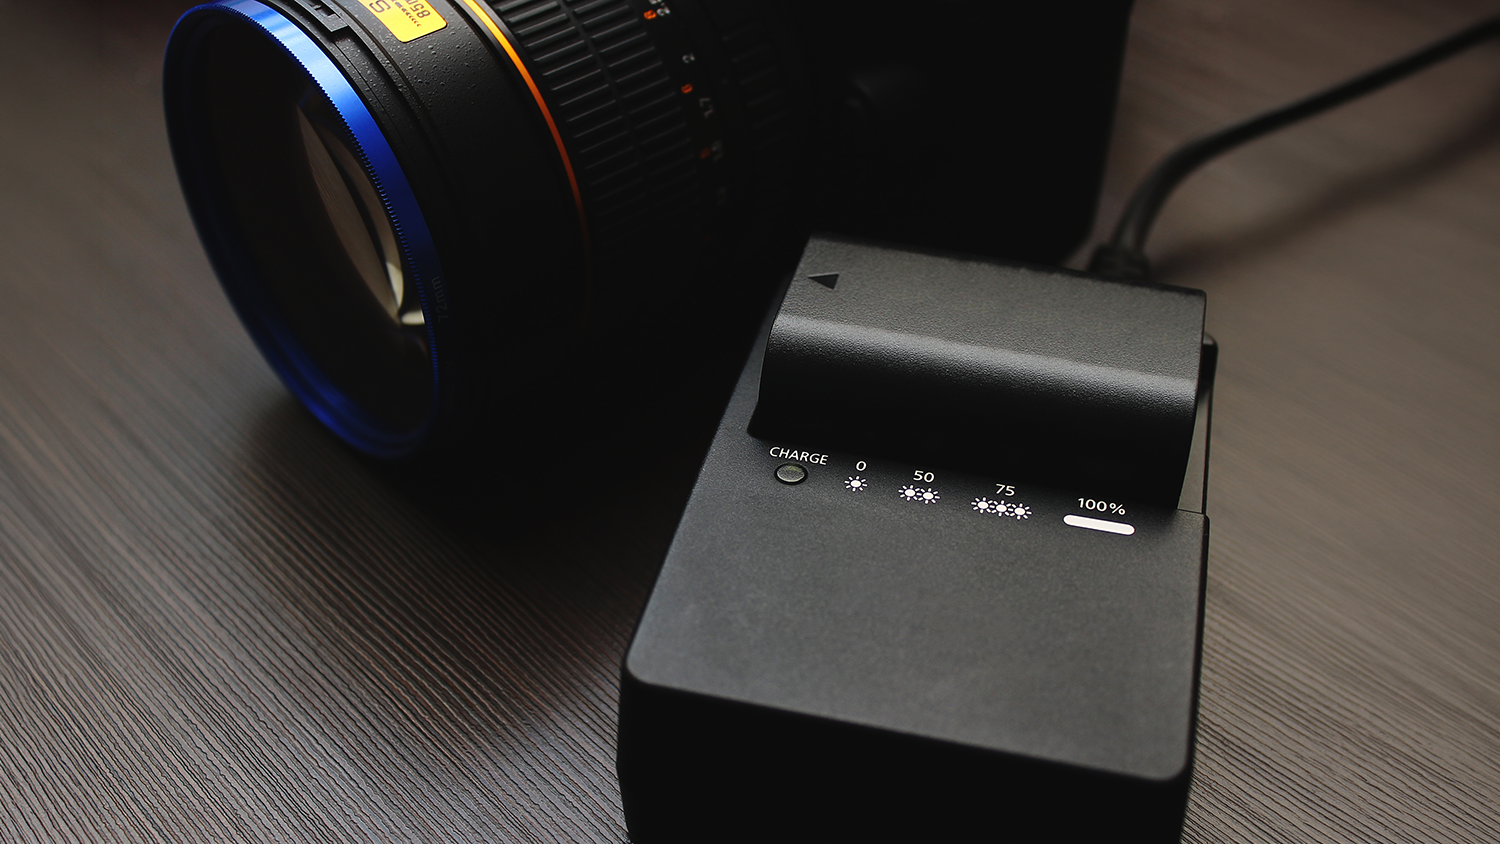
As you unbox your new camera, you’ll notice an assortment of additional goodies that come with your new toy. First, you should charge the battery. Out of the box, it will likely be dead or nearly dead. If it is charged, this is only a surface charge, meaning it’s got only a few minutes of life. This first charge can take some time, so be patient.
Most batteries can be charged in camera with an included USB-C cable. In fact, this is fast becoming the preferred method of charging for most brands. Dedicated charging bricks are less frequently supplied, though we recommend having one so you can keep your batteries topped off even while you’re using the camera.
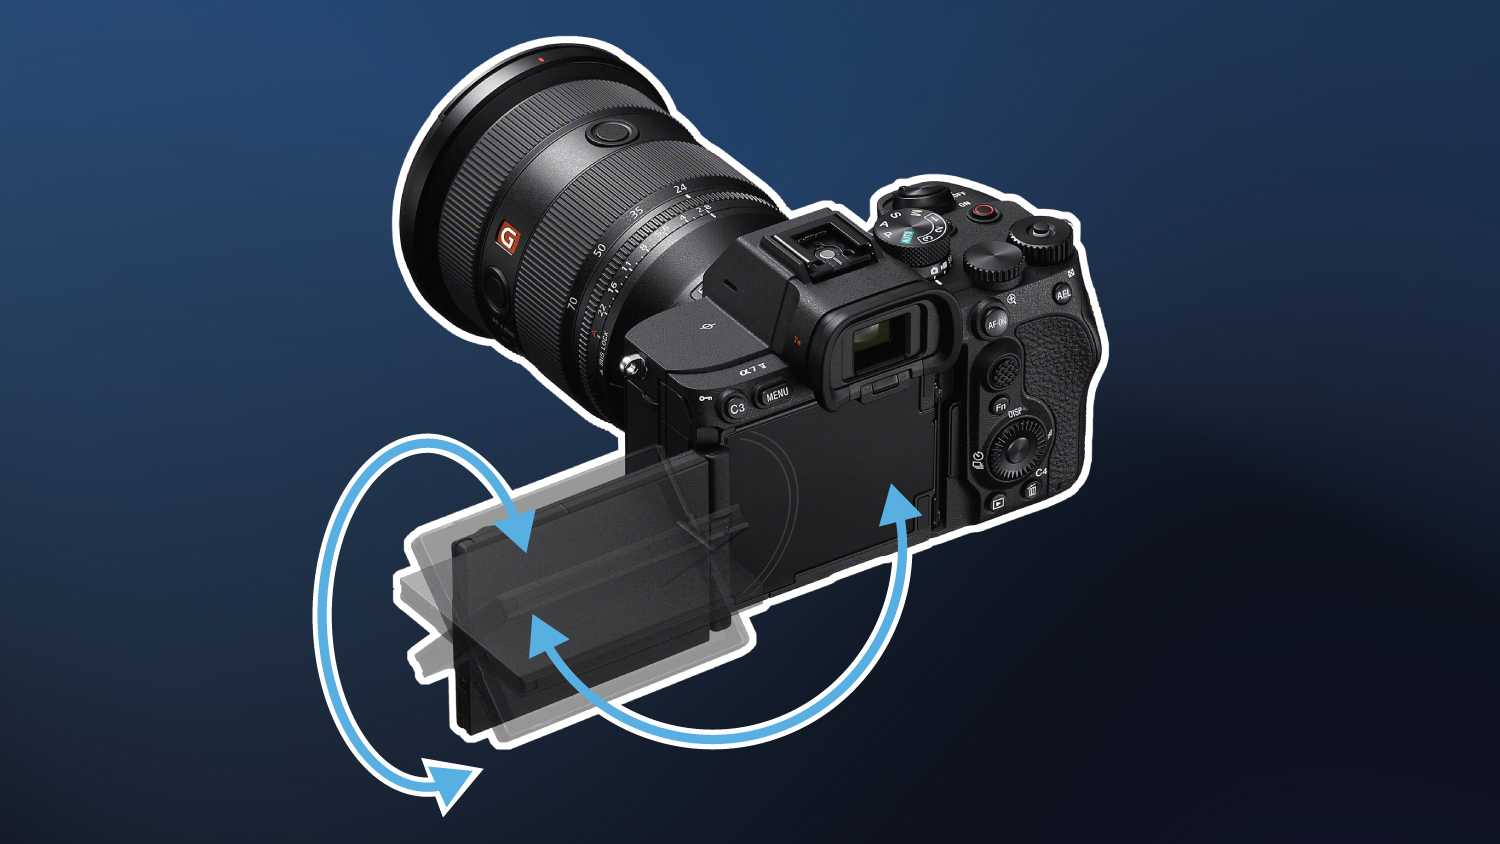
Many cameras today feature articulated touch screens. These are intuitive for adjusting settings or reviewing images. It’s as easy as swiping through pics on your smartphone. Like your phone, these screens are often the first thing to break if your camera falls or takes a hard knock. Protect these screens the same way you protect your smartphone screen and put a screen protector on it.
With our strap attached and our battery charged, we’re ready to get started. Let’s turn the camera on and set the date and time. Don’t skip this, as the camera will bring this prompt up every time you power on until you do! But wait, where do all of our images and/or video clips get recorded? Very few cameras come with internal storage, so most rely on an external memory in the form of a memory card.
Memory Cards
Memory cards serve as short term storage for data recorded by the camera. Even when streaming directly to an online source, a camera may require a memory card to be inserted into the camera. For video, the card must be able to handle the heavy flow of high-resolution data like HD or 4K video, so a fast card is essential. For the most part, many of the cameras we’ll be starting with use the tried and true SD card. Once inserted into the camera, these must be formatted.
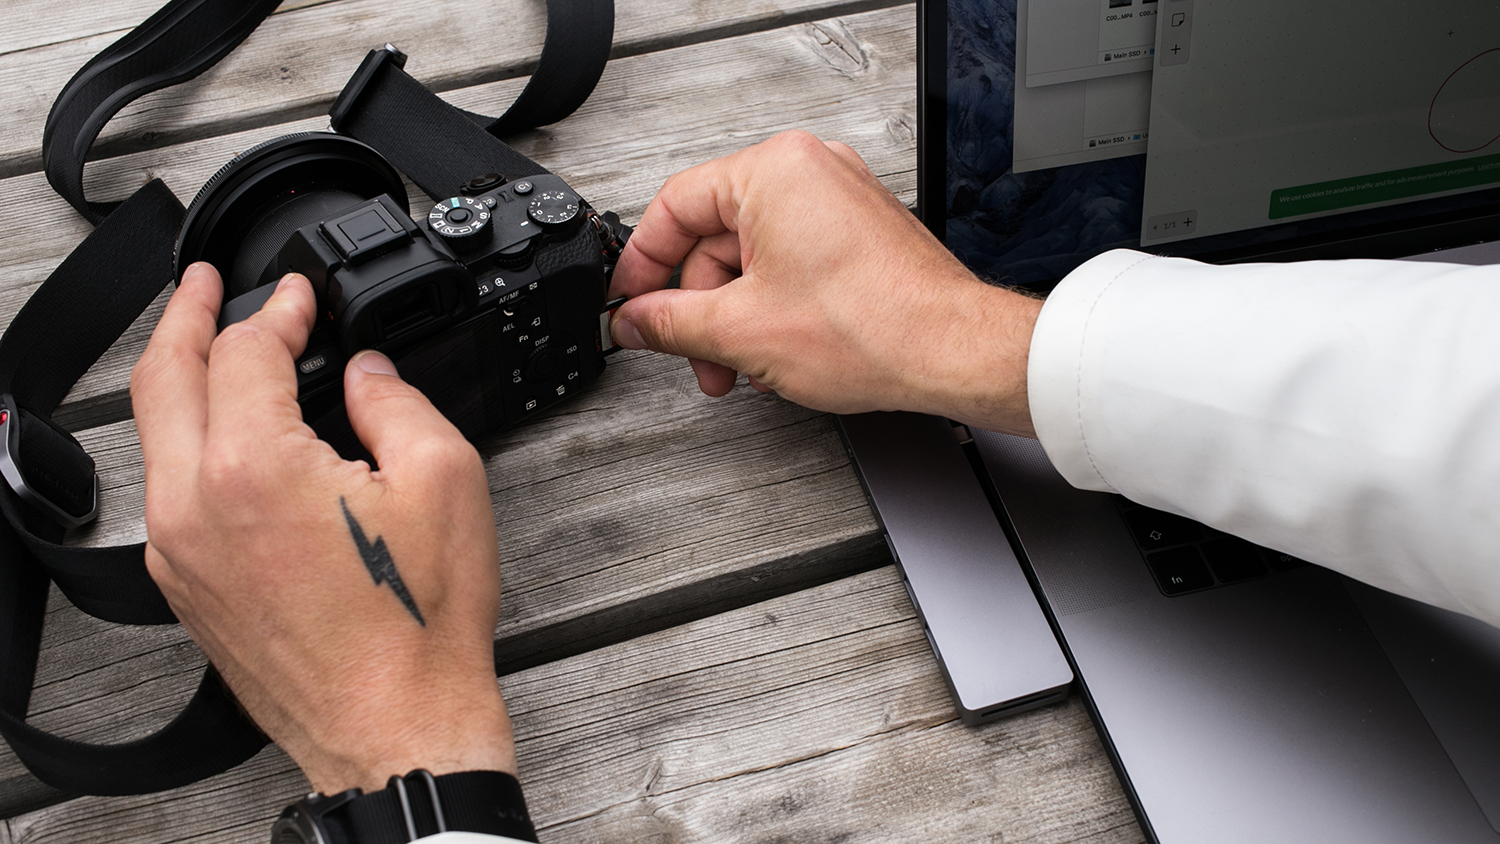
Formatting memory cards is an essential step to take before shooting. Why? A digital camera is essentially a miniature computer. All cameras function in a similar way, but each brand has their own process. Each specific model has a unique signature as well. A memory card is short term storage no matter how you slice it, but a Canon may use a different file type or delivery system than a Nikon. Same as PC to Apple. For this reason, we need to format a memory card to that brand/cameras method of doing so.
One last note to make has to do with the box. Don’t throw it away just yet if you can. We recommend holding on to the box for at least a year or the warranty period. God forbid you have any need to send the camera in to B&H or the manufacturer, there’s no box safer than the one it designed to ship in!
The Lens
What is a camera without a lens? An expensive paper weight for starters. The lens is what takes light and bends it into a legibility so that our camera can record an image. As you may have noticed, there are a ton of lenses on the market, and finding the right one can be a challenge. Luckily, there’s a chance that your camera came packaged with a lens. These are known as kit lenses, and their quality varies greatly, but they are an excellent tool to learn and grow with.
If your camera doesn’t come with a lens, you’ll need to get one. A versatile. All-in-one style zoom is the standard option, and a good starting point. These lenses generally offer a starting focal length of 16mm to 24mm and a maximum of 50mm to 200mm. The ability to take landscapes and tight detail shots in just one lens is incredibly beneficial, though some photographers may prefer the prime lens. This is a fixed focal length lens that typically provides finer overall detail and those smooth, blurry backgrounds we see so often.
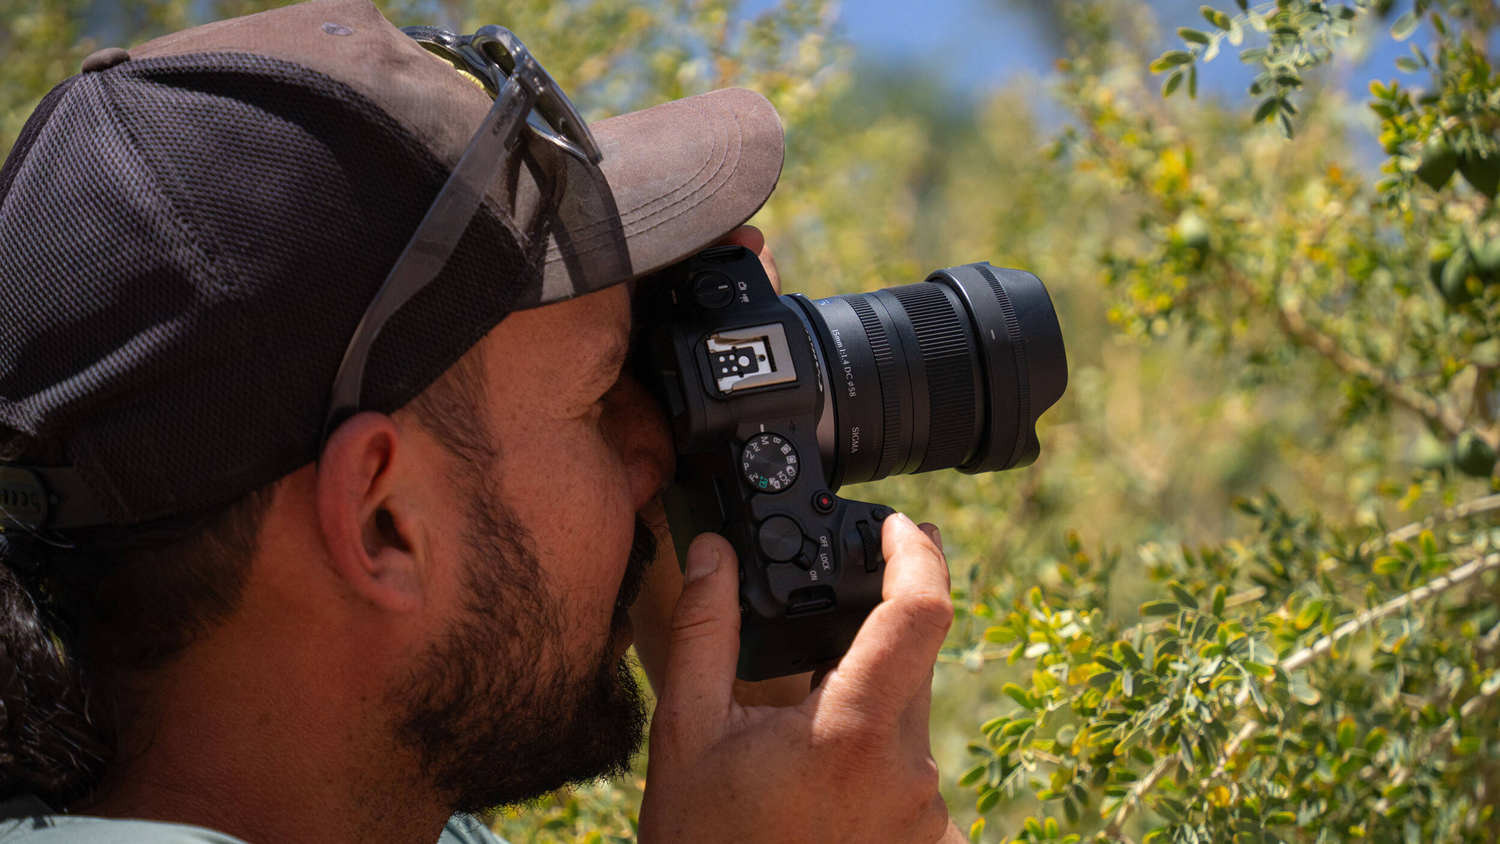
Eventually, you may find reason to upgrade your kit lens or to add another lens to your bag. Before you start thinking about expanding your arsenal, learn with what you’ve got! Use your starter or kit lens until it no longer serves you well. Only if the kit lens is unable to deliver the results you want, either in general for a specific situation should consider replacing it or adding another lens to our arsenal. If you need more reach or a faster aperture, then we have a good reason to go beyond the kit lens.
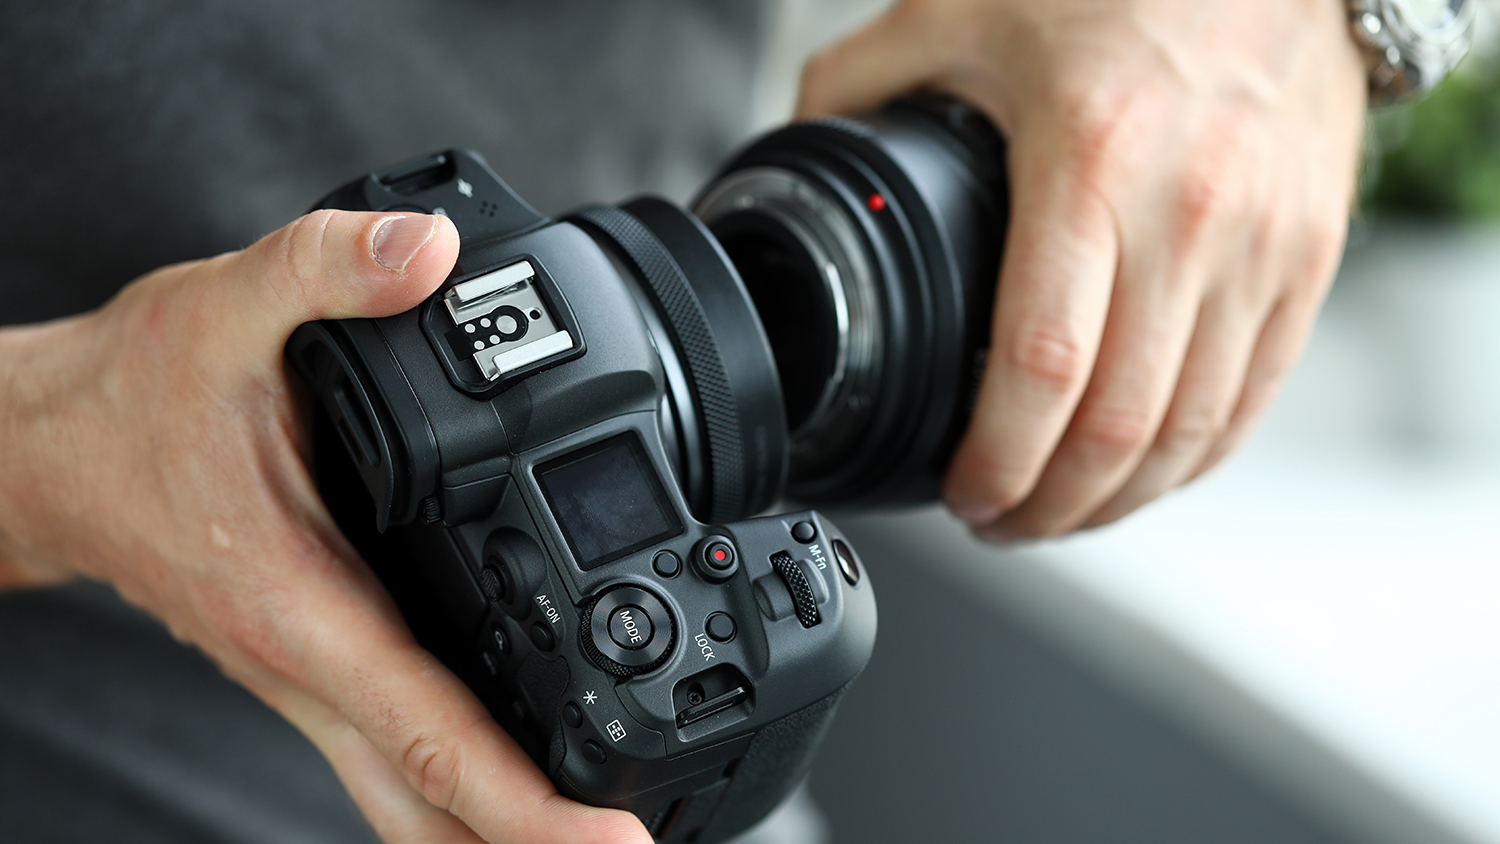
To mount your lens to the camera, simply line up the white or red dot on the mount of the lens to that on the camera body and rotate it. Again, every brand is different, so check your manual before doing so. Improperly forcing a lens into a mount can be hard to remove and may lead to costly repairs! To release the lens, press the lens mount release button, which can be found around the mount itself. Then, rotate the lens in the opposite direction
Learning Our New Camera
Once our memory cards are formatted, we’re ready to start learning the camera itself. There is no better way to do so than to head outside and start snapping pictures. If you bought your camera for a particular subject matter like flowers or landscapes, head to a local park and start experimenting.
Proper Handholding Technique
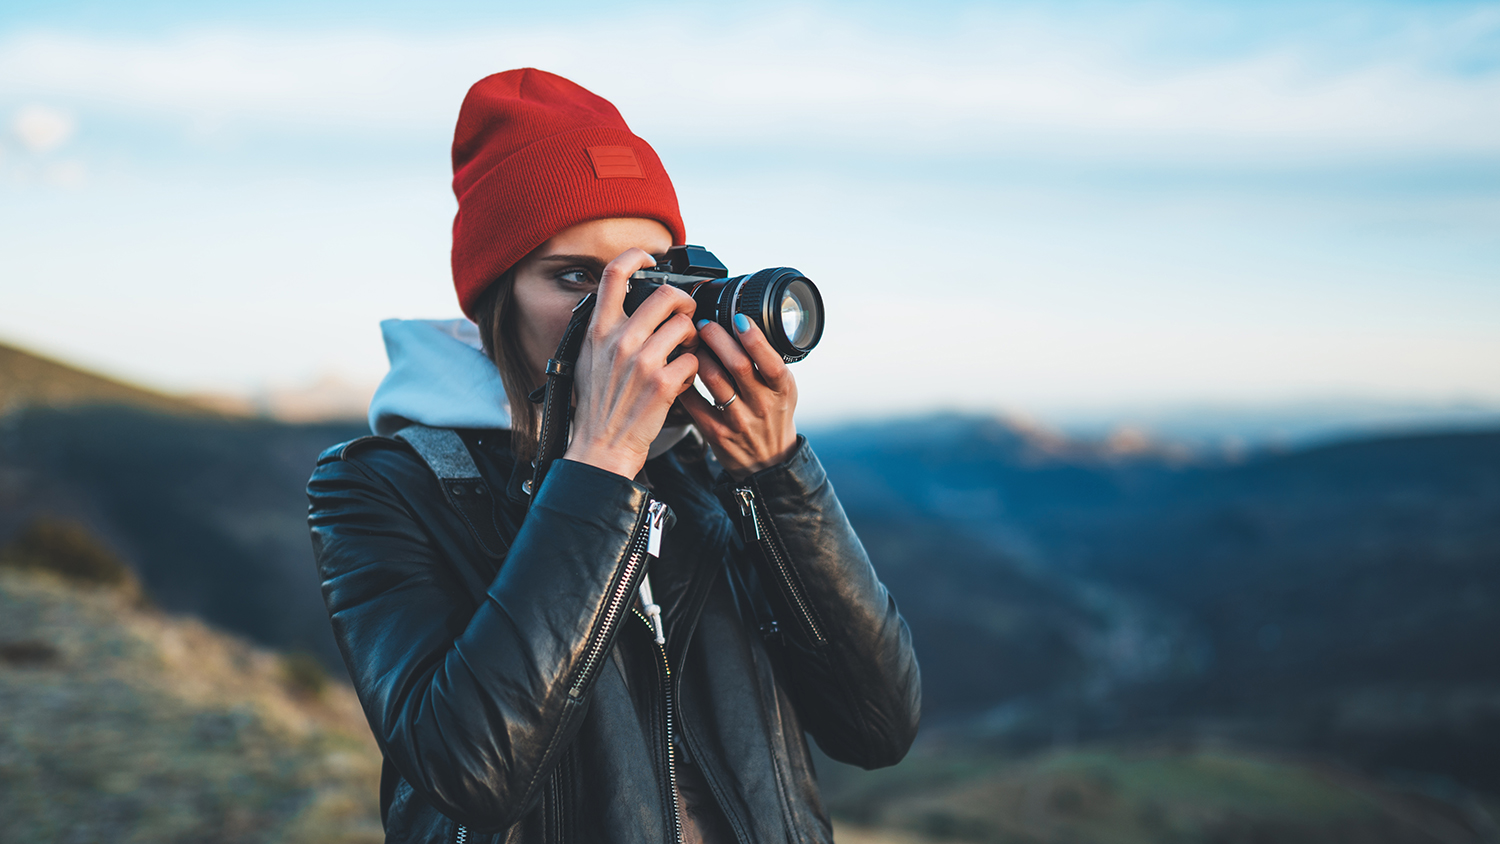
One of the first mistakes we make is holding the camera improperly. It’s quite common to pick up a camera the same way in which we hold our smartphone camera. This is not wise, as our grip on the larger camera will be less secure and this runs multiple risks, including blurry photos and of course, dropping the camera.
Instead of holding our camera like we would a phone, cradle the lens in your left hand, taking the brunt of the weight in your forearm, which should be braced against your side. This stabilizes the camera and will aid in capturing sharp images.

The Viewfinder and How to Use it
The eyepiece of the camera, or viewfinder, is how we see the image before we take it. Even though the screens on cameras have gotten so much better, unless you’re exclusively shooting video, you’ll want to use the viewfinder. The enclosed viewfinder provides a shaded, unobscured view of the image as opposed to the rear LCD that can fall victim to sun glare among other things.
In a mirrorless camera, our viewfinder is actually a small LCD screen, better known as an electronic viewfinder or EVF. This means that we’re actively seeing our exposure before we take it. This also means that we can use tools like the histogram to make sure we’re getting a proper exposure.
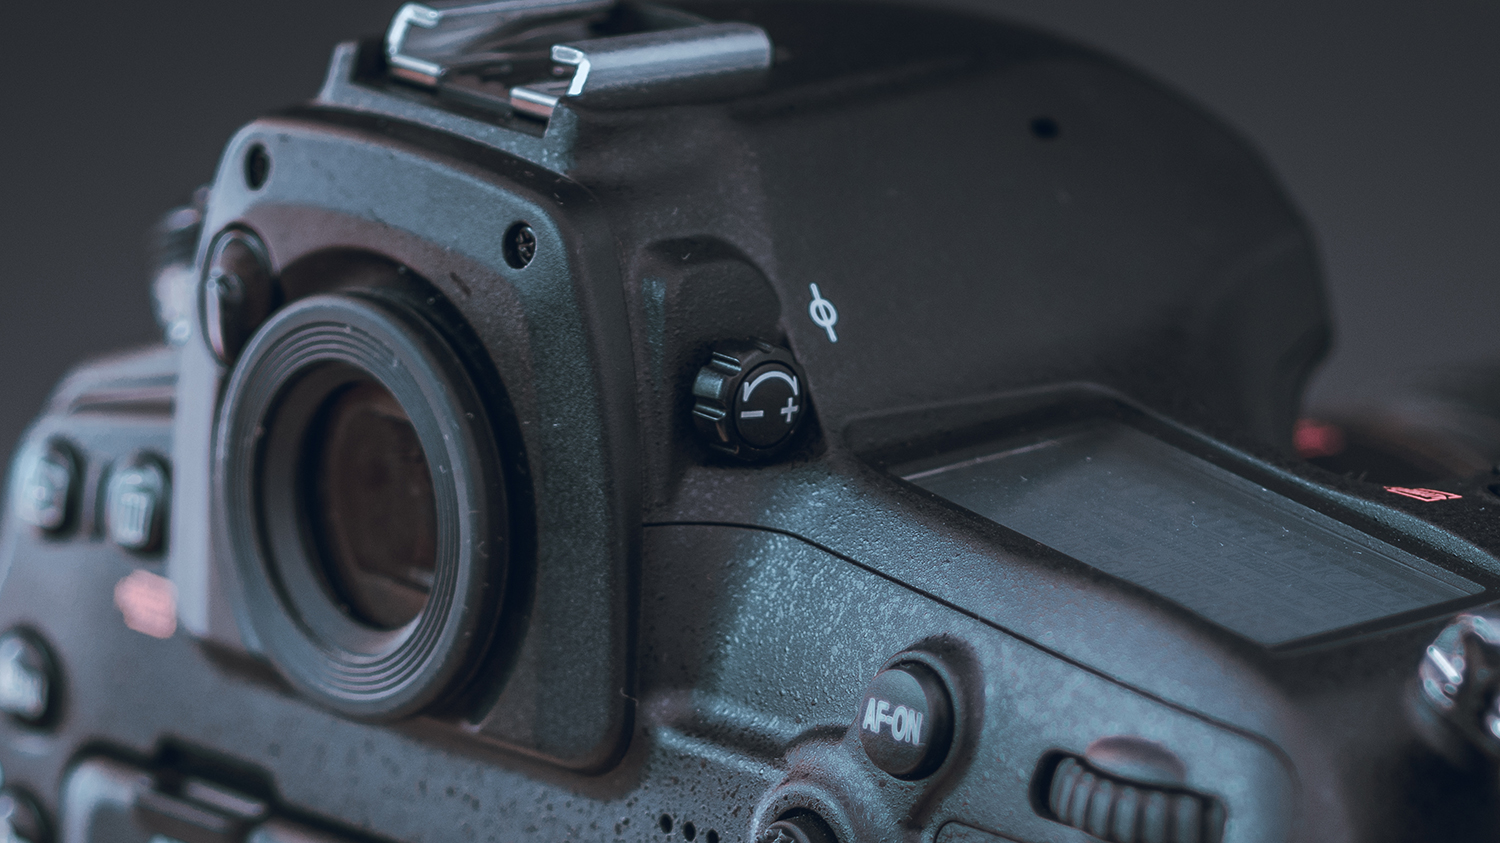
Benefits aside, what do you do when you look through the viewfinder and see a blurry image? We look for the diopter adjustment, which dials in the viewfinder to match our eyesight. This can be found on the side or below the viewfinder itself. Simply dial or slide it gently while looking through the viewfinder until the image is crisp. We recommend using the settings as an indicator, since these will always be sharp whereas the image itself may be out of focus.
Let’s Take Some Photos!
Now that we have a basic understanding of our camera, we’re ready to start taking photos! If you’re concerned about settings at this point, don’t be. Keep the camera in auto or program mode for now and just have fun. Head to your local park or out with some friends and experiment. Try different lighting conditions and subject matter.
Taking Greater Control
Out of the box, most cameras are set to program or an intelligent automatic mode where the camera selects settings for you. This is as close to a point and shoot as these cameras can get, and for many folks, these are perfectly suitable. In these modes, the camera reads available light and picks the best settings for those conditions. It doesn’t know what we’re photographing, but assuming it’s stationary and evenly lit, it’ll get us the shot.
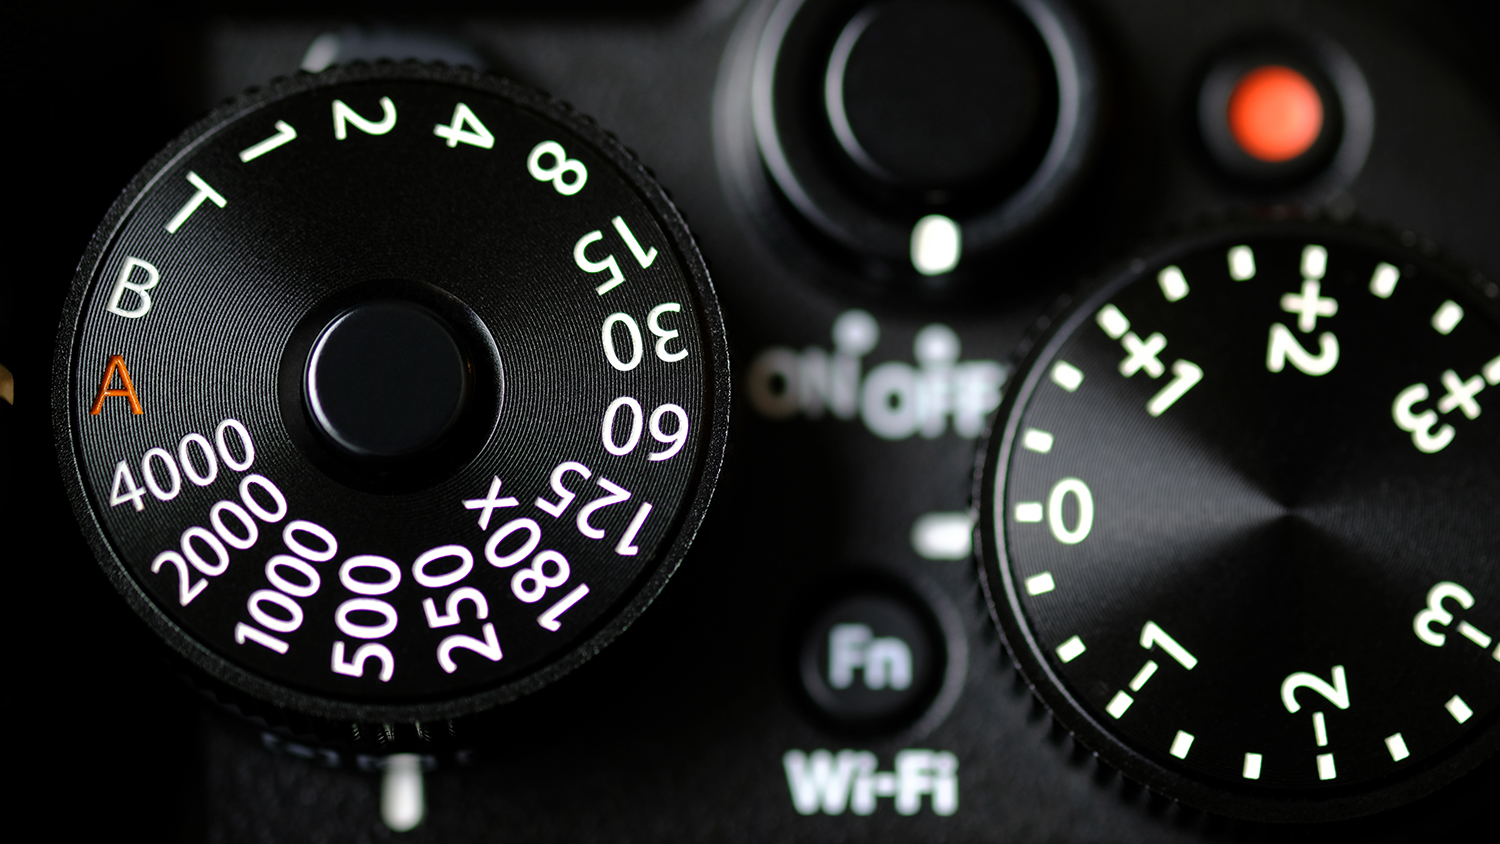
Wait, did we just say that the camera doesn’t know what we’re shooting? Yes, we did. This is changing, as deep learning technology is implemented in newer models. A new camera can technically tell a bird from a dog, but what it can’t do is tell whether we’re trying to capture a portrait or an action shot. In order to capture something like fast action, we’ll need to change our exposure mode.
To take full advantage of our new camera, we want to start adjusting our settings and eventually, use manual mode. That said, don’t rush. If there’s one thing you take away from this article, it’s that practice makes perfect. Learn the basics, and the rest will come. Now get out there and take some pictures! Head to a local park or out to the city with some friends and just have fun. Learn from what works and what doesn’t.
Learning More
We hope you’ve enjoyed this introduction to your new mirrorless camera, and you feel inspired and hopefully less intimidated by it. Photography is meant to be fun, and if that means keeping things simple go for it. If you would like to learn more, we recommend checking out the rest of the B&H Explora page. You’ll find no shortage of educational guides, articles, and videos covering photography basics to more brand and subject specific content.
To better understand exposure, read our Exposure 101 series to become familiarized with the settings that make our cameras tick. If you’d like to continue learning the ins and outs of photography, sign up for our newsletter and stay up to date with all things photography.
