In photography, tethered shooting refers to the connection of a camera to a computer to transfer images for instant review while shooting. Tethered shooting is a great practice inside a studio because you can preview your pictures instantly, on a screen much larger than your camera’s LCD.

Benefits of Tethered Shooting
Getting Your Creative Team and Client Involved in the Shoot
When you tether your camera to a computer during a shoot, you can see each image within seconds of capture. This is a great tool for sharing images with your creative team to get them on the same page and to show your client a few examples of what you’re capturing. I have found that when the subject sees sample results, it helps boost their confidence not only in themselves in front of the camera, but in you as their photographer.

Rating of Images as You Go
When tethering, you’re not only getting feedback from your team and client, but you can save time by rating images along the way. In Adobe Lightroom, this can be accomplished by assigning each photo stars, colors, or flags.

Adjusting as You Shoot
When you are showing a client images, it’s a good idea to apply any minor adjustments to the image so they can get an idea of how the final will look. It’s also a great tool for determining if certain images can be retouched to your liking and, if not, you will know to continue shooting.

Immediate Backup of Images
When you shoot, you are normally recording images to your memory card. If these cards get damaged or corrupted, you can lose them all. When you shoot tethered, you are saving the images directly to the computer and any external drive you have connected to it—simultaneously.

Quality Results
If you are reviewing your images as you shoot tethered, you are also checking details on a larger screen, which helps you to determine whether necessary adjustments are necessary. There’s nothing more annoying to shoot more than a hundred similar photos just to notice afterward that there was a string hanging on your subject’s shirt sleeve or that a bracelet was extraneous.

Tethering Equipment
The Basic Setup
The most basic tethering setup you can get away with is a computer, a camera, software such as Adobe Lightroom or Phase One Capture One Pro, and a tethering cable to connect your camera to the computer.

I own and use the Tether Tools Starter Tethering Kit, which not only comes with the tethering cable, but a JerkStopper device for your camera and your computer. I find the JerkStopper to be invaluable because it prevents the cable from becoming disconnected from your camera if you step on the cable.
The Superstar Setup
If you want to take your setup a little further, Tether Tools offers additional options for setting up a more functional tethering workstation. The Tether Tools Tethering Platform Kit includes a table that connects to a tripod or light stand, a strap for securing your laptop to the table to keep it stationary, the Aero ProPad to keep your laptop from sliding on the table, a tethering cable, a JerkStopper for your camera and computer, and more.

Odds & Ends for the Home Studio
Gels
Gels are useful accessories to have if you’re on a budget and cannot afford multiple colors of seamless backgrounds. Instead, use a colored gel to color a white background. I use the Rosco Color Effects Gel Kit to color my backgrounds and subject.

Gaffer Tape
This is useful for securing lighting cables, seamless paper, and other tasks. Gaffer tape is a strong, durable tape that comes in various colors and doesn’t leave an adhesive residue.

Clamps
I like to have A-clamps on hand for fitting oversized clothing on my models by gathering and clamping excess fabric. Super clamps are terrific for clamping a seamless paper roll system to Autopoles.

Rechargeable Batteries & Chargers
Keep rechargeable batteries on hand to power speedlights, cameras, and receivers. I keep extra batteries handy for my monolight transmitter and camera remote.

Along with rechargeable batteries, you will need battery chargers for camera batteries and AA batteries.

Extra Bulbs
If you are using monolights, make sure you have extra bulbs on hand in case one burns out during a shoot. This will help prevent you from being limited with your remaining lighting options, or worse, having to stop the shoot altogether.

Camera Remote
When my camera is tripod-mounted, especially when using continuous lights, I use a camera remote to avoid camera shake when pressing the shutter button.

Surge Protectors & Extension Cords
Depending on how much space you have in your home studio, you may find a need for extension cords to plug your monolights into AC outlets. For extra safety, plug your lights into surge protectors—but do not daisy-chain surge protectors, to avoid fire hazards.
A Fan
Wind can add movement to your images, so keep a fan on hand, especially for fashion when you want to create movement in hair or clothing.

A fan creates useful breezes.
BTS photo by Yann Bizeul
Other Odds & Ends
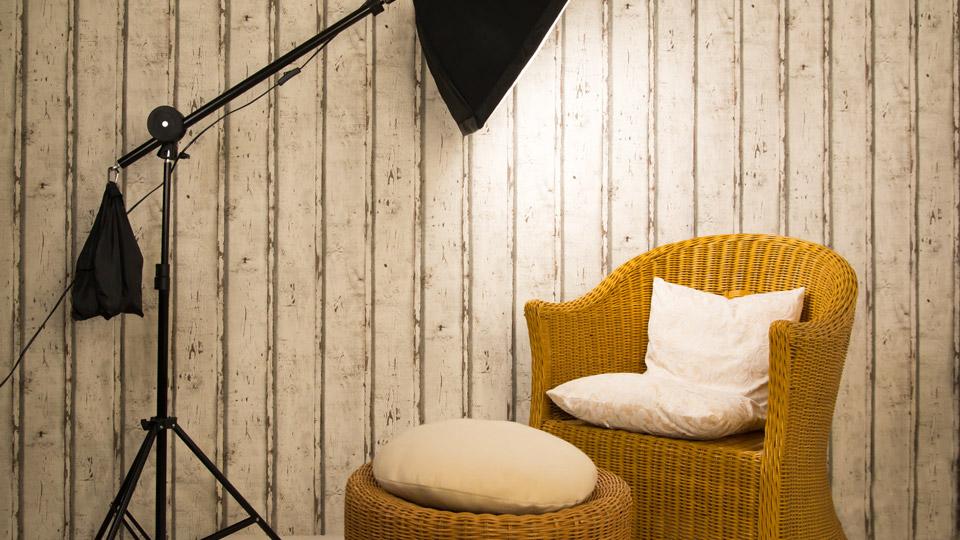
Other things you may consider having on hand are a good pair of scissors for cutting seamless paper, and a sewing kit for alterations, should you be taking fashion shots. Other things you can collect along the way are props such as flowers, throws and pillows, fabrics, umbrellas, handheld fans and furniture covers to change the appearance of posing furniture.
Tying It All Together
Shooting tethered has many benefits for the photographer. It provides a platform for your client to view the work in progress. It also gives you a way to communicate with your creative team during a photo shoot—they can see what you see. In the next article, we will focus on workflow, data asset management (D.A.M.) and post-production. Stay tuned!
For more pertinent information on how to create your home studio, click here for Part 1, Part 2, Part 3, Part 4, and Part 6.
