
While many video podcasts might start off only utilizing one camera, adding more typically becomes the first upgrade that creators make as they build out their shows. Having multiple angles to cut between makes the final podcast more engaging to watch and can often produce high-quality close-ups that help viewers really connect with your talent. But with more cameras comes more responsibility, so let’s break down how best to approach a multi-camera video podcast setup.
Cameras and Lenses
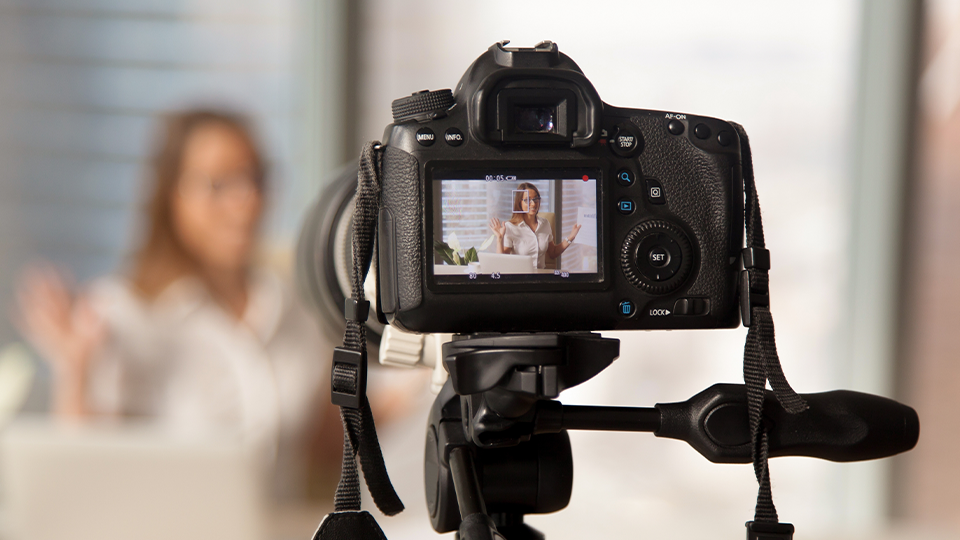
While the ideal will always be to have identical camera bodies that can be tuned to the exact same settings and perfectly matched, the reality of budgeting means that sometimes isn’t possible, at least not at first. If you’re mixing and matching cameras, it’s a good idea to try to at least stick to the same brand, as most brands have a consistent color science used throughout their camera lineup. There are workarounds to try to match colors from different brands, but that’s adding a potentially complex step to an already nuanced production process. No matter which brand you use, try to buy cameras without any kind of recording time limit (check the specs on the B&H item page). A flip-out LCD screen is nice to have for composing shots more easily, good autofocus is handy in case people on-camera shift in their seats, and dual memory card slots are a useful feature for creating a backup recording in real time.
Different lenses can be where you really take advantage of having multiple cameras. Typically multi-cam setups will use a wider lens for a complete shot of the participants, think somewhere between 16mm to 35mm, then longer lenses for individual close-up shots of speakers, think 50mm to 100mm150mm. Zoom lenses are useful so you can adjust on the fly and capture a greater variety of shots, but prime lenses tend to have larger apertures that can be extremely handy if you’re working in a small space or want to dramatically separate subject and background with a shallow depth of field. If you do use zooms, try to get ones that have a fixed aperture throughout the zoom range, so your exposure doesn’t change as you zoom in and out.
Switchers and Software
The least expensive setup at first might appear to be recording each angle in camera, bringing those files into an editing program, syncing them up, and cutting together the final video from there, but that’s an extremely labor intensive process. Recording, ingesting, and cutting can be way easier with the use of physical switchers or switcher software. These take in all your cameras feeds and help you edit together a final program output in real time, while adding transitions, effects, and titles. Most can stream, record, or do both simultaneously. Switchers with ISO functionality will record all the camera feeds individually as well, so you can go back in afterwards and make any desired edits.

Switcher software will typically require either some sort of capture device to import the camera feeds or have cameras send their video digitally via network functionality like IP or NDI. If you get a hardware switcher that comes with accompanying software, the physical switcher will act as a capture device and typically output to a computer via USB. If you’re going for simplicity, a hardware switcher is the way to go, but if you’re more interested in building out an internet-based system that could even be controlled remotely, look deeper into switcher software and give it a try.
Lighting, Set Design, and Editing
Having more cameras means you’re going to see more of your environment, so it’s important to make sure what’s behind your talent matches the energy and style of what they’re discussing. Is the show tech focused? Try tube lights, neon colors, and sharper lines. Is it about home décor? Aim for soft light, more neutral colors, and more curves. Whatever you do, don’t just accept how things look straight out of the box. Real locations typically have unflattering overhead lights, while many studios create a flat, washed out look if all their lights are turned on. You need to be more thoughtful and give yourself time in the actual space you’ll be recording the podcast in, making sure all your cameras are capturing a good image.

The content and style of the podcast will also determine how you cut together your different angles. If the tone is quippy and snappy, cuts can come hard and fast, bouncing between speakers and maybe even featuring animated overlays. If the podcast is more academic and official, try to hold on shots for longer and keep graphics to a minimum. If the hosts are talking about something that’s not on-screen, cut in some b-roll of it. If everyone’s talking at once, cut to the wide shot. You have a lot of possibilities at your fingertips, and that’s the excitement and the challenge of multi-camera podcasts. Watch the podcasts that inspired yours, see how they shoot and edit, emulate their style at first, then find your own.
