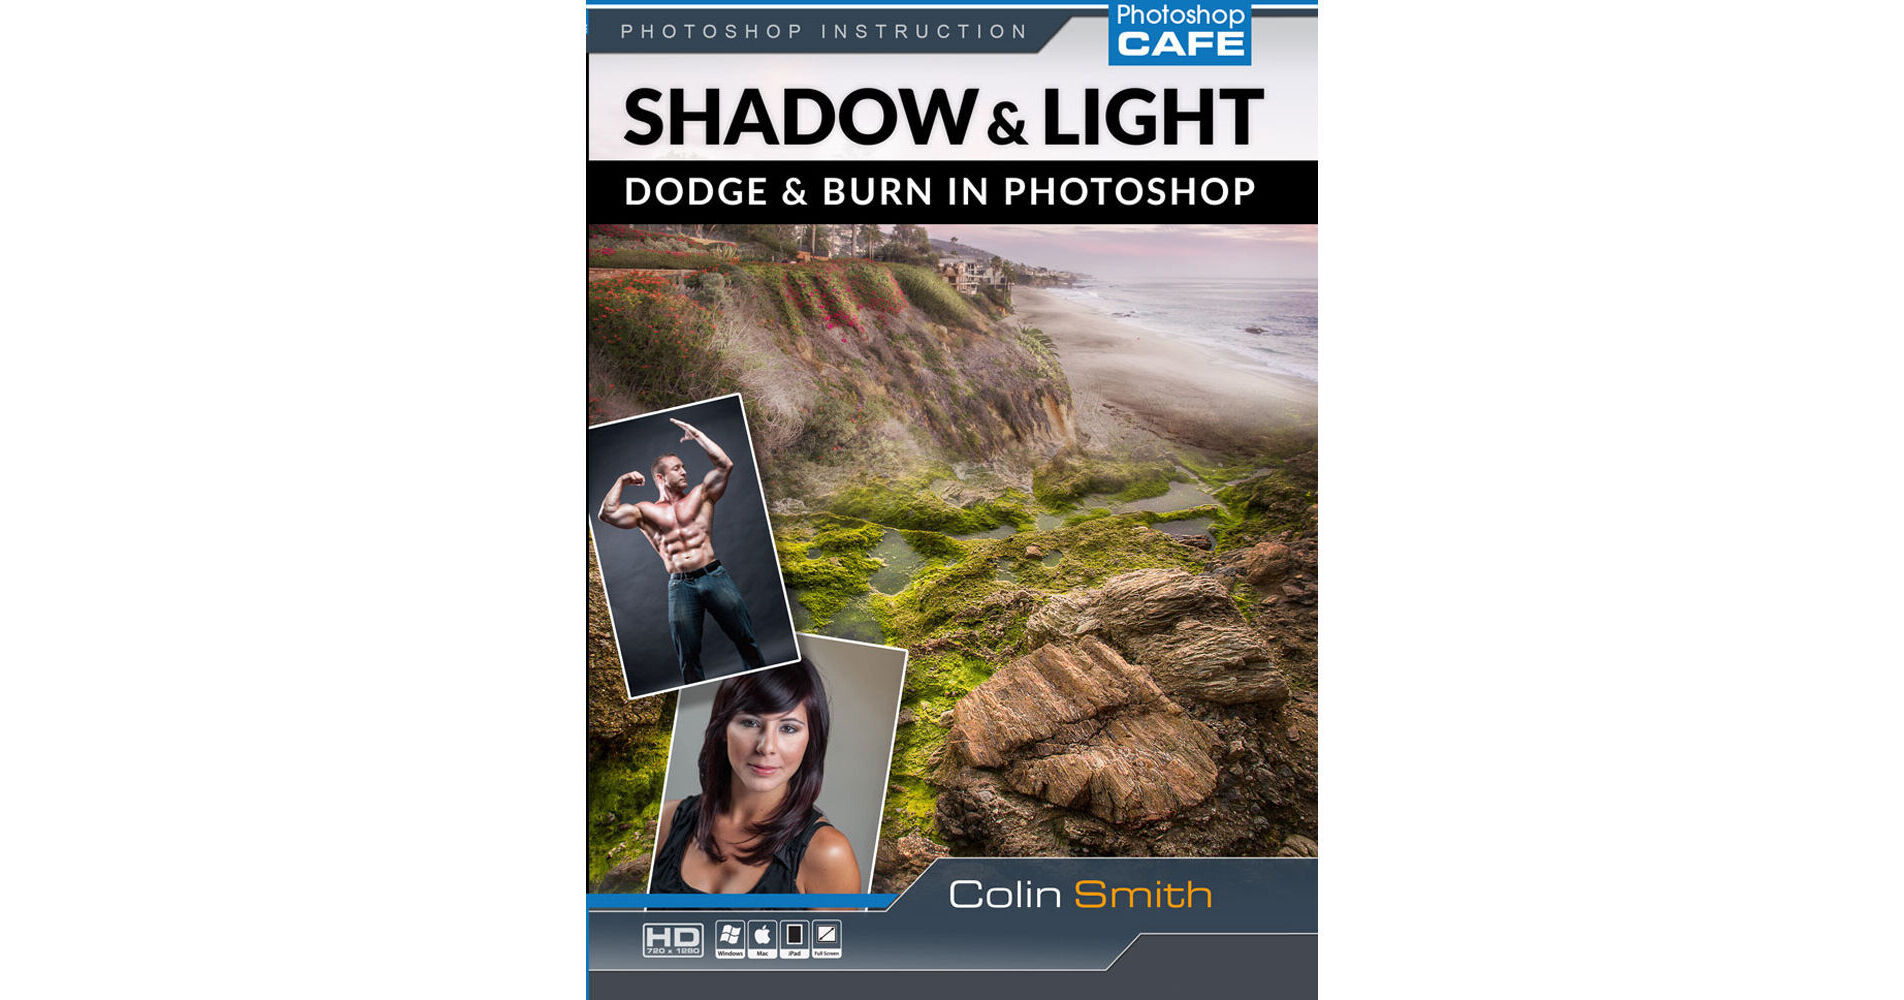
Shadow and Highlight, How to Dodge and Burn in Photoshop from PhotoshopCAFE leverages what you already know about Photoshop and allows you to create professional-looking visuals. Colin Smith and his extensive experience provides you with the knowledge and skills necessary to create professional photos. He highlights his techniques such as dodging and burning, which is painting with shadow and light.
Colin opens up new possibilities with powerful brush and adjustment tools. He explains that the three main reasons to dodge and burn are to lead the viewer's eye with darks or lights, to bring out details in photos, and to add depth and dimension. During this two and a half hour tutorial you will learn all three methods. He takes the mystery out of where to dodge and where to burn a photo for maximum results.
This is for photographers and designers who want to use what they already know and start improving their visuals as soon as they begin the tutorial. These tips will work on any version of Photoshop. All lesson files are included as well.
- Shading Basics
- Learn how shadows and highlights define 3D surfaces and shapes. Use shadow and highlight to create depth and texture. Shading primer
- Layer Setup
- How to set up layers and blend modes for non destructive dodging and burning, make a reusable action
- Brush Setup
- How to set up dodging and Burning brushes to work with pen pressure. This is useful for Wacom, Surface Pro, iPad Pro and mouse users
- Jump headfirst into a project and learn the workflow, start to finish
- Strategies for adding shadow and where to highlight
- Set the overall tone and mood for the image
- Add shadow and light to give lots of dimension and depth to a flat image
- The shadows define and simplify the shapes
- Highlights force areas towards the viewers eye and give them life
- Make your photos look 3D
- Using this image of a body builder, learn how to sculpt muscles and enhance a body shape
- Carve out the muscles and add separation
- Smooth out the body shape
- Make muscles look massive and flatten out other areas
- This is based off contour and highlight makeup, this is retouching at it's best
- A lot of the Hollywood stars, do contouring and highlight to their makeup. This is actually dodging and burning in real life. Learn to recreate this effect digitally in Photoshop.
- Smoothen out skin tones without blurring.
- Enhance certain features, while diminishing others.
- A natural way to really light up a face and define the shape of facial features.
- How to dodge and burn, directly in Lightroom and Camera RAW
- A lot of your initial work can start in Lightroom or Camera Raw. In some cases, this is all you need.
- Non-destructive shadow and highlight on a RAW file.
- Do local adjustments in ACR and Lightroom.
- Use adjustment layers, masks and curves to create shadow and light
- Create different tone curves and apply them exactly where you want.
- Using inverted layer masks to paint shadow and light.
- Fast and non-destructive, but giving you pinpoint accuracy.
- Relight a photography and create a dramatic photo with shadow and light
- Completely redefine the lighting of a photograph.
- Change the mood and feel of a photo.
- Make your subject pop while making the background fall into the background
- Faking lighting in Photoshop
- This isn't HDR, this is multi exposure crafting of shadow and light
- Use in camera bracketed exposures to dodge and burn with dynamic range.
- Extend the details in your image and paint in HDR, without HDR or with the HDR look.
- Masking and blending multiple exposures to add more natural detail with less noise.