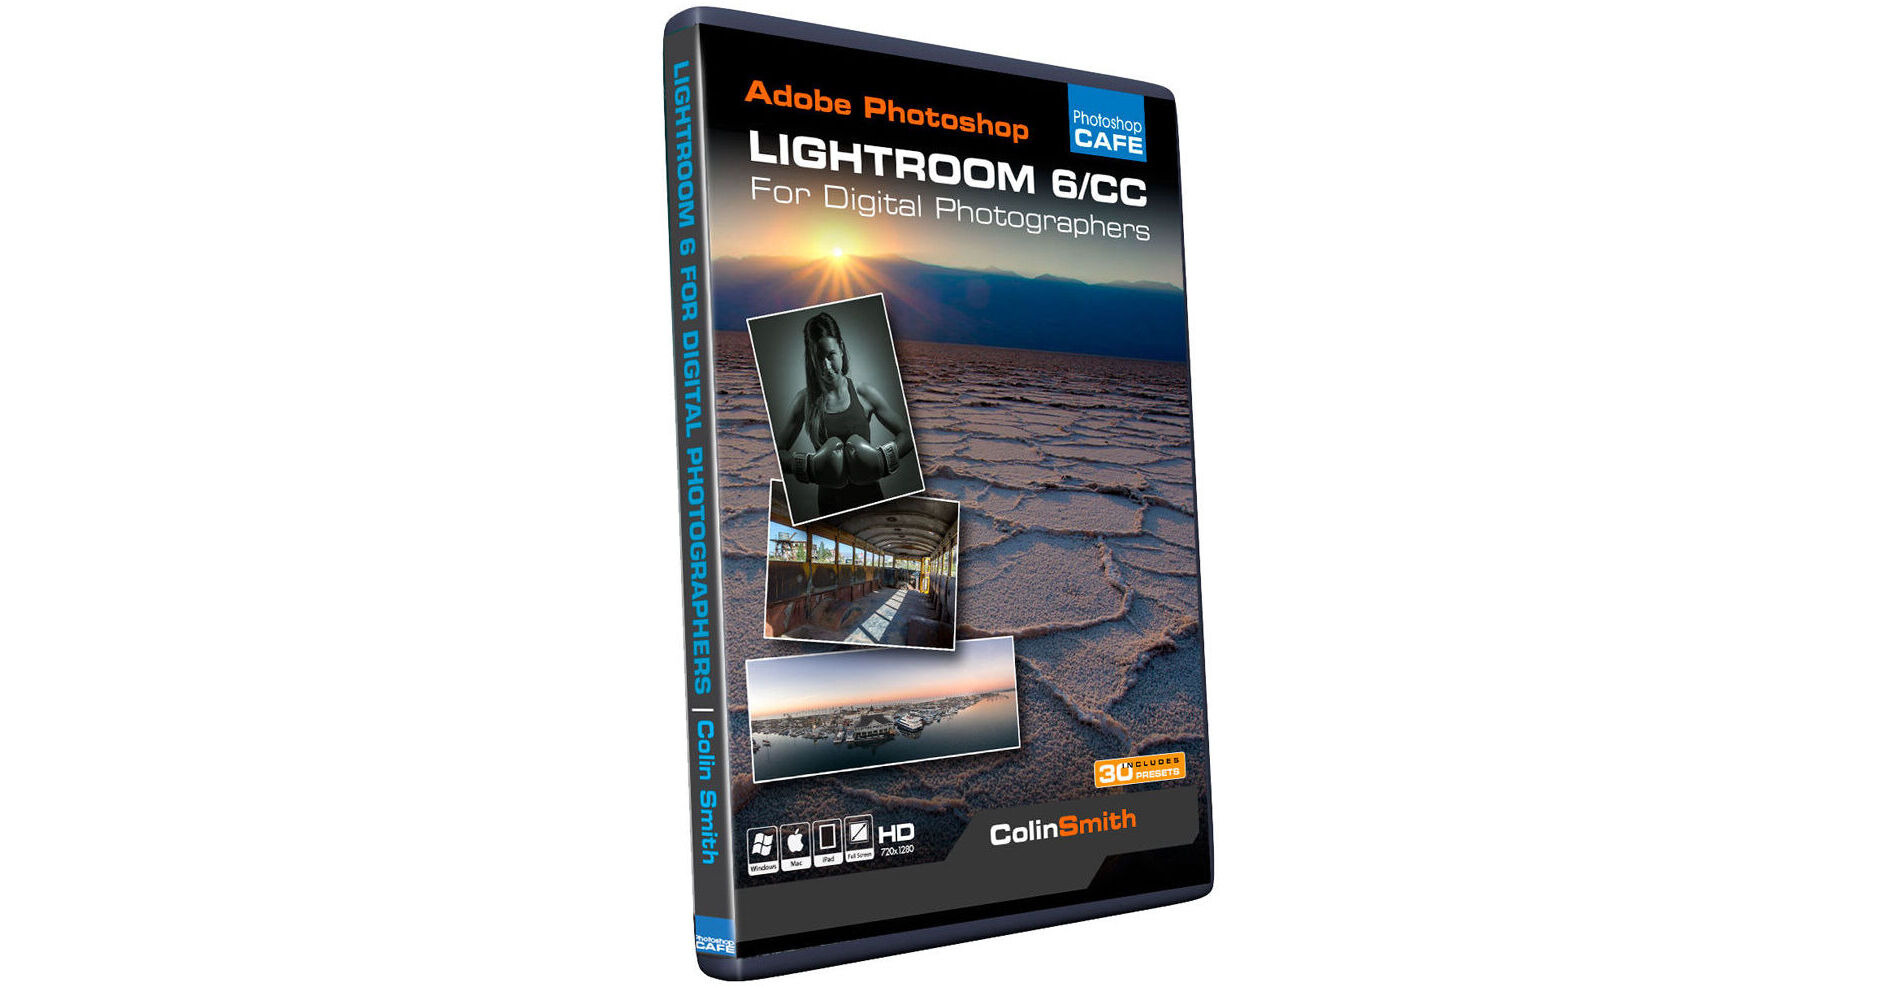
Lightroom 6 for Digital Photographers from Photoshop CAFE helps you understand and maximize the potential of Adobe's powerful photo editing program. With 13 hours of HD video content recorded from the ground up and 30 presets included as a bonus, this comprehensive guide takes you step by step through every possible feature and tool in Lightroom CS6.
Getting Started
- 1. Welcome: Set up exercise files, import sample catalog
- 2. Overview: What is Lightroom?
- 3. Preferences: Essential Lightroom Preferences
- 4. RAW files explained
- 5. XMP Sidecars: Understand XMP, your key to sharing raw files
- 6. DNG: What is DNG and how Lightroom can help
- 7. Importing
- 8. Importing Locally: Locally Import images from your hard drive
- 9. Auto Import: Set up a watch folder to automatically import images
- 10. Volume Browser: Viewing disks and space remaining
- 11. Create Custom Identity Plates and use Logos for End Markers
- 12. Panel Management Tips: For Working with the panels efficiently, full screen
- 13. Integrating with Lightroom Mobile
Viewing
- 14. View options
- 15. Grid View: Working with Grid view, thumbnails, and view options
- 16. Stacking: Making molehills out of mountains
- 17. Auto Stacking: Automatically stack photos by capture time
- 18. Lights Out Mode: Viewing your photos on a virtual light box
- 19. Loupe: Using the loupe view to get a closer look at images
- 20. Compare: Comparing images against each other to find the best
- 21. Survey View: Viewing multiple images at once
- 22. Understanding Previews: How previews work, make them efficient
- 23. Smart Previews
- 24. Dual Monitors: Working on Multiple monitors
Library/Catalog
- 25. Catalogs: Setting up your Catalogs
- 26. Upgrading Catalogs: Upgrading Older Catalogs
- 27. Folders: How to manage and use folders
- 28. Collections: How collections can save a lot of time
- 29. Quick Collections: Save time with quick collections
- 30. Target Collections: A neat way of speeding up organization
- 31. Smart Collection: Automatically create live collections
- 32. Sync Catalogs: Export Catalogs from Lightroom
- 33. Backup: Backup catalogs and your images
- 34. Moving Catalogs to a New Computer/Volume
Metadata
- 35. Metadata: Understand metadata and apply it to your photos
- 36. Metadata Templates: Save metadata templates and presets, then re-use them
- 37. Rating, Flag, Label Options: Ratings, flags, and labels options
- 38. Ratings: Rate your photos
- 39. Flags: Use flags to mark photos
- 40. Labels: Identify photos with colored labels
- 41. Filter Bar: Blast through sorting with the new Filter Bar
- 42. Exchange Metadata: Exchanging info between Lightroom, Bridge, and Camera Raw
- 43. Keyword Basics: How to use keywords to organize images
- 44. Keyword Sets: Save time with custom keyword sets
- 45. Suggested Keywords: Use the new Suggested Keyword feature
- 46. Painter tool: Using the painter tool to turbocharge your multiple image workflow
- 47. Face Tagging: Setting up facial recognition Tools
- 48. Time Change: Change the time-zone of your photos
- 49. Straighten: Straighten crooked photos
- 50. Cropping: Crop to certain sizes and creatively (O for overlay)
- 51. Red-Eye: Get rid of the dreaded red-eye with ease
- 52. Cloning and Healing: Basic cloning and healing essentials
- 53. Advanced Healing Brush
- 54. Snaphots: Use history and snapshots to look at versions of your photos
- 55. History: Use history and snapshots to look at versions of your photos
- 56. White Balance: Setting the correct White Balance
- 57. Color Readout, including LAB
- 58. Presets: Saving and using Presets
- 59. Loading Presets: How to install Presets into Lightroom
Adjustments
- 60. Quick Develop: Making quick adjustments in the Library panel
- 61. Histogram: Histograms explained and used
- 62. Adjustments Overview: Using the tools in the Basic Adjustments Pane
- 63. Fix Overexposure: A nice workflow to make a dead photo pop and sizzle
- 64. Fix Shadow: Understanding and using curves for targeted adjustments
- 65. Curves: Understanding and using curves for targeted adjustments
- 66. Color Control: Use HSL and color control
- 67. Add Grain: Go for a film-like grain look
- 68. Auto Lens Correct: Automatically fix lens distortion
- 69. Upright: Automatic Correction to distortion
- 70. Lens Corrections: Manually adjust geometric Distortion on images
- 71. Chromatic Aberration: Removing color fringes
Advanced Adjustments
- 71. Adjustment Brush Basics
- 72. Adjustments Brush: Dodging and Burning and more
- 73. Portrait Retouching: Working on adjusting skin
- 74. Gradient Adjustment: Graduated Neutral Density filter effect
- 75. Radial Filter
- 76. Black and White: A look at more advanced grayscale workflow
- 77. High-Impact Retouching
- 78. Split Tone: Using split-tone on grayscale images
- 79. Cross Processing: Using Split-tone on color images for a cross-processed effect
- 80. Noise Reduction: Get rid of the noise in a photo
- 81. Sharpening: Understanding and using the sharpening tools
- 82. Lens Vignette: Compensating for lens vignette. Add a vignette for a creative feel
Workflows
- 83. HDR in Lightroom
- 84. Panorama in Lightroom
- 85. HDR Panorama
- 86. Virtual Copies: Understanding Virtual copies and how to use them
- 87. Edit in Photoshop: Integrate Photoshop with your Lightroom Workflow
- 88. Photoshop Special Features: Doing special processing with Photoshop and Lightroom
- 89. Batch processing: Process multiple images at once
- 90. Syncing: Syncing RAW files with Bridge, Lightroom, and Photoshop
- 91. Exporting Images: Exporting photos out of Lightroom
- 92. Publishing Manager Sync with Flickr and Behance Share files with Social Networks
- 93. Camera Calibration: What is Camera Calibration?
- 94. Tethered Shooting: Connect your camera to shoot directly into Lightroom
- 95. Watermarks: Create Watermarks that can be used in many ways
Video
- 96. Video Intro: An intro to working with video in Lightroom
- 97. Video Adjustments: How to apply creative adjustments to videos to create stunning looks
- 98. Video Export: Getting your video out to the world
Output
- 99. Email Photo: A Quick Slideshow
- 100. Impromptu Slideshow: A Quick Slideshow
- 101. Slideshow Starter: Selecting Images for a Slideshow
- 102. Customize Slideshow: Customize your Slideshows
- 103. Video to Slideshows
- 104. Pan and Zoom Slideshows
- 105. Slideshow Custom Text: Adding custom text to slideshows
- 106. Music to Slideshows: Add music to your slideshow presentations
- 107. Export Slideshows: Exporting Slideshows for use on CD or Email
- 108. Soft Proof: See what you get before you hit the print button
- 109. Printing: Printing photos and contact sheets
- 110. Picture Package: Creating Picture Packages
- 111. Custom Layouts: Layout pages for books or printing/exporting
Books
- 112. Book Overview: Books in Lightroom and getting started with auto layout
- 113. Adjusting Layouts: Move photos around
- 114. Advanced Layouts: Changing page layouts and building a book
- 115. Save User Pages as Templates
- 116. Text in Books: Beautiful typography is within reach, new buttons for page text
- 117. Page Numbers
- 118. Captions and Output: Adding captions and outputting your book
Maps
- 119. Maps Overview: Geotagging your photos
- 120. Maps Locations: Adding and searching for locations
- 121. Maps Reverse Geotagging: Adding GPS coordinates to ordinary photos
- 122. Privacy in Maps: Hiding geolocation from your output metadata
Web
- 123. Web Galleries: An overview of HTML 5 web galleries
- 124. Web Themes: Select a theme and make an HTML 5 image gallery
- 125. Text: Adding text, metadata
- 126. Upload Galleries: Upload your galleries to your website, or export to disk
- 127. Thanks and Goodbye
- 128. Uploading this video to the iPad and other Devices