
Building a PC can be difficult for those who are new to the hobby. Seasoned builders like me picked up on a lot of tips and tricks when it comes to assembling PCs, so today I am going to share a full step-by-step guide on how to assemble your PC with a few extra pieces of information to help you along the way. We are going to answer questions and do our best to ensure that your installation process goes smoothly.
I am going to assume that you, reader, are a fellow gaming enthusiast. I am also going to speak about the most common types of PCs which are typically mid- to full-tower models. There are other form factors available, but these are bound by an entirely different set of parameters and are typically reserved for those who have built tons of computers before.
I would also advise going through this entire article before you start building. Some aspects of the building experience don’t go in any specific order. Some people do certain installation processes at different points in the build depending on what these components are. The largest impact, for example, depends on your cooling solution, which we will definitely cover.
A Couple of Beginning Tips
Before we dive in, there are a few things that you should know before we start combining all these parts. It can get hectic and potentially overwhelming, but we are here to help. It can feel complicated at times, but with this article you should have a solid foundation to get building.
I want to say that up to a certain point, you can’t go wrong with how you install some components. Setting up your motherboard and installing the CPU, memory, and storage can be done right on the motherboard without installing it in the case. Some folks end up building inside of the case, but I have found it much easier to use the box that previously contained your motherboard as the platform for building.
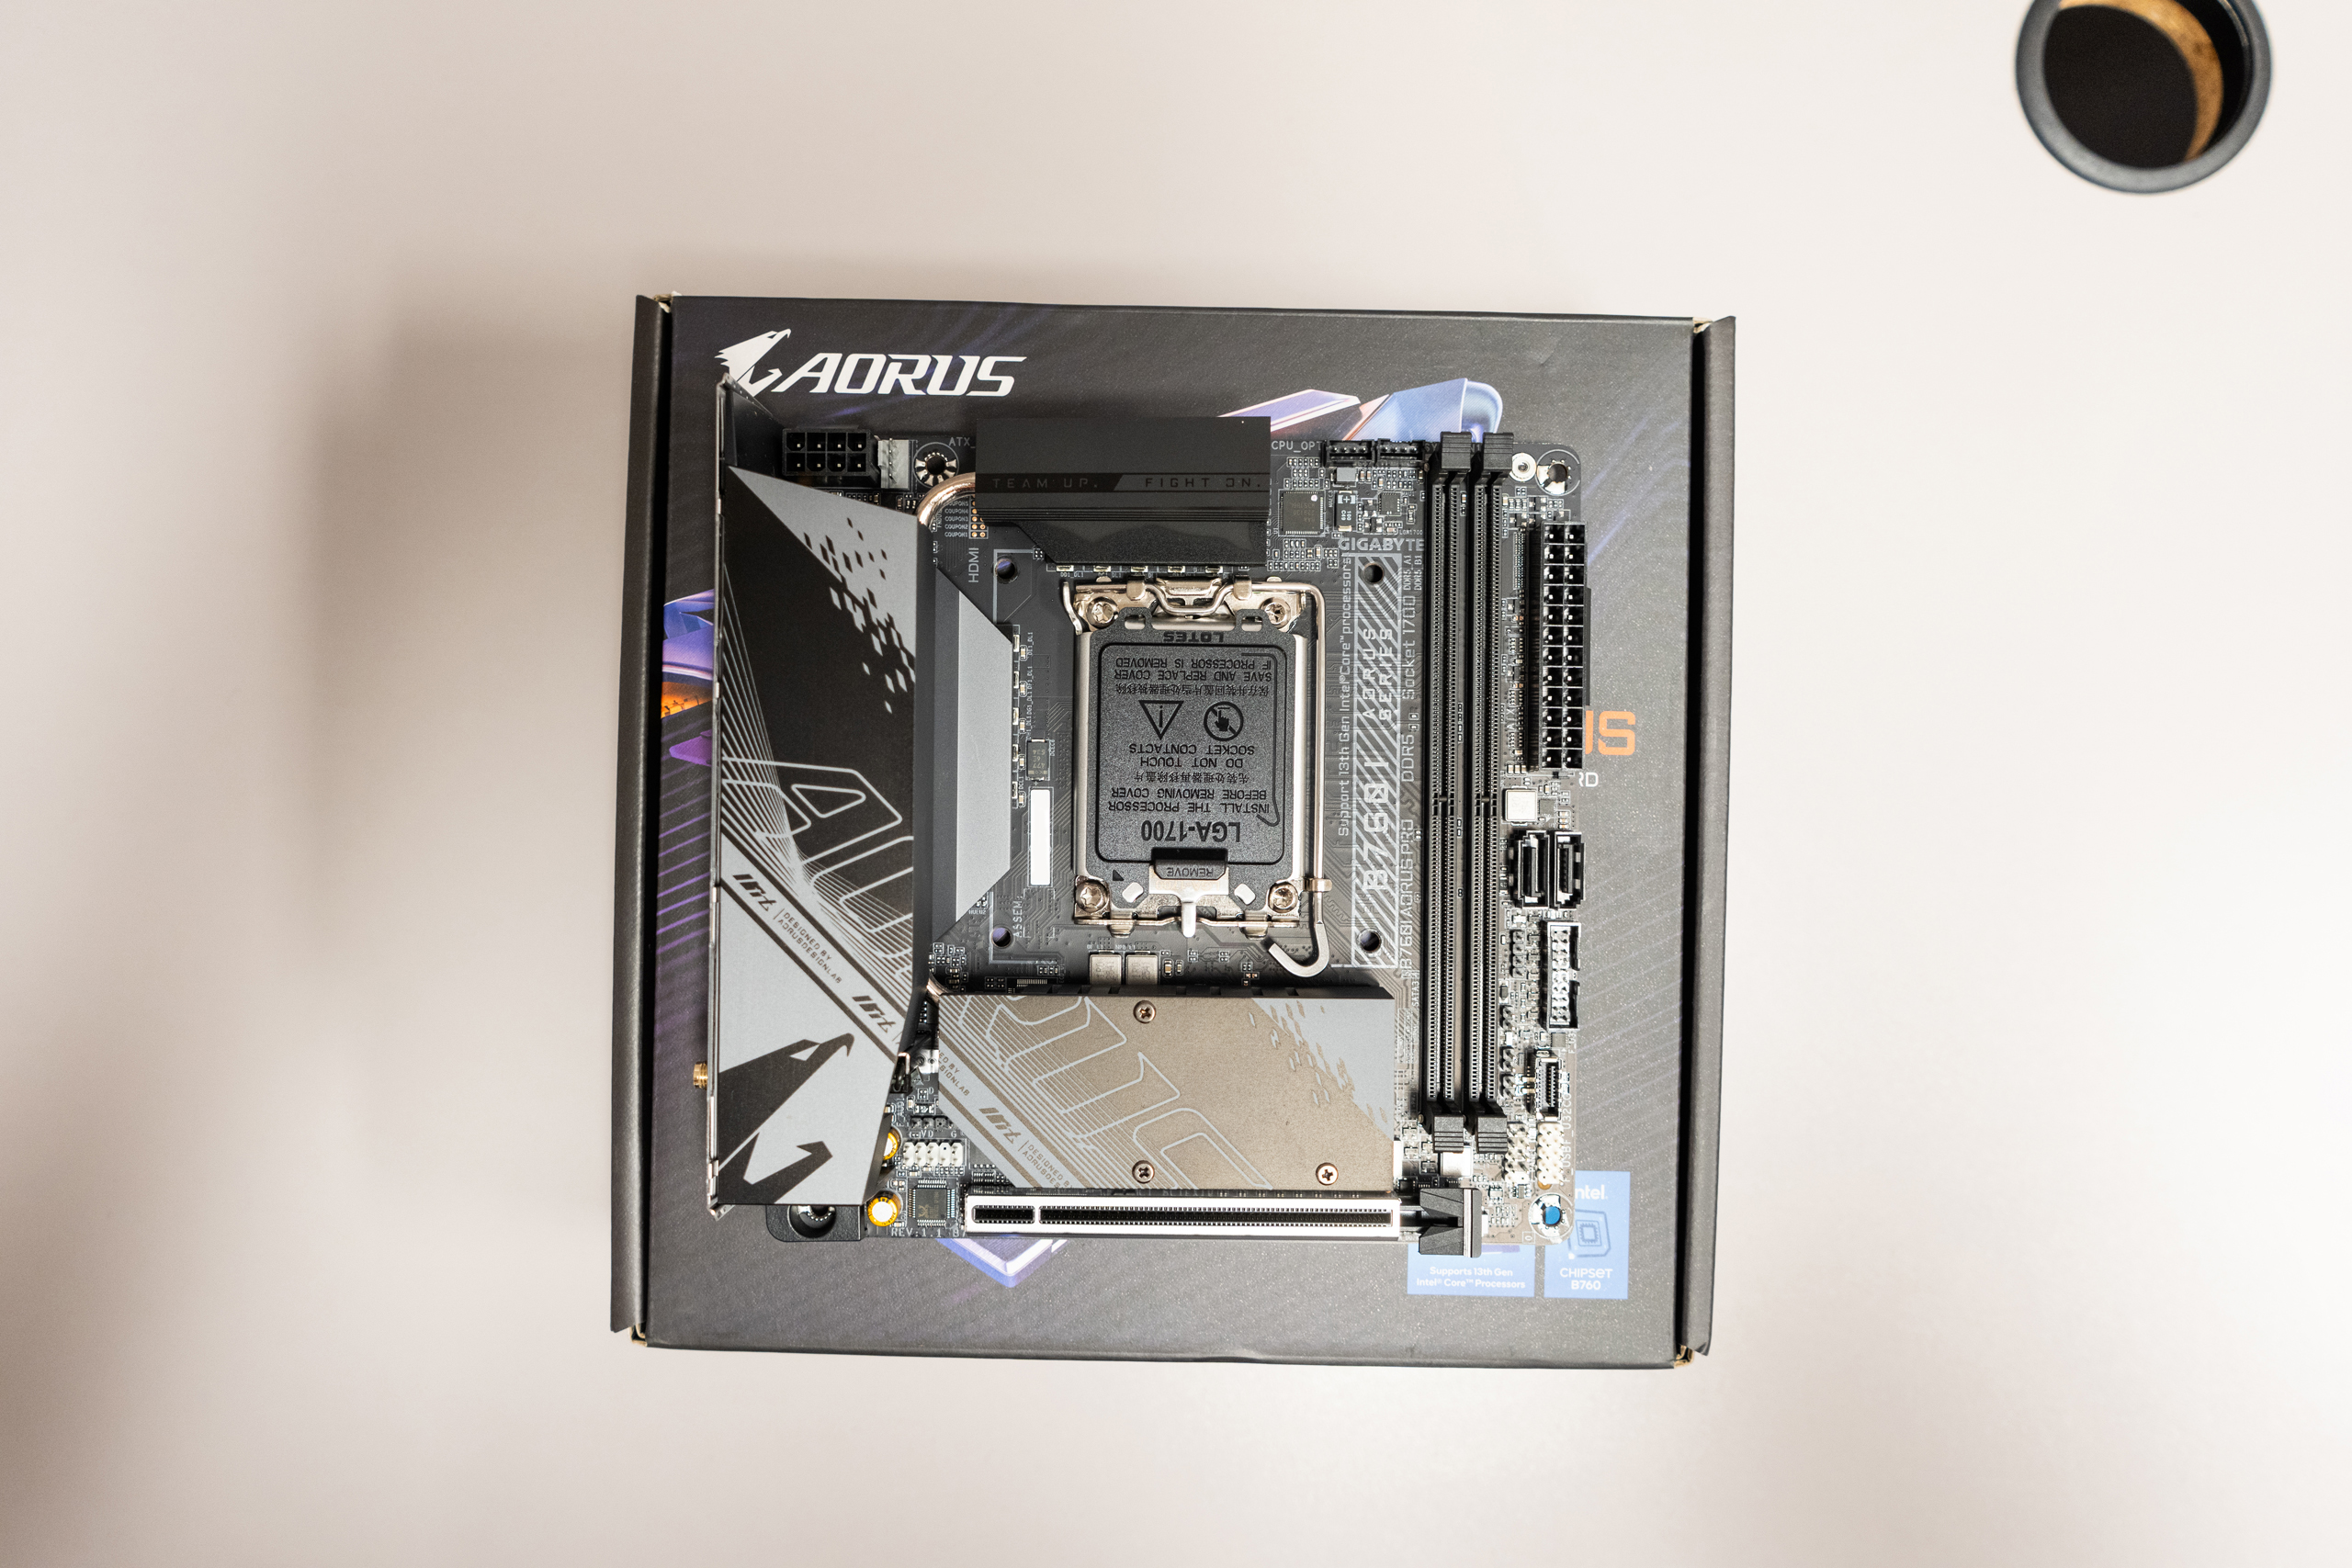
Additionally, do not build while standing on carpet. Do not place your motherboard down on a fine tablecloth as well. This will prevent damage caused by static electricity and prevent solder points on the rear of your motherboard from ripping up the tablecloth.
Make sure you read our article detailing some tools you may need to help with building your PC. We go from some basic tools like screwdrivers to more obscure items like headlamps. There are also several tips about how to best use these items and what to look out for.
I cannot stress this enough: Please keep all your manuals handy! The motherboard manual will tell you exactly where everything gets plugged in thanks to a nifty guide on the inside that breaks all the connectors down for easy and simple installation. It also provides some solutions to some questions that you may have. If you can’t find one in the box, they are also available online for free through the manufacturer’s website. Just keep the make and model of your motherboard or other components with you when you search.
To piggyback off the previous statement, understand that every component you use is going to be different depending on the manufacturer, make, and model of the motherboard. There is no “one-size-fits-all” solution when you have a question. This is why you need to make sure you have your component information somewhere. For example, you might have to update your BIOS settings on your motherboard, and each manufacturer does this differently. What may work for one brand may not work for another. We will cover that a little later.
You are also going to need a USB drive which will act as your installation key for the operating system of your choice. Since Windows is the most popular platform and easiest for a majority of folks out there, we'll go with that for the purpose of this guide. You will need a computer to create the downloadable key as well as a USB flash drive large enough for the files. You typically need at least 16GB of storage which is rather inexpensive. We will cover these steps way down the line.
Preparing Your Case
Before we start taking components out of their boxes and assembling all the components on the motherboard, we should look at the computer case itself. Hopefully, in the planning phase before you purchased all your components, you made sure that you had the right case to house everything. If you have a mid-tower or full-tower case, you shouldn’t have much to worry about. Most cases of that tier will easily fit motherboards up to the ATX size. E-ATX motherboards may require a bigger case, but chances are that you wouldn’t invest in one of those types of motherboards unless you were a seasoned builder.
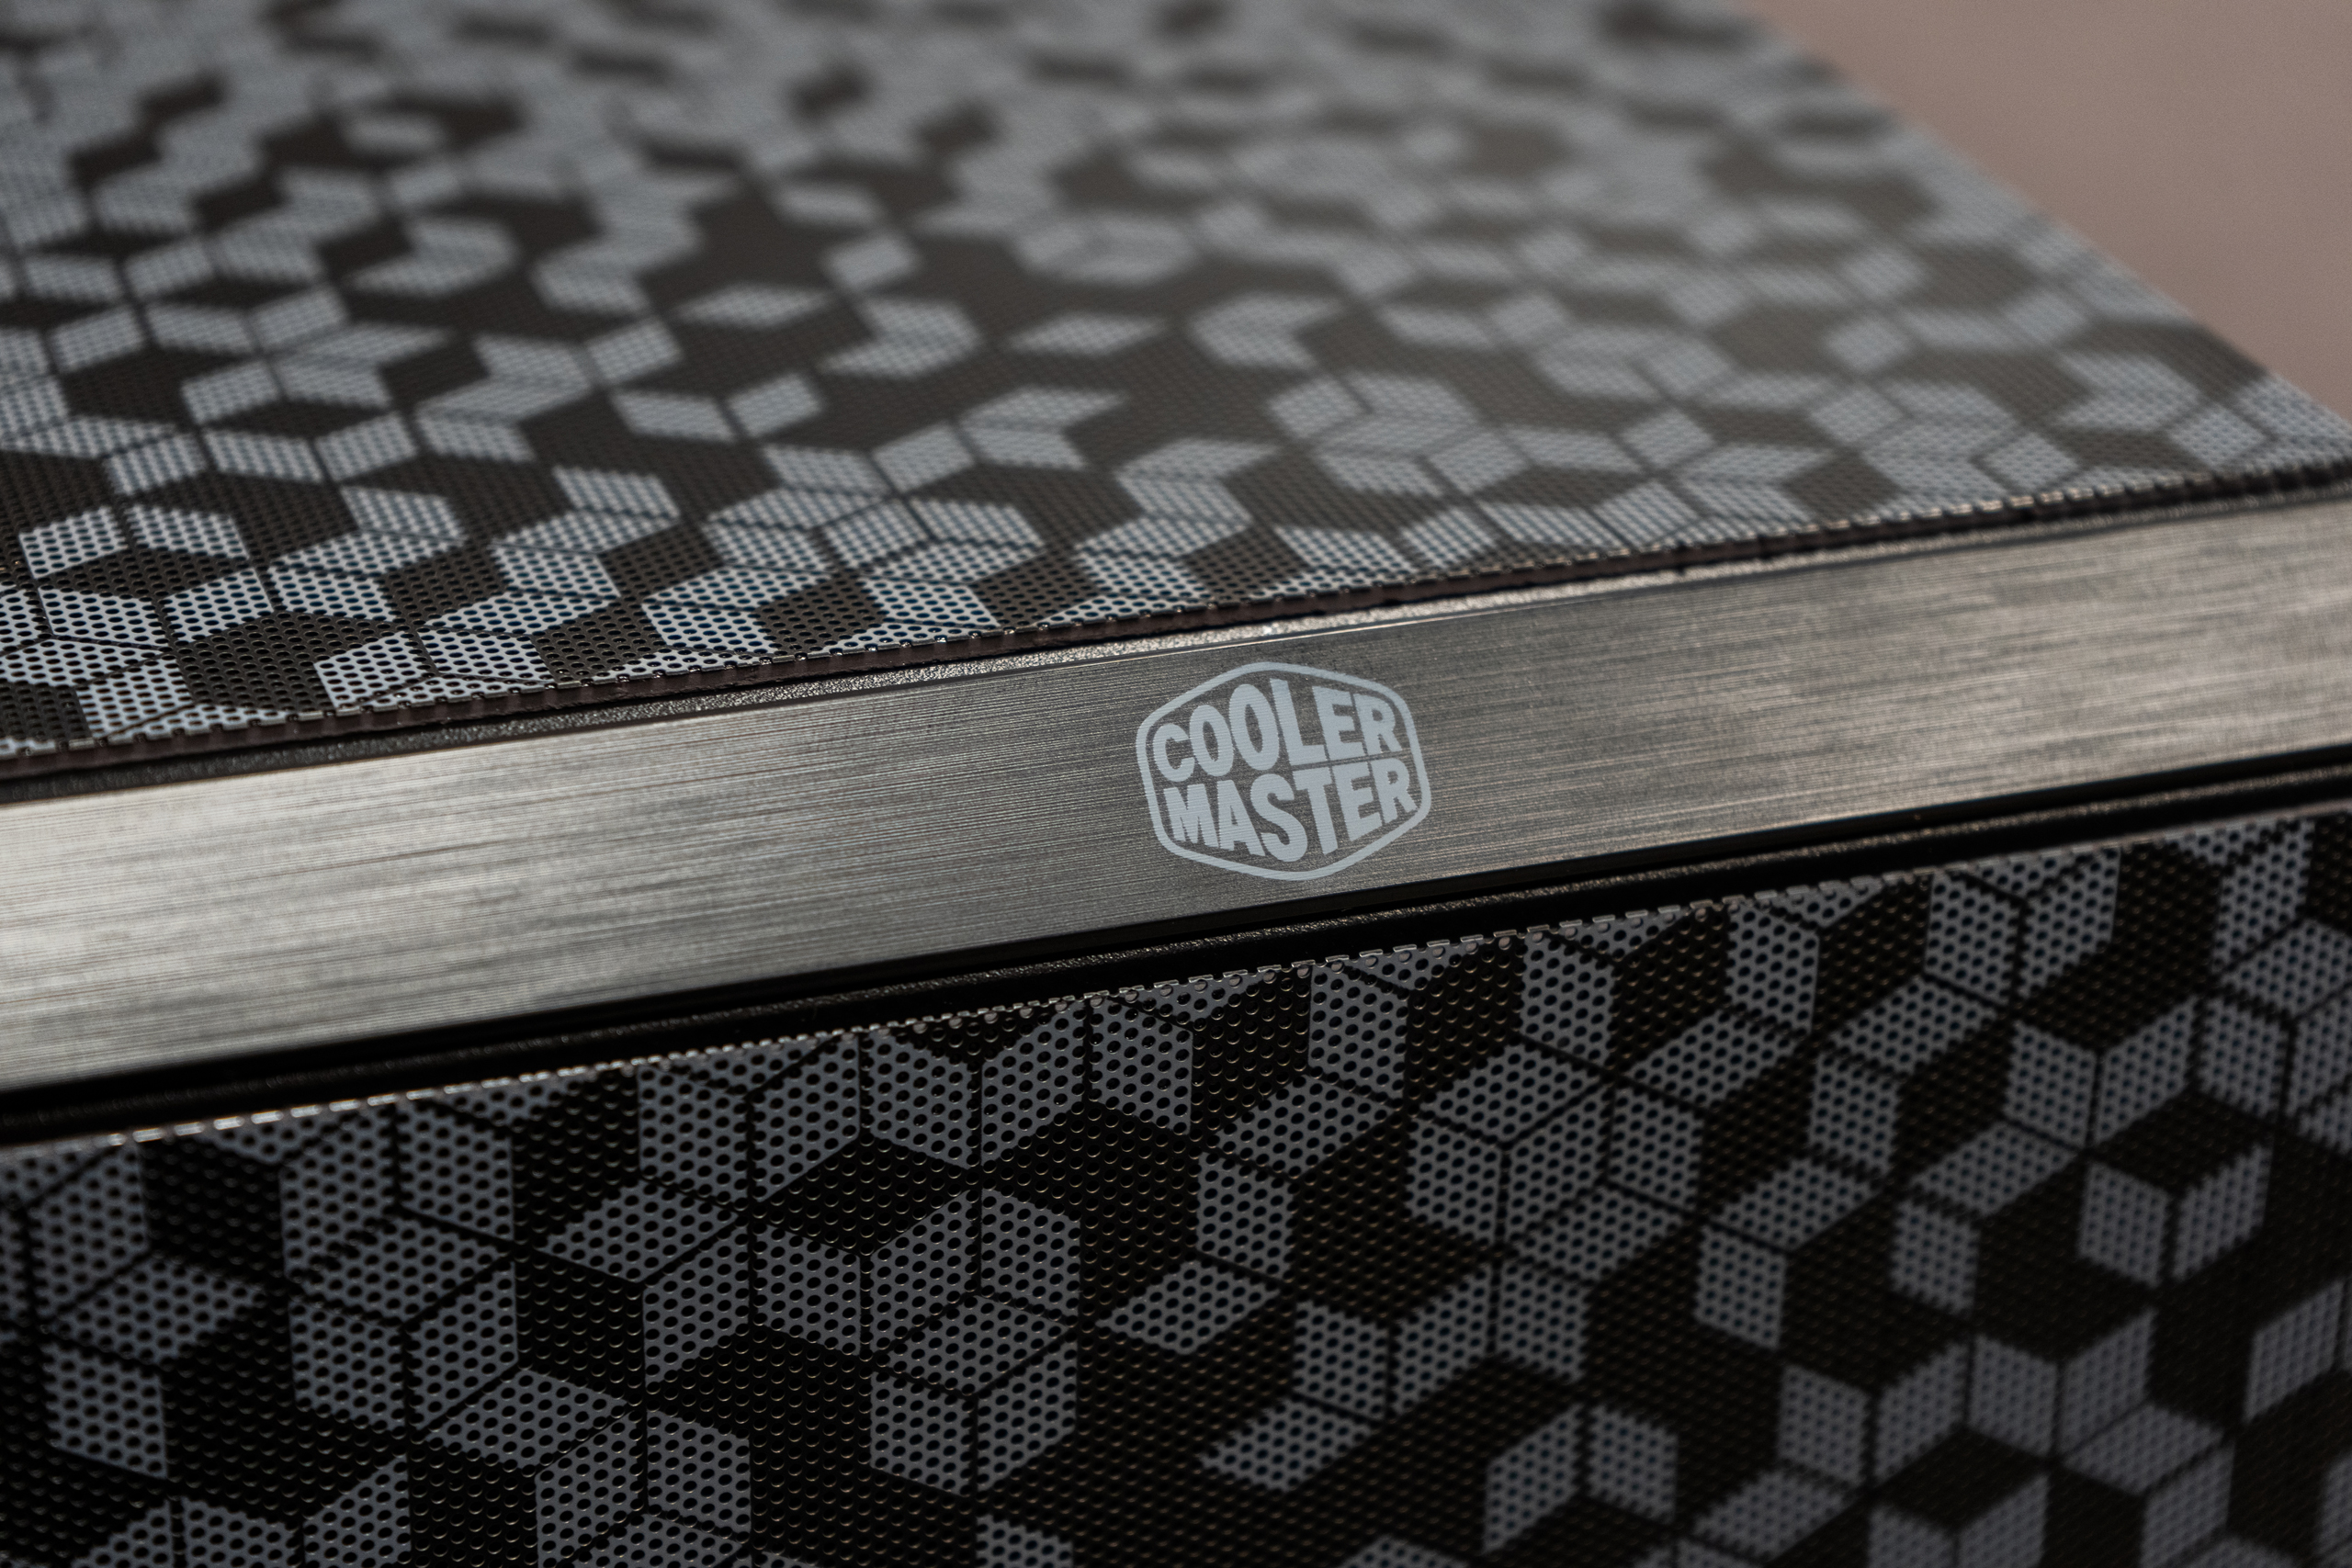
Once you remove the case from the cardboard box, you are going to want to get a good look at what you have in terms of connectors and accessories. You’ll want to identify the front panel connectors, fan connectors, and remove certain elements that you won’t need. You’ll also want to get a look at the cable management space and start imagining the layout.
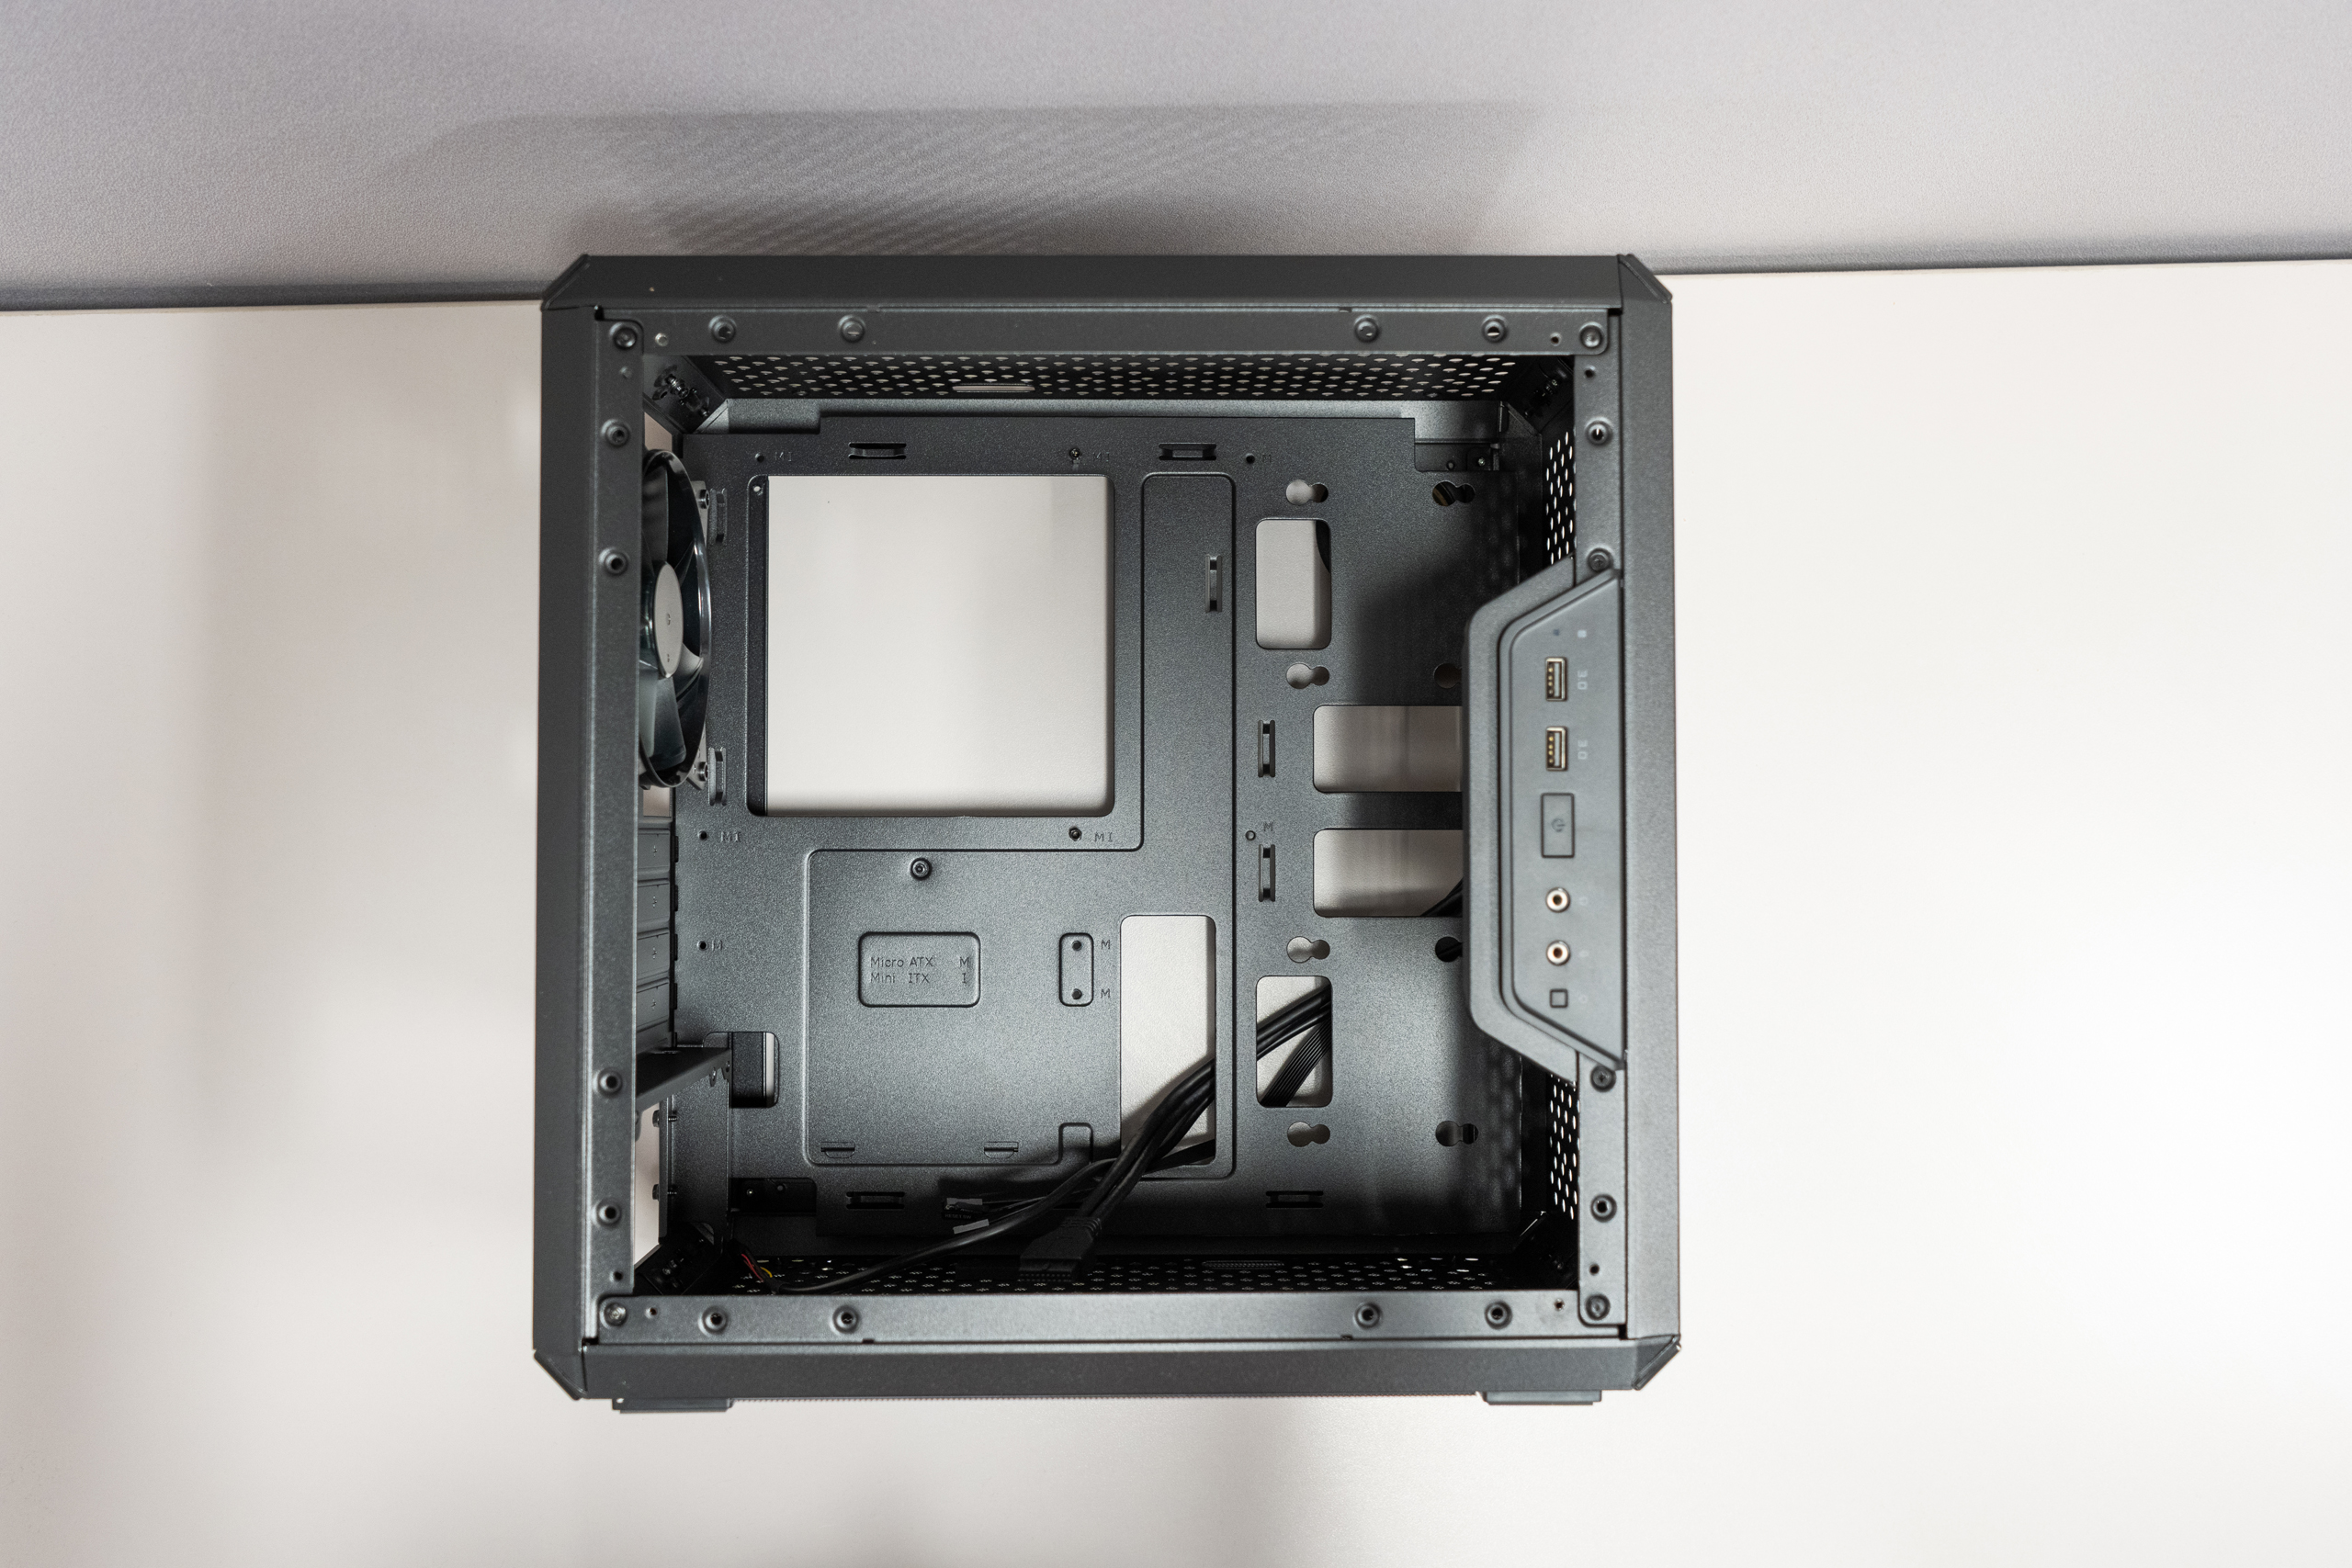
This is where you want to make some decisions. If you are not installing any HDDs, then you can remove the cage that would normally house them. This gives you extra room for both airflow and power supply cables.
Many cases have preinstalled fans, but if your case doesn’t have any fans, this is when you want to start installing them. Some cases have dedicated spaces for fans on the front panel while others don’t. Top and rear panels might be areas where you can install fans or radiators (more on that later). To get a full idea of the case layout as per the manufacturer, make sure you refer to your cases manual for proper installation guidance.
Additional Case Tips:
Don’t forget to take any glass panels you have and secure them somewhere safe and cushioned to prevent shattering.
Make sure you identify various screws and pieces that may be used during the assembly phase to make installation easier.
Tool trays and other organizers can also help with keeping tiny parts together.
On the motherboard tray of the case, there are several standoffs. These support the motherboard and prevent electrical shorts. Make sure you check these standoffs to ensure they are properly configured for your motherboard.
If your power supply is modular, meaning that the cables are detached from the main PSU, there are multiple ways to set yourself up for success. Some people like to run the power supply cables before installing components, while others do it last. The choice is totally up to you.
When it comes to cables and the cable management space, don’t use any wire ties or cable locking mechanisms just yet. You want to save them for the last part when all your pieces are set.
Setting the CPU
Once your case is set and ready for components, it’s time to set up the motherboard. You might feel like you should install it inside the case first but the fight urge. We don’t want to install anything in the case just yet because there may be moments when you need to remove pieces. Also, for room’s sake, it is much easier to assemble outside the case than it is inside. You will also want to keep the motherboard manual handy. If you can’t find it, most manufacturers have them available digitally for free!
You want to look over the motherboard and ensure that you familiarize yourself with the various connection points. Identify various headers like the front panel headers, USB headers, and various power connectors. Do this now because once you do install the completed motherboard into the case, it will become much more difficult to figure out what goes where. Refer to the motherboard manual if you are unsure about what goes where.
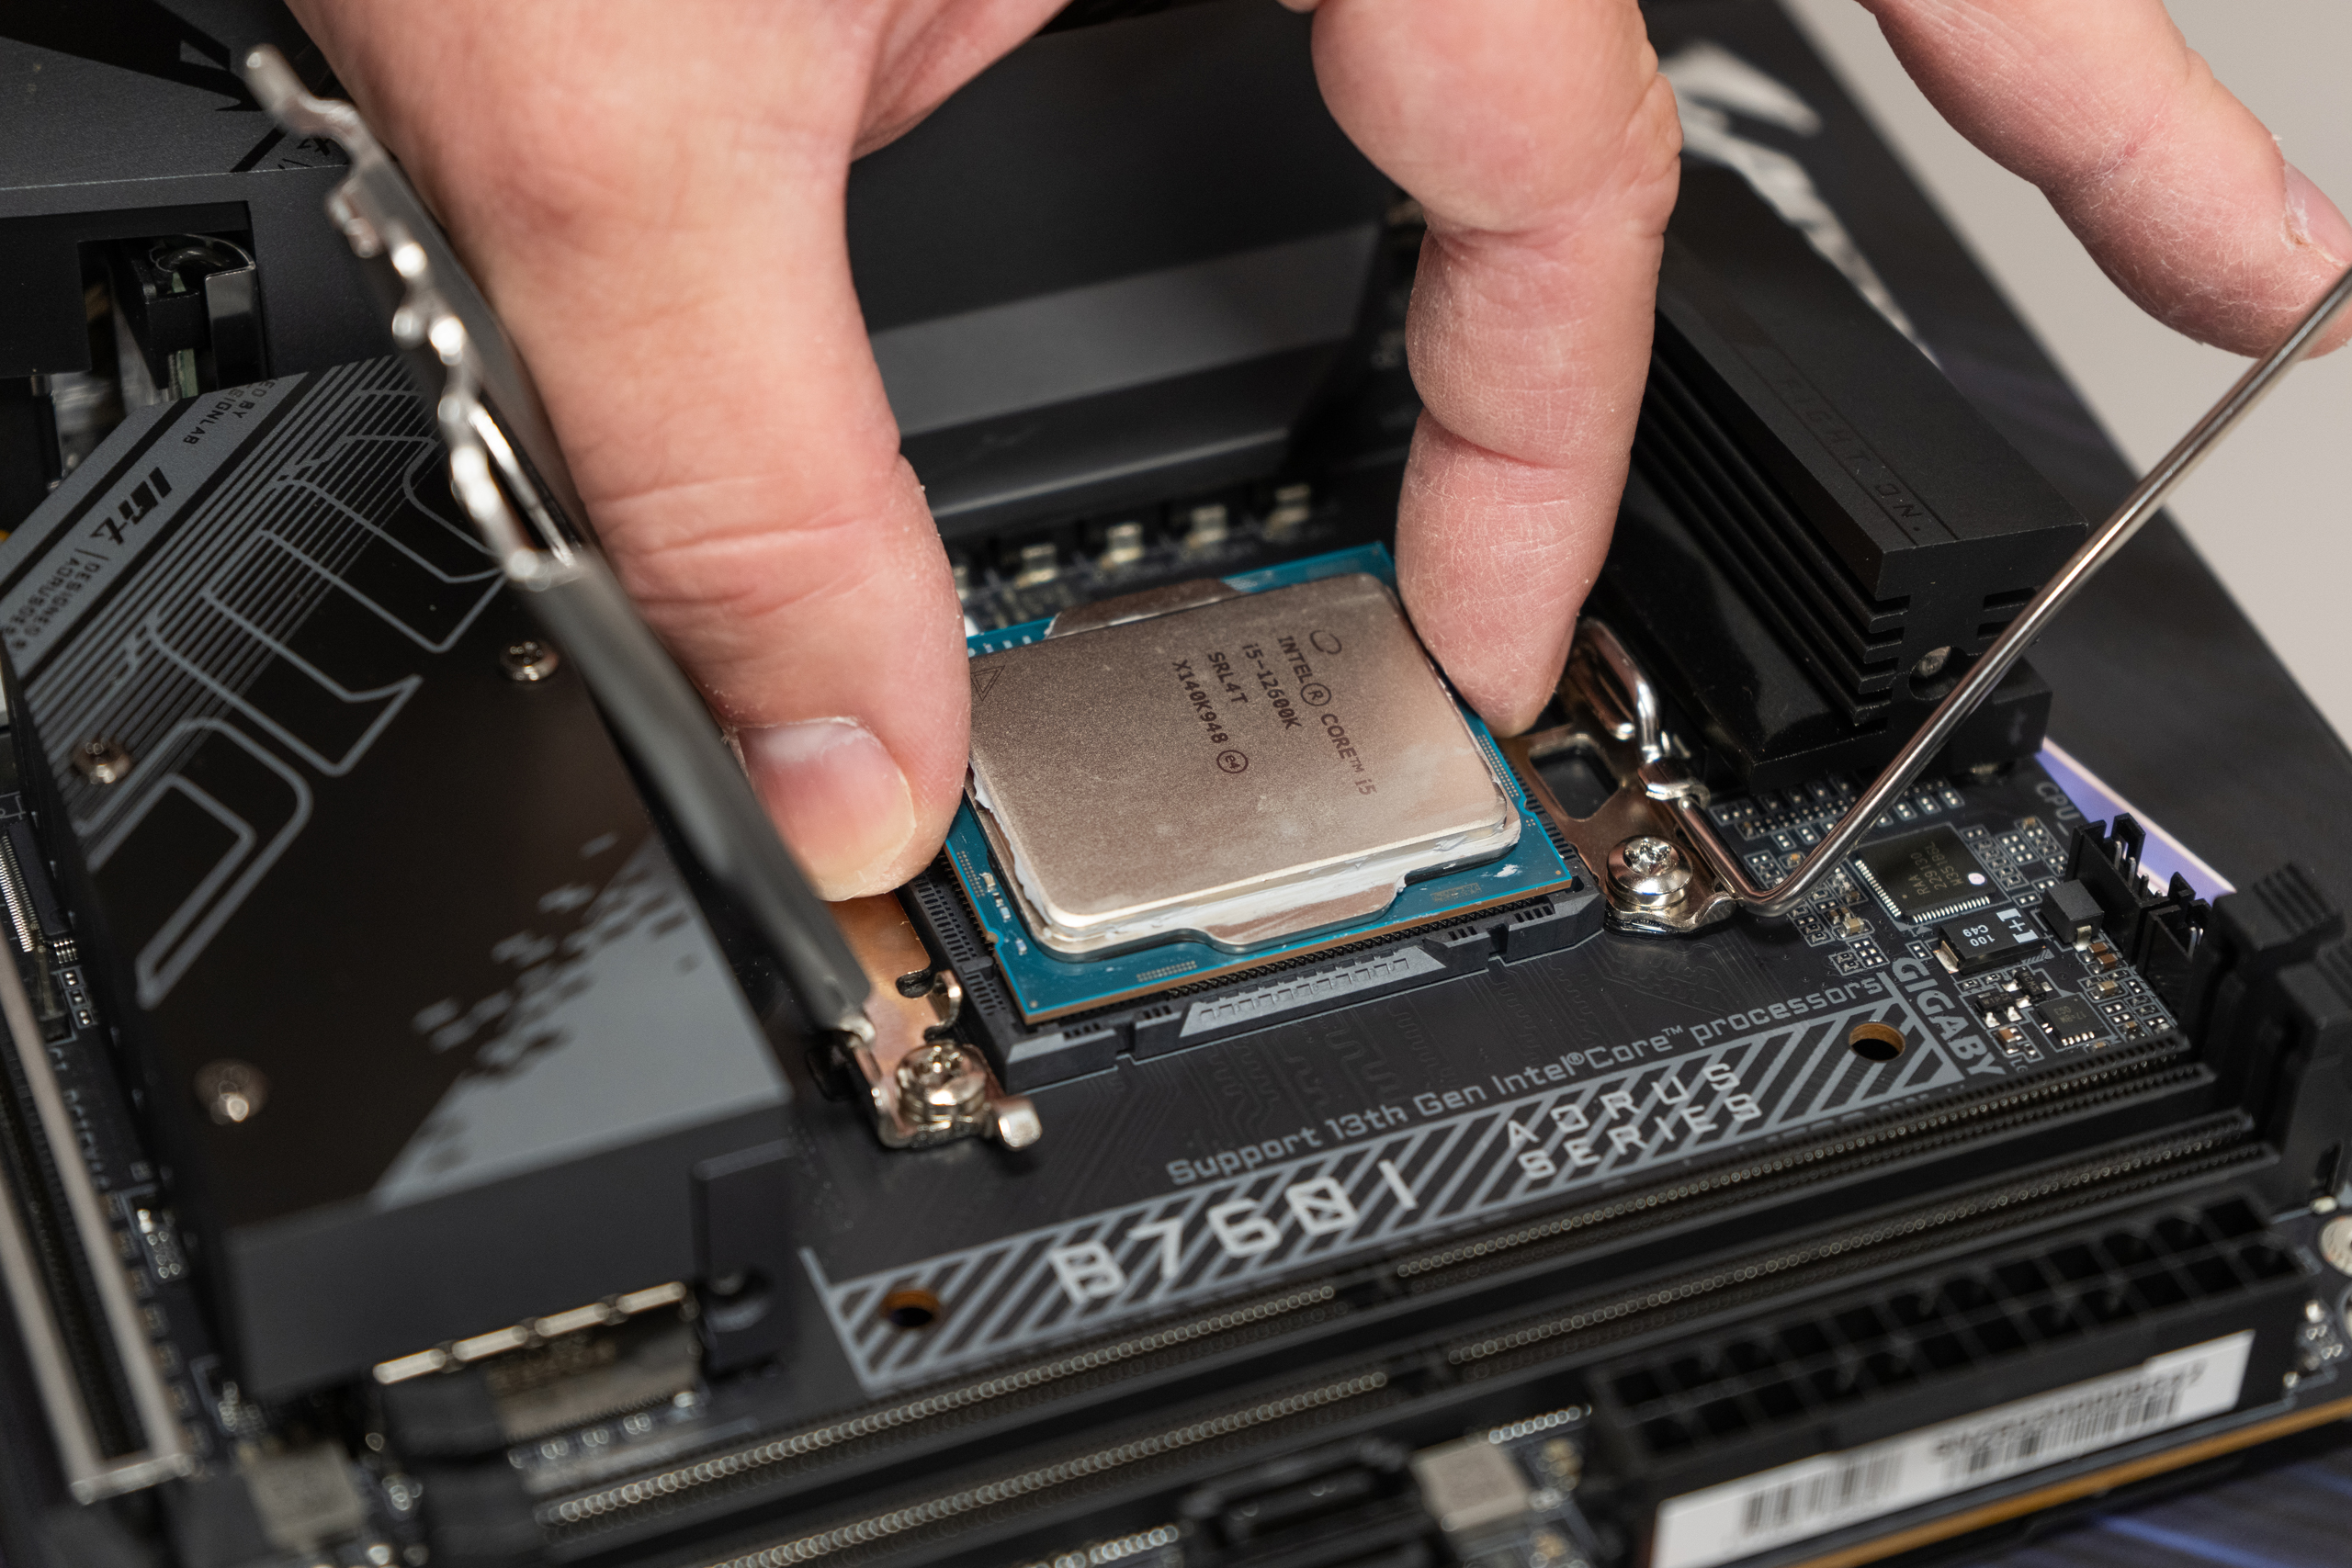
The first step of building after your case is prepped is to install the CPU. Simply move the little bar that keeps the CPU clasp down and open it up to reveal the socket. There should be a notifier that tells you which way the CPU should be installed, usually in the form of a triangle or square. Line up the two symbols and lightly place the CPU in place. Once everything is in place, you will then lock the processor down using the bracket and arm mechanism. Simply put it back to the position you found it in and don’t be worried too much about the tension.
Additional CPU Tips:
I already said it once, but it bears worth repeating: Identify the symbols on the CPU and the socket to ensure that you are installing the CPU correctly! As they say in the construction world, measure twice and cut once.
Newer CPUs from both Intel and AMD use LGA format, which stands for Land Grid Array. This means the pins are located on the socket with touch points under the processor. Previous processors had pinouts on the CPU, and if that is the case for you then take some extra precautions when removing them from the box and place them into the CPU socket. Bending a pin takes a lot of time to repair.
The CPU will require some sort of cooling apparatus. It comes in two flavors: air cooling and liquid cooling. If you are installing an air cooler, I would recommend installing it at this point in the process. While the next step is memory, installing your cooler is paramount so you don’t fight for room with the memory sticks next to it.
Before you put the cooling device on, you’re going to need to apply thermal paste. Sometimes this is included, sometimes it is already applied, and other times you may need to provide your own. This is a good time to check and see what method is or isn’t included in your cooler choice.
Memory
Installing memory is the easiest part of this entire build. If you have four memory slots (or DIMMs), there is a chance that two are one color while the remaining DIMMs are a different color. You essentially want to install the memory in slots of the same color to ensure dual-channel performance. If they are all the same color, refer to the manual to identify which one is which. Usually there is a space between each of the memory modules due to dual-channel operation.
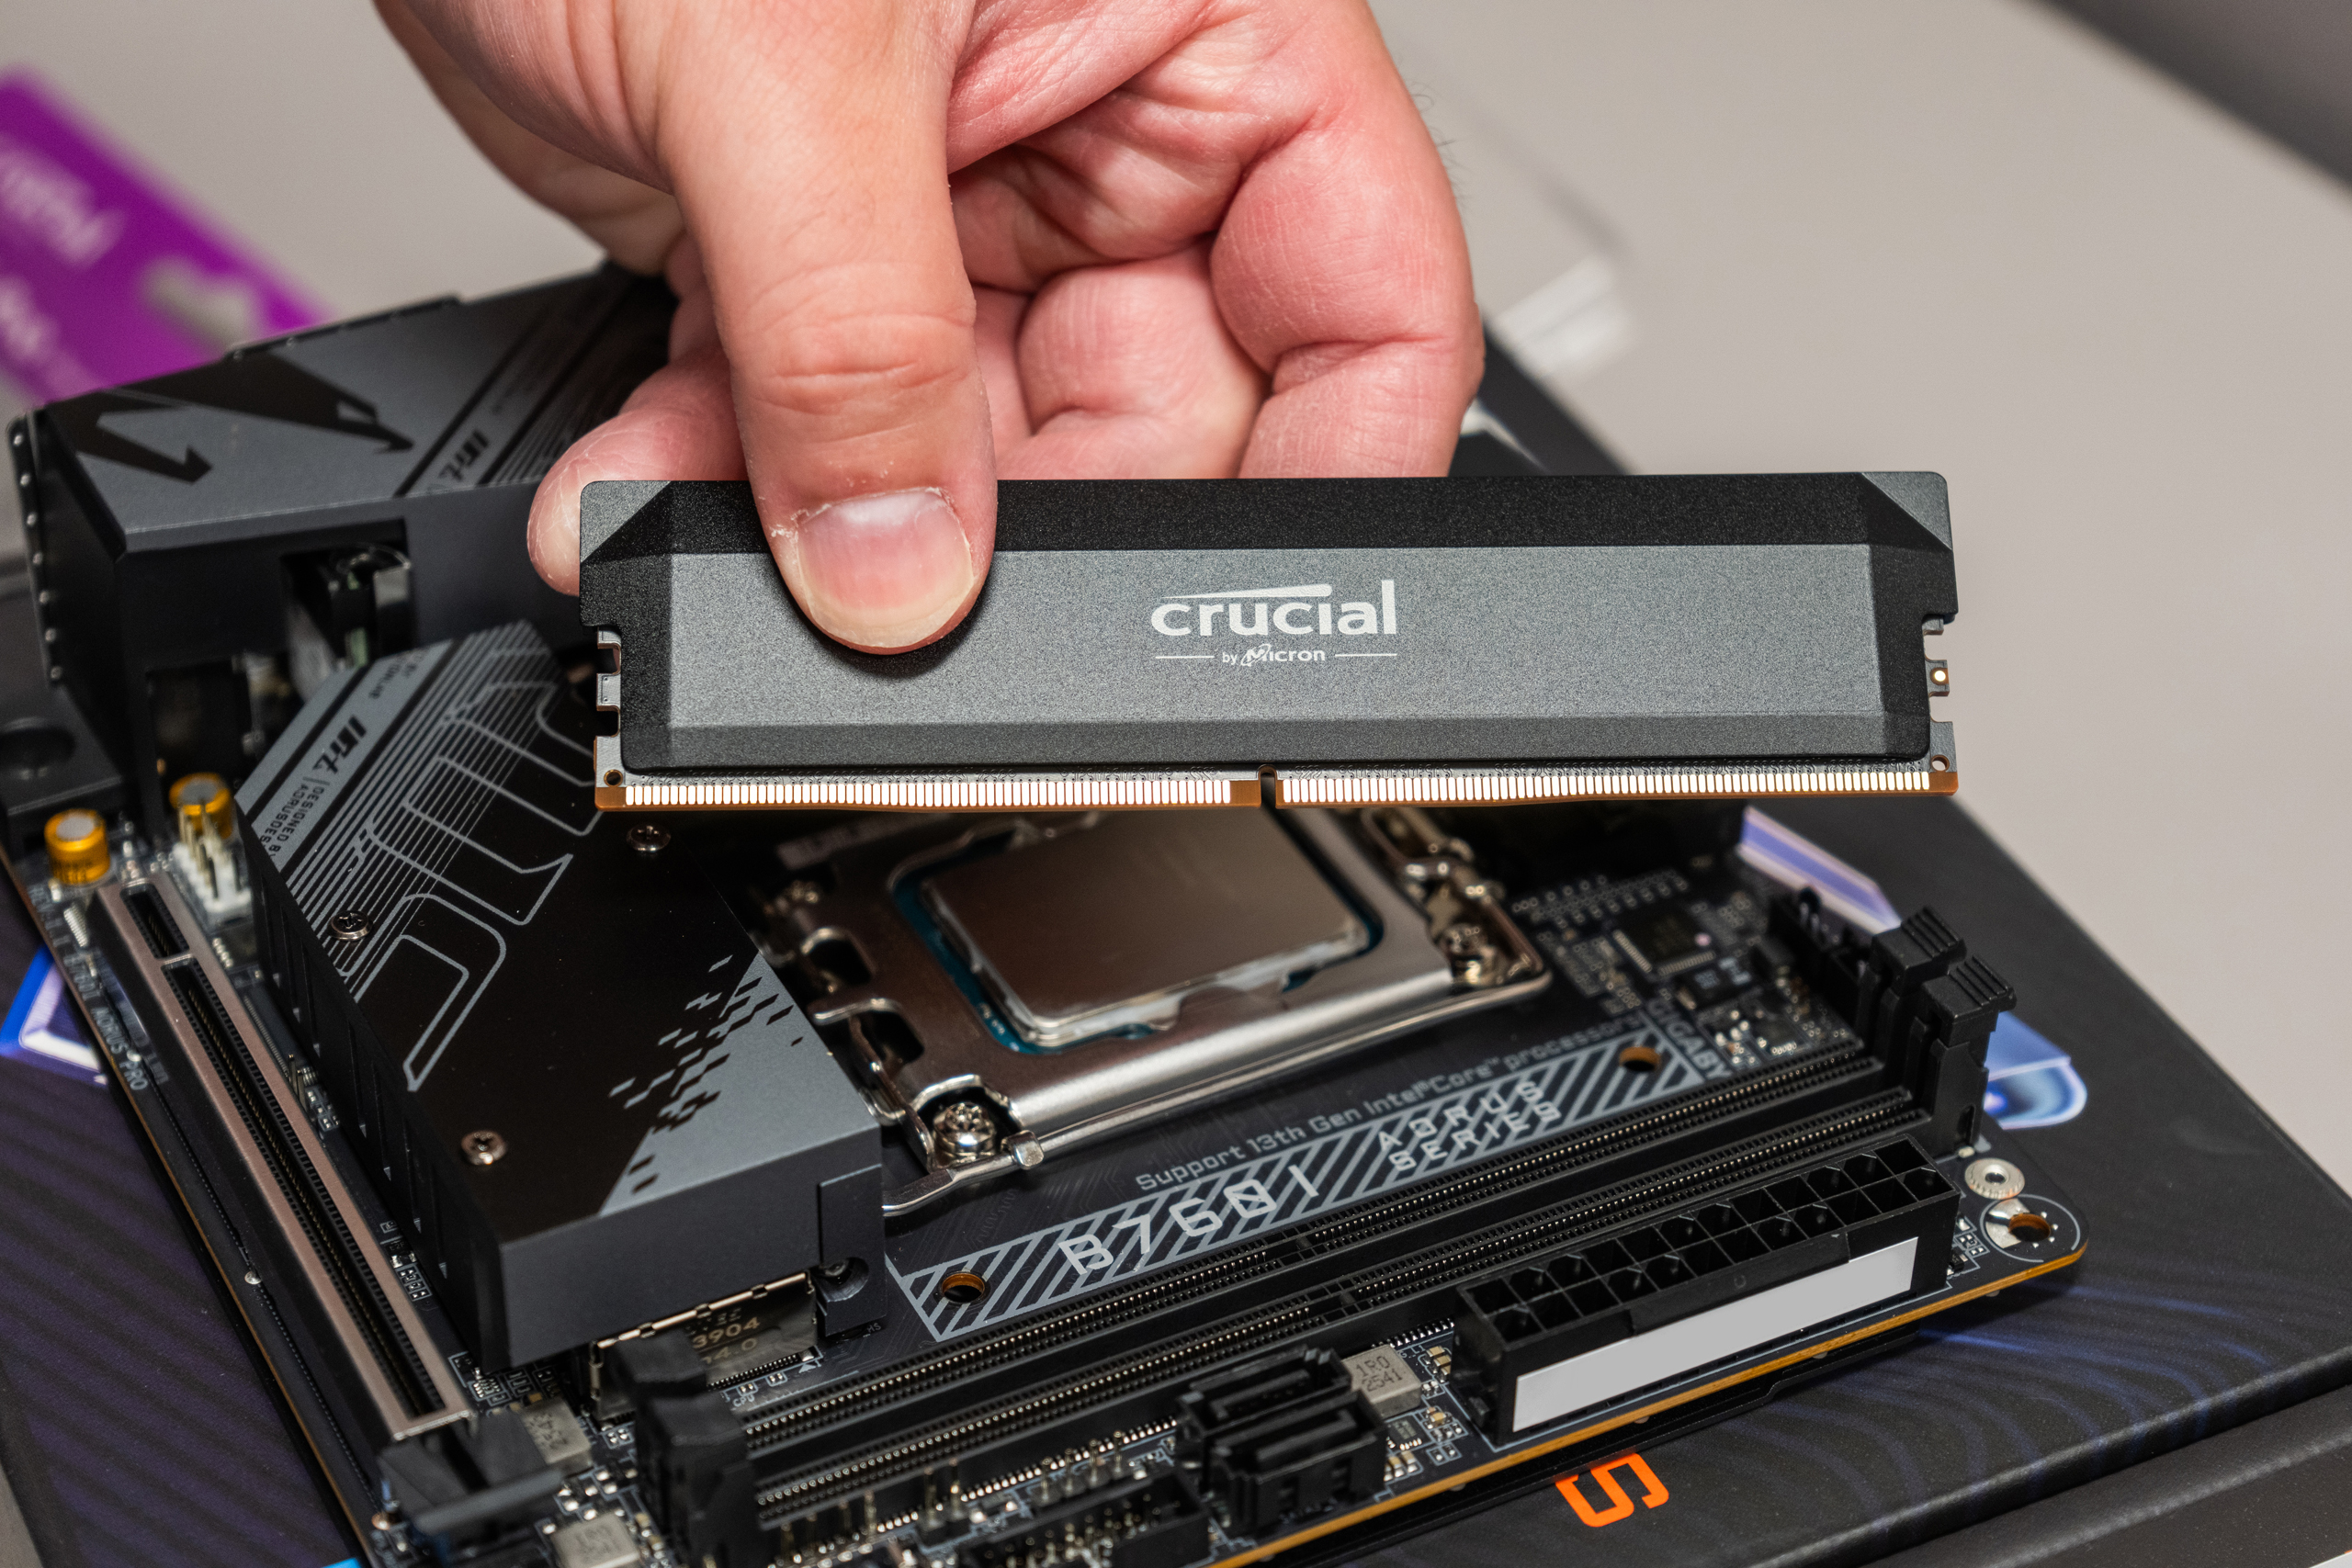
Each DIMM has one or two clips located on the top and bottom of the slot. Simply open the clips up, match the notch of the slot with that of the memory module, and push it lightly. If you feel any sort of resistance, double-check the slot. Sometimes memory modules can be a bit finnicky at times, but if you are putting significant pressure on it, you can break the module or the DIMM.
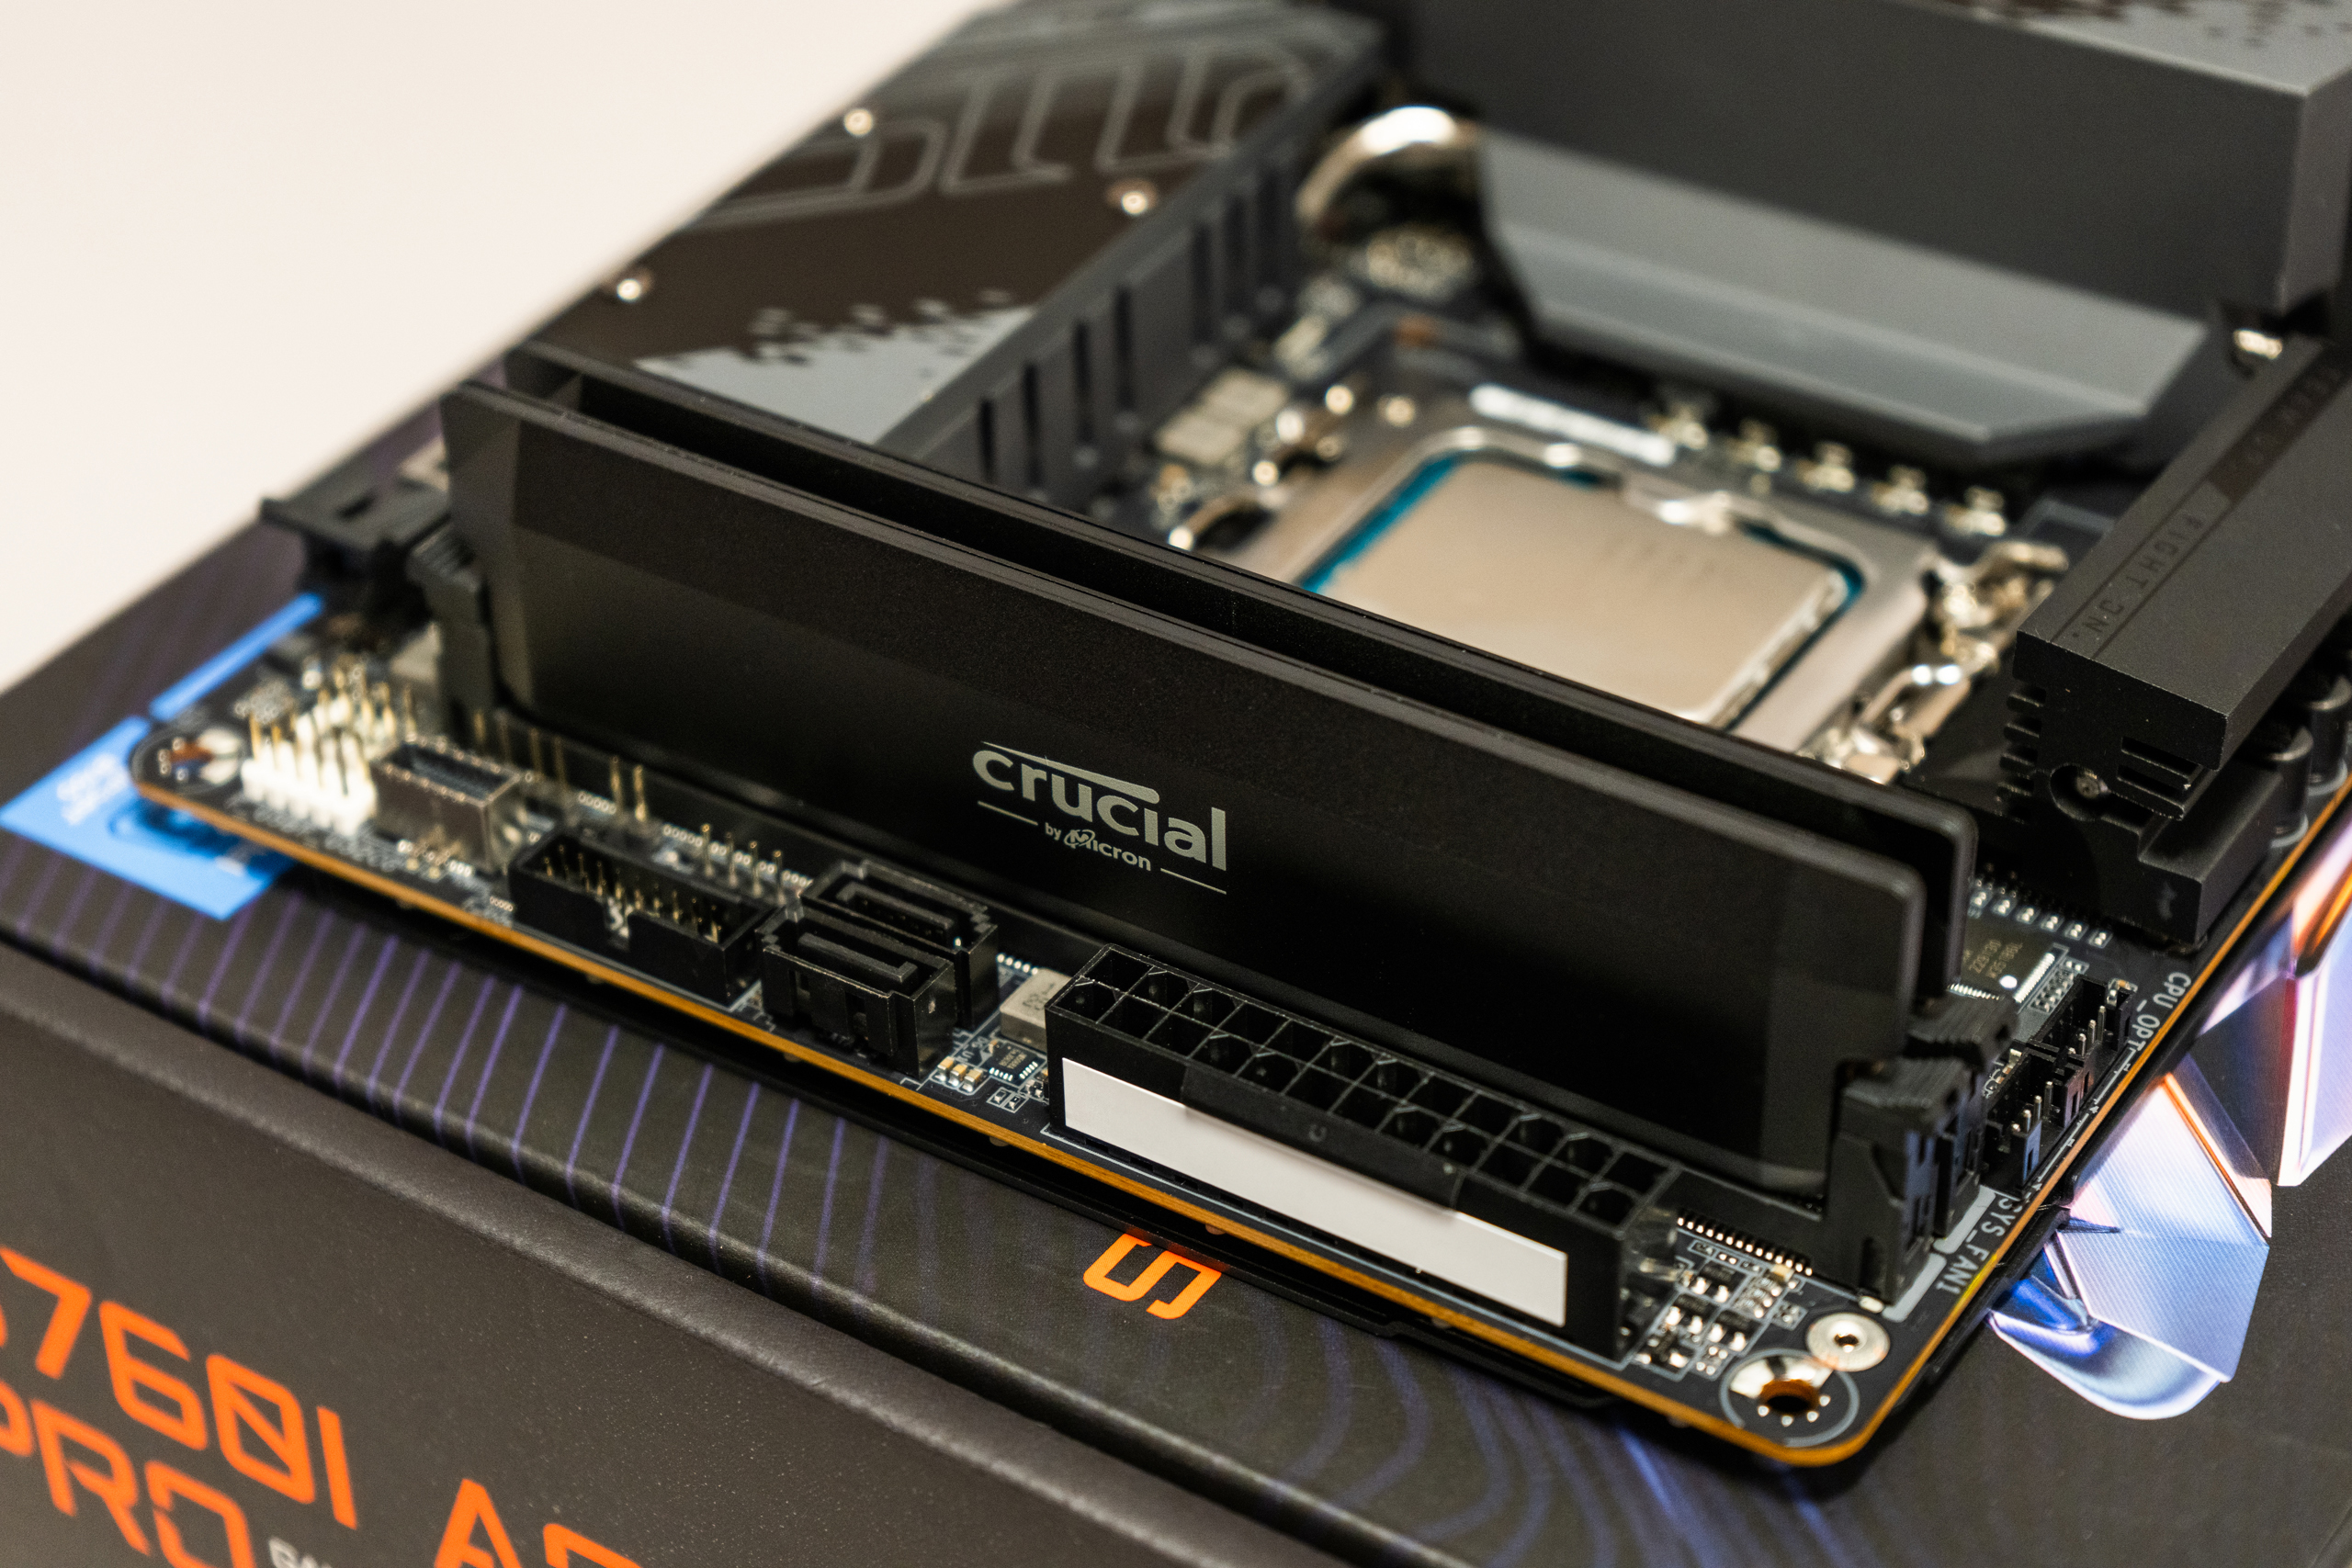
Once they are in, they are in! You don’t have to do anything else until later in the event of an issue.
Additional Memory Tips:
Do not force the module into the slot. It should move easily into the DIMM. If you are getting any sort of resistance, double-check the memory module and see if you are installing it correctly. There is a cutout right in the middle of the DIMM itself and if it doesn’t line up, flip it around, and then try again. If it doesn’t fit at all, you might not have the right type of RAM module.
Storage
There are two different types of storage connectors: SATA and M.2. Most SATA technology is now outdated and only seen for specific situations like storing media, security footage, and so on. Modern gaming-focused systems require a fast SSD just to run a handful of titles.
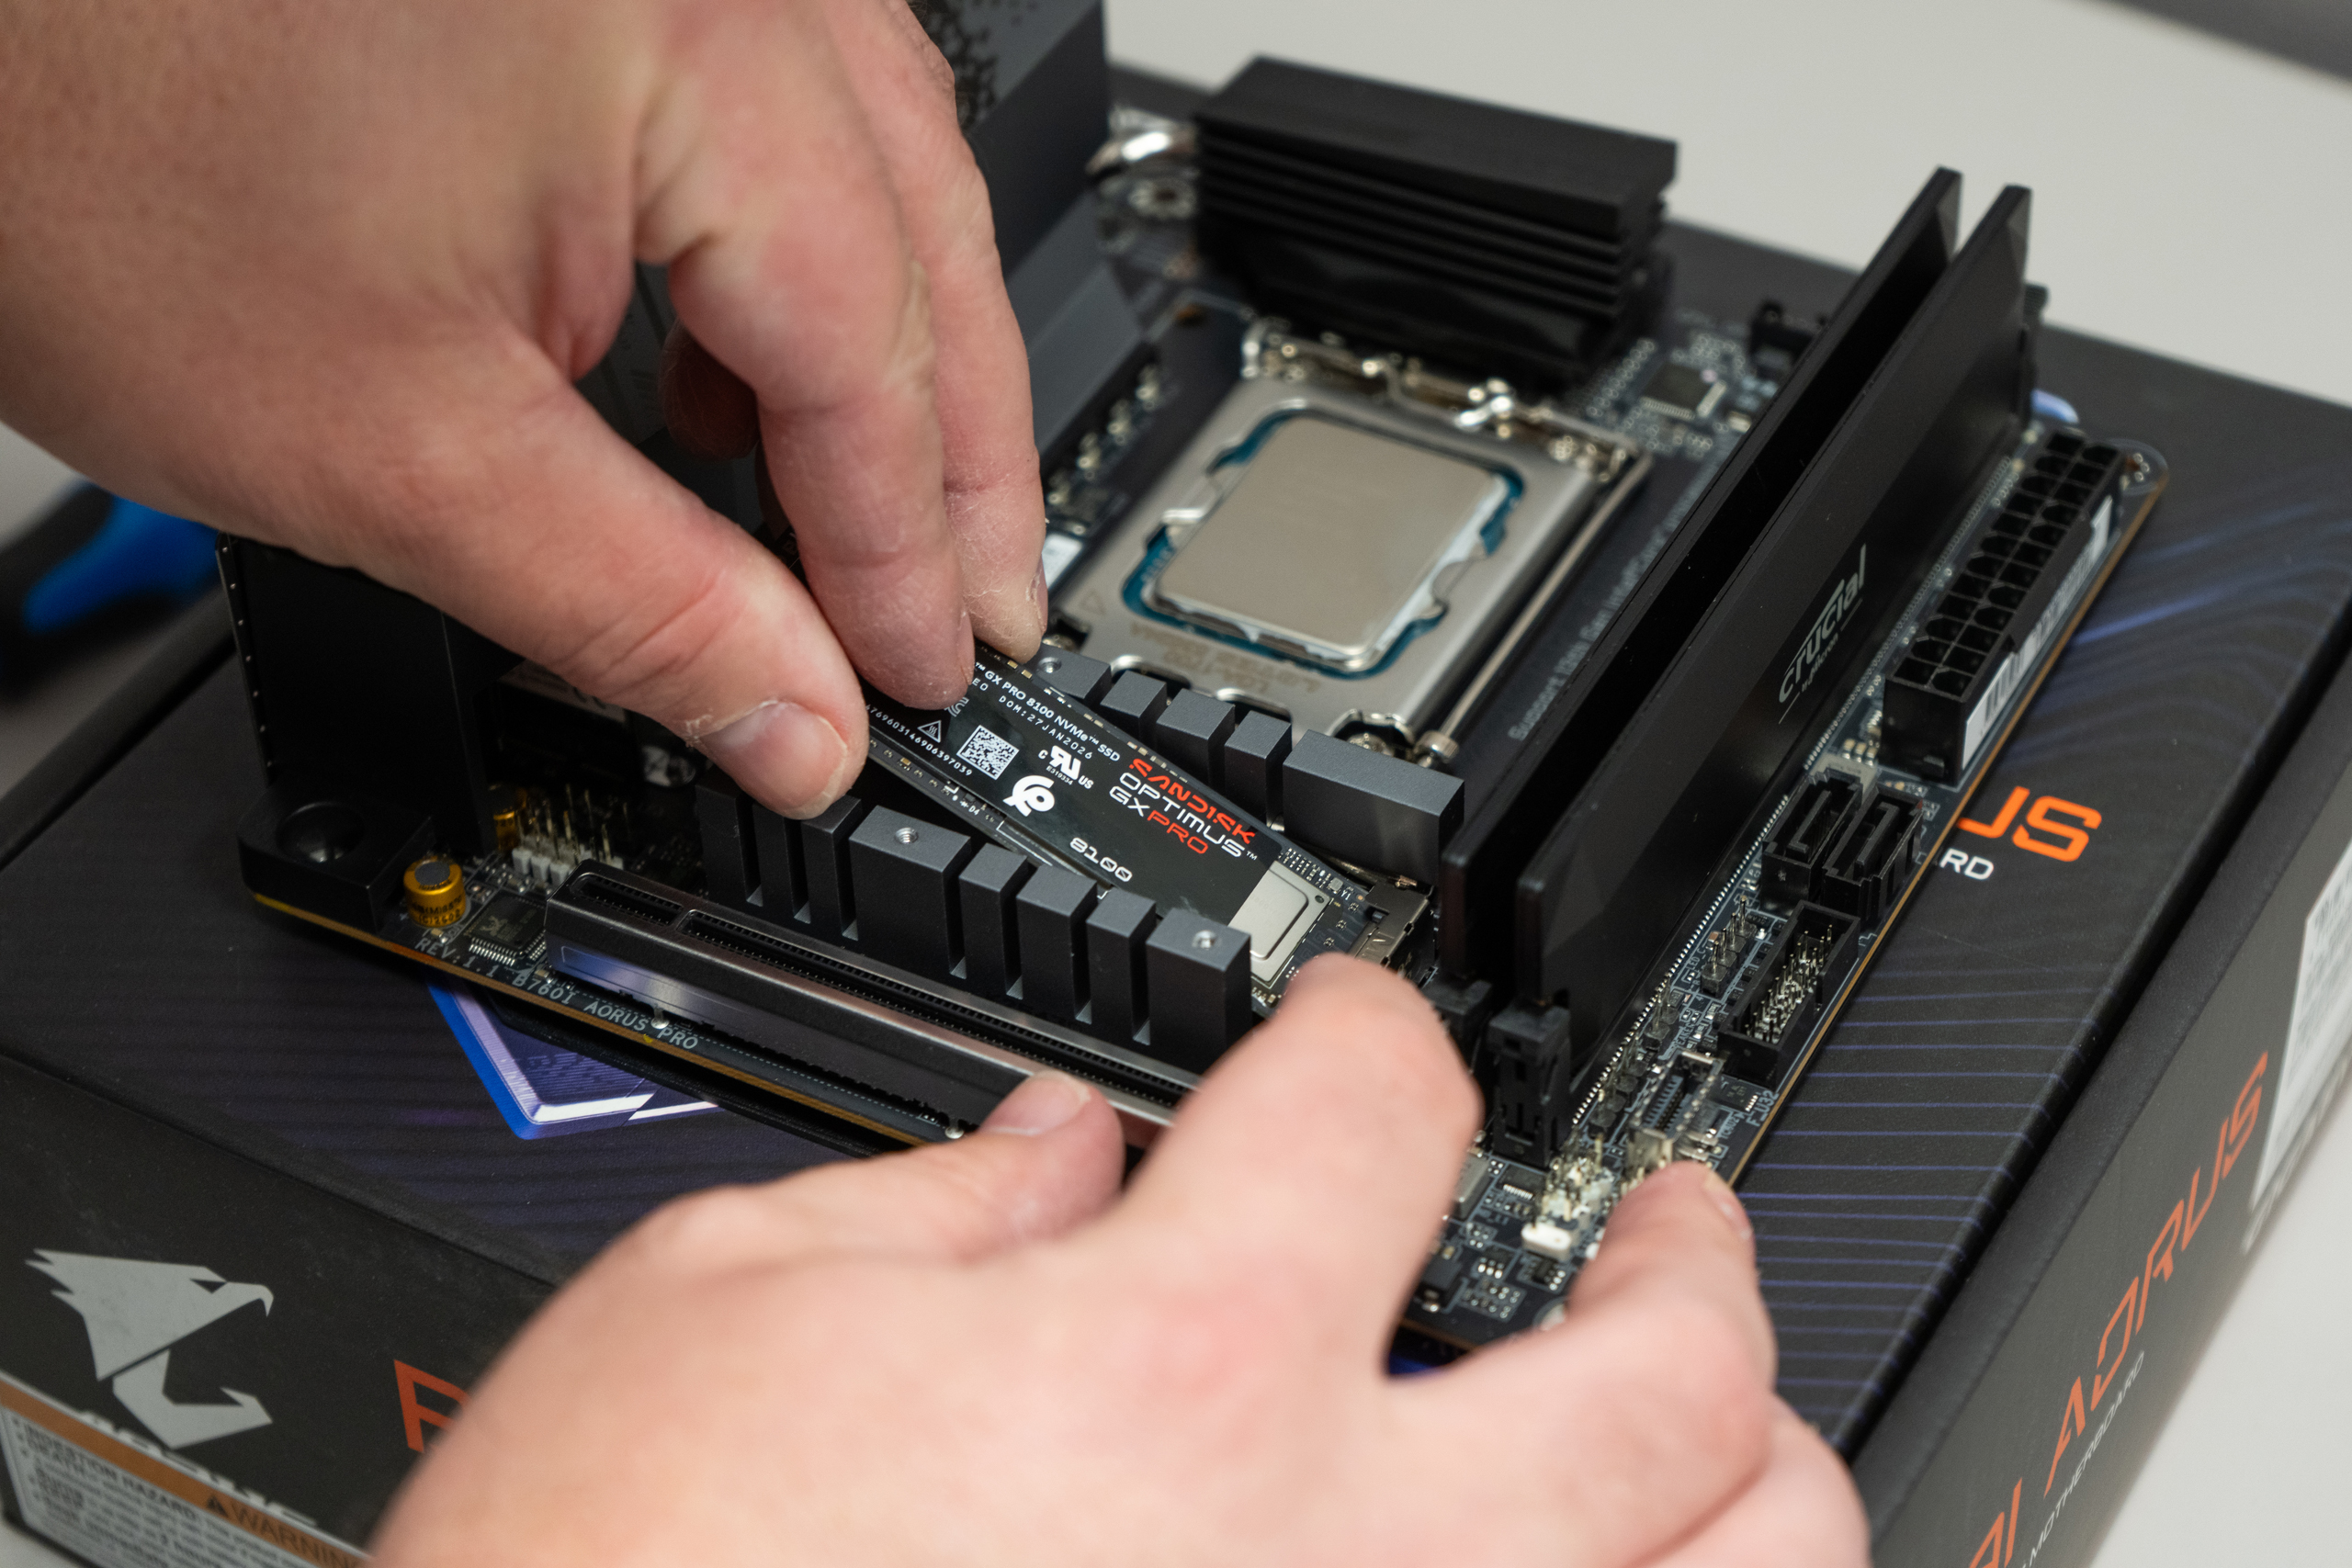
Storage drives have dedicated connectors. SATA drives have their own connector usually found on the right side of the motherboard. SATA drives also require power, meaning you have to run an additional cable, which also takes up additional room. On the other hand, an M.2 drive connects to a dedicated interface which enables these types of drives to run faster than SATA drives and reduces the amount of cable clutter within the case. If you do not have an M.2 drive, I suggest getting one.
If your motherboard has multiple M.2 interfaces, you must find the one that works at the fastest speed. The manual will annotate which interface is the fastest with some variation of “PCIe 4.0 x4” or even “PCIe 5.0 x4.” Your M.2 SSD will also have a familiar naming structure on the box. If the drive has a “PCIe 4.0” profile, it can still be put into a PCIe 5.0 interface and vice versa. Data transfer speeds will automatically default to whatever the lowest profile is between the two parts.
A lot of motherboards will include a heatsink for the M.2 SSD. If you have a heatsink, simply remove it and you’ll find the interface where the M.2 SSD plugs into along with several holes and a standoff piece.
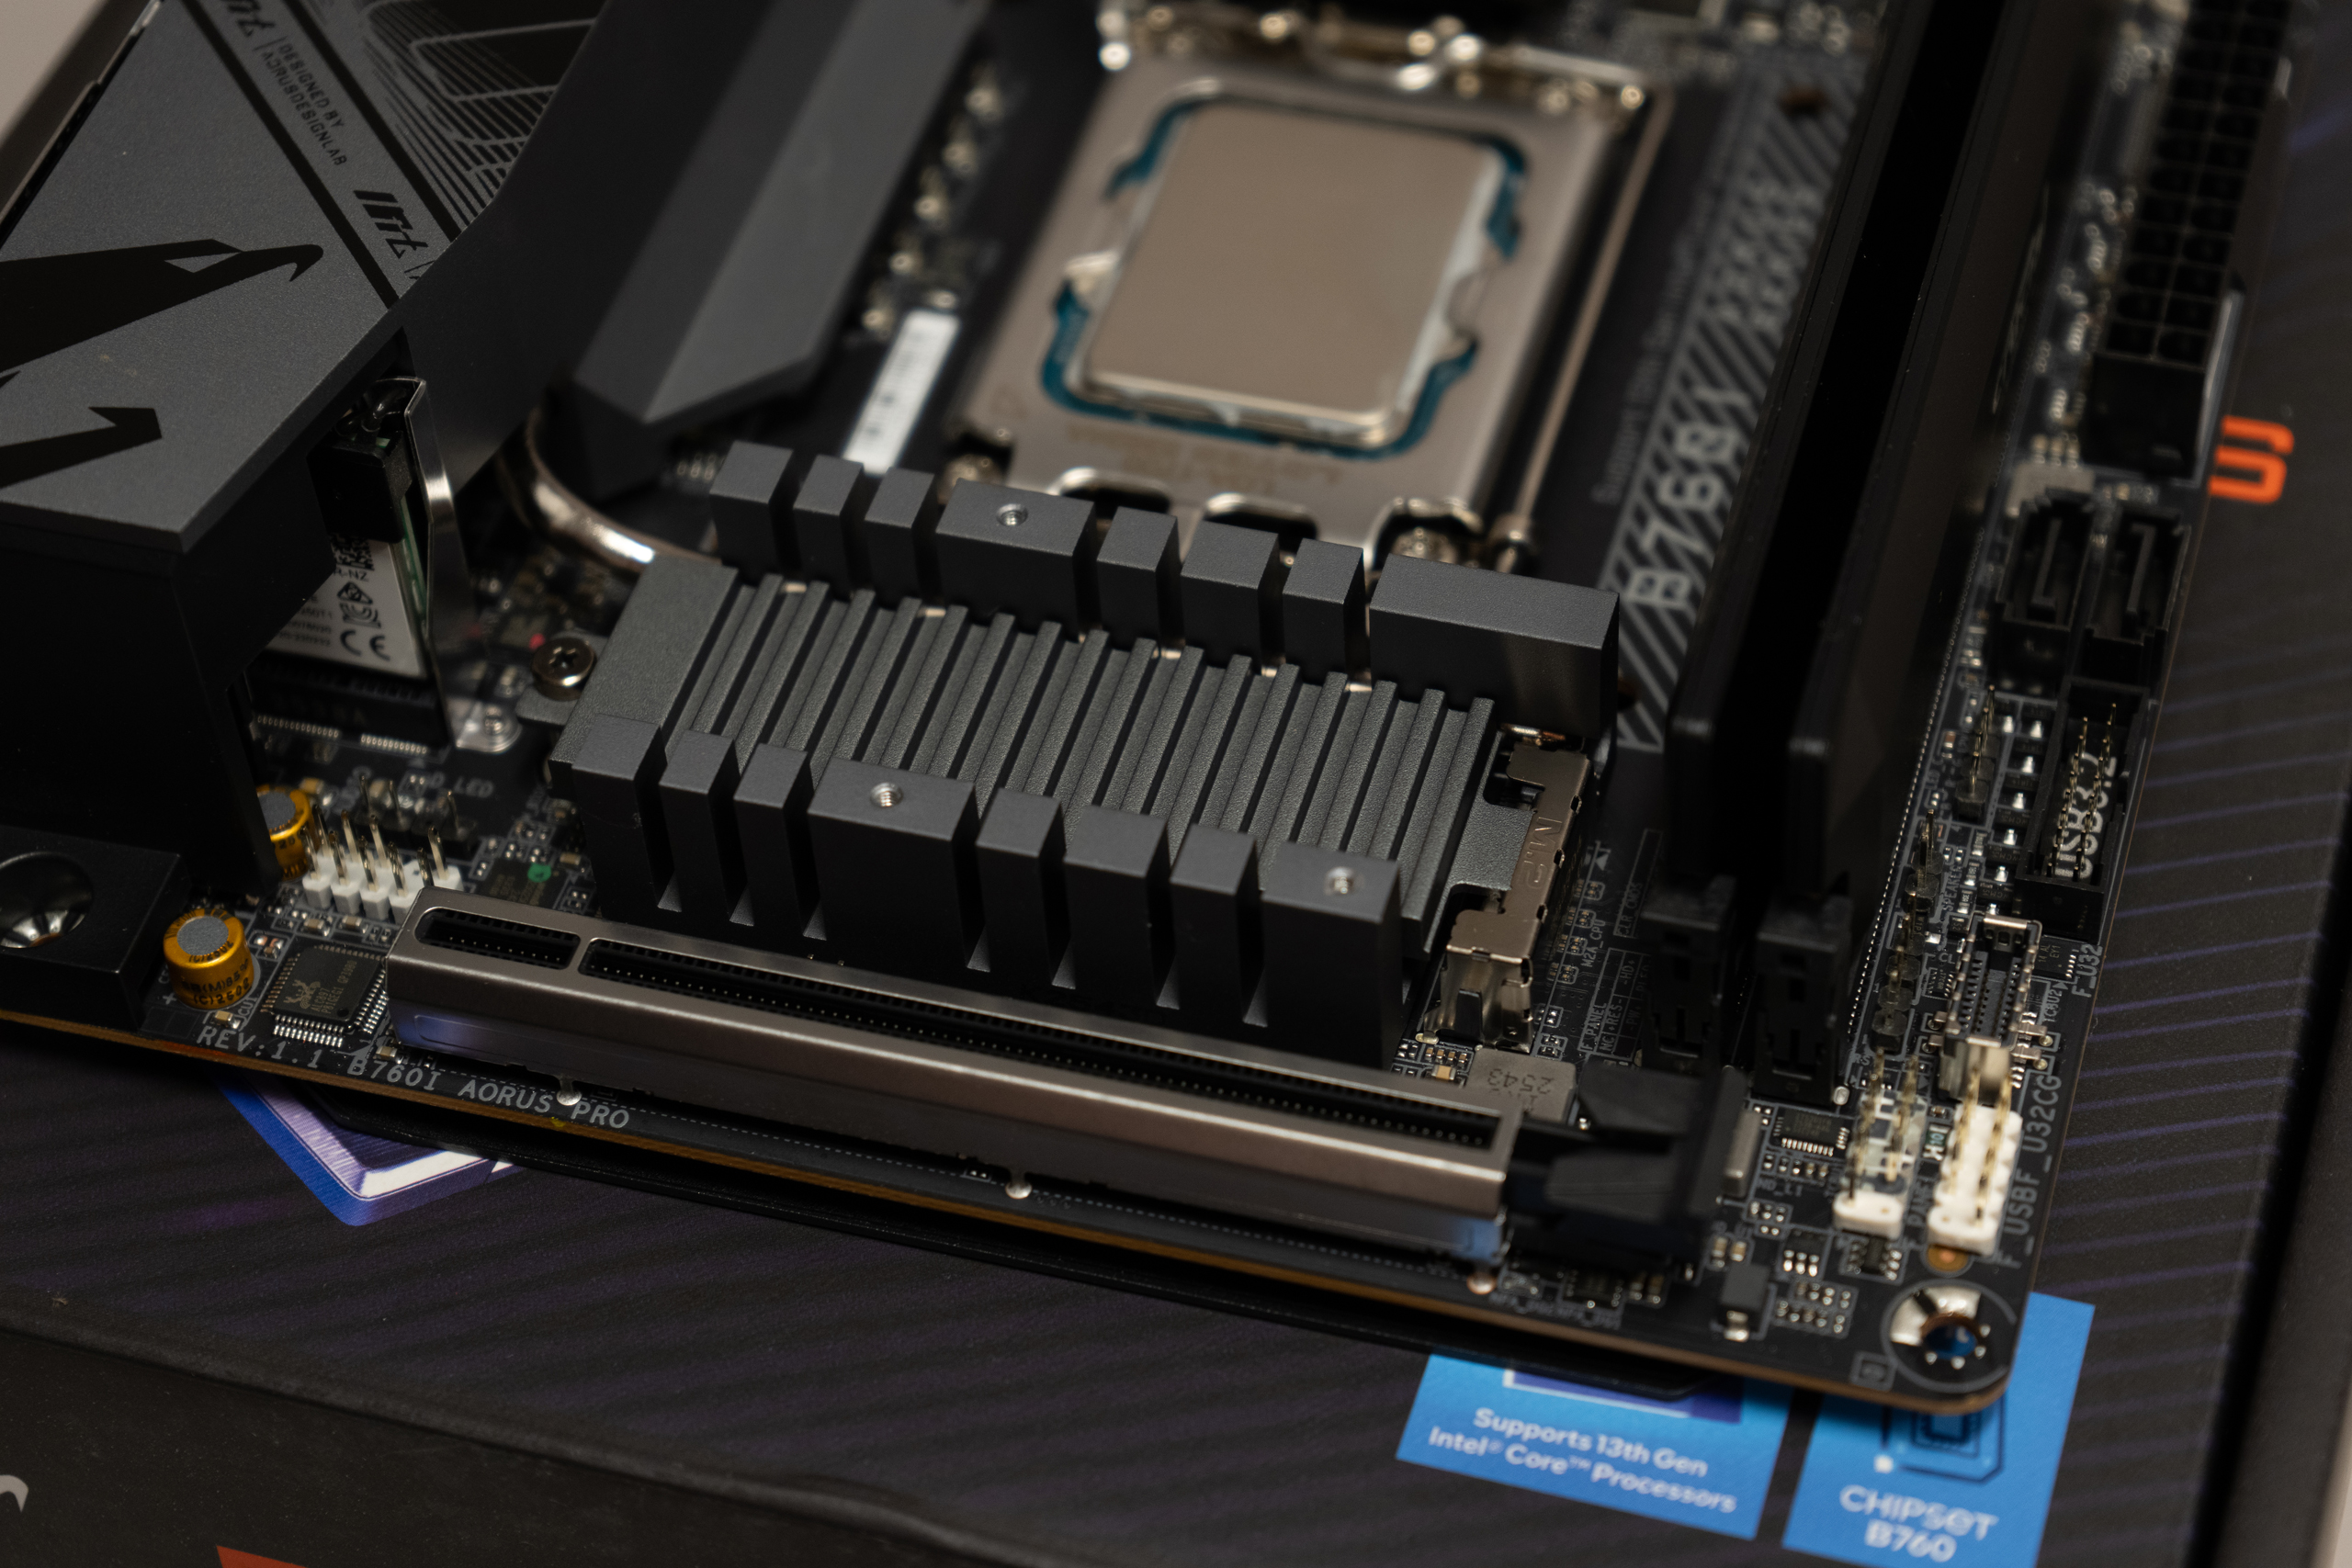
Your M.2 SSD has a measurement with the most common being 2280. If you have one of a different size, you might need to adjust where this standoff goes to accommodate the size of your M.2 SSD. Once it is at the right size, you may see a screw or twisting mechanism that secures the M.2 SSD to the standoff.
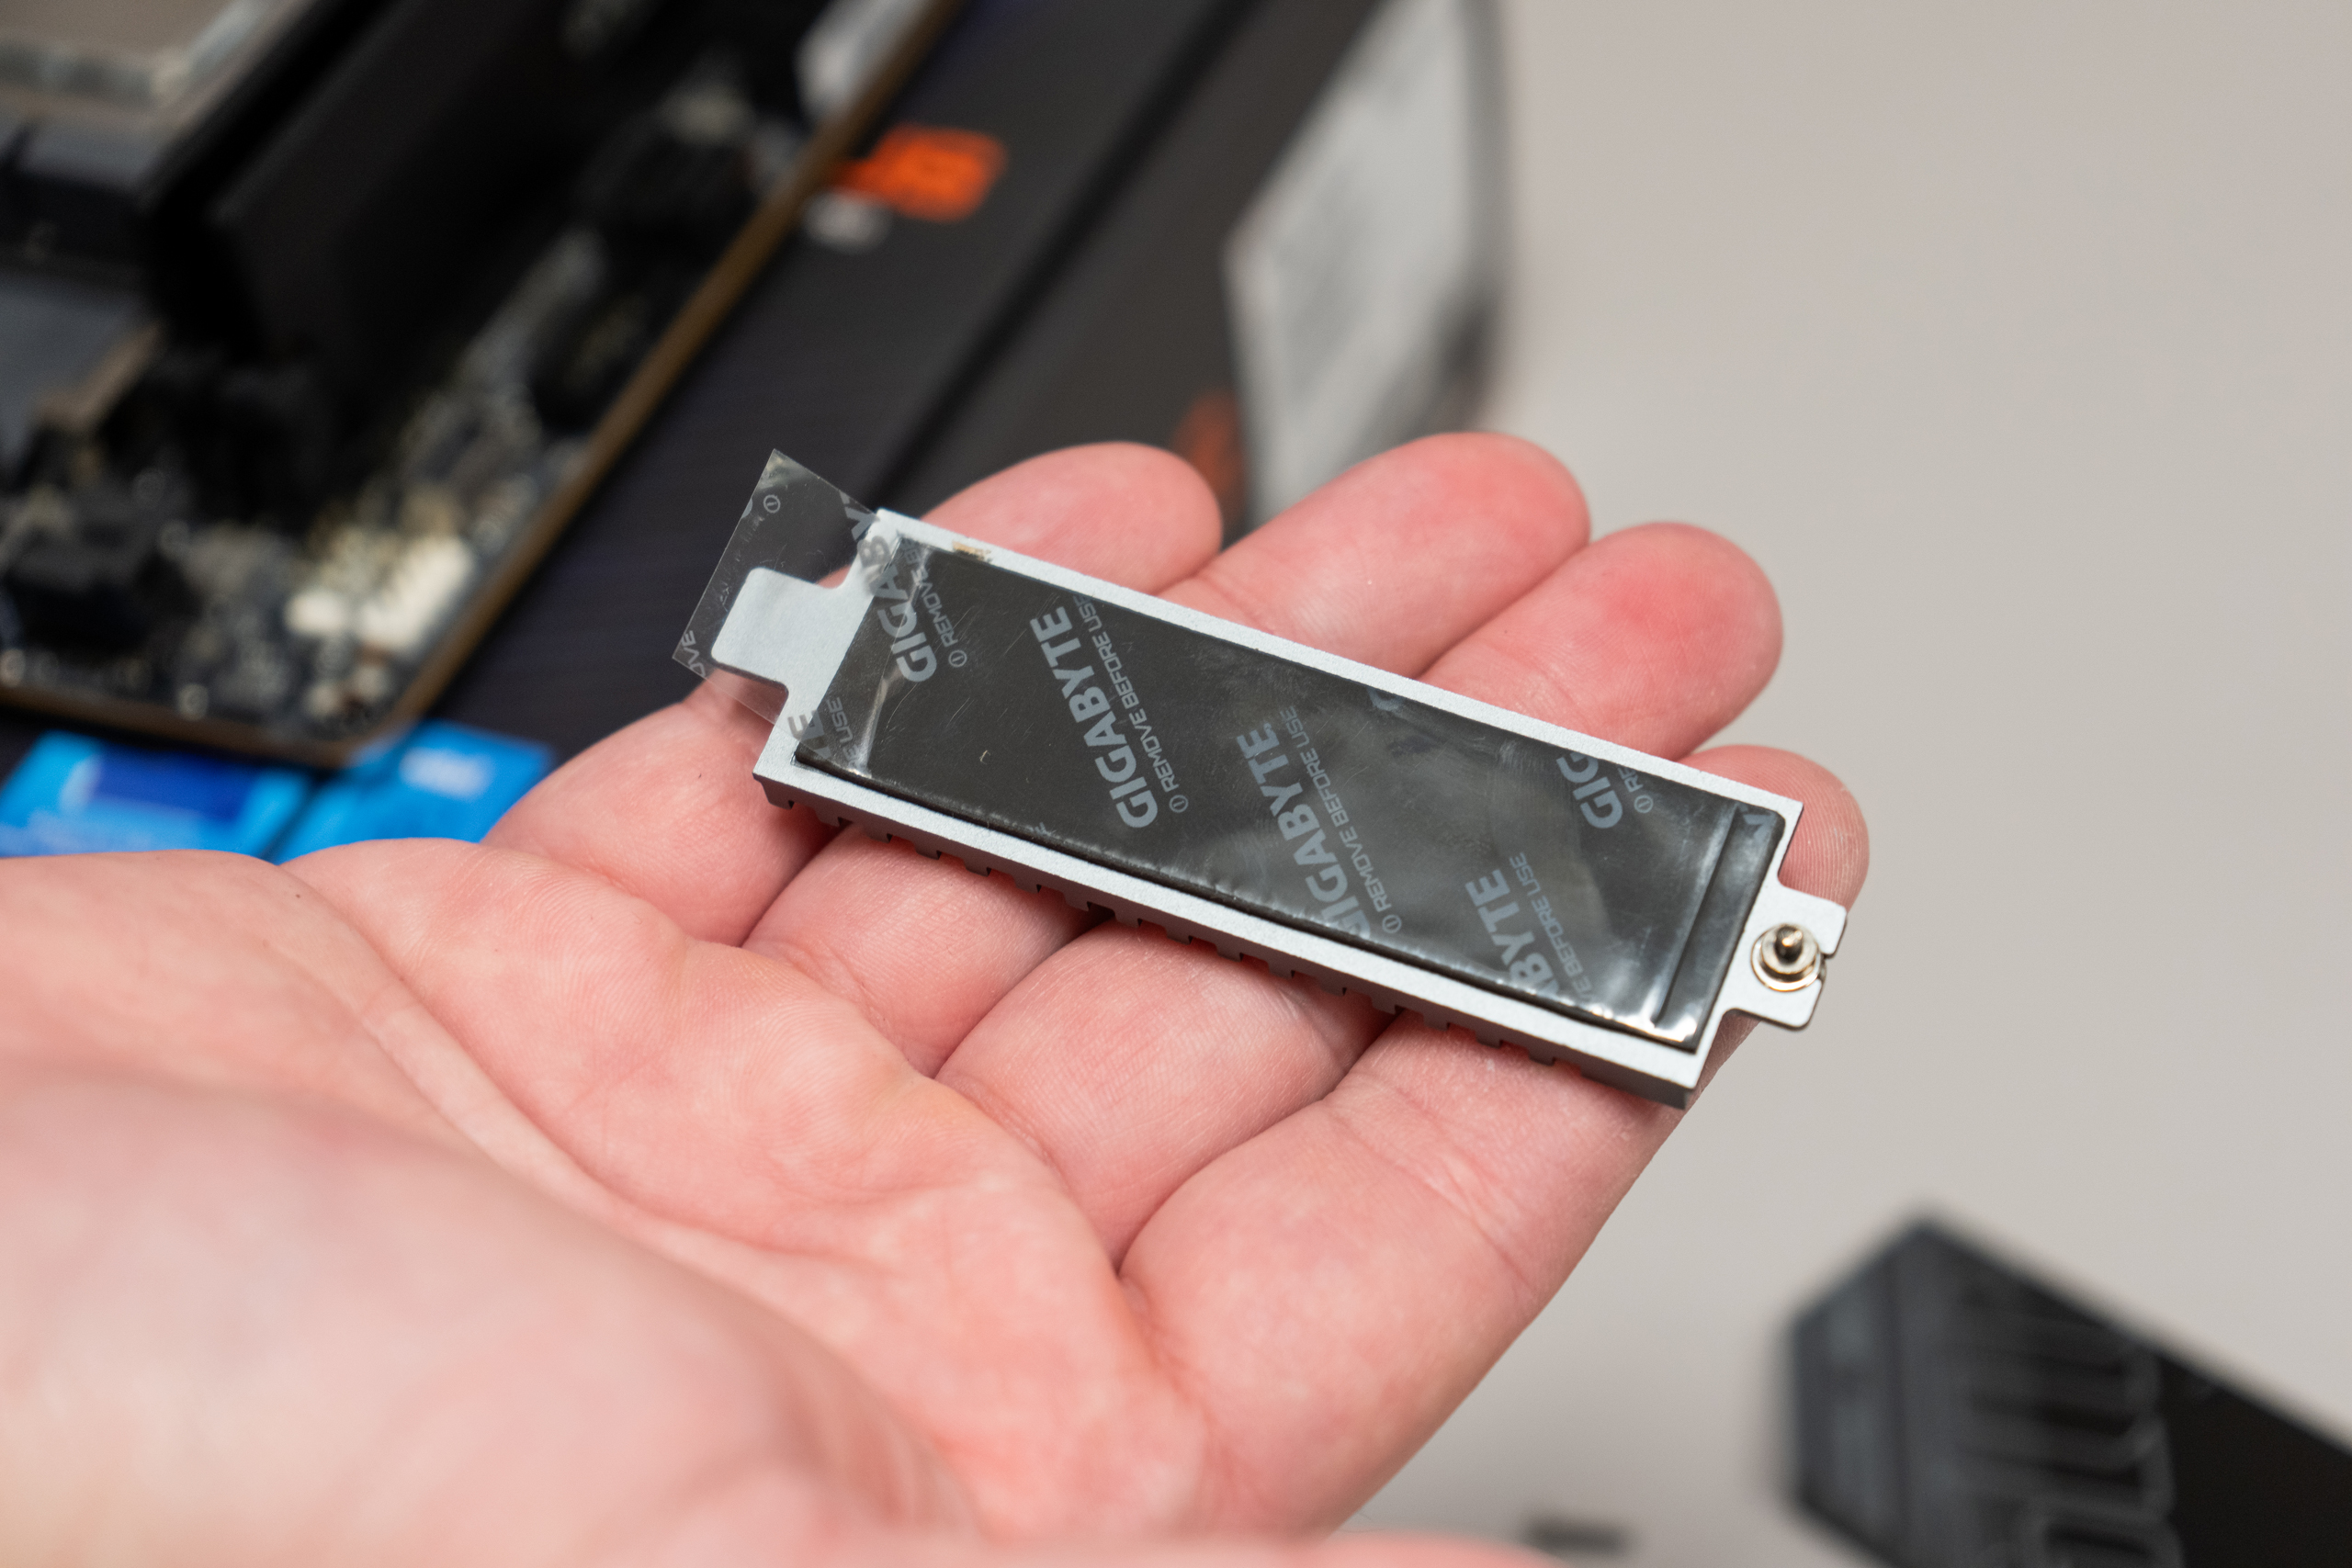
If you have a heatsink, remove the layer of plastic off the bottom to reveal the thermal compound. Put the heatsink back on and you are all done with the M.2 SSD! If you do not have a heatsink or your SSD has one built in, then you don’t need the heatsink cover.
CPU Coolers
We briefly mentioned earlier in the article how there are two different types of CPU coolers, air and All-in-One (AiO). Each one has a vastly different type of installation process that could revolve around removing the CPU backplate. This is a piece that rests on the back side of the motherboard that might need to be removed so you can affix new attachment points, usually provided by the cooling manufacturer.
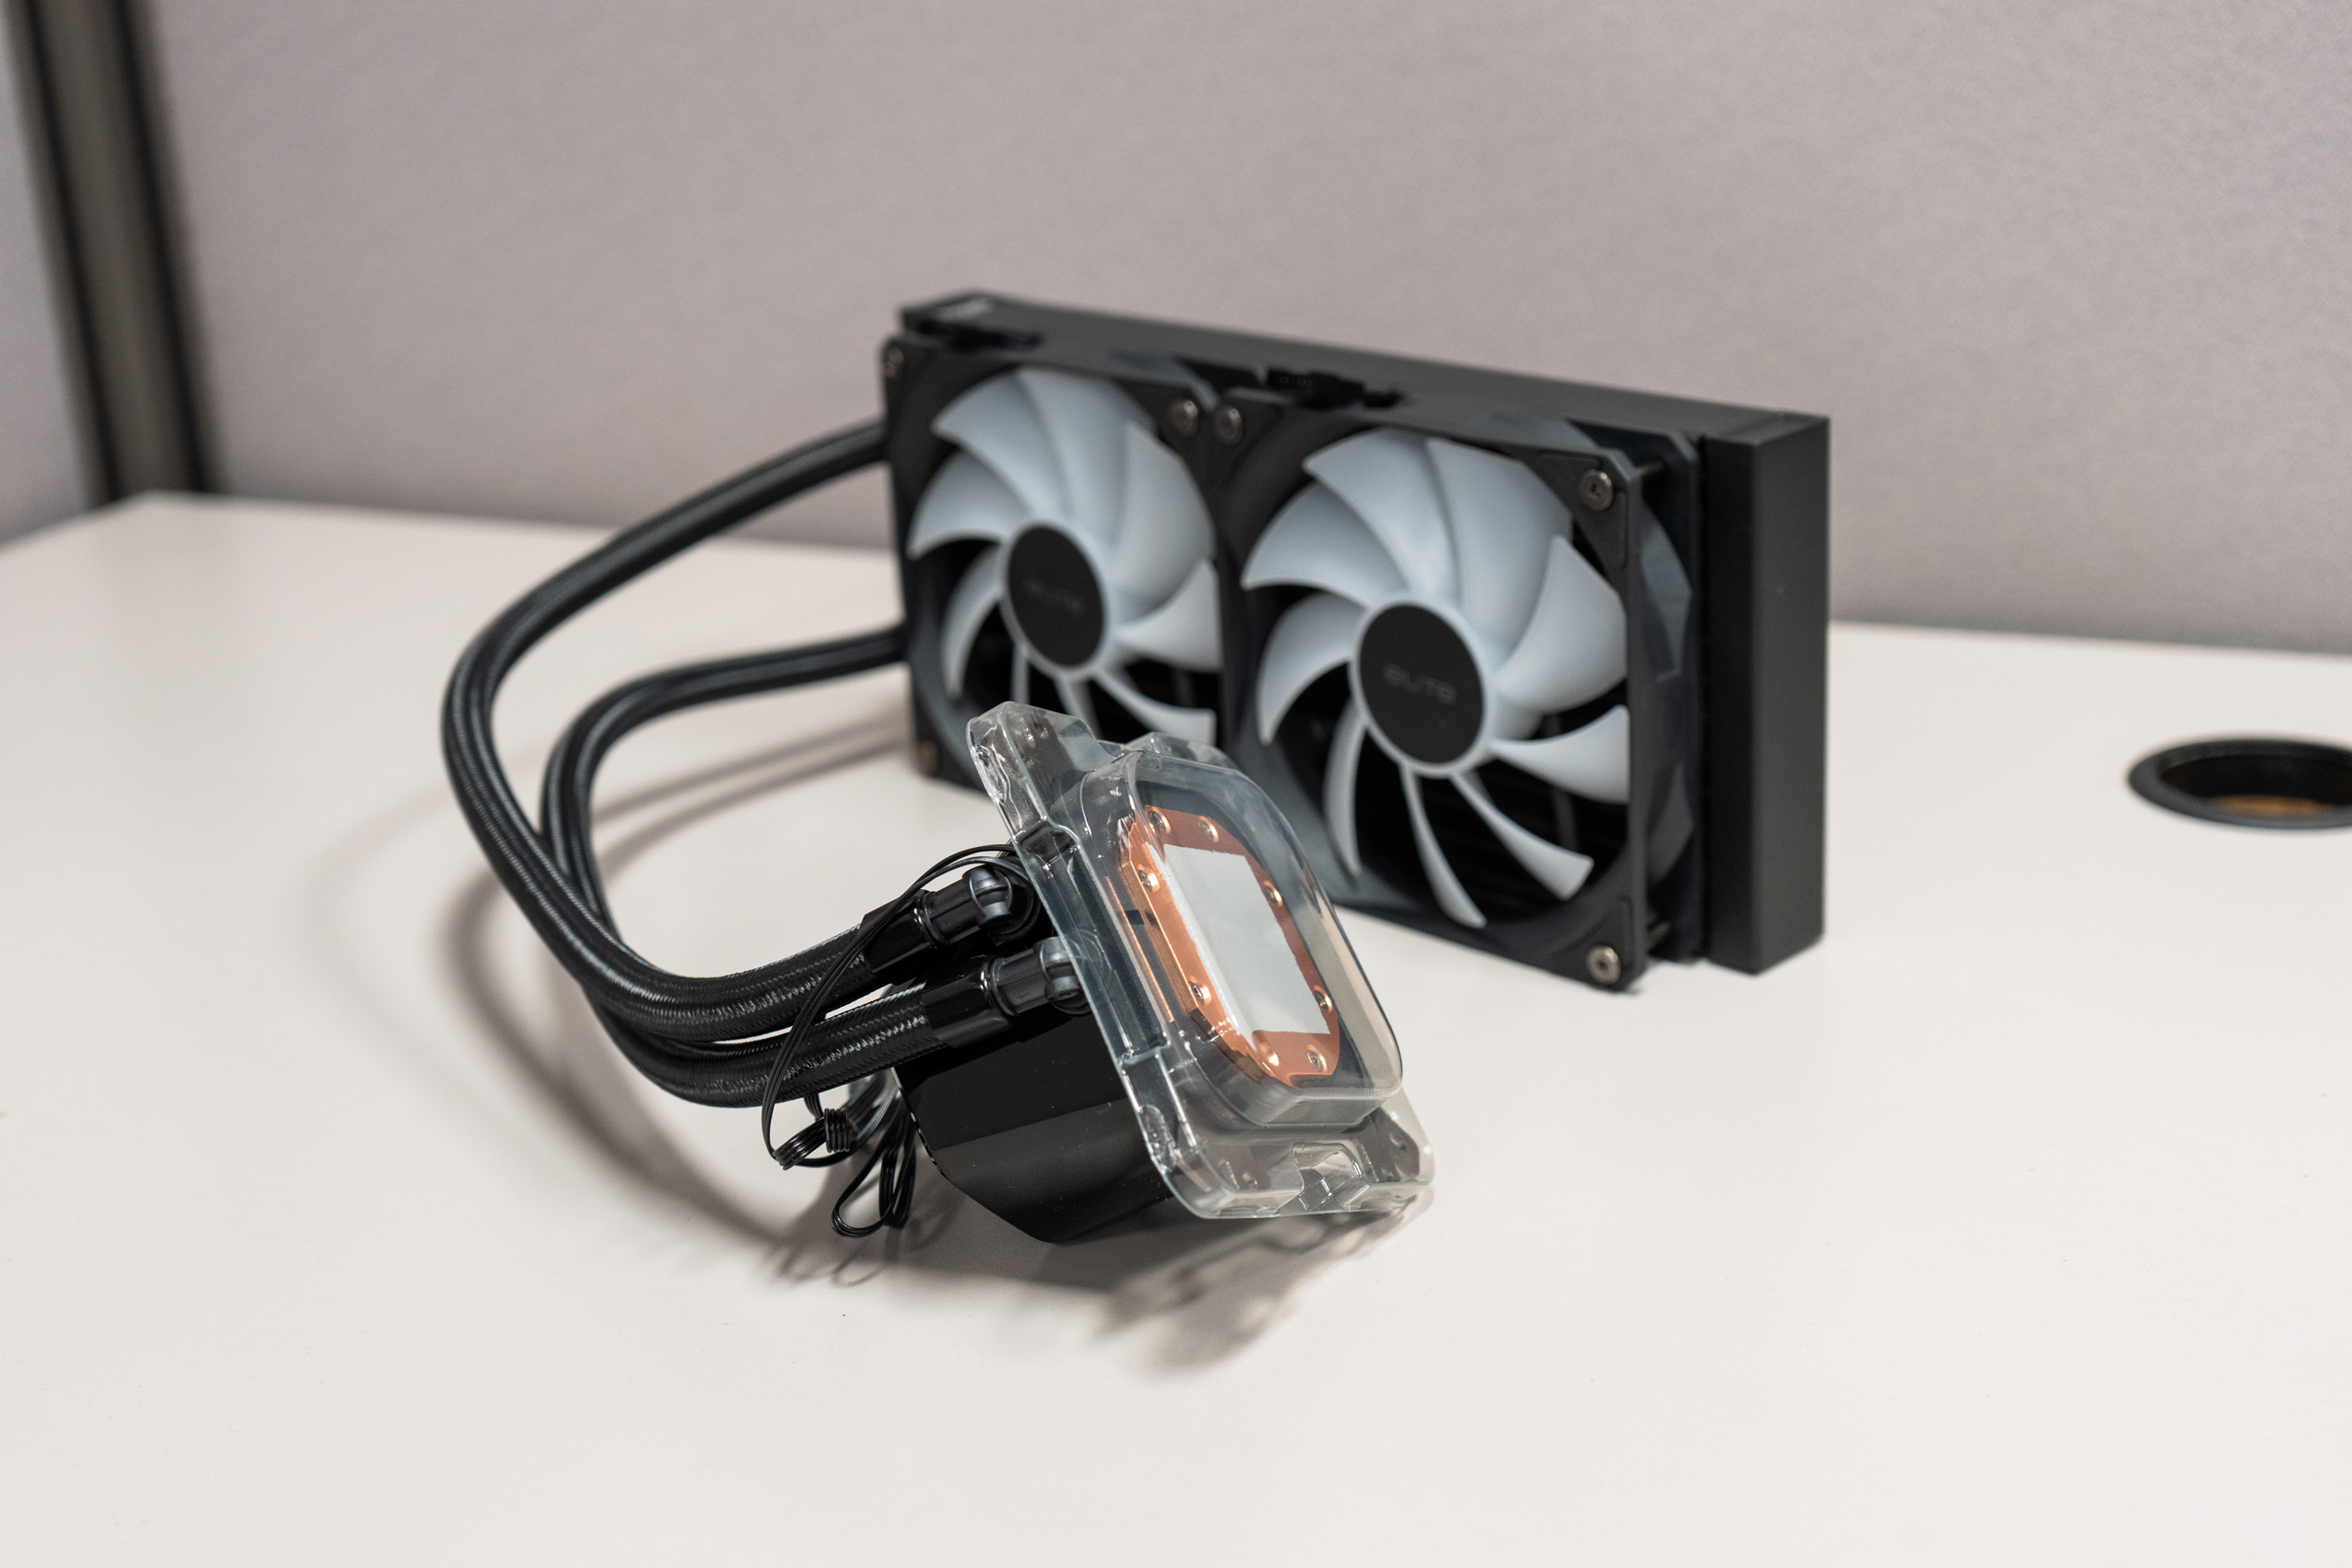
If your CPU cooler didn’t come with thermal paste already applied, now is the time to apply it. People apply thermal paste in different ways and there isn’t necessarily a wrong way to apply it as long as it covers the area. When you lock down the cooler, the force of the cooler will spread the thermal paste around. So, you don’t have to slather it like you’re spreading peanut butter. Some folks put a nice dot in the middle, others make an “X” across the processor, and some do five dots: one in each corner and one in the center.
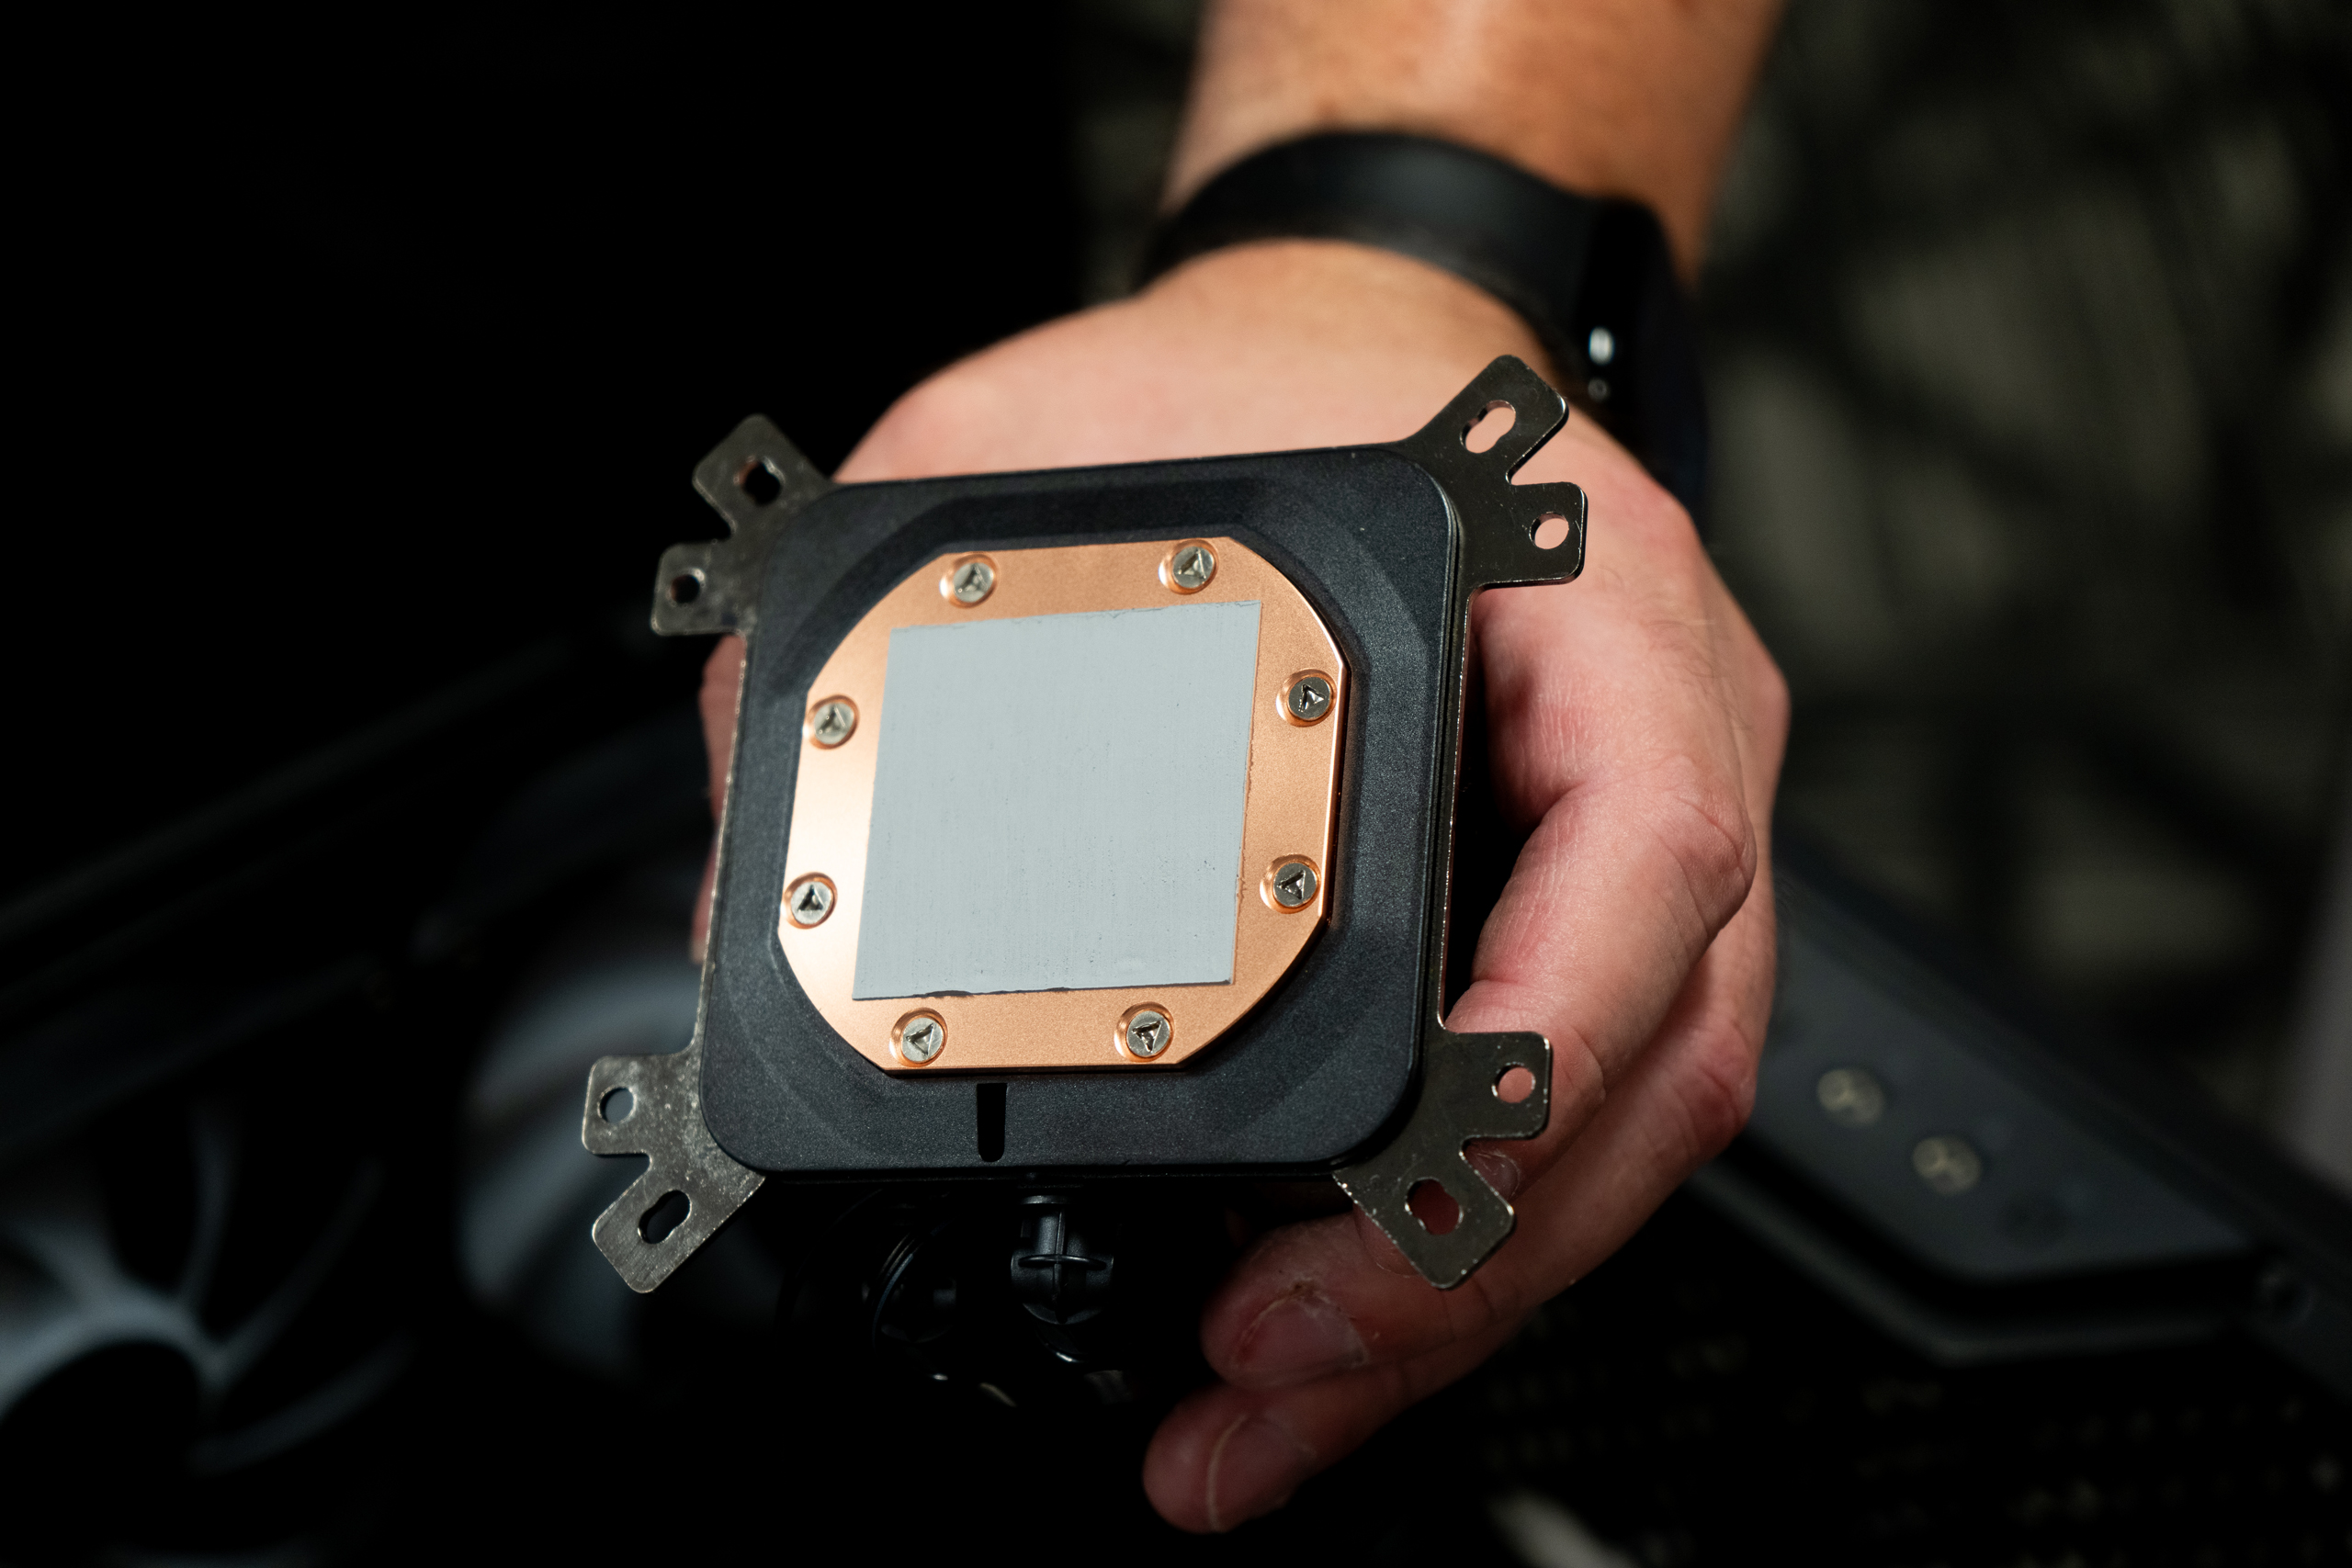
You don’t want to put too much thermal paste on, which is why it’s a good idea to keep some cotton swabs and isopropyl alcohol on hand in case you overdo it. Thermal paste is not electrically conductive, so you don’t have to worry about it shorting any components out.
Air Coolers
Air coolers tend to have one or more fans and use a huge heatsink to help with air dissipation. Most of these types of coolers are inexpensive and can easily handle typical processor performance profiles. As someone who prefers air cooling, I have been fine for ages even when running graphically intensive games. Just make sure you have the fan and heatsink blowing air horizontally from the front to the rear of your case.

Front fans should be pulling in cool air, passing it through the CPU cooler, and out the rear side via exhaust fan. Some air coolers are treated differently from others so please, read the instructions to your respective air cooler.
AiO/Liquid Coolers
All-in-One (AiO) coolers are a whole different beast of a cooler. The reason why they are called “all-in-one” is because of how they are designed. An AiO comes in three main parts: the CPU cooler, the tubing, and the radiator. The idea is that the fans blow cool air through the radiator, which contains liquid. This cool liquid then travels down the “cold” tube into the CPU cooling block, which prevents the processor from overheating. Once the liquid gets warm from passing over the CPU, the other tube returns that liquid back to the radiator, removing the heat from the liquid and making it cool again. There is also a pump and sometimes that is attached to the CPU cooling block; other times it is connected to the radiator. This depends on the manufacturer, and as we have already said a dozen times before, make sure you keep your manual handy.
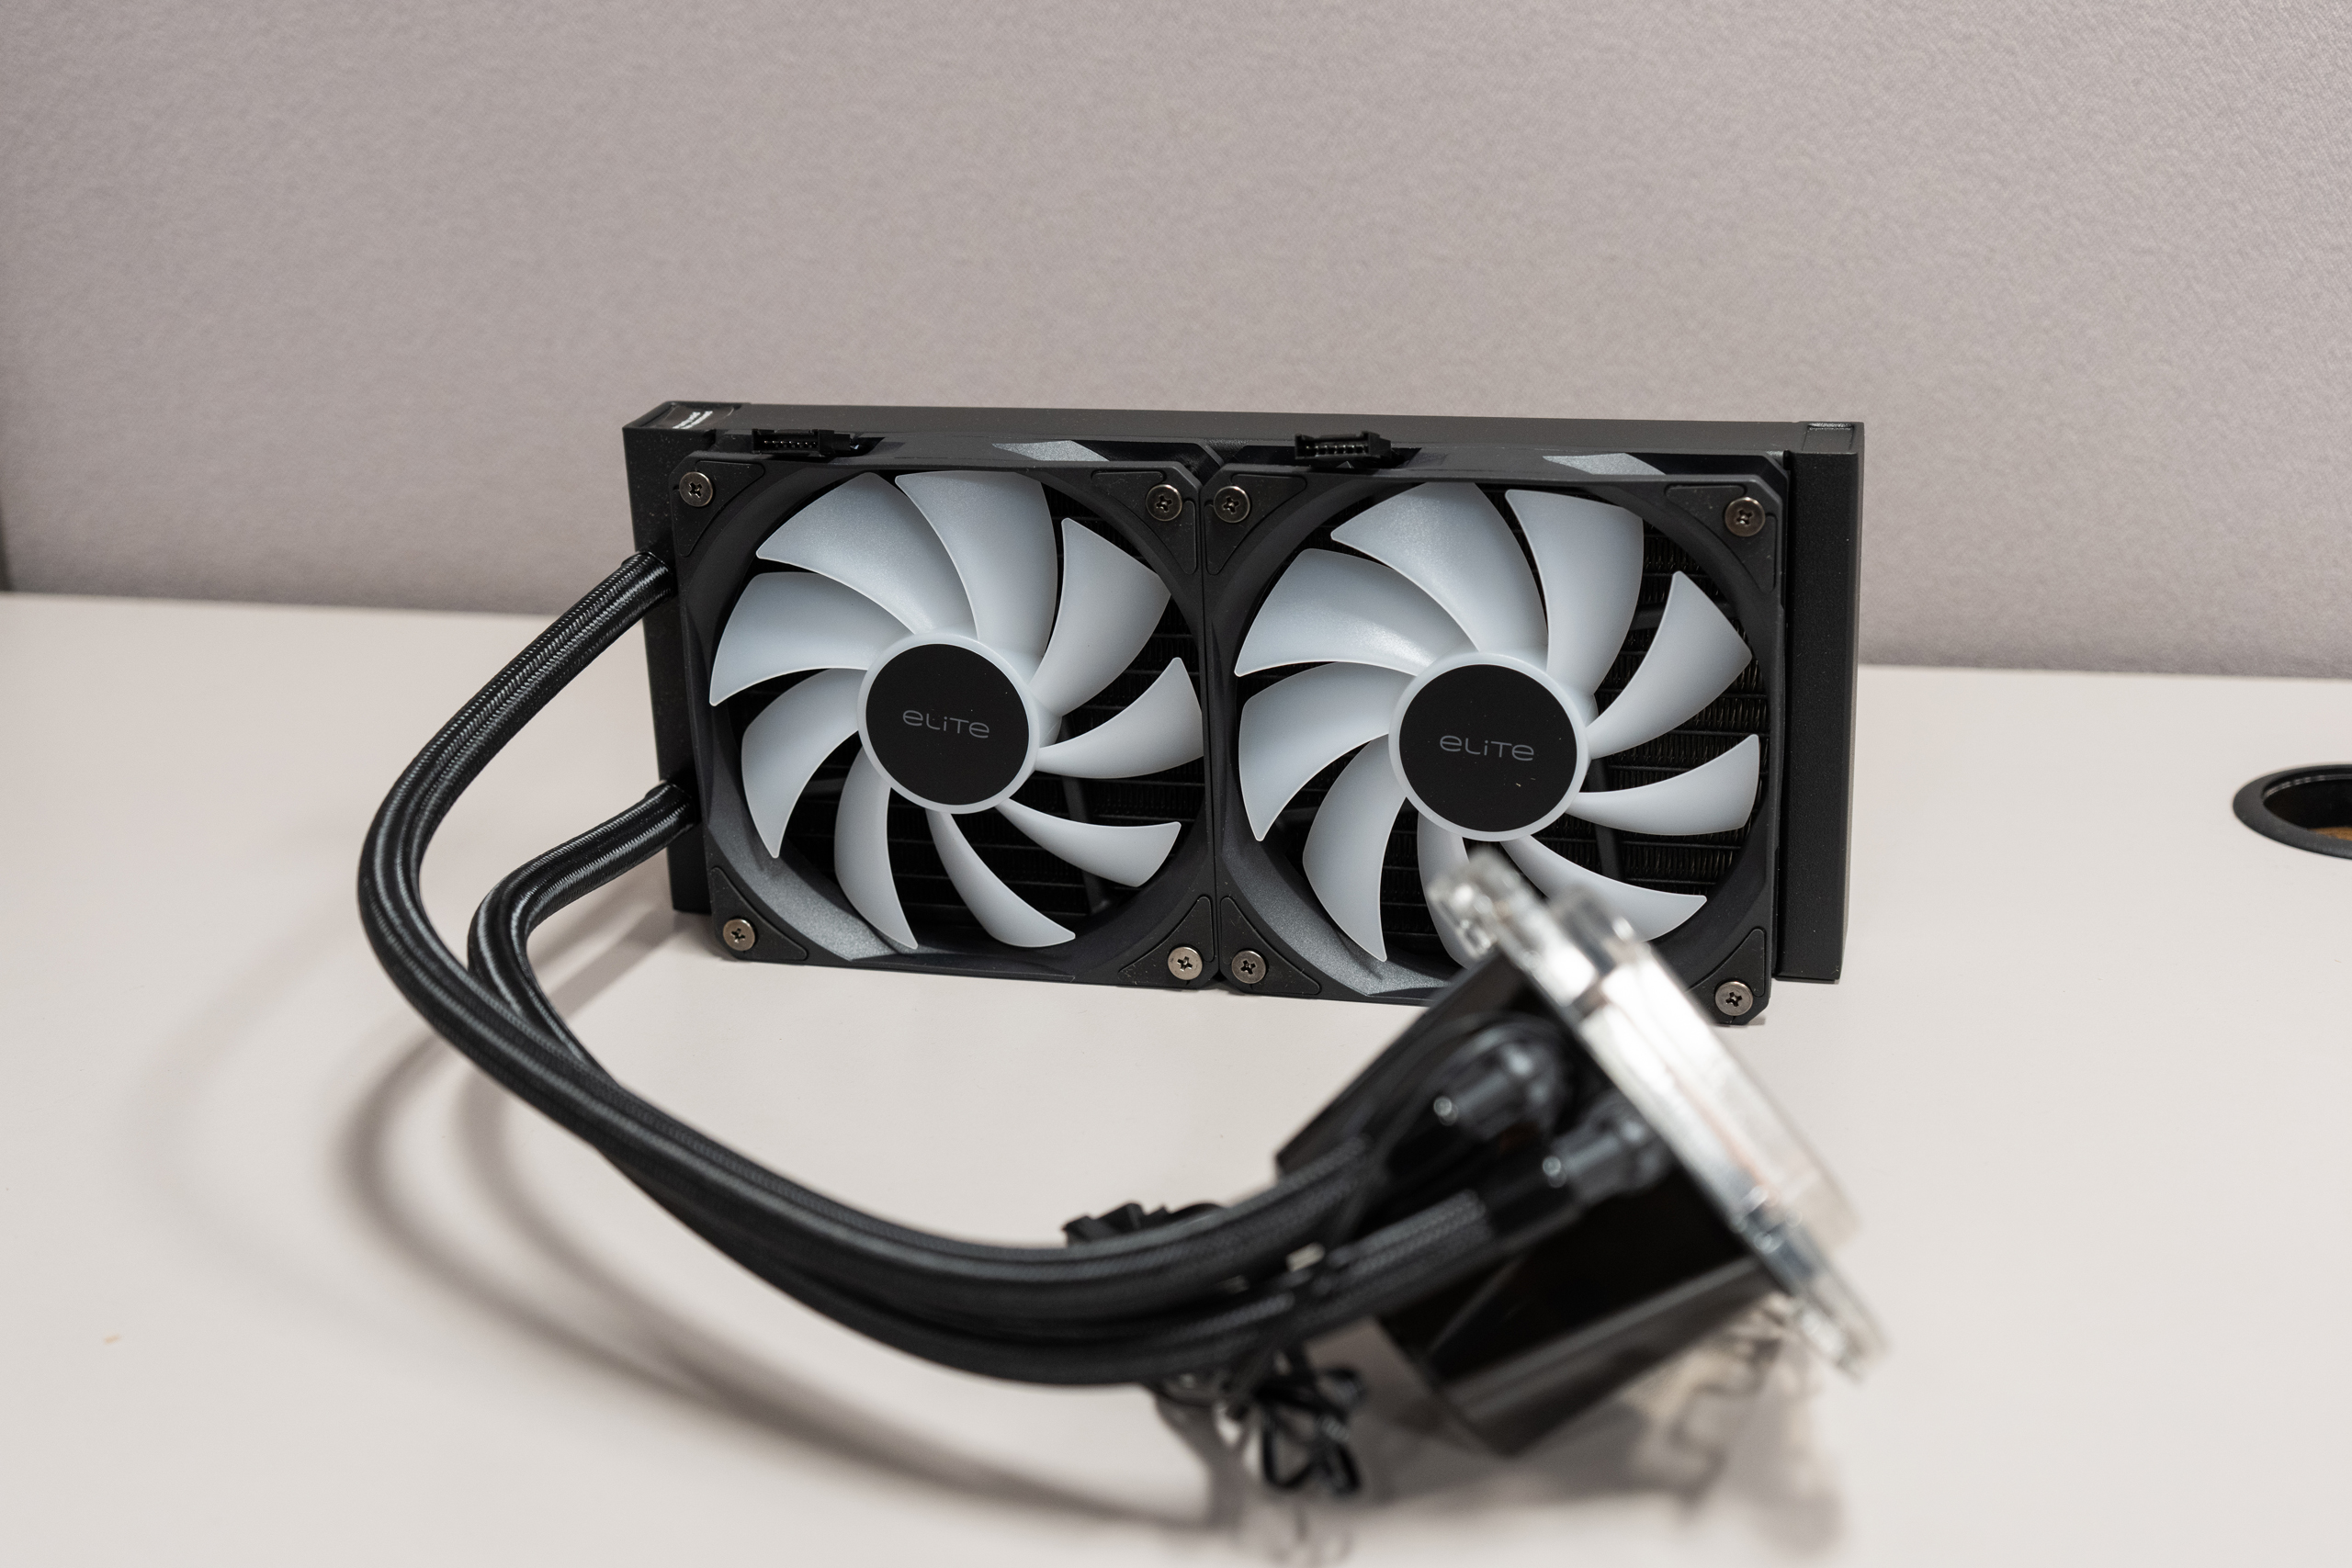
Now, while AiO coolers are useful due to their capabilities of fulfilling multiple roles (air intake and CPU cooling), they can be a bit of a pain to install due to the sheer size of some of these units. The main radiator which can come in multiple sizes affects where you install it. A 120mm radiator is small enough and takes up about 1 fan’s worth of space. These can be installed in multiple positions, but they might not give you the cooling you need. Radiators measuring 240mm are 2 fans’ worth of size and tend to be applied to the front or top panels of the case. If you have a lot of room inside the case, you could get a 360mm cooler, but check the case manufacturer before you install.
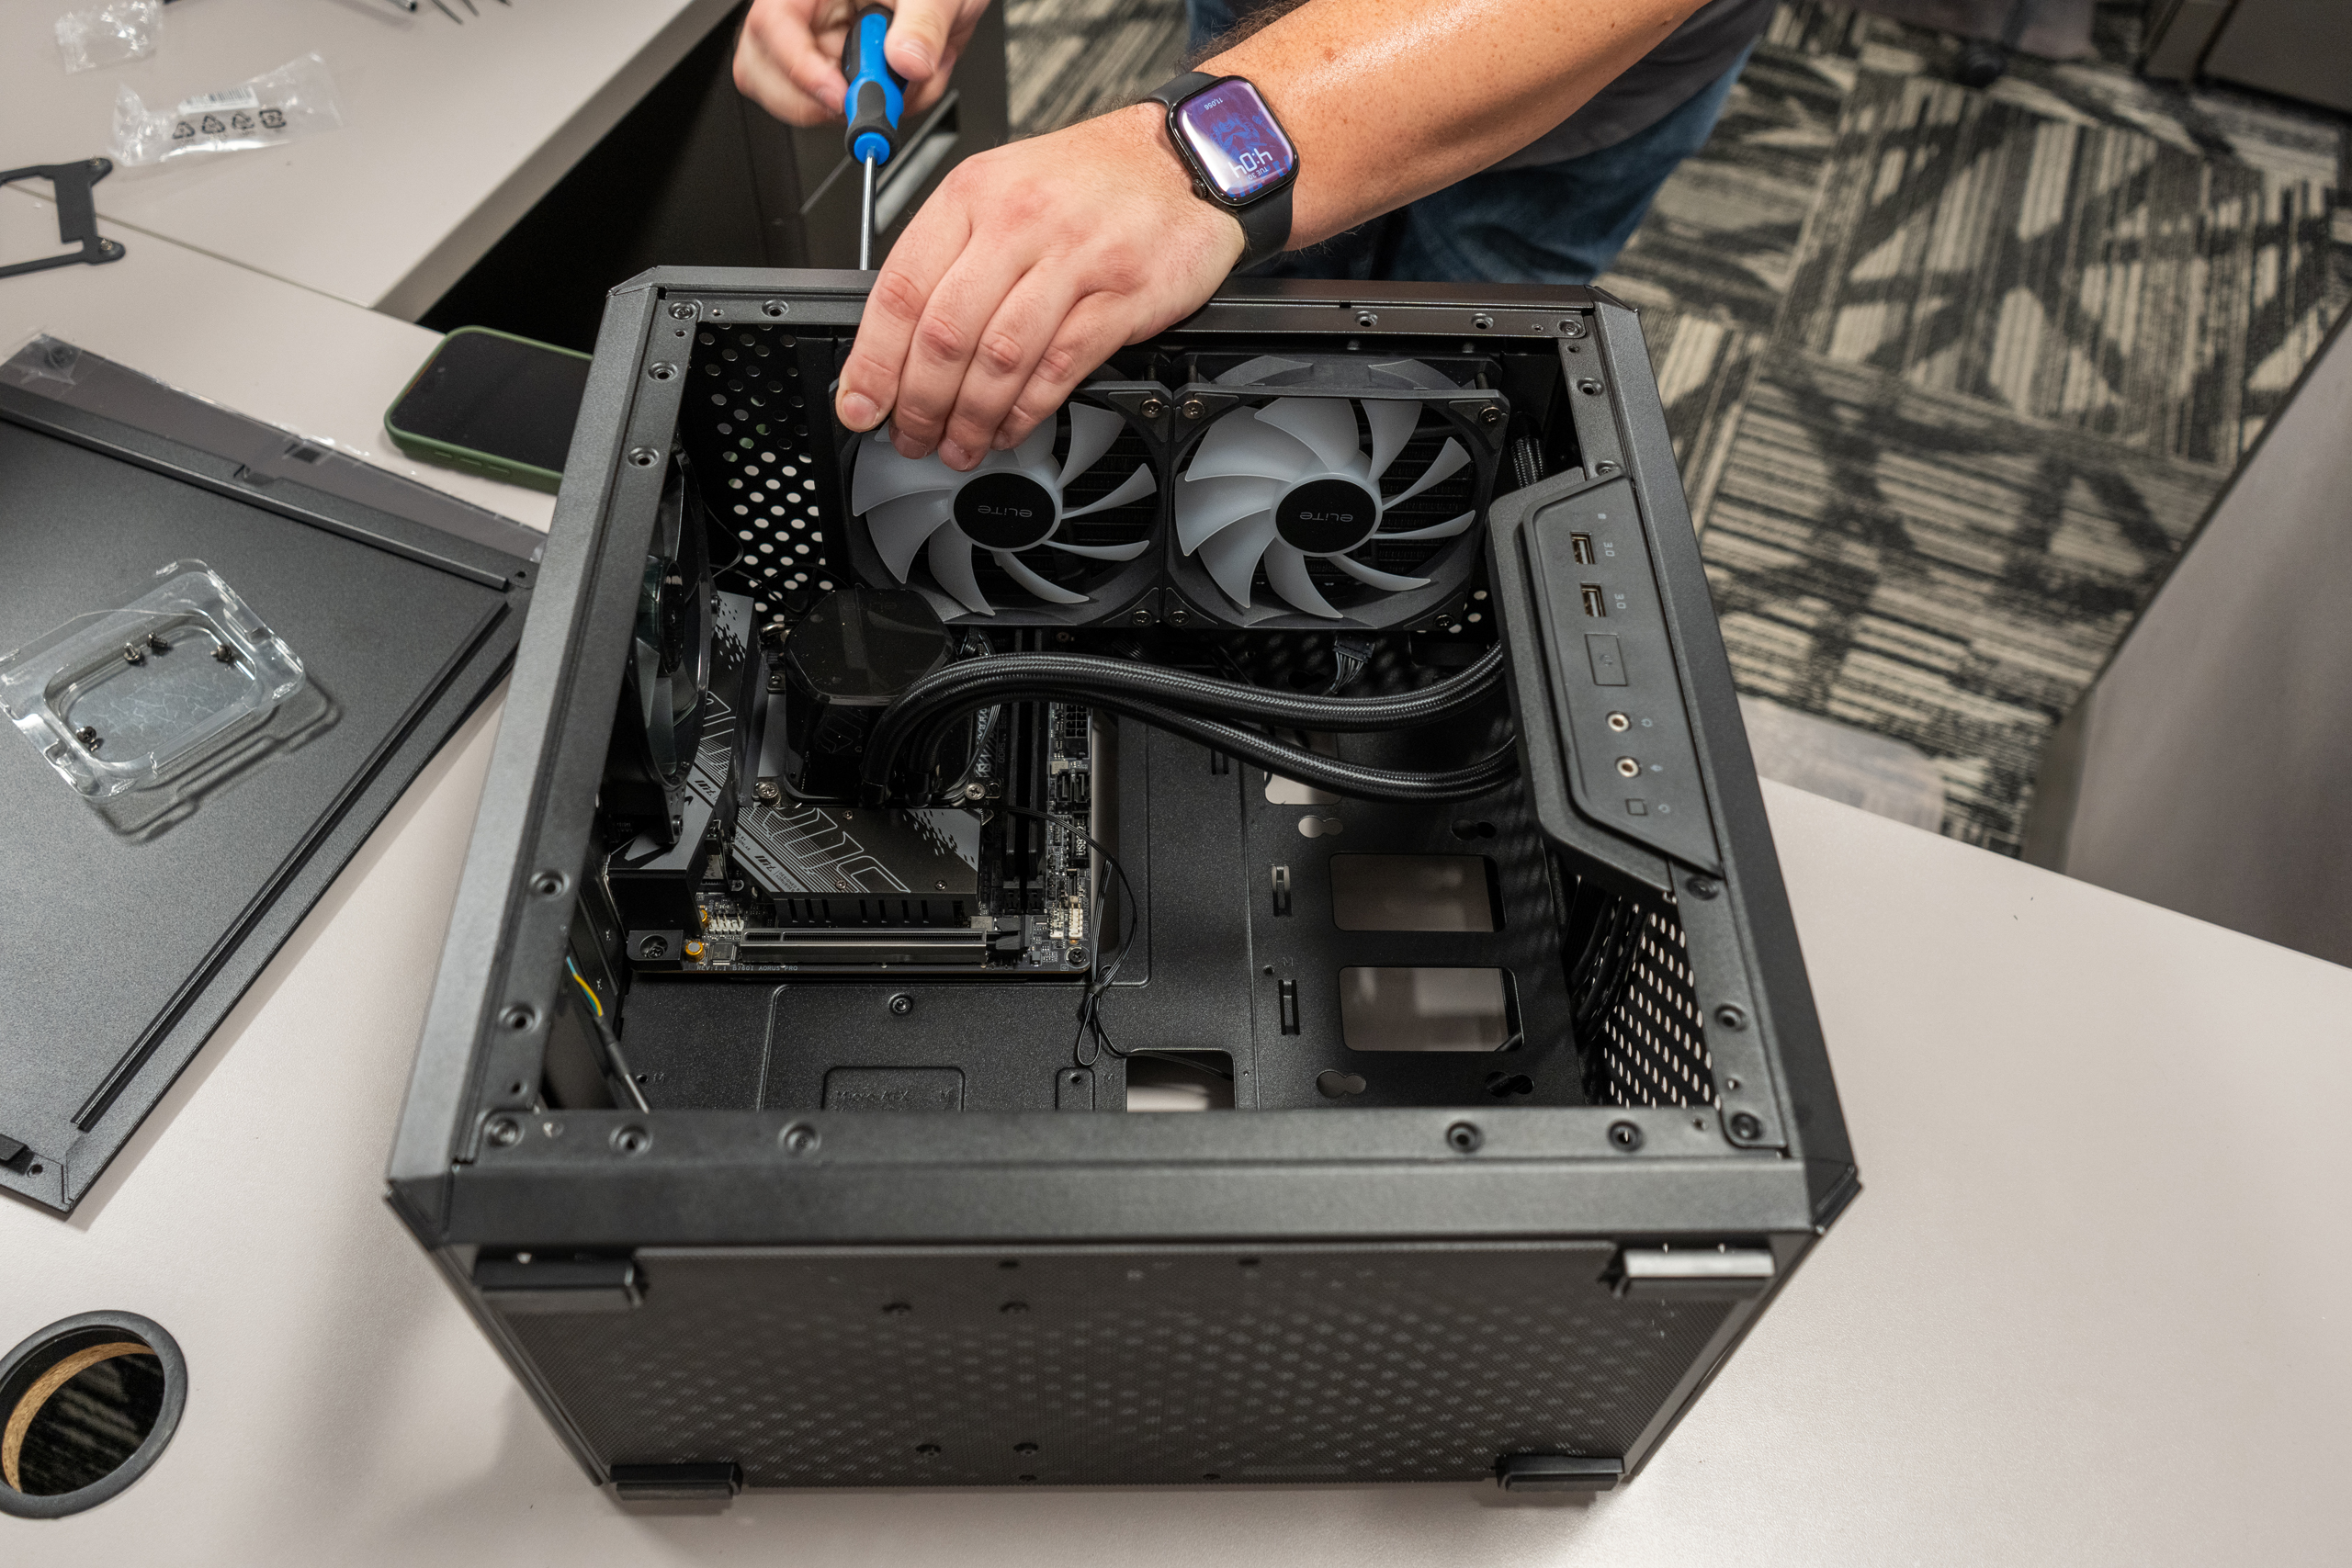
Even at 240mm size, some people like installing the radiator toward the front of the case as it provides smoother airflow from the front to the back with the least resistance. Just keep in mind that the inlets where the tubing meets the radiator need to be placed downward to prevent air bubbles from getting into the pump if that pump is located on the radiator. Many cases allow you to install the radiator at the top which is the overall better option if available.
When it comes to installation, you have a “chicken or the egg” situation. Do you install the cooling block first or second? In my experience, it is easier to install the radiator first and then install the CPU cooler. Reason being that the CPU block tends to be rather large and it could be difficult getting your hands inside the case to move fans and radiators. Some even take the extra step and install the radiator before they drop the motherboard into the case.
Custom Loops
I lied, there are actually three types of cooling systems, but this one is not for the faint of heart. These types of cooling systems are similar to liquid cooling but instead of rubber tubes that connect two parts, it is a series of tubes that go throughout the entire case. There are radiators and cooling blocks for the CPU, but there are also cooling blocks for the GPU, memory, storage, and more! These are custom made, meaning someone has to take the piping, bend them, or use various couplings to connect pieces together. This is nothing short of actual plumbing.

While custom loops are great, I do not suggest them for a first-time builder at all. There is a whole lot that could go wrong and the maintenance to ensure it stays clean takes a lot of time and can often become a bit much for the average user.
Additional Cooler Tips:
While installing the radiator, keep in mind the weight that might be on the tubes since they are permanently attached and filled with liquid. If it breaks, you will have a bad time.
If the fans that come with the radiator are not attached, you should install them with the fans at the front of the radiator in what is called a “push configuration.” This means that the fans push the air into the radiator to cool off the hot liquid rather than pulling the air through the radiator. If your fans are RGB-enabled, you’ll also be able to see the pretty colors without issue.
Some cooling blocks feature LCD screens, which can provide you with useful information, gifs, pictures, and more. These tend to be more expensive, and I would only suggest one of these if your PC is within eye view. Besides that, these tend to require additional connections usually from a SATA power cable that comes from your power supply. So, make sure you have your wire management set and be mindful of what you are connecting.
Installing the Motherboard
Once you have everything installed, it is time to insert the motherboard into the case and start securing it down! This is relatively easy but there are some things you should be made aware of. First is the back panel. Some manufacturers and models may include a back panel shield which is a metal bracket that pops into the back of the PC case. It is very easy to install but be careful as it is sharp and made of metal.
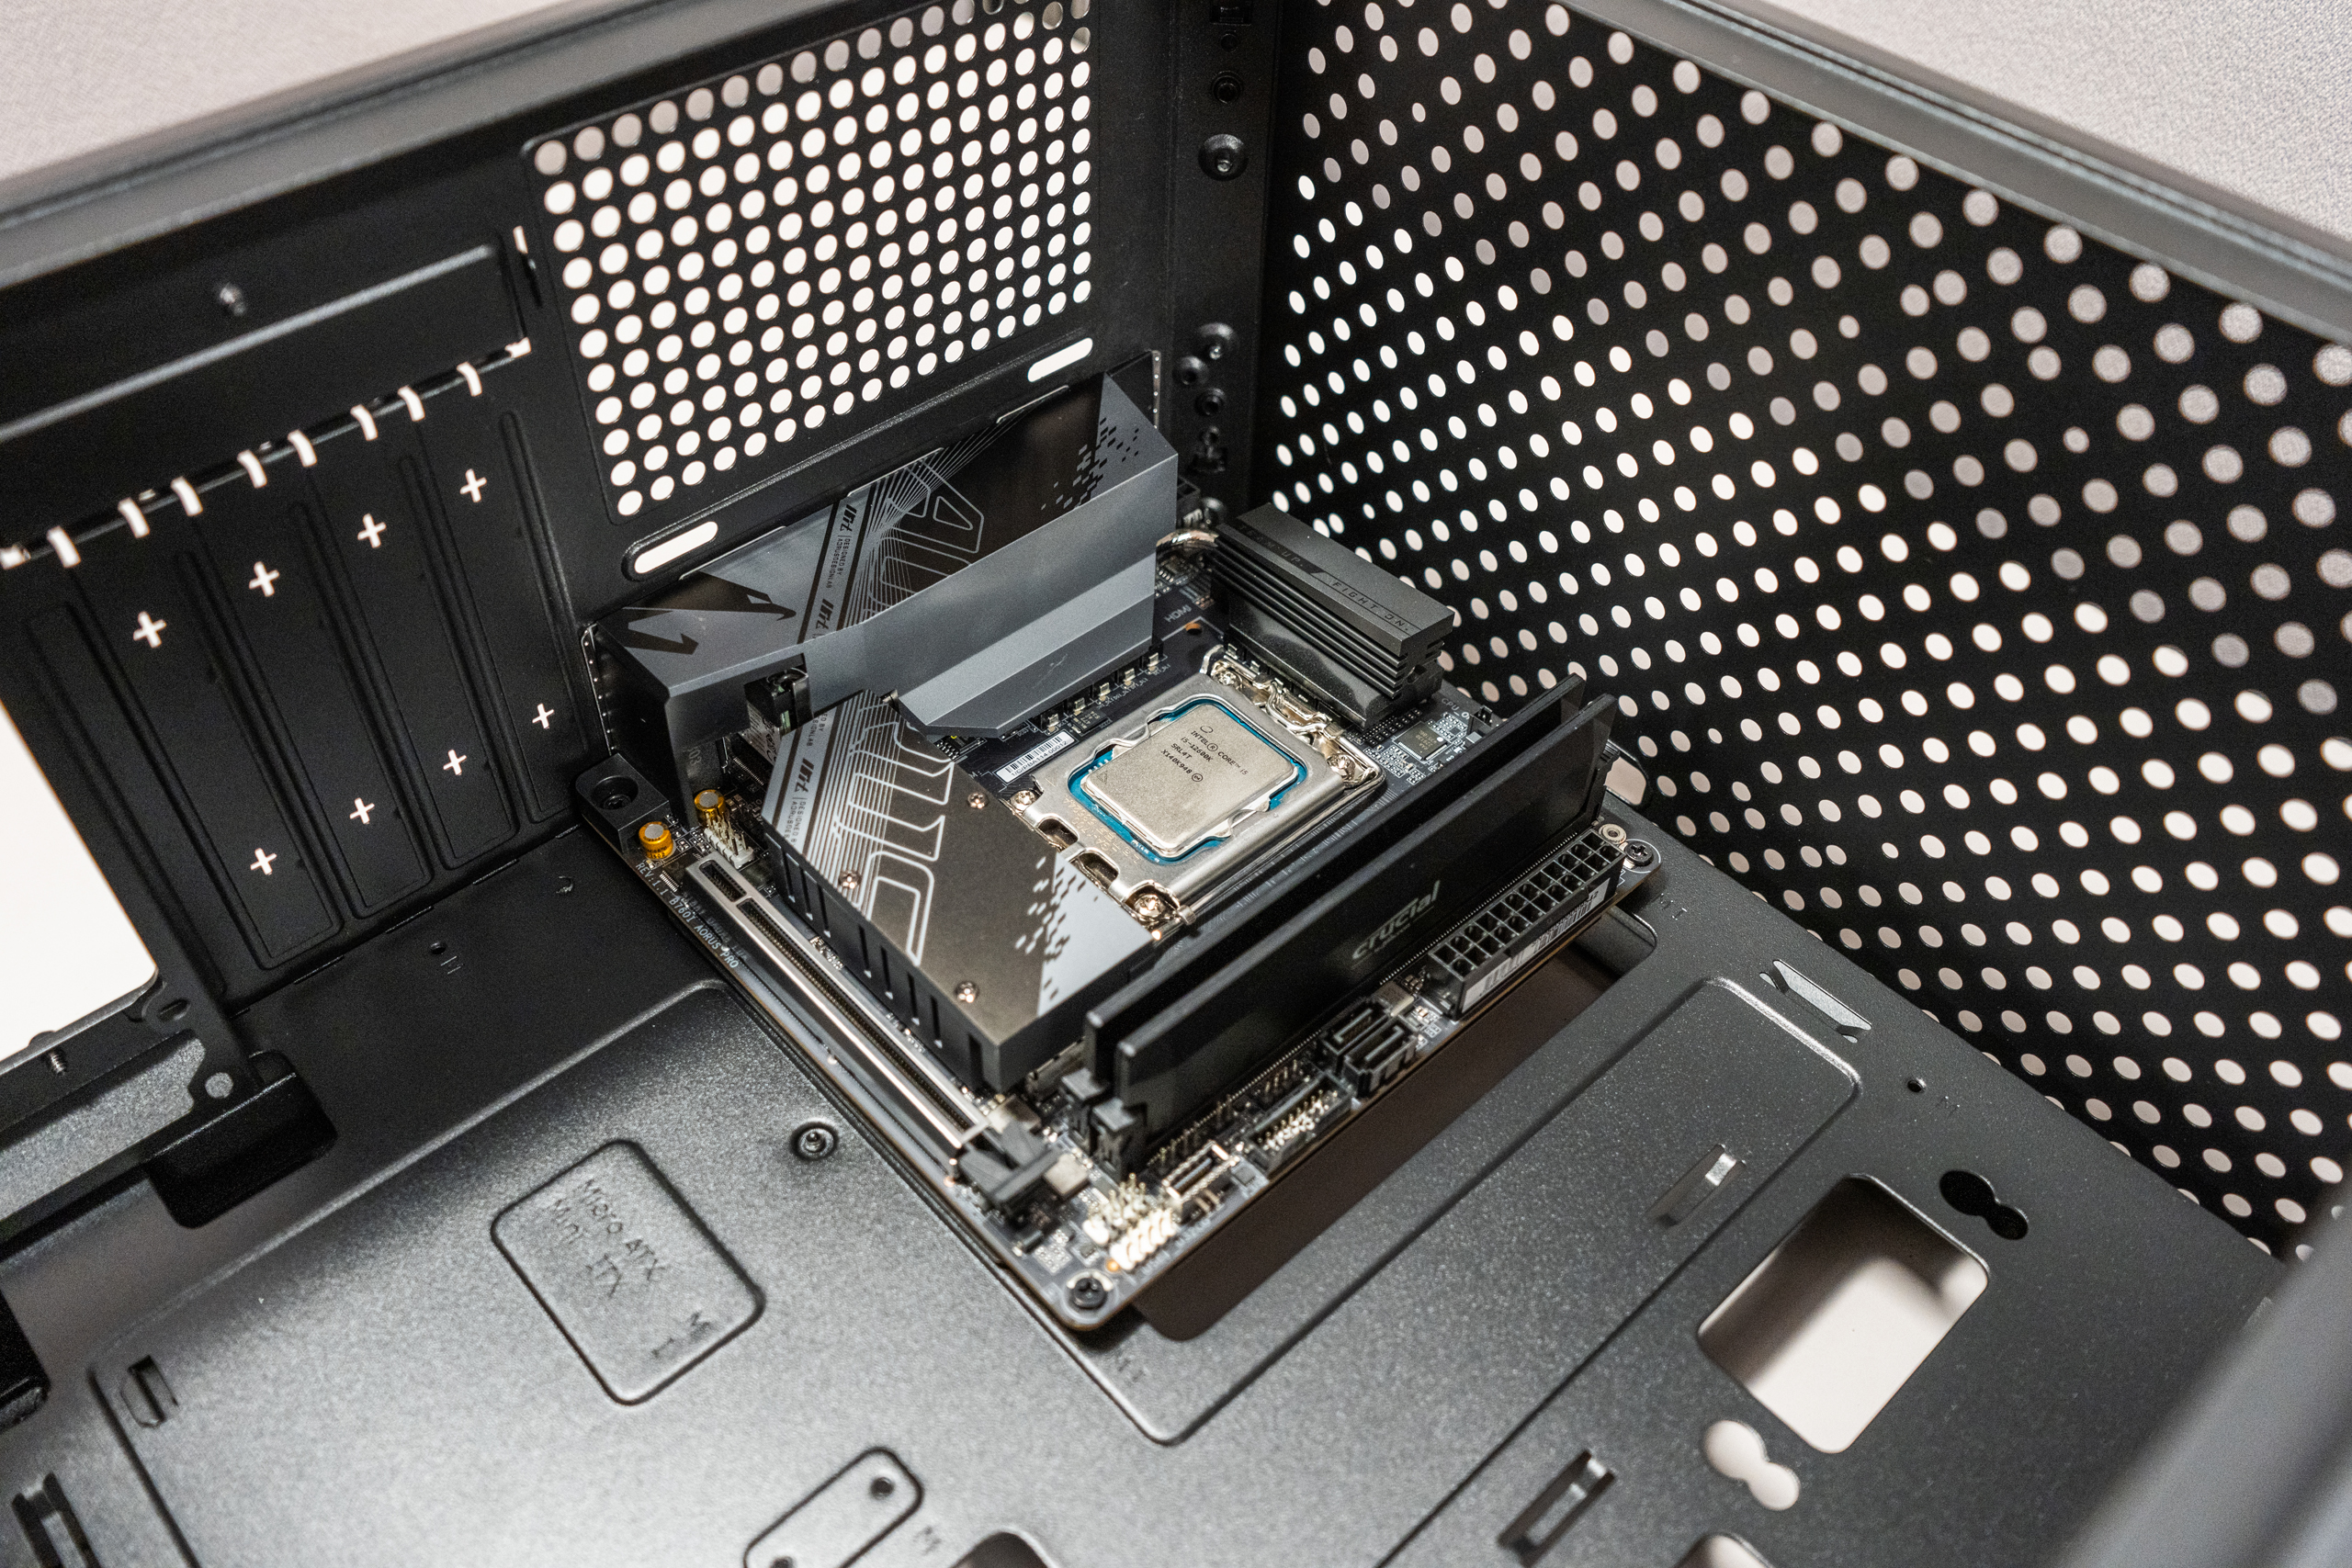
Some motherboards have their back panel preinstalled, which makes installation easier than before! In that case, you don’t have to worry much about the back panel.
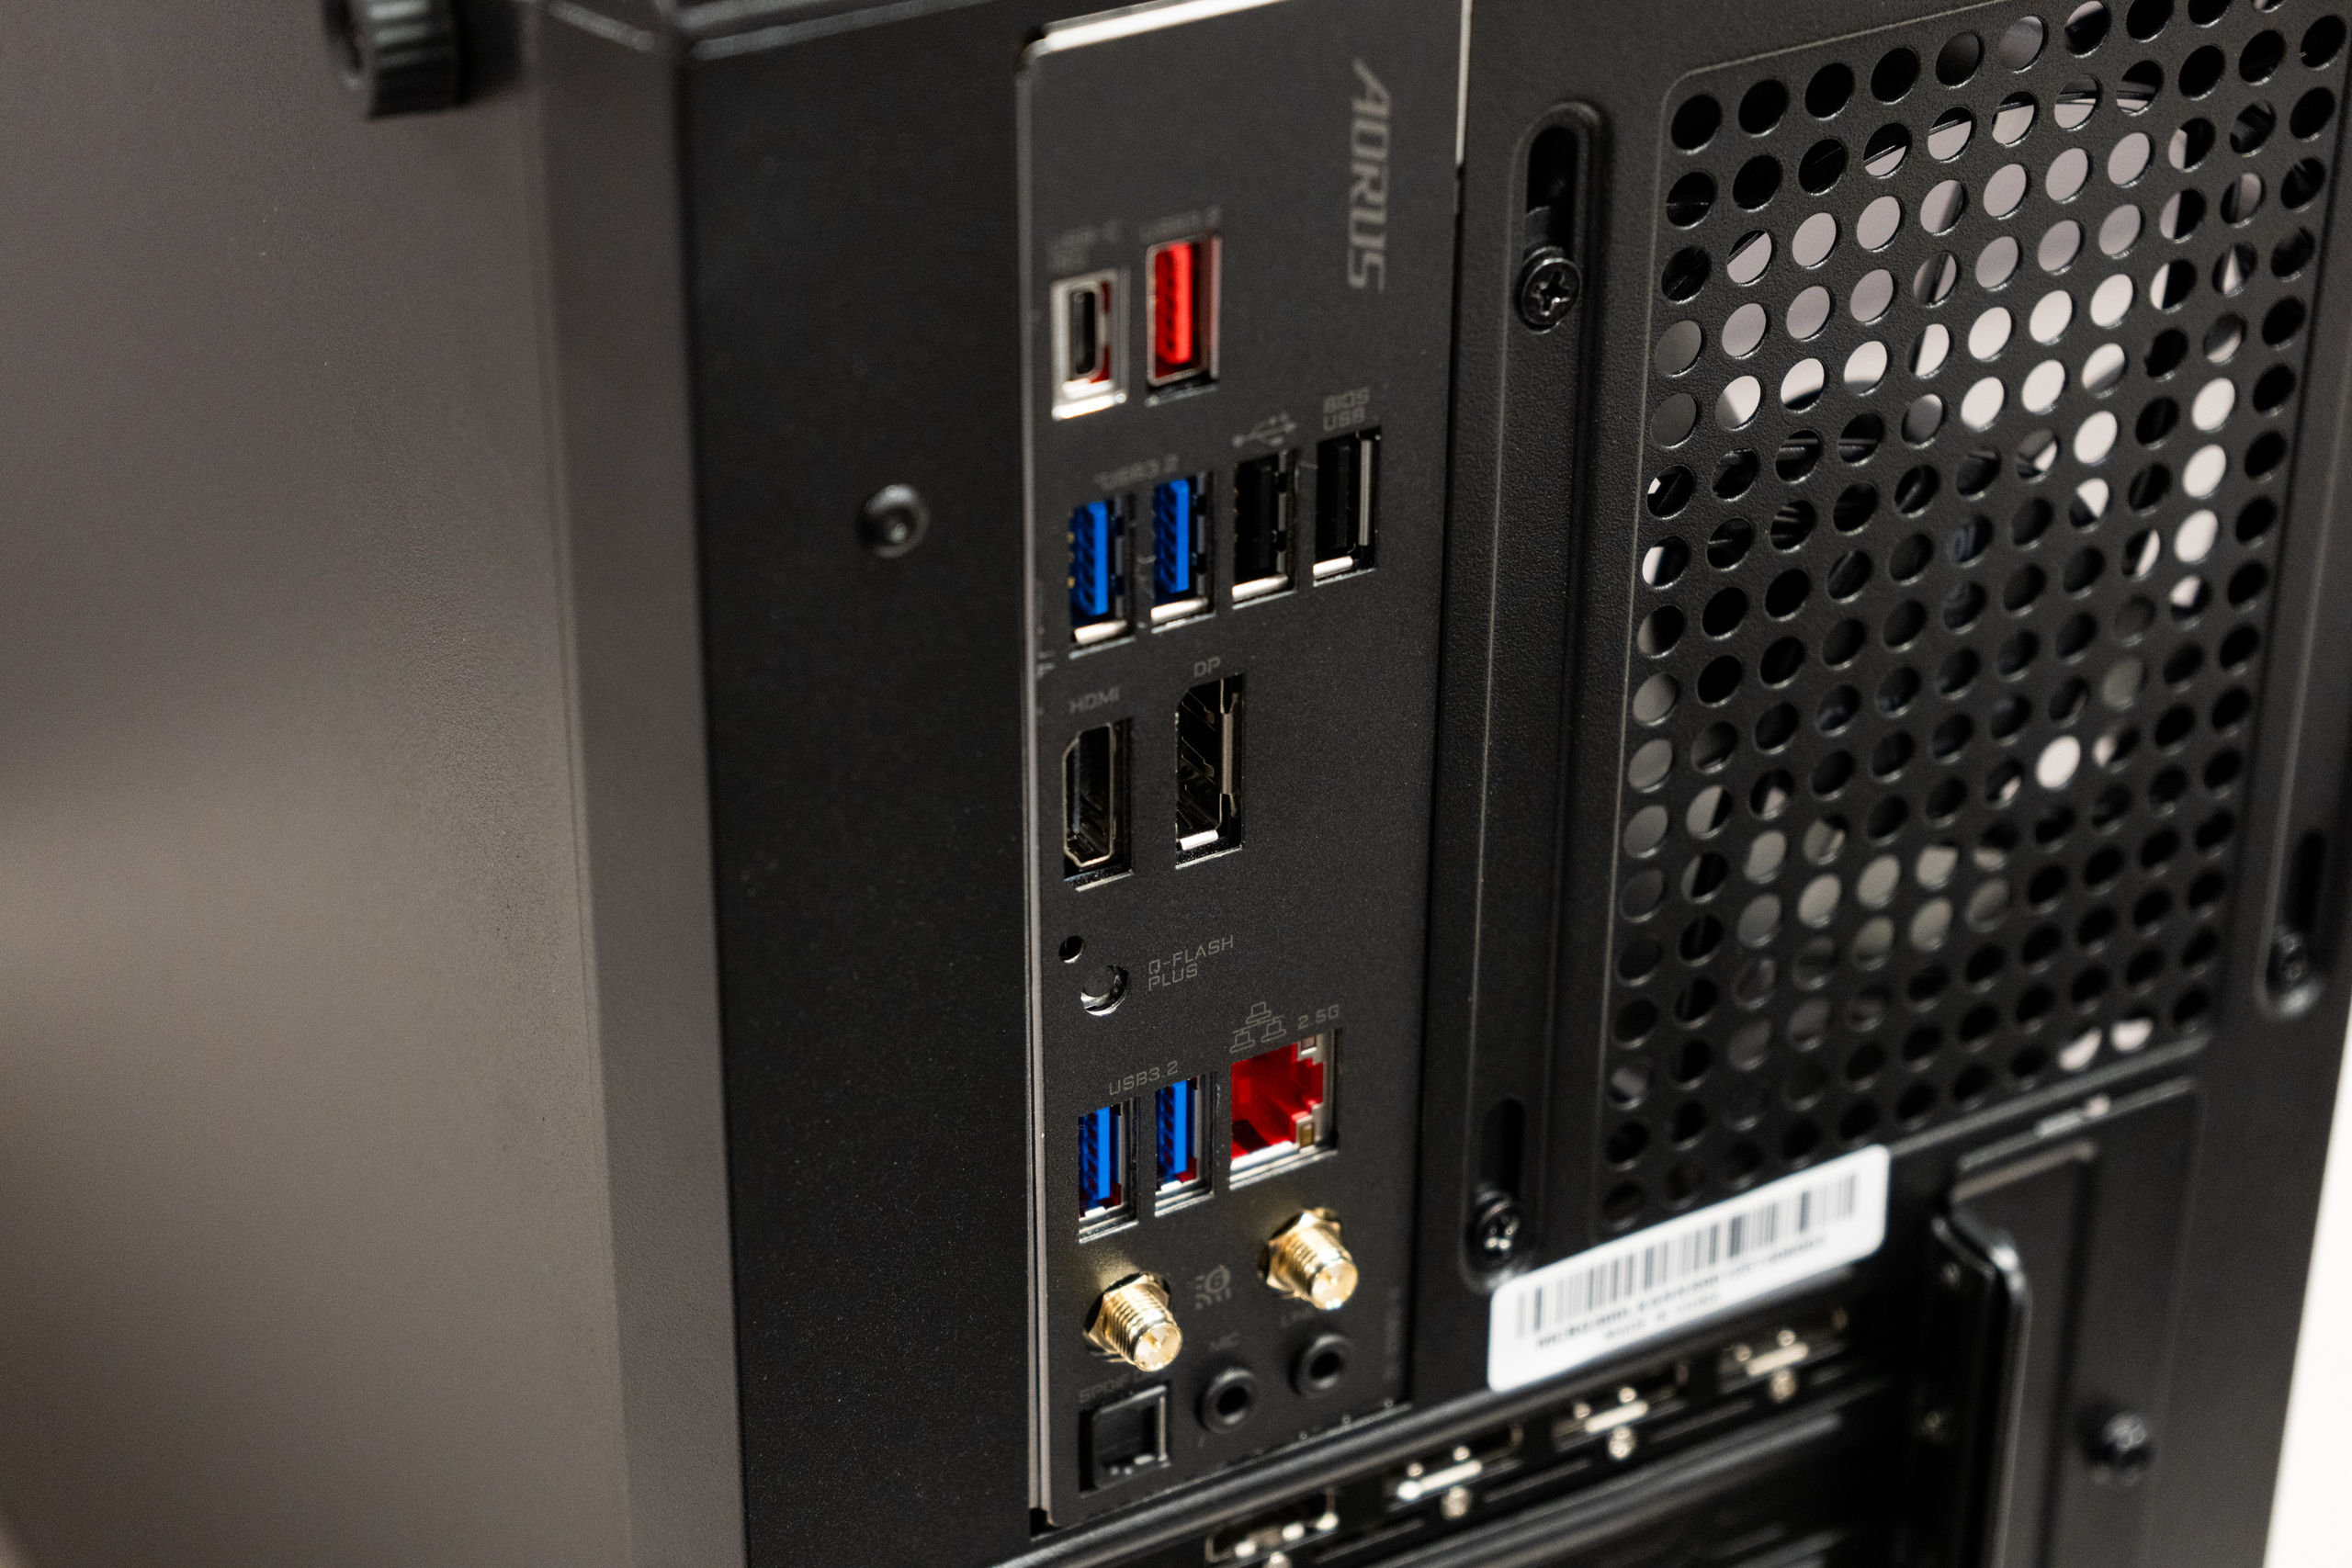
You’re going to use a set of screws to secure the motherboard into the case. You can use a magnetic screwdriver for this process; there isn’t enough magnetism within the tip of the screwdriver to affect any of the components. If it is specially made for PC building, then you can count on it.
This is also when you start connecting your fans, front panel connector, and other important components. Make sure you refer to the motherboard manufacturer product manual to see where everything goes.
Graphics Card
Installing your graphics card is quite simple. What I like to do is take my graphics card out of the packaging and then hold it inside the case and eye the position. This is because you will have to remove some expansion card slats out of the PC case and you want to make sure you are getting the right ones.
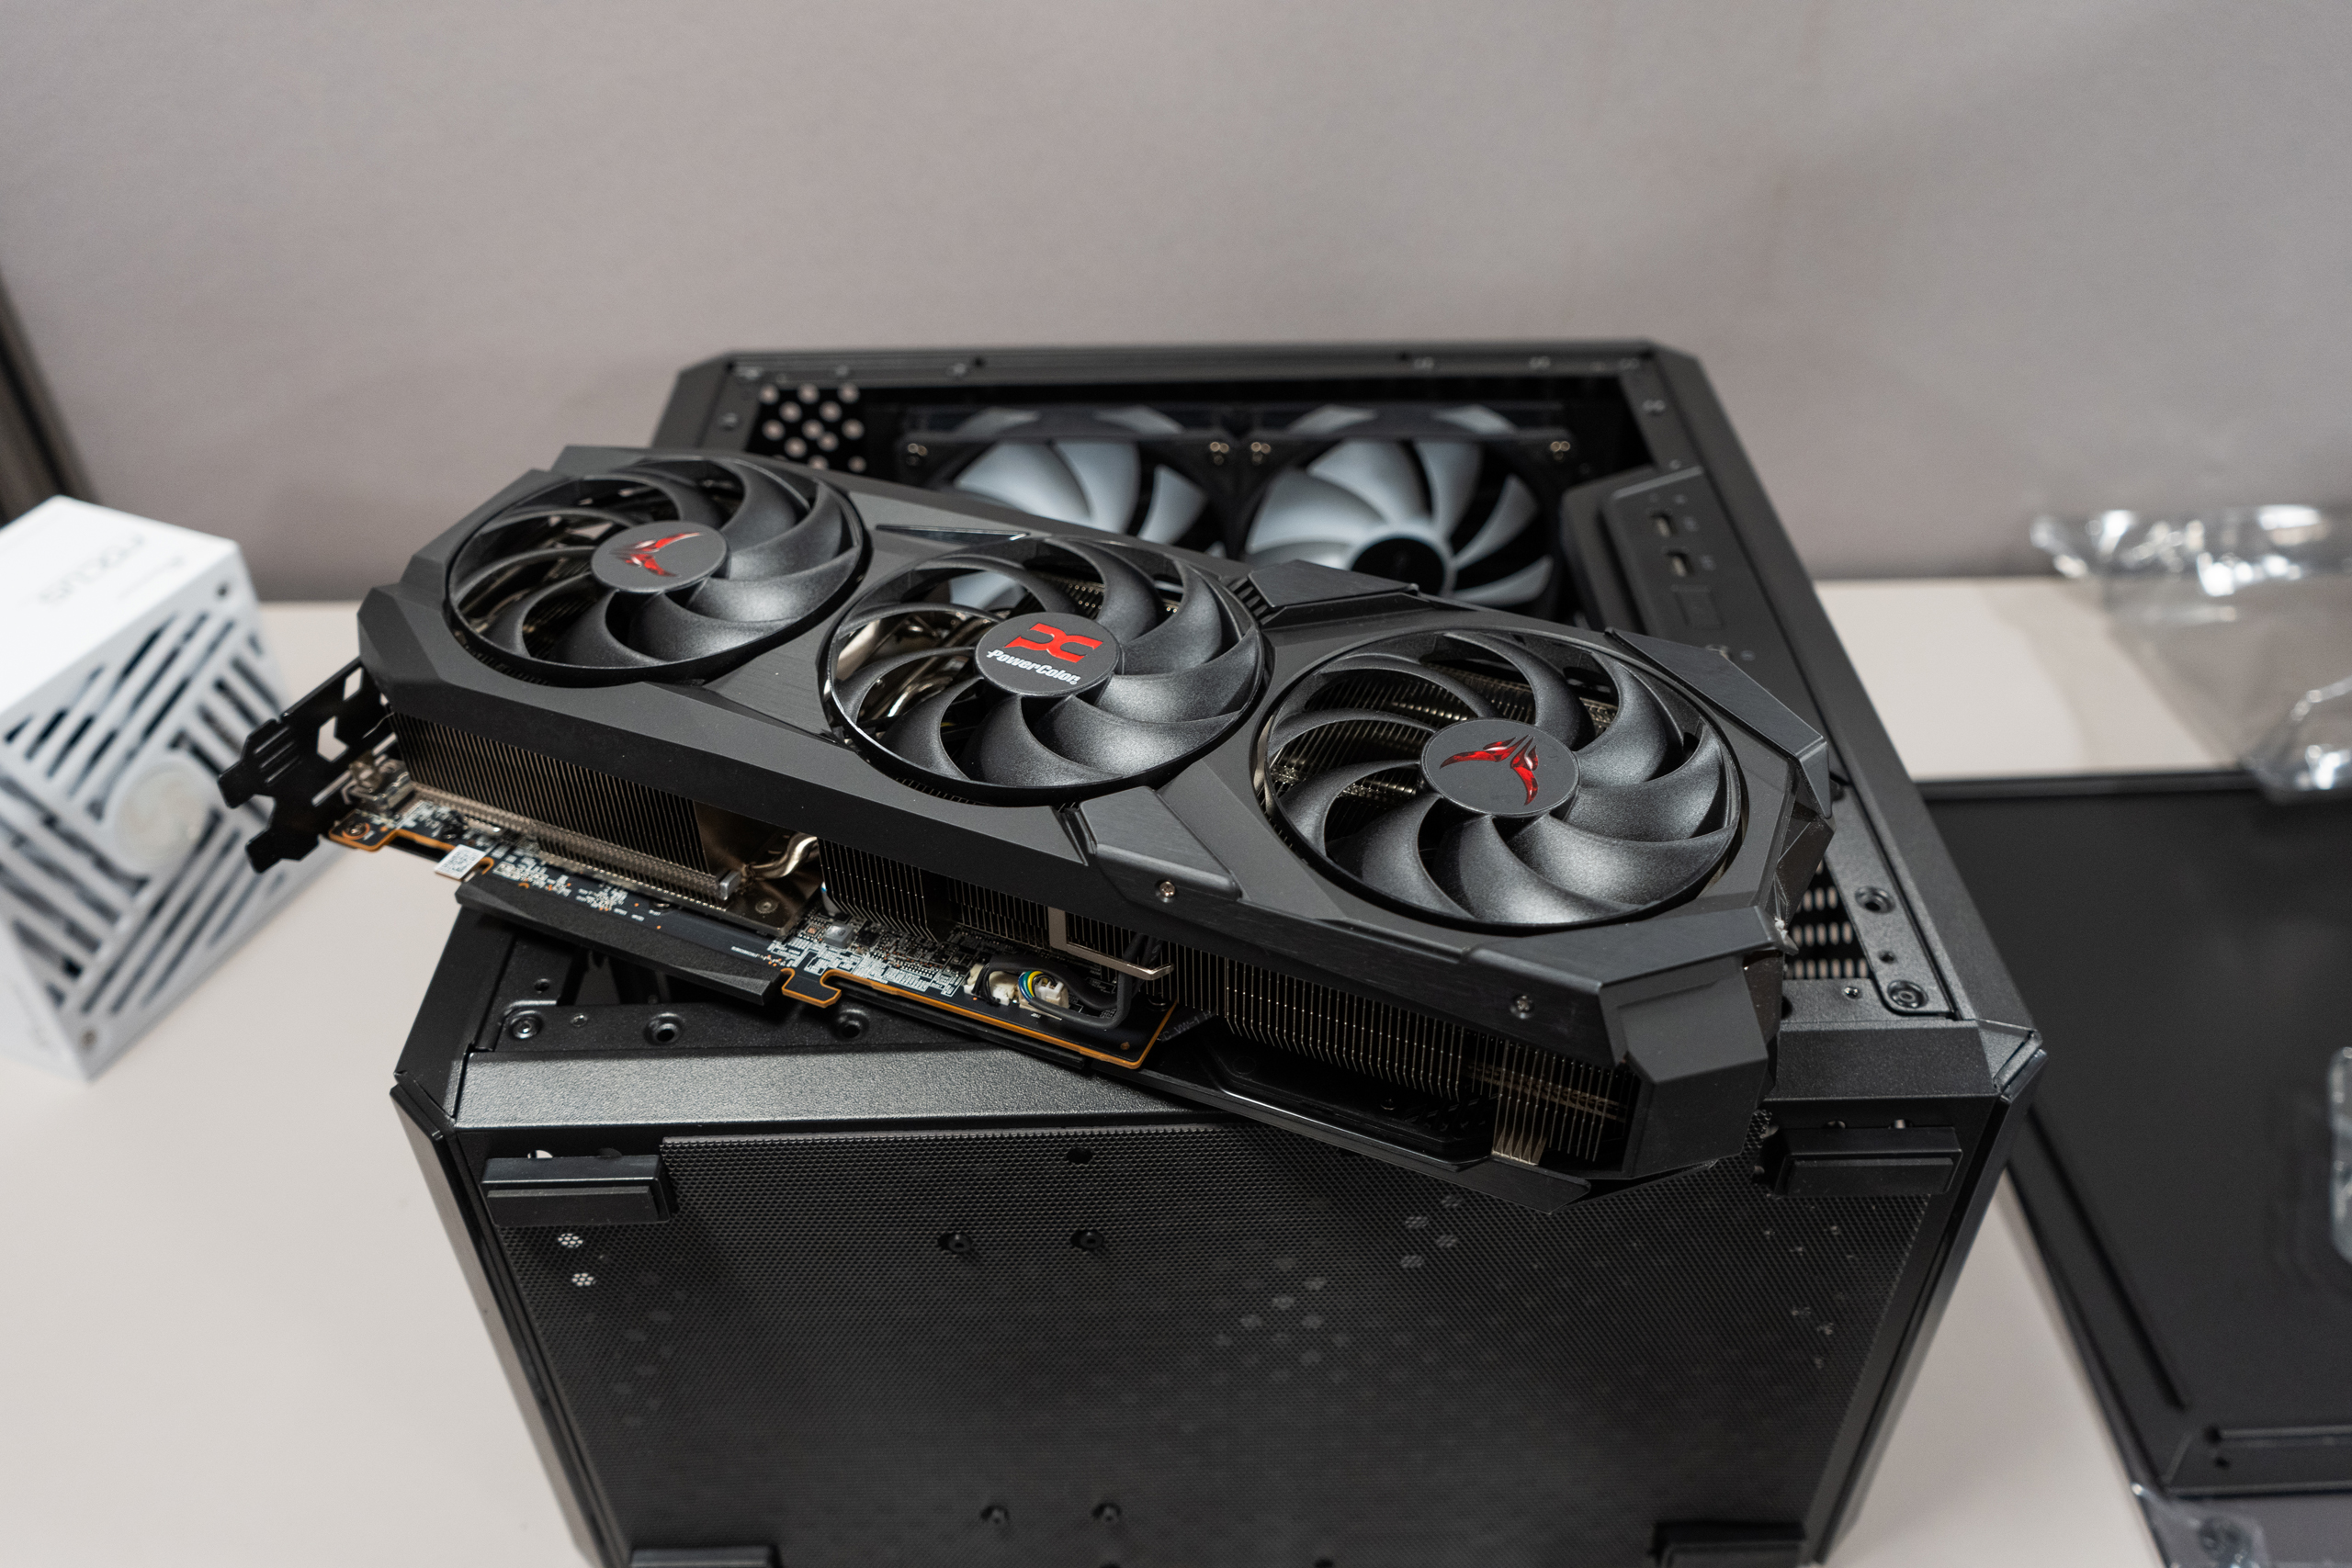
Once you take the slats off and the graphics card is ready to be installed, you simply put it in the appropriate PCIe slot. The topmost slot is typically reserved for the graphics card while everything else is intended for other expansion cards like sound, networking, or USB cards.
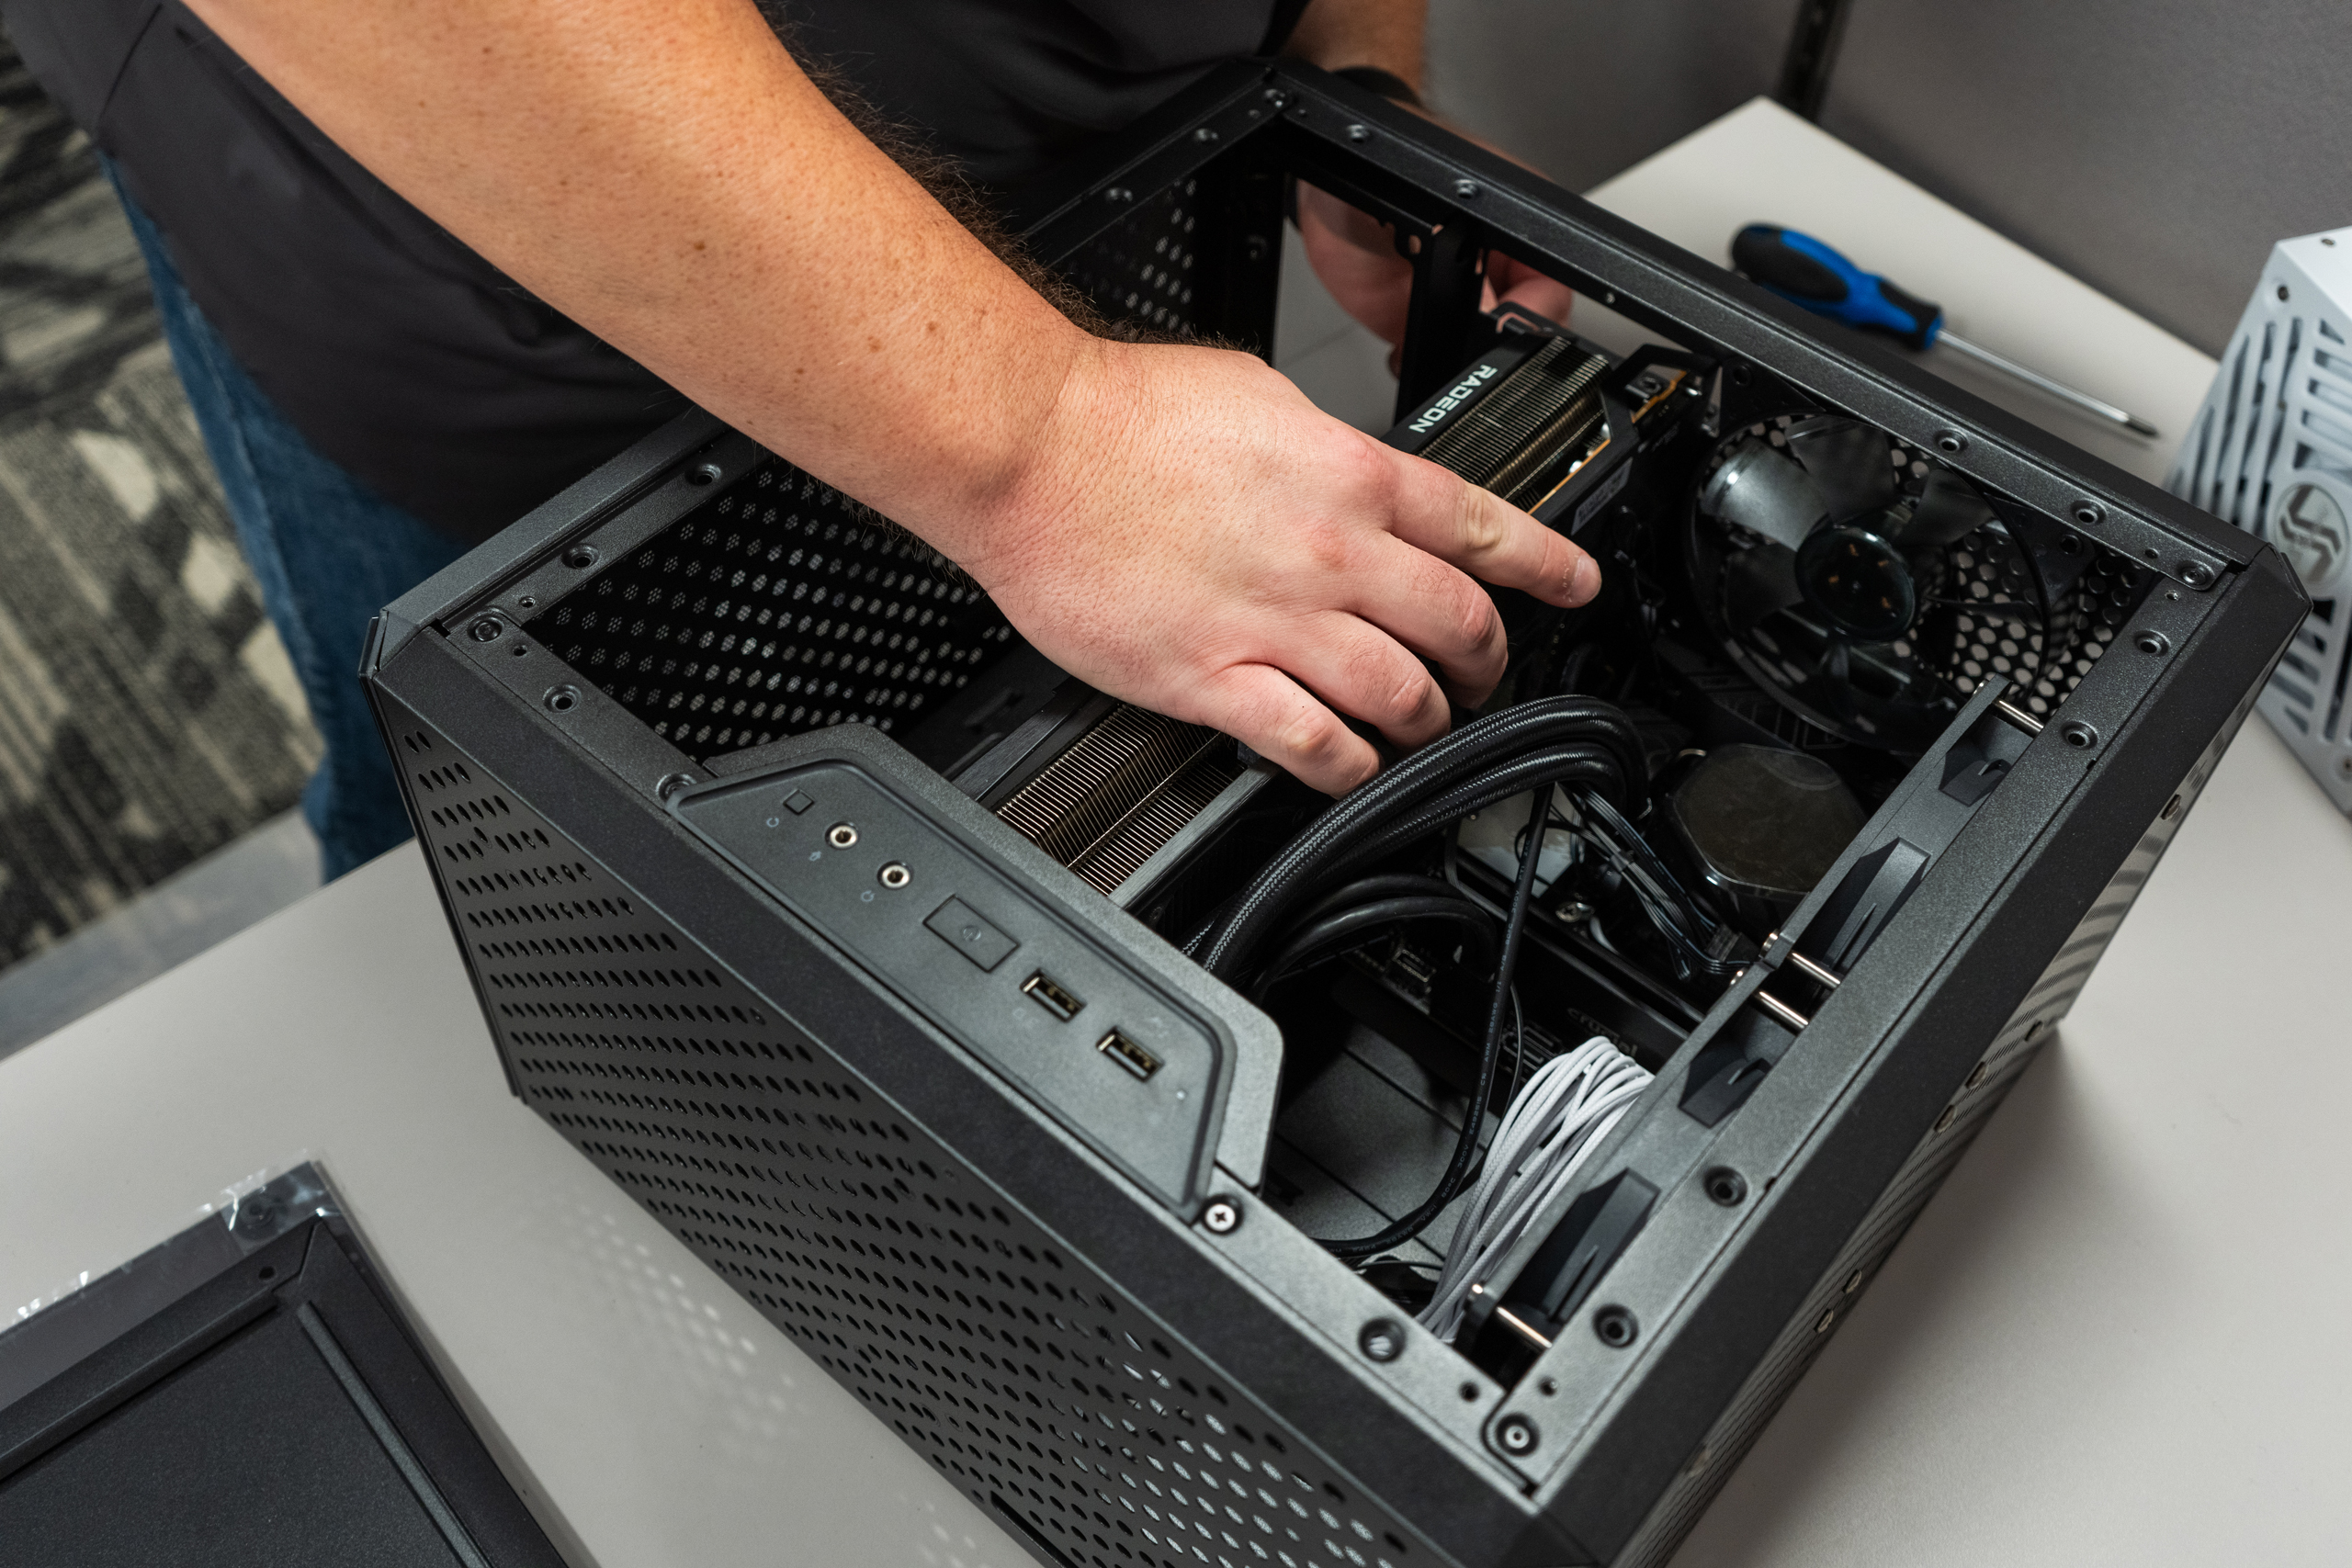
Your GPU might have plugs inserted into the inputs on the back and this could make installation of the GPU a bit more difficult. You can remove these, but if you like to keep them free from potential dust and debris, you can put them back in place after you screw the GPU in place.
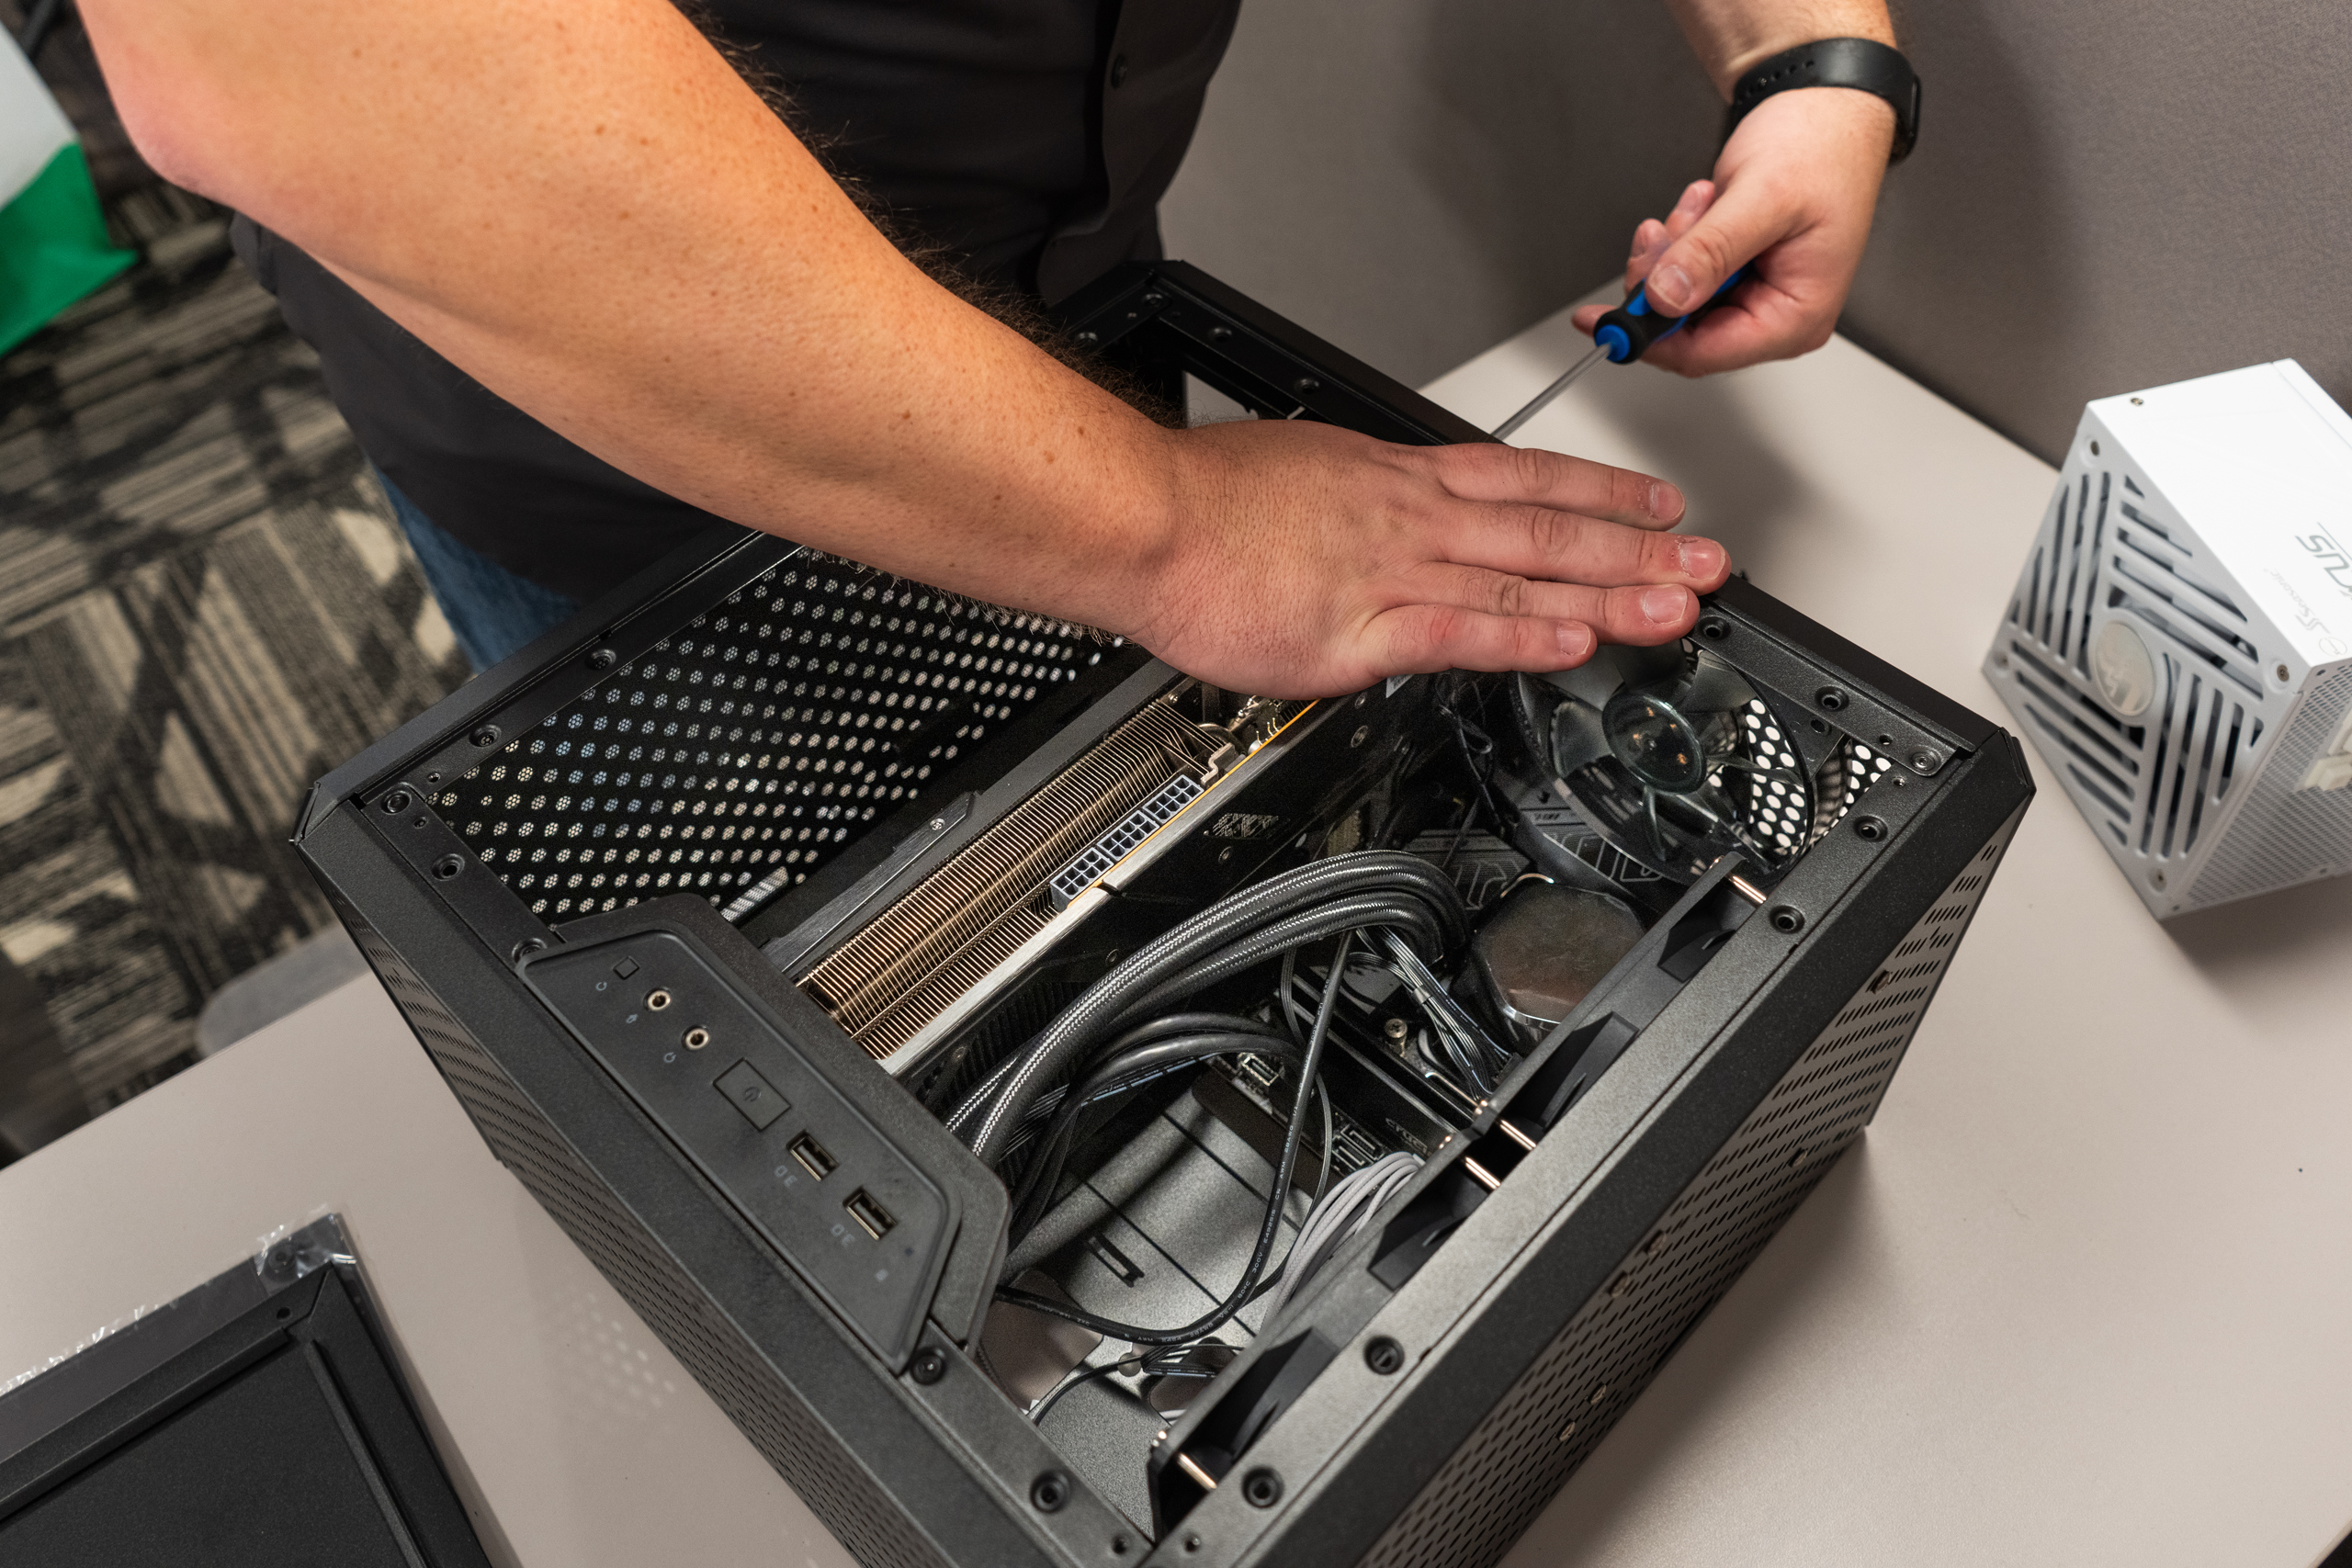
The last thing you may need to install is a GPU bracket. As these graphics cards become bigger, they get heavier. A sort of stand or bracket can reduce the weight of the GPU which relieves stress from the PCIe slot.
Power Supply
The easiest yet toughest component to install is the power supply. Like everything else, there are multiple types of power supplies. You have modular models which allow you to pick and choose which cables you’ll need for your system. Non-modular models have all the cables hardwired to the power supply. There are also semi-modular power supplies which have the core cables you’ll need while also giving you the option for optional cables such as the SATA cables I mentioned before.
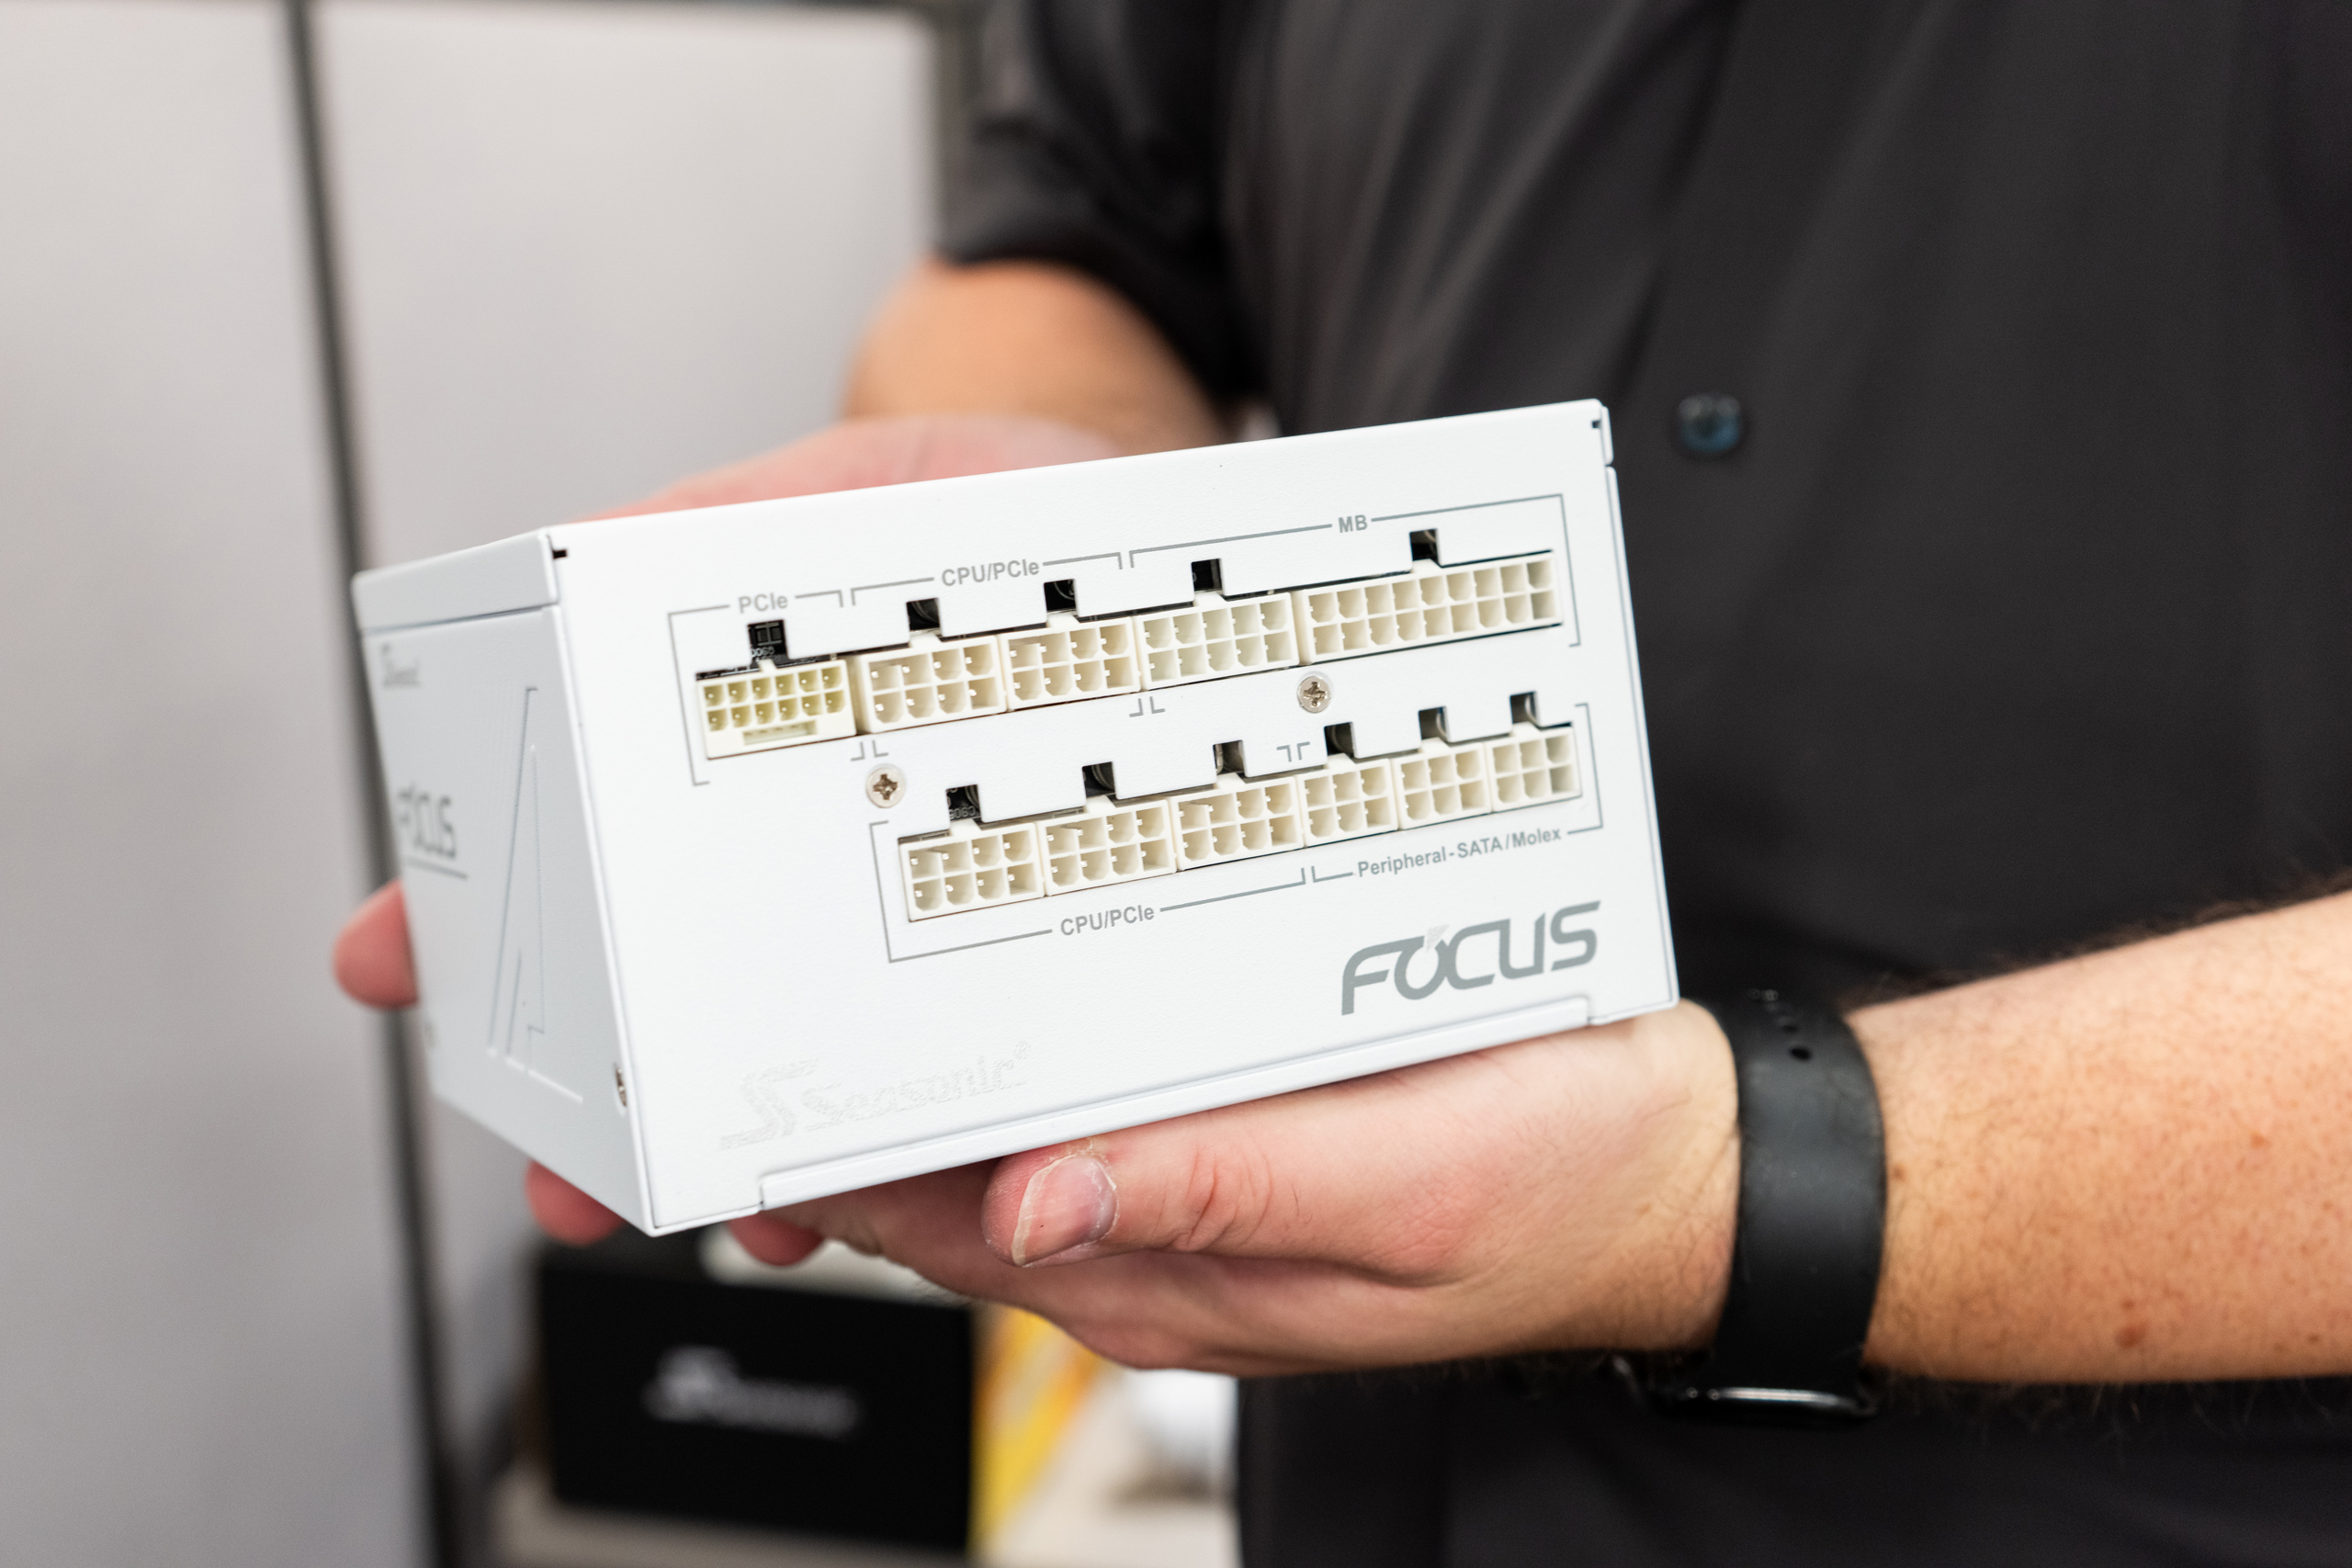
There is going to be a bit of give and take when it comes to the power supply and that is entirely based on the case you are building in. Larger cases will have equally large cutouts to make it easier to route cables around. Mid-tower cases might be a bit tighter which can make some installation processes a bit difficult.
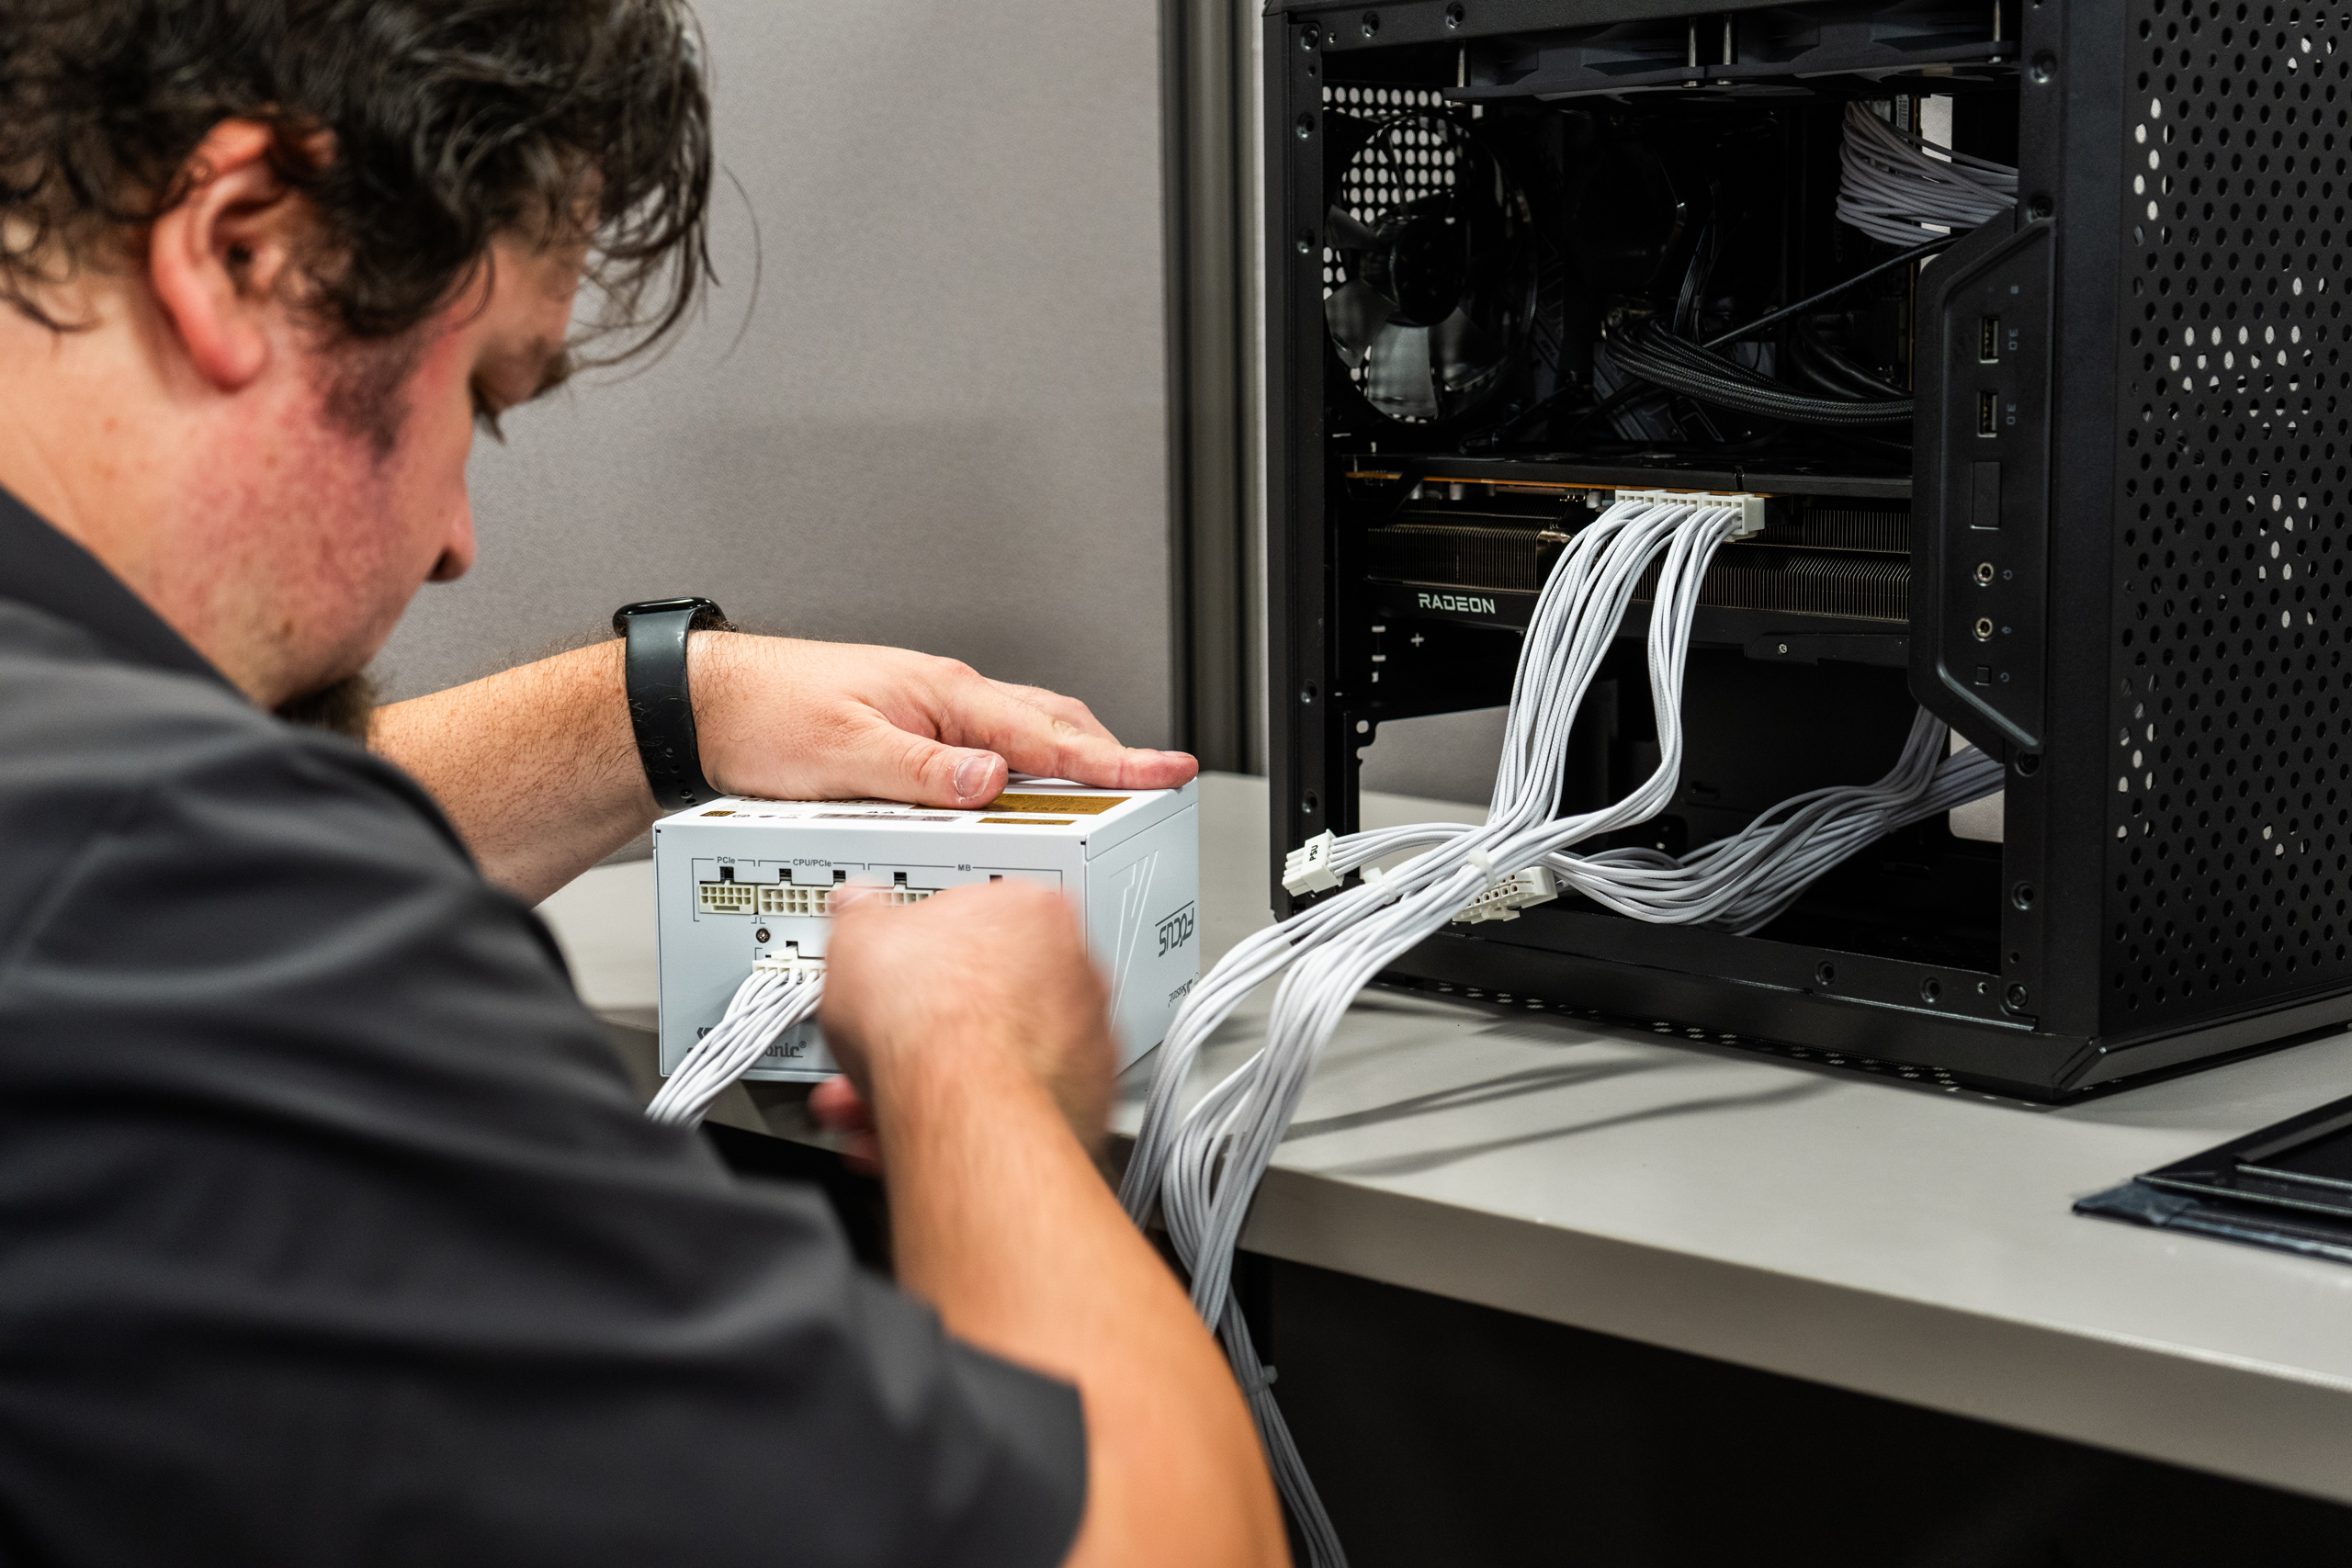
Just like other processes, there is no right or wrong way to set up your PSU and cables. Personally, I like to run some cables before I install the motherboard. This is because once you insert the motherboard, you might have some difficulty getting some power cables in. On the top left section of most motherboards is a power connector and if the case is small, it could be tough to squeeze the cable through the cutout and get it connected properly. Running and securing the cable before dropping the motherboard in will save you a lot of time and effort.
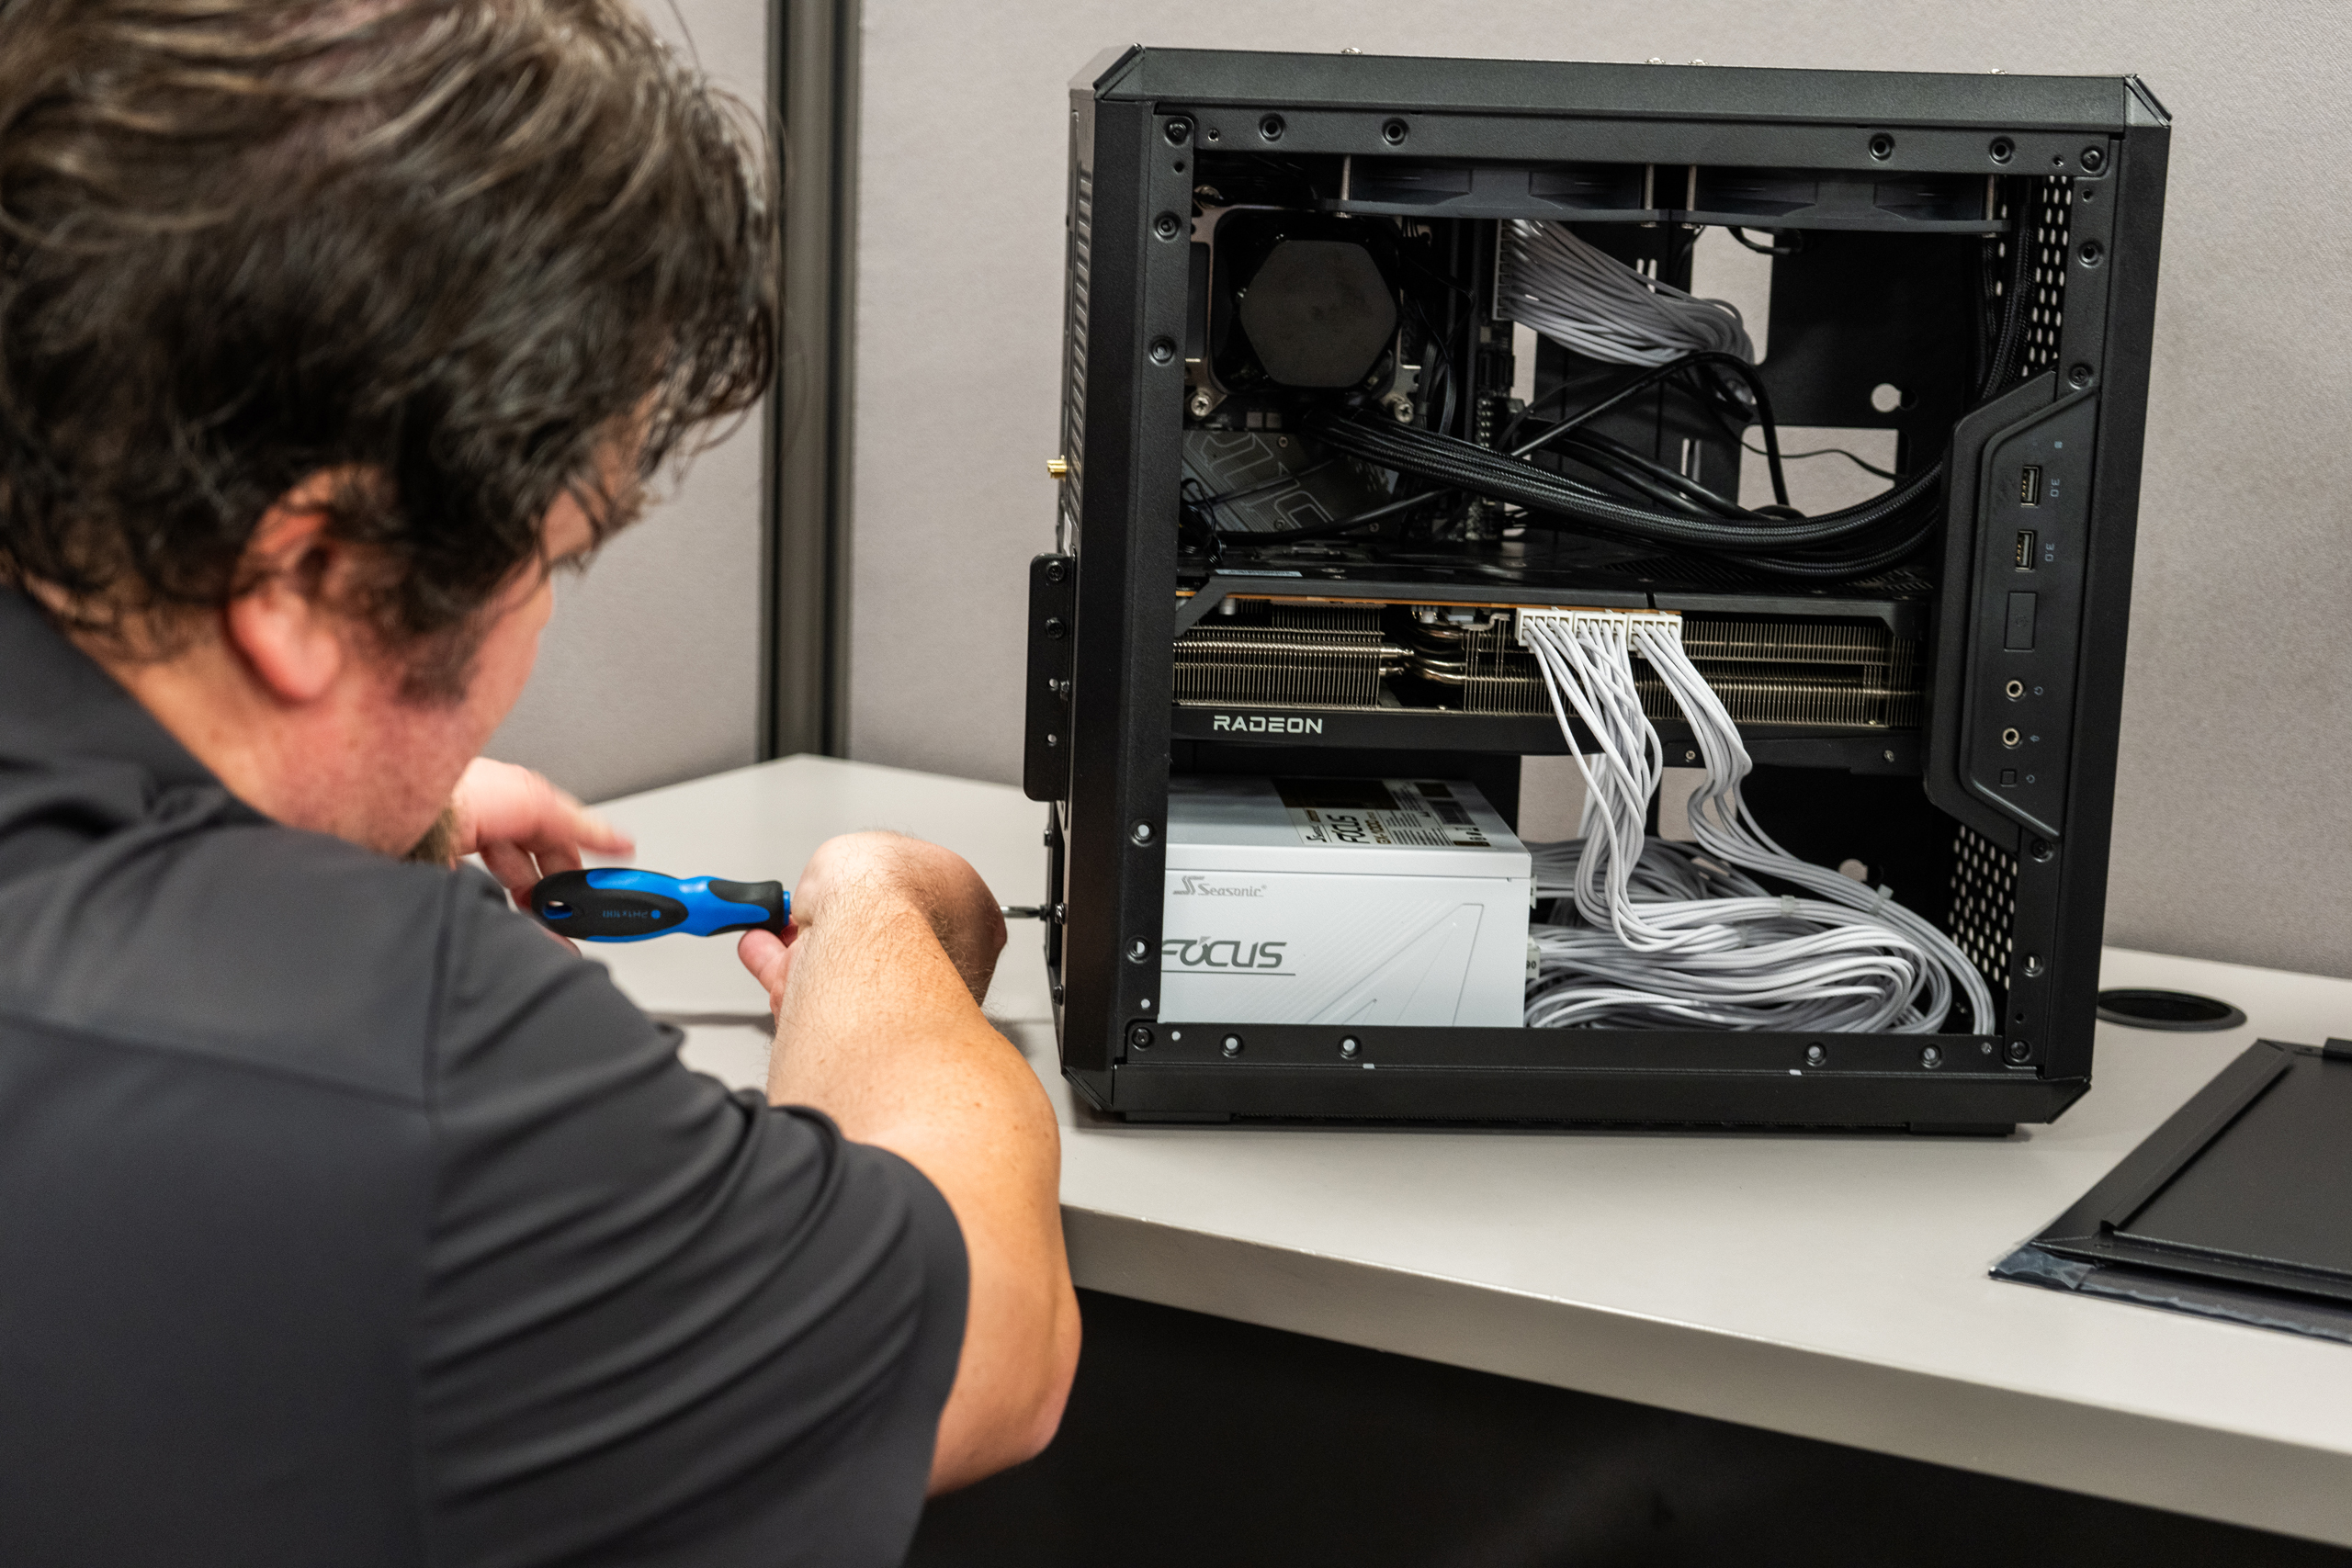
Once you fit everything together, it is time to secure the power supply to the case. This might be the easiest part of the entire build aside from installing the memory.
Other Devices
So, you have all the components installed but what if you want to spruce up your system with additional lights and fun components that adds a splash of color to your rig? There are ways to do this but as always, keep the manuals handy.
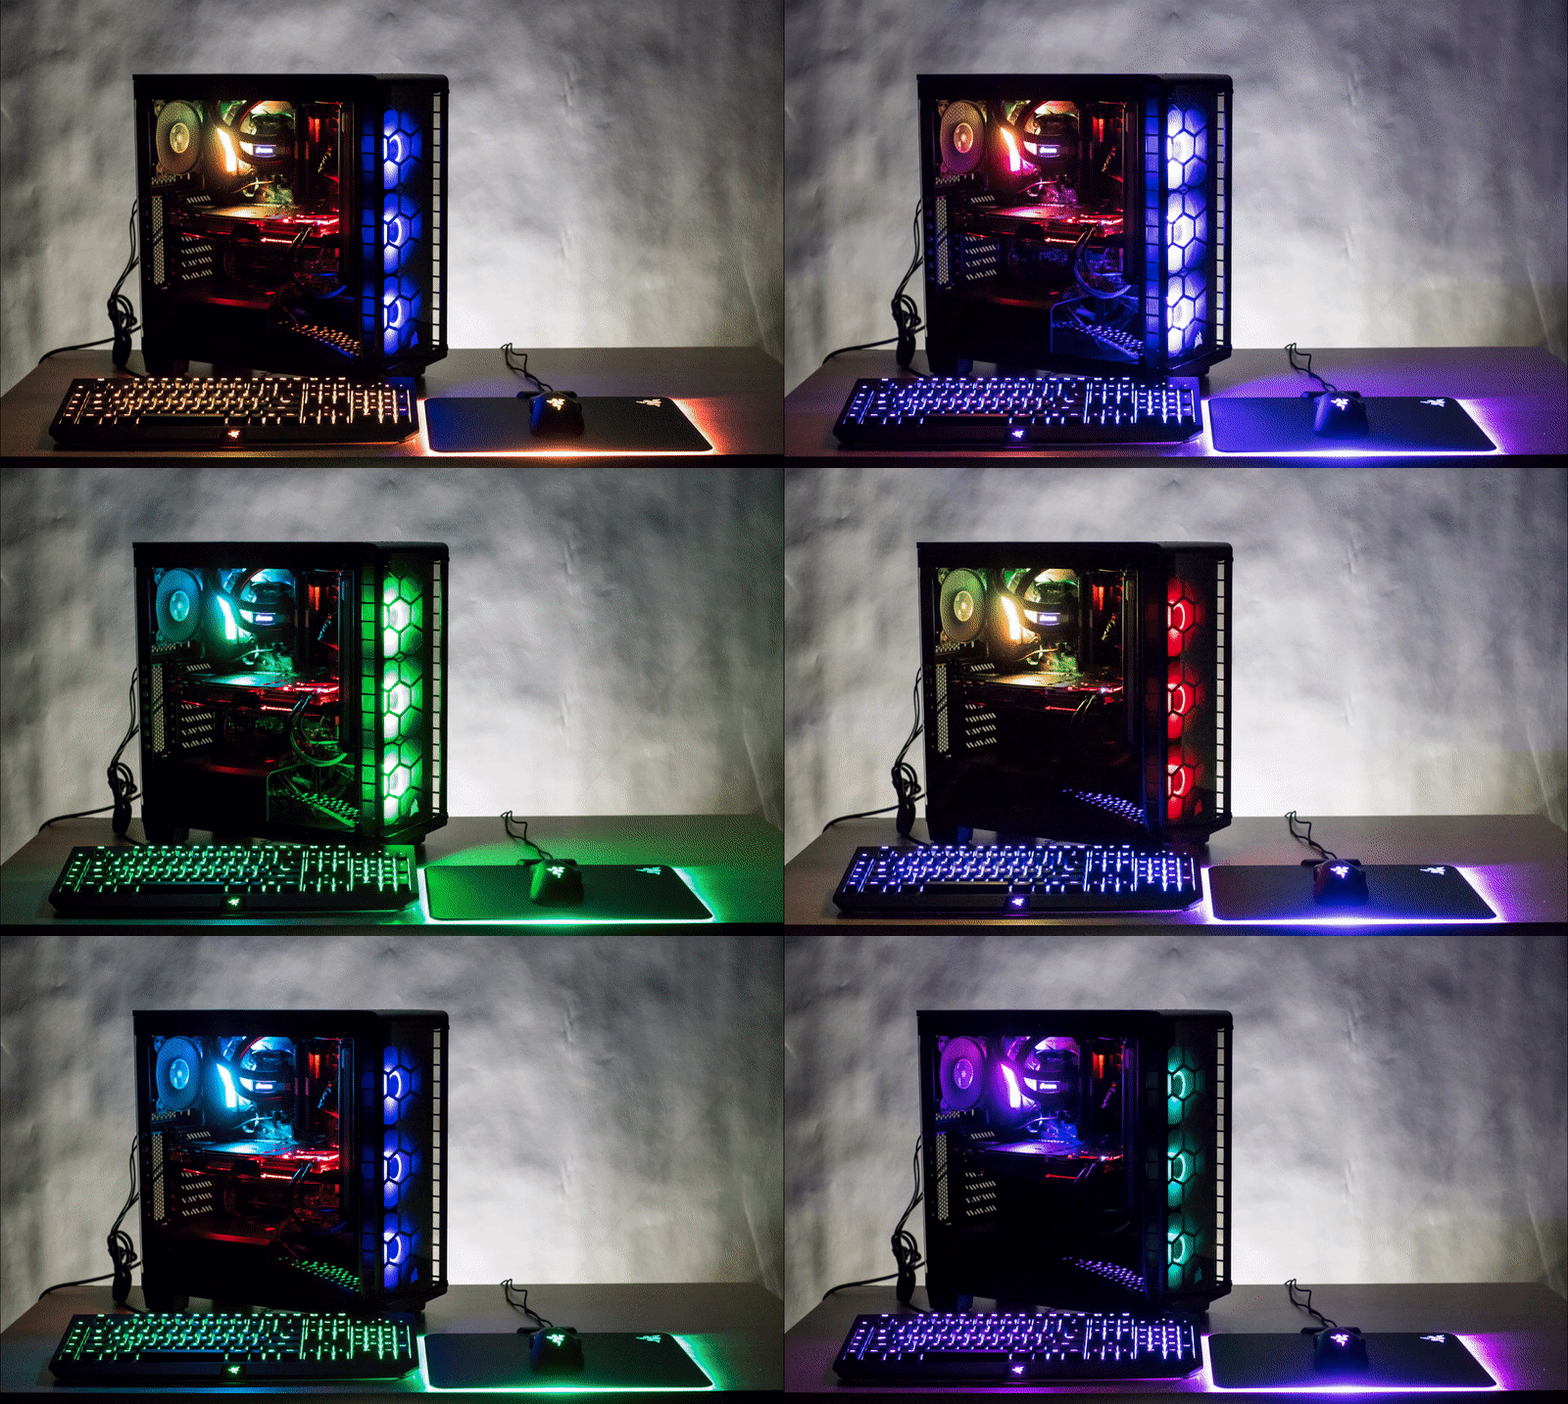
LED strips are simple to install because they have cables that connect to the motherboard via LED headers. These are located in different positions depending on the manufacturer, but they tend to be labeled and have a unique plastic apparatus that ensures you have the right cable going to the right spot.
Some folks like to install specialty cables that have LED lighting on them, and for components like that it is best to follow the instructions. They aren’t that difficult to install but like everything else about computer building, each manufacturer is different.
Fan hubs are additional devices that might come with the case. If you need to install one yourself, you simply follow the directions that come with the hub as, once again, each one is different. The general idea is the same though as the hub acts as a center point for all your fans. Keep in mind how many fans can be supported by the hub as some are limited up to a certain amount. The same goes for lighting controllers, although people tend to use software to modify fan lighting and what not.
Disc drives may be fading out a bit, but some folks still like to include them with their build. You must make sure your PC case can fit the disc drive first, otherwise you can’t install one. As I said, not many cases have room for this particular component, but if it does have room, you send the cables from the power supply and motherboard to the disc drive and you’ll be all set.
Keyboards/Mice/Monitors
Before we start setting up our software, we are going to need to take some additional steps and plug in our keyboard, mouse, and monitor. Keyboards and mice are quite easy as you just plug them into the respective USB ports. Keyboards and mice tend to operate on the USB 2.0 standard which is often the black port on the back of the motherboard.
I’ll also like to note that wireless mice and keyboards may not work when it comes to setting up your computer in the next step.
You will also need to plug your monitor into your computer and AC outlet. Your motherboard might have an HDMI and a DisplayPort video output, but do not plug your monitor into those. Instead, you are going to find where the graphics card is and plug your display into one of those ports. DisplayPort video output is typically faster and more reliable than HDMI. DisplayPort outputs, depending on the version, typically have a wider bandwidth for the video signal, giving you high resolutions and fast speeds compared to various iterations of HDMI ports.
Software
Once you have all your hardware installed, it is time to install an operating system and get your rig running. As I mentioned within the hefty intro here, we are going to install a version of Windows 11. I won’t get into the different versions available because there are a lot, so we are going to use Windows 11 Home/Pro as an example.
You are going to want to take a USB drive that has at least 16GB of available storage space and download the Windows 11 installation media which can be found right on Microsoft’s website here. This is a fairly simple process as it downloads itself onto the USB drive. Once you plug it into your computer and turn it on, as long as everything posts, it will load right into the Windows wizard which will allow you to pick your version of Windows 11 and install it. After a few minutes, your rig will be up and running!
POST/BIOS
If you have everything connected, all the lights turn on, and things seem to operate, but the system isn’t progressing to the screens you need, there is obviously a problem. When you turn your computer on every time, your system does something called a Power-On Self-Test, otherwise known as POST. This is when the system checks compatibility and makes sure your components work. You cannot get past this stage if something isn’t working.

In some situations, it can be any part of your PC not working. Some motherboards are able to tell you what is failing by either an LED troubleshooting guide or a tiny LCD display that shows a set of numbers whose meaning is located in the motherboard manual.
One other scenario is that the motherboard’s onboard chipset requires an update to support the processor. This often happens when the motherboard is a bit older and the processor is newer. To make sure these work together, you need to do something called flashing the BIOS. You are essentially updating the motherboard and allowing a handshake between the CPU, motherboard, and any other component.
Unfortunately, updating the BIOS is specific to the motherboard itself. Some motherboard brands may have an easy way to flash the BIOS, but it isn’t consistent across the entire brand. It may be limited to specific models. Additionally, BIOS menus are different from motherboard to motherboard. As usual, if you want to know how to do this yourself, you must consult the motherboard manual.
Drivers
Part of getting your PC set up is downloading and updating your drivers. These are applications that tie in your hardware with the software to ensure compatibility for whatever you are trying to do. Many devices require driver updates and getting them started depends entirely on the manufacturer.
For example, some manufacturers will have a default driver setup that enables the use of Wi-Fi right out of the box while others need you to connect your PC to a wired network connection to download the driver and enable the Wi-Fi feature. Unfortunately, you won’t really know until you get to that point. Some information is available online through the motherboard manufacturer’s website.
Other drivers that need to be updated, and perhaps the most important, are the graphics card drivers. These will enable the graphical capabilities of said graphics card so that you can experience high-quality gaming. NVIDIA, AMD, and Intel all make graphics cards. Unlike any other component, you can go right to these developer websites and download the drivers.
NVIDIA graphics cards tend to be called “GeForce RTX” while Intel is “ARC” and AMD is “Radeon.” If you download drivers for an AMD graphics card while you actually have an NVIDIA graphics card, it will not work. So, check the box and make sure you get the right software!
Wrapping It Up
At this point, your PC should be good to go! All you need to do is download the applications you need such as web browsers, word processing software, and your favorite gaming platforms! Now that you better understand the innards of your system, you can easily upgrade components when you feel the time is right.
Before we close this out, I want to point out a few things. First, make sure you do not put your computer down on carpet as it could cause some issues regarding static electricity and potentially blocking ventilation at the bottom of the case
I also wouldn’t put the case on tile without some sort of thin buffer. Some cases include feet with padding which can provide that shock absorption needed. This will prevent the side panel from mysteriously shattering out of the blue. Vibrations travel throughout the case and having that layer will save you tons of effort.
That is pretty much everything you need to know about building your PC. It is a long guide, but it covers just about everything for beginners who have never built a computer before or are looking for some extra tips on assembly. For more guides, stick with B&H.
