
I have worked on many shoots with teleprompters over the years, although I was never a teleprompter operator. Usually, the prompters were big beasts with dedicated setups off in the corner on a rolling tripod. More recently, teleprompter operators would come to location with their own setup of prompter, monitor, laptop, and at least one box of cables. Transporting all this gear would fill the cargo area of a hatchback. But, technology marches on, and now there are many newer options for teleprompting. I recently had the opportunity take advantage of one of these portable teleprompting solutions, the Autocue/QTV Studio Teleprompter System for the iPad Pro.
The Setup
My daughters and I have started shooting short comedy segments, one of which is a weather program where something always goes awry. With the Autocue/QTV Studio Prompter for iPad pro available—I arranged to borrow a 12.9" iPad Pro, and we got to work. Assembling the prompter was fairly simple, even though I had never assembled one before. I'd recommend that you assemble it on a desktop first, before mounting it on your tripod—it makes things easier. I'd also recommend practicing building it up before your first shoot with it. The first time was a little nerve-racking, especially loading the glass, but by the second time, I was quite proficient. Second time? Well, the first time I put it together I couldn't find the iPad Pro bracket. It was tucked away in the box in which the glass for the demo model I was using shipped. Once it was located, reassembling the prompter was a breeze, especially since I had already balanced it for my camera.

70/30 Glass
Some things to remember about the prompter itself: the mirror glass is 70/30 partially silvered, and it is important to install the glass with the correct side facing the talent to minimize reflections that could make the words hard to read. A little dot applied to the glass indicates the side that should face the talent.
Screwdriver Required
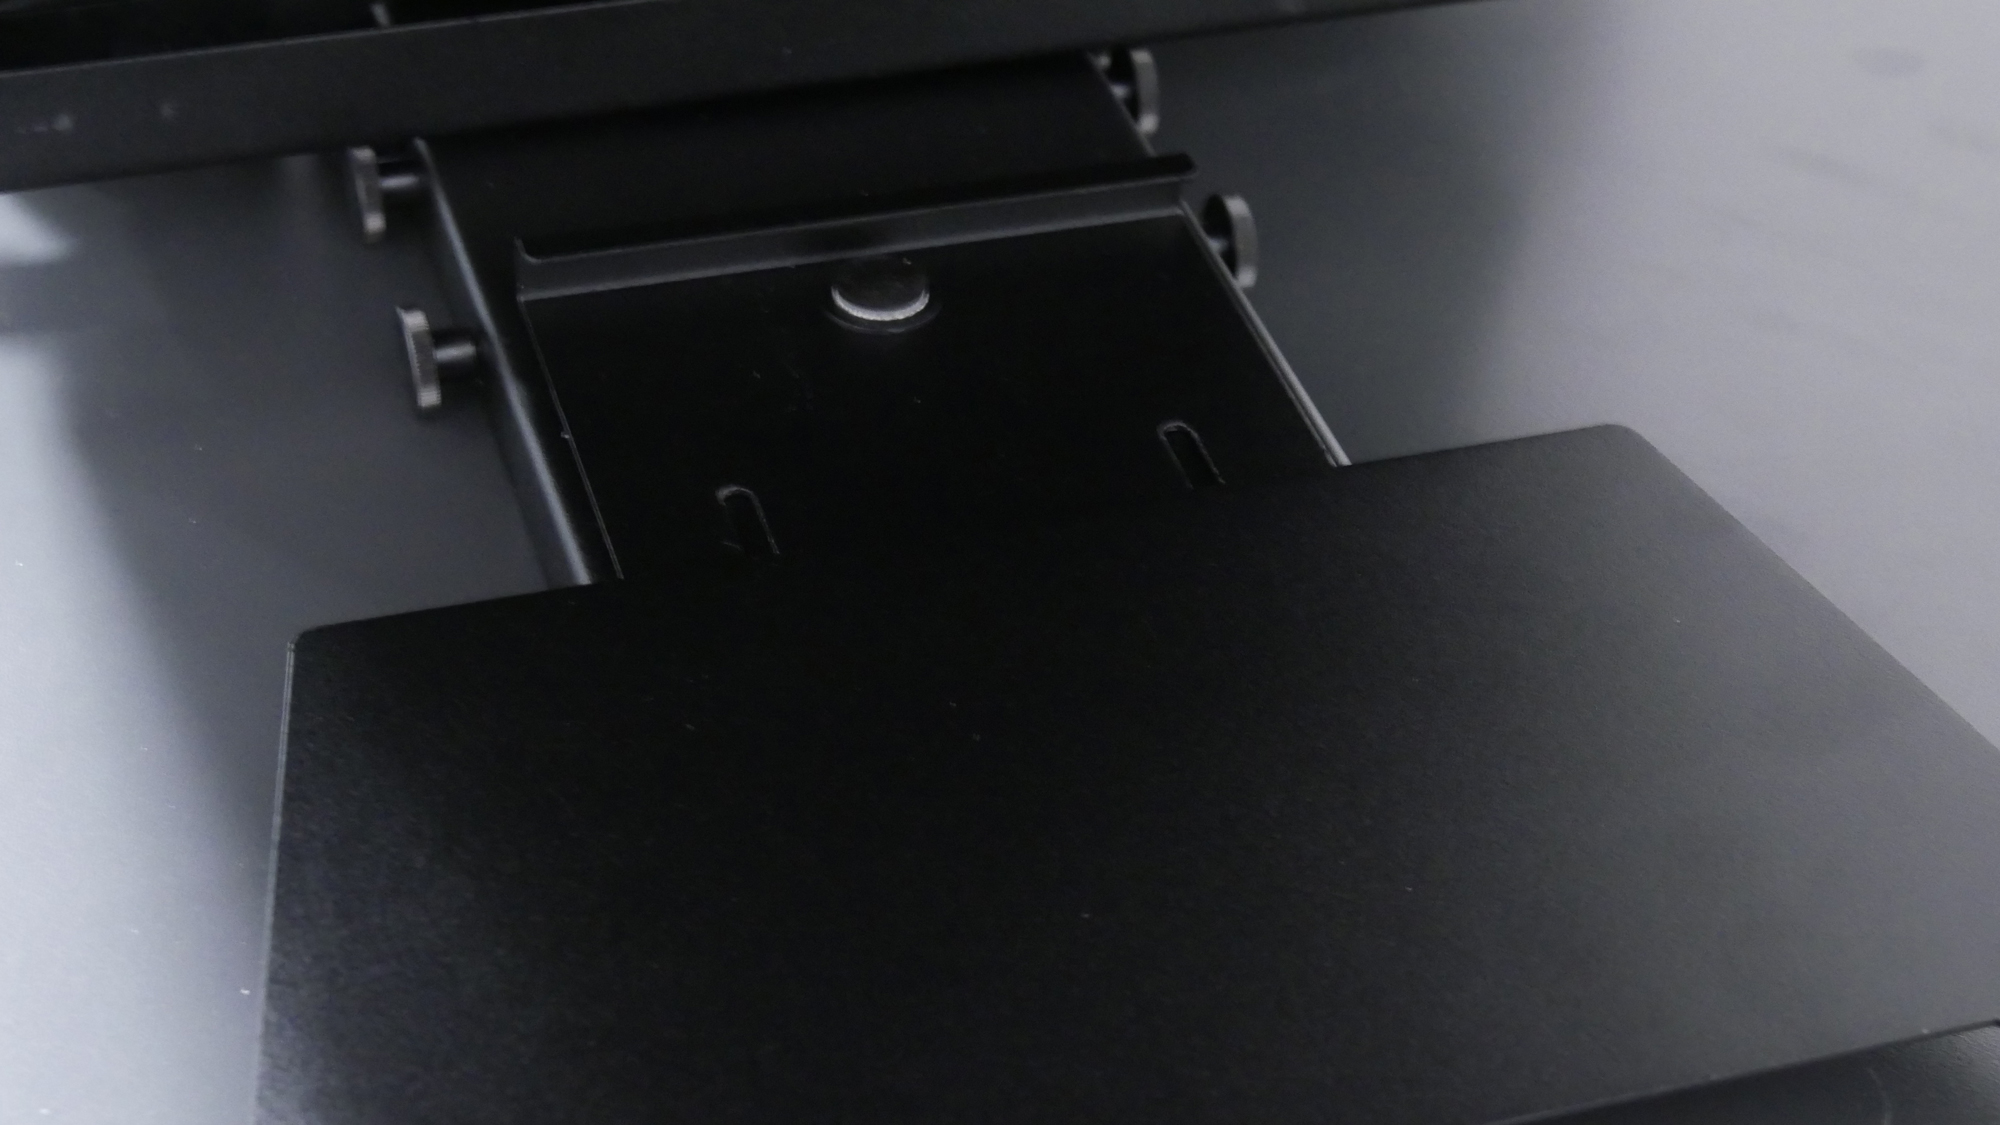
I used a Blackmagic Pocket Cinema Camera, so I ended up using the risers on the platform to bring the camera to the correct height. Employing two levels of risers, it was pretty simple, requiring almost no tools to set up the prompter. All the knobs finger-tighten, and are large enough to be comfortable. Captive threaded mounting points can slide within their tracks, so there are no nuts to lose.
The included 1/4"-20 camera tie-down screw has a wing-type arrangement on the end, making it easy to mount your camera on the rig. Once mounted and on your tripod, you can slide the entire rig to find the balance. Once you’ve balanced the rig, a 3/8"-16 wing screw tightens it in place. I found it best to balance without the iPad Pro first, and then re-balance with the iPad Pro mounted.
If you use the risers, you will need a Phillips screwdriver to secure the prompter's camera plate to the top of the risers, and you need a slotted screwdriver to mount your tripod's camera plate on the prompter—do this first—but otherwise, you are all set.

iPad Pro Bracket
Setup was easy, but there still was a small learning curve. The iPadPro bracket is simple enough. It expands slightly so you can insert two of your iPad Pro's corners securely into the slots, then slide the bracket's lip closed on the opposite edge, and tighten the thumbscrews that hold the bracket in place on the prompter. I originally expected the corner slots to be assembled closer to the prompter, but it worked better for me with the corner slots closer to talent.
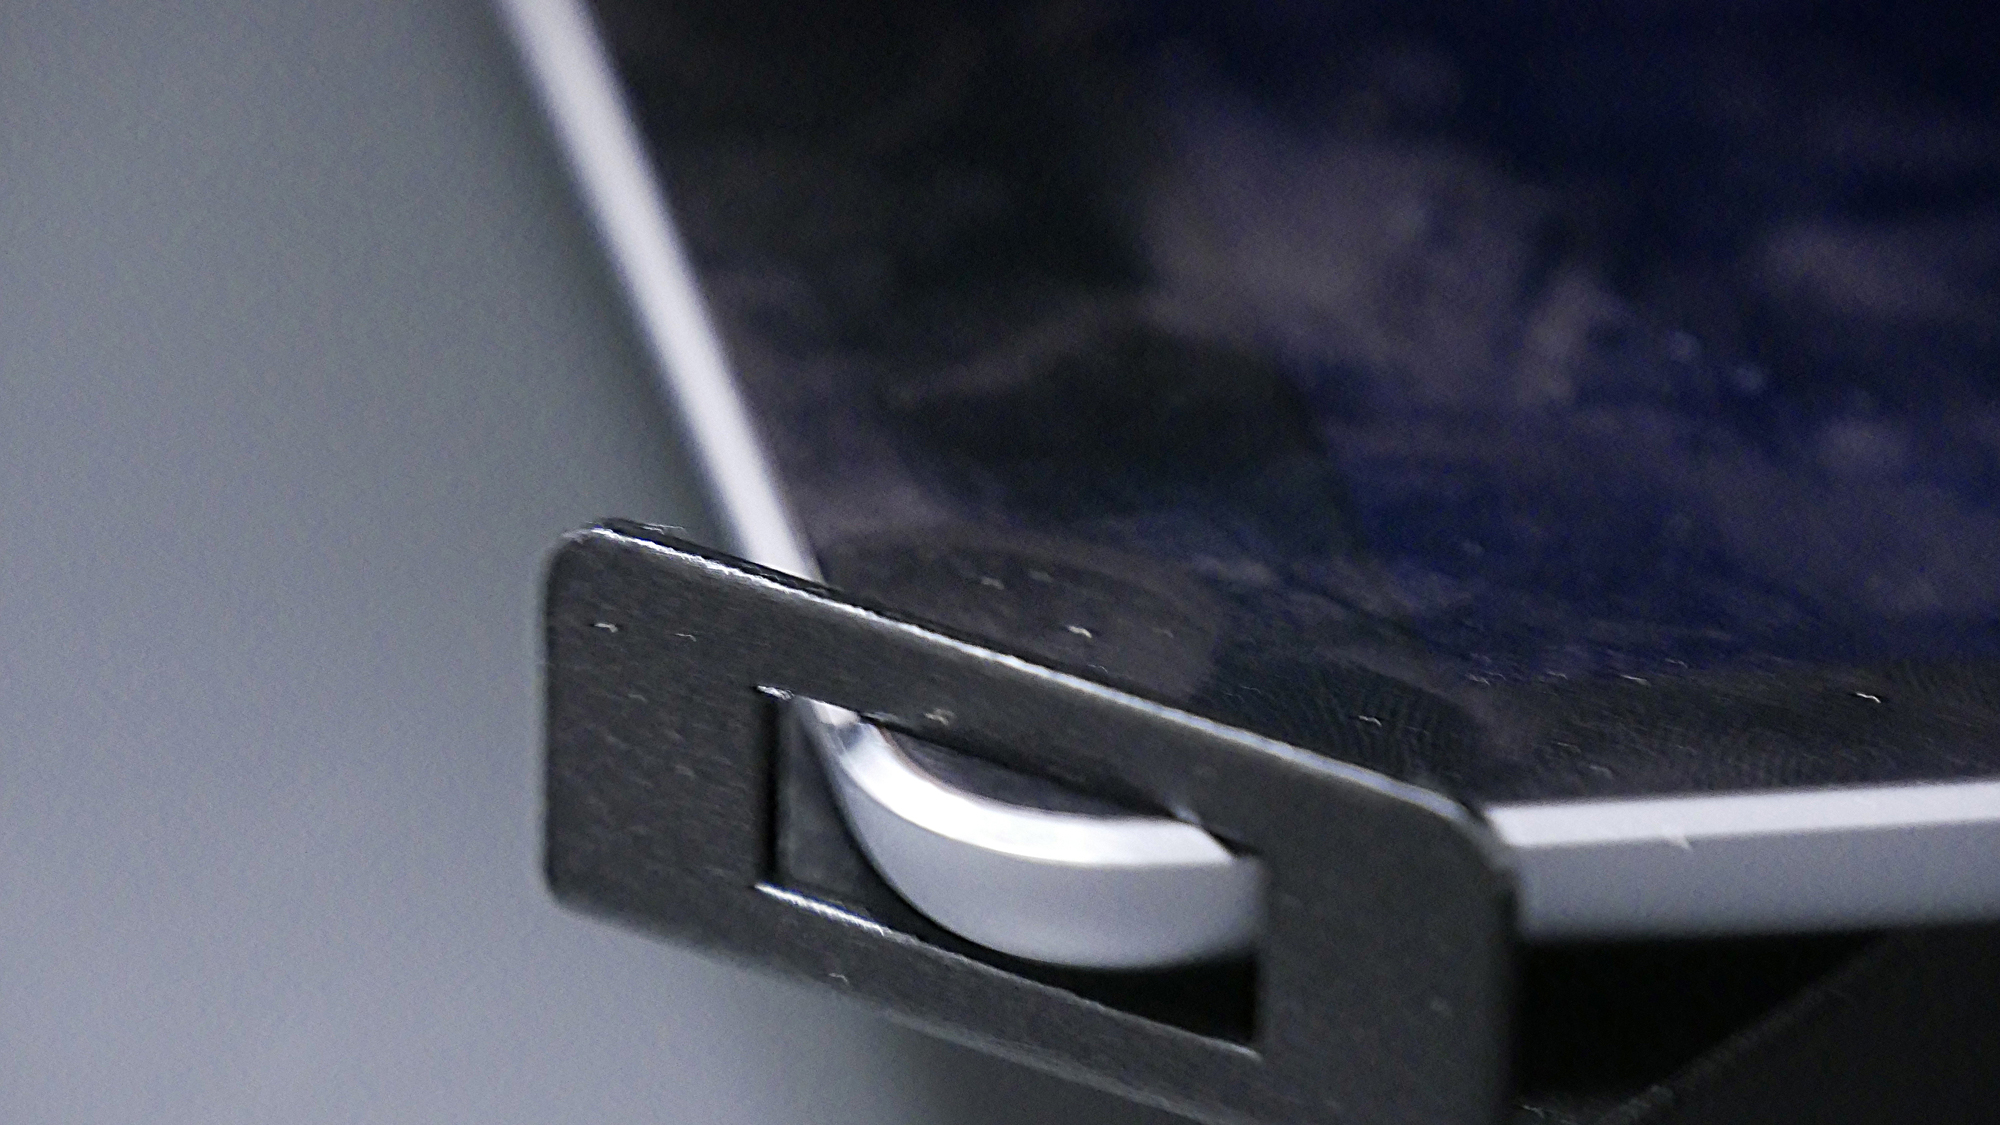
Fit and Finish
Everything is well made here. Most of the sheet metal is very thin, which keeps the weight down, and it has a hard black coating. Even though it is thin, there is nothing flimsy about the feel. It is solid and secure. Even the bezel that secures the glass in place is lightweight, but three thumbscrews hold it fast.
The App
I ended up downloading the iAutocue app on the iPad Pro and, to control it, the iAutoscroll app on my iPhone. There are far too many apps that you can choose from to discuss here, but suffice it to say this worked well. You can import or create your scripts in the iAutocue app, and control the scrolling from your iPhone with iAutoscroll, wirelessly. Remember that case of cables I mentioned in the beginning of the article? Well they are gone—no more cables to bring or worry about. It is so simple that even my 8-year old daughter could control the scrolling like an expert after just a few minutes. Image flip, scrolling-speed control, and other tools give you excellent control over the prompting script for your talent, and if you don't have an operator, you can set the script to scroll automatically.


Shooting
The teleprompting script was easily readable from more than ten feet away indoors; just remember to close the hood around your lens to prevent light behind the camera from flaring the glass, which could damage your image, and will definitely make it hard to read the script. Of course, making the font size bigger will increase the reading range, and since the iPad Pro mounts horizontally, there is plenty of side-to-side room for text. Once the iPad Pro is secured in the clamp and the system is balanced, you can operate the camera normally. Plus, there are no wires to snag or pull loose, a bonus when working on a set. The shoot went off without a problem, and the on-screen talent, my 10-year old daughter, even liberated the iPadPro to make some additions to the script, before I put it back into the clamp—creatives, they start so early.

Fun
The shoot was fun, easy, and quick. When we were finished, I loaded some Karaoke videos on the iPad Pro. I know it isn't necessary to sing into a prompter, but it does give you good eye contact when you are recording your own video. We used some Karaoke video text that I downloaded from the Web, and flipped horizontally before loading onto the iPad Pro. Hit Play on the iPad Pro and Record on the camera; let the craziness roll.

Holding Fast
This unit is well designed and simple to build, with only a screwdriver needed for assembly, which I very much appreciate as I get older and want to carry around fewer tools and less weight. With just a little practice, I was comfortable setting up a teleprompter, something I had never done before, and it was simple to use. So simple in fact, an 8-year old can operate it. The 12.9" iPad Pro, which is not included, is held fast by the metal bracket, and no cables means I don't have to worry about a kick-out or a cable snag knocking over my camera. It was so easy to set up and use that I'm sad I had to give it all back; we are going to miss it on our next shoot.
