
Dental photography is a unique genre of photography that requires a specialized set of tools to deliver the clarity, brightness, and color accuracy dentists rely upon to accurately record their patients’ progress.
In this guide, we’re going to cover the essential tools dental professionals need to capture the best quality images of their work, from the camera itself to the lighting tools required to accurately capture the color and detail of those pearly whites.
The Camera
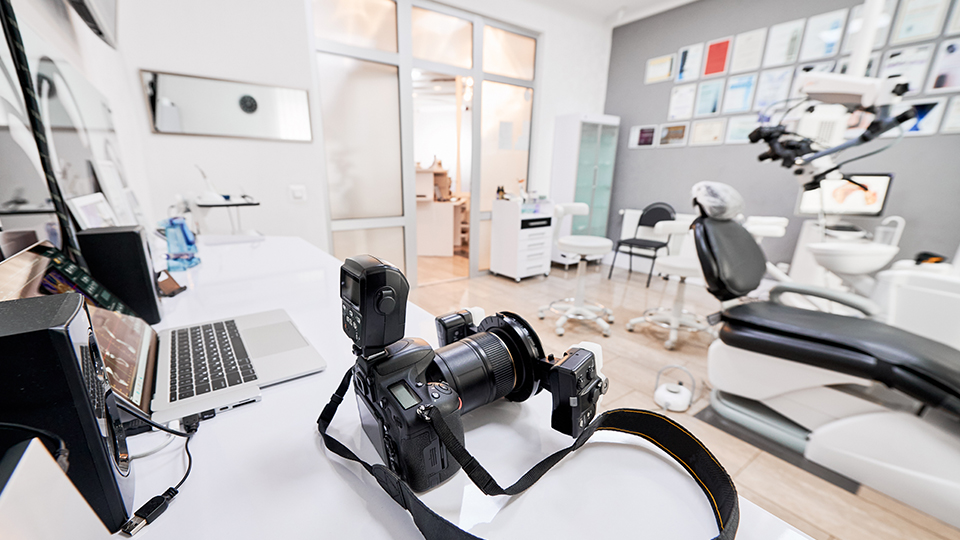
Of course, one could use almost any camera, so long as it produces clear, sharp images. The act of choosing a camera can be daunting because there are so many technical features to sift through. The beauty of dental photography is that it’s relatively simple compared to other genres, and the first question you should ask yourself is: What features do I really need?
Forget about video features, frame rates, and autofocus tracking modes that better suit sports and wildlife photography. We just need to know the exposure basics, such as aperture, shutter speed, and ISO. Luckily, these settings are universal to every mirrorless camera.
As you begin to research cameras, you’ll likely hear some technical jargon like “full frame” or “APS-C,” known better as a crop sensor. These terms refer to the camera’s imaging sensor, the chip that records the image. These come in a variety of sizes in order to accommodate different camera sizes and of course, price point. This poses the important question, does sensor size matter? In some cases, absolutely, but not necessarily in the dental office. There are many more significant differences we should focus on, but knowing the difference is essential.
Crop Sensor (APS-C)
Smaller crop sensor cameras tend to be less expensive, and bit smaller. For that reason, cameras like the Nikon Z50 II or the Canon EOS R50 are a preferred starting point, as they deliver great results in a compact, relatively affordable package. When paired with a lens, they also have an advantage. Because these cameras have a smaller imaging area, they also have a narrower field of view and subsequently add a bit of apparent reach when using the same lens as a full-frame counterpart. Let’s look at an example.
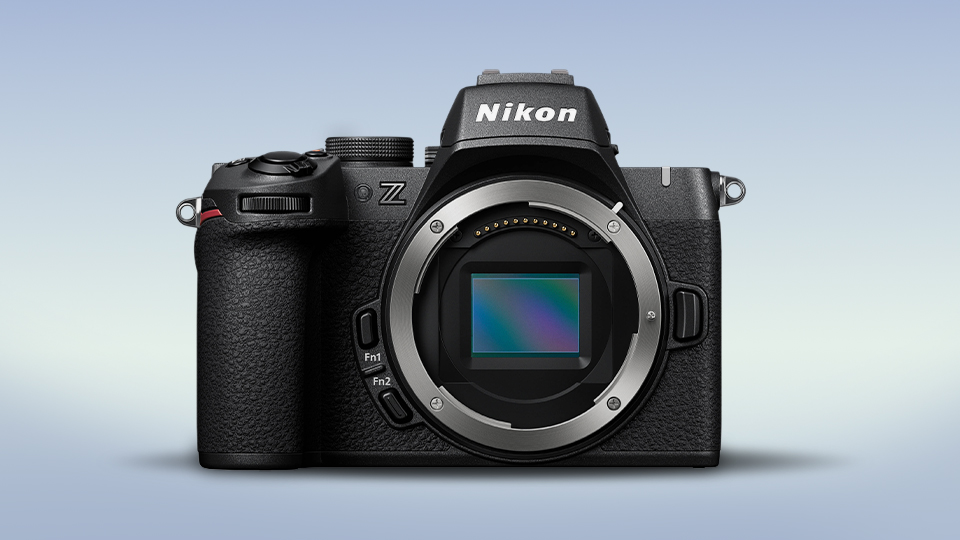
Many dentists prefer, or at least start out with, APS-C cameras for the aforementioned reasons, and manufacturers know this. In fact, wildlife and sports shooters often prefer these models for that extra reach. For that reason, higher-end models like the Canon EOS R7 exist to deliver a more professional feel while maintaining all of the benefits of the smaller sensor format, like the ability to use shorter lenses or the ability to have a longer working distance from our subject.
Full Frame
The larger full-frame sensor like that found in the Sony A7 V and the Nikon Z6 III offers better overall picture quality and greater performance in low light, which helps in dimmer lighting conditions. Plus, this larger sensor has a narrower area of apparent focus, known as depth of field, which can be counterproductive to our needs.
Since we’ll be using a flash, the low light dilemma won’t be a huge issue to contend with. Similarly, a shallow depth of field can be corrected with the lens. Where these cameras do come into their own, is in the image quality department, especially when viewed on a large screen or when printed. Essentially, the larger the pixels, the better their ability to capture fine detail and in lower lighting conditions.
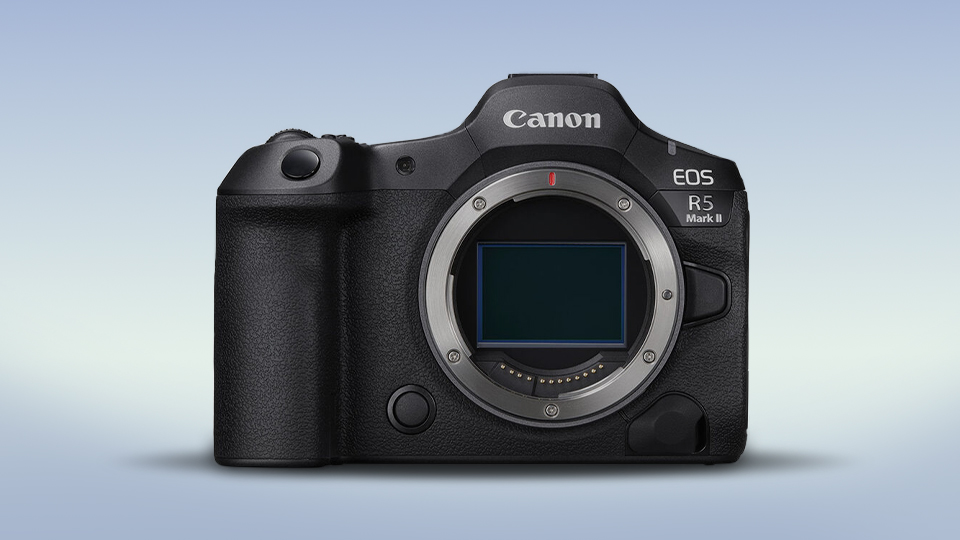
These upgrades, while practical for nearly every other genre of photography, are not always as beneficial when working in a dental office. However, if we are presenting our work or showcasing it on a large screen during a lecture, the added detail produced by a camera like the Canon EOS R5 Mark II may be beneficial.
What Else to Look for in a Camera
Aside from sensor size, other features worth noting include the ability to set custom setting banks and multiple memory card slots. Custom setting banks allow users to assign unique adjustments for easy access later. Once saved, a dental setup can be recalled with the press of a button or the turn of a dial. This way, every photo matches. Plus, if our camera doubles as a personal accessory, we can easily swap between “work” mode and “fun” mode.
One spec we should never ignore is whether the camera features in body image stabilization, often shortened to IBIS. This is a function of the camera that aims to reduce blurring, whether from movements of the camera or non-ideal settings. When activated, the imaging sensor itself shifts within the camera body to counteract motion and to stabilize the image when hand holding, as we will likely be doing. If your camera does not have this feature, fret not, as many lenses offer optical stabilization. That said, having both is certainly nice.
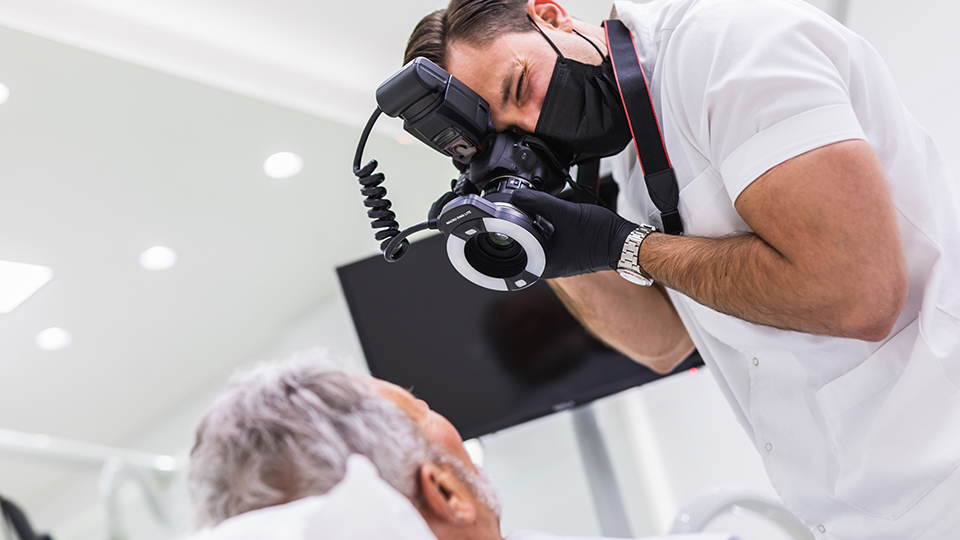
Now, multiple card slots are also nice, but not a necessity. With this feature, we can record our images to two different places at the same time, creating an instant backup of patient records. It’s not essential, but it can provide some peace of mind and security while shooting. Alternatively, this can be set to overflow, where one card fills up and the second picks up where the first left off. We don’t expect you to be taking so many photos that this is necessary, but you never know.
The Lens
Dental photography is, for all intents and purposes, a subcategory of macro photography. And the good news is that we’ll only need one lens. Now, it’s important to note that many lenses have the term “macro” attached. After all, it’s a broad term. There are a few aspects of a macro lens that we need to look for, most importantly, reproduction ratio.
Look beyond the word macro for the actual reproduction ratio. This is noted by a value like 1:2 or 1:1, which represent “half size” and “life size,” respectively. What we want is a true 1:1 reproduction ratio. That means that our subject appears on the imaging sensor at life size. A lens like the Nikon NIKKOR Z MC 105mm f/2.8 VR S not only offers true 1:1 magnification but also provides a read out of its reproduction ratio via a small screen atop the lens.
Next up, we need to consider focal length. This affects distortion, depth of field, and working distance, which is literally the distance we can shoot from. Longer focal lengths provide a greater working distance, but get too long and our area of apparent focus, or depth of field, becomes too narrow to get all those biters sharp in focus. The best macro lenses for the job sit between 85mm and 105mm. This is why many popular macro lenses, like the Sony FE 90mm f/2.8 G and its G Master sibling, the FE 100mm f/2.8 Macro GM, exist within that range.
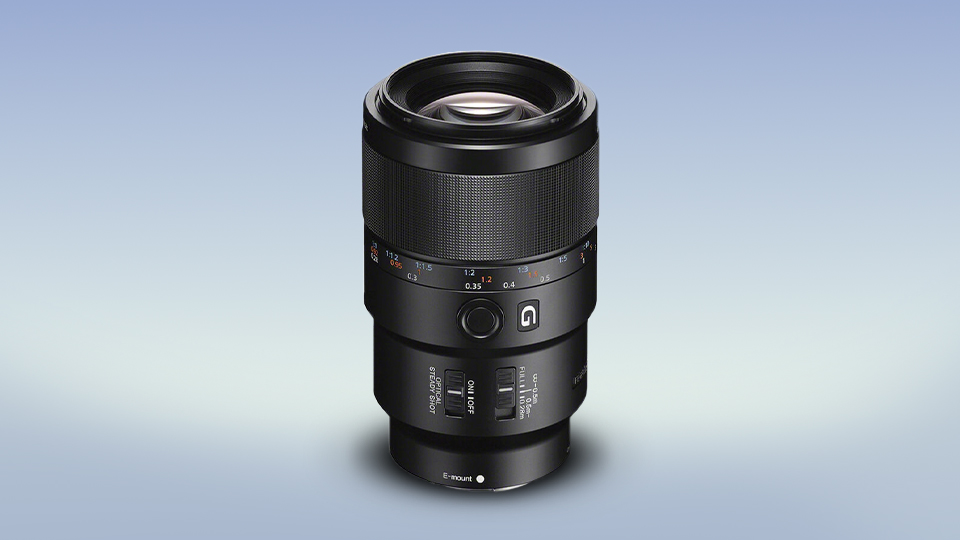
We mentioned earlier that APS-C sensors are effectively crop lenses, and this is where that feature comes in handy. Take the Tamron 90mm f/2.8 Di III VXD Macro Lens for instance. When put on a full-frame camera, it functions as advertised, producing a 90mm focal length and field of view. Now, put it on a crop sensor, and you have a focal length that is approximately 1.5x times longer—making the lens appear closer to 135mm. Because the field of view is smaller, we can get the same results from farther away.
As mentioned above, a readable magnification ratio is essential, as the various shots we require can be simplified by their ratios. This allows us to capture consistent images day to day and patient to patient. For reference, a full-face image can be captured at or around 1:10, the full smile near 1:2, and individual teeth at 1:1.
Lighting
Lighting for dental work is a bit different than what we’re likely used to. As with any form of studio photography, we need to introduce our own, artificial light in order to control the scene. Did we just call the dentist’s chair a studio? Yes, as this is where most if not all of our work will occur, and thus, this is the space we need to light.
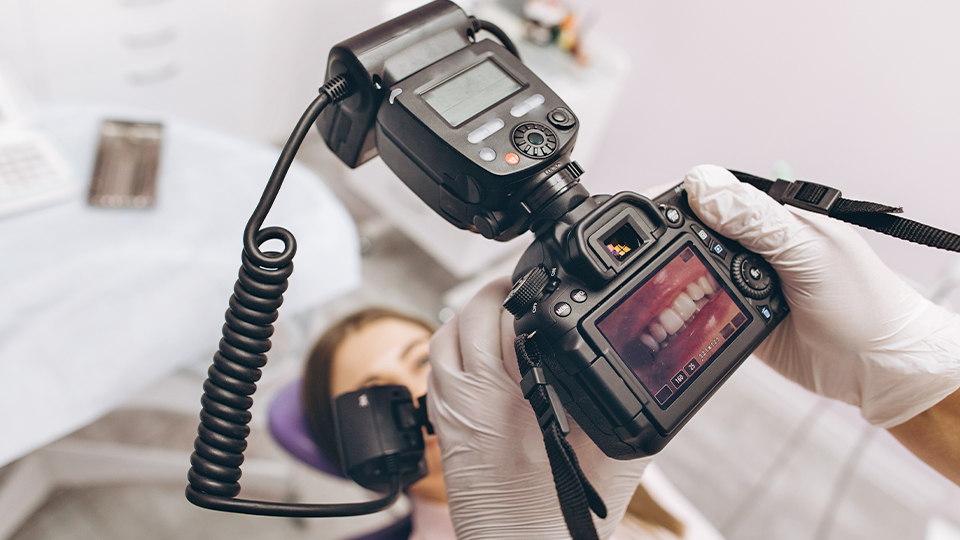
Like the lens, a dedicated macro rig is the right solution, where the lights themselves are front and center and triggered by a remote commander. The Godox MF12 Dental Macro Flash Kit is optimized for these needs, offering two compact flash units, the commander, diffuser domes, and the bracket we need to attach the units to the camera. Additionally, this kit comes with a set of step-up rings to accommodate the various filter thread diameters.
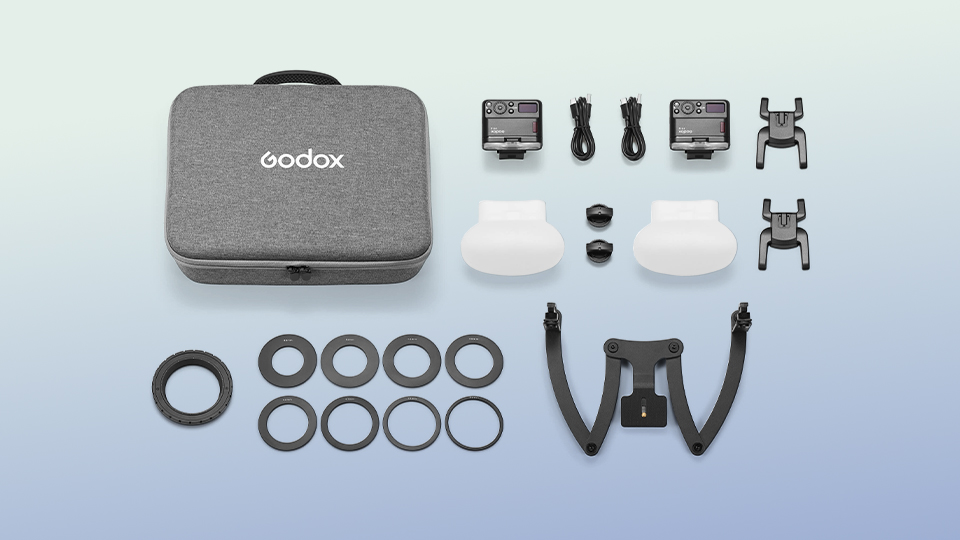
Be sure to set the lights and commander to the same channel, as this is required for the components to communicate.
If you’re thinking about compatibility, don’t. This flash solution is brand agnostic, meaning you can find it for essentially any camera brand. Godox sells this kit for Sony, Nikon, Canon, and beyond, so whatever brand you choose to go with, the light stays the same. Just make sure you get a copy with the right markings (S for Sony, N for Nikon, C for Canon, etc.).
Accessories
Of course, no camera kit is complete without the proper accessories. This can include everything from the bag to the camera strap, but for our purposes, we’ll be focusing on storage and power. Without them, we can’t get the job done, so let’s jump into it, starting with storage.
Most cameras on today’s list use either SDXC or CF Express Type B memory cards. One quick look at our online catalogue and you’re likely in for a shock when you see memory cards that rival even the camera itself in price. Good news, we’re not shooting at ridiculously fast frame rates or recording super high-resolution video clips, so we don’t need the fastest, priciest cards available.
Any 128GB UHS-II SD card with a V60 rating should do the trick, as the resolution of modern cameras requires a bit more space than we may be used to, and needs a little speed to move all that data from point A to point B in a speedy manner. A faster card is quite literally overkill, and the additional features they offer do nothing for a dental photographer.
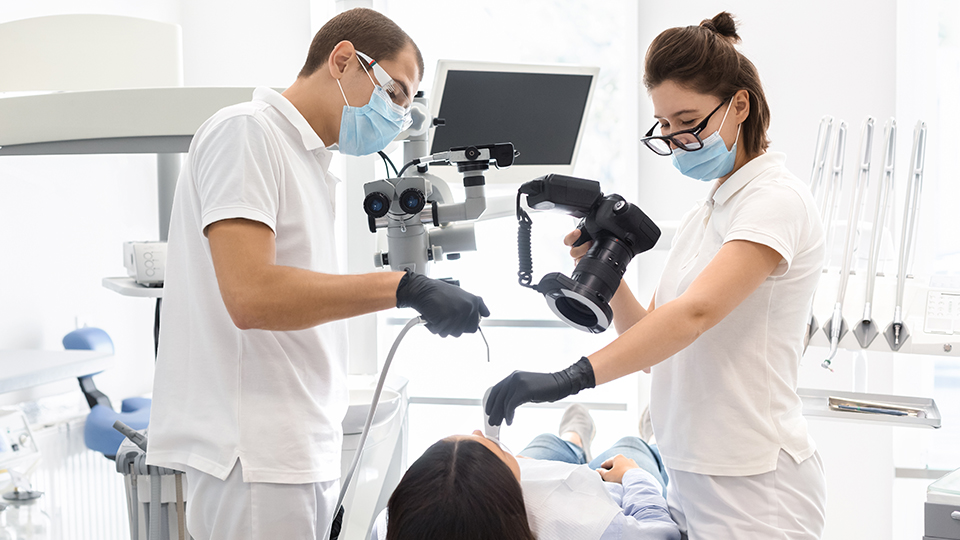
Now we turn to power. Our camera comes with a rechargeable lithium-ion battery, which can be charged inside or outside the camera. In-camera charging is a marvel that allows us to keep our gear powered no matter where we are, though this does little in your office. Instead, we recommend a traditional wall charger and a spare battery or two. That way, when your battery dies, you simply swap it out for a fresh one and place the dead unit on the charger. This keeps the camera in play, allowing you to shoot all day.
As you begin to search for extra batteries, you’re sure to notice that there are a lot of options to choose from. Manufacturers’ batteries are tried and true, but these are not cheap. A great alternative are those made by Watson, which serve the same purpose while offering some savings which can be put towards the lens or camera.
Lastly, we can’t forget the dental cheek retractors, which are quite self-explanatory. At least we hope they are. These dental tools are essential to giving you a clear, unobstructed view of your patient’s biters. They come in a variety of sizes and colors, though clear is often preferred.
Upgrade Paths
If you start with a simpler setup, consider the possibility of upgrading in the future. We often talk to customers about this no matter their intended use case, as it’s only natural to add or replace a lens after a while. For the average photographer, this involves buying a bag slightly larger than the current arsenal of gear, to leave room for a new lens down the line.
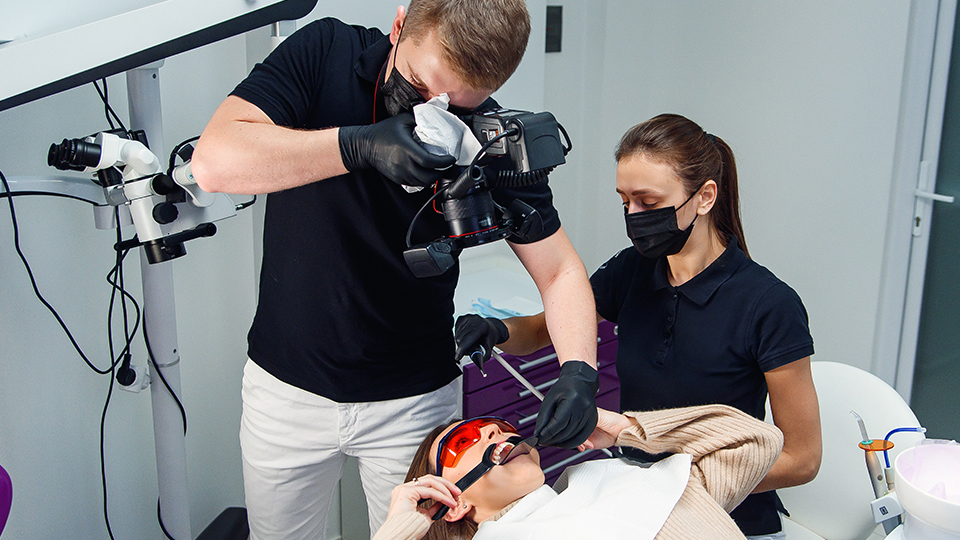
For our purposes, this has more to do with output. Above, we discussed the differences between sensor sizes and resolution, but more so from a price and function standpoint. Every reason for upgrading is based on the destination of the image, not on anything done at the chair.
Building Your Kit
With the recommendations above, we feel that you’ll be able to build your ideal kit to get the job done. As your skills and needs evolve, so can your system. To make this whole process easier, we’ve created a number of complete dental photography kits including camera and lens combos from multiple brands.
The key to remember is that dental photography does not subscribe to the same rigors of other genres. Don’t get caught up in specs and find the tool that feels right in the hands and delivers the results you require. If you’ve found this guide helpful, we recommend checking out our other guides and articles on the B&H Explora page!
