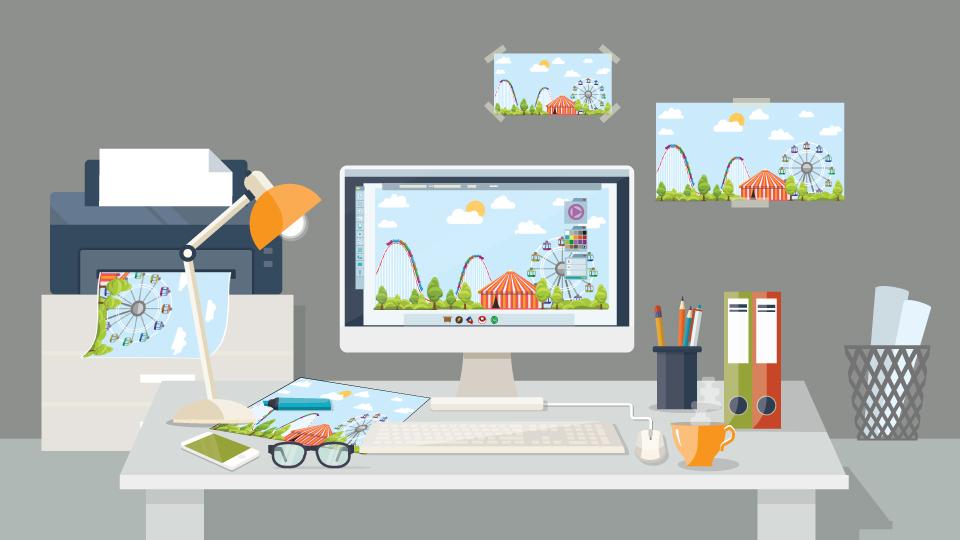
Ever since photography moved away from the safelights, developing tanks, and enlargers of the film era, individuals and organizations have been focused on bringing their darkrooms into the digital age. With those renovations come new requirements, additional equipment, and perhaps keeping some classic tools that have managed to stay pertinent through the digital transition. If you want to build a digital darkroom from scratch or simply augment your current workspace, here is some advice to get you going.
The Brains of the Operation
At the center of the digital workflow is, of course, the computer. This is where your digital files are ingested, edited, and then output to either a digital realm or a physical print, so it is crucial that you pick up a computer that best suits your needs. A darkroom implies a relatively stationary area where all your tools are positioned so, in this case, a desktop will provide a much better option than a laptop. Whether you decide to buy a powerful Windows-based machine or the latest Mac Pro comes down to personal preference, and comfort is the key when working.

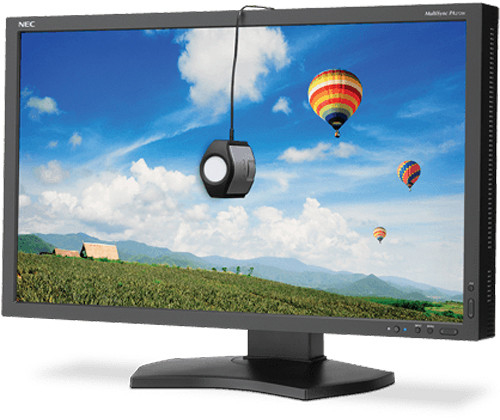
Color-accurate displays are crucial to editing in a digital environment, as they are your main medium for viewing and editing your raw image files and scans. And for some, a screen may be the only place the images are designed to be viewed. Some computers, such as the Retina-equipped iMacs, offer spectacular built-in screens with wide color gamuts that will satiate users who prefer one large workspace. Most other editing stations will require picking up one or two separate monitors.
Bit depth is important for getting the best colors—the greater the depth, the more colors the monitor is capable of displaying. This results in smoother transitions and a more true-to-life rendition of the digital image. 10-bit displays are the best options today, with the ability to display the Adobe RGB spectrum, a commonly supported standard for image capture and print. The next consideration is resolution; photographers can benefit from the use of a 4K or even 5K monitor when working with high-resolution files, though many Full HD and Quad HD models offer spectacular color fidelity at a fraction of the cost.
Getting the most out of your fancy display is another leg of the monitor journey, as proper calibration is absolutely crucial for getting accurate colors. A calibration system is also one of the more affordable ways to dramatically improve nearly any editing setup, regardless of whether you are creating an editing studio or working from a laptop. Many will even account for ambient light and feature custom software that will walk you through the creation of different profiles, as well as alert you when your monitor is due for a recalibration.
Next, you will want to choose your interface options, and there are many beyond your standard mouse and keyboard. Perhaps the most common and well regarded is the tablet. Wacom produces a series of high-quality tablets in various sizes and features, but most notably it allows the use of a stylus. This makes localized adjustments and retouching more fluid and intuitive. Also, they have a few models which double as a screen, providing a complete touchscreen interface and the ability to draw and editing directly on the image.

Besides these basics, users can always pick up a simple touchpad if it is more comfortable, or go in on a completely different system to revamp their editing style. One of these options is Palette, a modular control system with dials, sliders, and buttons. This can be programmed for tactile control over specific sliders and tools in your editor, such as the Exposure and Color Temperature sliders in Adobe Lightroom. Also, it is expandable so users can customize it as they see fit.

For the Film Shooters among Us
For those who have yet to retire their analog cameras or who find peace in picking up their decades-old rangefinder or medium-format marvels, but still rely on a digital editing environment, there is likely a film scanner in their future.
What will likely guide you most in your selection process is what format film you shoot, followed closely by resolution and dynamic range, or Dmax. If you are just looking for the best of the best and the ability to work with multiple formats, the Hasselblad Flextight X5 is the one to get. There’s also the slightly fewer-featured Flextight X1, but both of these will cost you. For the average user, you will want a unit with the largest Dmax to ensure you will capture as much information as possible from your negatives or slides. Then, the higher the optical resolution, the more detail will be retained during the digitization process. If you need more help deciding, we offer a helpful Film Scanner Buying Guide.

Making Prints
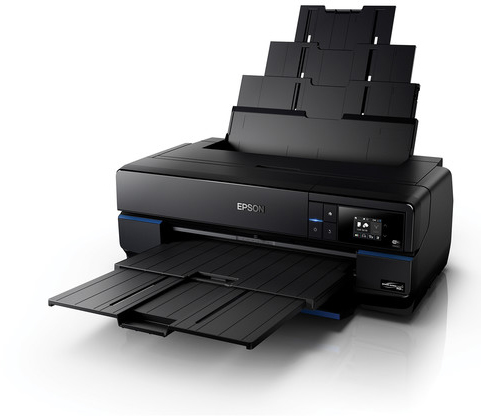
After your desk gets organized and your editing workflow has been mostly determined, you will probably want to change your digital images into physical prints. Obviously, you need a printer, and if you are a photographer looking for the utmost in quality for your digital darkroom, an inkjet is likely the way to go.
Much like the bit depth of monitors we mentioned earlier, the number of inks available in the printer contributes to how wide of a gamut it can produce. You will notice some models including Violet and Orange inks to help expand certain areas of the gamut and produce images closer to what you see on screen. Resolution also plays a role in how your images look, with higher resolutions doing a better job of hiding the dots laid down to create the photograph.
One of my personal favorites, and one of the most respected printer manufacturers is Epson, and its latest SureColor P800 is an excellent desktop option. Capable of working with paper up to 17" wide, including rolls, and with a 9-color pigment-based ink palette, many photographers will be pleased with the quality of print they can create at home. There are some other manufacturers that are well worth a look, such as Canon, since the release of the imagePROGRAF PRO-1000, but if you want a list showing all of your best options, check out the article Recommended Printers for Photography.
Color Viewing, Presentation, and Archiving
In order to ensure your prints are at their best for years to come, you are going to want some guarantee that the images you create are accurate, for this there is no substitute for a dedicated viewing station. These are set up to give a neutrally lit area with high-quality certified lighting that will not produce any unwanted casts that will impact your ability to discern color casts. GTI makes a wide range of different options for different sizes, added features, and some that have casters for movement and drawers for storage. Alongside this station, for novice printers trying to determine exactly what went wrong in their print, print-viewing filters, such as the LEE Filters Colourweb Color Printing Tool, can help you find out how to start correcting your image for round two. Though designed for darkroom printing and not inkjet, this can help serve as an introduction to seeing color-related errors in your prints.
After the print is made, you have two avenues to explore: presentation and archiving. While this article isn’t meant to walk you through everything you’ll need to know to design a frame, mat a print, and then hang it on a wall, there are a couple of items that will find use in a digital work environment, such as a trimmer or mat cutter. In case you need to trim the borders of a print, or need to straighten the edge of a paper roll, these will come in handy. They can even serve as a general purpose office tool, able to trim down stacks of documents with ease. B&H also carries dry mount presses and laminating machines, which can help take a simple print and create a work, ready to be framed.

After you present your photo, or if you just want to tuck it away for safekeeping, there are a few options for keeping prints safe. Archival museum and presentation boxes are an effective and simple method for protecting your images. These are acid-free, durable boxes that will ensure no unsafe chemicals or light will slowly damage your prints. They are also quite cost effective, and a much better solution than the boxes or bag in which inkjet paper is normally shipped. On top of this, storage binders function in a similar manner but have the advantage of usually being made of plastics that are more resilient and can be opened more conveniently to look through your images.
Finishing Touches
Now that you know what gear you need to pick up, there a couple of final items that could transform your darkroom into a more perfect work environment, though this first item would probably be easier if you take care of it before you acquire all of your equipment.
Neutral gray paint can remove any remaining color cast in your work area, ensuring accurate color grades and providing a spectacular area for viewing final prints. GTI’s Standard Gray Neutral 8 is water-reducible vinyl latex that will classify for Munsell N8/Gray surround as specified by ISO 3664:2000, so you can paint the walls or refurbish a viewing station and be sure that it is the best it can be.
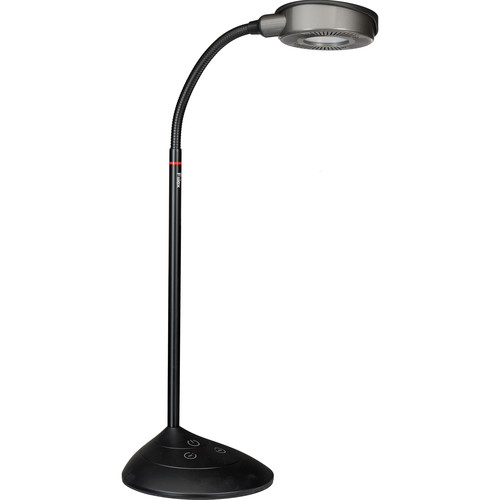
While a full-fledged viewing station is the best protocol, for getting started or simply some additional light at your desk, this is where an option such as the Fiilex V70 LED Color Viewing Lamp is ideal. The lamp will fit easily on your desktop, has a flexible gooseneck for positioning, and variable color control allows you to dial-in a match for the rest of your fixtures. It can even serve as a backup or fill light if you ever needed some extra lighting for a shoot.
There is sure to be a variety of other accessories that will augment your workflow that are not mentioned here, but this list should get you on your way to a professional, quality digital darkroom.
