
When you first head out to take photos of wildlife, what’s the first thing you think of? If it’s not lighting, we’ve got news for you. Photography is, by definition, the capture of light on a light-sensitive surface. The word “photograph” is derived from Greek roots that translate to “drawing with light.”
We can have the most expensive camera and lens combo, but without good light, we’ll never get the most out of it. Understanding our primary light source and its many qualities is essential to improving as a wildlife photographer, and in this guide, we’re going to discuss the many ways in which we can use light to make better photographs.
Ever-Changing Light
Light is an ever-changing factor and depending on the time of day you head outside, you’ll be met with its various qualities. As our light source, the sun, moves throughout the day, the direction of the light changes with it. The lower the sun is in the sky, the better we are.
Another factor that changes as the sun moves is its intensity or brightness. Light is at its most intense around midday. The sun is either directly overhead or close to it and faces little obstruction from earth’s atmosphere.


Get Out Early and Get Out Late
In the early morning, sunlight must travel through more of our atmosphere, which impacts blue and green wavelengths more than red ones. The resulting light has a warmer tone that gradually decreases as the sun rises higher in the sky and faces weaker resistance. These first moments of reddish light are the beginning of what’s known as golden hour.
Golden hour, sometimes called magic or even butter hour, is the period of daylight shortly after sunrise and before sunset. At these times, the sun is low along the horizon, creating a strong directional light with warmer qualities. The light is often redder and softer than when the sun is higher in the sky, making it the preferred time for photographers to head outside.
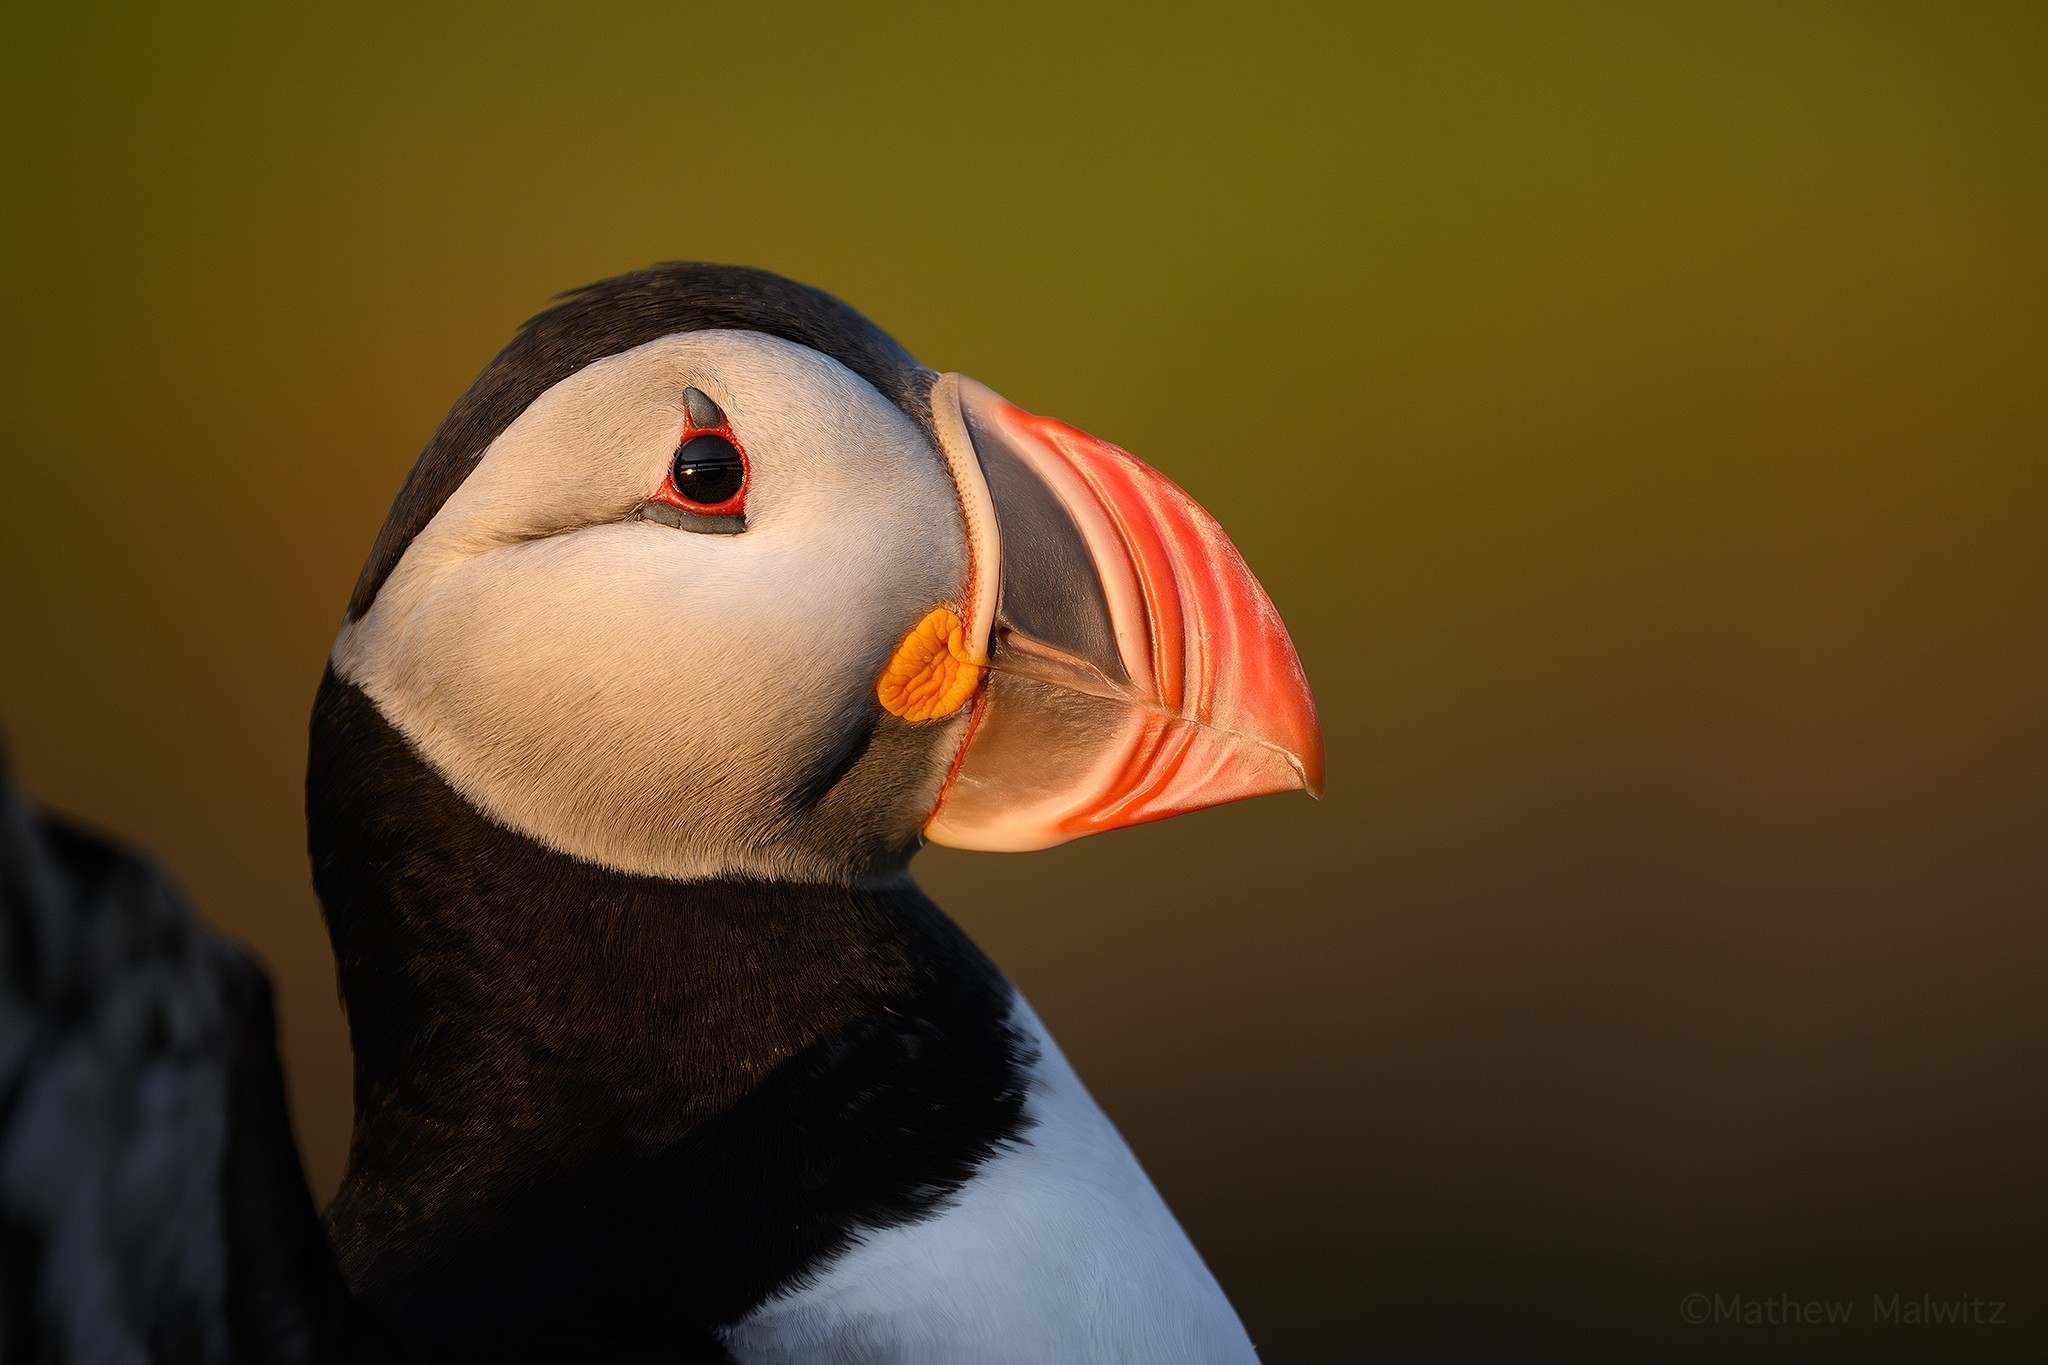
The easiest way to approach shooting during golden hour is to keep the sun behind over your shoulder, and your shadow pointed at the subject. This way our subject is being evenly illuminated in soft, warm light. Now, calling it “golden hour” is a bit of a misnomer. We generally have more than an hour of usable light, though the first hour is best. A good way to gauge whether or not the light is too harsh is to look at your shadow. If your shadow is longer than you are tall, then the light is still good.
Clouds and Beyond
When the clouds roll in, do we head home? No. Cloudy, overcast skies can provide a much different look to our images. While sunlit shots are intense and show sharp contrast, diffused light from cloud cover is soft and packs less of a punch.
This means we can stay out in the field throughout the day without fear of harsh shadows. Notice how we said “harsh” shadows. Shadows are still present in overcast conditions, so shooting with the direction of the light is still advised.
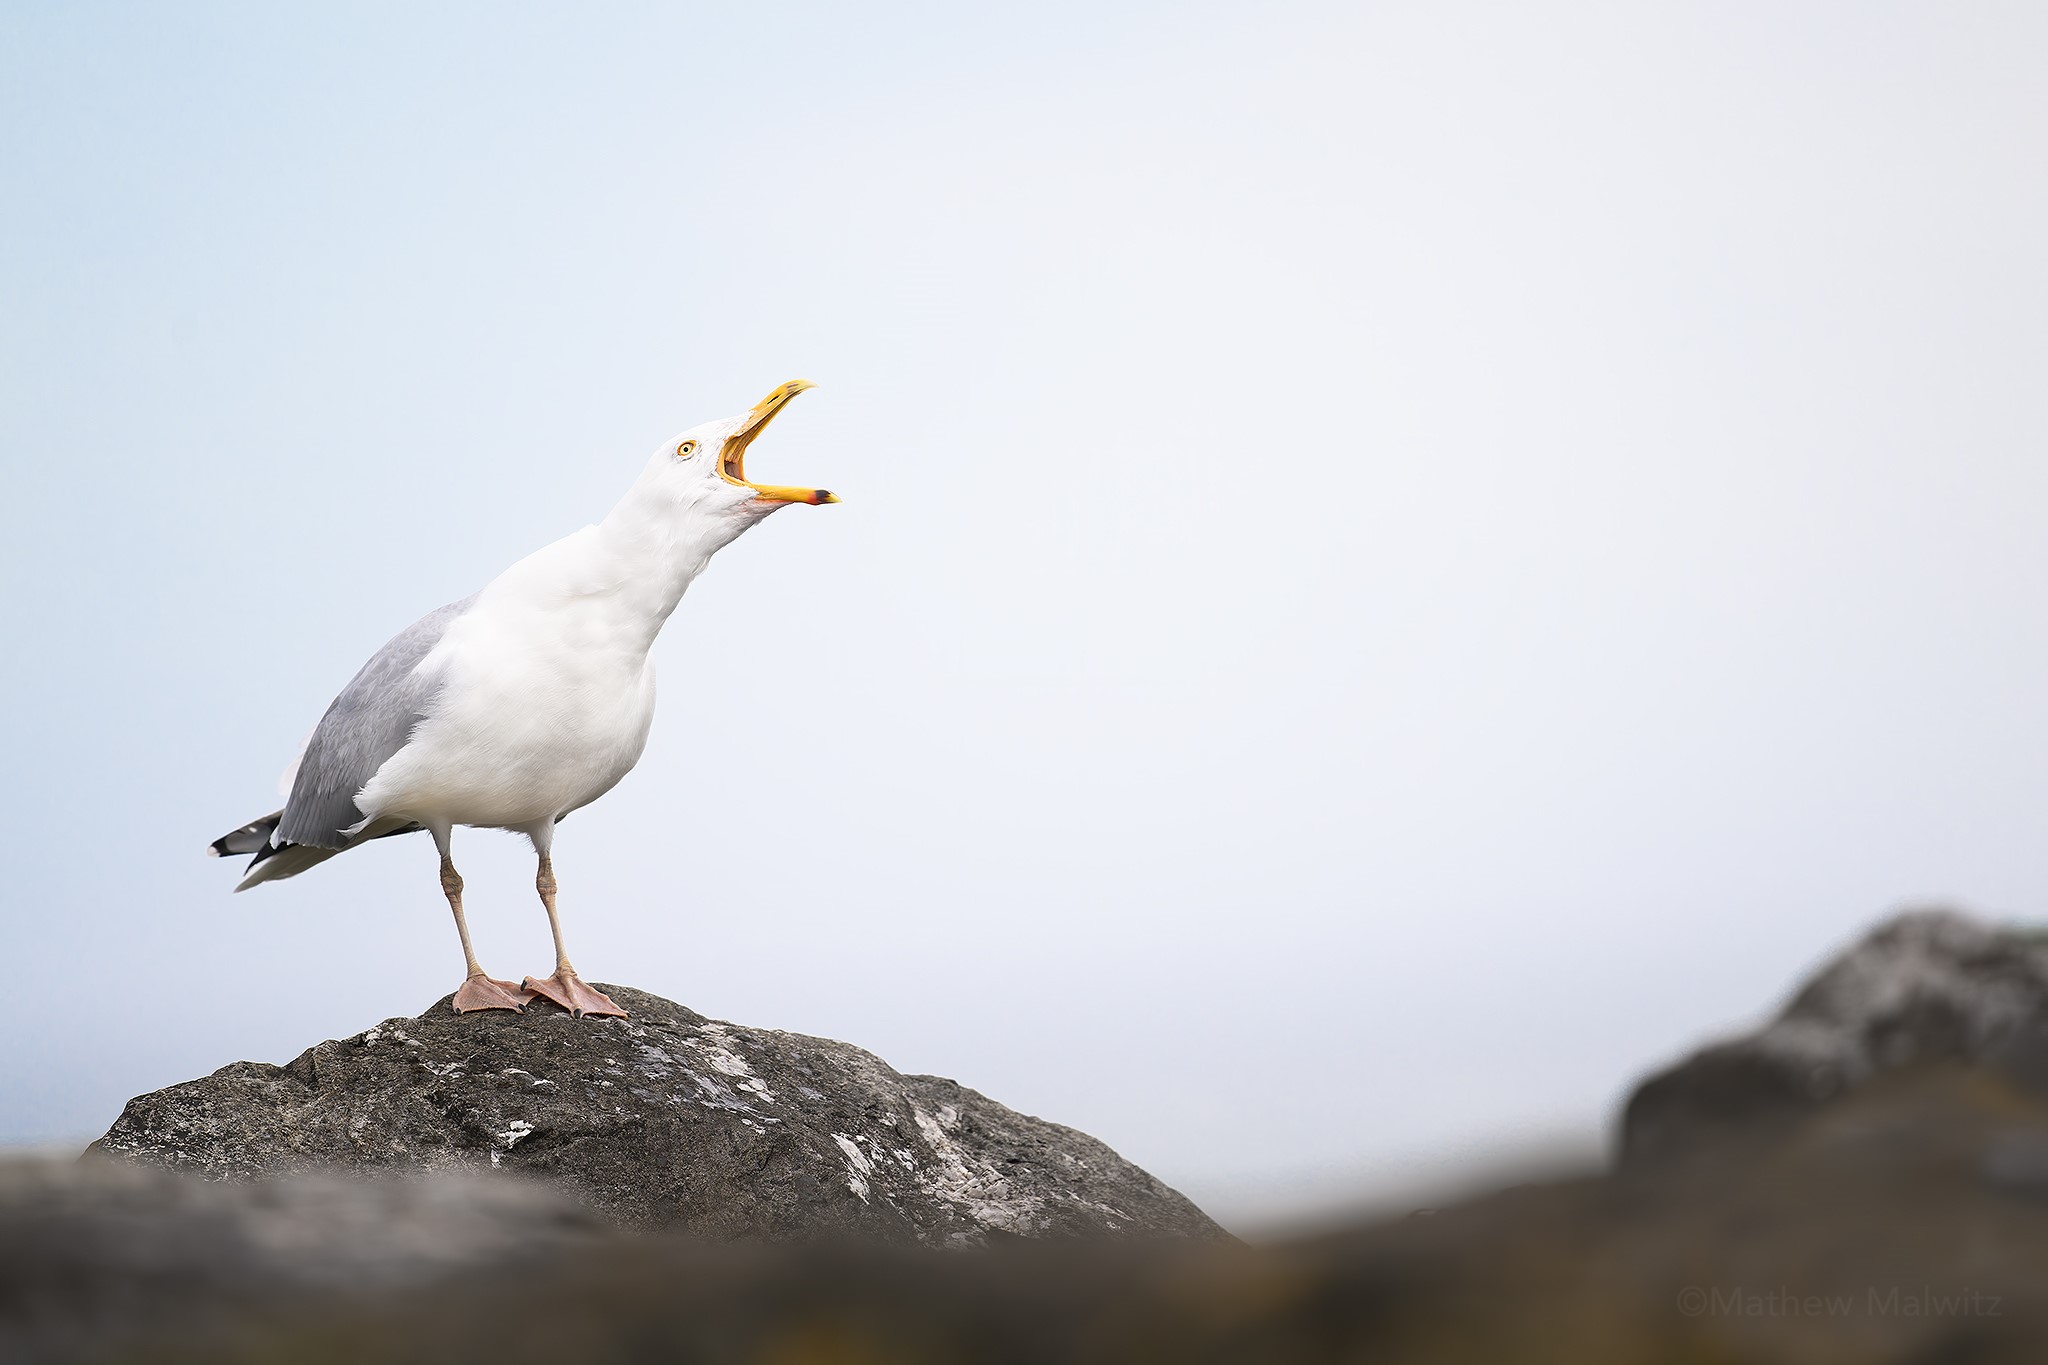
One of the best conditions to shoot in is through a thin veil of clouds. This will dampen the intensity of light, but that can be a good thing. In the early morning as golden hour fades, thin clouds can keep us out shooting for a prolonged period. Even at sundown, thin clouds will lessen the look of golden hour, but not to the point of no return.
We obviously can’t control the weather, but we can choose when to stay out or when to call it a day. If you see these clouds roll in, it’s best to stay out and make the most out of the extended shooting hours. If the clouds are thin enough, you’ll likely have plenty of light to work with.
As daylight dwindles, we shouldn’t pack up right away. There’s still plenty of light to work with, especially if we have a tripod. Blue hour occurs just before golden hour in the morning, and just after in the evening. The sun sits just below the horizon, resulting in a drab, bluish hue as the warm tones from the sun vanish. This soft light has much to offer, especially when you consider that most wildlife is at its most active at these hours.
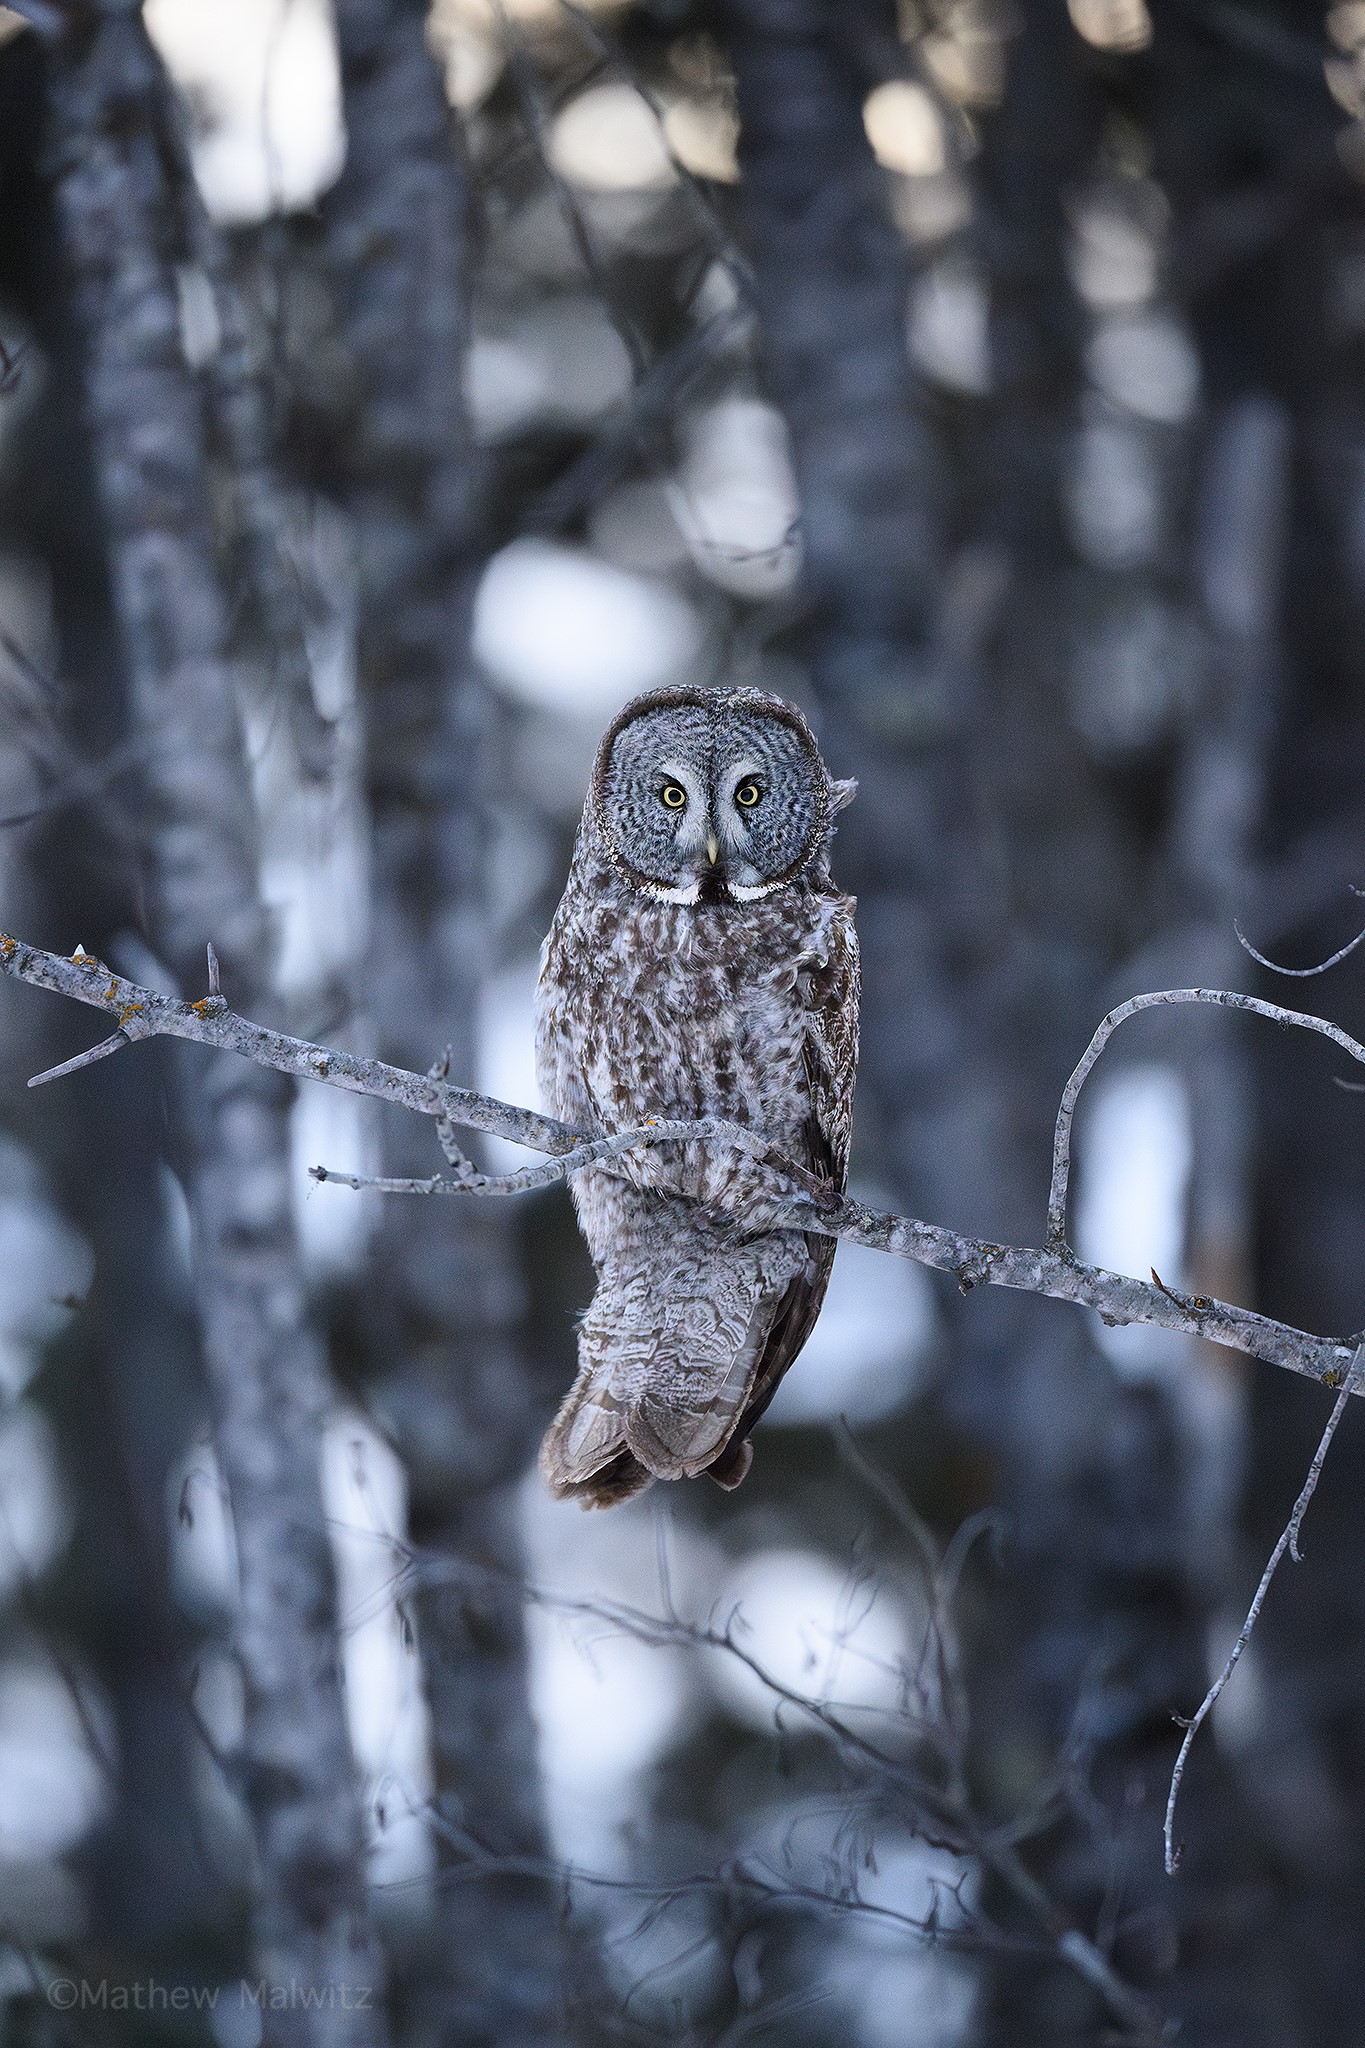
Shooting on Sun Angle
As mentioned above, the most common way in which we will light a subject is via front lighting or shooting with the sun behind us. This is known as shooting on sun angle and is the most common way we shoot. It maximizes detail in our image and keeps both highlights and shadows in check, so long as we properly expose our image.
What it also does is cast light on our subject’s eyes. Eyes are a key component of connecting your audience with the subject, so sharp focus and good exposure are key to forming that connection. The light that is reflected in the eye of your subject is known as a catchlight. This little reflection adds dimension and depth to our images, not to mention a little spark of life.
Catchlights occur naturally so long as there’s a bright sky or light to reflect. The sun itself can provide that pinpoint white speck of light, but any daytime sky will cast a suitable enough reflection. This can also be achieved with the use of on-camera or studio lighting.
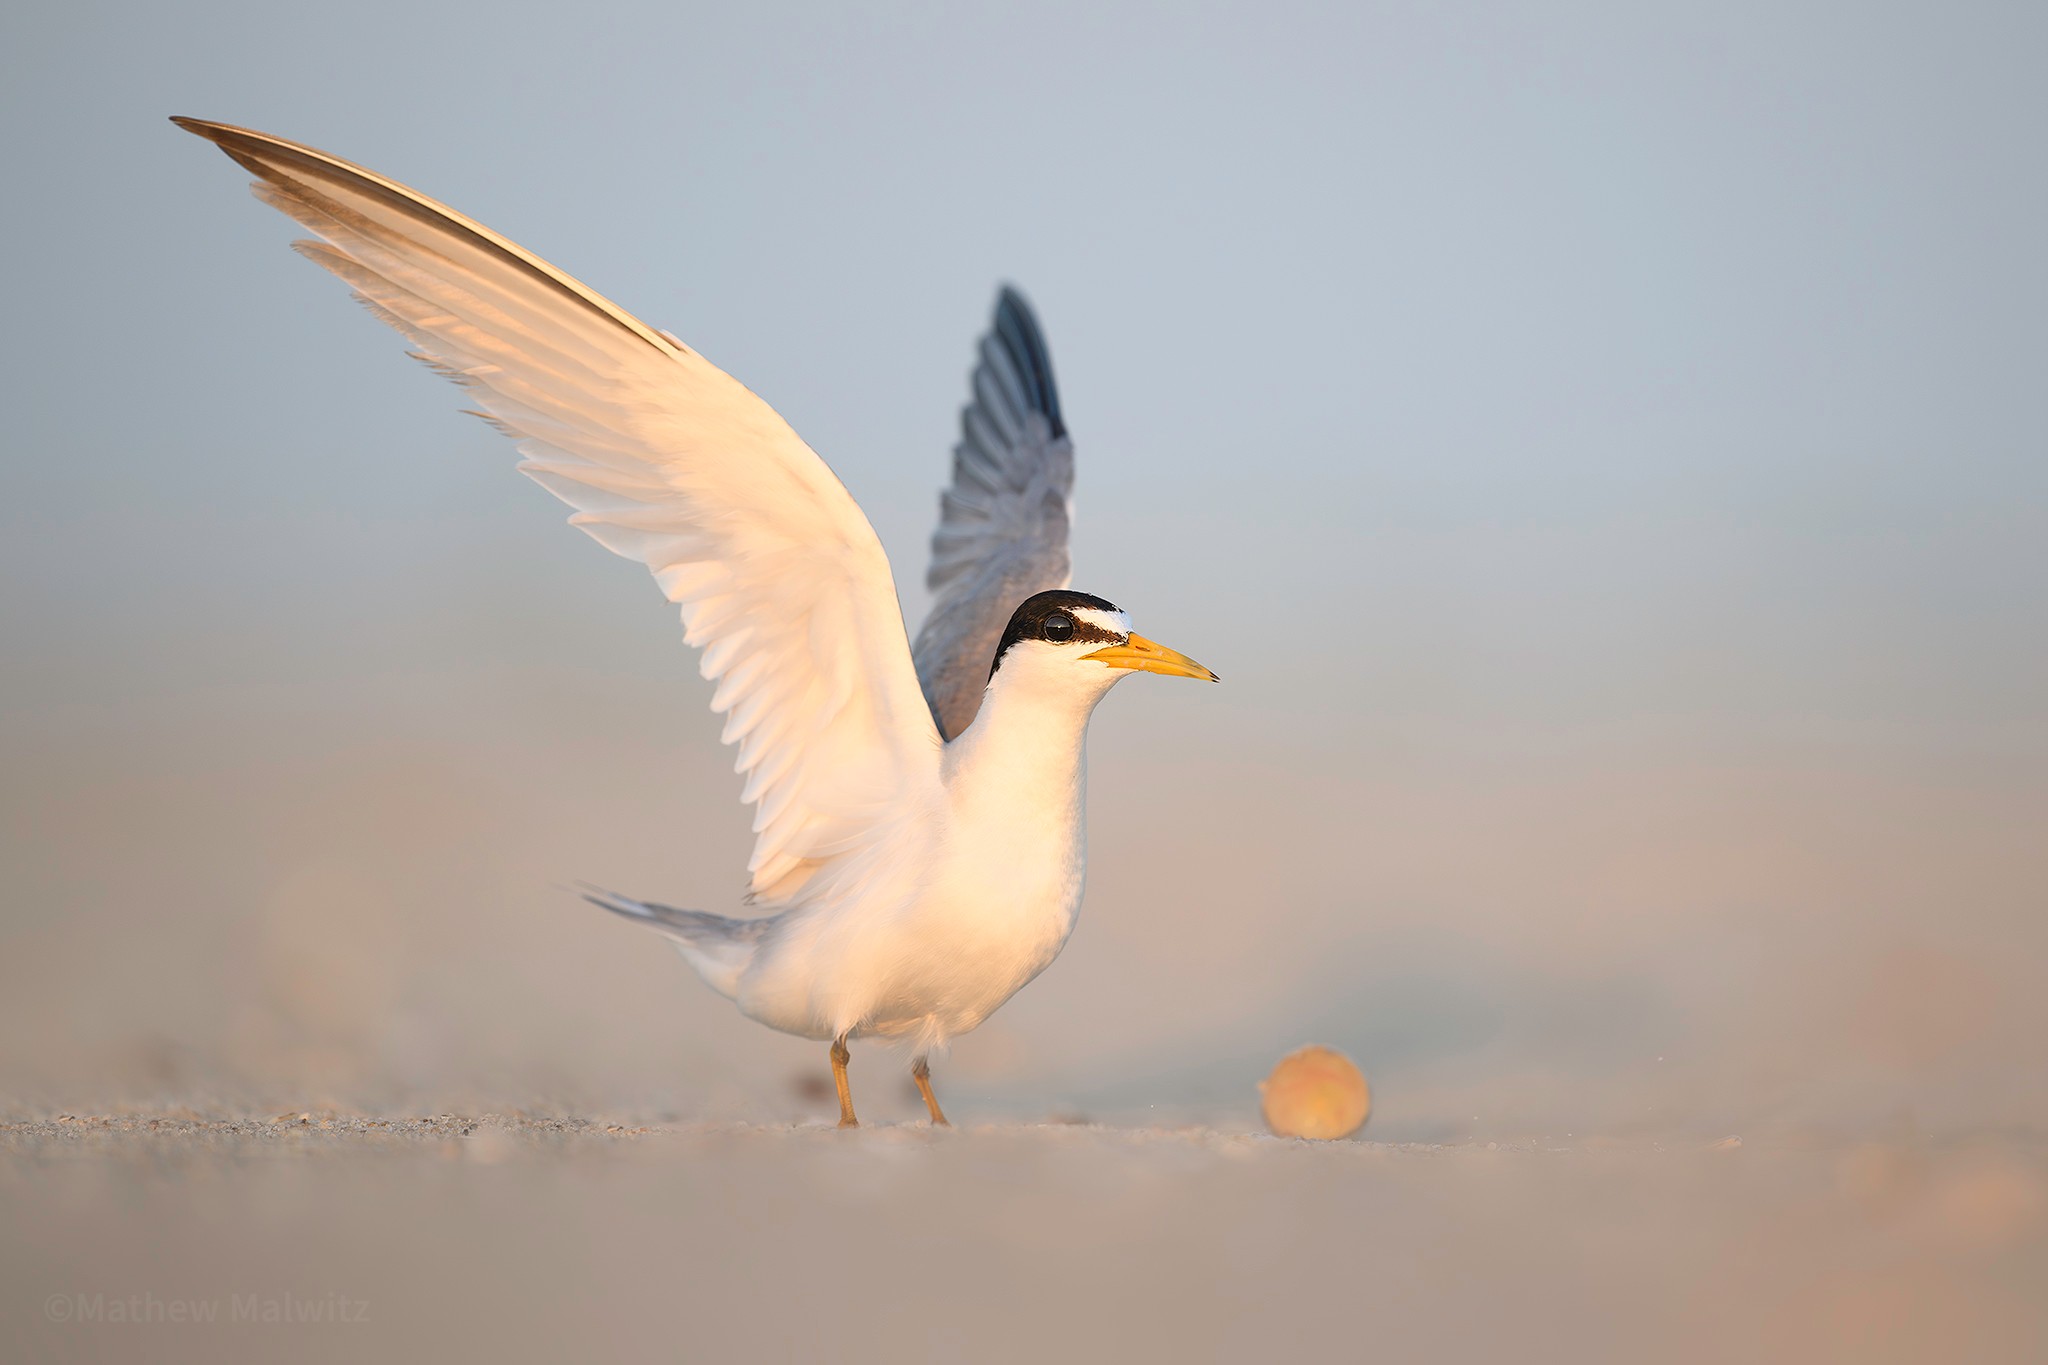
Overcast light is no exception to the rule. Even when the clouds roll in, shooting on sun angle is imperative, even more so than when the sun is out. We’re already struggling to get enough light in these situations, so every little bit counts. Shoot against the sun in these cases can also completely eliminate any catchlight, giving our subject dead eyes.
Backlighting, Silhouettes, and More!
Once we have a good grasp on front lighting our subjects, but we can also try out hand at backlit photography. To achieve this look, we want to shoot into the sun or against sun angle. The goal is to put a greater emphasis on shapes rather than details.
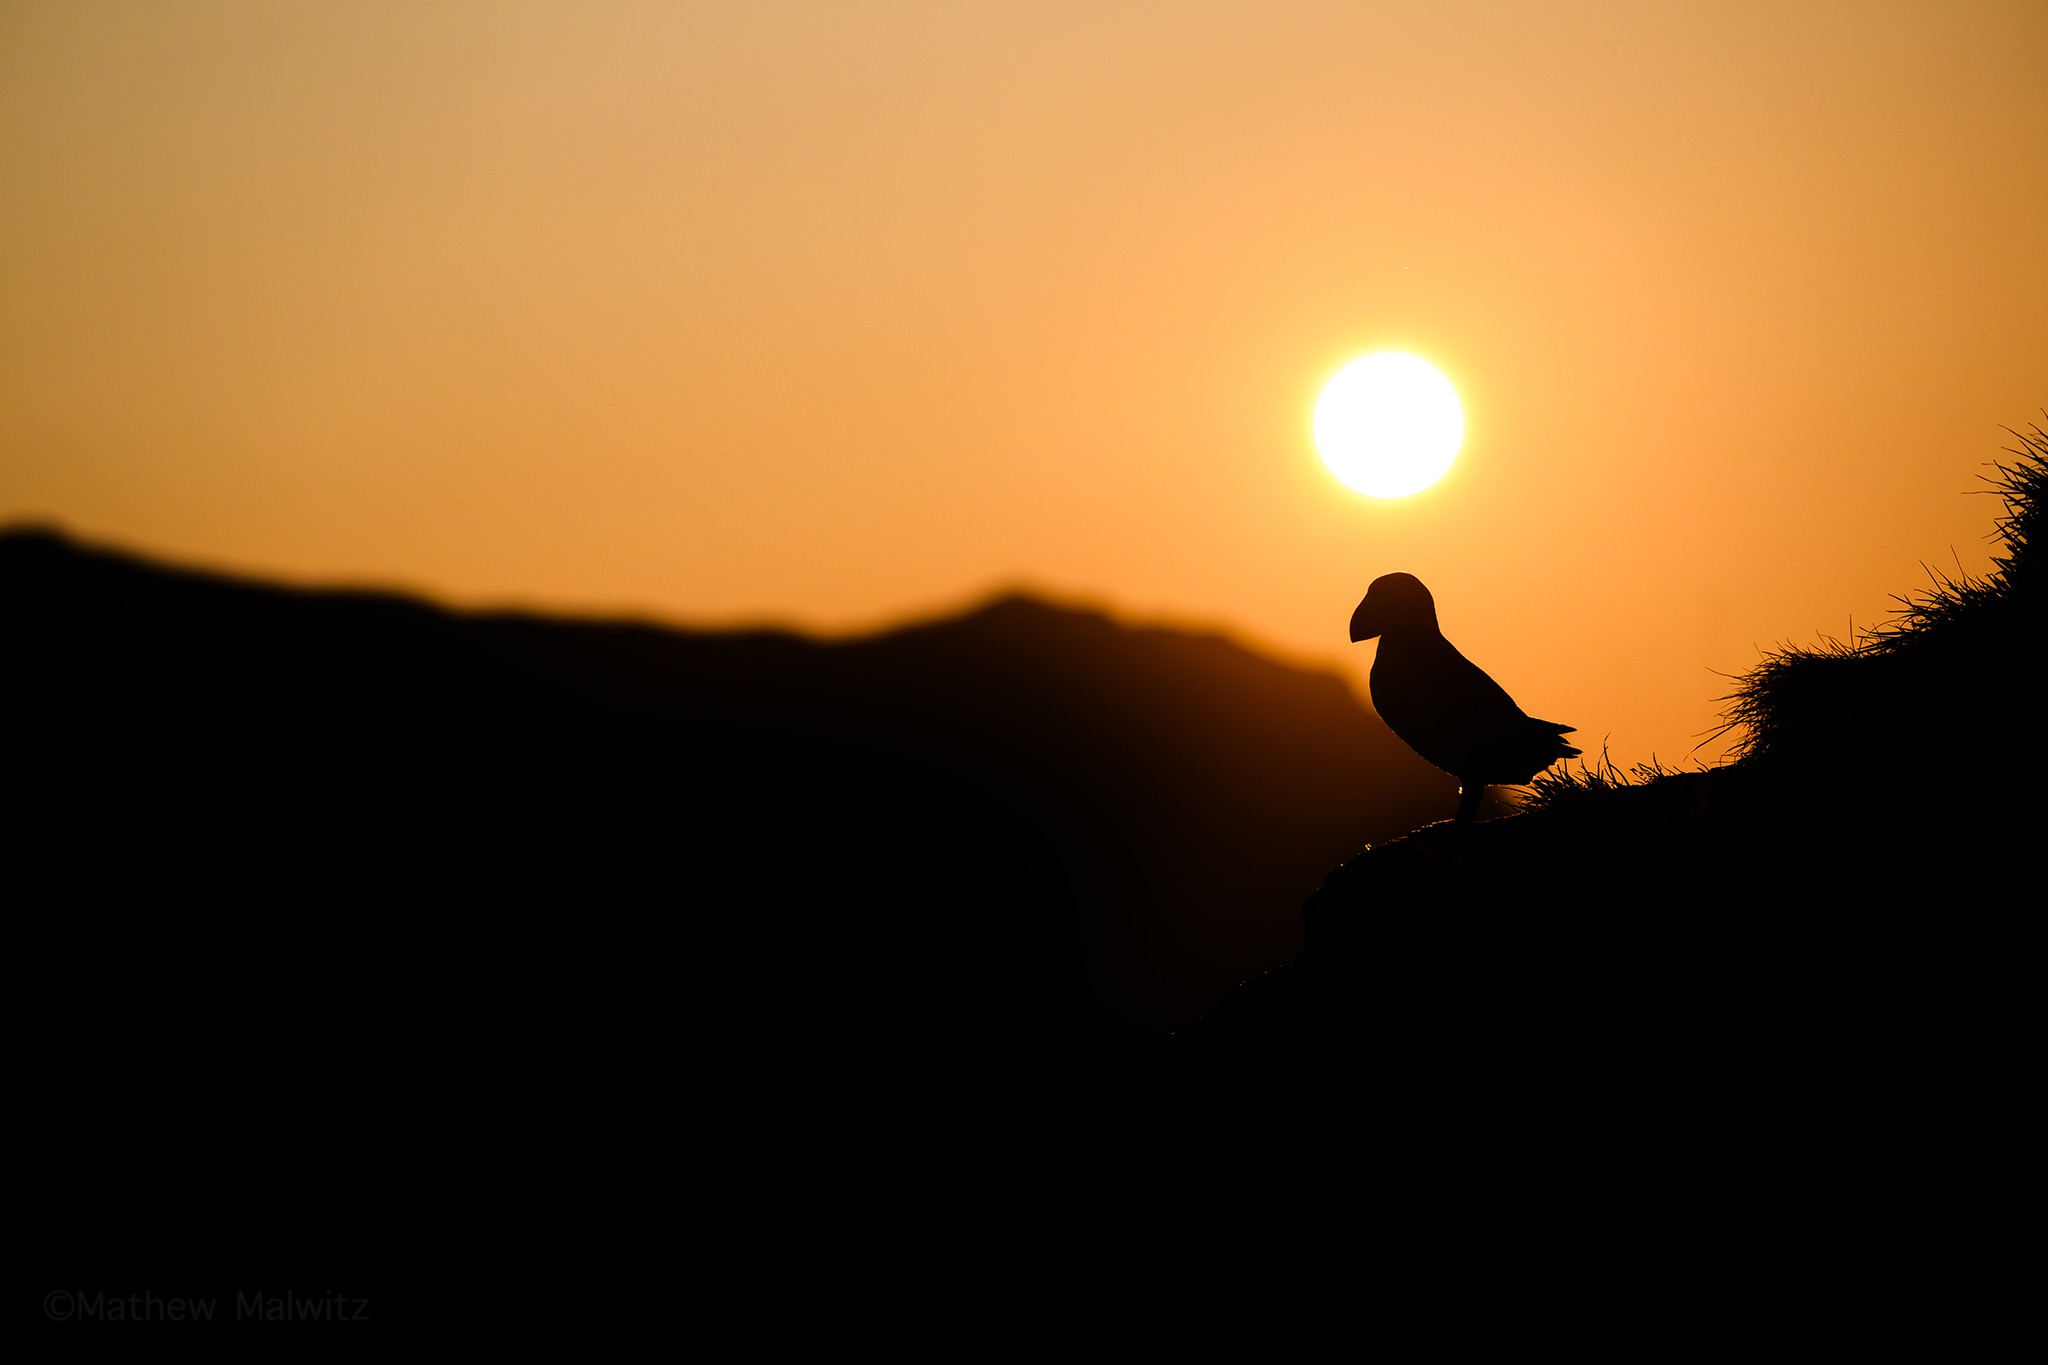
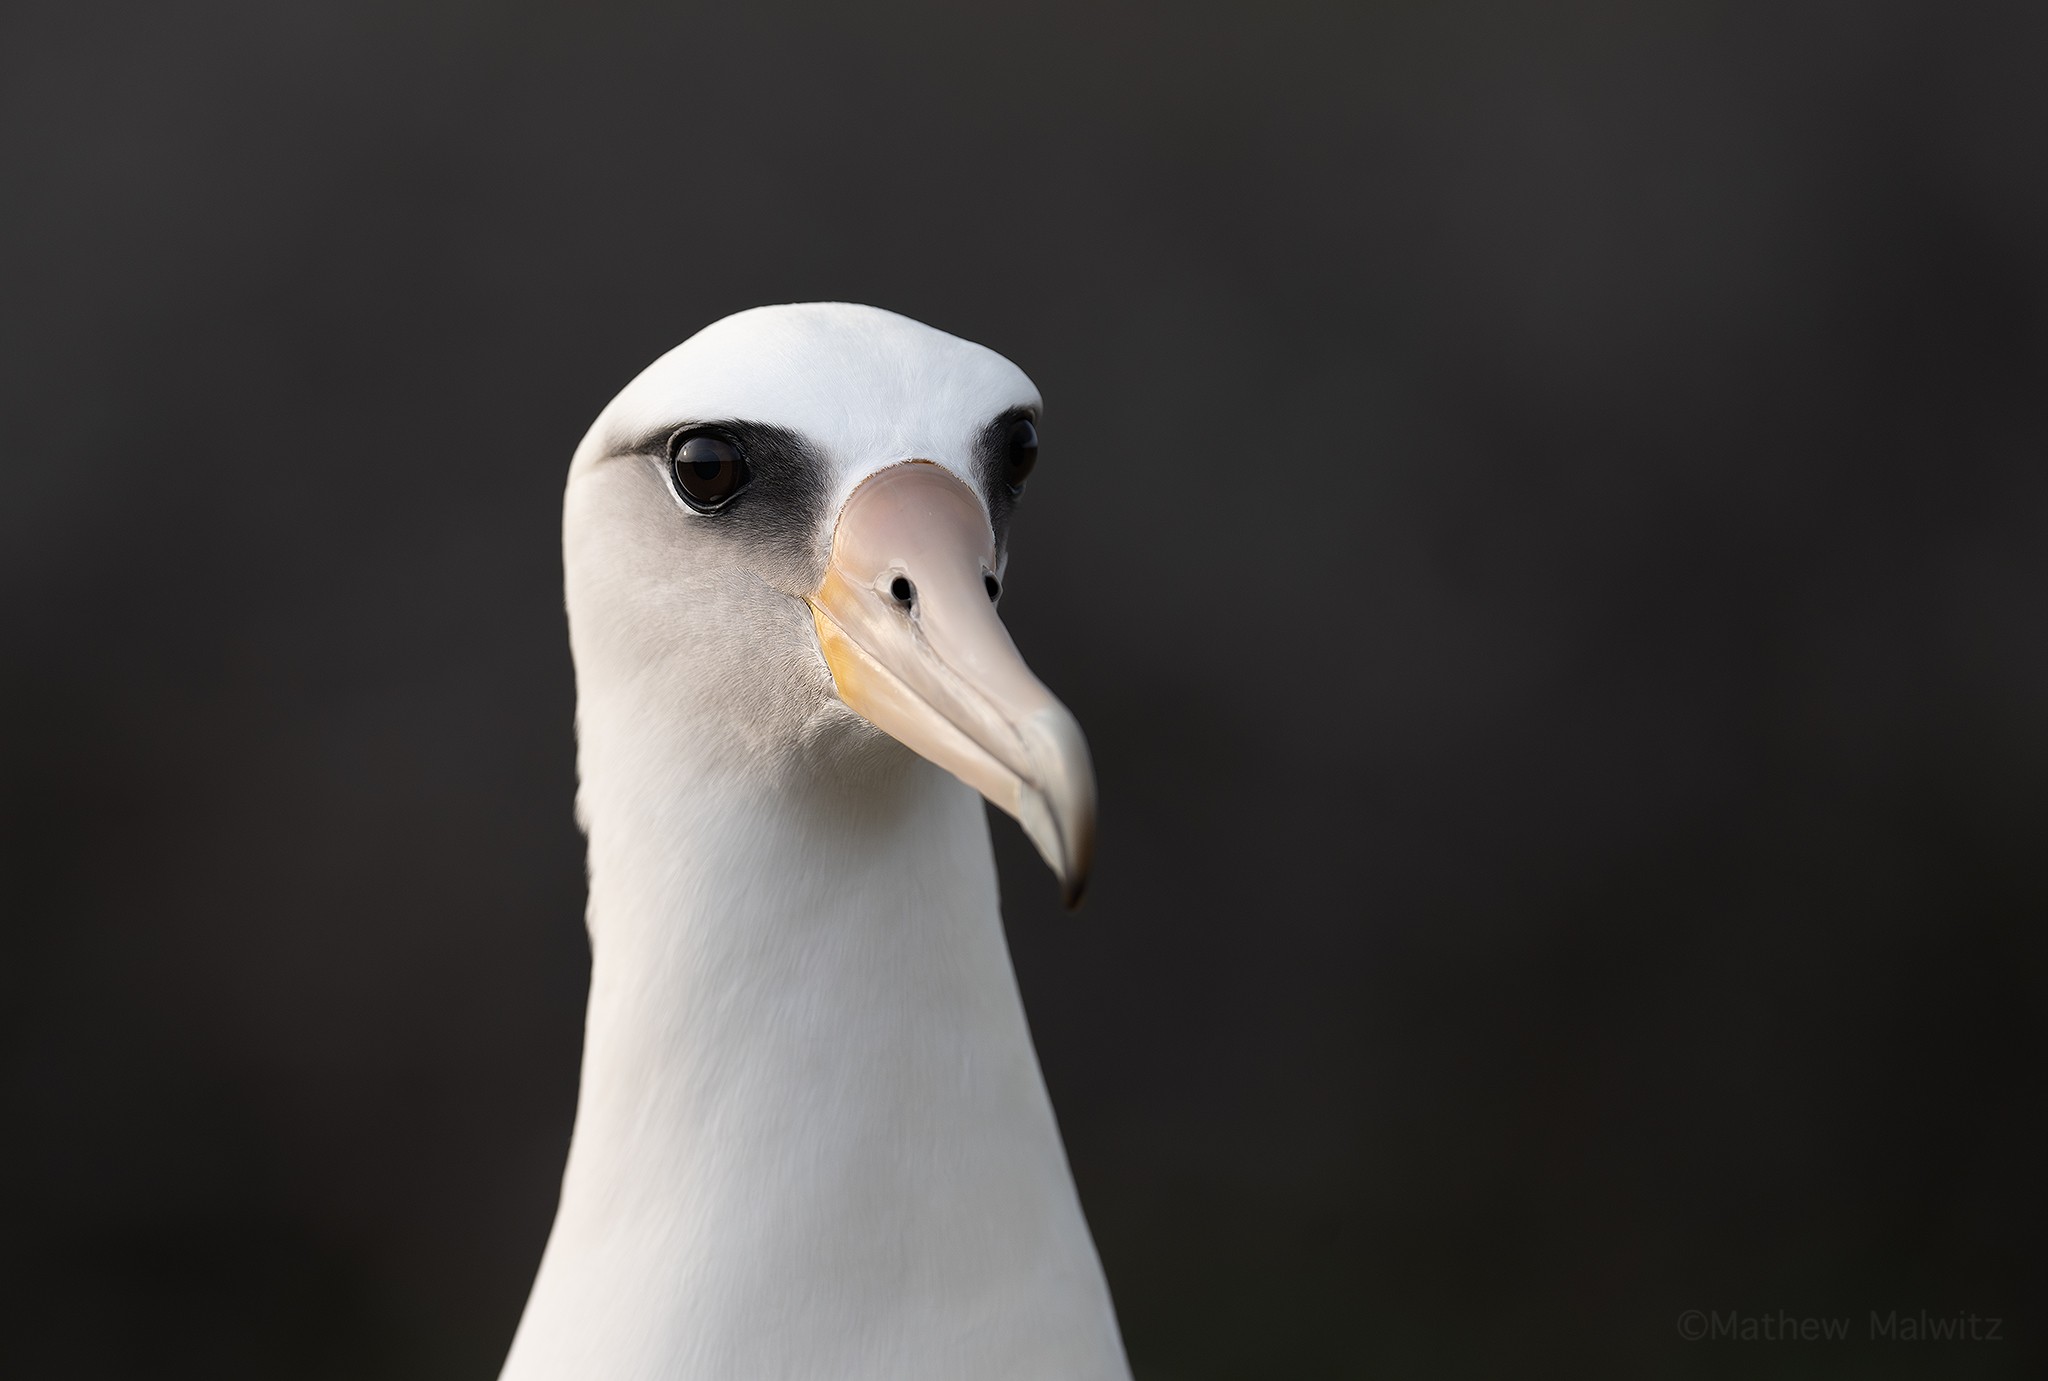
One of the most stunning ways to approach backlighting, is by shooting into dark background. The resulting images are dramatic, and center focus solely on the subject. The challenge here is getting that dark exposure, as the camera is programmed to make exposures neutral gray.
You’ll need to underexposure slightly in order to get the scene dark enough. Manual shooters can adjust their settings as needed, though if you’re not yet familiar with these controls, we have a solution. First, you’ll need to get out of auto mode and take more control. Instead, try shooting in shutter, aperture priority modes or program. In these modes you can adjust your exposure compensation. Try setting this at a negative value of -2 or even lower to get the shadow values dark enough.


With our light source behind the subject, the outer edge of our subject may become illuminated. This effect is known as rim lighting. Rim lighting, also known as edge or hair lighting, is the illumination of a subject’s outer contours that provide a harsh outline that separates it from the background. Typically used in portraiture, rim lighting makes the subject pop against both dark and light backgrounds.
Additionally, we can keep our exposure bright enough to have detail throughout the frame, including the background. Backlighting can produce some of the most stunning backgrounds imaginable, especially when paired with narrow depths of field. The way in which highlights are rendered adds a unique, glistening appearance to the out of focus areas of our image.


Silhouettes
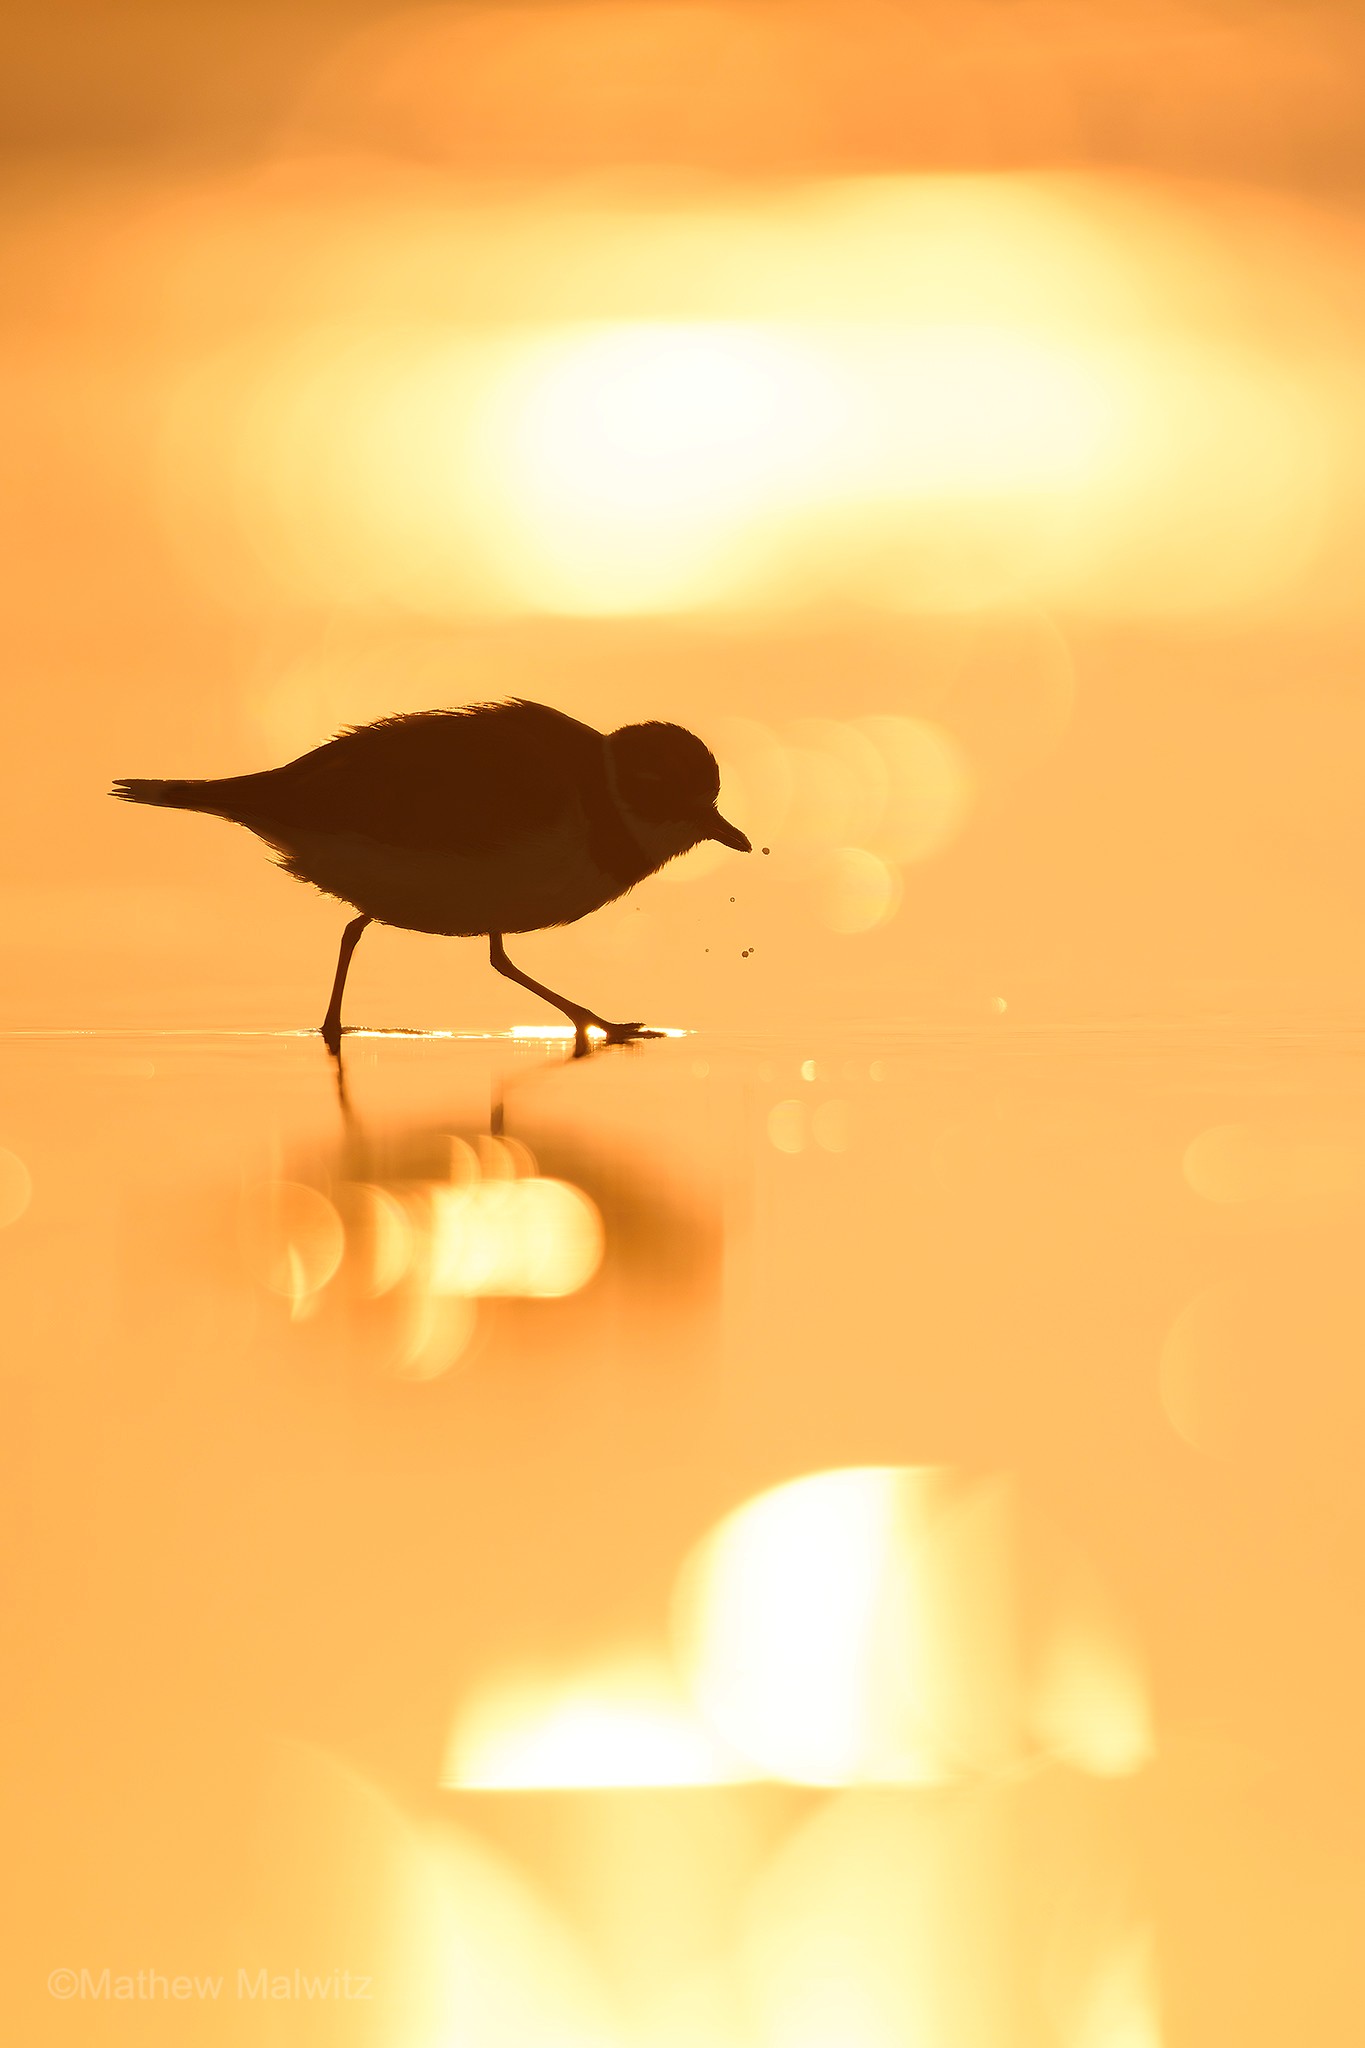
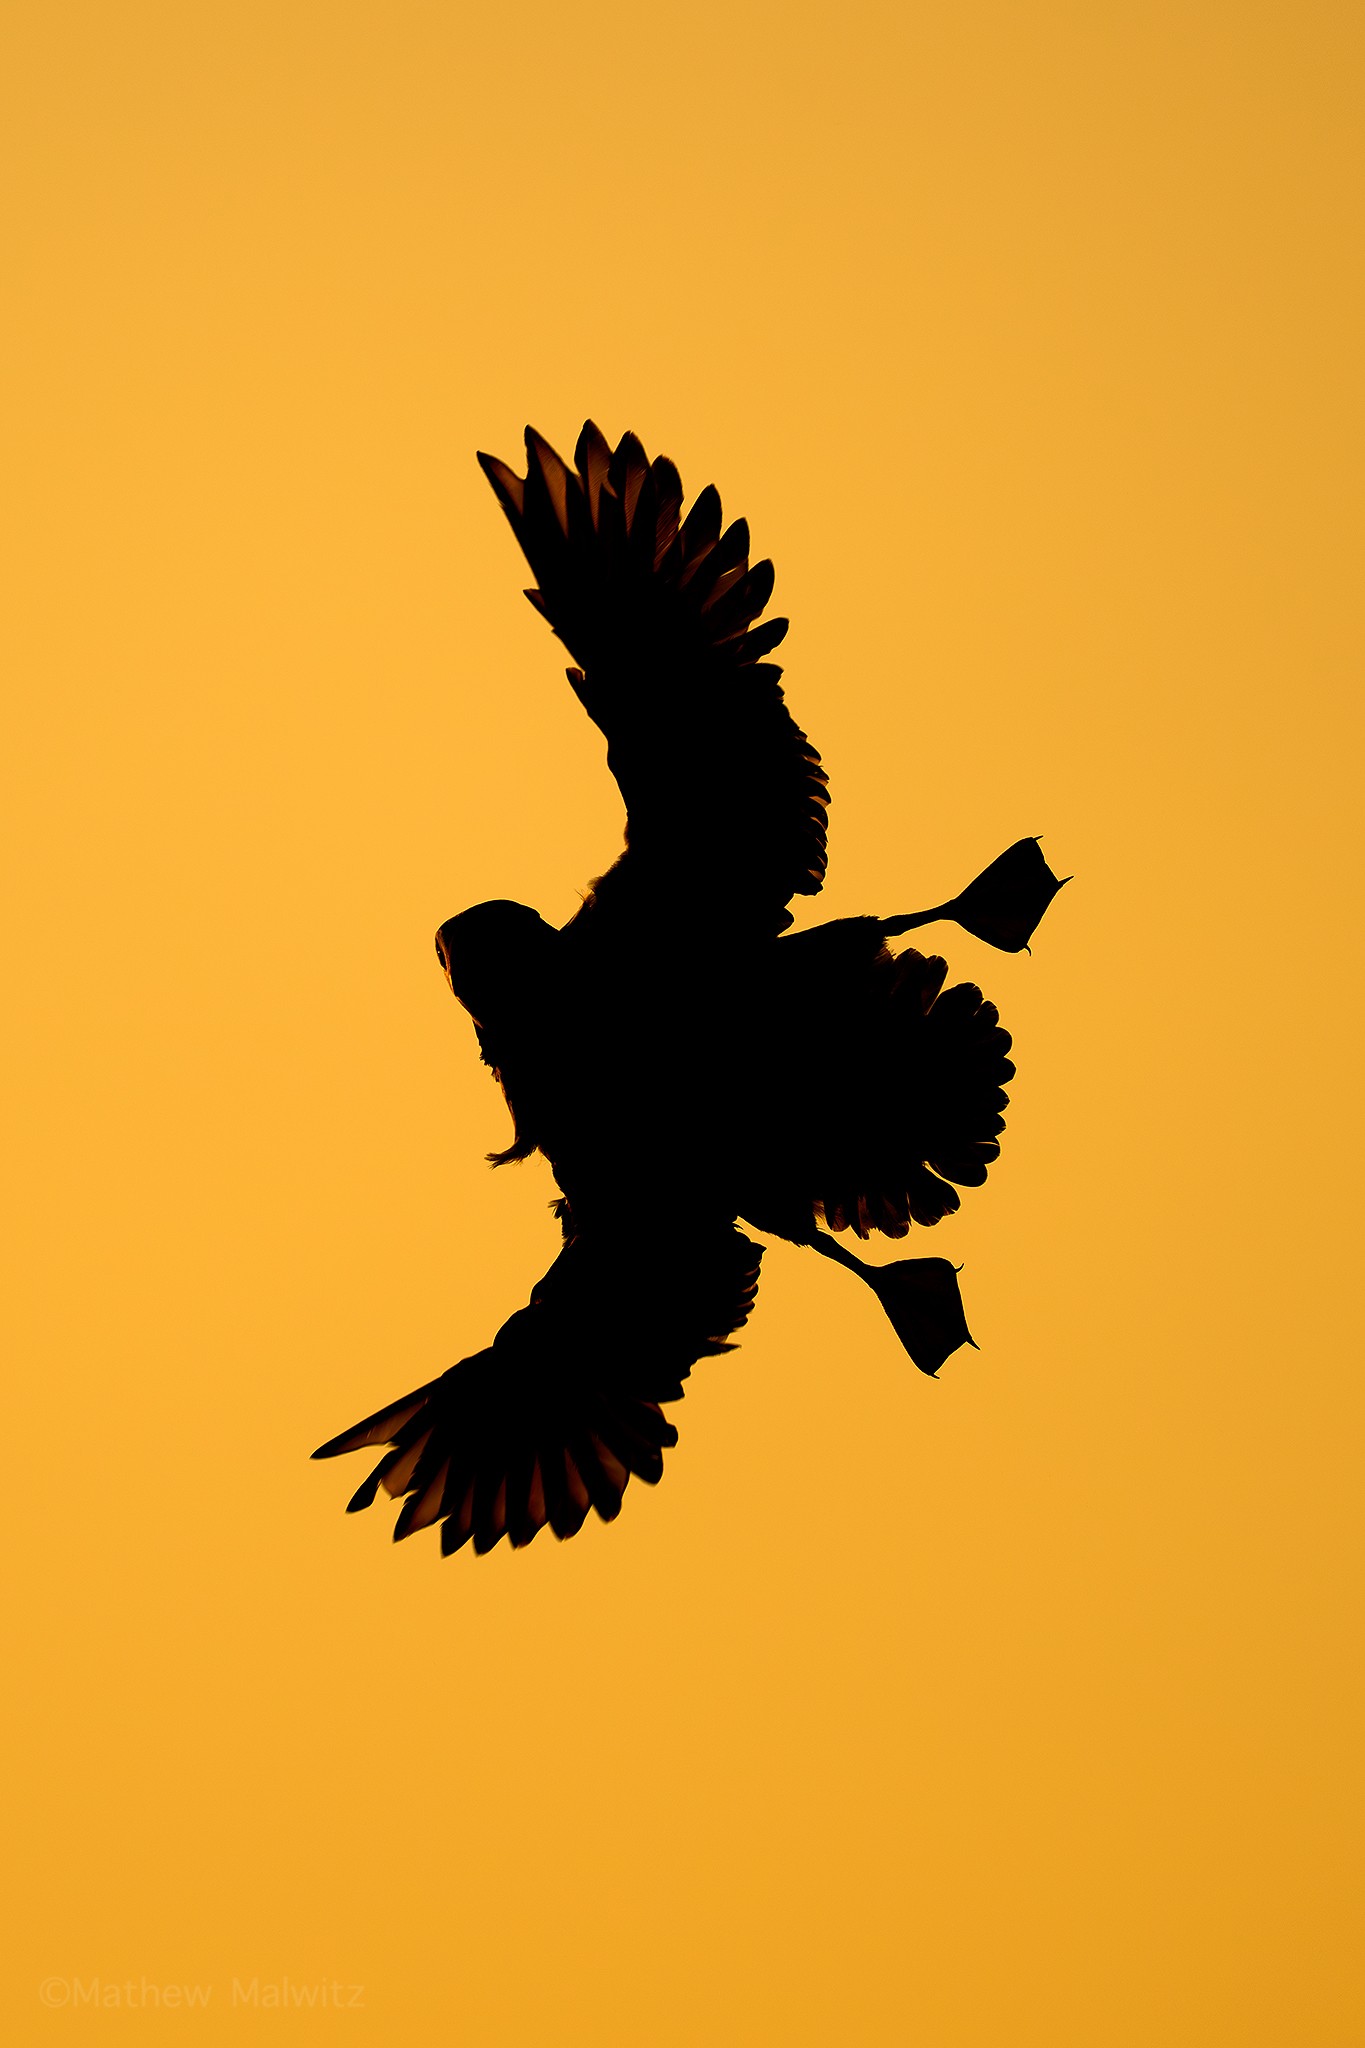
If we apply the techniques learned for dramatic backlit shots to a subject in front of a bright background, we can capture silhouettes. In this style of photography, we’re exposing for the background, allowing the subject to be completely in shadow. For this to work, the background must be significantly brighter than the subject.
Like the standard backlit image, we must underexpose our scene to achieve this look. The level of change we make to our exposure will vary based on the intensity of light and the nature of our subject. Of course, a moving subject like in the example below will rely on a faster shutter speed. Additionally, The closer our subject is to the light source, the greater the adjustment to our settings we’ll need to make.
Side Lighting
In order to capture truly exceptional shots, we need to get off sun angle. When the opportunity presents itself, side lighting can aid us in creating dramatic compositions with dark backgrounds and somewhat front lit subjects. The trick is shooting off sun angle just enough to catch a background in shade while the subject is still mostly illuminated.
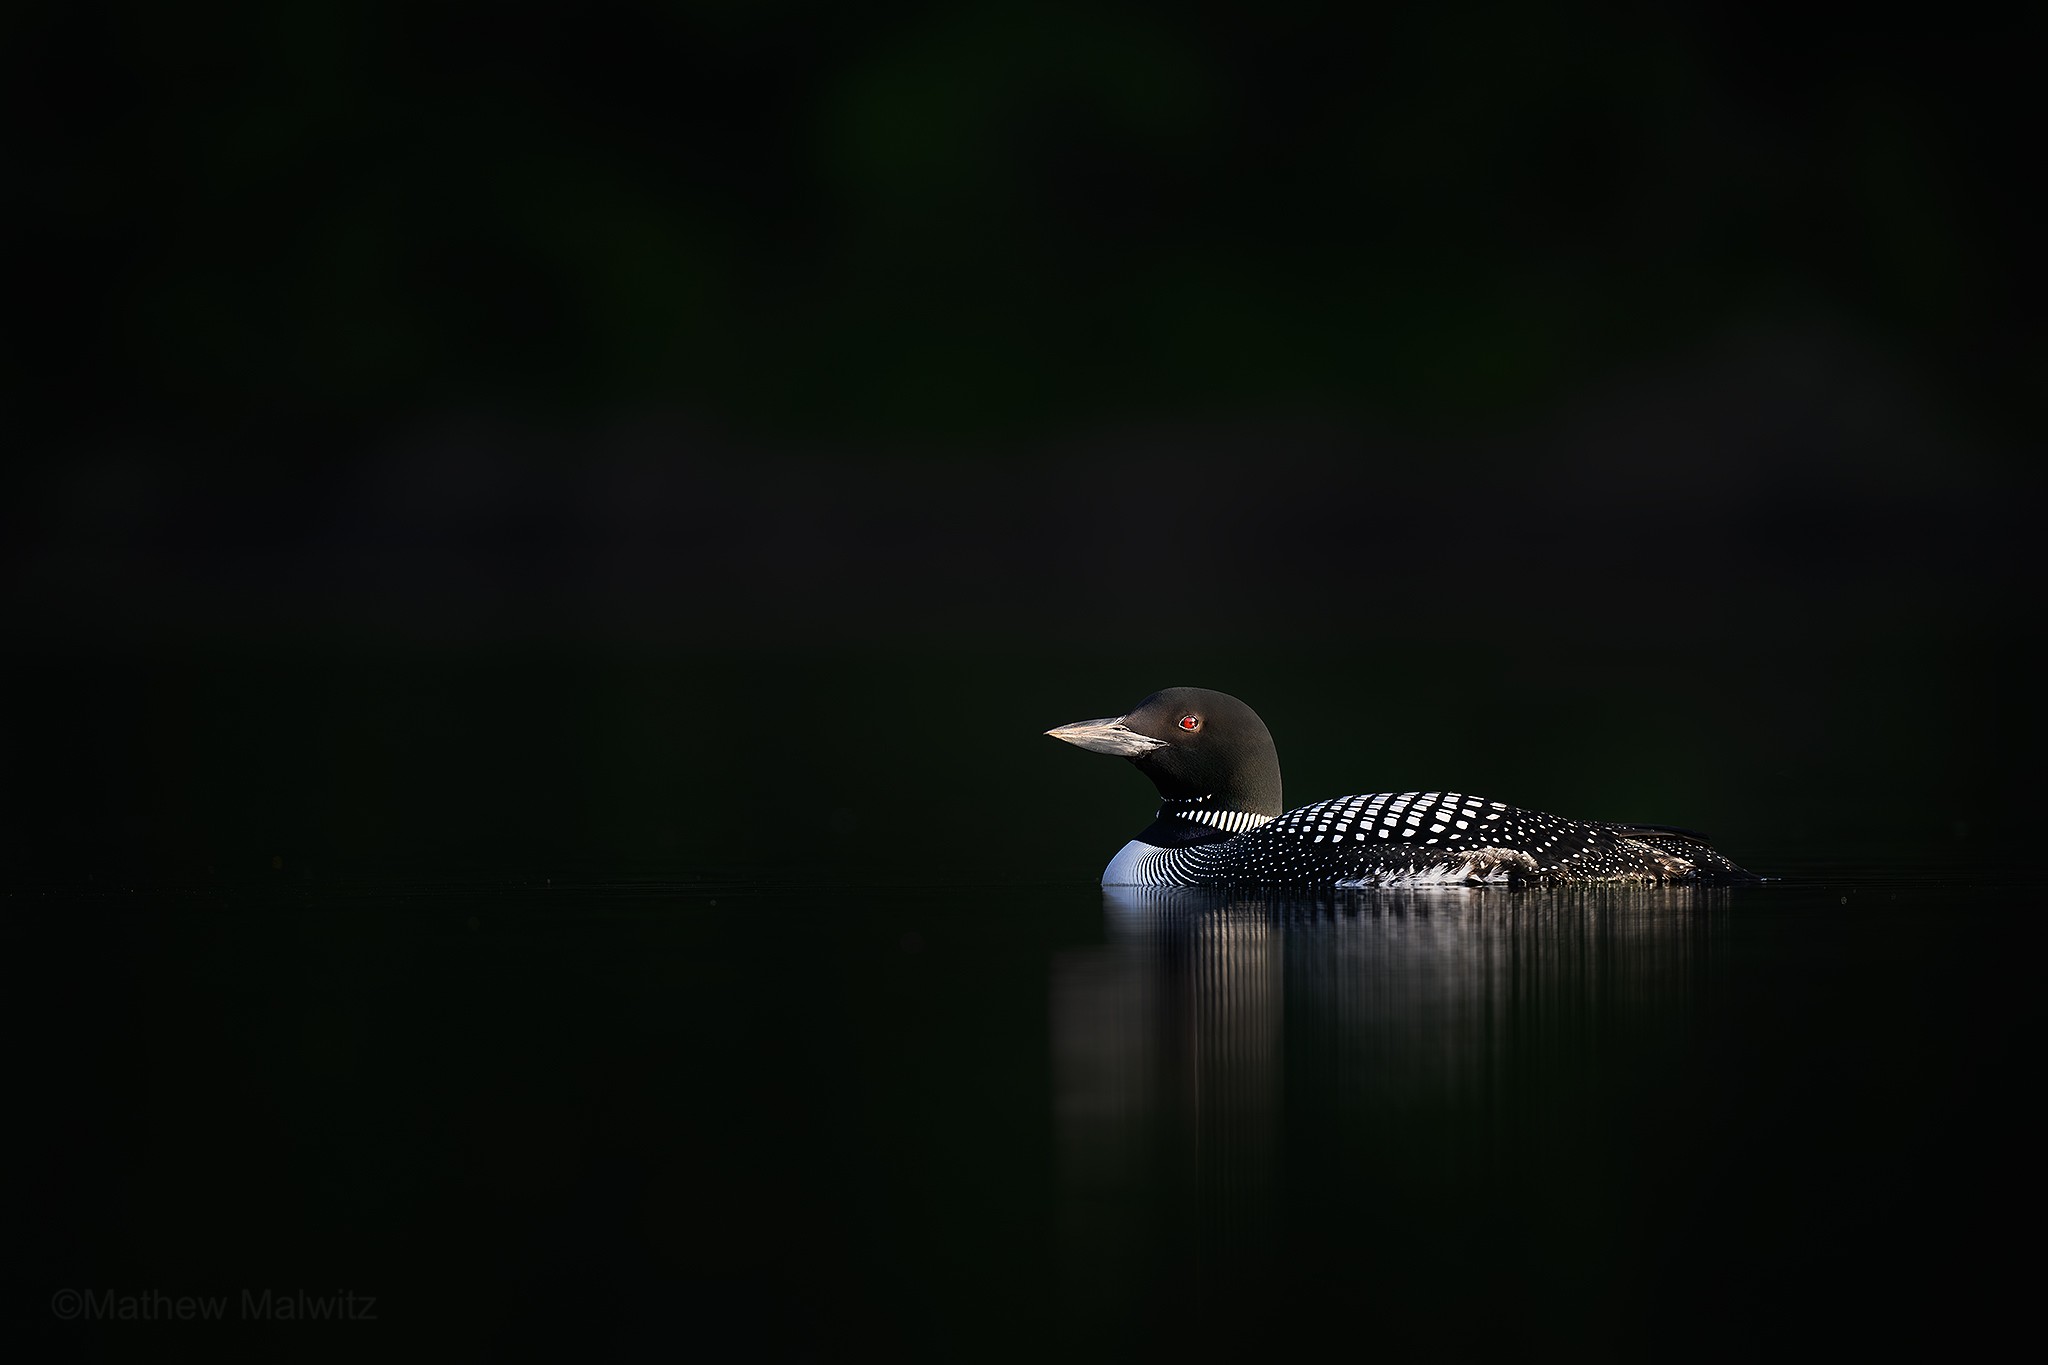
Once again, this look is achieved by underexposing our image. Are you seeing the trend here? Many creative lighting scenes require altering our settings beyond what the camera deems acceptable, so a familiarity with exposure modes is paramount to fully taking advantage of all lighting conditions.
Lighting is the key to photography, and once you grasp it, you’ll be well on your way towards creating stunning images, no matter what the subject. If you’d like to learn more about lighting and wildlife photography, check out our other guides and articles on the B&H Explora page!
