
Have you ever taken a photo that looked so good on the back of your camera, only to get home and see that it’s just not sharp? We’ve all been there, and even the experts miss more shots than they keep. That said, there are many tricks and techniques we can learn to improve the odds. In today’s guide, we’re looking at five techniques to aid us in confidently capturing tack-sharp photographs.
Sharpness is critical in most genres of photography, especially nature and wildlife. Sure, we can intentionally blur elements to showcase motion. We especially love those smooth, blurry backgrounds, but in general, wildlife photography is all about the details. After all, animals are inherently detailed beings, with fine textures, furs, and feathers. One of the best ways to make sure we can see all that detail, is by shooting in the best light.
Get Out Early, Get Out Late
Wait, haven’t we heard this before? It’s a known fact that shooting in the first and last hours of the day is advantageous. The light is soft and directional, and the wildlife is at its most active. These two reasons alone are worth getting out of bed nice and early, but there’s another oft-forgotten reason for doing so: atmospheric clarity.
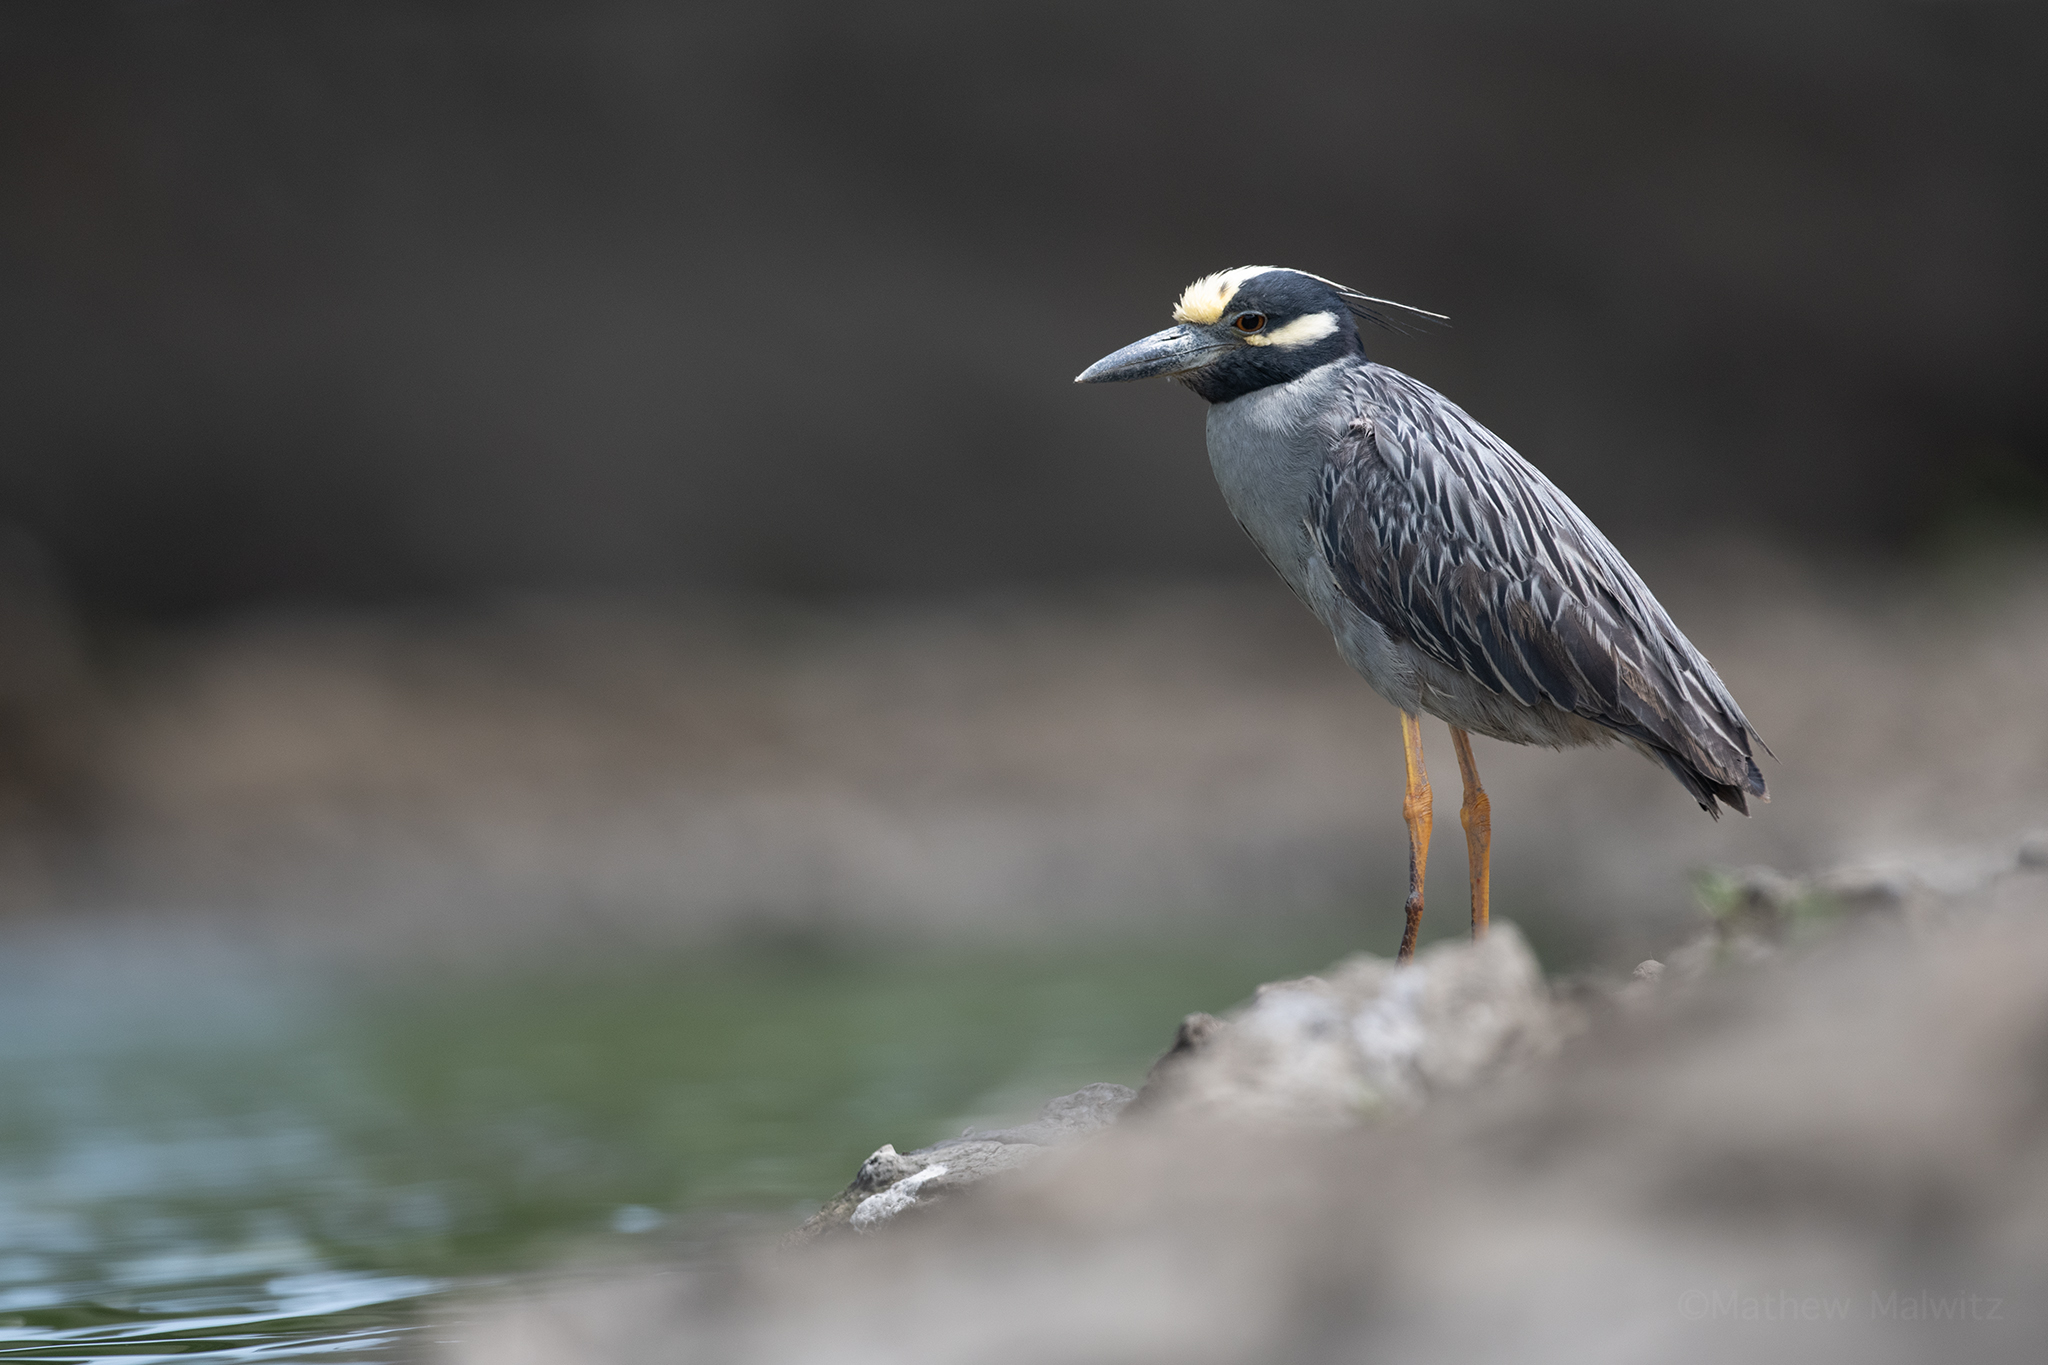
As the sun shines brighter, it’s not just harsh shadows we’re contending with, but heat distortion and haze. This is the wavy shimmer we see radiating off the ground during the hottest hours of the day, and our camera and lens combos are really good at picking this up in frame. Even in winter, temperature differentials can result in this form of atmospheric distortion, and there’s no working around it.
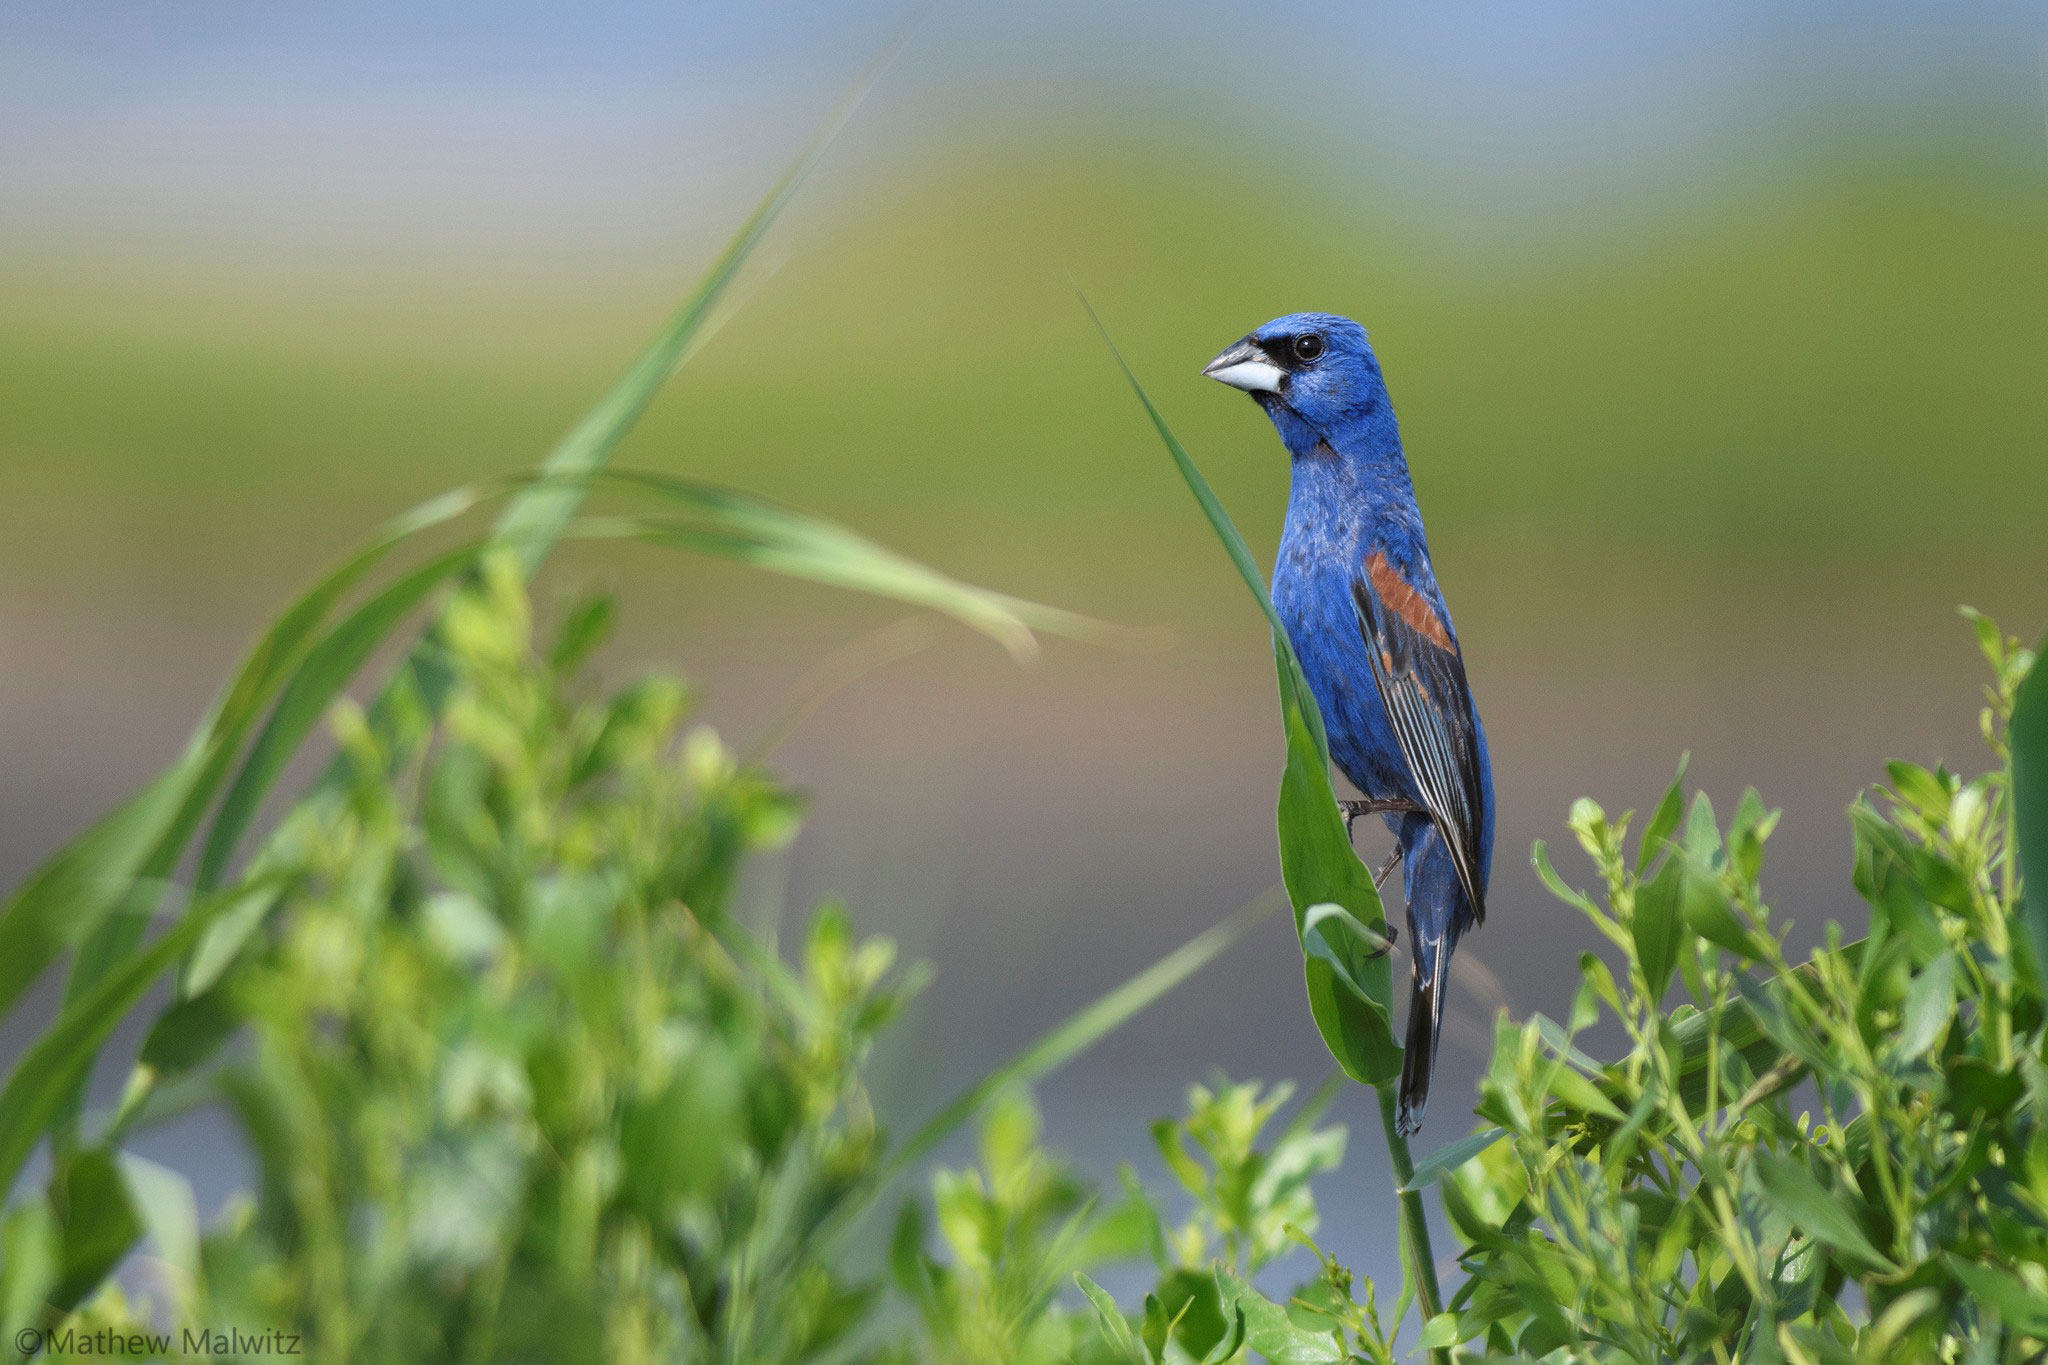
One way to quite literally beat the heat is to shoot only on cloudy, overcast days, but this means we’re missing out on all the dramatic colors and details that come with clear mornings. Don’t limit yourself and shoot when the temperatures are at their lowest, and the sun is low in the sky.


The closer we are to our subject, the less pronounced this issue becomes. That said, once the sun is up, there’s no avoiding the impacts of heat shimmer. In fact, many photographers take their long lenses out on an inaugural outing, only to come back and claim that the lens isn’t sharp. Often, the conditions were at fault, and not the gear. The best wildlife photographers know when to take the shot, and when conditions just aren’t great.
Keep Your Shutter Speed Up
Shutter speed is the setting that determines the duration of our exposure. This can be set to last for multiple hours to a fraction of a second and anything in between. For our purposes, we just need to remember one thing. The faster our shutter speed, the quicker the snap, and the better our chances of freezing any motion in frame.
That motion can be something as drastic as a bird in flight, but it can also be more subtle head movements or our own shaking. No matter how steady you feel, we all shake a bit, and this can translate into blurry images if we’re not taking the proper precautions.
The classic rule of thumb was to keep your shutter speed as fast as your lens is long if not faster. For instance, a 500mm should never be shot at a shutter speed slower than 1/500 of a second. Tripods and modern image stabilization systems render this point almost moot, but if you’re not using a tripod or any form of support, consider how steady you’re able to hold your long lens. You’ll find that this old school rule still has some practical applications, especially for prolonged hand-held shoots and with heavier lenses.


Watch Your ISO Values
ISO technology has progressed far beyond what anyone could expect. Not too long ago, the idea of shooting at ISO values over 1600 seemed ridiculous. In fact, I remember being told by an acquaintance that they could never shoot beyond ISO 800, as the setting would degrade the quality of their image too much for their liking. Now, it’s quite common for photographers to shoot at values of 6400 and even 12,800 without a second look.
Another consideration when dialing in your ISO values is cropping. We may not think too much about this in the moment, but if your subject is small in the frame, you’ll want to think about how much cropping you’ll do, as this not only decreases the amount of resolution we’re working with, but enlarges any imperfections as well. Just compare the image quality of a high ISO full frame image and one that’s been heavily cropped. If you’re planning to crop your images, you better keep your ISO down.


Shoot Continuously
Whenever we press our camera’s shutter button, we shake the camera a little bit. There are some techniques we can practice to minimize the amount we move the camera, such as gently rolling the finger forward onto the button instead of mashing it down. That said, another trick we can use is to simply shoot in bursts.
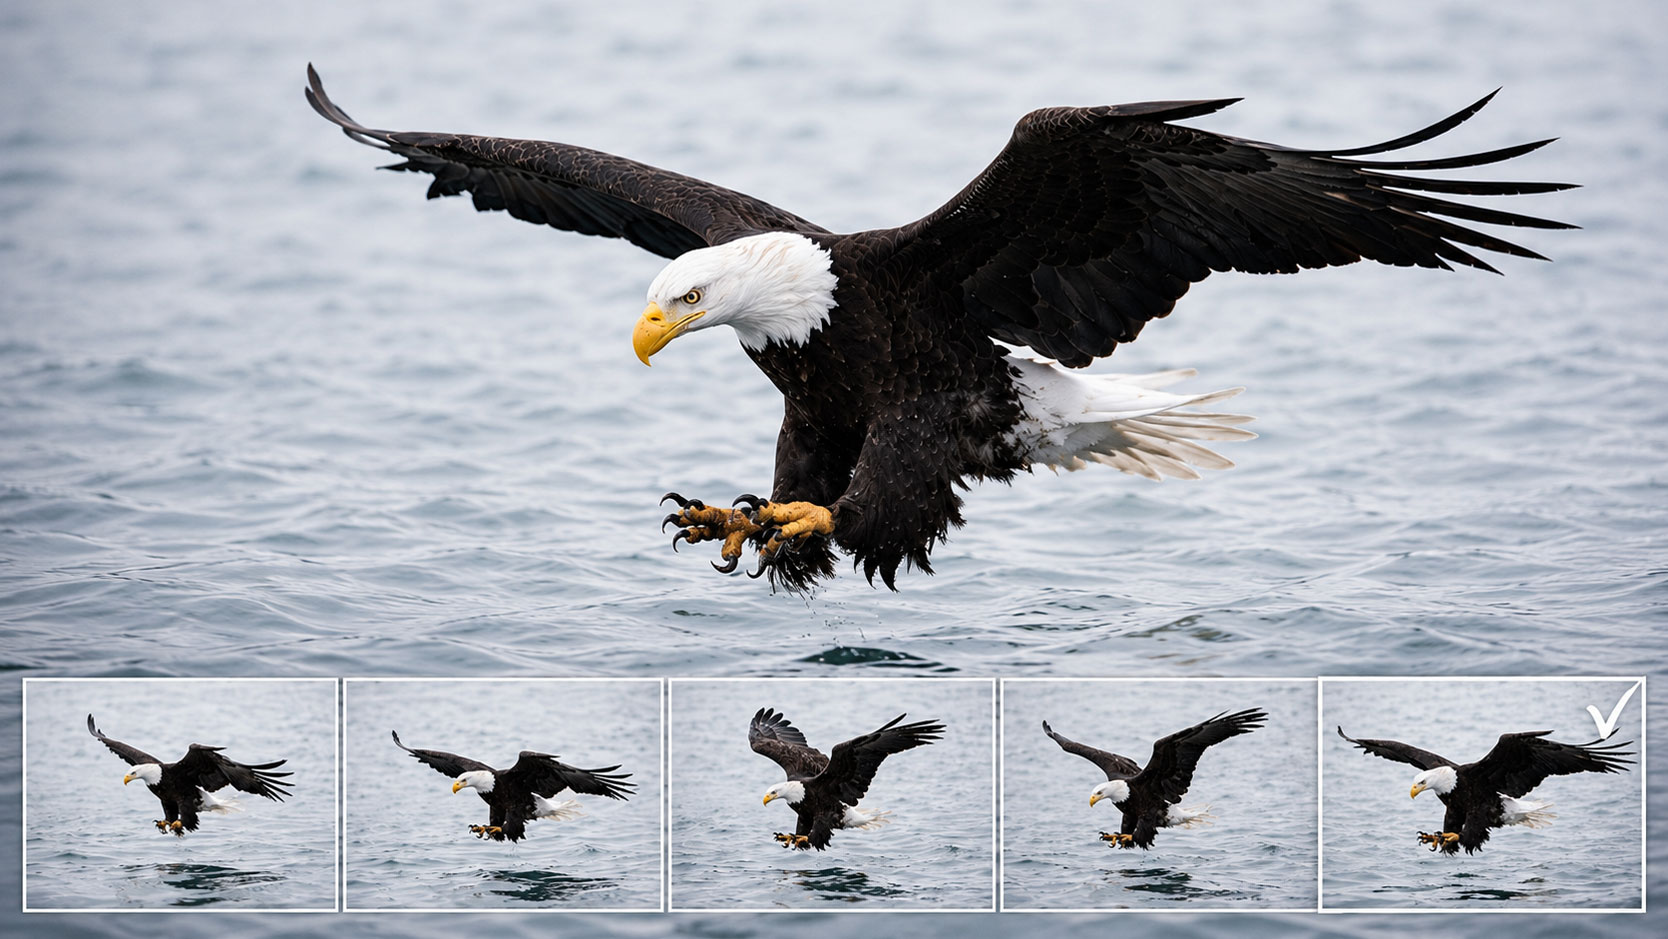
Most cameras today offer blisteringly fast continuous shooting speeds of up to 20 or even 30 frames per second, but we only need around half that to benefit from this technique. Simply shoot a burst of 3 to 5 images and take a look. The first shot or two may not be as sharp as we’d like, but the following images in the sequence are likely to be noticeably sharper.
Use a Tripod
Tripods are our trusty three-legged camera support system. Love them or hate them, they provide a solid base to aid us in capturing sharp images in all conditions. For wildlife photography, tripods are especially important since we’re using a big, heavy lens and often staking out locations for hours at a time. We don’t know about you, but trying to handhold a 600mm lens in preparation for a shot is pretty tiring.
Imagine trying to hold up a 10-pound dumbbell for 10 minutes, let alone an hour, and you can get a good idea of why a tripod is so important. A key aspect of tripod usage is to remember to keep head controls loose, so long as it’s safe. Any rigidity in the system will send vibrations back into the camera, so some give is essential. This is why many wildlife shooters prefer gimbal heads, as the allow you to balance the rig, whereas a ball head will simply flop over and risk damaging your gear.
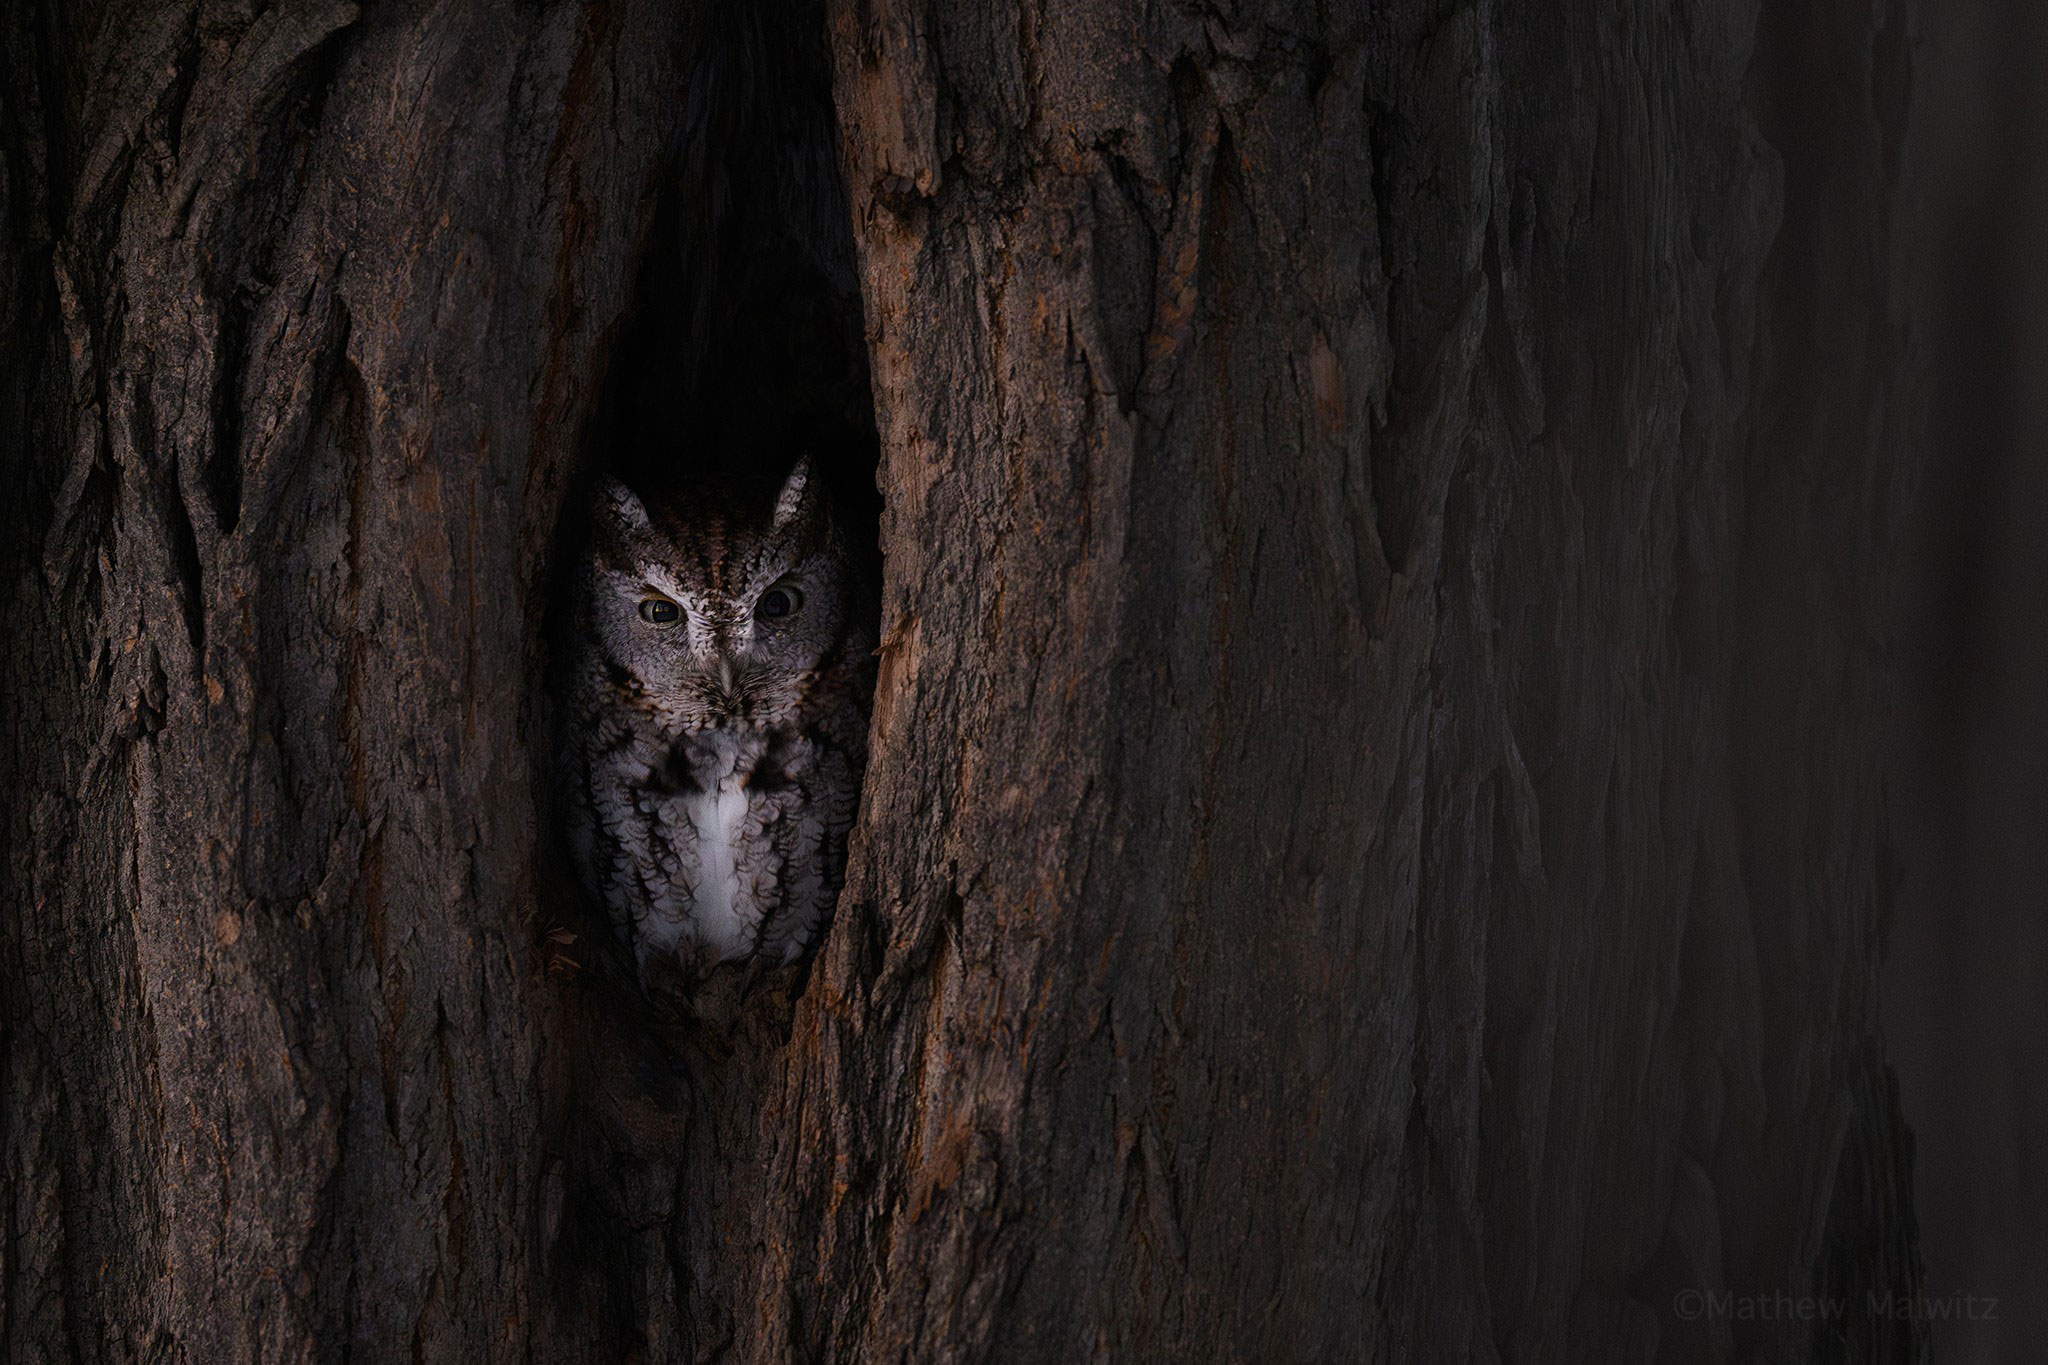
Another piece of the tripod puzzle to consider is whether a remote trigger will help. If you’re working with a stationary subject, say a roosting owl, you can use a remote to take images. This completely removes any and all shake from the equation, so long as you’re using a mirrorless camera.
Put It to Practice
With the right skills and some very helpful tools, we’ll be capturing tack sharp images in no time. Practice the techniques above and give yourself time to get accustomed to new gear. If you’re using a new long lens and not getting the results you want, keep at it, as there’s a learning curve to all new gear.
We hope these tips and tricks aid you in capturing sharper images. If you’d like to read more about wildlife photography, from the basics to more advanced topics, check out our other guides and videos on the B&H Explora page.
