
So, your spouse has elected you official photographer of the family holiday party! Or maybe your boss volunteered you to shoot the office party? Or your kids put your name in the running as school party cameraperson. Regardless of the type of party you’ve been assigned (or volunteered) to photograph, here are some tips and tricks that will help you capture memories that will last a lifetime.
Right Gear for Your Holiday Party
As your party’s official photographer, you’re likely expected to deliver more than just some smartphone photos. But that doesn’t mean you need to drop thousands of dollars or refinance your home loan for a deluxe setup. Maybe you don’t have a fancy new mirrorless camera, but you may have an old DSLR or point-and-shoot camera gathering dust in a closet. Sure, the megapixel count won’t be as high and the autofocus might not be quite as snappy, but those can still totally work. Worst case, maybe ask family or friends if any of them have a camera you could borrow for the night. Make sure they can give you a crash course on how to use it too. If they can’t, give yourself a night to watch some YouTube tutorials and play around with it.

If your camera has interchangeable lenses, take note of what type of lens it’s equipped with. Is it a zoom that will let you shoot a few perspectives in quick succession, or a prime where you’ll have to physically move with your body to capture different angles? Wider focal lengths (think 12 to 50mm) can work well indoors and in small spaces. Longer focal lengths (60 to 200mm) are best for outdoors or close-ups, as group shots with a long lens can be a real pain.

Also look to see if your camera has a built-in flash or one you can snap into the hot shoe. A flash could be a major asset in dark spaces but is another element you’ll need to think about and configure when composing shots.
Choosing Subjects and Backdrops
Now you’re at the event, snapping pics left and right, but they’re all starting to look the same. Try to divide up your shots into types: solo, group, and environment. Make sure you’re getting a fair amount of each. Digital files won’t take up too much space, so try to get at least three or four attempts at any shot with people in it—especially group shots. You never know when someone will close their eyes or make the wrong kind of face. Try to get your subjects comfortable by joking around with them and asking them about people or things that make them smile. If someone seems stiff and awkward, ask if you can take a couple candid pics once they go back to their conversation.

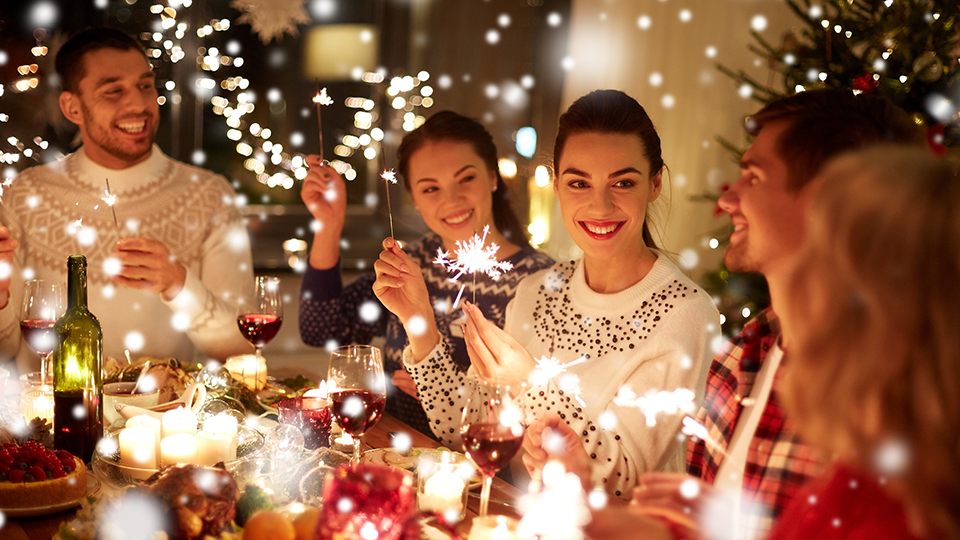
Just like your subjects, make sure you’re changing up the background as well. Avoid staying at any one spot for too long. Maybe get some shots with decorations in the back of the room, some with people, and some with a shallow depth of field so the background is totally blurred. Try to create depth by having elements in the middle ground, foreground, and background. Maybe it’s a pie spread up front, then the baker, then the kitchen behind them. If it’s not too chilly, taking some shots outside can add spice as well. Warm tones inside and colder tones outside can create a cute wintery vibe, and any fireplaces or snowflakes are immediate inclusions, no questions asked.
Refining Settings and Editing Your Photos
If you or someone else with photography experience will be doing some major editing, go ahead and shoot in raw, but if these photos are meant more for an easy handoff, JPEG will be just fine. Many cameras can even save each photo in both formats for maximum flexibility. As you work through the event, decide if you’d rather leave the camera on auto and have less to worry about, or switch to manual and have more granular control.

If your photos are looking blurry, try switching to Shutter Priority mode and upping your shutter speed to 1/250 sec or more. If your subjects aren’t standing out from the background enough, switch to Aperture Priority and try to lower that F-stop number as far as it will go to open the aperture. Increasing your ISO can help you achieve those fast shutter speeds and wide-open apertures, but often at the expense of grain. Modern editing software’s come a long way though, so unless your ISO is hitting the quintuple digits, digital de-noising tools will be mighty handy.

Speaking of editing, the goal is to have to do as little as possible. If you shot in JPEG, you can hand off the images as-is minus any glaring super-orange or super-blue photos that can be saved with a quick color correction. Ones that are dramatically over or under exposed could also be worth a quick edit in your photo software of choice. If that’s not able to save them, send them to the reject pile. If you shot in raw and have more time, try out some color presets and see if any are appealing enough to batch apply, then make some photo by photo tweaks.
When selecting which photos to hand off, focus on happy looking people over technical perfection or stylistic flourishes. Use your better judgement and try not to send too many or too few, maybe somewhere between 40 and 200.
What’s your biggest advice for someone taking holiday party photos? Is there a piece of equipment or a lens that can be especially useful? Let us know in the Comments section, below.
