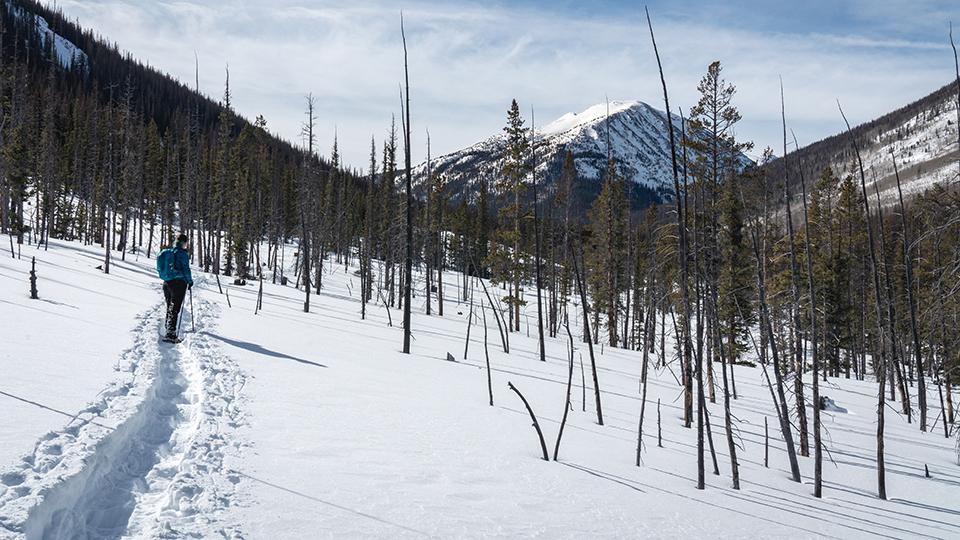
You want to go outside, get some fresh air, and snap some photos. But, it's winter and you've never done this before. Still, that's not going to stop you from going on an adventure! Strap on your snowshoes and get ready for some dazzling snow photos. Here are some tips to get you started on your winter photography journey.
General Prepping
As with any outdoor adventure, the right attire can make a world of difference. Make sure you're bundled according to the weather. Base layers should be breathable and wick moisture away from your body. Aim for wool or polyester because they're most efficient at breathing and wicking. Wool is much loved for its ability to hold heat, even when wet. Cotton is not a cold-weather fabric, at all. Your outer layers should be waterproof, windproof and, ideally, have a hood. Boots absolutely need to be waterproof and insulated. Now, this does all depend on what conditions you're going into and how much physical exertion you'll expect to do, so take that into account. I like to bring all the layers with me and remove or put them back on as necessary.

The most important piece of outerwear for photographers is a pair of gloves. You want something thick enough to keep your fingers warm, but still allow you to turn dials and push the shutter release. My favorites are gloves that are fingerless and have a mitten cover as well as thumb fold-overs—something like these, from The Heat Company: Heat 2 Softshell Mittens/Gloves. There are also photography-specific gloves you can buy that work wonderfully. I think these, from Vallerret, are a great option: Markhof Pro Model 2.0 Photography Gloves. For more information on gloves for cold-weather photography, read Todd Vorenkamp's roundup.
Snowshoes are wonderful for keeping your feet off the cold ground, but they also make walking through snow a lot easier by providing extra stability. Ski or trekking poles with snow baskets will also help when trudging through snow.
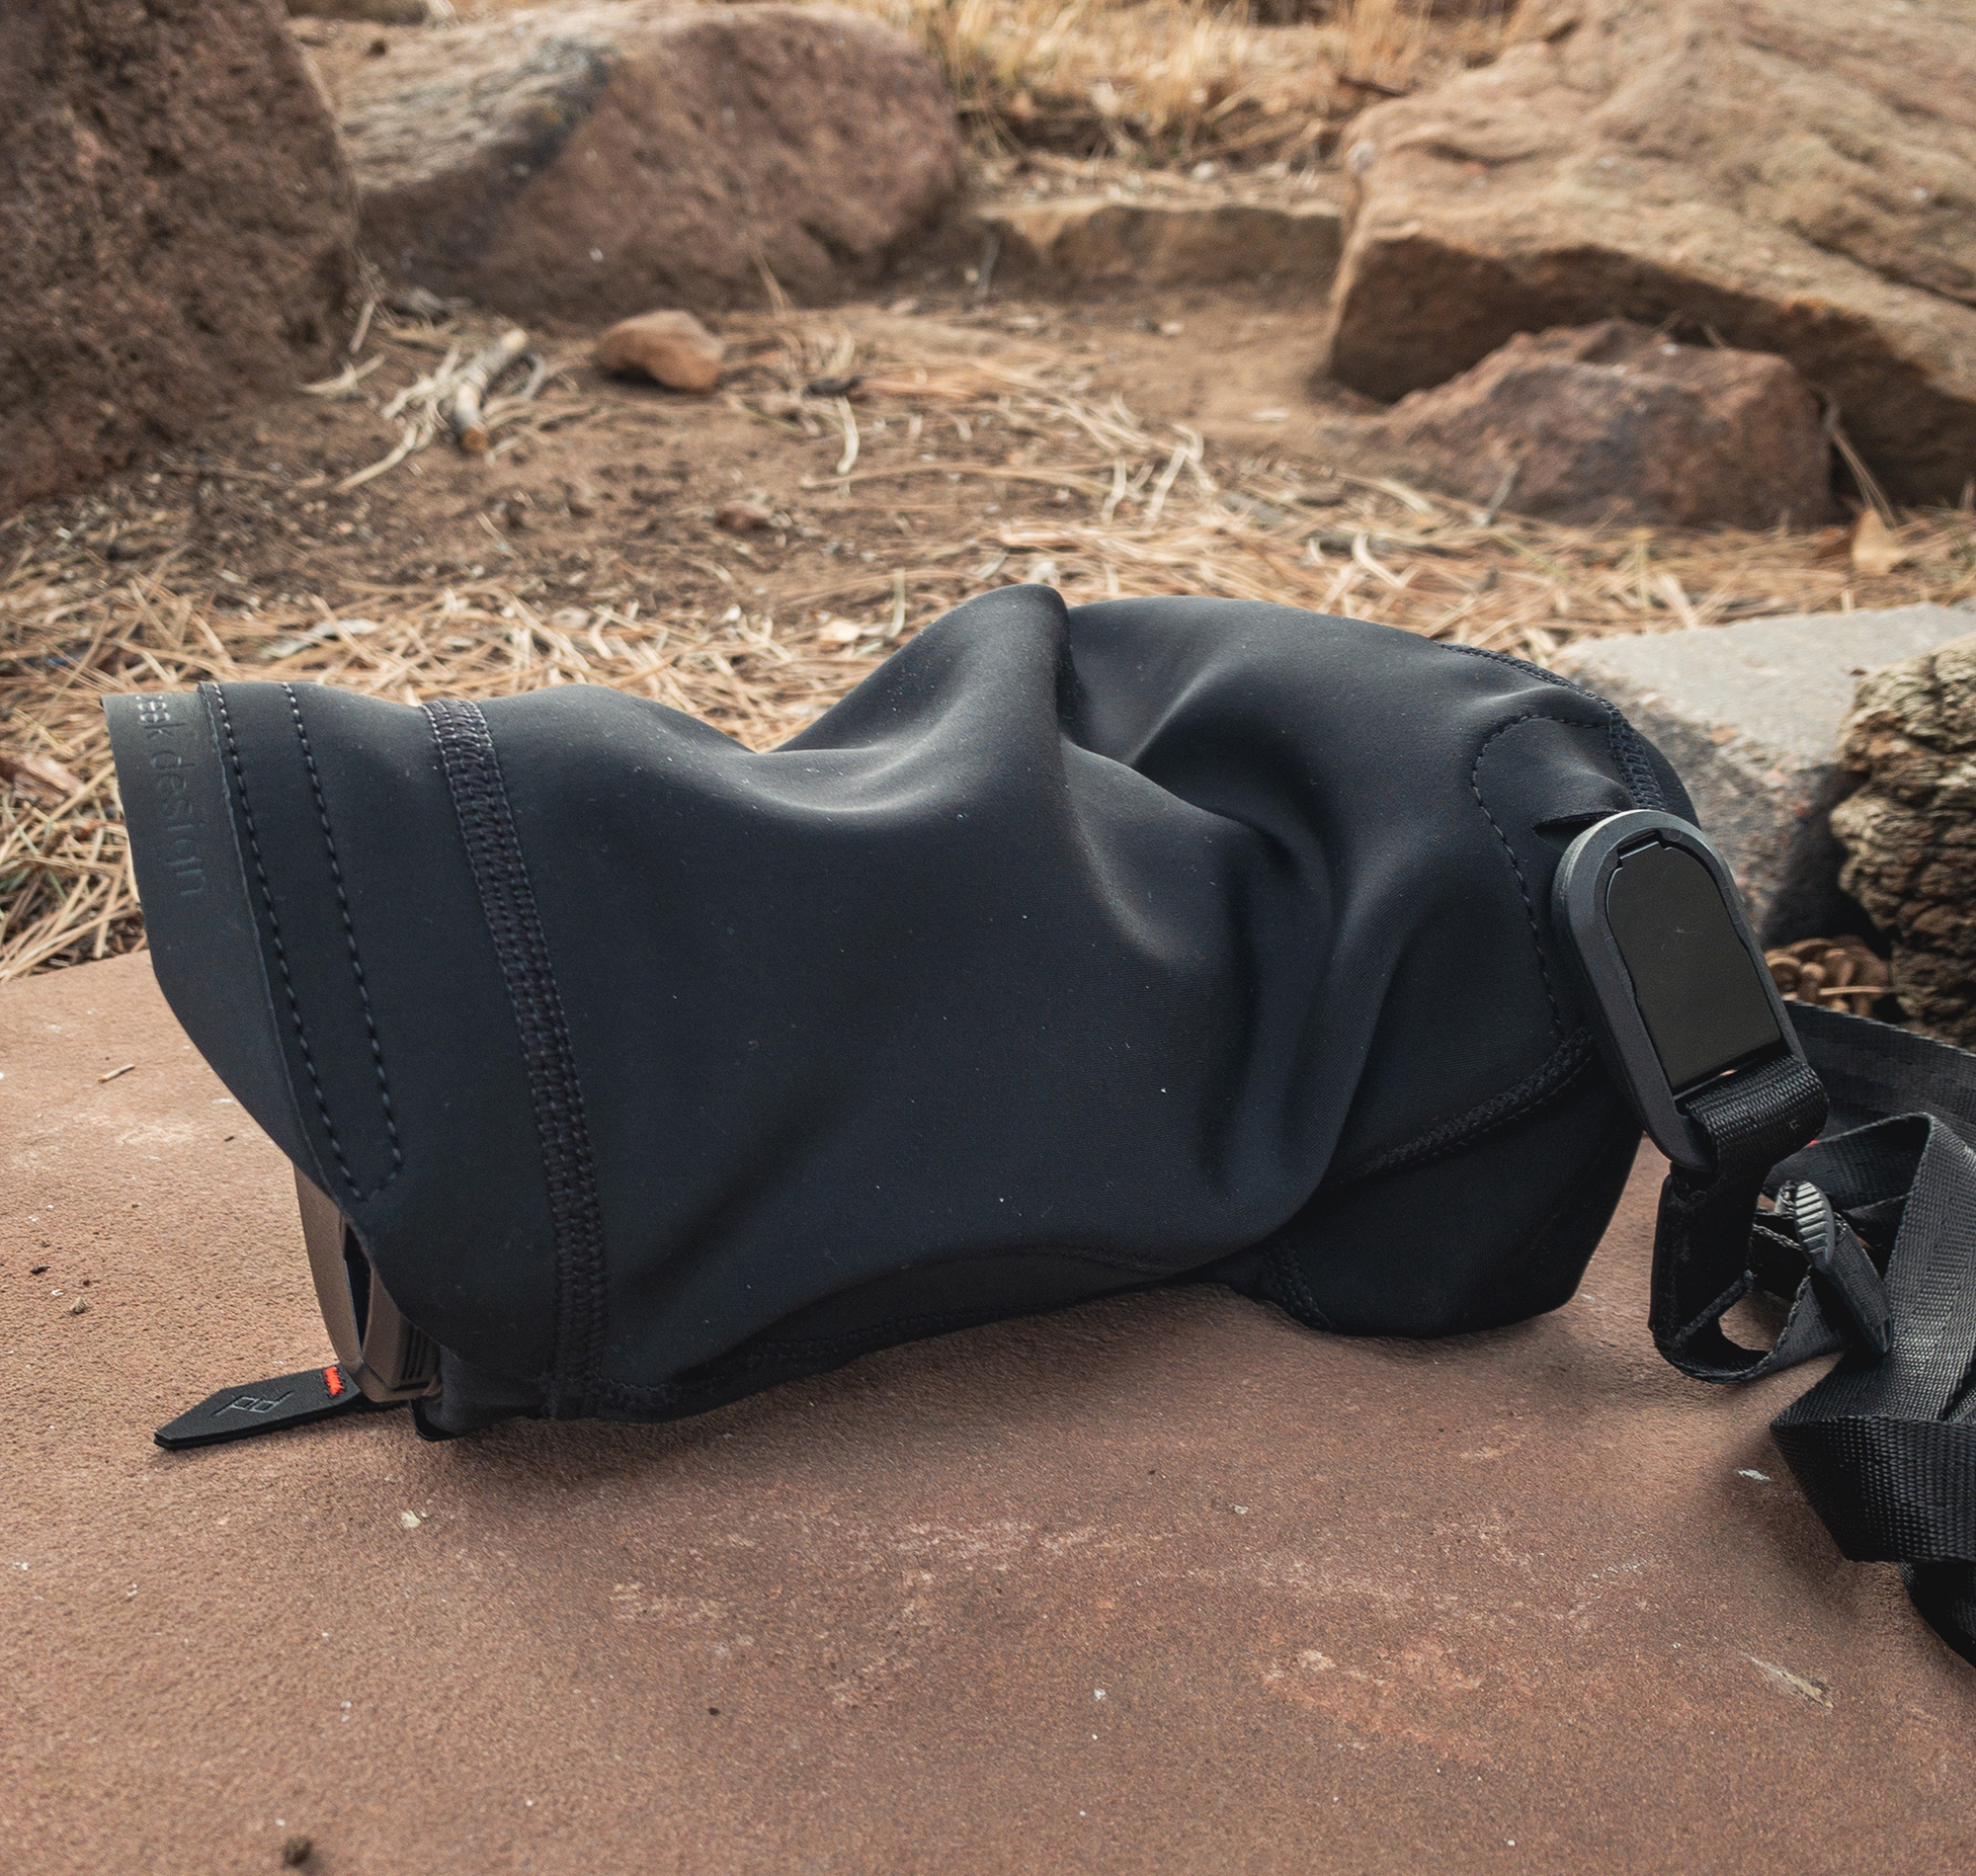
Have a waterproof covering for your camera and your bag; it would be terrible to have your equipment damaged because snow melted through. Even if it's sunny outside and not going to snow, it's a good idea to have these along with you, just in case. I have a Peak Design Shell Rain and Dust Cover for my camera that I like to use. If you're on a tight budget, you can convert a gallon-sized resealable plastic bag to do the job. (Yes, I've done this and it works. Surprising, I know.)
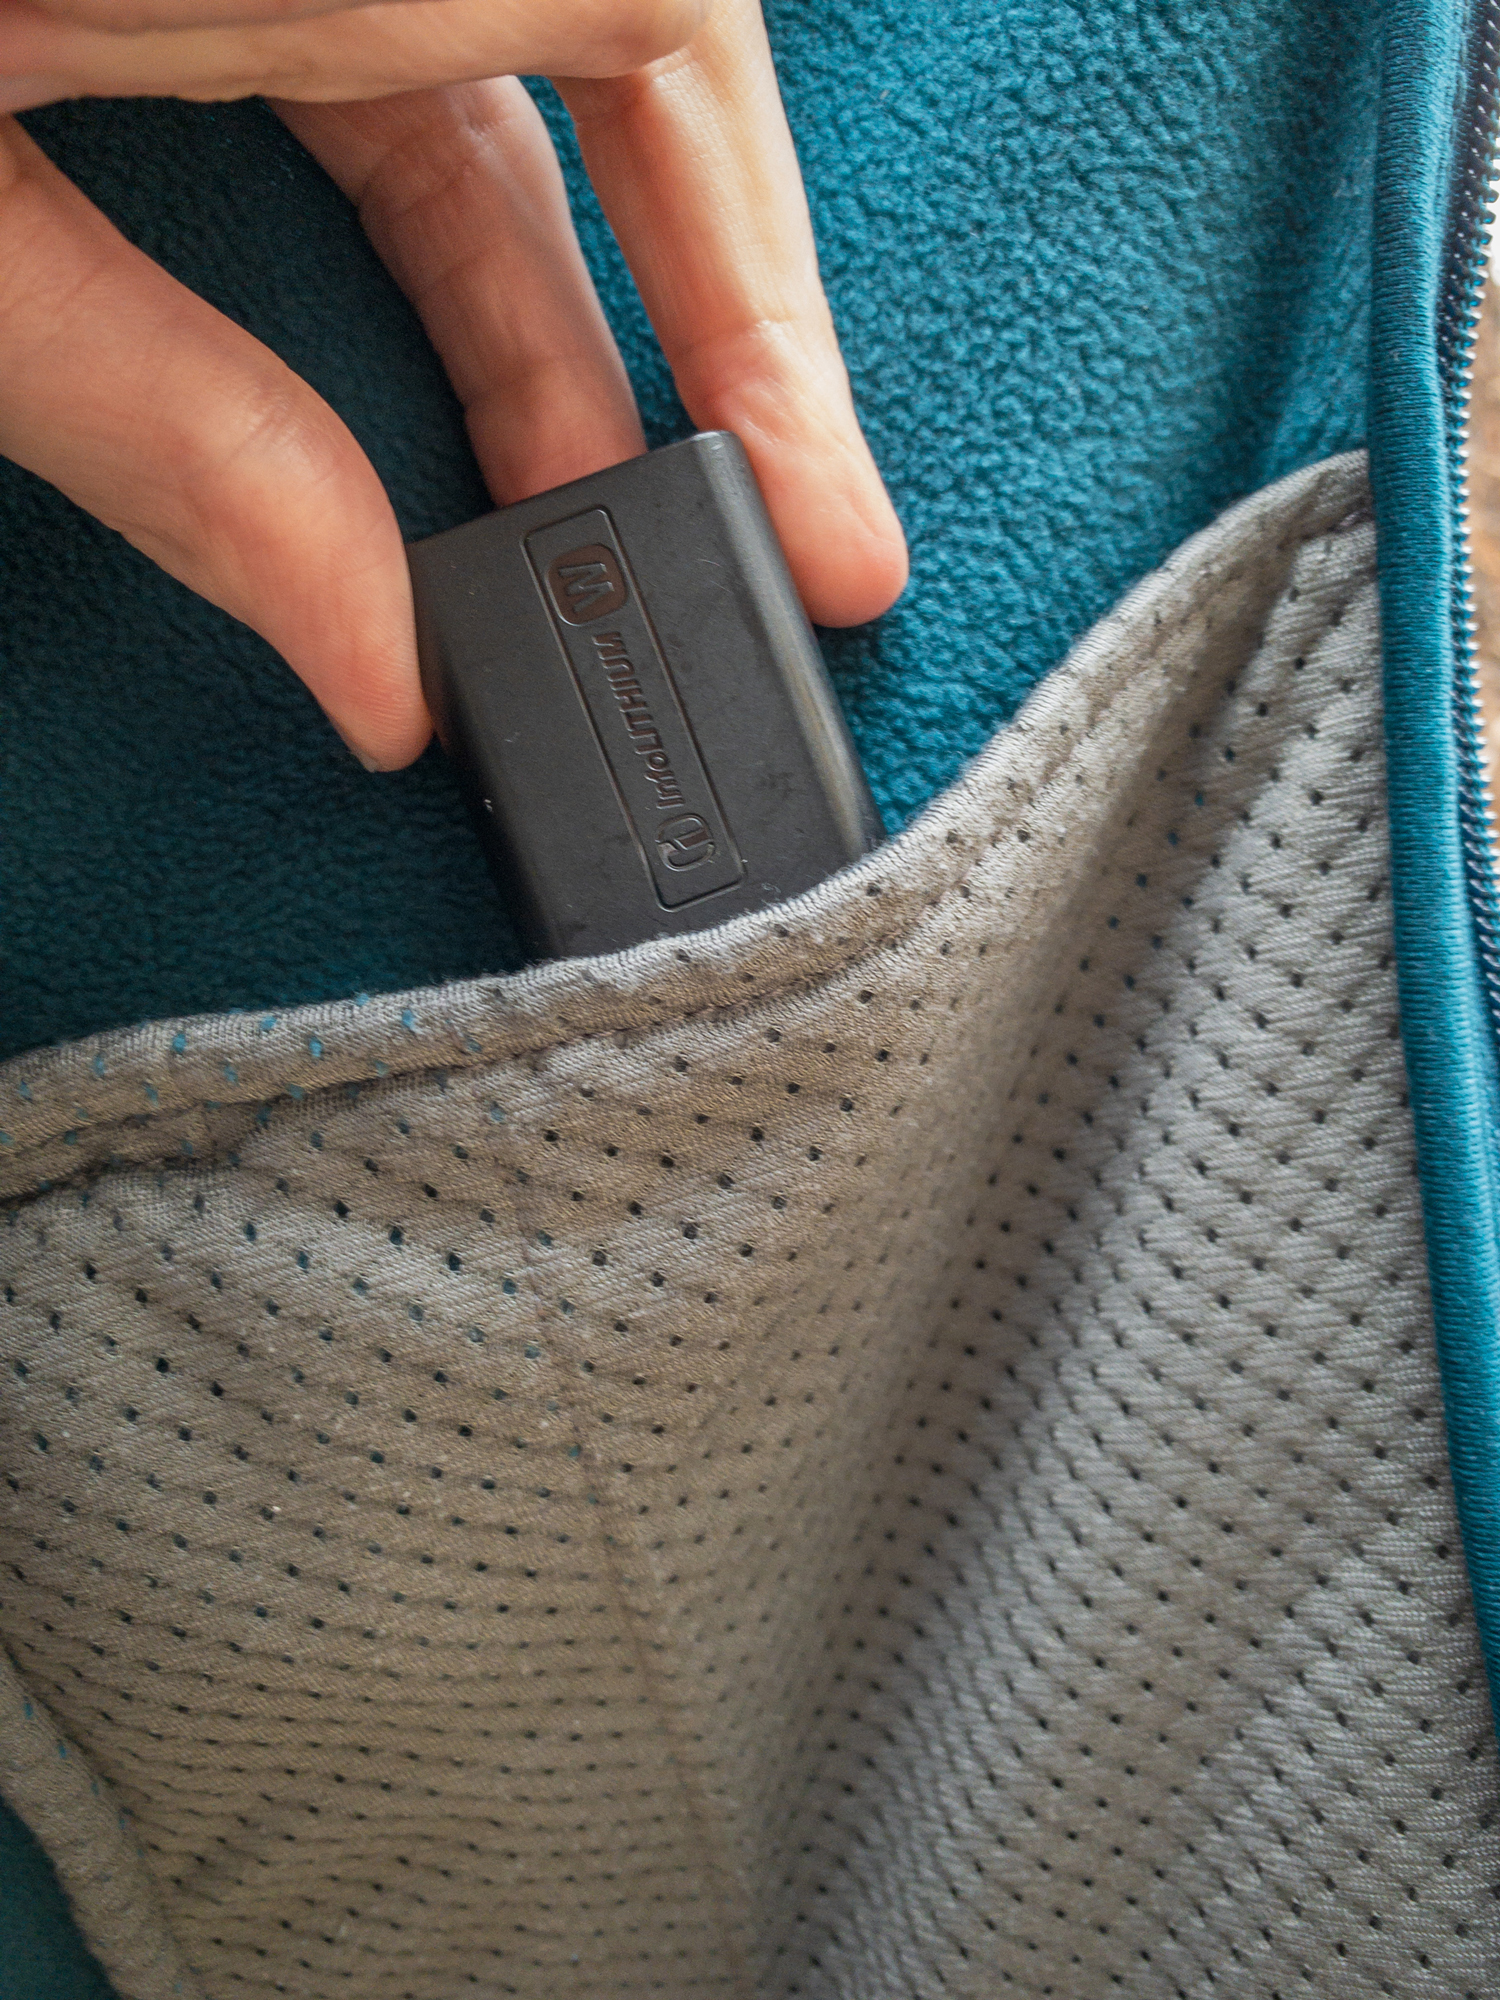
Super important for your equipment: remember that batteries don't last as long in the cold. To extend their life, store your extras as close to your body as possible so your body heat will keep them nice and warm. You can also put a hand warmer in the same pocket to keep them extra toasty. This is particularly helpful if you don't have a pocket close enough to your body to put them.
Now that you're geared up, we can talk about the photographic process!

Setting up Your Camera
The first thing to know is that snow tricks your meter into thinking that the ambient light is brighter than it really is. The white looks like bright spots and the camera's meter thinks that it should reduce the exposure, which makes the whites look gray. I compensate for this in two ways: by setting my exposure compensation to between +1 and +2 or by shooting in manual mode. Typically, overcast and cloudy snow days will only need +1 while sunny days will likely need +2. By doing this, you're helping your camera slightly overexpose the shot so the snow appears white instead of gray.
Thankfully, my Sony Alpha a7R II shows me exactly what my photo will look like, so I can tell right away if the exposure and white balance will be accurate. It's easiest to check this through the viewfinder preview, since that will help block the bright sun or glare from the snow.

On my snowshoeing expedition, we had awesome sunny skies and no falling snow; however, there are a couple of things I want to mention for those times when it is snowy.
The low contrast of those cloudy and/or snowy winter days will make it difficult for your camera to autofocus. Auto may also want to focus on the falling snow instead of that exciting tree in the distance. Just switch to manual focus and you'll be able to focus where you want, or be very cautious with the placement of your AF points and prefer single-shot AF where you can lock in and then not worry about it.
Falling snow will require a wide variation of shutter speeds to achieve the desired effects. Now, I hope that most times you're out taking photos you're conscious of shutter speed, but maybe you operate mainly in aperture priority and don't like to think about your shutter. However you work, it's good to remember that the faster shutter speeds will freeze motion and make the snowflakes appear like white dots, while slower ones will blur the flakes into white streaks.

If you're photographing wildlife, please remember to remain at a safe distance so you don't panic the animals and create undue stress in a time that's already hard on them. Telephoto lenses will obviously help with this. But if you don't have one along, that doesn't mean you still can't create an interesting photo with the equipment you have.
When you come in from your winter adventures, keep your camera in its rain cover or put it in a freezer bag and wait for it to reach room temperature gradually. This way, you avoid moisture condensing on or in your camera. As you know, moisture and electronics don't play well together, so it's best to avoid this combination, no matter how long it takes. If you're really itching to get started on editing immediately once your'e indoors, take the SD card out before going inside. Then your camera can stay in the bag, gradually warming to room temperature, and you can jump into work.

Now you're ready to tackle winter wonderland photography so go, seek out, and explore this magical season.
Be sure to check back on B&H Explora for more of Adventure Week—and don't forget to follow B&H on Twitter @BHPhotoVideo for up-to-the-minute #adventureweek news.
