
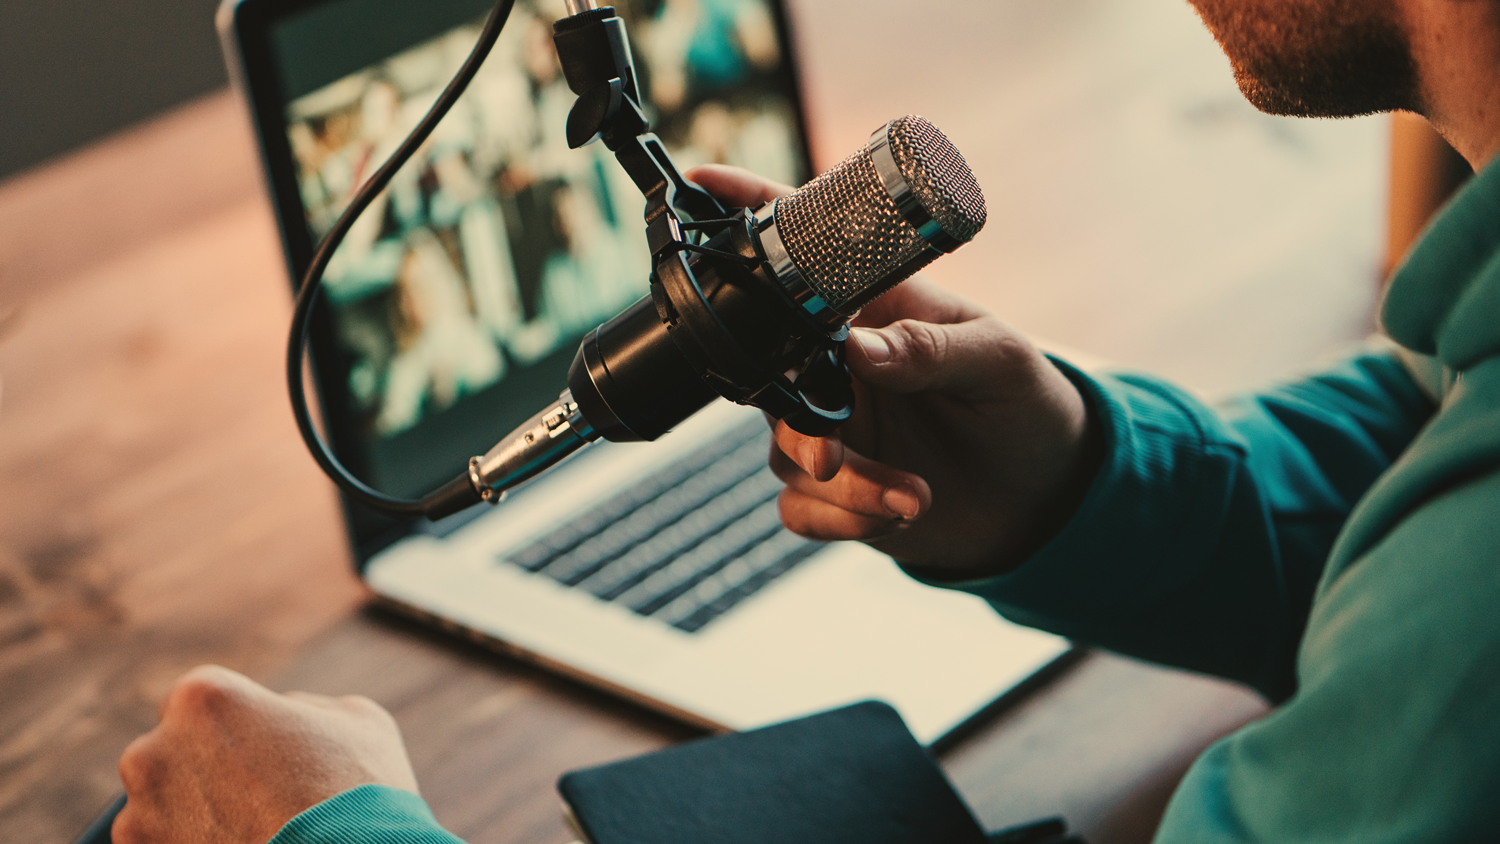
The popularity of podcasting has skyrocketed in recent years. While many facets are involved in making a successful podcast, undoubtedly one of the most important is the microphone. However, with so many factors to consider, from budgets and solo or multi-person setups to technical specs like capsule types, pickup patterns, and onboard controls, the options can sometimes seem overwhelming.
Fear not! B&H has you covered in your endeavor to weed through the options and produce engaging content. In this article, we’ll discuss some of the key factors to consider when choosing an ideal microphone for your specific podcasting needs and, hopefully, help you turn something stressful into an exciting and rewarding experience.
How Many Voices in Your Podcast?
Right off the bat, the first question to answer is: How many voices are there? The number of people you'll be recording can determine the microphone options available to you, as well as help you decide if you need an interface to support your setup.

For solo projects, a simple USB microphone is often a fine selection that will provide great versatility for minimal hassle and price. USB mics can run on a simple USB connection, which acts as both an audio connection to your computer and power for your microphone. This design helps reduce cable clutter on your precious desk real estate, resulting in a cleaner look and less to worry about during your podcast recordings or streams.
USB mics don’t have to sacrifice audio quality or versatility to be a low-cost entry into the podcasting world, either. With a mic such as the Blue Yeti, you can get four polar patterns in one (cardioid, bi-directional, omnidirectional, and stereo) without breaking the bank, letting you tackle numerous podcasting arrangements, from solo recordings (cardioid) to a crowd (omnidirectional, stereo), with a single plug-and-play microphone.

For more involved multi-person endeavors, however, you will need to consider interfaces with multiple preamps to support the number of mics you need. Put simply, an audio interface is a device that connects to a computer and digitizes the audio signal of an XLR mic. The preamps used in these interfaces are essential for boosting the low-level output of XLR microphones, with higher-quality preamps providing better quality audio output through a cleaner, more powerful sound, more gain, and less extraneous noise.
Of course, you may be wondering, why not simply plug multiple USB microphones in at once? The simple answer here is centered around control. While some companies such as RØDE may offer special software to make routing your microphones easier, most USB mics are stand-alone products with limited control. An audio interface lets you mix and route your microphones with much greater precision, providing a more flexible approach to capturing your podcasts.
Why use multiple mics rather than a single mic with a wide field of capture? Because multi-input interfaces will let you dedicate one mic and preamp to each person speaking in your podcast. This not only provides much better sound quality and vocal clarity than one microphone can deliver, but it also gives you greater options for mixing and producing your podcast recordings after the fact, unlocking more creative avenues for your post-production.
USB vs. XLR
This now leaves you with a decision to make and it’s all about the mic’s connector: USB vs. XLR. The advantage of XLR microphones is that they’re the ideal mics for getting into recording, in general. If you have plans to expand your setup, XLR cables and interfaces let you connect with a wide range of microphones, old and new.

This includes some very high-quality mics that will really make your voice stand out, like the classic Electro-Voice RE20, a microphone with a decades-long pedigree that remains immensely popular because of the big, warm sound it imparts on the human voice. Since most of the professional audio recording world is based around XLR-based equipment, this is a great place to lay a solid foundation for learning audio production.

The need to purchase an interface to digitize your XLR mic input might seem like a limitation to some, and for those with very small budgets or only single-voice setups, it may not be the optimal path to take. But for those who want the best quality, a system with the potential for growth, and truly in-depth control of their podcast recordings, the interface (or a stand-alone podcasting studio like the RØDECaster Video or RØDECaster Video S) and an XLR mic is the way to go.

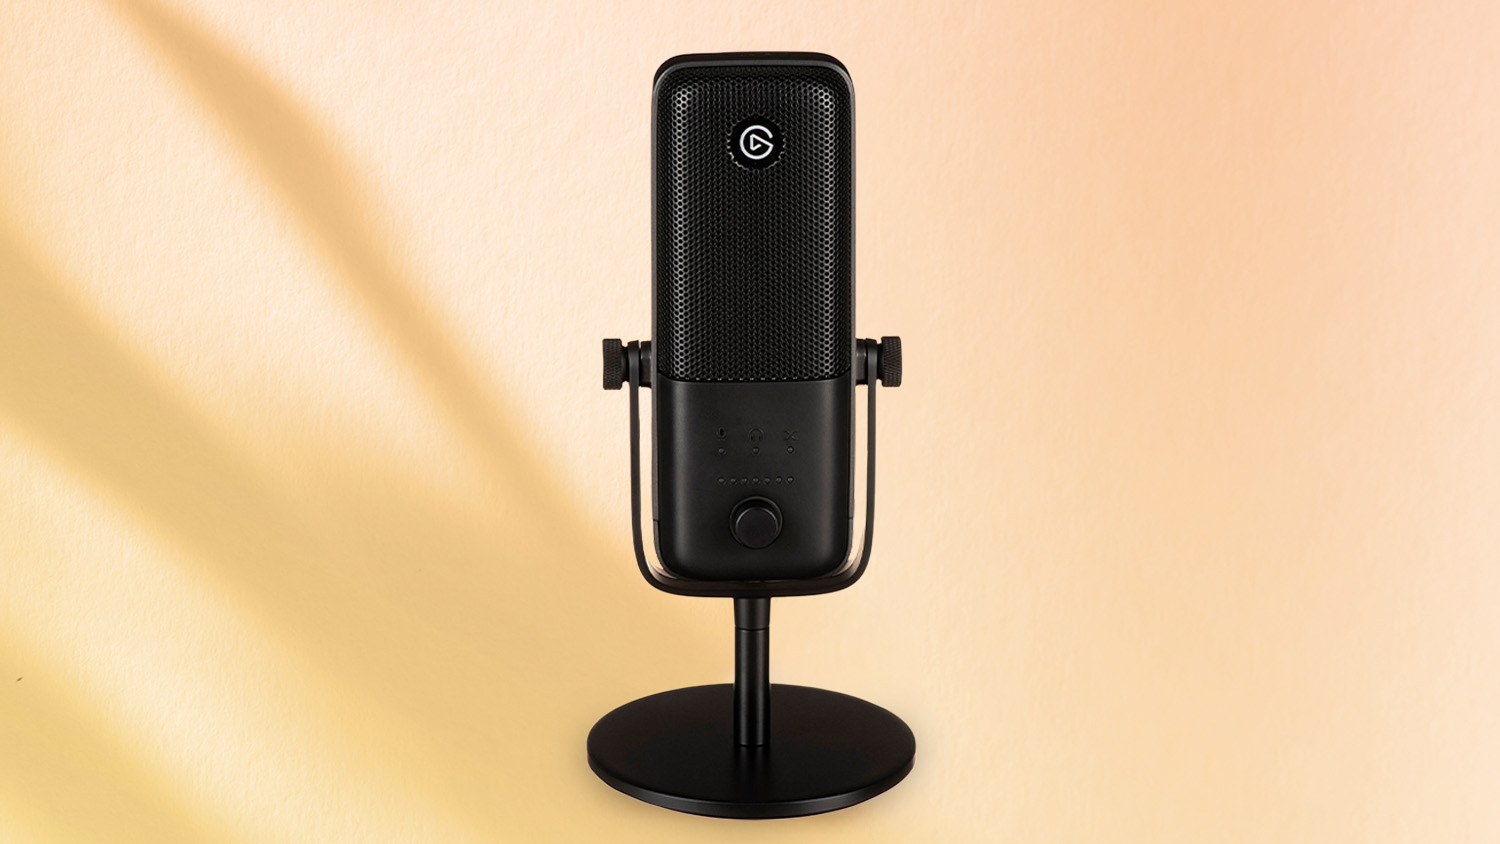
USB microphones, on the other hand, are an increasingly popular choice among not only solo podcasters, but also streamers, content creators, and even office workers. These mics are essentially a standard analog mic housed in a chassis that contains its own preamp and analog-to-digital converter, combining the technology of a microphone and an interface into one.
This design has numerous advantages, such as convenience and cost, depending on your usage scenario. USB mics eliminate the need to purchase bulky external hardware such as audio interfaces and mixers. They also usually offer virtually non-existent latency in your monitoring, since many products, such as the Audio-Technica AT2020USB-X, sport onboard headphone jacks with high-end amplifiers and monitor level control, letting you keep a hand on your sound at all times without having to reach over to any other gear. USB mics are also typically much more compact than XLR mics, with some models, such as the Elgato Wave:3, featuring their own built-in desktop stand, letting you position your mic for ideal and painless recording without having to buy extra accessories.
Luckily, you don’t have to be limited to one or the other. Recent advancements have led some of the major names in podcasting mics to release products that sport both analog and digital connections. The RØDE NT1 5th Generation offers XLR and USB output options, as well as an ultra-quiet, large-diaphragm condenser capsule and onboard DSP for nearly an entire studio in one. Or go with the Shure MV7+, a dynamic mic with USB and XLR connectors designed to resemble the classic SM7B, providing all the resilience and reliability of the pure analog original, but with updated features like app-controlled sound presets and an auto-level mode that does all the work for you, adjusting your voice level and settings on the fly with minimal effort.

Condenser vs. Dynamic
Regardless of how many people will be in your podcast, once you’ve decided on XLR vs. USB, you’re going to have two main mic choices: condenser or dynamic mics. These two microphone technologies are largely differentiated by the way they record sound, resulting in various advantages and disadvantages that depend on their applications.
Condenser mics use a very small, very sensitive capsule to pick up sound and, unlike dynamic mics, require power input from a preamp, also known as phantom power. This means a condenser mic needs an interface to provide power (in the case of USB condenser mics, power is provided via its USB connection).
The advantage to this design is a wider frequency range, more nuance, more detail, and greater dynamic range versus the ironically named dynamic mic. The downside to this microphone type, however, is a greater vulnerability to audio distortion and overload than the more forgiving dynamic sibling. In some podcasting spaces, it may also be too sensitive because excessive reflections in untreated spaces, or noisy neighbors and roommates, may prove too loud for some condenser microphones.

Dynamic microphones use a small electromagnetic coil, which is, crucially, completely passive in most cases, meaning they work without the need for external power. On top of this, they are much simpler in design than a condenser, thus typically making them more durable and resilient than comparable condensers. And with less sensitivity, you are less likely to pick up unwanted sounds from reflections and environmental noises.
With a dynamic microphone, you don’t need to worry about accidental drops or moisture from one’s breath damaging your mic capsule, and they can also typically take higher sound-pressure levels, letting you get as loud as you want with less concern. They also exhibit a unique behavior that can be a benefit to podcasting and broadcasting called the proximity effect.
The proximity effect describes how the closer a cardioid dynamic microphone is to a sound source, the greater the bass or low-end frequency response is. While this can sometimes be a disadvantage in general recording, it provides a richer, deeper sound when used on the human voice, which is one of the reasons that large-diaphragm dynamic mics like the Shure SM7B have remained popular in these applications―they can pick up very bass-heavy sounds and can be placed closed to the speaker, further enhancing the low-end boom of the human voice.

Essential Accessories
The last element to consider for your podcasts is what accessories you need. Depending on your chosen mic, there may be a multitude of shockmounts, boom arms, pop filters, sound isolating shields, and more for you to choose from. If you are using a condenser microphone, the high sensitivity can sometimes pick up unwanted sounds that arise from handling the microphone body, vibrations from your desk, or accidental bumps. In this case, we recommend that you pick up a shockmount, which isolates your mic physically from the stand to which it’s attached.

It’s worth noting that some mics, like the RØDE NT1 5th Generation, may come with a shockmount, while others may feature an internal or built-in shockmount. The same goes for pop filters, which help avoid pesky plosives and popping sounds that come from P’s and T’s. These filters are often essential for getting quality results during podcast recordings, and it’s important to read microphone descriptions carefully to see if they may come with one or have them directly built in, an increasingly common feature.
Finally, boom arms are a great way to mount podcasting mics on your desktop. These flexible arms usually sport at least two, if not three, points of articulation, making it much easier to position your mic for ideal sound and comfort. Boom arms may use a range of methods for attaching to desks, although the most reliable is surely the sturdy C-clamp.
Some mics, like the Shure SM7B/MV7 and Electro-Voice RE20, as well as many other so-called broadcast mics, are designed specifically to mount on a boom arm. Have a microphone that isn’t designed with boom arms in mind? Not a problem, because most such microphones are compatible with a separate mount that makes attaching to boom arms easy, such as the Blue Yeti, which supports boom arm mounting via a special shockmount.

Final Thoughts
Whether your project is big or small, solo or ensemble, we hope this guide makes the decision process a little less stressful and a little more exciting. While there are tons of options to consider when setting out on your podcasting adventure, as this guide shows, knowing what you want can help narrow your choices and make it much easier for you to find your voice. If you have any questions about podcasting that weren’t covered in this article, give us a call or visit the B&H Superstore, and we’ll do our best to answer all your comments and questions.
