
Virtual production is a fast-growing space with ever-evolving tools, but one mainstay for media servers, playback, and compositing is Assimilate’s Live FX Studio. Available with a perpetual, yearly, or three month license, this powerful piece of software can help you pull off advanced image-based lighting (IBL), as well as keying, masking, metadata creation, and more. I talked to Grant Ng from The Studio B&H team to get a crash course in the basics of Live FX. Here’s what he had to say about Live FX, (lightly edited and condensed):
“Live FX is a lightweight program that can do a lot of things. Downloading the program is pretty straightforward. You go to their website, and once you reach the download page, you can choose either Windows or Mac. If you already have a license set up, you add that once the program is downloaded. Once you set the license, it points to the appropriate license server going forward.
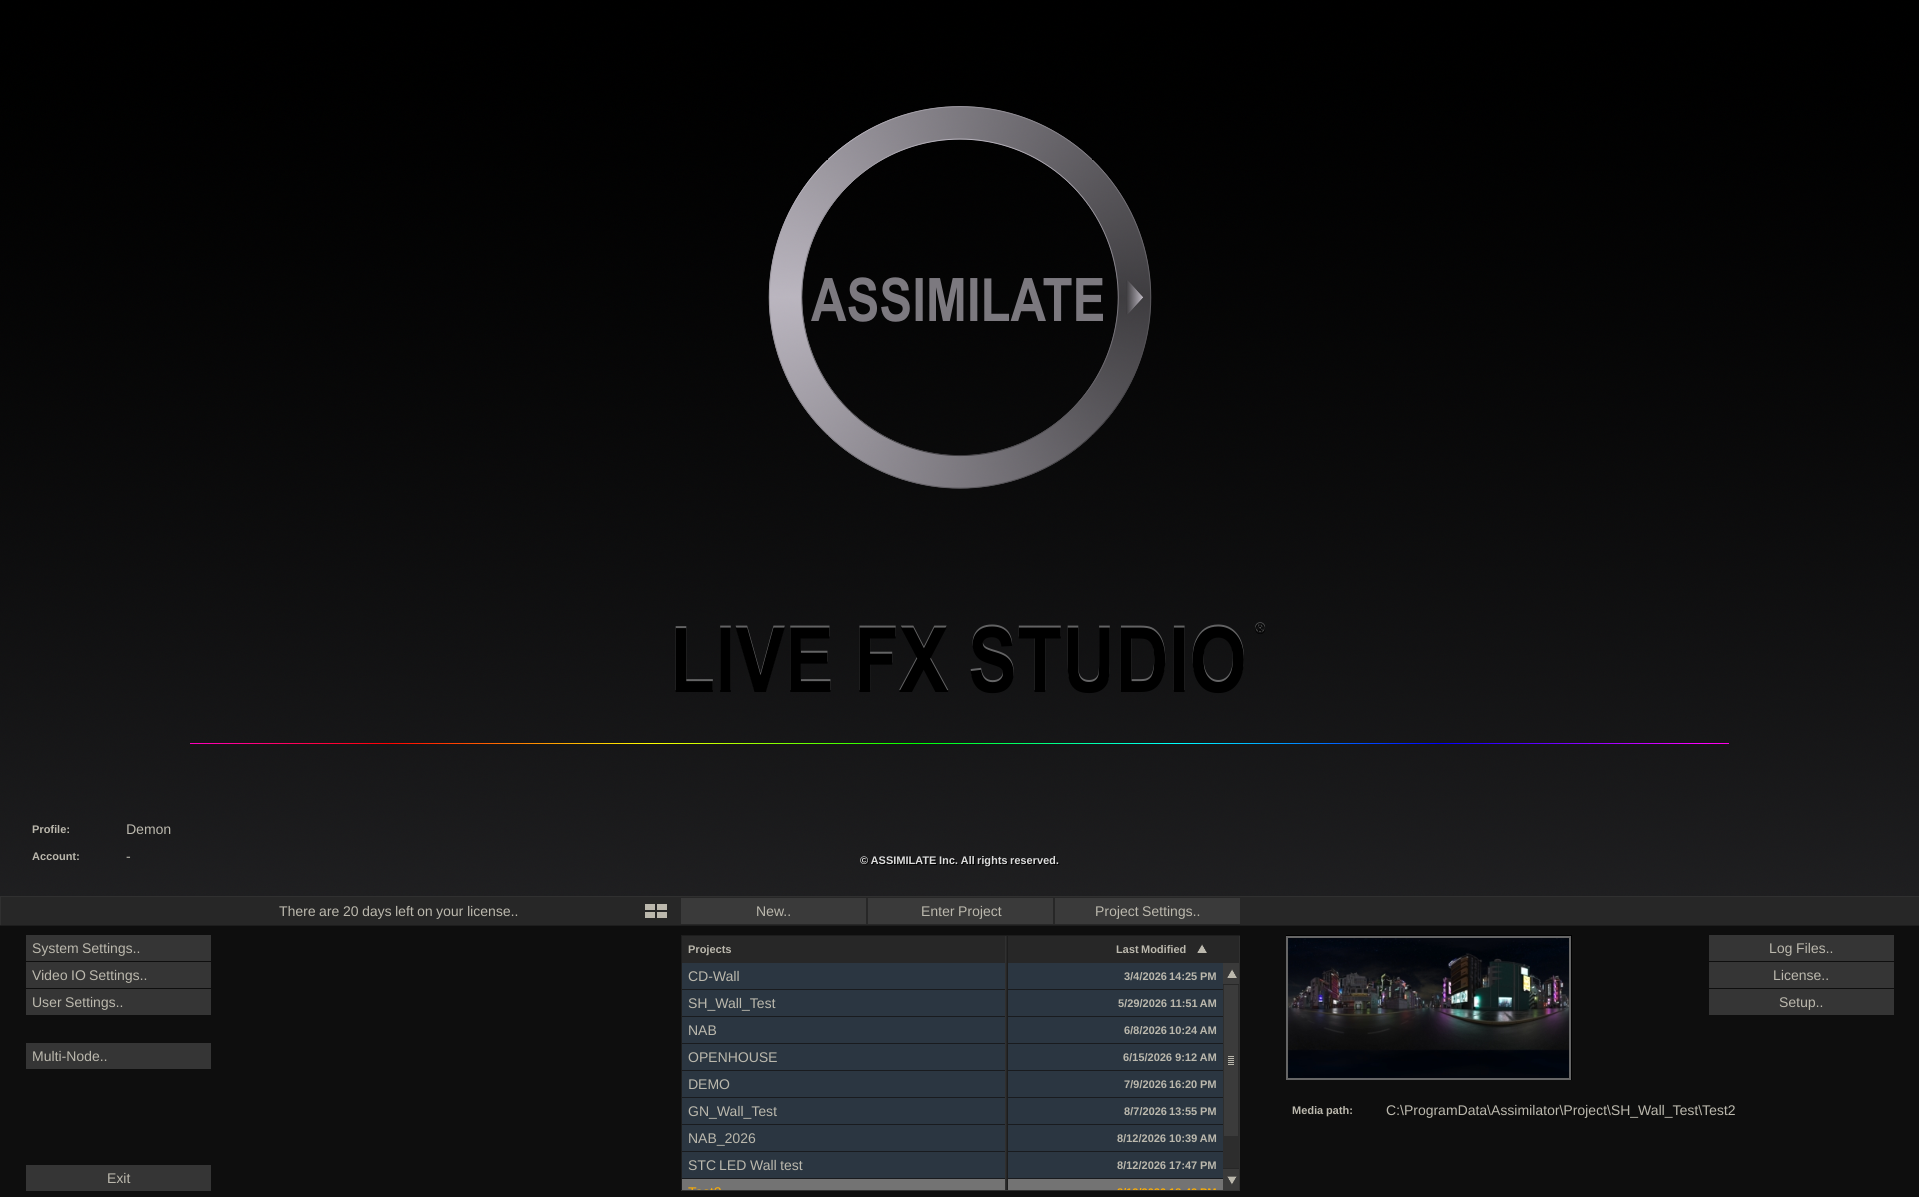
“When you start, you have a bunch of system settings and video I/O settings. The program is very versatile, but it requires you to understand your stage and studio specs first. If you understand your wall and its resolution, you can decide whether you want to use it just for playback, or whether you have a lights that you want to use for IBL. You can also integrate with DCC software like Unreal and other software plugins that Live FX supports.
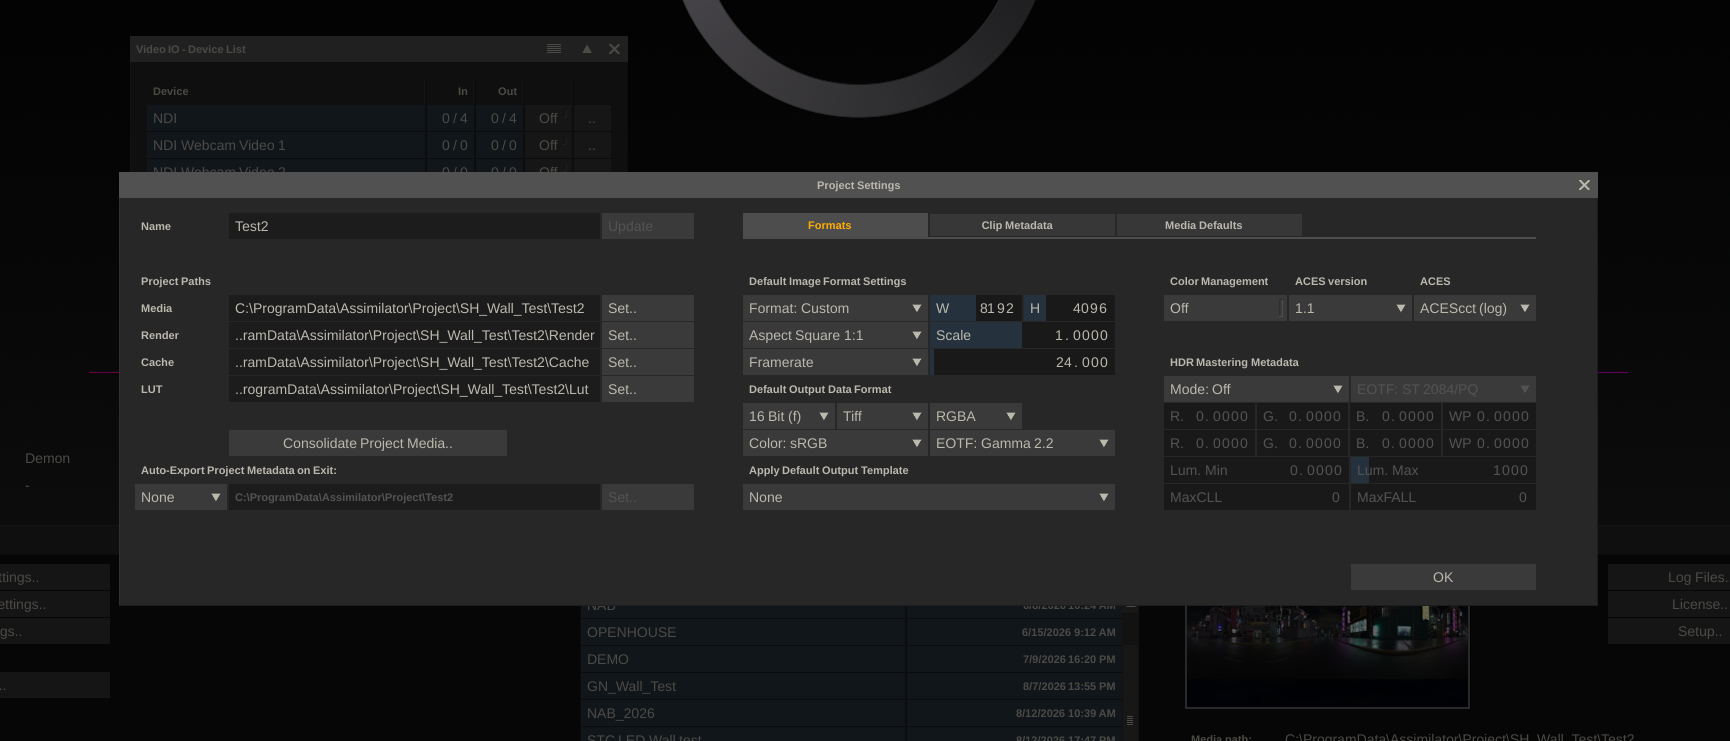
“This is the general program settings you use when you initially set everything up. Right now, this is the highest resolution this particular setup can go to. We’re using 8K Ultra HD, which requires a beefy GPU. You also need a lot of storage because these are giant video files. Right now, this computer is connected through HDMI to a video processor, that’s what’s controlling the content on the wall, and the wall is basically working as another monitor.
“When you create a project, you’ll be given three main tabs in the program: the Construct tab, the Live FX tab, and the Stage Lights tab. The moment you create the project; you can point to a certain folder path where you want it to live. The Construct tab is really important when we’re doing any kind of importing for clips. Different trays can have different pieces of media, and you can organize it however you want. If you want to combine a succession of videos, you can do that too.
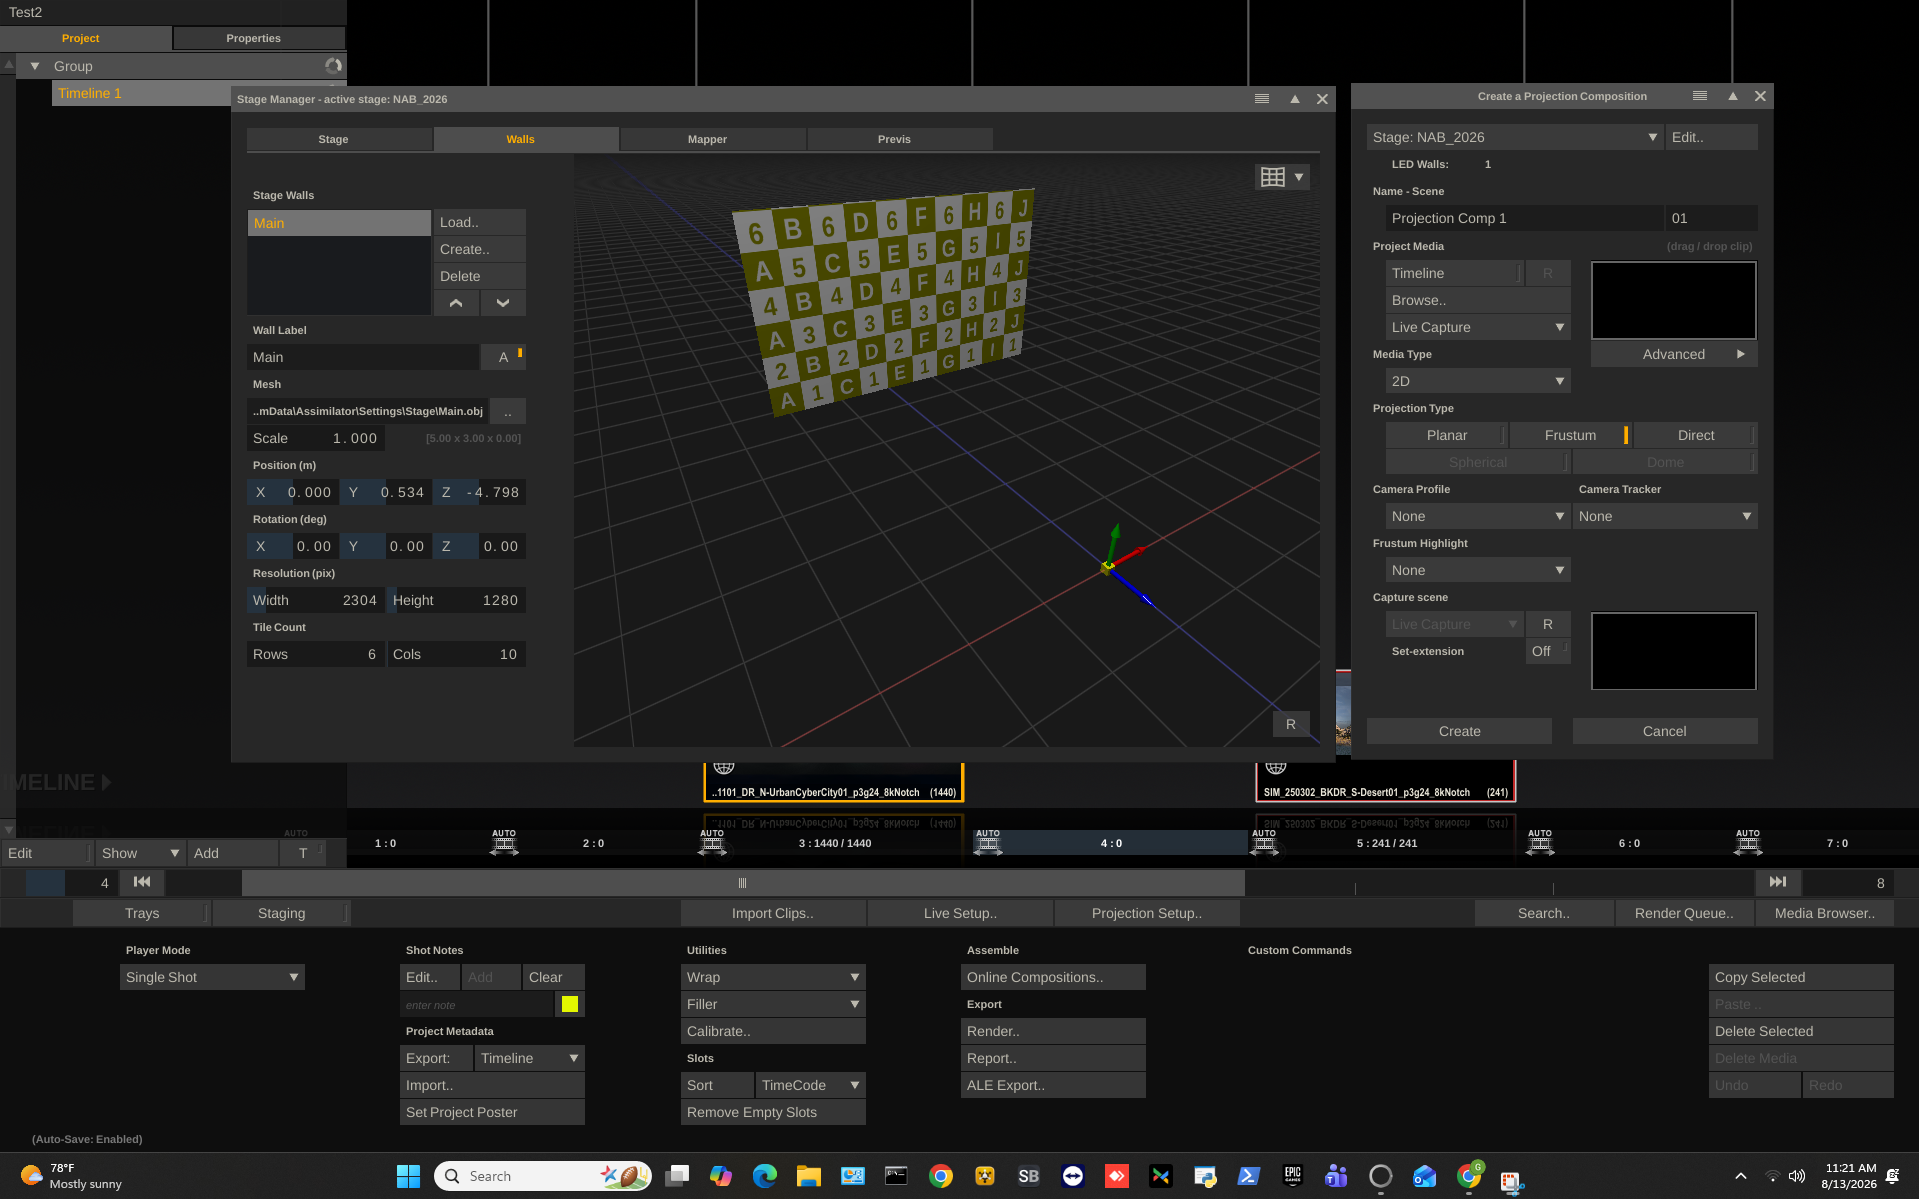
“I’m having it pull a bunch of equirectangular content, or lat-longs, or in other words, a 360° video. When you have a lat-long or panoramic image, you want to make sure that it was captured in a 360° format. These are all in 8K and now become my library assets. When you bring them into the media player or media server, the program creates a sphere you can move around and project onto the wall. When you’re in the Construct tab, you also need to make sure that the stage is accurately represented in 3D space.
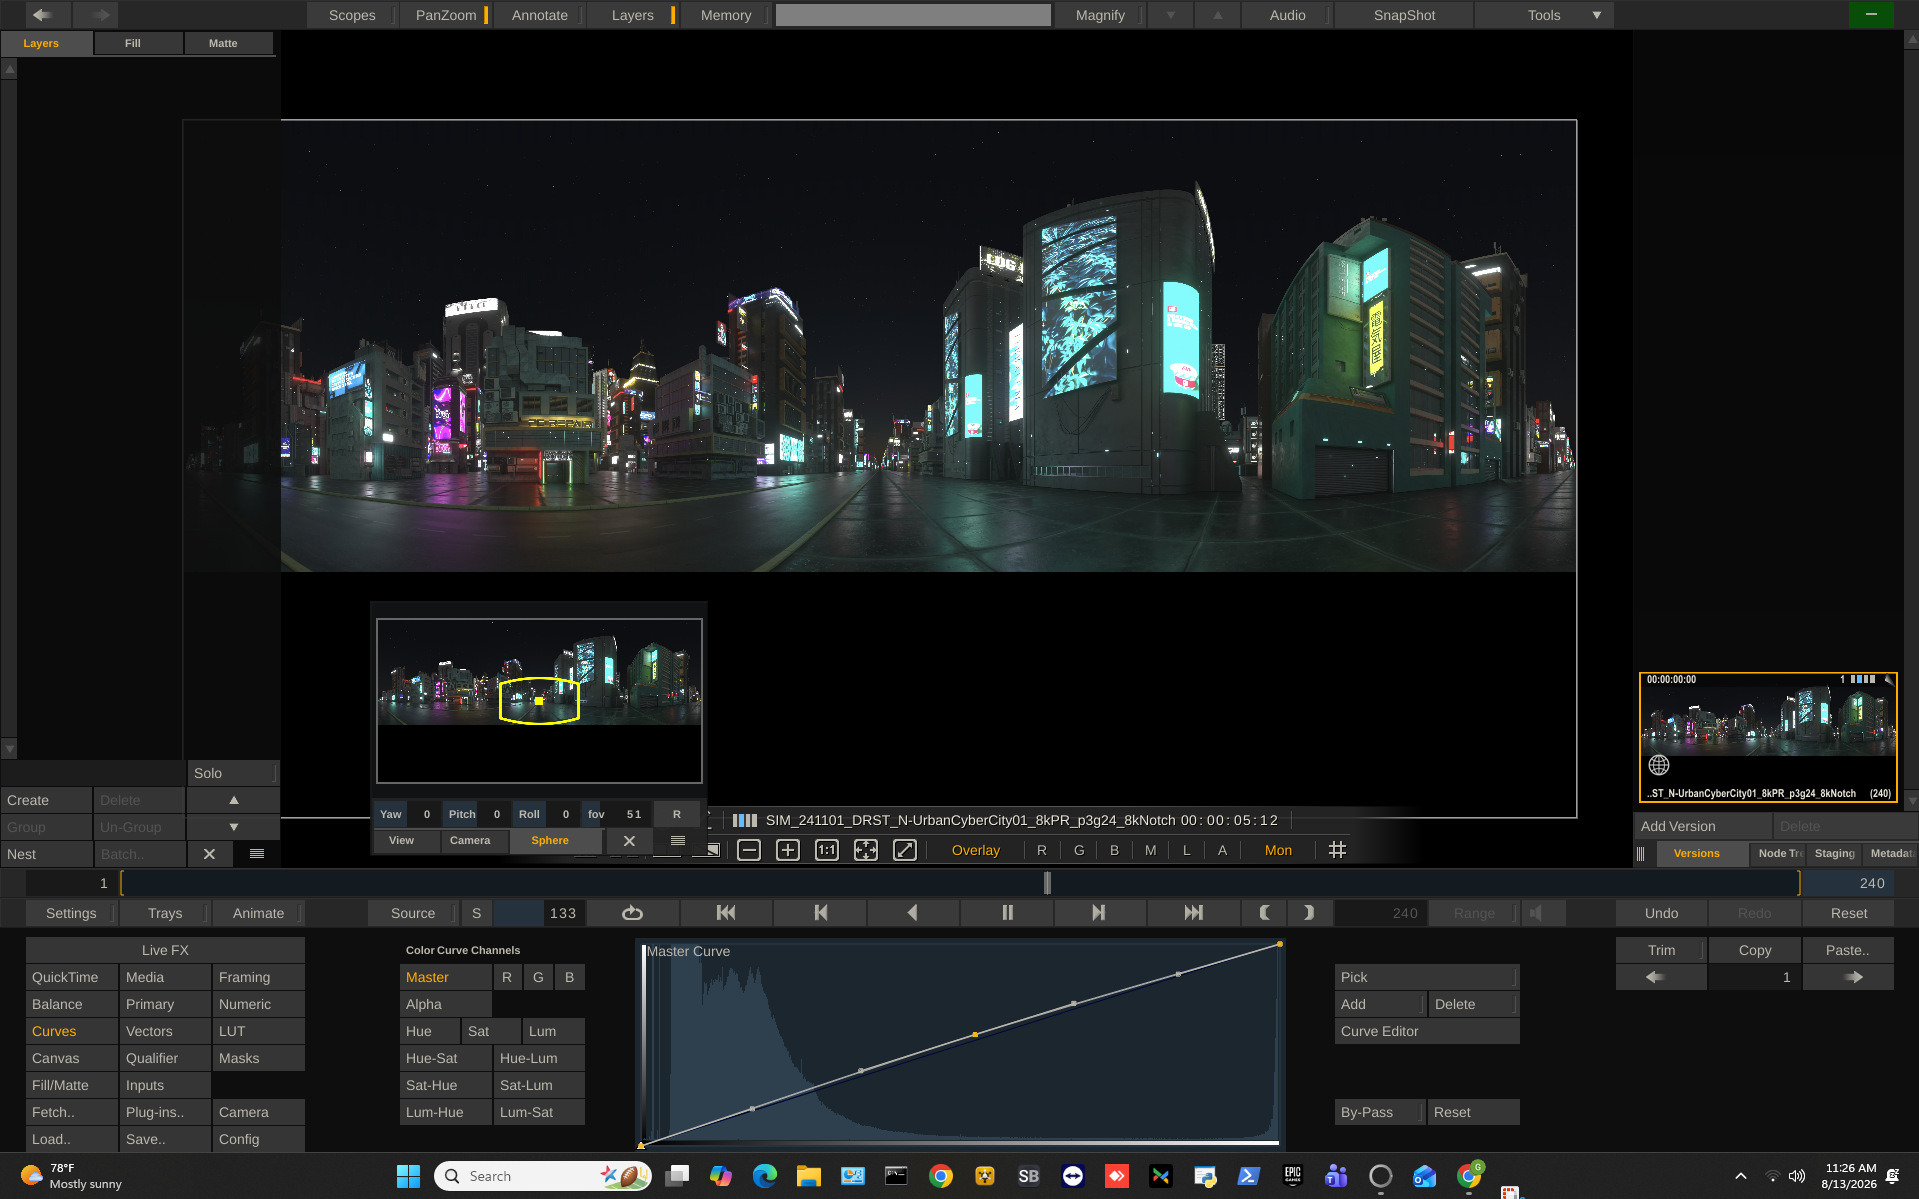
“I can move a 3D camera around and change the perspective on the wall. I can also create a timeline editor and use keyframes to create certain movements. If you wanted to take a real camera signal and put it in here, you can do that. The program can take a feed and do live compositing with a green screen. It can also do camera tracking if you have the hardware to stream into LiveFX. When you have a video playing on the wall, you can also do color grading, adjusting colors and curves. You can even make your own plugins.
“Another thing I want to go over is the Stage Lights tab. This is image-based lighting and pixel mapping with DMX control. For your fixtures, as long as you know which fixture is in which universe, how many channels it has, and what mode the light is in, you just need to make sure the network is set up for it. It also works with different protocols. It’s a very powerful system.
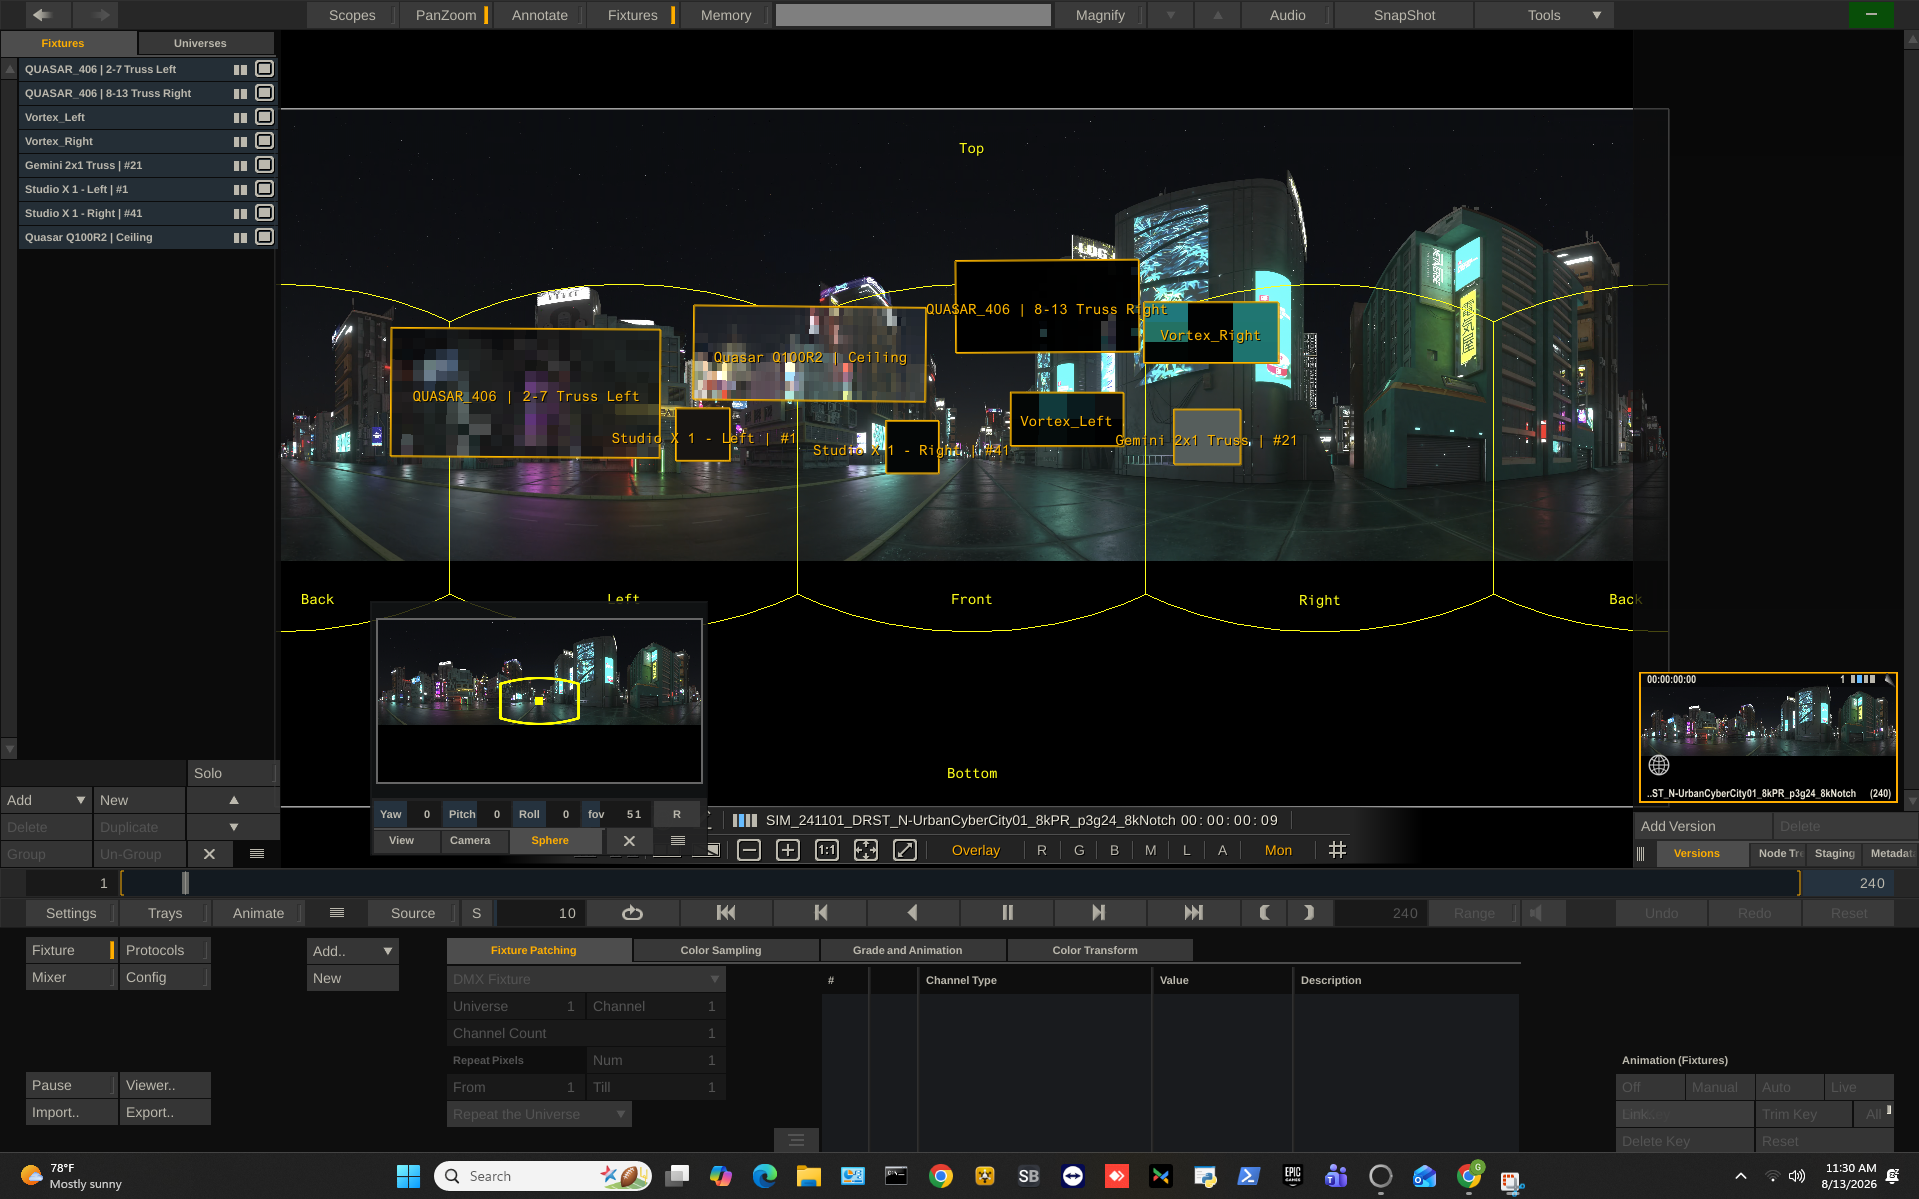
“Under your output multicast settings in the Stage Lights protocols tab, turn sACN on because your computer is connected to a switch that is talking to the lighting system. All of that communication is happening over the network. When you add a fixture, it will appear in the fixture-patching tab, the color-sampling tab, and the animation controls. The fixture-patching section is where you set the parameters needed to communicate with that light.
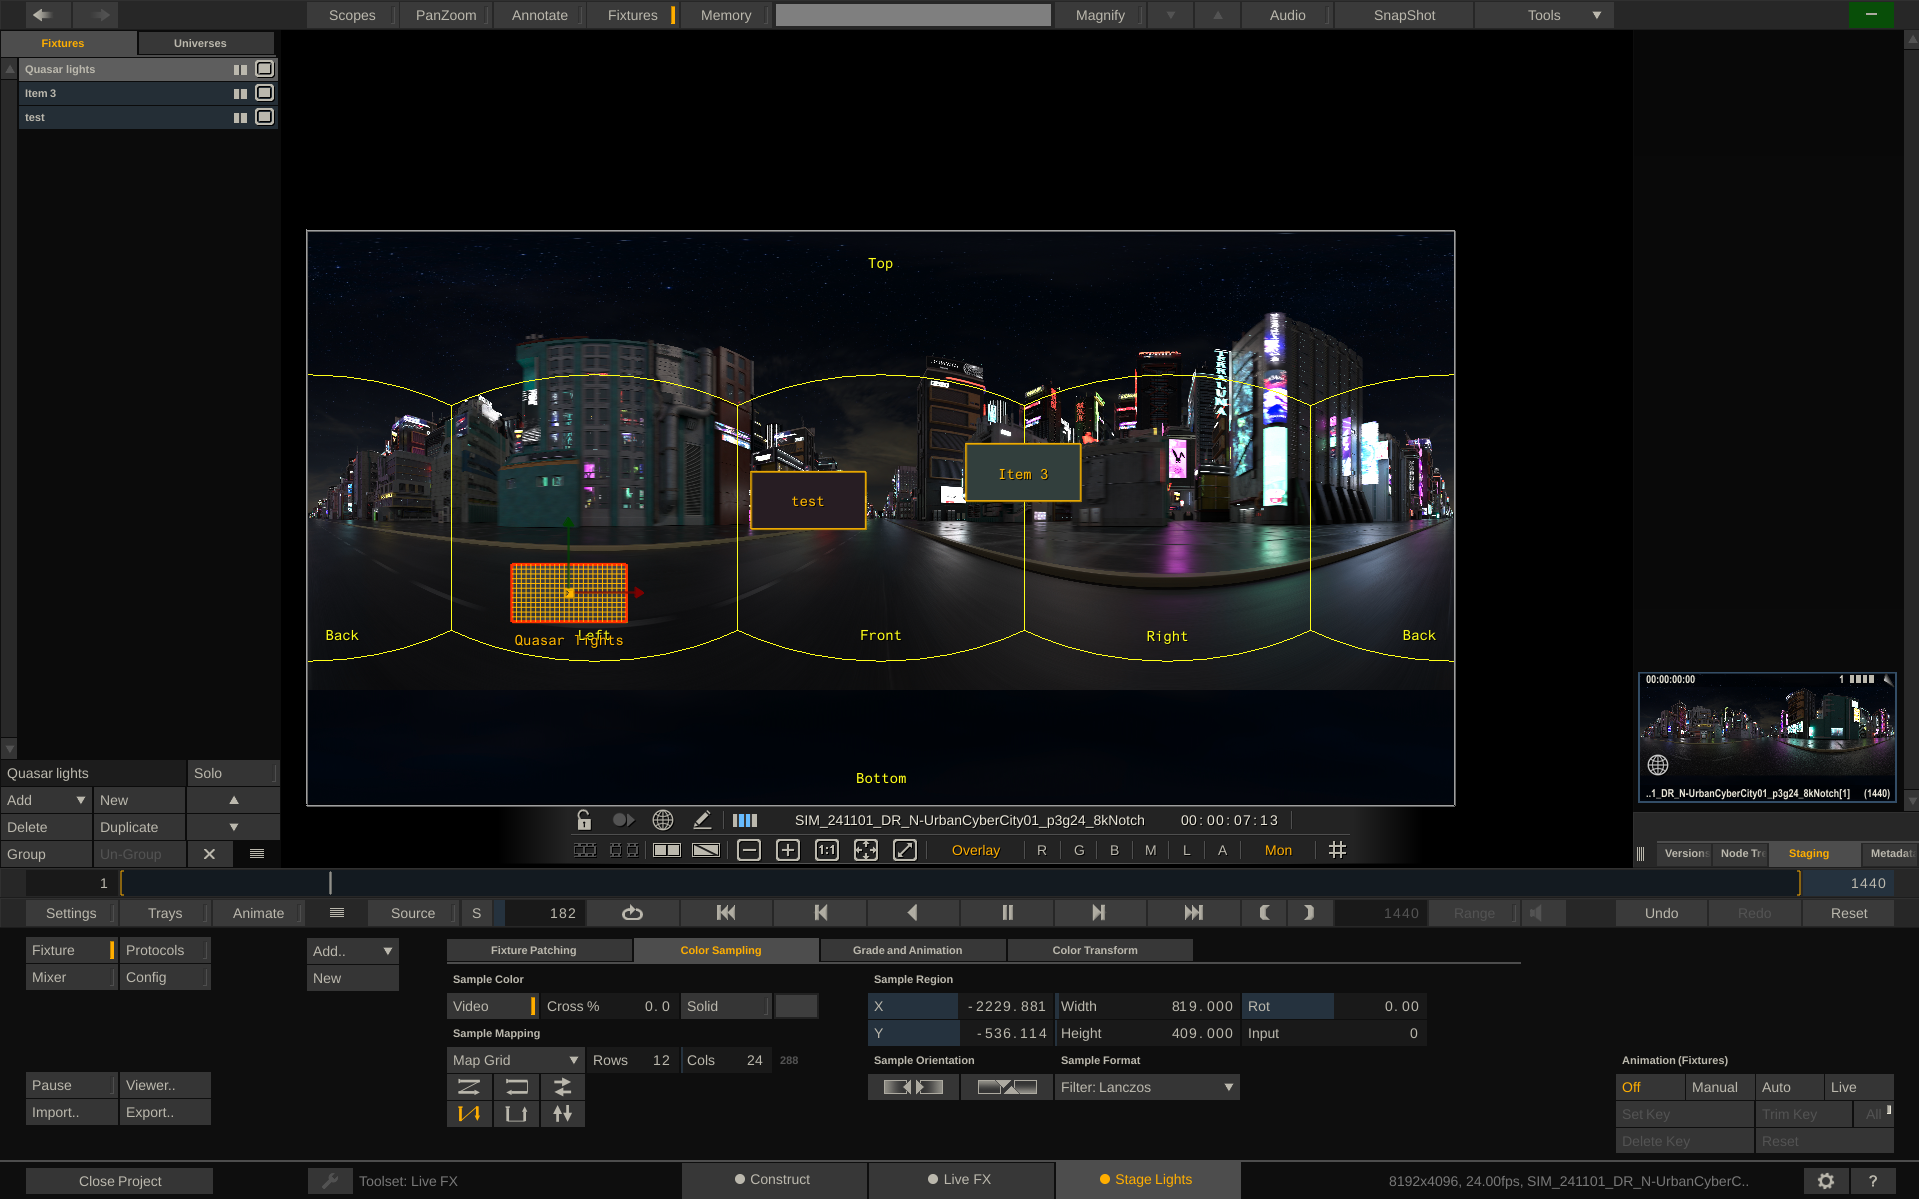
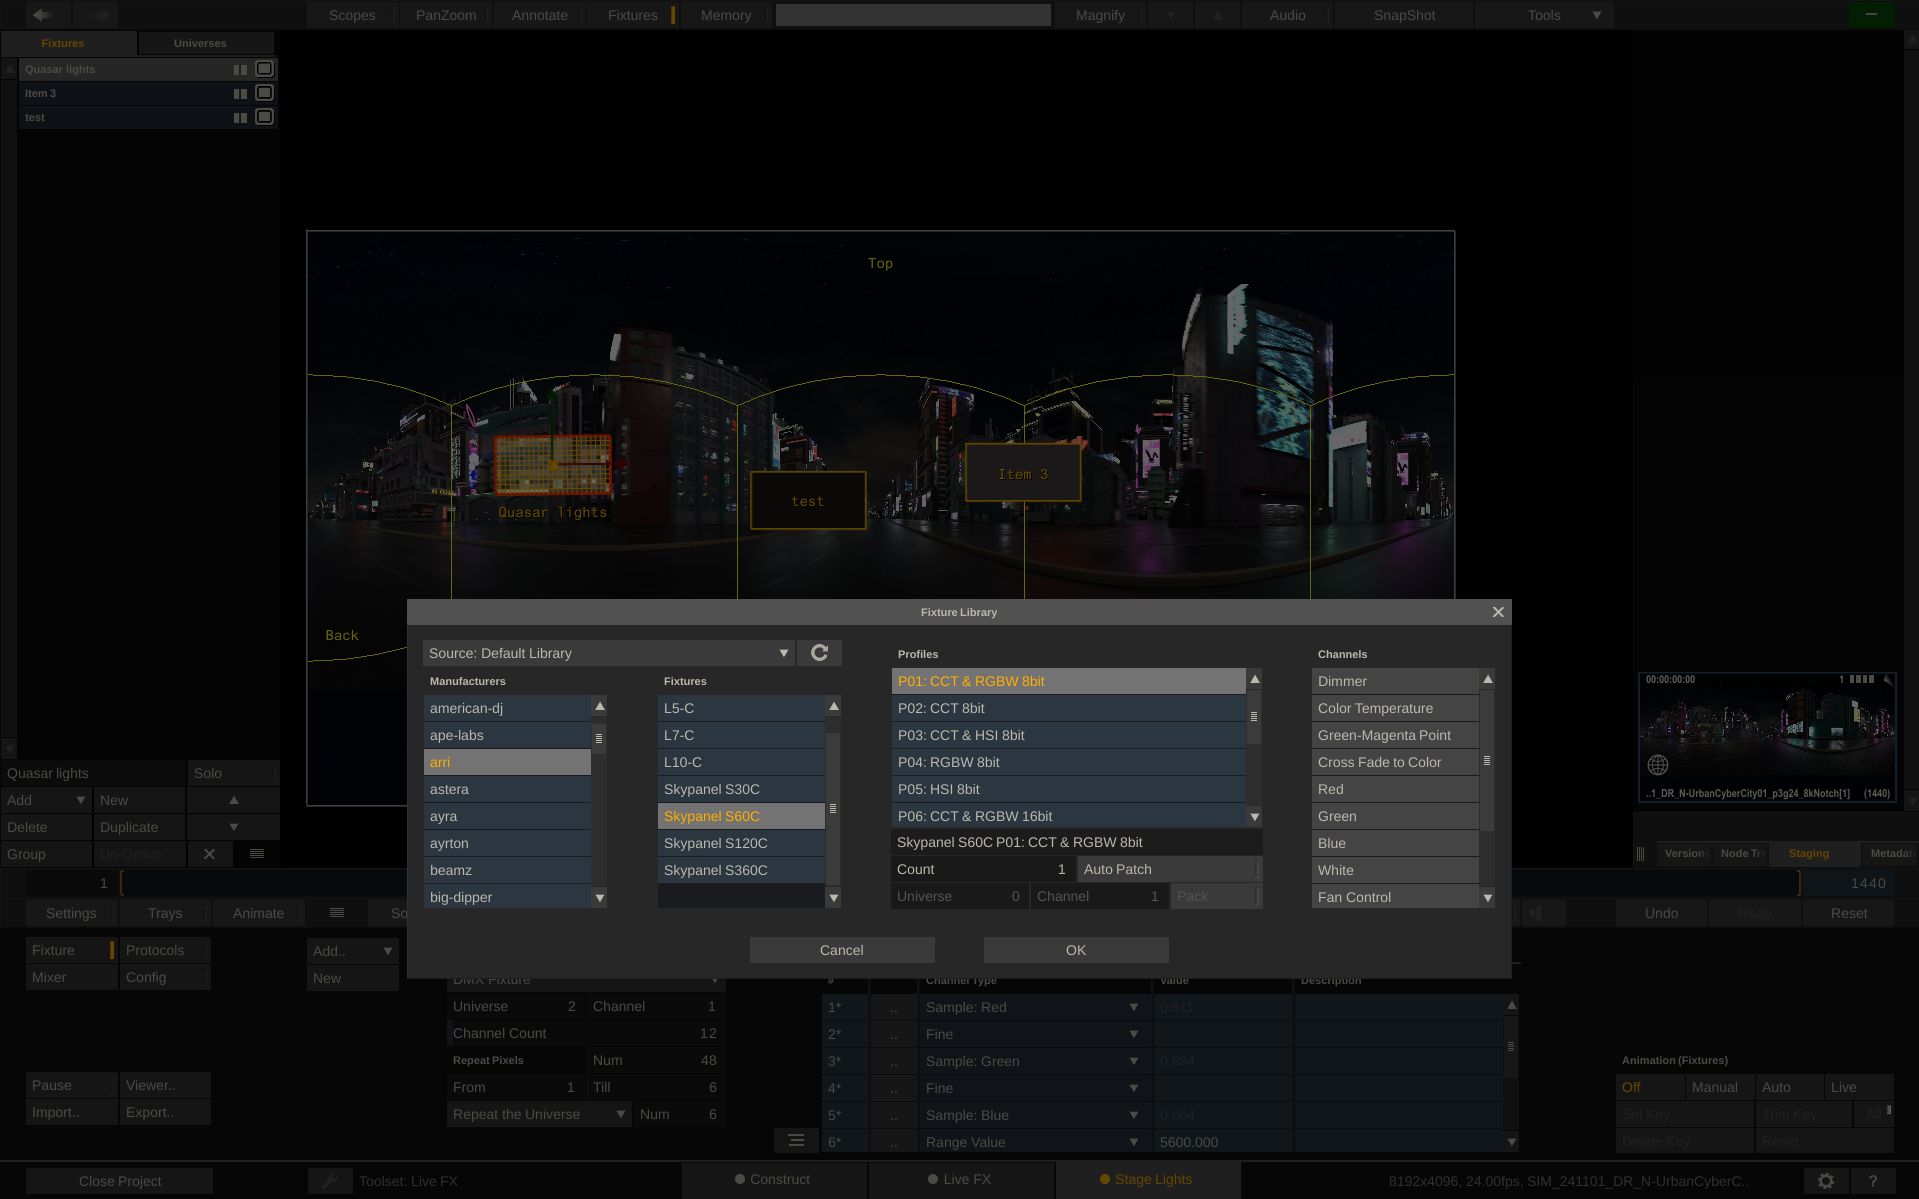
“The channel count tells you how many DMX channels that fixture has in its current mode, so you need to go into the lighting settings and figure out which DMX mode you want to use and how many channels it requires. That page is also where you set the color temperature and color range, essentially how you want the light to behave. Instead of all of my lights having a DMX cable, they have an Ethernet cable. I connect my computer to the same network and I don’t need a lighting board with DMX physically connected, everything is happening over the network.
“If you have another camera feed coming in with a green screen, you can key out that green screen through Live FX and then composite other sources, so it can also function as a compositing tool. You can output Unreal Engine into Live FX in multiple ways. If you’re sending an output of Unreal’s rendered view, you can bring that into Live FX as a source; you can also get the virtual camera position from Unreal so you can essentially do camera tracking. If you have a fully rendered scene from Unreal, you could move through it within Live FX as well.
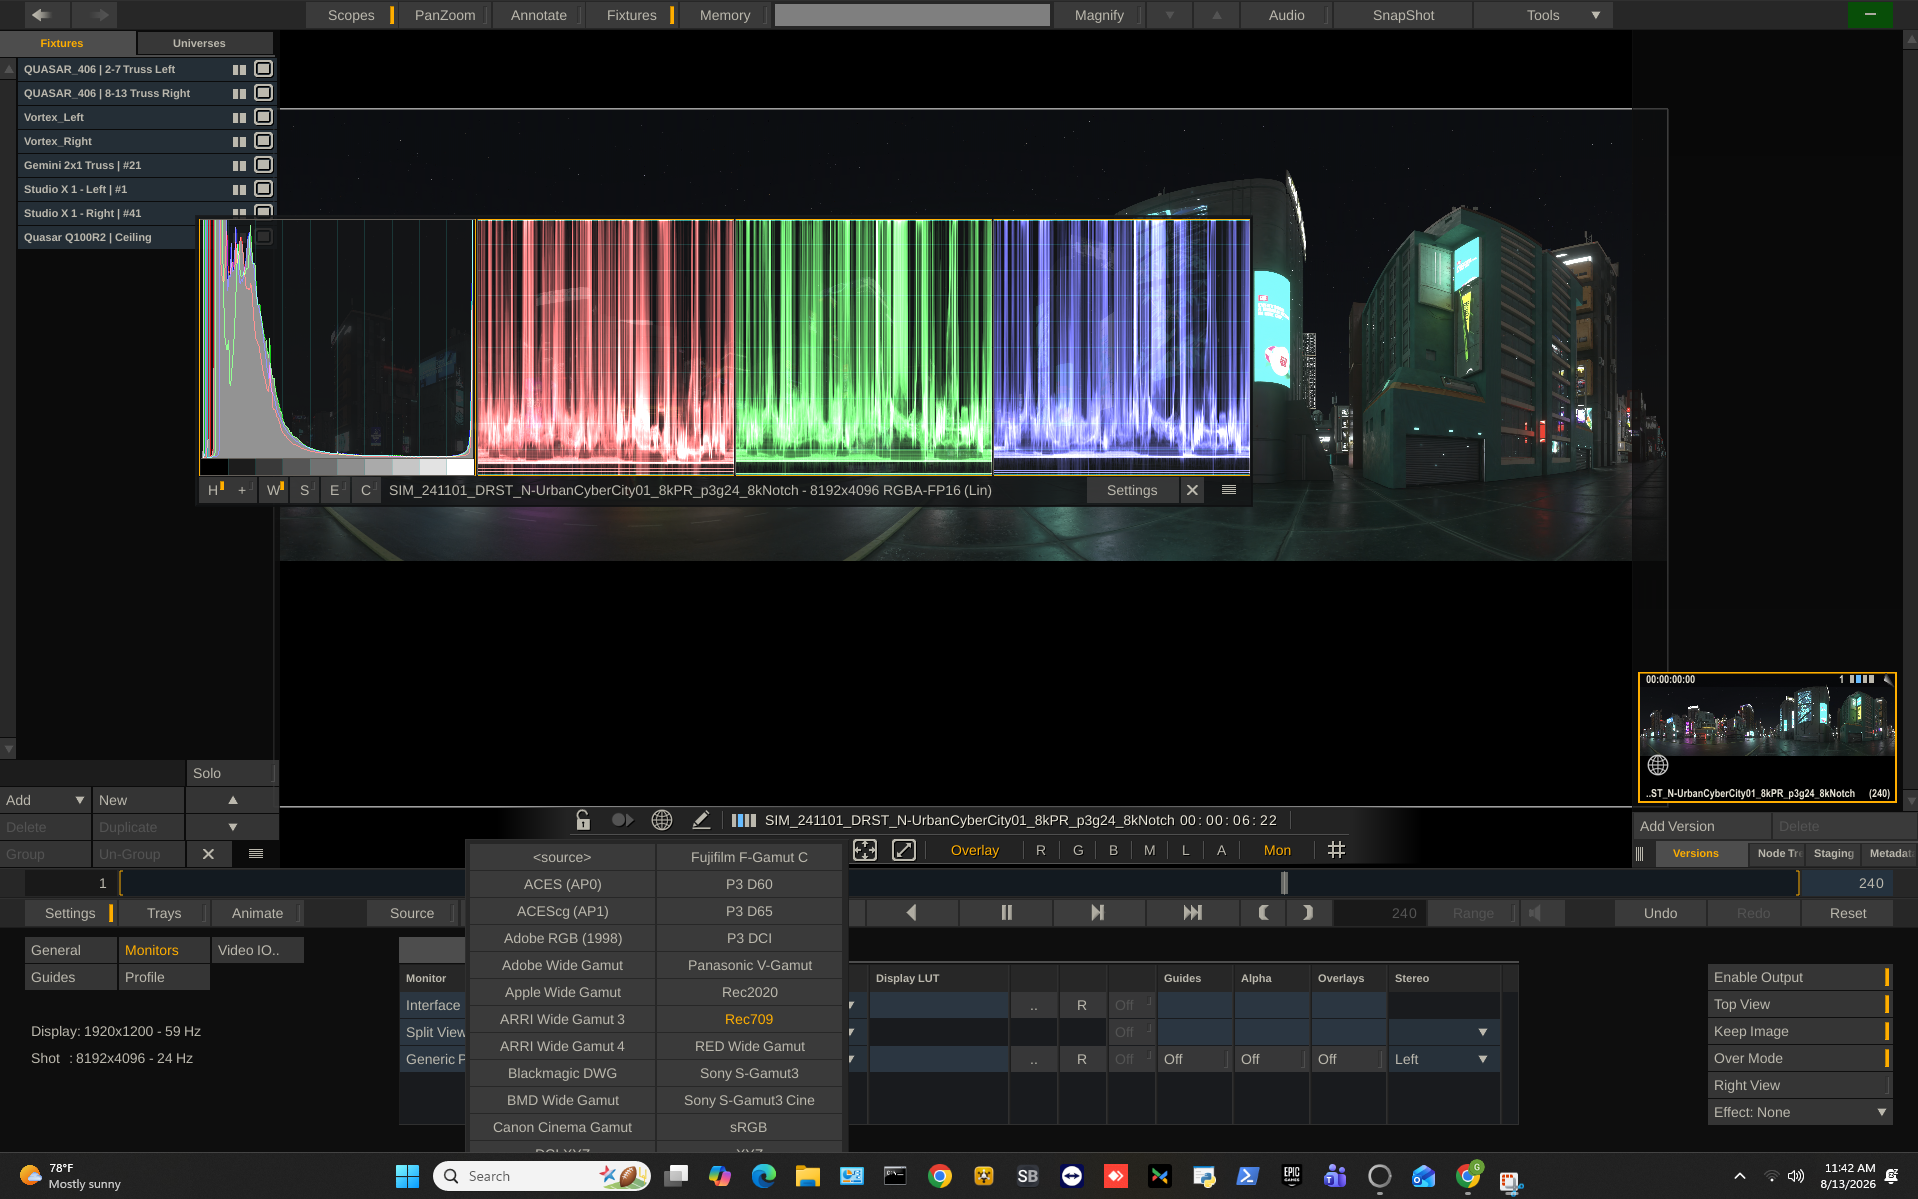
“Digital-signage software isn’t going to have the same color-gamut and color-management capabilities. Our video processor here (Brompton) can be set to a particular professional-level color space. Live FX can also override that and put specific content into particular color spaces. The big things we are really using Live FX for are as a media server with wide color gamut and 360° support, as well as the really cool capabilities around IBL and lighting fixtures.”
If you’d like to learn more about additional aspects of Virtual Production, check out our other guides and articles on B&H Explora!
