
Congratulations on upgrading your recording space! In this guide, we’re going to cover the unboxing of your new Sony ZV-1F camera kit, essential camera functions, and setting up your mini studio for the best results.
Unboxing Your Kit
Camera: Sony ZV-1F Vlogging Camera

The Sony ZV-1F is a compact vlogging camera with a built-in zoom lens and fast, intelligent autofocus.
What’s Included:
- Sony NP-BX1 Battery
- Microphone Wind Screen
- Lens Cap
- USB-C Cable
Essential Controls

We’ll only be looking at the most common controls we’ll need, whether it be to power the camera on or to deliver the best picture quality.
1. The on/off switch can be found on the top of the camera (circled in red). Press this for a few seconds to power the camera on and off.
2. The record button (circled in orange) is larger than the rest and highlighted with a red ring on it. Press this to begin recording and again to cease recording.
3. C1 (circled in blue) is used to blur, or “defocus” the background. To get that portrait look, use C1.
4. The lens is built in, so the zooming feature is controlled by a toggle on the top of the camera marked with a W for “wide” and a T for “tele”. The ridged bump on the front can be toggled left to zoom out and right to zoom in for closer shots. Dial this is to your liking once set up.

On the top of the camera, you’ll see another button we didn’t touch upon above. It’s located next to the on/off button and has a camera, camcorder, and S&Q icon next to it. This is our mode button, and each icon represents a different mode (still, movie, and “slow and quick”). For our purposes, we want to set our camera to movie mode.
Now to the back of the camera. Our main focus will be the menu button (circled in red), as we’re keeping the camera as simple and user friendly as possible. Additionally, the large rear LCD flip-out screen is a touchscreen, so some control can be taken via that route. Just note that in intelligent auto modes, the camera does most of the settings for us.

Lastly, articulate the screen and get a feel for its range of motion. Never force it but flip it out and rotate it to get it to where you’d like it. This will likely be rotated forward so you can see yourself framed up as you are recording.

Initial Setup
First, you should charge the batteries. This kit comes with x2 Sony NP-BX1 batteries. The initial charge may take longer than subsequent ones. To charge the batteries, use the Watson Mini Duo USB-C Charger for Sony NP-BX1 charger included with the kit.
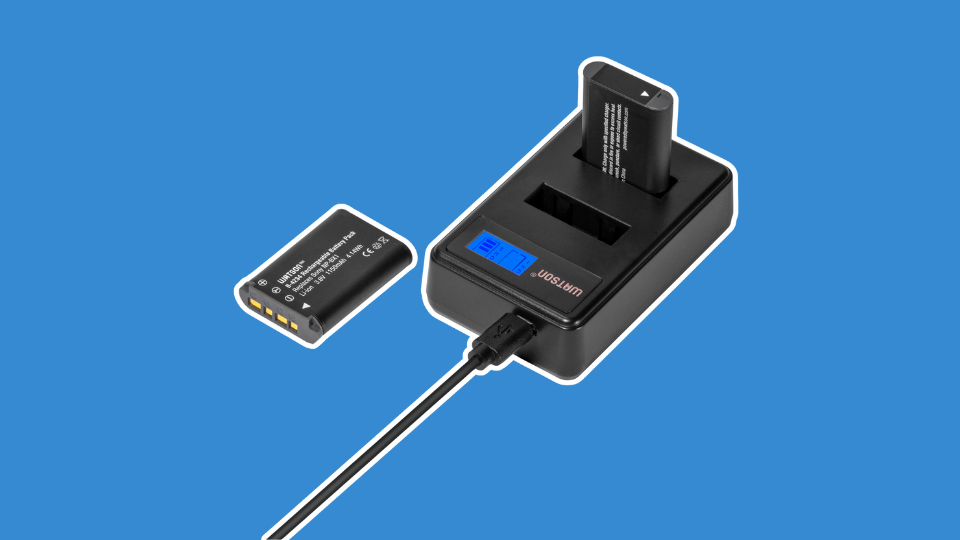
Plug this into the wall and wait for the indicator to show a fully charged battery icon. There is one icon per battery, so you can tell which is charged first. Once charged, remove the battery from the charger and insert one into the camera via the battery bay door on the bottom of the camera.
Now we can turn our camera on. Upon first power up, the camera will prompt you to select a language. Do so. Next, it will prompt you to connect a smartphone. Skip this. Lastly, it will ask you to set the time and date. Do so.
Once our initial setup has been complete, we can shift to the other essential accessories for our new camera. These will aid us in storing the media we record, capturing quality sound, and keeping our images still and stable throughout our stream.
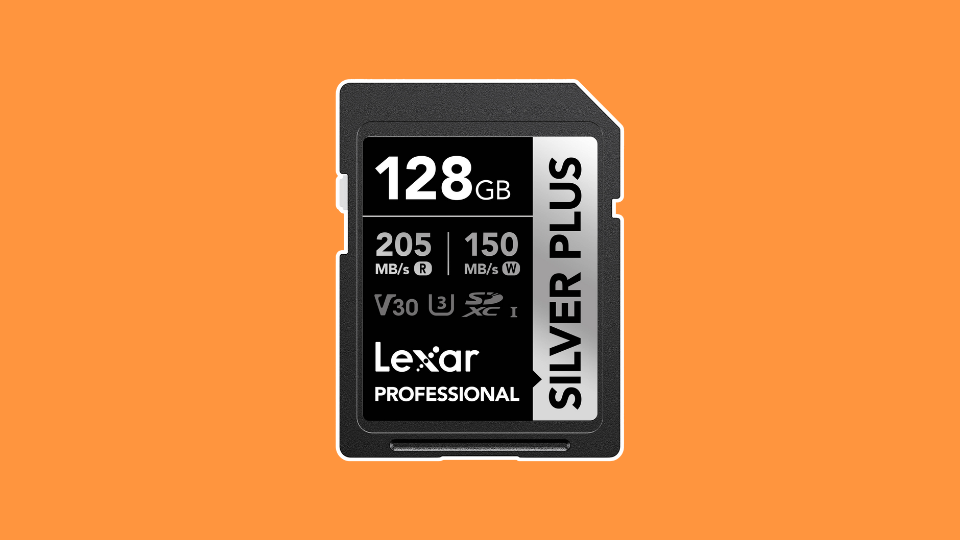
Memory Card: Lexar 128GB Professional SILVER PLUS UHS-I SDXC
Memory cards serve as short term for data recorded by the camera. Even when streaming directly to an online source, a camera may require a memory card to be inserted into the camera. For video, the card must be able to handle the heavy flow of high-resolution data like HD or 4K video, so a fast card like the SanDisk 128GB Extreme PRO UHS-II SDXC Memory Card is essential.
Be sure to insert the memory card in the proper direction, as a backwards card can get stuck and damage the camera. Once inserted, we’ll want to format our memory card. This setting allows the user to format the memory card to the Sony system. Every new memory card should be formatted before using. A warning will appear stating that this will erase all content on the card, but there is no content to worry about on a brand-new card. To do so, enter the camera’s menu via the dedicated menu button on rear of the camera (circled in red)
Step 1: Go to the first menu bank, identified by a red color and a movie camera icon on the left-hand side of the screen.
Step 2: Go to Media sub-menu. In that sub-menu, select Format.
Step 3: When you select format, a prompt will appear asking if you’re sure you want to format the card as it will wipe data, select yes.
Your memory card is now formatted and ready for use. Formatting lessens the risk of losing data, corrupting data, and other common maladies of digital storage.
The Microphone: DJI Mic 3 Compact Wireless Microphone
To better the quality of our audio, we’ll be using the DJI Mic 3 Compact Wireless Microphone system. This is a two-piece wireless system with a camera mounted receiver and a lapel worn microphone, also known as a lavalier or lapel mic.

What’s Included:
- DJI Mic 3 Camera-Mounted Receiver
- DJI Mic 3 Clip-On Transmitter/Recorder with Built-in Microphone
- DJI Mic 3 Mobile Phone Adapter (USB-C)
- DJI Mic 3 Locking 3.5mm TRS to TRS Audio Adapter Cable
- USB-C to USB-C Data Cable
- Windscreens (Black, Gray)
- Magnetic Clip
- USB-C Charging Cable
- Carrying Pouch
Like the camera, this too needs to be charged before use. To do so, use the included USB-C charging cable and any AC adapter (like the one used to charge a phone). Once charged, we can power both units on.