
Raw vs. JPEG. The debate has persisted since the early days of digital photography. With modern digital technology, in-camera JPEG processing has never been better. Across brands, some photographers claim to have switched their workflow to JPEG exclusively, forgoing the advantages (and disadvantages) of shooting raw files. Others shoot raw + JPEG simultaneously to enjoy the benefits of both. Of course, many shoot only raw images. With a week in Ireland to focus on photography, I decided to dive deeper into the raw vs. JPEG option and see if it would change my raw-only workflow, moving forward.
Photographs © Todd Vorenkamp

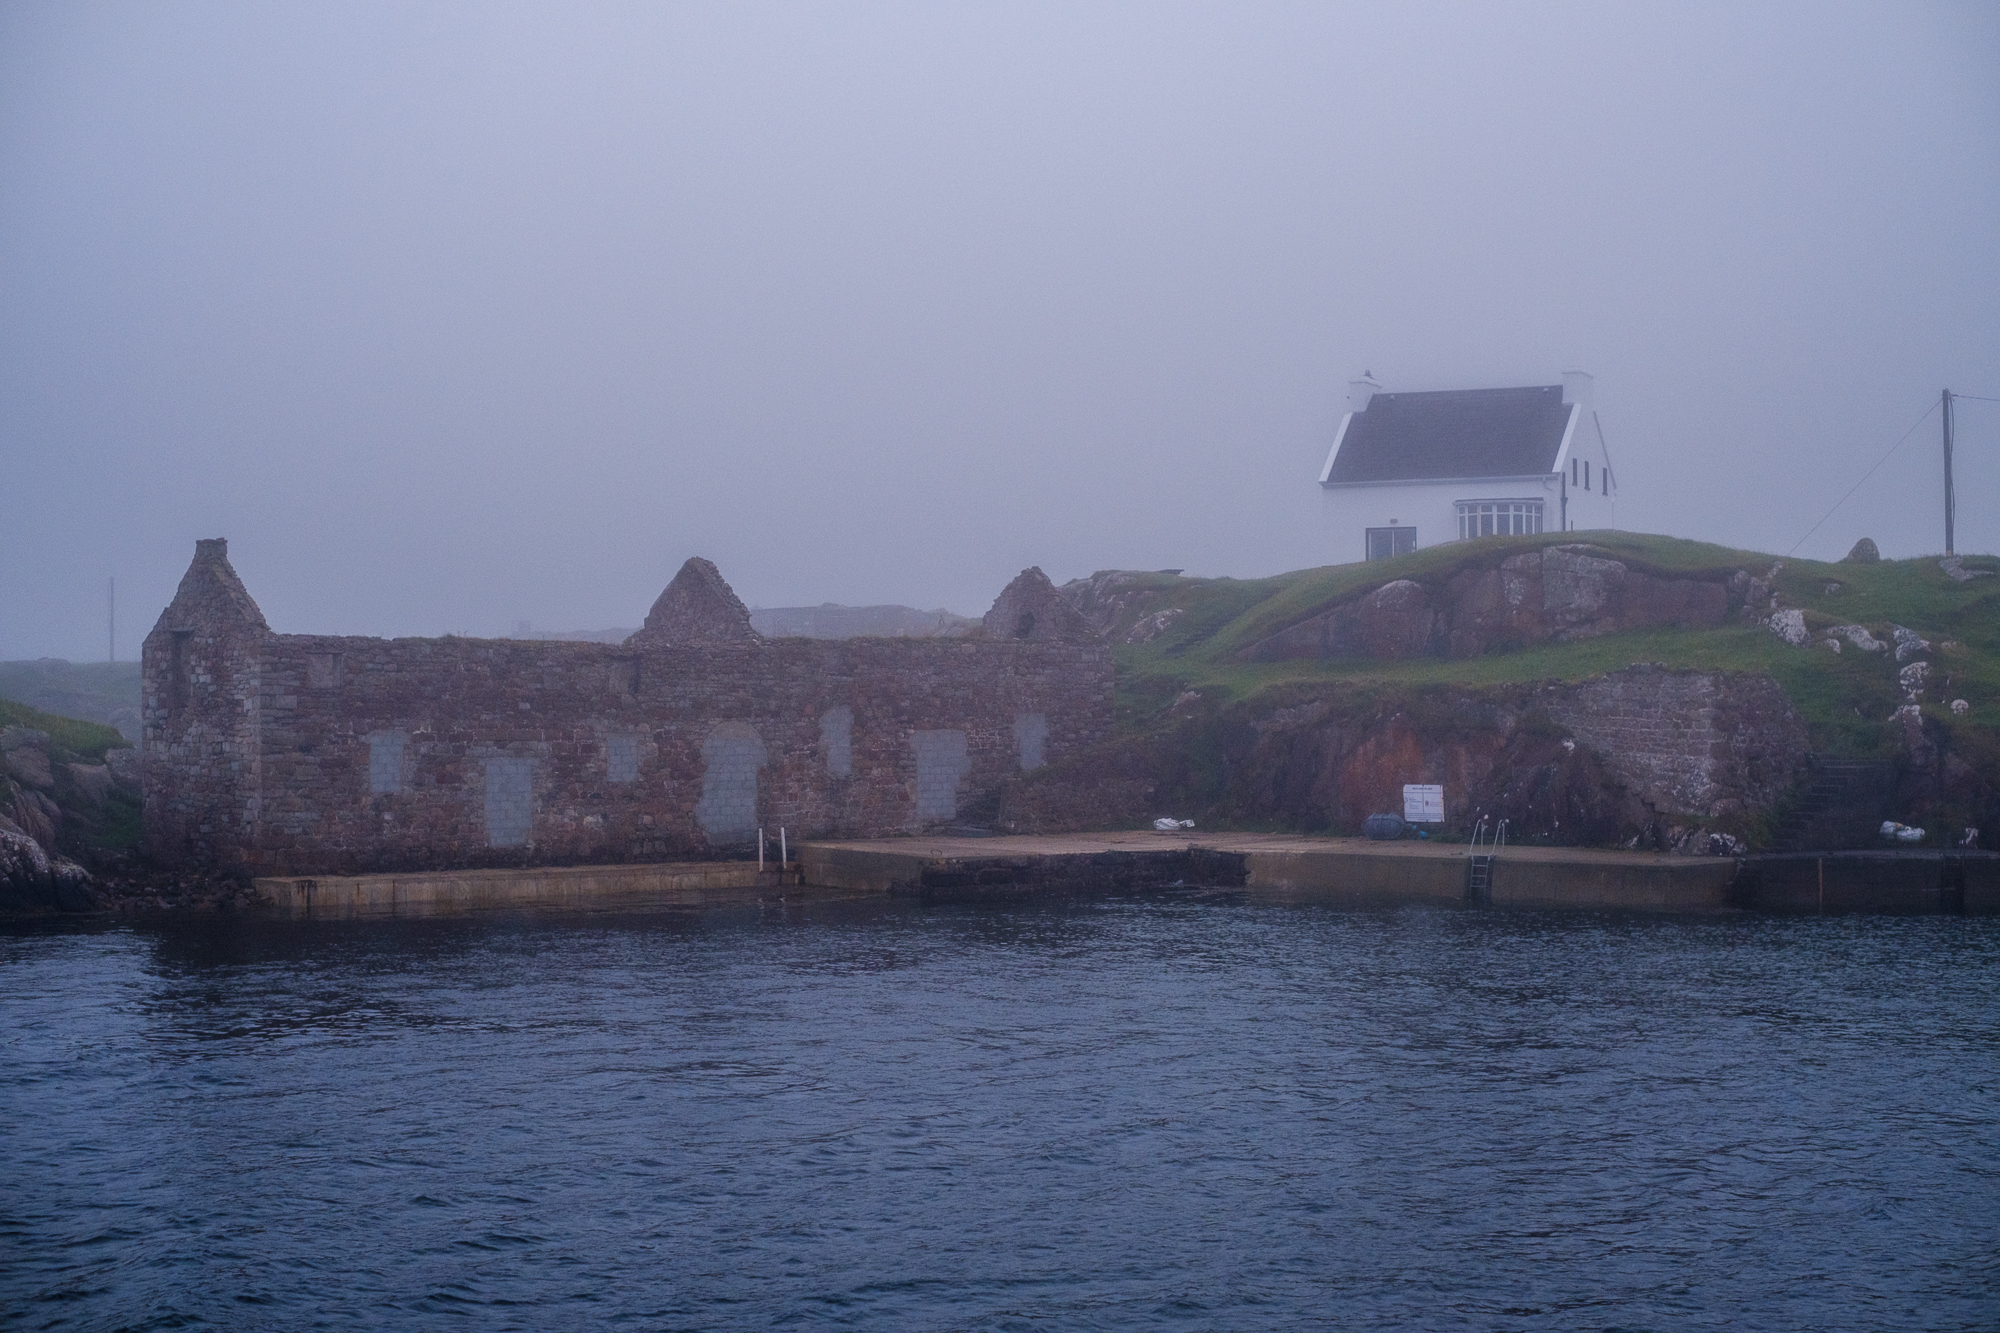
I traveled to Ireland to join the Dakota College at Bottineau Photography Program (specifically the Outdoor Photography course) as we were welcomed by our wonderful hosts, Dr. Niamh Hamill and John O'Connell of the Institute of Study Abroad Ireland, in Bundoran, Ireland. DCB students and ISAI staff not only explored the Donegal countryside but enjoyed lessons on Irish history and how the Irish landscape ties directly into the culture of the nation—allowing a deeper photographic perspective of the surrounding areas.
For more information on Institute of Study Abroad Ireland, please click here.
And, for more information on the Dakota College Photography Program, please click here.


What Do I Shoot?
When I started in digital photography, I was a JPEG-only shooter. Some early cameras would "choke" when too many raw files were fired in quick succession and the buffer filled, and I didn't have patience for that delay.

Grad school arrived and I made the semi-reluctant switch to raw images and have not looked back since—shooting JPEGs exclusively only when at airshows or when shooting casual events.

The Quick and Dirty of Raw vs. JPEG
Raw files give you more colors, expanded post-processing flexibility, and superior performance when it comes to adjusting exposure and white balance/color temperature. The downside? The files are large and fill up memory cards and computer hard drives quicker than smaller JPEG files.

JPEGs have some post-processing baked into the files, so they do not need to be processed (as much) after capture. They will likely appear with more saturation, contrast, and sharpness than a similar raw file. The downside? Less latitude for exposure and white balance tweaking after capture.

FUJIFILM JPEGs + Film Simulations
FUJIFILM, in particular, is known to have some of the best JPEGs in the business, partially due to its popular analog-based film simulations. FUJIFILM cameras give users the option of selecting from several analog film stocks and simulated filter combinations. Also, the FUJIFILM camera's software allows customization of the analog film simulations—an option that has allowed the creation of "recipes" that simulate dozens of other film stocks.
The camera automatically applies a film simulation to all JPEG files—you cannot shoot a FUJIFILM JPEG without a film simulation applied to it. The default simulation is PROVIA—designed to simulate the general-use film stock.


Since I was shooting with the FUJIFILM X-T3 on this one-week trip to Ireland, I wanted to broaden the raw vs. JPEG experiment to include deliberately selected FUJIFILM film simulations to my capture workflow.


With Great JPEGs, Do You Need Raw?
You may have heard the occasional buzz about modern photographers abandoning raw shooting because of the quality of today's JPEG files. With that in mind, I decided that it was time to revisit JPEG shooting to see if I might abandon raw files.

To "cover my bases" on this trip, and give some control to the experiment, I would shoot raw + JPEG files simultaneously while using different FUJIFILM film simulations.

Simulation Fun
Choosing the best-looking film stock for each scene really adds a bit of fun to the process of capturing images. One of the thumbpad buttons on my X-T3 is assigned to select from the menu of film simulations. This allowed me to cycle through the different film stocks easily while looking through the EVF.

The EVF and LCD on the camera show the film-simulated JPEGs, so I could see exactly what the JPEG processing would look like while setting up the shot. If you shoot raw files, you can set your EVF/LCD to any of the film simulations while shooting without baking the film simulation into the raw file. In fact, more than a few digital photographers have been known to set their EVF/LCD to a black-and-white film simulation to help them focus on composition without distracting color in the image.

When scrolling through the film simulations, the camera displays a short description of each simulation. For example, for FUJIFILM Velvia it reads, "Vibrant reproduction, ideal for landscape and nature." I certainly found these descriptions to be useful—especially when simulating yellow, red, or green filters on the simulated black-and-white ACROS film.

Cycling through film simulations while composing each image was awesome. By adding this quick step to the capture process, I deepened my involvement in the image creation. I recommend it!


Favorite Simulations for Ireland's Landscapes
The Irish landscape is known for its lush color palate and I certainly wanted to show that in the images. I also wanted to simulate black-and-white film when the scenes were monochrome-friendly.

I mostly steered clear of simulations that muted the colors because our exploration of Ireland was all about colorful landscapes. I found myself gravitating to Velvia because it was really bringing out the greens of the vegetation on the JPEGs. Also, when working on the coast, Velvia brought a deeper blue tint to the ocean waters.

I greatly enjoyed diving into the black-and-white ACROS simulations–using the simulated filters to change up the contrast of different scenes. Again, the short descriptions attached to the simulations proved useful to me because I was able to tailor the filters for each image.

Post Processing
With raw and film-simulated JPEG files to process (for the purposes of this article), my post-processing workflow was more daunting than usual because I was dealing with at least two (and sometimes three or four) versions of the same photograph.


Important note: I usually shoot at -1EV and, in hindsight, I should have probably dialed that to zero for this raw + JPEG test knowing that the raw files would have a bit more latitude in post processing.

I will say that the JPEG files looked fantastic straight out of the camera and I would have zero hesitation to post them to the Web or send them to a printer as is. They are very usable files and they looked great.

Even though they looked great, I did post-process the JPEGs a bit. Some of the -1EV shots were intentionally dark, but I found that the files had enough latitude to recover shadows cleanly on the JPEG files. When shooting high-contrast scenes, I was a bit worried that the -1EV setting would bite me when it came time to processing the JPEGs, but this fear was unwarranted. Overall, I found that processing the JPEG images to a final product was faster than it was when processing the same raw file to a similar aesthetic.

With raw and JPEG images to adjust, I found that I could not really operate in a void or with a control for each image experiment. I often found myself trying to process the raw files to match the look of the accompanying film-simulated JPEG for some reason. I guess this defeats the purpose of having the raw file, right?
For the images where I processed the raw file and then did some basic adjustments to the JPEG image, I found myself preferring the overall look and feel of the JPEG on my screen in almost every case.


The End of Raw Shooting?
Can you ditch raw capture and blissfully head out into the world shooting great JPEG-only images?
Yes… but there are caveats.

Based on my intense one-week experiment, I would be comfortable setting my camera to capture only JPEG images with the following exceptions and stipulations:
-
If, like me, you shoot at -1EV regularly, I would recommend removing the EV shift (set to zero), only going to -1EV for brighter scenes when shooting JPEGs.
-
For nighttime photography with mixed light sources, I'd recommend either shoot raw or raw + JPEG so that you will have more flexibility for white balance adjustments in post processing.
-
If your scene has a challenging dynamic range, or you are known for your ability to mis-expose images, the raw file will give you a better chance of salvaging a tough lighting scene or bad exposure.

Going back to JPEG shooting requires a paradigm shift to my workflow―and a leap of faith in the technology of the modern JPEG. Part of me wants to keep embracing raw capture and the knowledge that I am getting the most from every file. However, I am intrigued by fact that I preferred the look of the JPEG version of almost every image I brought home from Ireland. I guess there is no harm or foul in shooting both raw and JPEG images and then giving yourself permission to delete the large raw files when the JPEG meets your visual needs. Of course, you can save the raw version of your very best images for future post processing opportunities.

The Debate Continues and JPEGs from Other Cameras
What are your thoughts on the modern JPEG? Have you removed the shackles of raw image processing completely? Do you shoot both? Or are you raw only… forever?

Are you NOT a FUJIFILM shooter and you are still reading? If so, what are your thoughts on your Sony, Nikon, Canon, Pentax, Panasonic, Olympus, Leica, and other JPEG files?
Let us know in the Comments section, below, and thanks for reading!
