
Exposure can be challenging to master. There are many moving parts, and knowing which settings affect what aspect of our image takes time and practice. The goal might be to take full control and use manual exposure mode, but first, we need to learn the ropes using auto exposure modes.
These modes let us use our camera with a little help. As covered in our introduction to exposure article, photography consists of controlling three primary settings. Every digital camera today has the ability to adjust these exposure settings automatically if set to auto mode, program mode, or a priority mode like shutter or aperture priority.
In these modes, the camera is doing some of if not all of the decision making, but even the most sophisticated cameras make mistakes sometimes. In this guide, we’re going to learn about these mistakes and the tool that can correct them in a relatively easy manner. In this guide, we’re removing the confusion from exposure compensation.
What Is Exposure Compensation?
Exposure compensation is a tool that allows you to override your camera’s exposure settings when using an auto exposure mode like program, or aperture priority. But wait, why would we need to override our camera at all, doesn’t it know how to pick the right settings? It usually does. Let’s look at an example where the camera would do well at choosing the right exposure settings for the scene.


Modern cameras are programmed to keep exposure values neutral, more specifically at 18% gray. This is done to keep bright highlights and dark shadows from being too bright and too dark respectively. For an image like the example above, this is perfect, as it aids the photographer in getting a good exposure. If you’ve read our guide to metering modes, you’ll know that in some conditions, the results aren’t quite perfect.
Mistakes are most often made when you're presented with a bright or dark background that strongly contrasts the subject. Think of overcast skies or a bright subject against a shaded background. In these situations, our eyes naturally adjust and we the scene without issue. The problem is that the system overcompensates, turning those bright and dark values into a neutral gray, which leads to under or overexposing our image.


When this happens, not all hope is lost. We can simply adjust our exposure compensation to a positive value to brighten our exposure, or a negative value to darken it.
How It Works
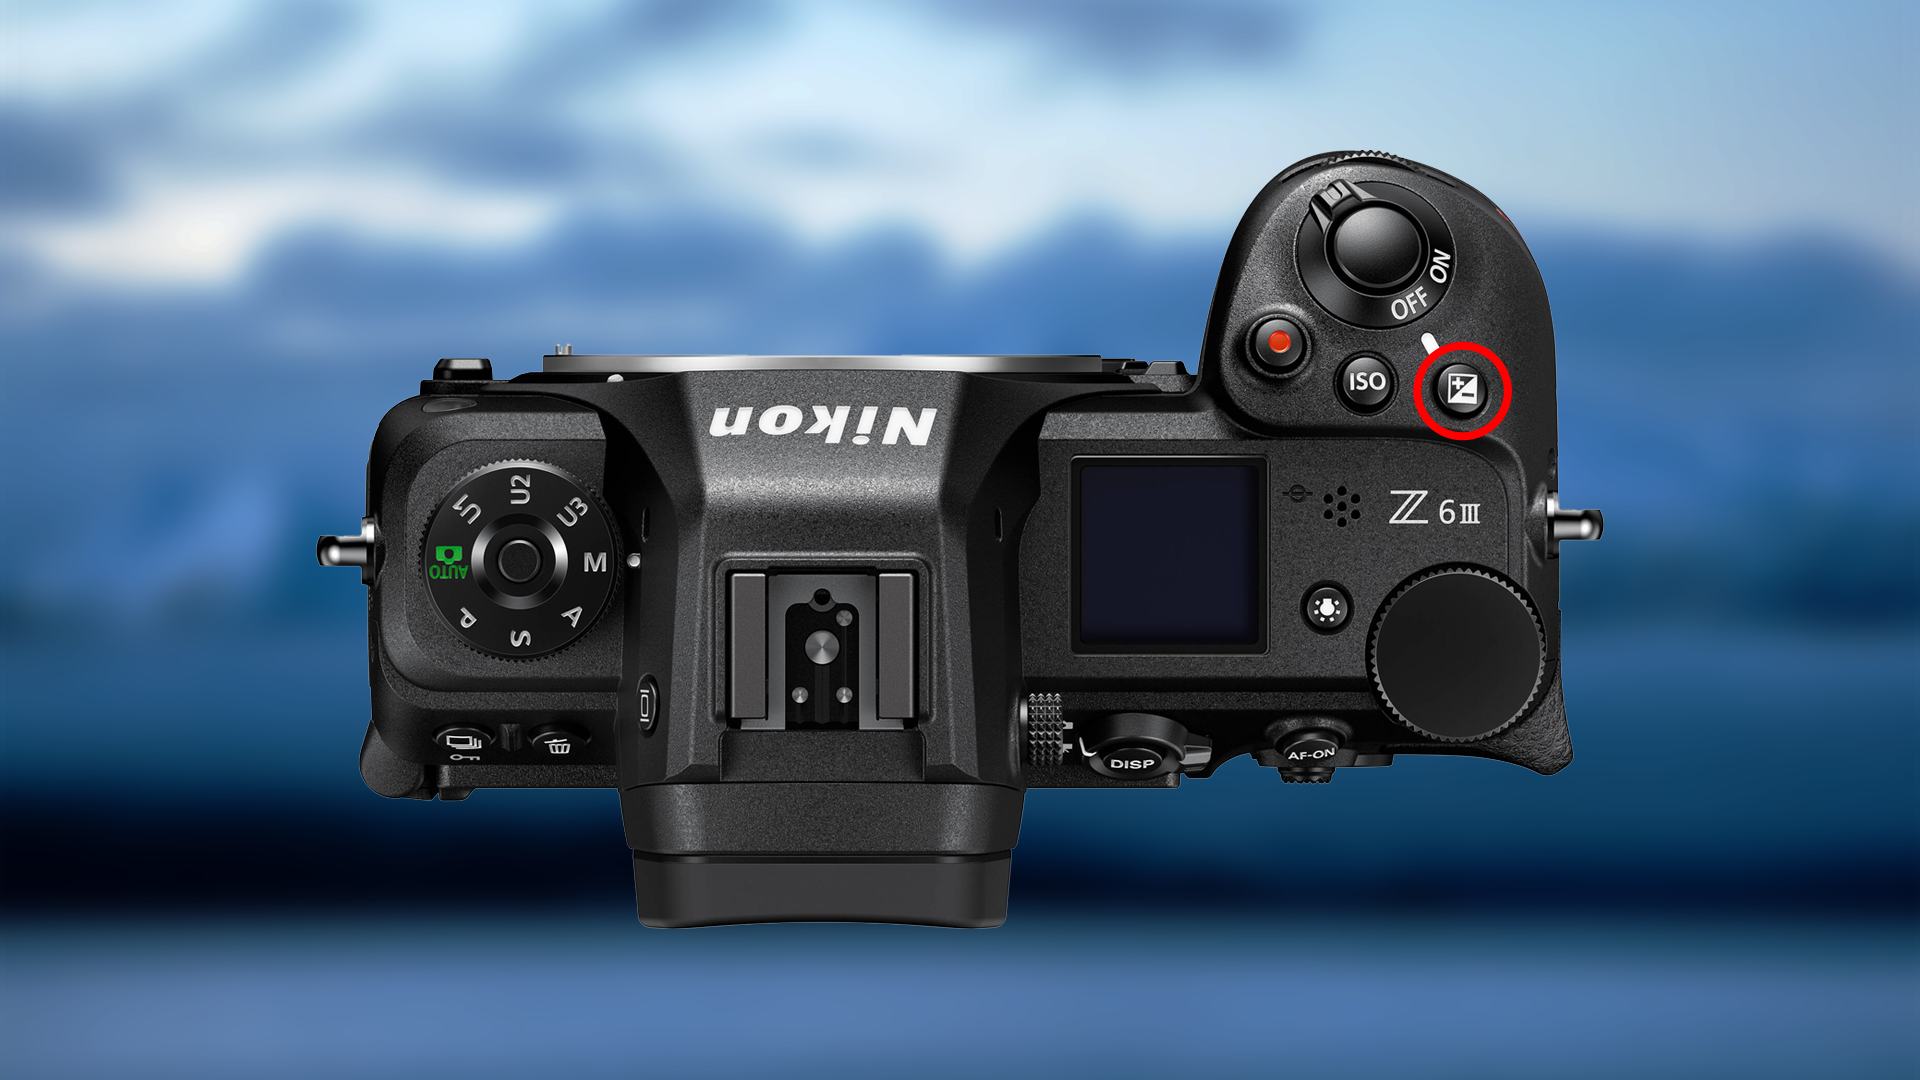
So, where do you find the exposure compensation feature in your camera? This varies by camera make and model. Some cameras will feature a dedicated button; others relegate this setting to a secondary function or even bury it in the quick menu. To find it in your camera, look for the button or symbol that has a plus and minus on it, similar to the examples below.
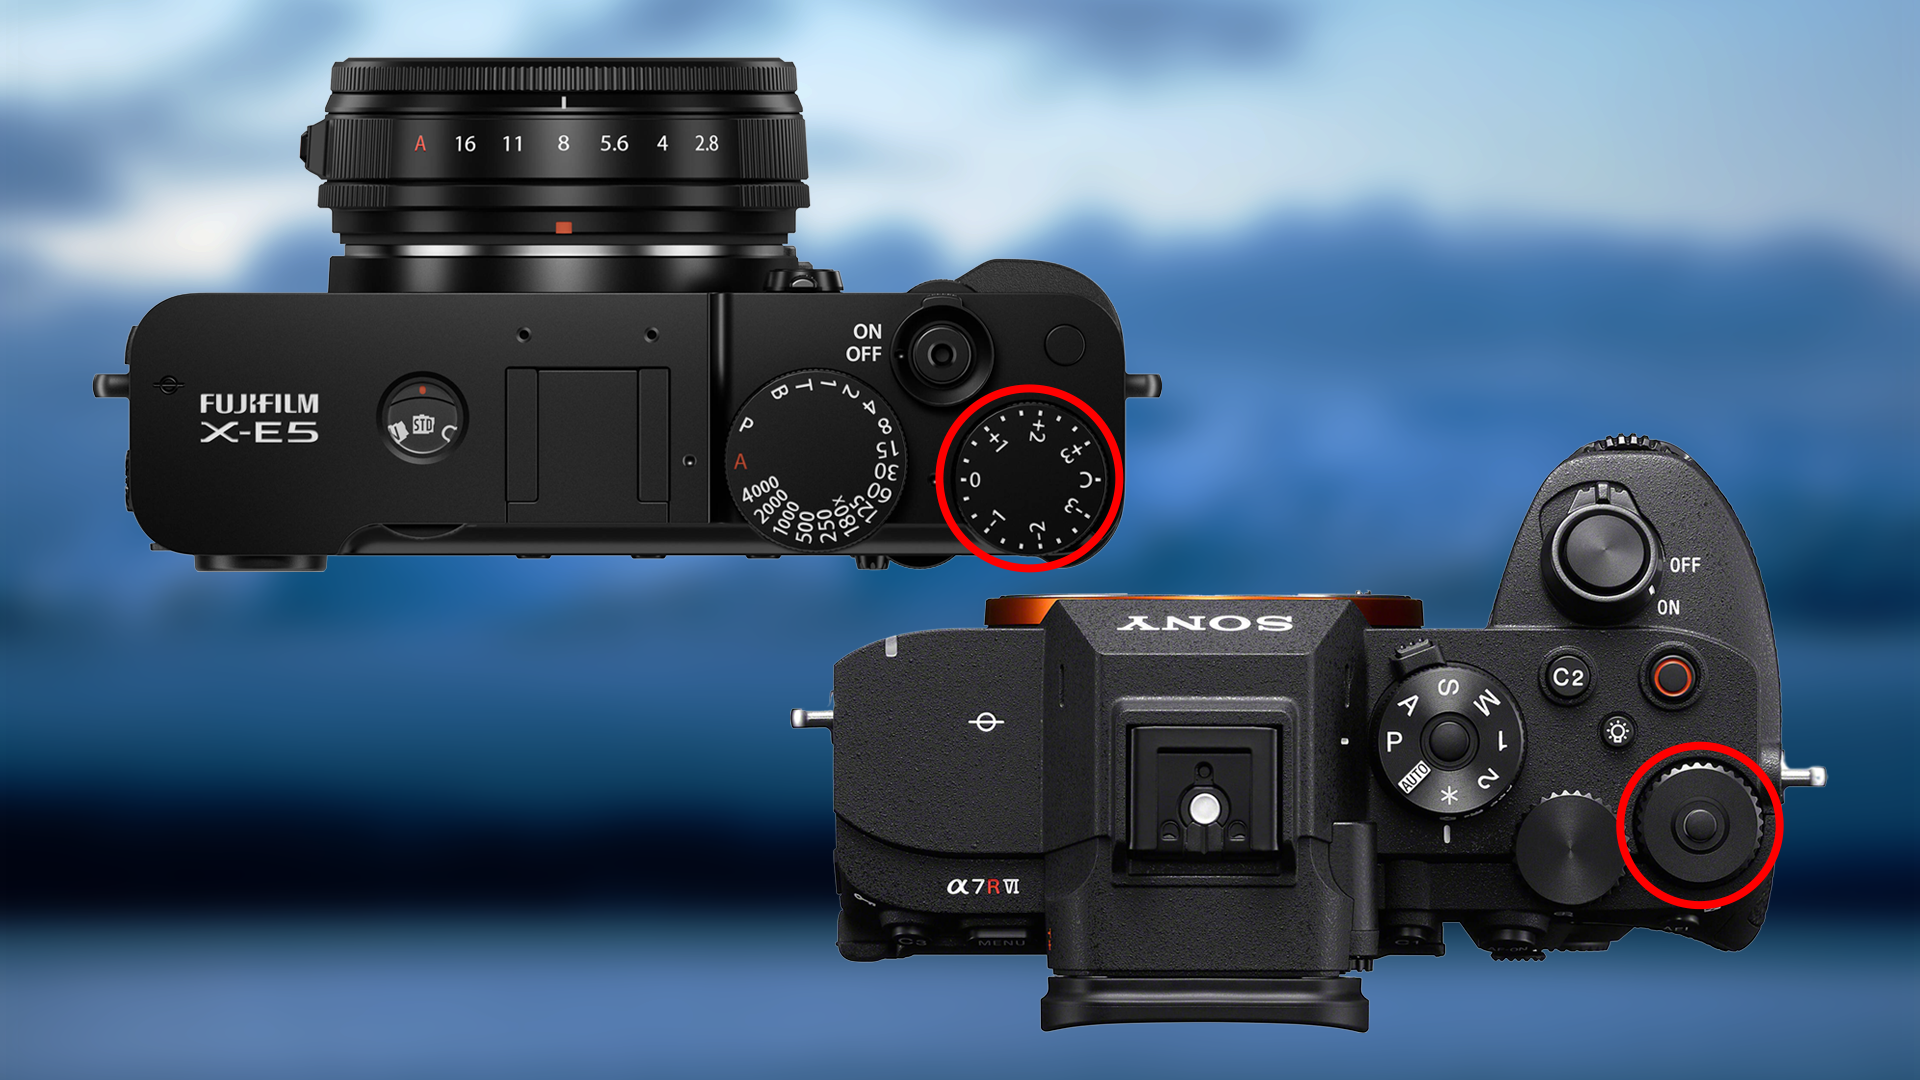
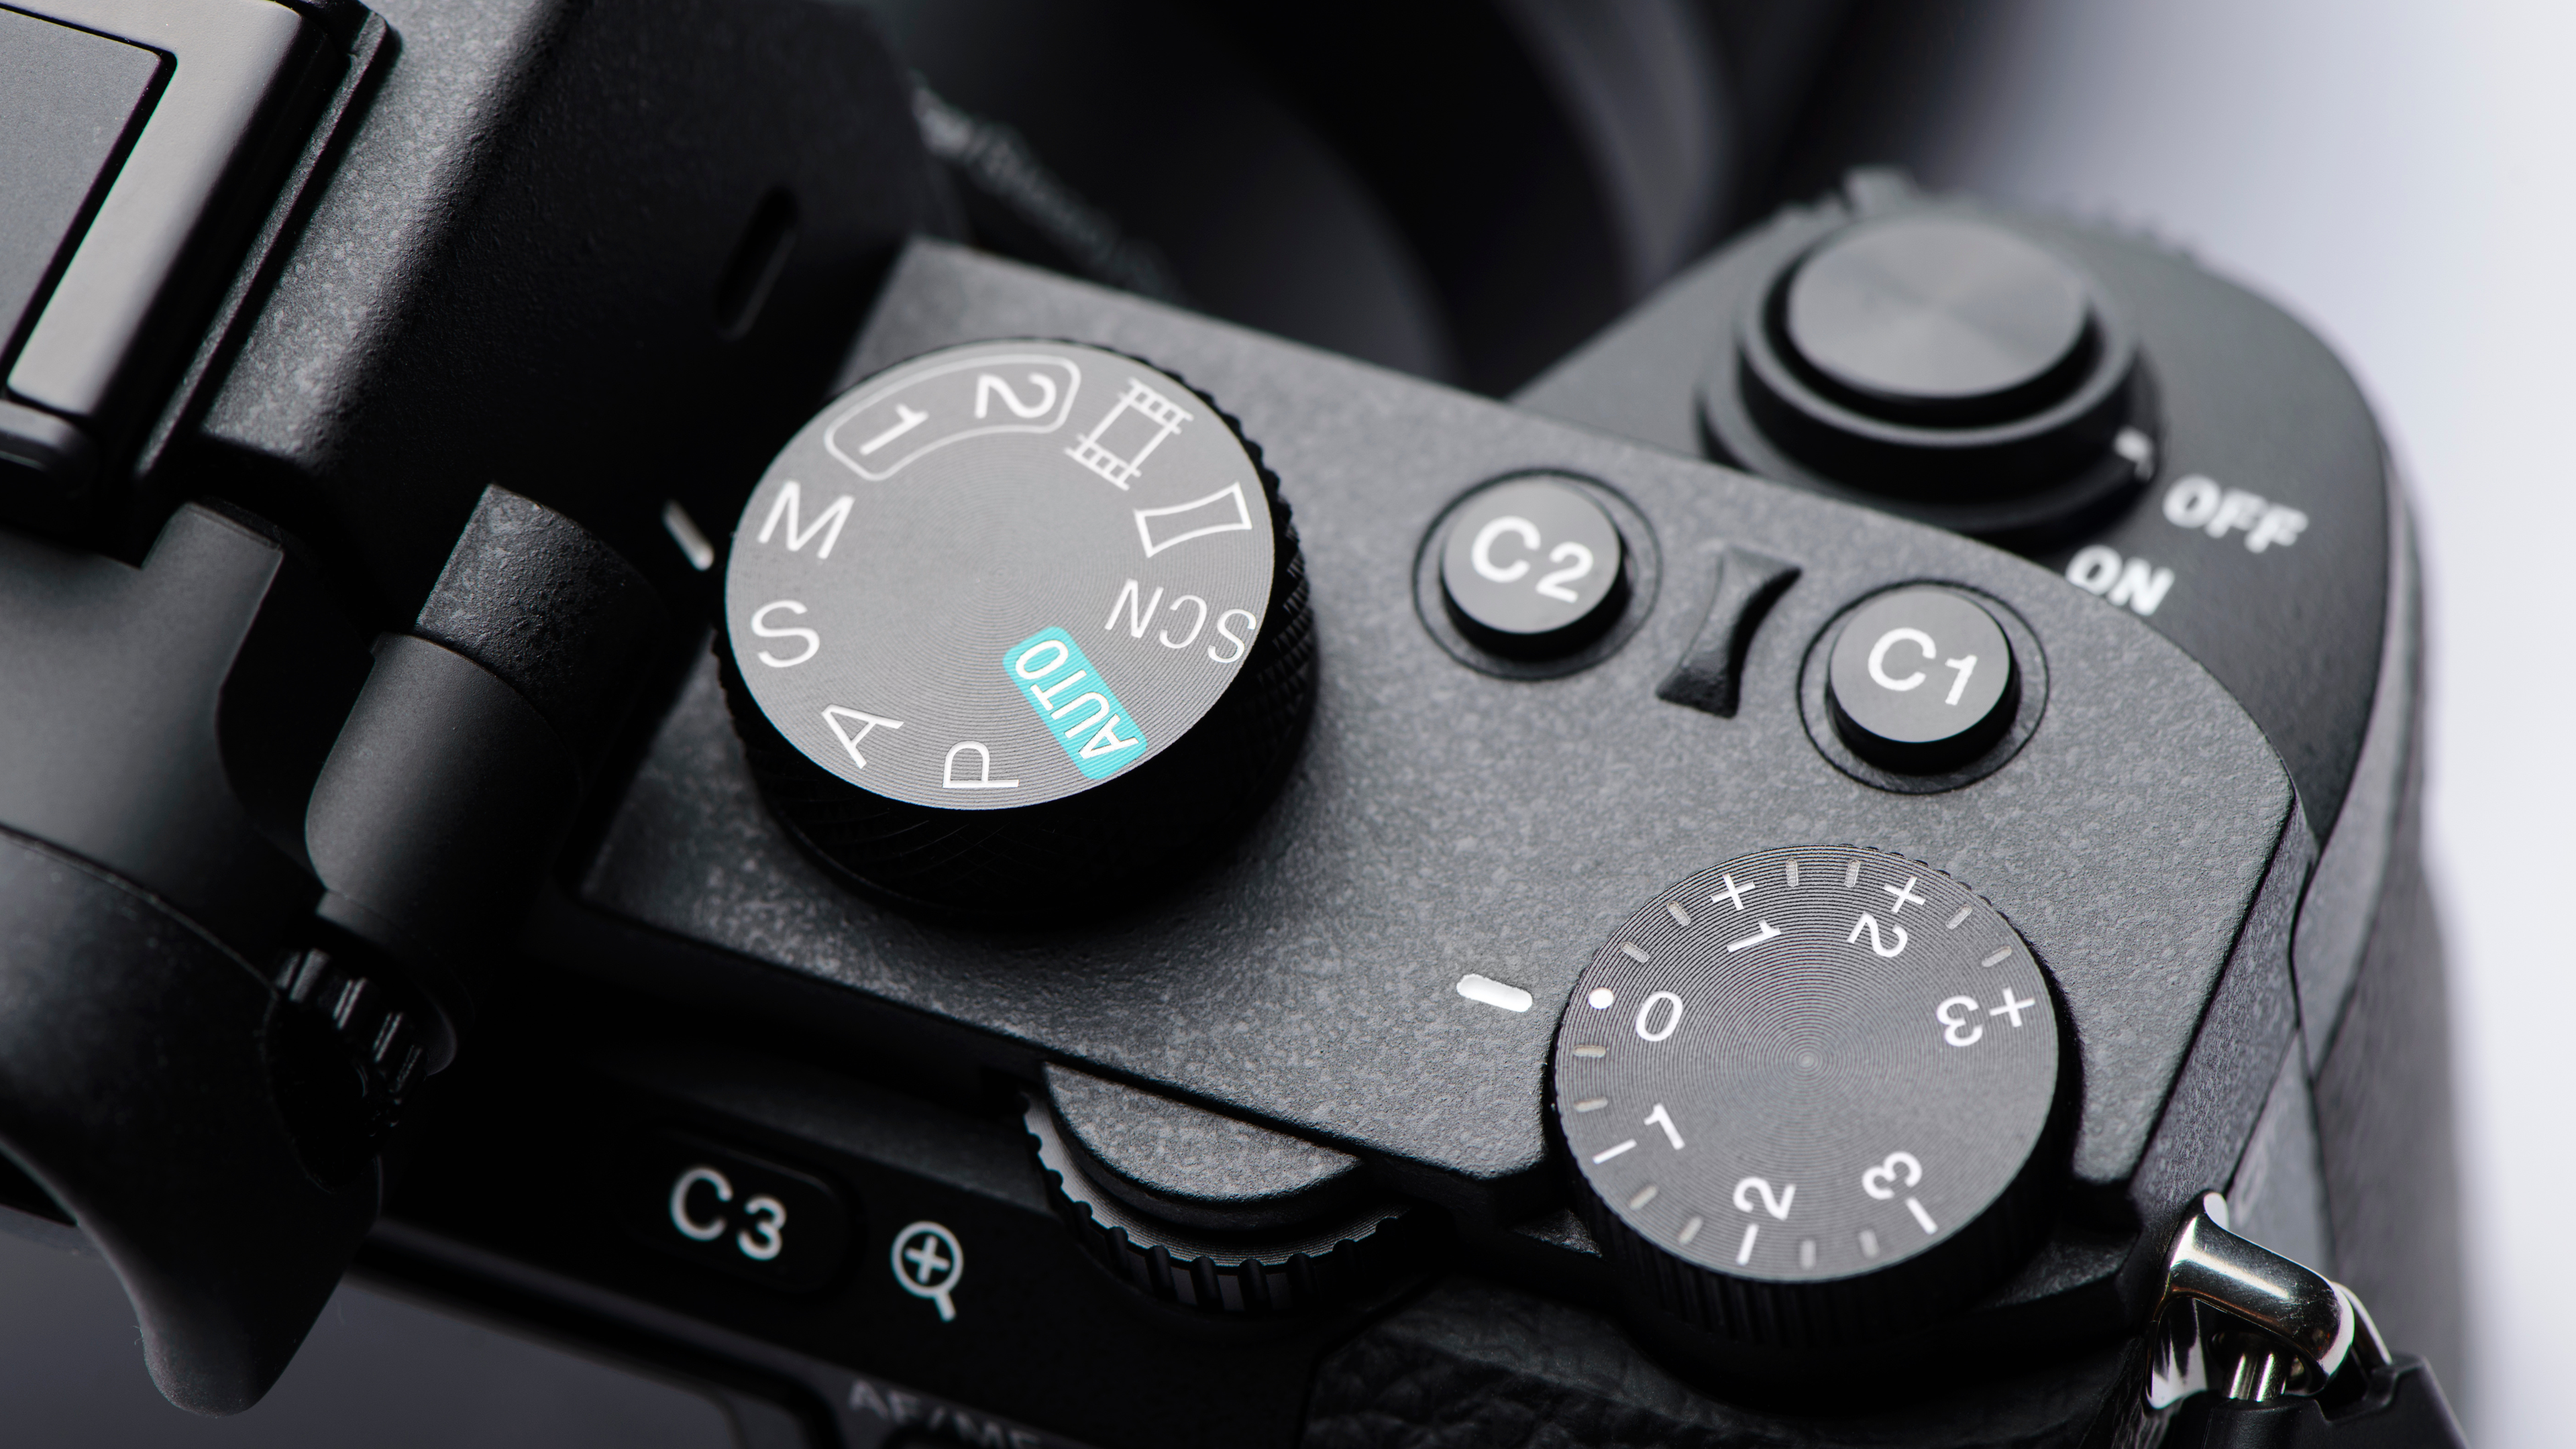
Some cameras have replaced this button entirely with a dedicated dial, such as those found on select Fujifilm and Sony mirrorless cameras. These do away with the +/- icon and instead are decorated with the exposure values themselves, or nothing at all, relying on the digital displays to indicate what value the setting is tuned to.
When a button is present, we simply press and hold the button and adjust it to either a positive or negative exposure value with the turn of a dial. As you can imagine, a dedicated dial functions largely the same. Turning the dial to the right increases our value, while turning it to the left decreases it. But if our dial has no markings on it, how do we know what our exposure value is set to?
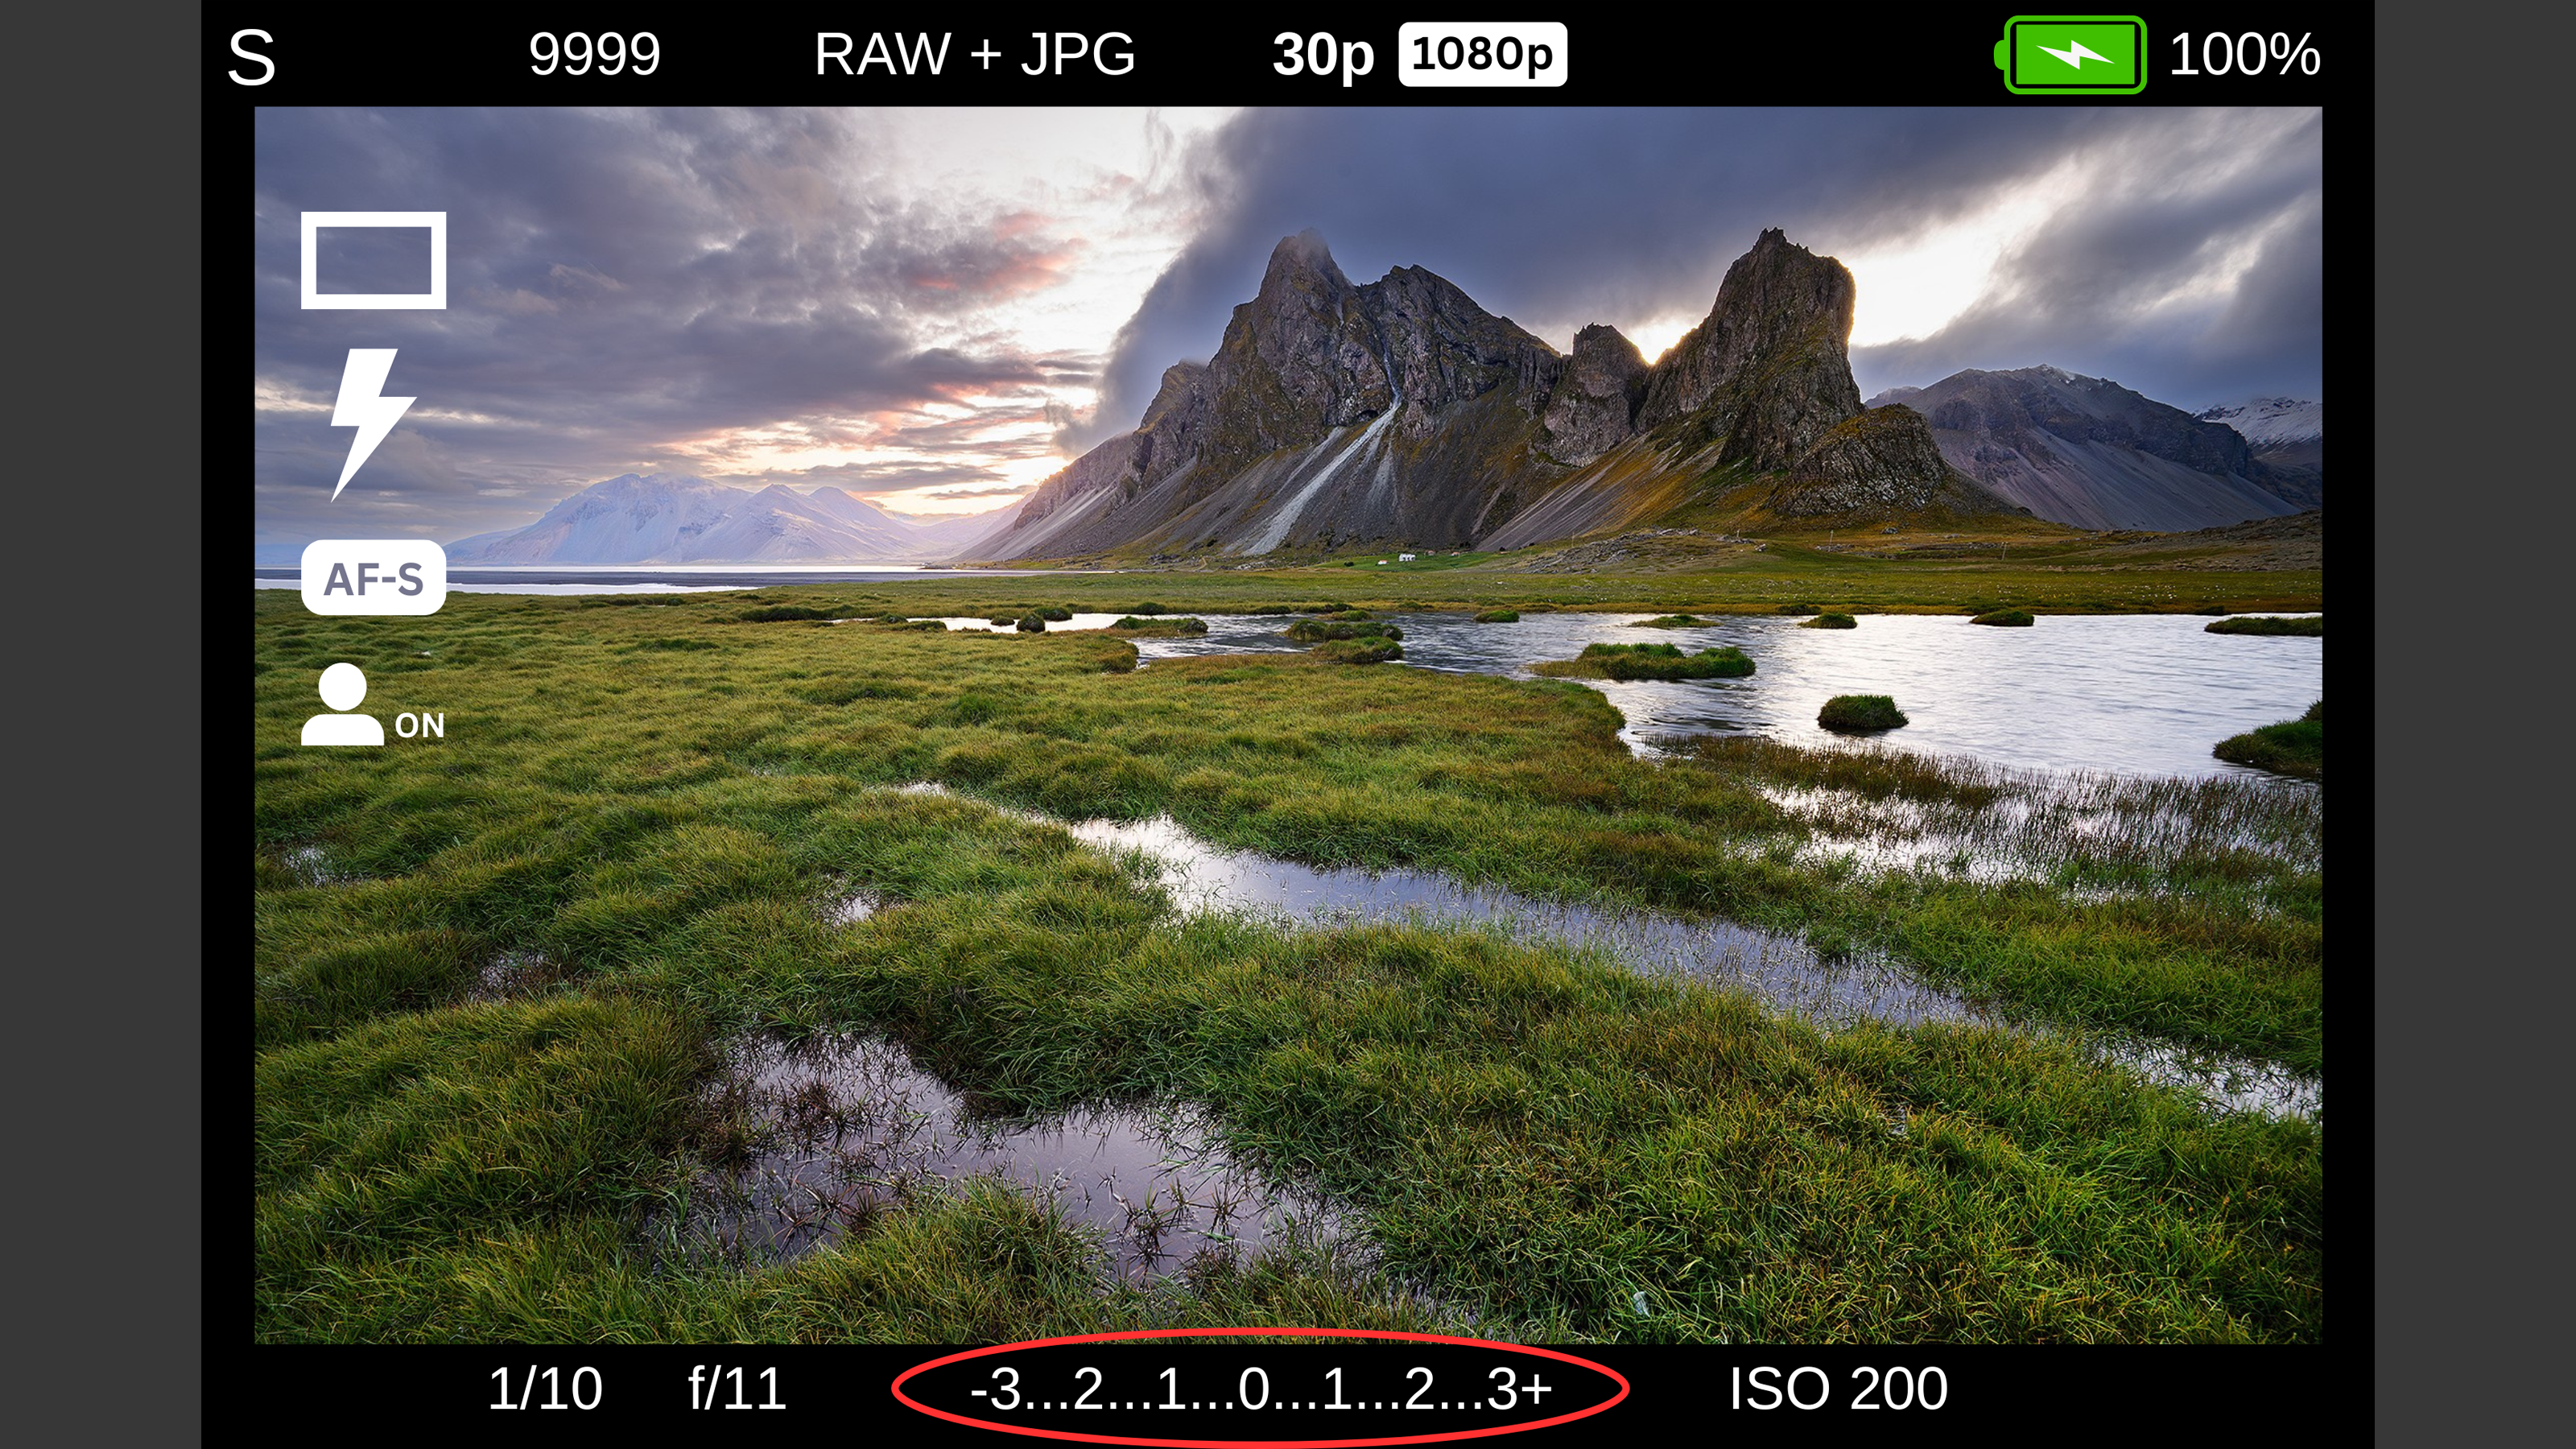
On the camera’s rear LCD or viewfinder, you’ll see the meter scale, ranging from -3 to 3+, indicating stops of under or over exposure within its range. In the center sits a zero, which represents a neutral exposure. We’re taught to keep the meter centered, but as we now know, this isn’t always possible.
Let’s look at a real-world example. Imagine you’re using shutter priority, trying to photograph a snowy landscape. You frame up this winter wonderland, press the shutter button, and snap a photo, only to capture a gray, dull image. Why did this happen? As we addressed above, your camera saw that bright, white snow and felt that it was too bright. In order to preserve detail in the brightest areas of the frame, the camera underexposed the image.
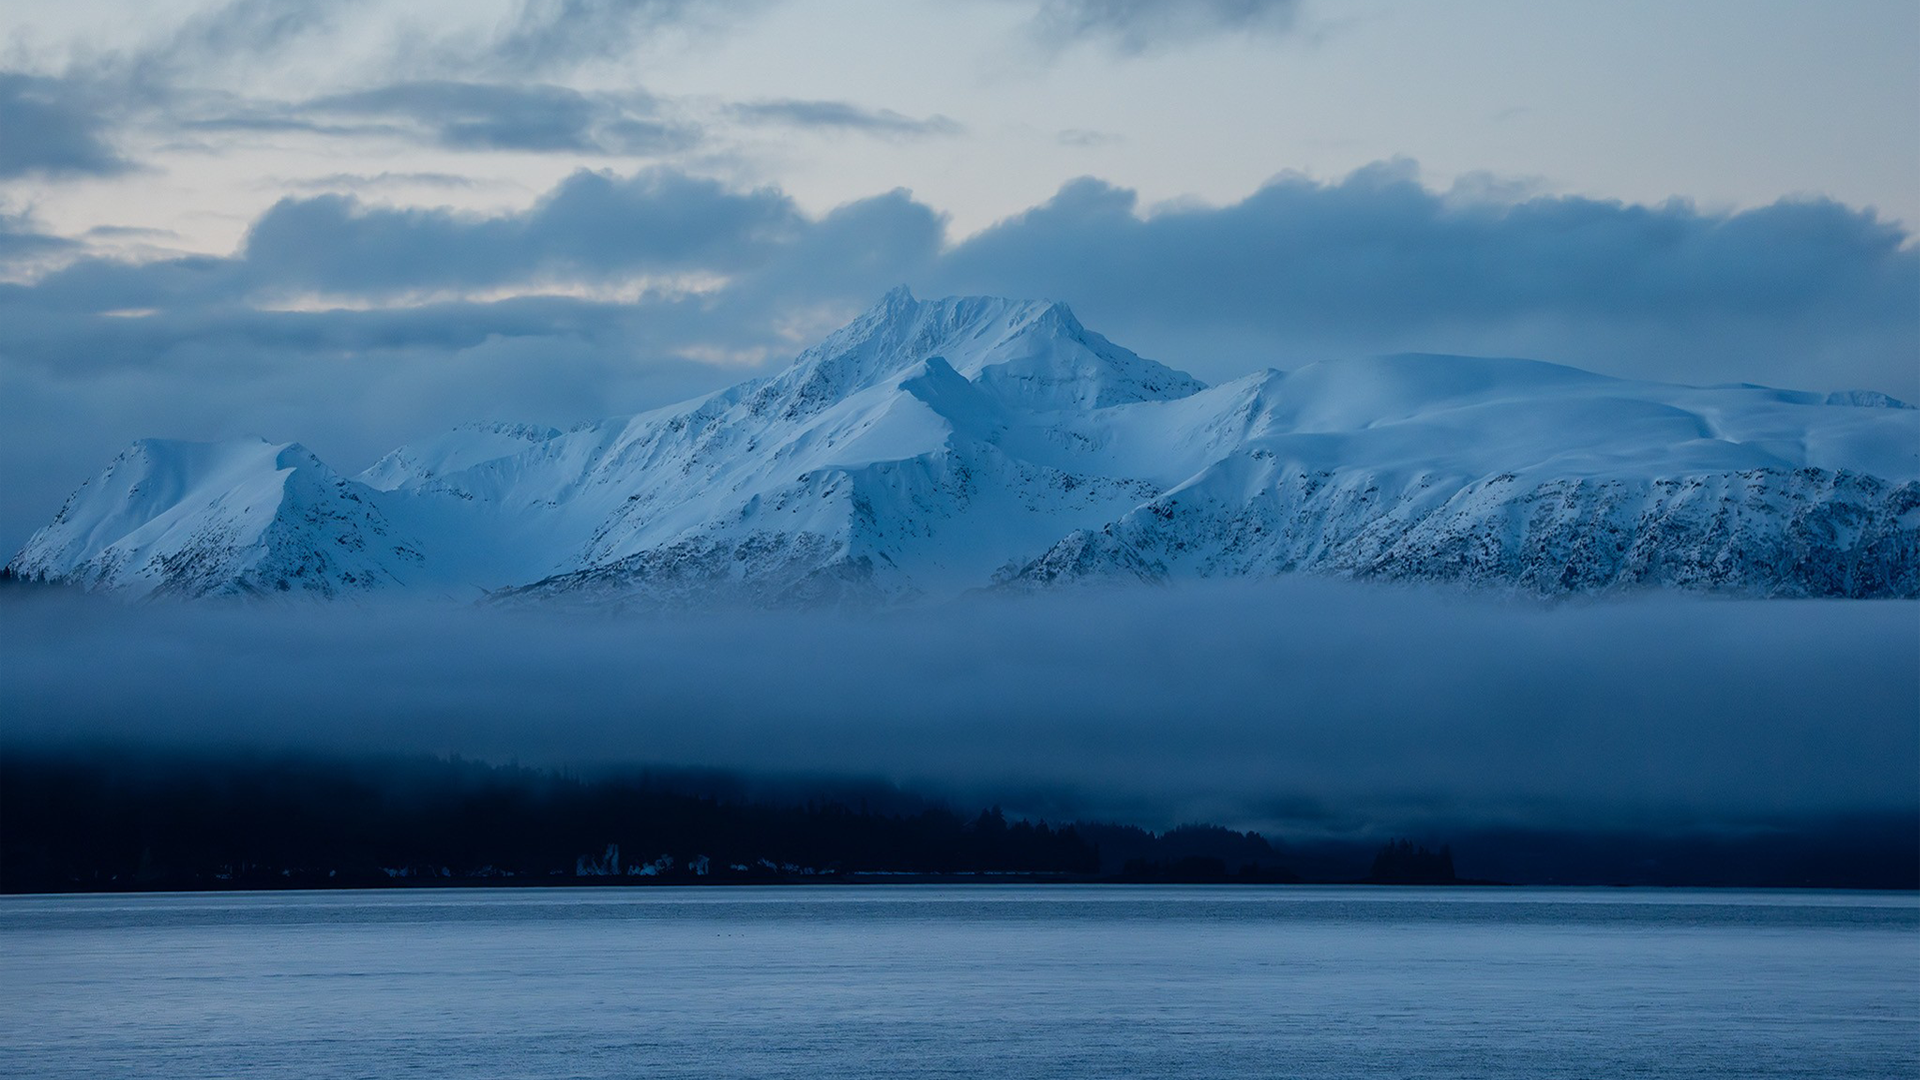
We need to tell our camera that we want the scene brighter by adding a stop of compensation or increasing our exposure value. Let’s refer to this as an EV. If we dial our exposure compensation in a positive value, we can tell our camera to expose the scene as we want it and get that snow to the proper brightness.
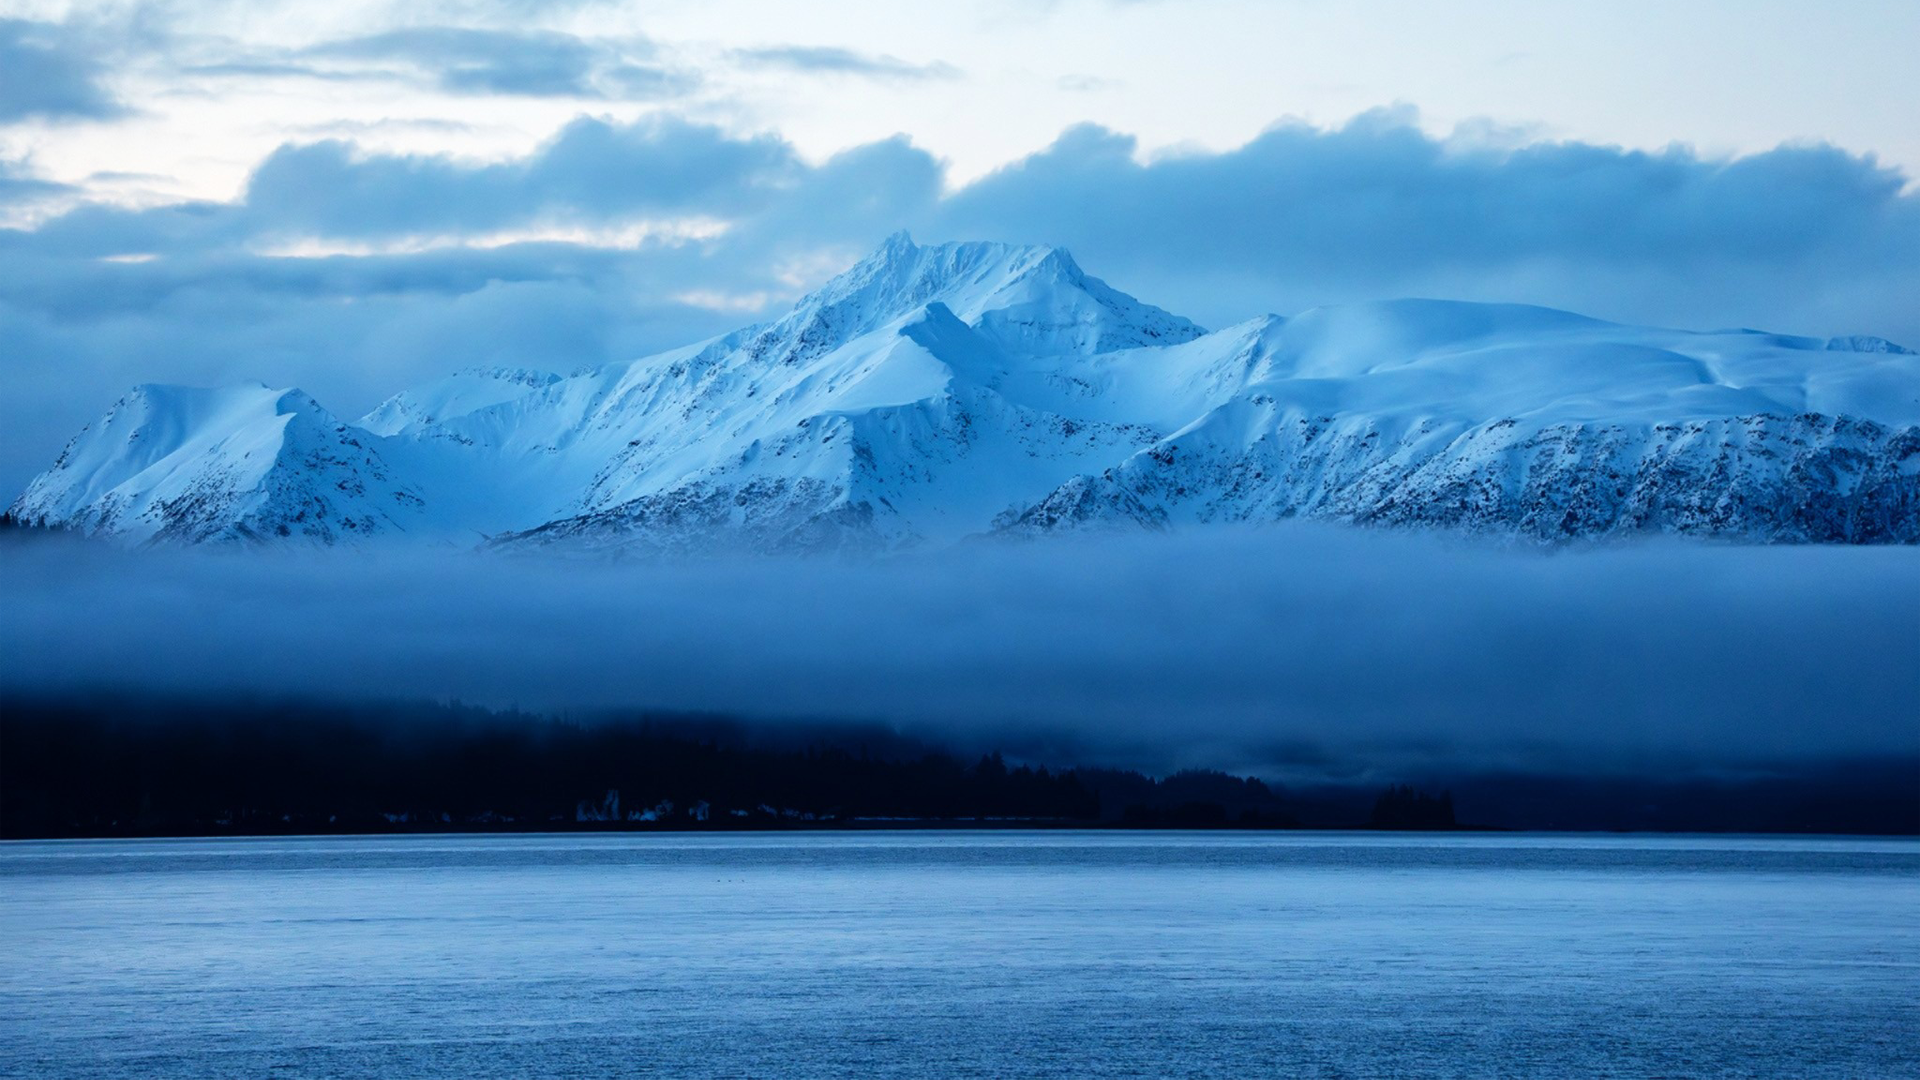
Now, the above scene is dark in general. The image was taken before sunrise so it’s not going to be as bright as if it were taken under the midday sun. That said, it’s easy to overdo exposure, even by the slightest amount. These small errors can possibly lead us to doing the very thing the camera was trying to prevent by neutralizing our brightness in this case. We can accidentally overexpose our highlights.
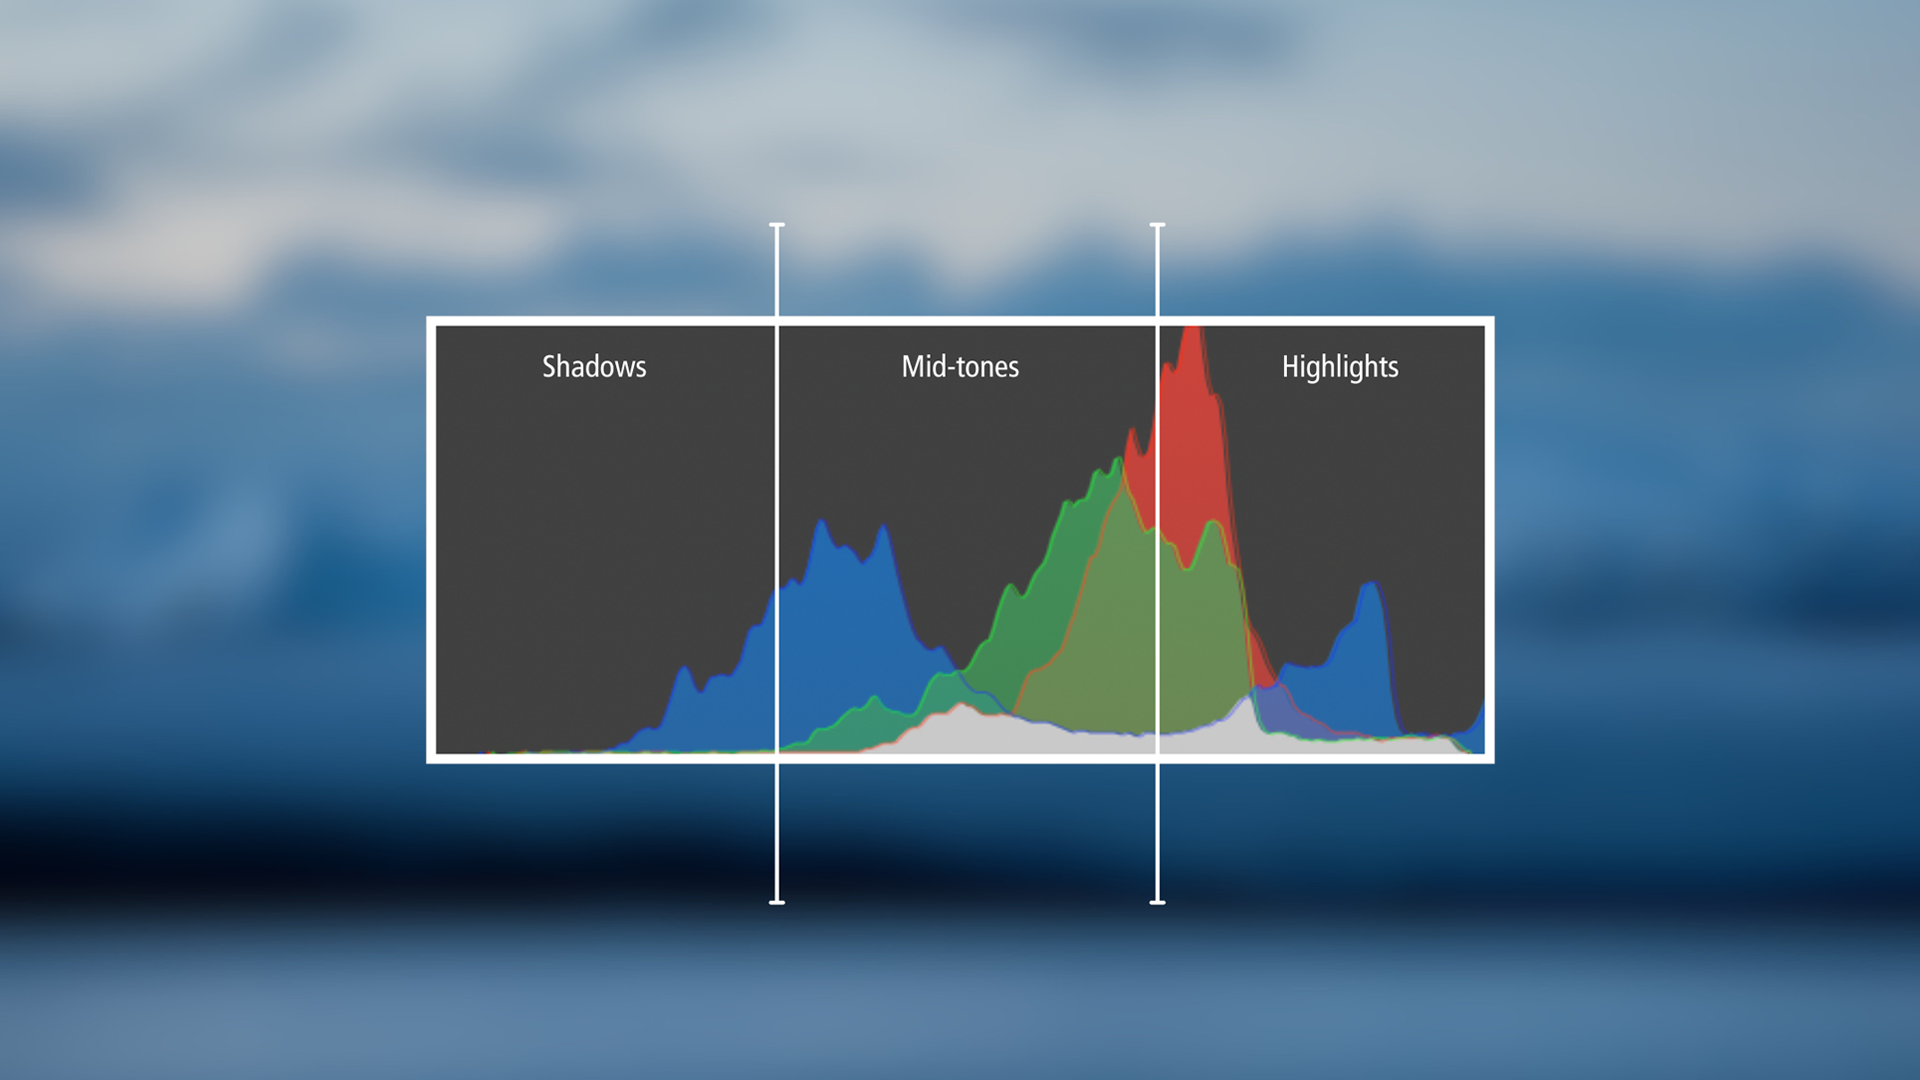
To keep an eye on these, we’ll need to rely on more than just our eyes. We’ll need to use other tools. Using the display button on most camera’s, we can cycle through options until we see our histogram. This chart shows the exposure in a new light, that plots the distribution of brightness in an image, ranging from shadows to highlights.
Now, just don’t forget to reset your exposure compensation when it is finished. In most cameras, whatever value you set it to will save, meaning it’ll remember where you left off when you power the camera up next. Otherwise, you’ll be in for a surprise next time you shoot.
What to Do When It Doesn’t Work
When shooting in Program, Shutter, or Aperture Priority modes, the camera can only adjust the settings it is responsible for. This means that there’s a limit to what we can do when adjusting our exposure compensation. As the camera accommodates our EV adjustments, it may run into a cap in that setting. For instance, a photographer shooting in shutter priority is at the mercy of a lens’s maximum aperture. Once the lens is wide open, there’s nothing more the camera can do to brighten the image.
The same issue occurs when shooting in aperture priority, as our shutter speed can only be lowered so much before we start struggling to get sharp photographs. In both cases, we could raise our ISO, but this puts more pressure on the photographer who’s trying to keep things simple.
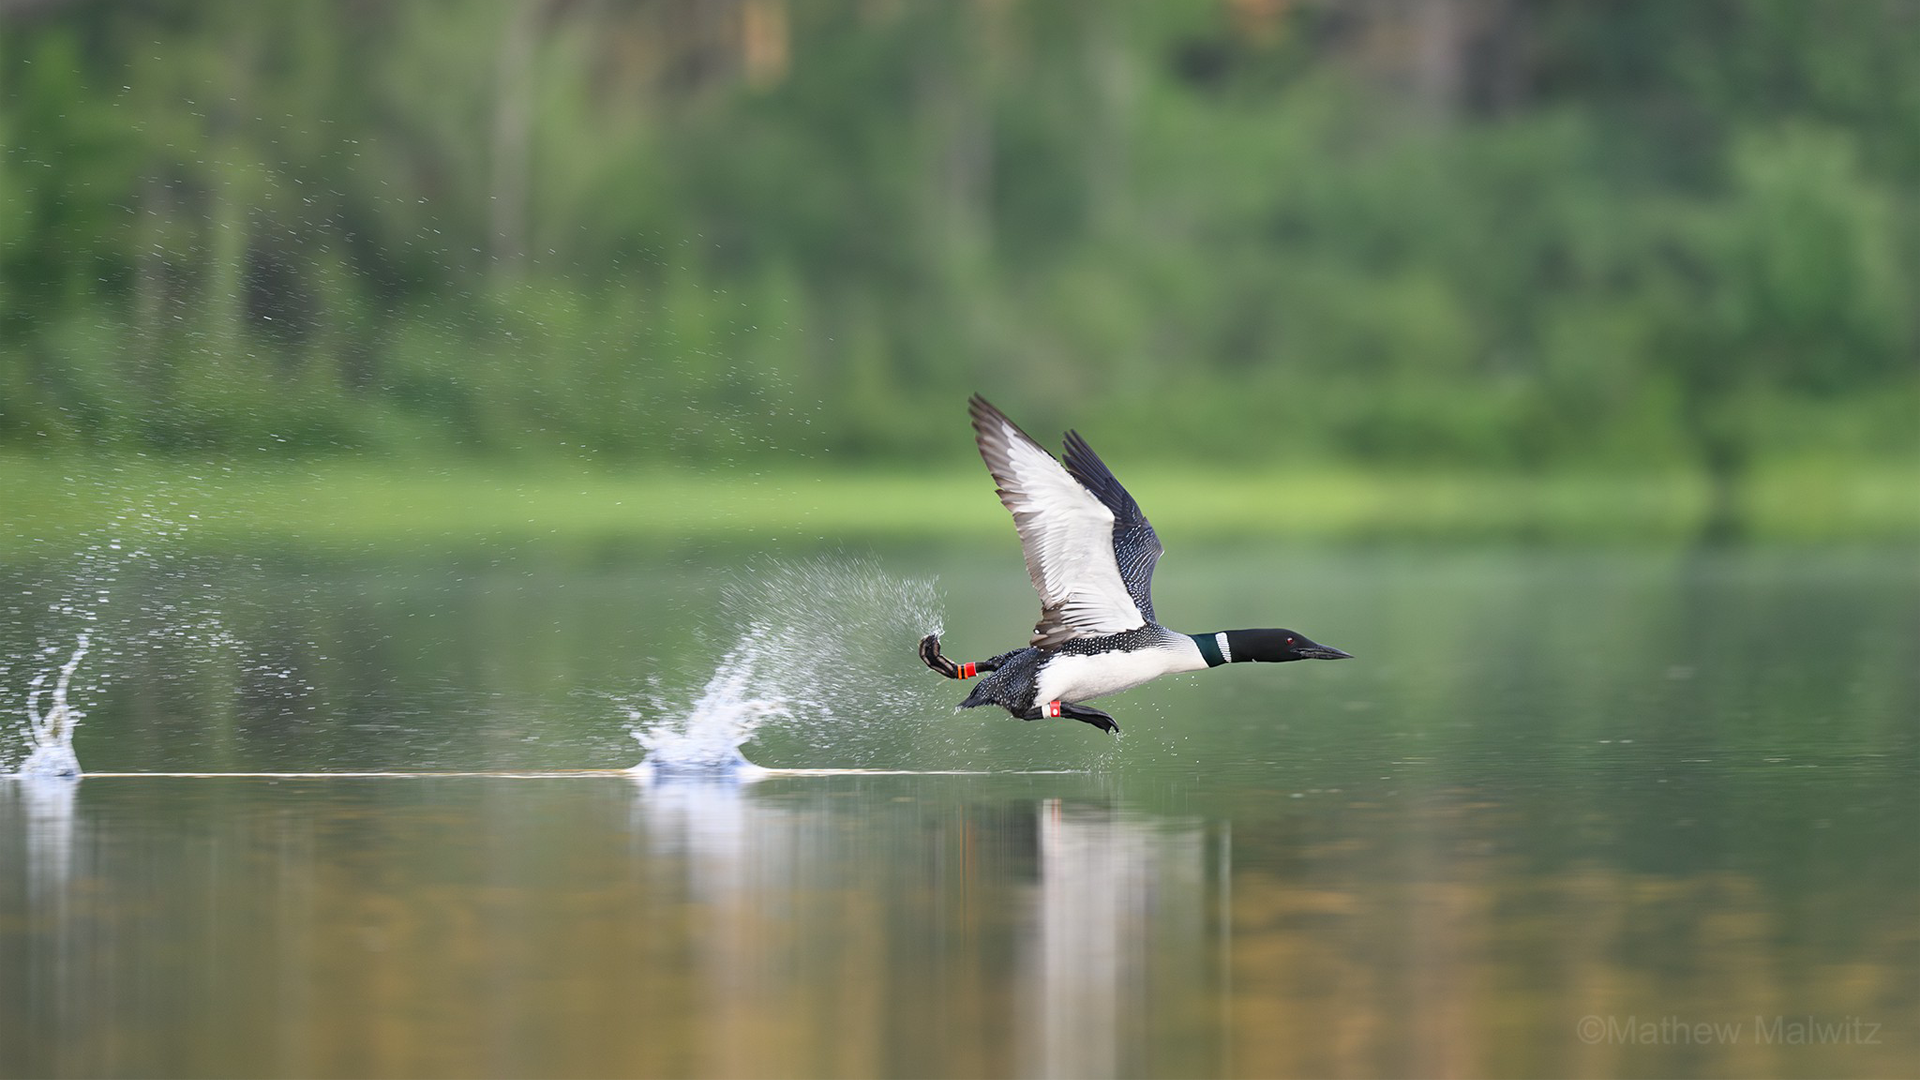
One solution to this dilemma is to activate auto ISO. Whether you’re shooting in Program mode or full manual, auto ISO puts control of this setting back into the hands of the camera. When using shutter or aperture priority, this gives the camera another setting to adjust, and the photographer some more breathing room.
If you’re concerned about noise in your images, don’t worry. You can set parameters in the menu so that ISO values cannot increase above a certain threshold. This is a soft cap, as some cameras will go above and beyond that threshold if the exposure demands it. Even then, there’s some great noise reduction techniques we can use to clean up our shots after the fact.

Put It to Practice
If the image does not come out how you envision it, we have the tools to make it so. When the scene allows it, experiment with exposure compensation and see how it alters your image. When you’re ready, you may just feel the need to begin dabbling in setting aperture and shutter speed yourself. In the meantime, stick to exposure compensation. Just remember to reset it to zero when conditions changes or at least before your next shoot.

Remember that exposure can be as simple or as complex as we want it to be. You can set your camera to auto mode and simply enjoy the ride, or you can set it to manual mode and take the reins yourself. No matter what your skill level is, there’s always a practical application for it, especially for outdoor shooters where settings vary minute to minute.
The full capability of any camera can only be achieved by taking greater control of our settings, and we hope this guide has sparked your interest in doing so. To take your understanding of exposure to the next level, we recommend checking out our other guides such as Understanding Camera Shooting/Exposure Modes and How to Read Your Camera's Histogram. To learn more about all things photography, check out our other guides, articles, and reviews on the B&H Explora Page!
