
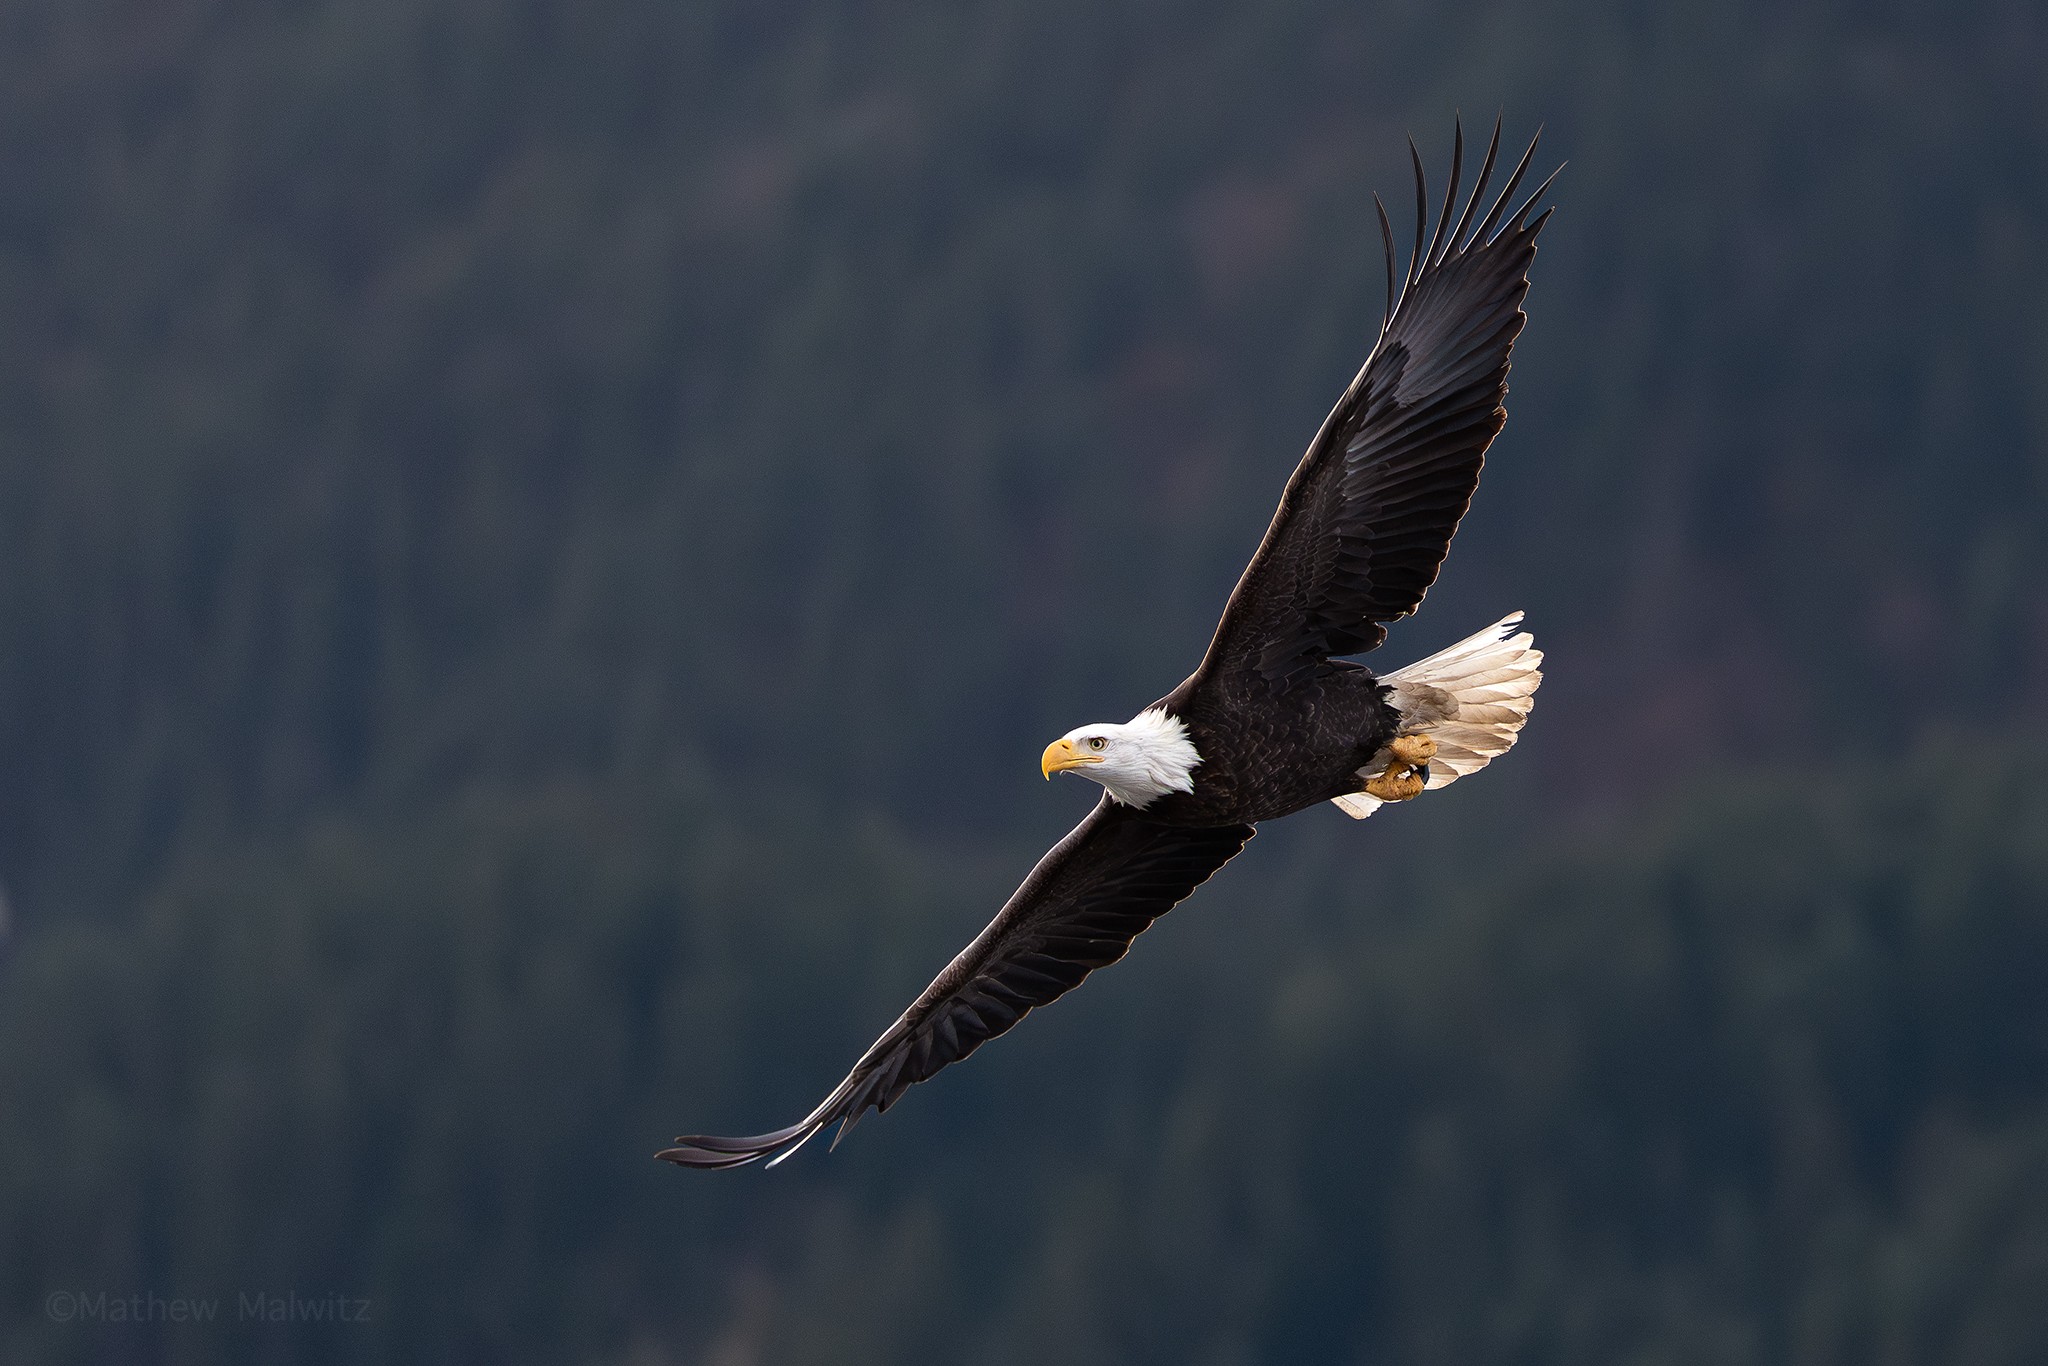
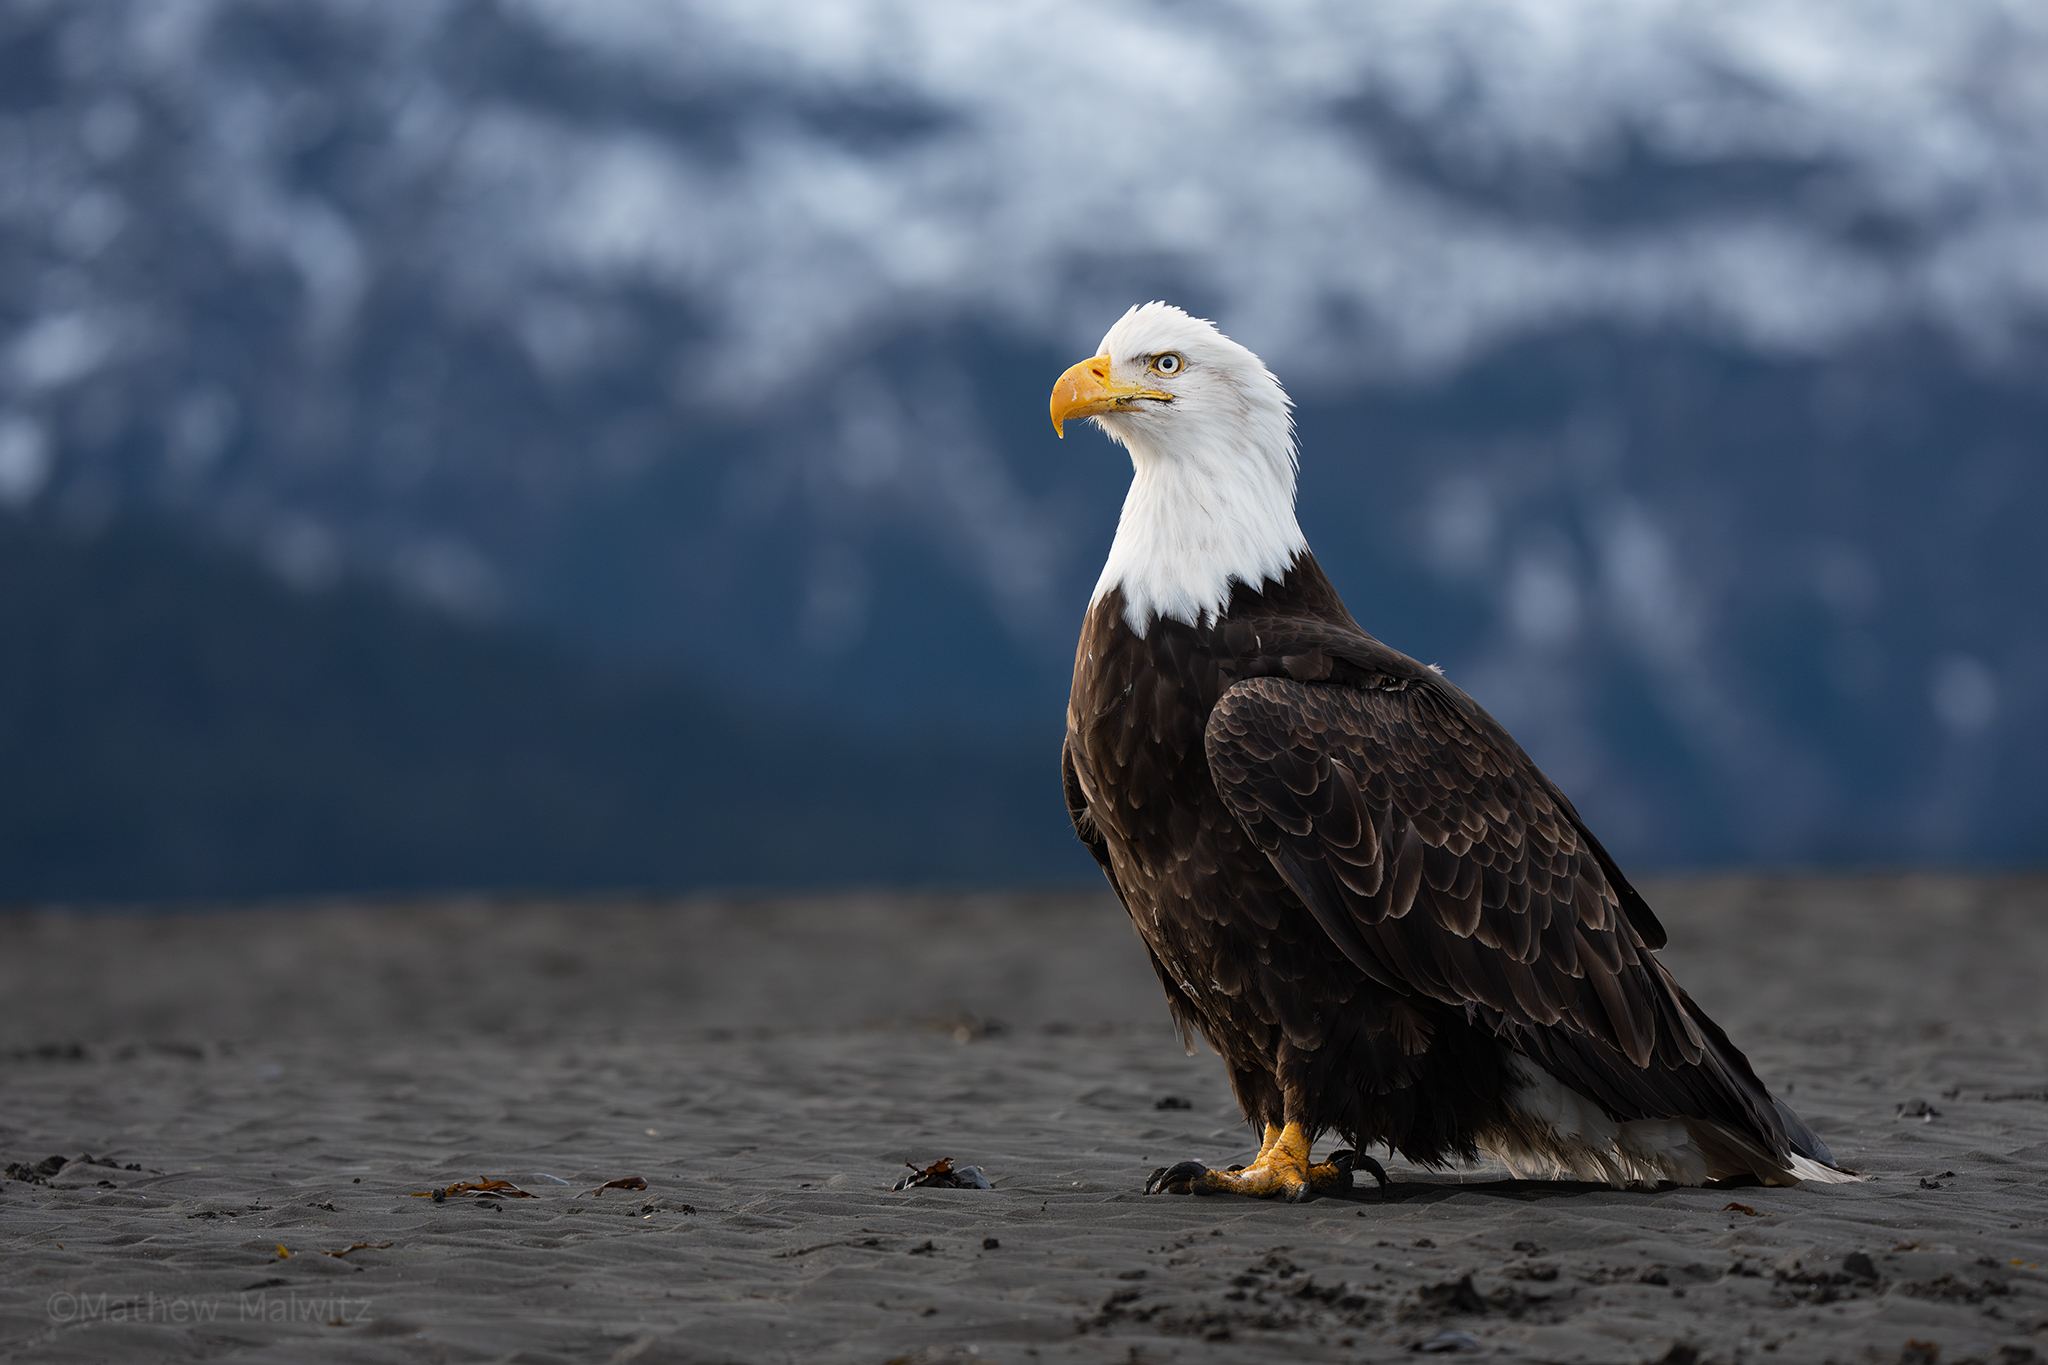
The bald eagle, one of the most regal birds of prey, has a secret. It’s notably one of the most difficult subjects to expose for. If we trust the camera in an automatic mode, we’re likely to get either an overly bright head, or a body that’s too dark in shadow to see. The only reliable way to capture good exposures of these birds is to expose to the right.
This technique is as useful as it is controversial, as it can ruin your images just as easily as it can help. That said, when implemented correctly, this technique can produce near perfect exposures of bright scenes and contrasty ones, whether it be a snowy landscape, a bride and groom, or a waddling penguin.
Before we proceed, it’s important to note that this article may be too technical for those not already acquainted with the basics of exposure. If you haven’t done so yet, we highly recommend starting with fundamental techniques like the exposure triangle, metering, and the histogram before proceeding. If you’re already familiar with these core concepts, the practice of exposing to the right may be the trick you need to get the highest quality images. Let’s jump into it.
Exposing to the Right Explained
What do we mean when we suggest that you “expose to the right”? In literal terms, this phrase refers to the histogram, a chart that shows us the spread of detail in our image from the darkest to brightest values. For a shot to be well exposed, or neutral, we are trained to aim for an even spread of data across the chart. When exposing to the right, the idea is to slightly overexpose the image, moving more of that data to the right of the chart. The resulting image will contain more detail and have less visible noise.

This practice is primarily designed to deliver the best possible image quality by preserving shadow detail without blowing out highlights. Sometimes that means taking an image that is slightly brighter than your camera’s built-in meter suggests, which is why it’s hard to accomplish shooting in automatic mode. This is essential, as the meter is how a camera evaluates the available light to determine the right settings to create a neutral exposure, which is not always the best exposure.
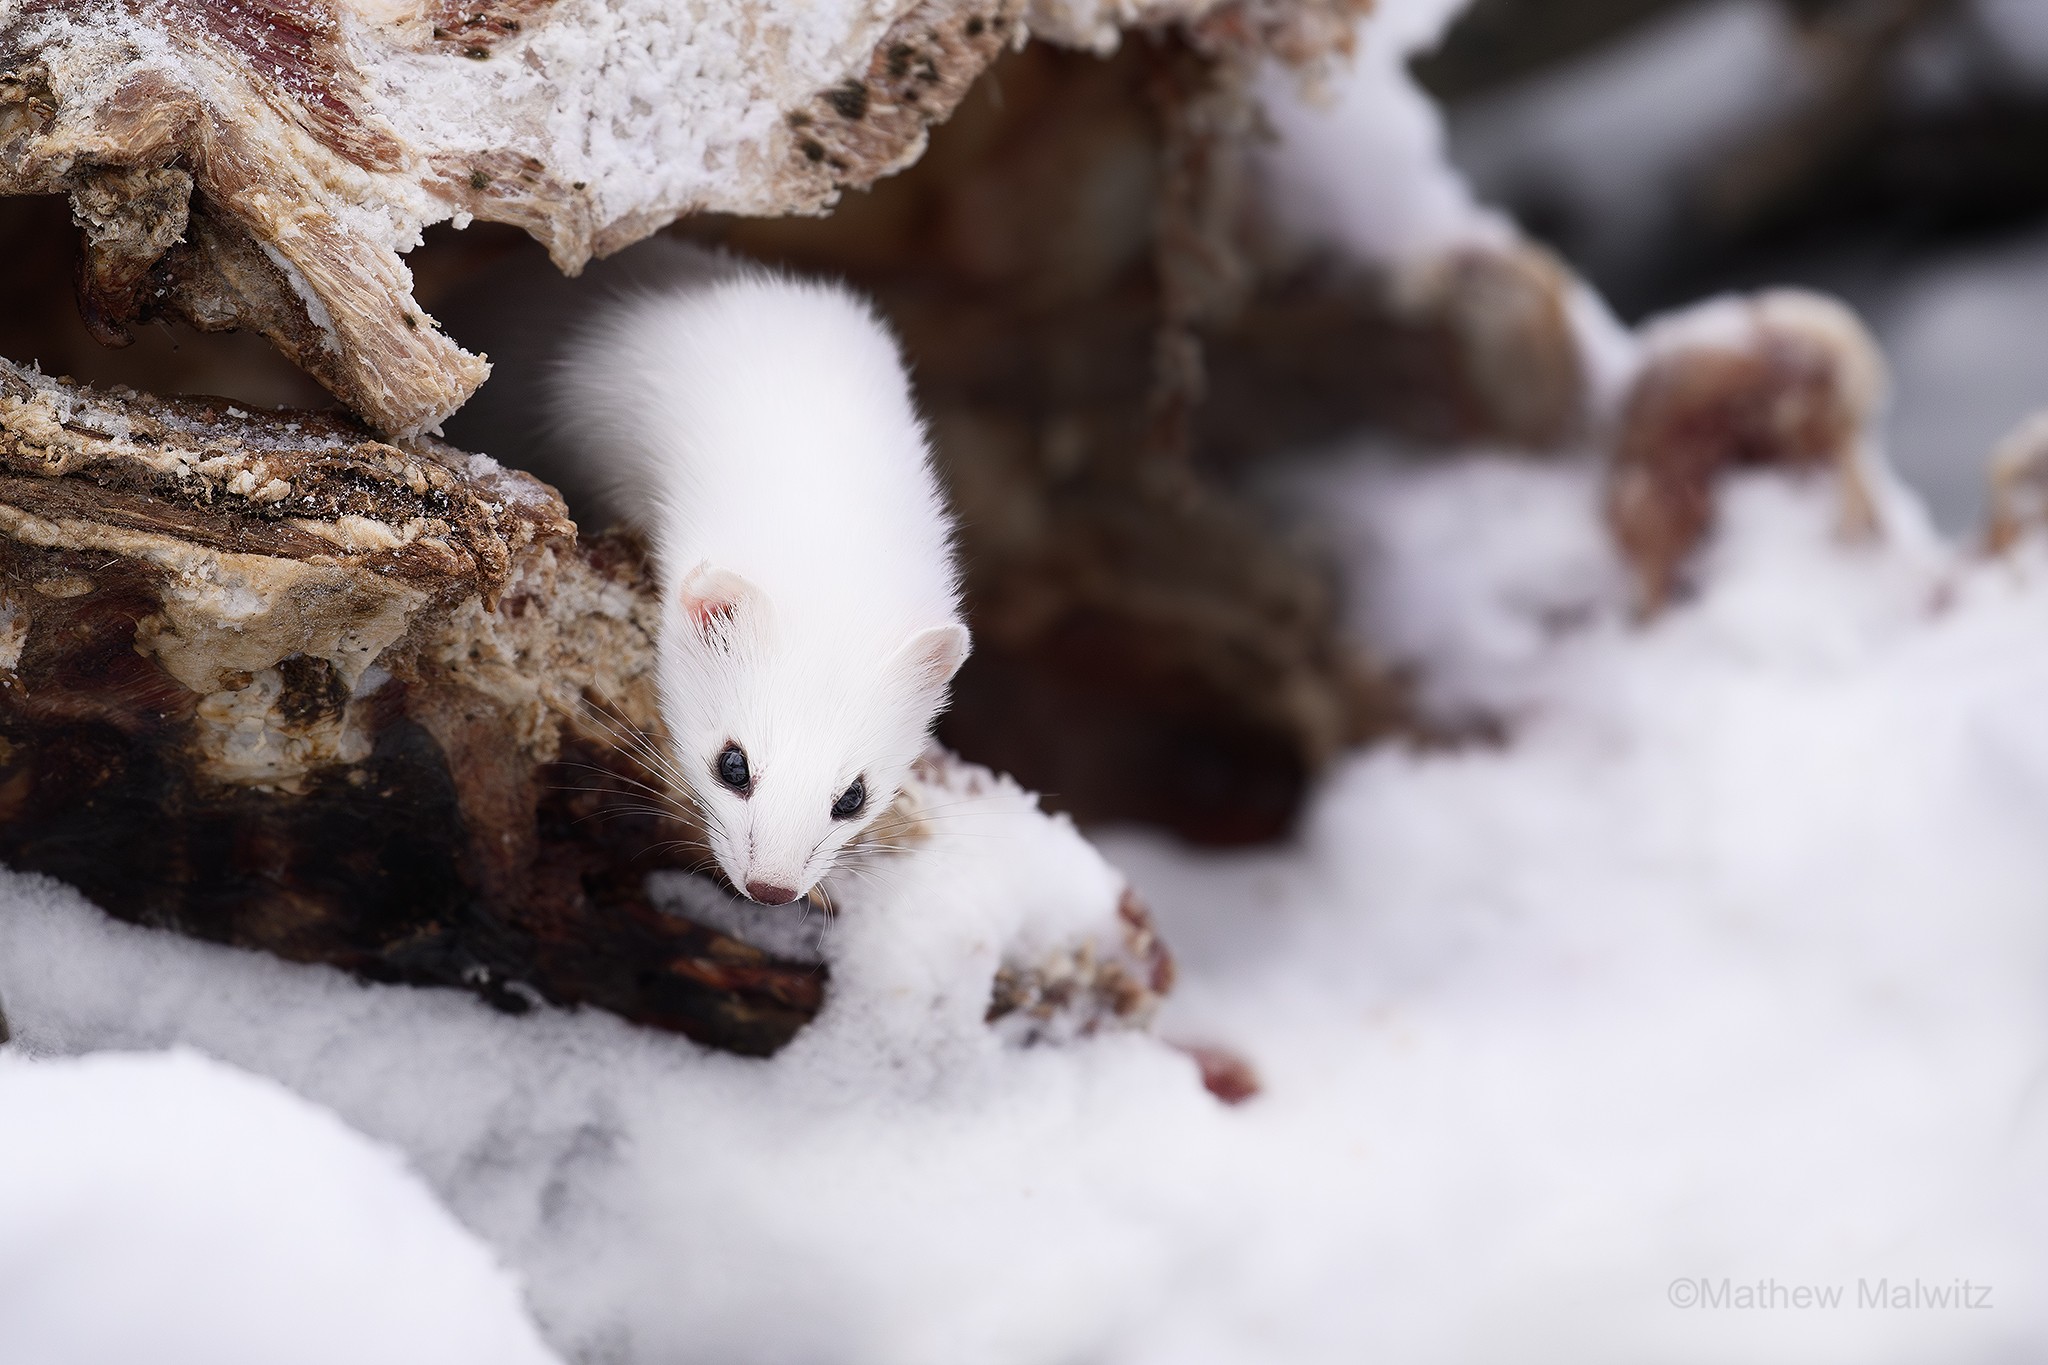
A neutral exposure is one that is as close to a neutral gray or 18% middle gray. This is the level of brightness meters are calibrated to though it is not always perfect. For instance, when photographing something bright white like snow, we want to capture it as we see it. If we rely solely on our meter, the snow will appear as a drab, middle gray. Far from the wintry wonderland we aim to capture.
Put It to Practice
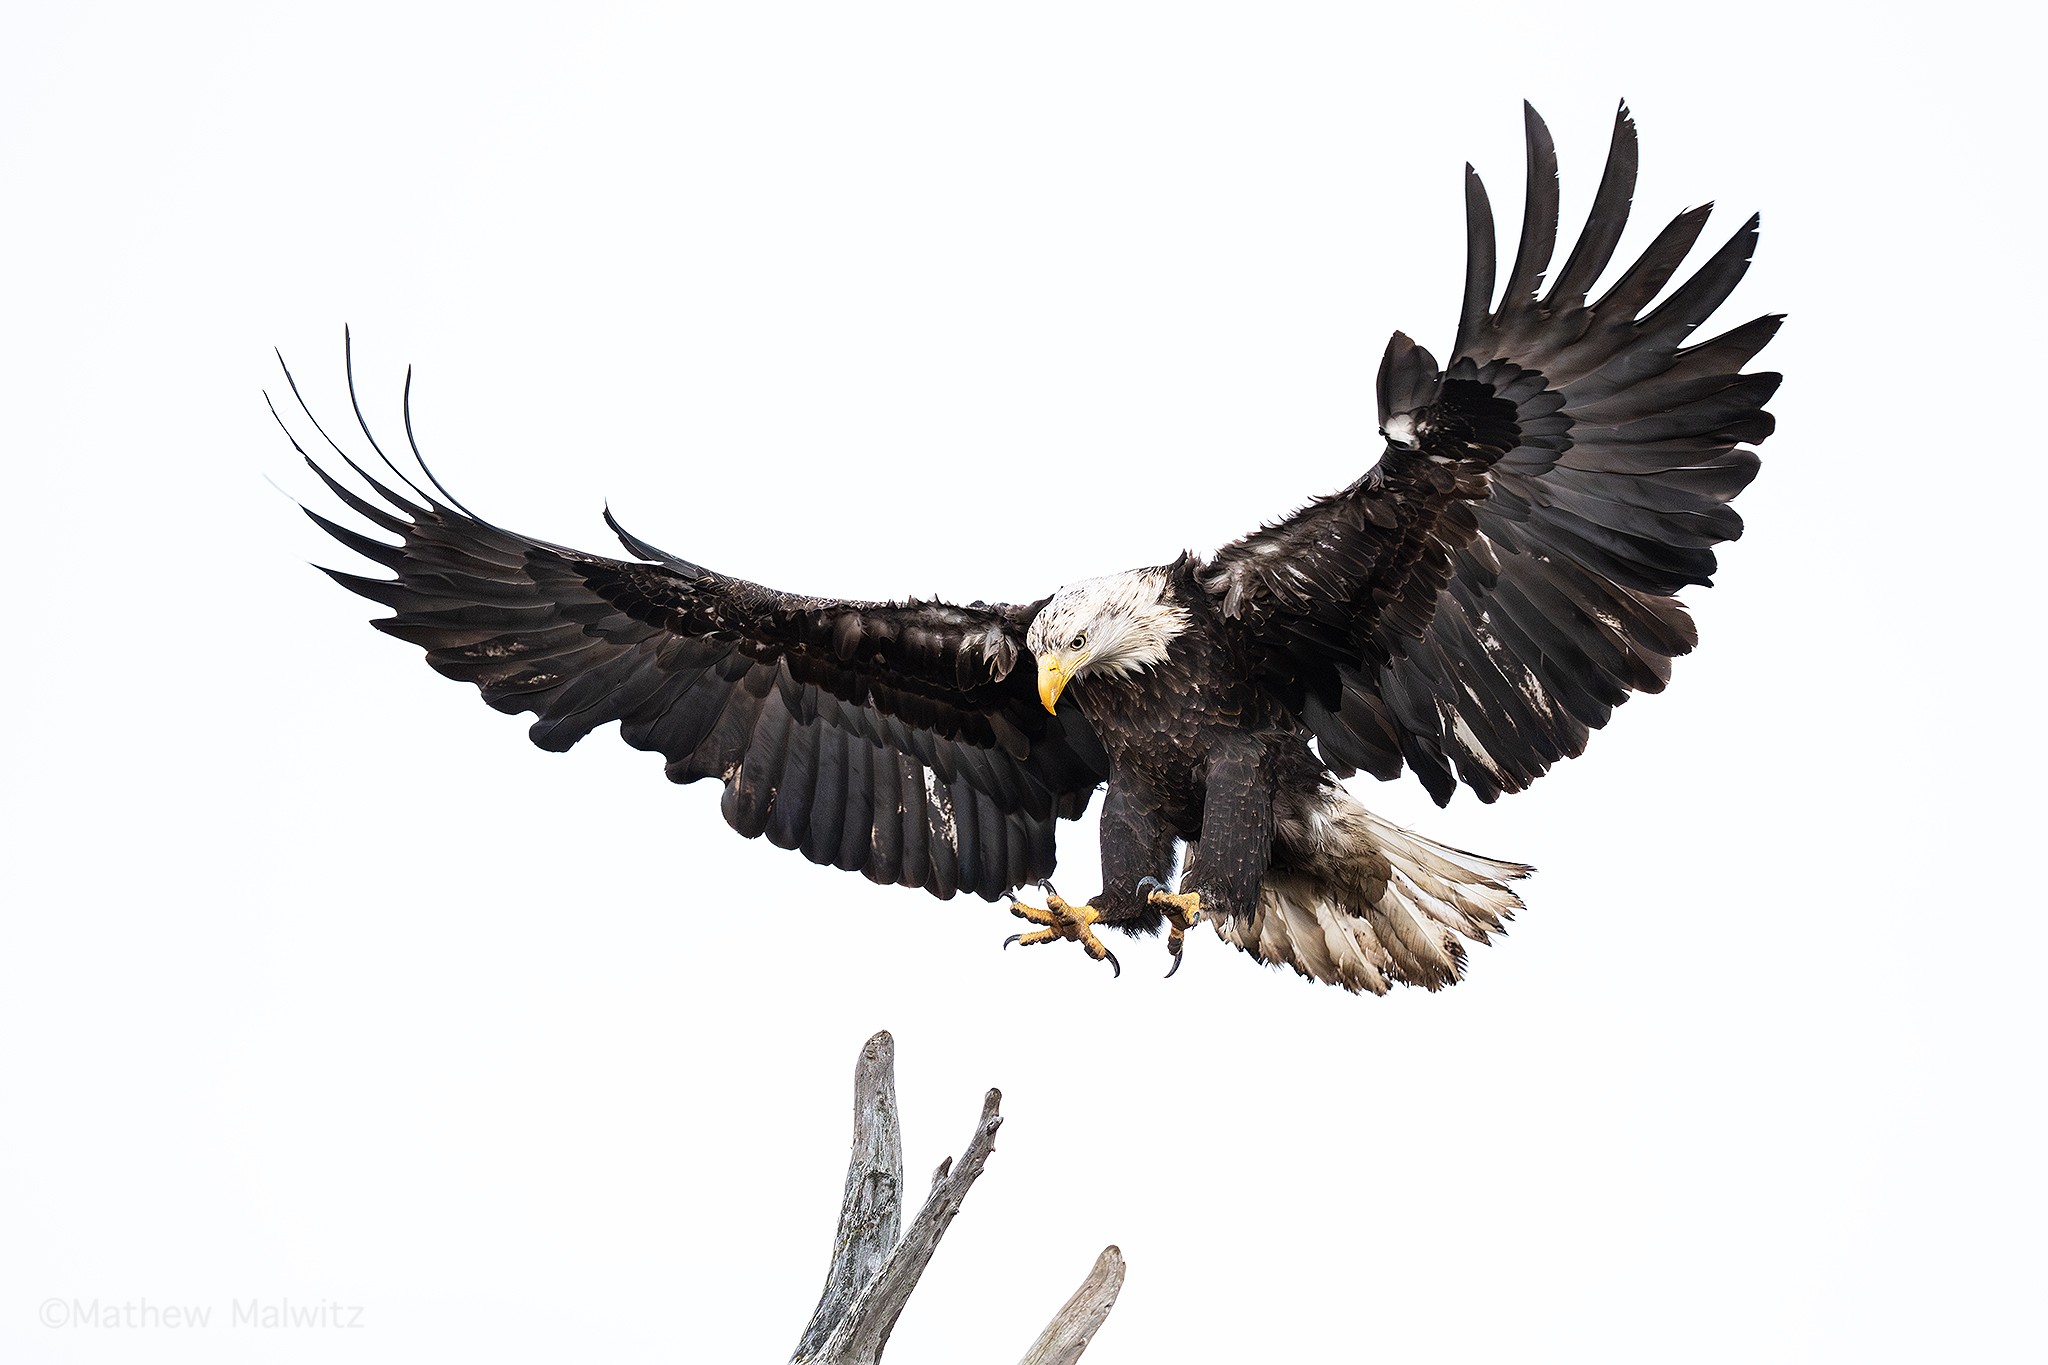
The biggest challenge of exposing to the right is not taking things too far. As we mentioned in the intro, this technique can ruin our shots if we’re not careful. For instance, if we severely overexpose our image, we run the risk of blowing out our highlights. The result is a highlight that is completely white and lacks any data whatsoever.
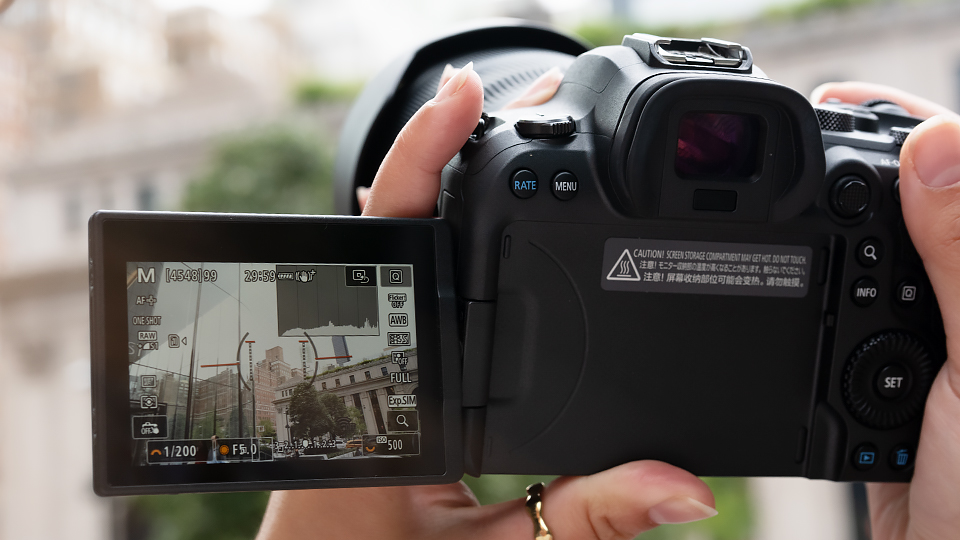
One helpful tool to aid us in nailing our exposures is the aforementioned histogram. If you do any post-processing, you’ve likely seen this chart on your screen at one time or another, but it can also be viewed right in camera, either on the rear LCD after the photo has been taken, or in live view while you’re actively shooting.
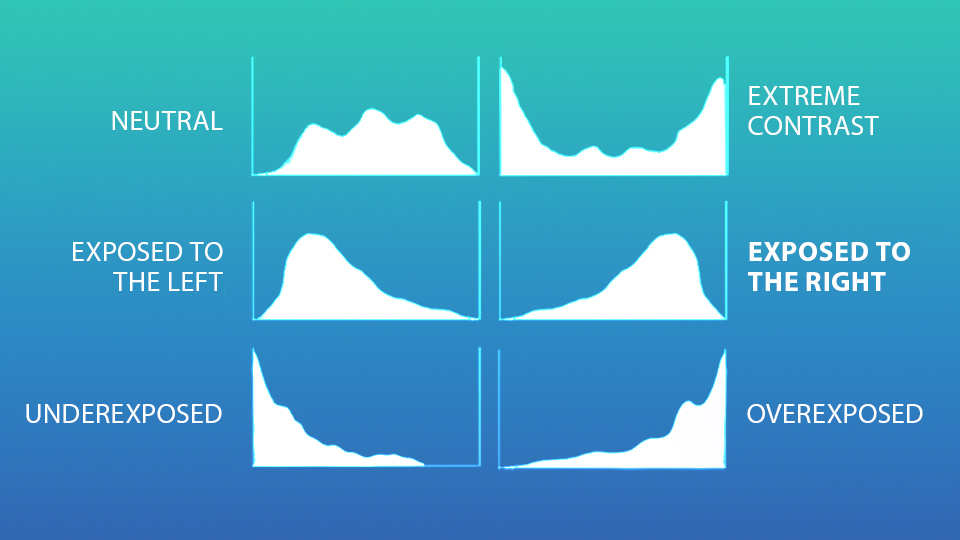
Note that the histogram that you see on your camera is not as sophisticated as it may appear. Whether you’re shooting in JPEG or RAW formats, the camera will always show you the data for the processed JPEG. If you’re shooting RAW, this important to remember, as the camera may indicate that your image is slightly over exposed while there’s still data to work with in post. Don’t delete any image in camera without first checking it on the computer.
In the Field Techniques
Now, let’s take a look at some techniques we can use while shooting to nail our exposures, or at least get them as close as we can to perfect in camera. There will always be some need for optimization in post, but the better we can nail things in the field, the better the quality of the final image will be.
Manual Exposure
Through the trials and tribulations of mastering exposure, the case for manual exposure becomes ever clear. In auto, the meter is in full control, meaning that the camera will only capture those dull, neutral exposures. We need to have some input into this equation, and shooting manual does just that. In fact, it does more, it puts us in complete control.
Shooting manually allows the photographer to individually dial in settings as the scene and artistic intent demand. Mirrorless cameras have made this even easier, as we can now see our exposures before we even press the shutter button. Many of these cameras even allow you to have the histogram visible in the viewfinder to make the process much easier.
Even DSLR users can have the histogram up in live view, or they can see it in image review. No matter which camera type we use, this concept remains the same. As we’re learning, we can take a shot, then analyze the histogram in camera. If it’s just barely overexposed, we’re good to go.
Auto ISO with Exposure Compensation
A less hands-on approach would be shooting in manual or a program mode like shutter or aperture priority with Auto-ISO activated and exposure compensation dialed in. This puts some of the controls back into the hands of the camera, while keeping one hand on the wheel.

With exposure compensation, we can nudge the meter in the direction we want by telling the camera to overexpose the scene in third stop increments. This way, we can get the results we want without having to worry about changing specific settings.
Exposure Warning/Zebras
Exposure warnings are a visual indication that shows blown out highlights or shadows. Traditionally, this feature is only available when reviewing an image as you would to analyze the histogram. This offered a more complete overview, not only telling you that some values were over or underexposed but showing you specifically where.
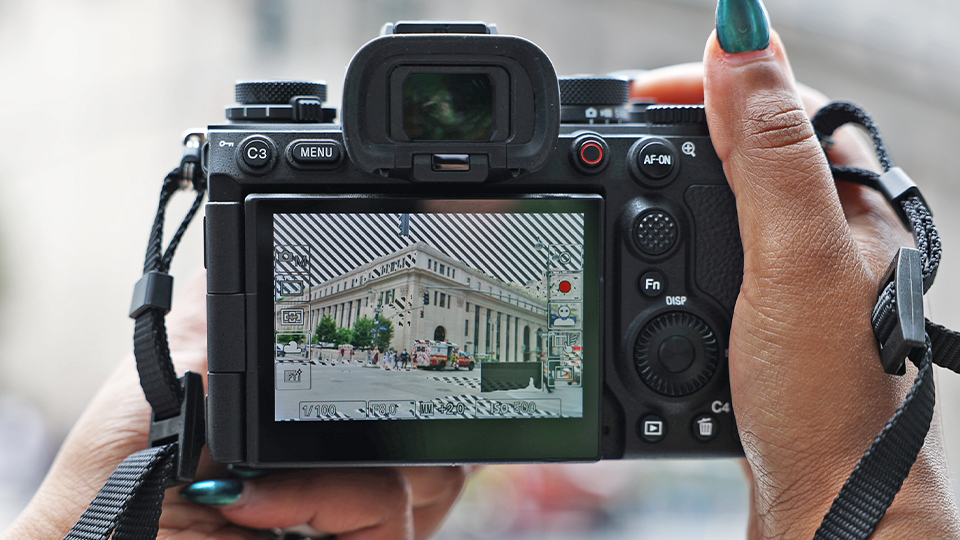
Sony and OM System users have access to a live warning system often called “blankies.” In the Sony system they’re called zebras. This can be activated in the menu and set specifically to +109 as the tolerance. Once dialed in, highlights will appear with the black and white striped pattern. As you adjust your settings, only stop when you see the zebra pattern. Once visible, lower your exposure only enough to no longer see the zebra pattern.
Posting Processing
Before you ask, no, we’re not suggesting that you fix it in post. Getting your exposure perfect, or as close to perfect as possible, is nearly impossible. There are always a few odds and ends that we touch up in the edit which don’t alter the overall image. We refer to this style of editing as image optimization. It’s not changing anything, just putting the finishing touches on.
Below you’ll see the same image right out of camera as well as the optimized version. You’ll notice that the exposure hasn’t changed all that much, though the optimized image is a tad brighter. This was achieved by shooting in a RAW file format and moving the exposure slider a tad to the right as well as some classic dodging in photoshop. The most notable difference outside of brightness is the removal of some dust spots. Let’s take a closer look.


Give It a Shot
Any image exposed to the right will need some form of touching up, either to tone back some highlights or bring some shadows back down to their proper values. The resulting image though, will be cleaner, offering greater detail and less noise than one shot to the right. If you want to see the difference for yourself, take two photos, one normally, and the other to the right and see if you can make out a difference.
Camera manufacturers are constantly updating their auto exposure algorithms and the dynamic range of their cameras. Recovering shadows and blown highlights is easier than it’s ever been, making this practice less and less common. In fact, for slightly underexposed images, we say go ahead and increase your exposure a bit. That said, for larger discrepancies, the impact to image quality with be more significant.
Look back at the header image when you’re done. Notice how even in the darker parts of the image, namely under the wings, there’s still ample detail. The final result isn’t necessarily bright, but that’s only because it was exposed to the right and then optimized.
If capturing the best image quality possible is your goal, then it’s important to get as much right in camera as we can. To learn more about exposure in photography, we recommend checking out our other guides and articles on the topic here. For further reading on all things B&H, there’s no better place than the Explora page.
