
The bright lights and lively bustle of the city at night is especially captivating to photographers, who have long sought to capture this rich spectrum of color, contrast, and motion in images. Yet there is more to consider in the world after dark than just a snapshot approach and automatic camera settings. With this in mind, consider these seven tips to help you get the most out of urban environments in low light.
Establishing time and place

The vast scale and range of photogenic locations in any given city can make it hard to decide where to start. Making a shortlist of desired sites, along with descriptions of what you seek to capture visually, can help narrow your focus. Are you a fan of panoramic skylines or more engaged by street life, action and events? Are you attracted to the lights and motion of urban transport or does the austerity and detail of architecture hold more appeal?
For a leg up on vantage points and compositional choices, do some advance research online for nighttime images in cities you plan to visit. Raw data, such as sunrise and sunset times, the phase of the moon, tidal charts, or special events planned for your destination are also valuable to reference. This background information will allow you to focus on the most promising shoot locations from the minute you get there.
Try to arrive before sunset and do some exploring to identify potential vantage points. A nice sunset or dramatic evening lights can draw photographers like lemmings, so set up a tripod in your favorite spot—a must for long exposures—well in advance, to avoid jostling for a prime location at the last minute.
Take control: use manual, aperture- or shutter speed-priority

Nocturnal images are best accomplished with you in full control—and both your camera and lens in manual mode. In low light, setting your camera to Auto mode risks an automatic boost to your ISO. However, in some cases, the city’s high ambient light levels may allow you to use Aperture or Shutter Speed Priority, and to bracket exposures to finesse your desired look.
Aperture priority allows you control over depth of field. Shooting wide open will keep your exposure time shorter, but this will restrict the image’s area of sharpness, rendering objects in front of or behind your focal point with increasing amounts of softness. At the other extreme, shooting with a narrow aperture of f/16 or greater will render an image that is sharp from close foreground to distant background, but this will greatly increase your exposure time and definitely require a tripod. One added perk to using a narrow aperture in the city is that all point light sources will be infused with a starburst-type sparkle, adding a decorative touch to images of illuminated structures and monuments.
Shutter speed priority allows you to control exposure time up to the maximum duration allowed by your camera (generally between 15 and 30 seconds). Use this setting to efficiently finesse the degree of motion you want when picturing moving elements, such as automobile head/tail lights.
The need for speed: fast lenses and high ISO
While night photography is generally synonymous with the slowing of time, two camera settings can effectively help keep your exposure time in check.
A fast lens—generally f/2.8 or wider—is a particularly valuable staple of a night photographer’s tool kit. The wider the maximum aperture of your lens, the more light will be delivered to the camera’s sensor. By setting your lens to the widest aperture, you minimize the exposure time. The resulting image will exhibit shallow depth of field with a soft-focus background, which gives the scene an otherworldly dreamlike look.
Your camera’s ISO setting controls the light sensitivity of the camera's sensor. While low ISO settings generally enhance image quality, with less grain and cleaner details, new model DSLRs can attain stratospheric ratings of up to ISO 51200 (native), or 1640000 (extended). If you find yourself without a tripod in a brightly lit urban setting, boosting your ISO and handholding your camera might be a viable approach. This can be particularly effective when paired with documentary-style street shots.
Color temperature, white balance and file formats
The colors of the night can range from somber to garish in the city, with extreme color casts not always obvious to the naked eye. Artificial lighting comes in a wide range of color temperatures, from the greenish glow of fluorescent to the orangey warmth of sodium vapor or incandescent bulbs. Yet different flavors of artificial light comingling in an image can result in surprising color casts or rainbow hues. For this reason alone, it’s essential to shoot in Raw file format for greater flexibility in adjusting white balance and contrast through non-destructive post-production edits.

Additionally, you can finesse the color temperature in-camera by switching the white balance from Auto or Daylight to a custom setting that supports the scene’s dominant lighting or reinforces your creative vision. For example, many night photographers gravitate to a blue color cast, to simulate the cool tone of nighttime. This can easily be accomplished by switching your white balance to Tungsten (approximately 3500 degrees Kelvin). Some cameras even accommodate white balance bracketing, which allows you even more creative control.
Framing and bracketing to overcome strong contrast
 |
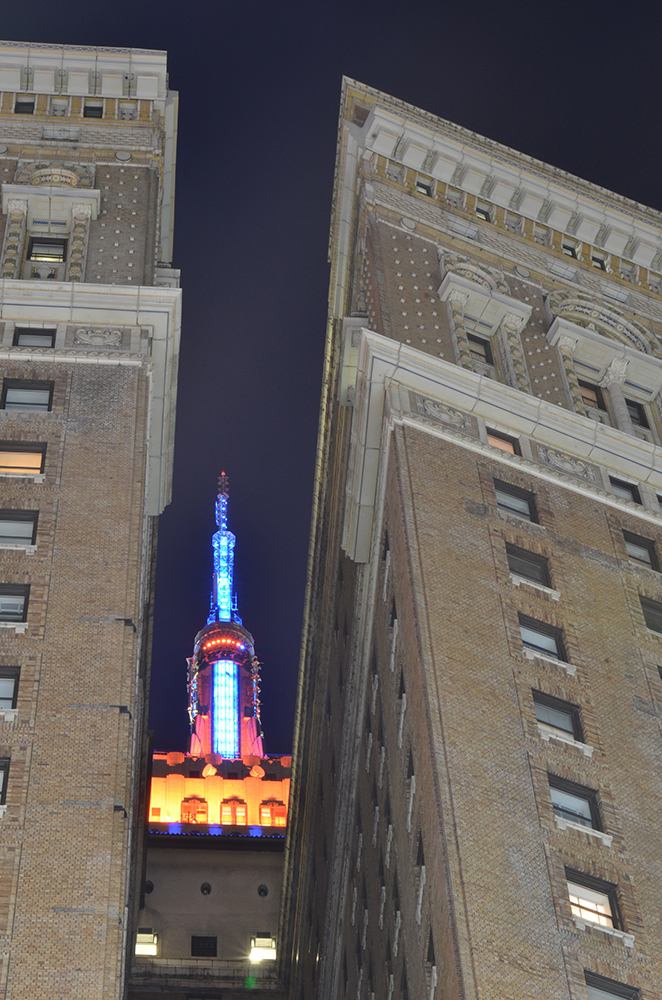 |
Illuminated landmarks, such as the Empire State Building, are so bright, they record as only a blown-out highlight in many nighttime captures. HDR imaging, or obscuring part of the building behind another structure, are two options for minimizing extreme contrast. Another option is to photograph the landmark at dusk, when there is sufficient ambient light in the sky to balance the bright lighting.
Urban environments can have an extremely wide dynamic range, with contrast swings from deep shadow to bright highlights that are impossible to capture in a single frame. This makes it essential to carefully consider framing and exposure settings, especially in situations containing abundant detail or where contrast levels are high. One way to address this issue is by composing images to avoid the brightest glare, either by adjusting your camera angle so the lights don’t hit your lens straight on, or by obscuring lights behind another structure. Another solution is to bracket multiple exposures of the same composition and combine them in post, using a process generally referred to as High Dynamic Range (HDR) imaging.
Avoiding reflections, flare, and other image artifacts

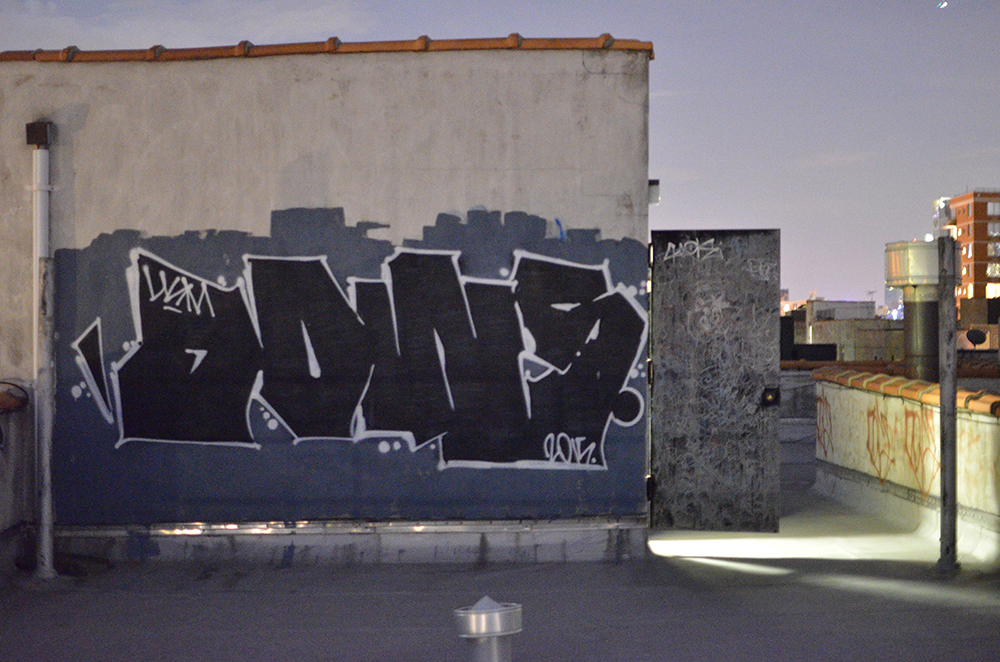
The glare of city lights can have a number of implications for nighttime captures, especially when lights appear in the image or are positioned near the edges of your frame. While many photographers protect their expensive glass with a clear or UV filter, reflected light can bounce between the filter and your lens, and the longer exposures of low-light shooting can cause such reflections to show up as ghosting in your image. To avoid such annoying artifacts, remove lens filters in low light whenever you can. And while you’re at it, consider fitting your lens with a dedicated lens hood, which can help minimize flare along the edges of your frame.
Another annoyance that becomes increasing prevalent in urban locales is air traffic that appears as light streaks across the nighttime sky, which can be particularly frustrating in skyline shots. To avoid this, make a mental note of the edges of your frame and carefully cover your lens with a black card when an aircraft passes inside this area. Since covering the lens cuts down on your exposure time, remember to increase your exposure time by the same duration as the lens is covered.
Get creative with camera panning, slow sync shutter or zoom effect techniques

The mix of city lights with the longer exposures of night photography offers a variety of opportunities to experiment with creative techniques for capturing motion, such as panning with a moving subject, slow synch flash, or zoom effects.
Camera panning is a great way to freeze select elements from the hustle and bustle of the city life, and is particularly suited to subjects that involve transportation. This type of shot allows you to keep your distance from the subject, since the farther away it is, the slower it will appear to move and the easier it will be to follow during your pan. Another factor to consider is this: the closer the subject is to the background, the more pronounced the visual sensation of speed.

Another technique that conveys a sense of speed is slow sync flash. This involves setting your shutter speed to less than the synch speed of your flash (durations of 1/15 to 1/4 second generally work best), so to freeze the action of a moving subject against a background that shows motion blur and/or ambient lighting. In one instance, front curtain sync, the flash goes off at the beginning of the exposure time, resulting in an image that mixes sharpness with ambient light and motion blur falling in front of the subject. With a second option, rear curtain sync, the flash fires at the end of the exposure time, causing the blur to fall behind a sharply defined moving subject, for a more realistic effect.
 |
 |
As these two images illustrate, the telephoto zoom effect works in either direction, yet the visual effect differs widely. At left, I focused and zoomed in from 28mm to 105mm. At right, I zoomed in to 105 and focused, then zoomed out, which resulted in better overall sharpness.
Finally, when shooting with a zoom lens, add a zoom effect to compositions featuring bright lights or neon signs to convey a sense of dynamic intensity. This is best accomplished on a tripod and in manual mode, with a remote shutter release to facilitate an exposure time of 2 seconds or more. Begin your exposure, then carefully and consistently twist the zoom while the shutter is open, making sure nothing else moves but the zoom element. This effect works best when the lights are confined to a certain area of the frame, allowing the motion lines created by the zoom effect to spread into an area of darkness or limited detail. Work on perfecting a smooth, steady zoom technique and then experiment with different zoom ratios, speeds, and exposure times to see how these variables affect the final image.
Thank you for joining our journey into night photography! For more Visualizing the Night content, please click here to read he B&H Explora article Visualizing The Night, and share your enthusiasm in the Comments section below, or contact us on social media using #visualizethenight. Thanks for reading!
