
Welcome to the world of large(r)-aperture prime lenses and congratulations on taking a large step forward in your photographic journey with your purchase of a “nifty fifty” 50mm (or 50mm equivalent) wide-aperture lens for your camera! Whether you know it or not, you have just acquired a tool that can dramatically and immediately improve your photography, and this article is designed to help you start getting the most out of your new lens.
Photographs © Todd Vorenkamp, taken with a 50mm (or 50mm equivalent) lens
Regardless of whether you have a 50mm f/1.8 or 50mm f/1.4 lens, or a 35mm f/1.8 or f/1.4 lens for an APS-C camera, when I say “50mm lens” in this article, I am referring to any lens that has a large aperture and a 35mm equivalent focal length of 50mm, like my workhorse FUJIFILM XF 35mm f/1.4 R. This article is also relevant to those folks who might have gotten a large-aperture 35mm focal length lens, as well.
The Kit Lens
Like many of us, you probably purchased your first DSLR or mirrorless camera with a “kit lens” or a pair of kit lenses. These are ideal for beginning photographers because they are small, lightweight zoom lenses that cover a wide range of focal lengths. The kit lens(es) allowed you to hit the ground running and start taking lots of different photographs right away. A good thing!
Bitten by the photographic bug, you either read my article The One Lens Every Photographer Should Have and Use: the 50mm, or a good friend—someone who always gives the very best advice—pointed you in the direction of your first large-aperture prime lens, and here we are!
Maybe you wanted to get blurrier backgrounds in your portraits, or maybe you wanted to shoot in low light. Either way, you made the right choice.
Also see this companion article: The Lens Every Photographer Should Have and Use: the 35mm.

The End of Zoom
One of the first things you likely noticed about your new lens is that it does not zoom in or out of a scene. Being a “prime” lens, its focal length is fixed.

Even though my first SLR lens was a Nikon 50mm f/1.8 (I have the non-D version), the convenience of my first zoom lens made that 50mm Nikon an instant decoration on my bookshelf. It then created a perfect circle on the shelf where dust would not land for years.
More commonly, in today’s kit lens world, you’ve known nothing but the lovely convenience of a zoom lens, and now that the lens before you does not zoom, you might feel apprehensive about using it or question its value to your photography.
Take a deep breath. Do not fret. The prime lens is actually awesome in so many ways, as you will see. It is time to become a more thoughtful and deliberate photographer—you will now position your body (and camera) where it is needed to get the composition, image, and vision you want to create.
And, as you create these images, remember that some of the world’s all-time greatest photographers never used zoom lenses. Welcome to the Prime Club!

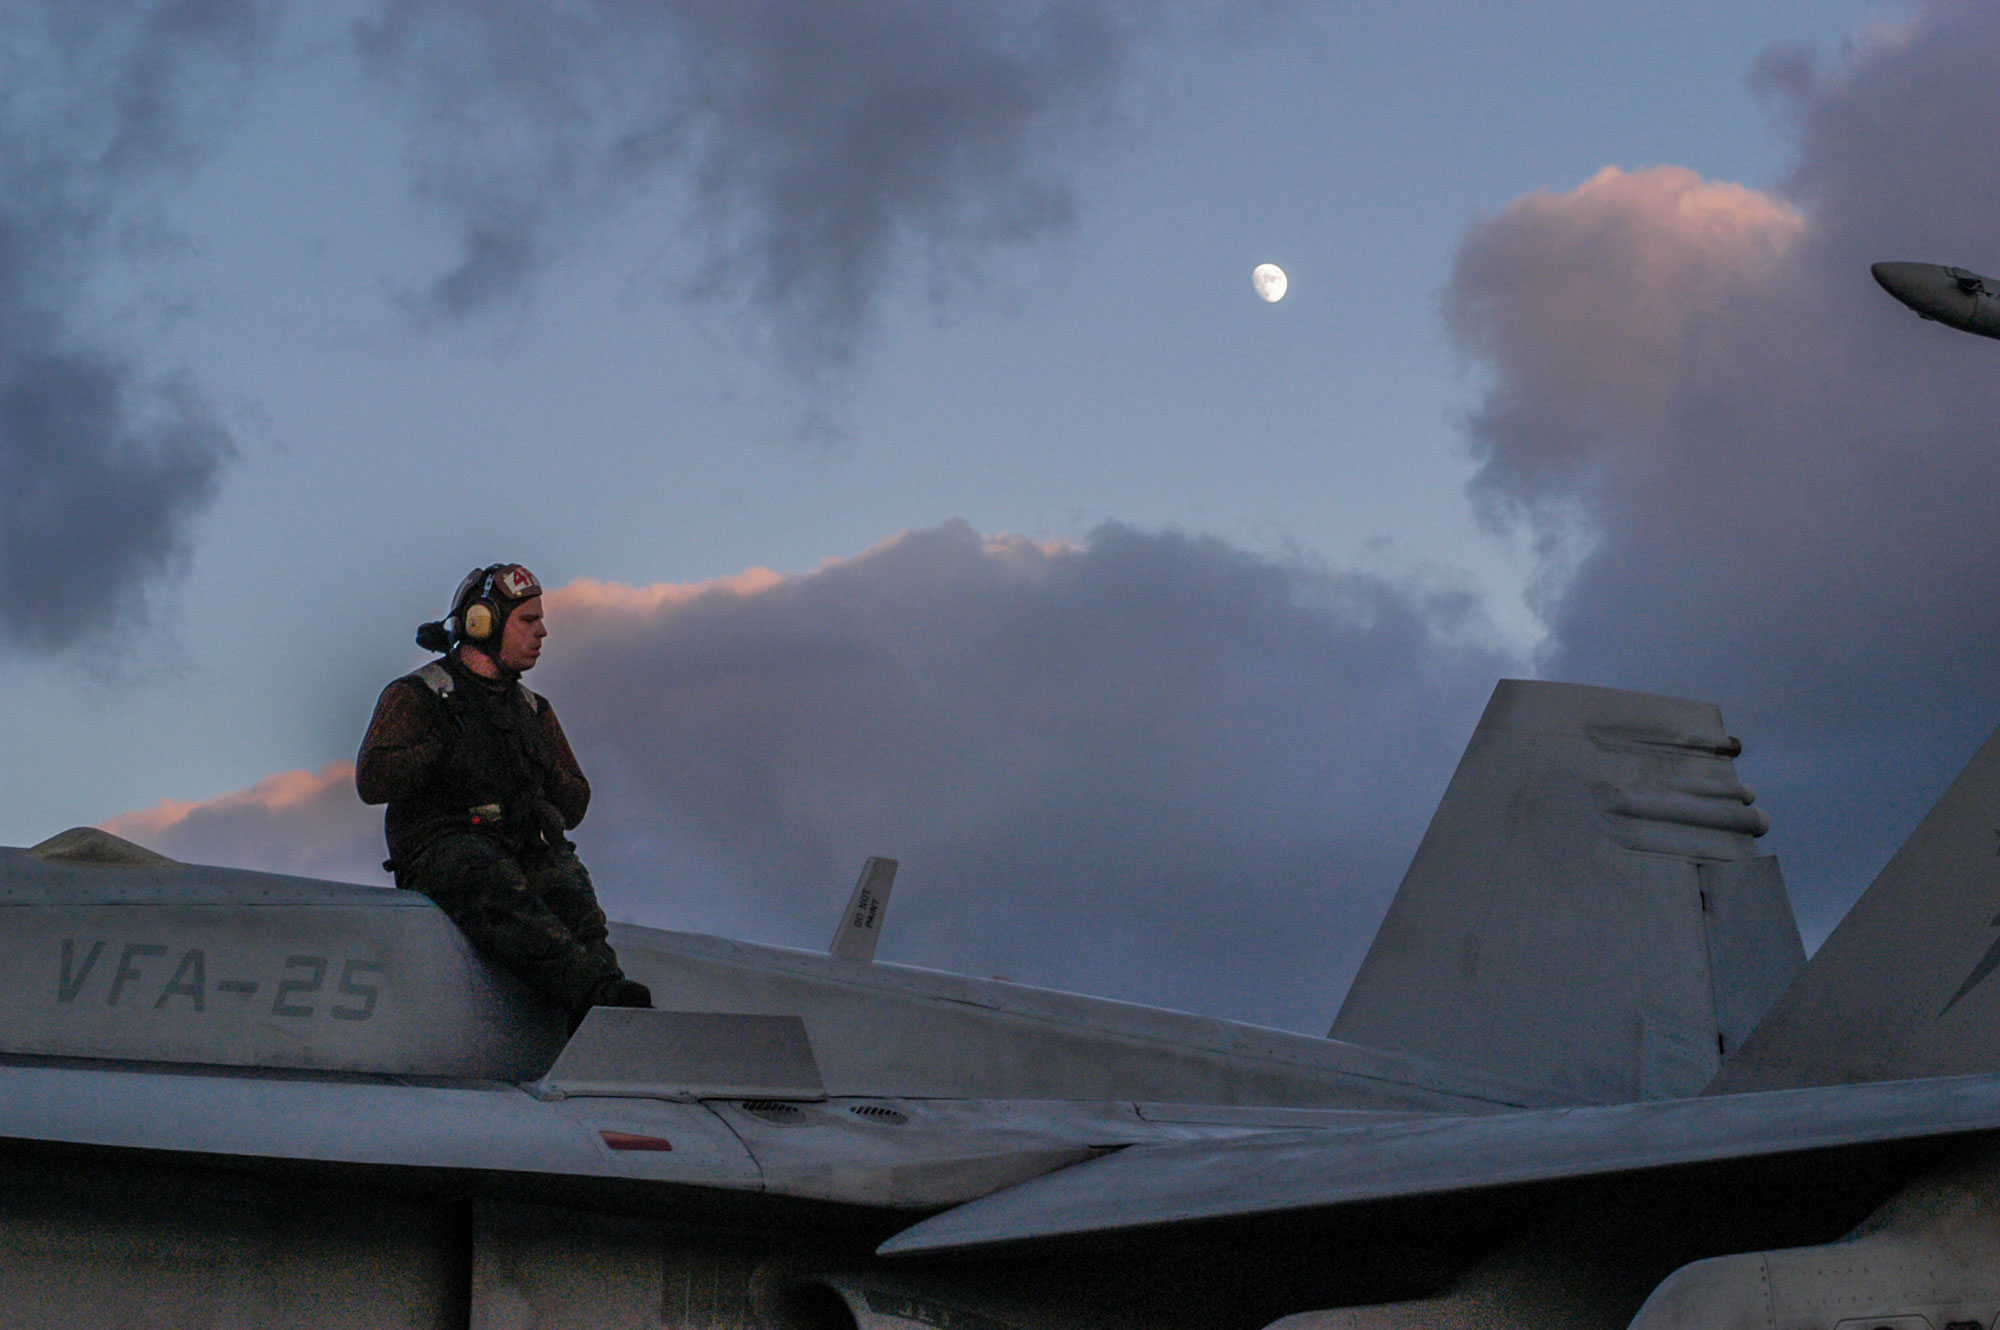
Background Blur
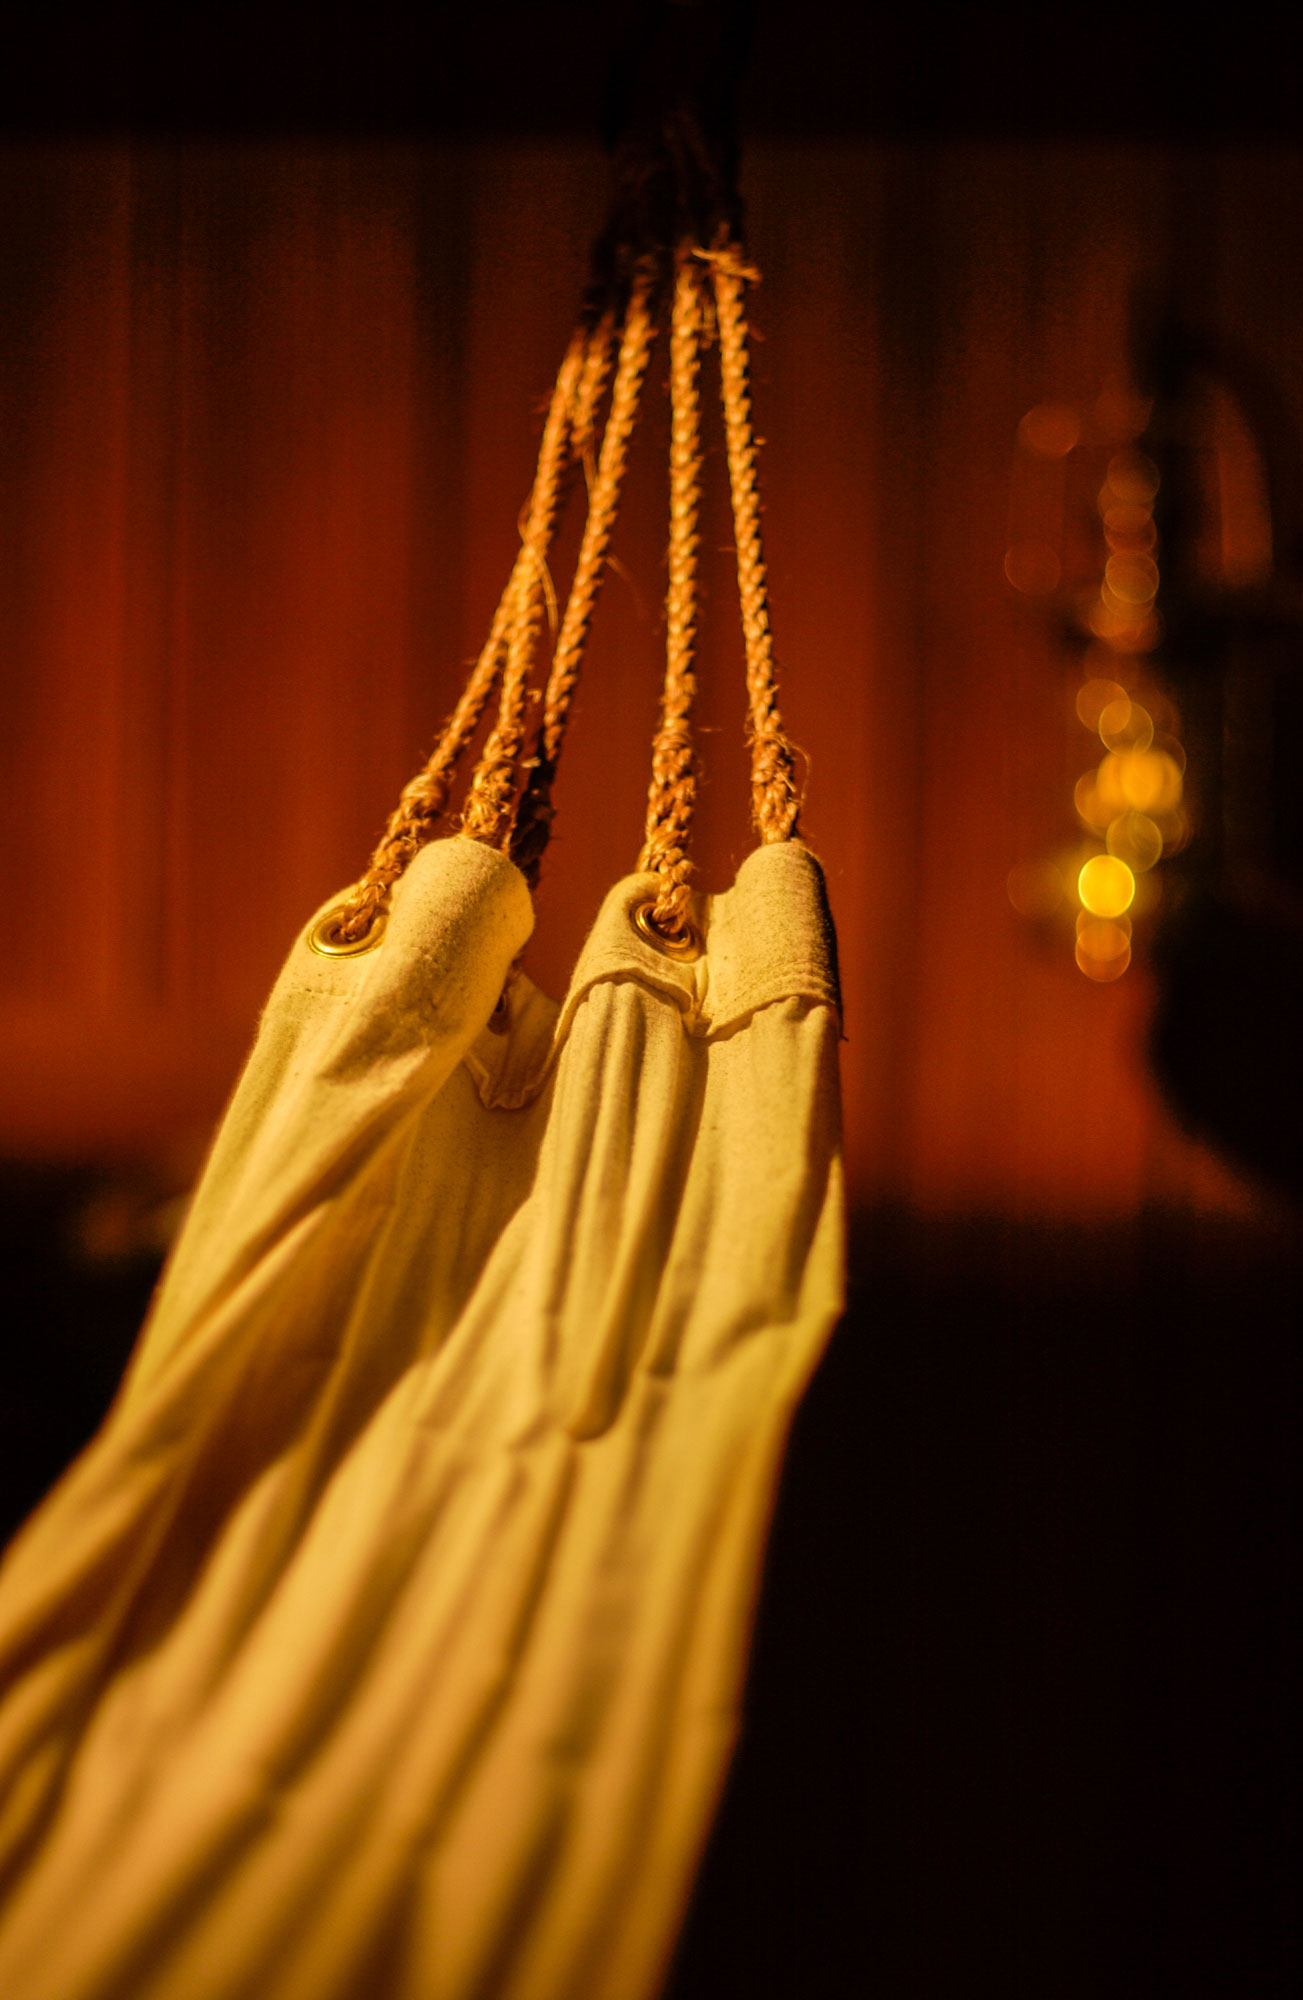
Almost all of us love the look of photos with soft and blurry backgrounds. For years, you may have been frustrated that your smartphone camera could not create that effect (though many phones now “fake it” in “Portrait Mode” to give that blurry background), or that your kit lens, especially your 18-55mm, was not giving you the blurry-background look that you saw in the photographs of others.
When your friends talked about “bokeh” at fancy dinner parties, you nodded and mumbled something in an attempt to fit in. But, in reality, the world of the blurry background had been escaping you.
Well, your jealousy and frustrations end now!

Your new 50mm large-aperture prime lens is a blurry background machine just begging to create… wait for it… bokeh!
PRO TIP: How to Create Shallow-Depth-of-Field Images
Because your new lens has a relatively large aperture, you have one of the three ingredients needed to create an image with a blurry background. Start by setting your camera to aperture-priority mode (or manual mode) and open that lens aperture up as much as you dare.

What are the two other ingredients?
1. Be sure you are photographing a subject that is relatively close to your camera. (A photo of a distant mountain range at f/1.8 will not have a blurry background of more distant mountains or clouds.)
2. Be sure that there is some separation between the subject and the background. (A portrait of someone leaning against a brick wall at f/1.8 will not produce a bokeh-licious brick wall backdrop.)
Release the shutter and… bokeh background awesomeness!
For a lot more info on depth of field, journey here.
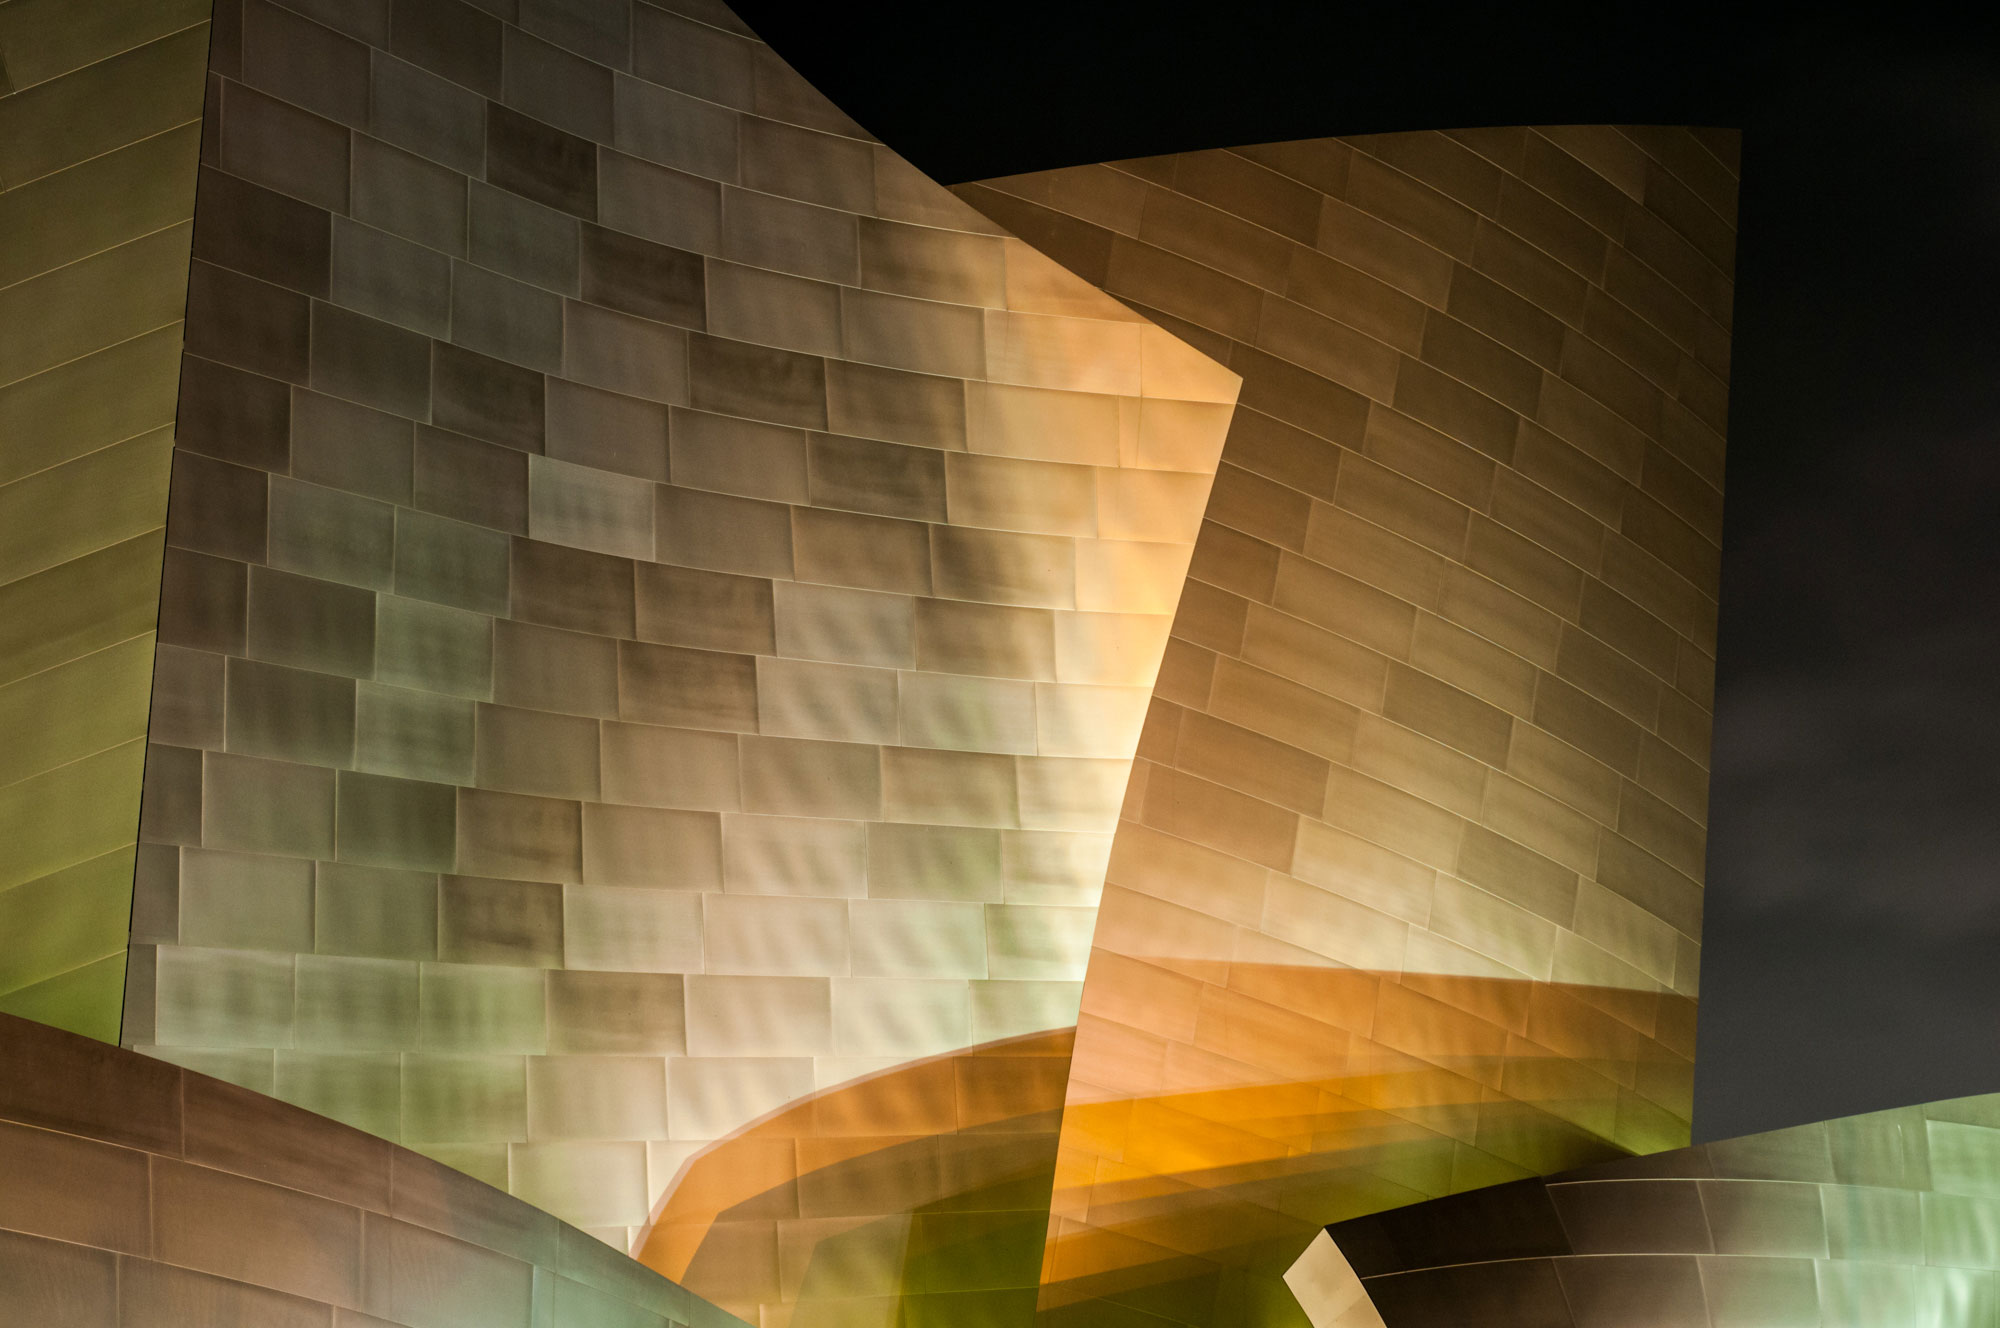
Welcome to the World of Sharpness
If you have spent more than 30 seconds on the Internet reading about lenses, you know that “sharpness” is probably the single most-discussed characteristic of a lens.
I spent years, and a boatload of money, searching for ultimately sharp “professional” f/2.8 zoom lenses—chasing the proverbial lens unicorn. And, while I did acquire some very nice zoom lenses, do you know what lens was the sharpest that I owned? That aforementioned Nikon 50mm f/1.8 that was collecting dust on the aforementioned bookshelf. Not only was it my sharpest lens, it was also my least-expensive lens.

Like me, many of you looking to step up your photographic game lust for the big “pro” f/2.8 zooms that the “pros” use. We crunch the numbers trying to figure out how you will possibly justify the expense of that kind of lens. Before you stretch your Payboo card limit, know that now, likely, the little 50mm lens you just put on your camera is as sharp, or sharper, than those four-figure monster zoom lenses.
PRO TIP: How to Maximize Sharpness
One of the great things about your new lens, especially compared to your kit lenses, is that you do not need to step down (make smaller) the aperture very far to maximize sharpness.
The “sweet spot” is what photographers refer to as the aperture, or aperture range, where the lens gives its best sharpness performance. On kit zoom lenses, this range is likely around f/8 or f/11. On a large-aperture prime lens, this range can be around f/2.8 or f/4… maybe f/5.6. But, even sweeter, your new prime lens probably has amazing sharpness, in the center of the image, when wide open, or just stepped down from wide open.
Try shooting your f/1.8 lens at f/1.8 or f/2 to see how sharp it is in the center, and, if you need edge-to-edge sharpness, set it to f/4 or f/5.6. For more tips on sharpness, check out my article 21 Tips for Getting Sharper Photos.
Embrace the Darkness
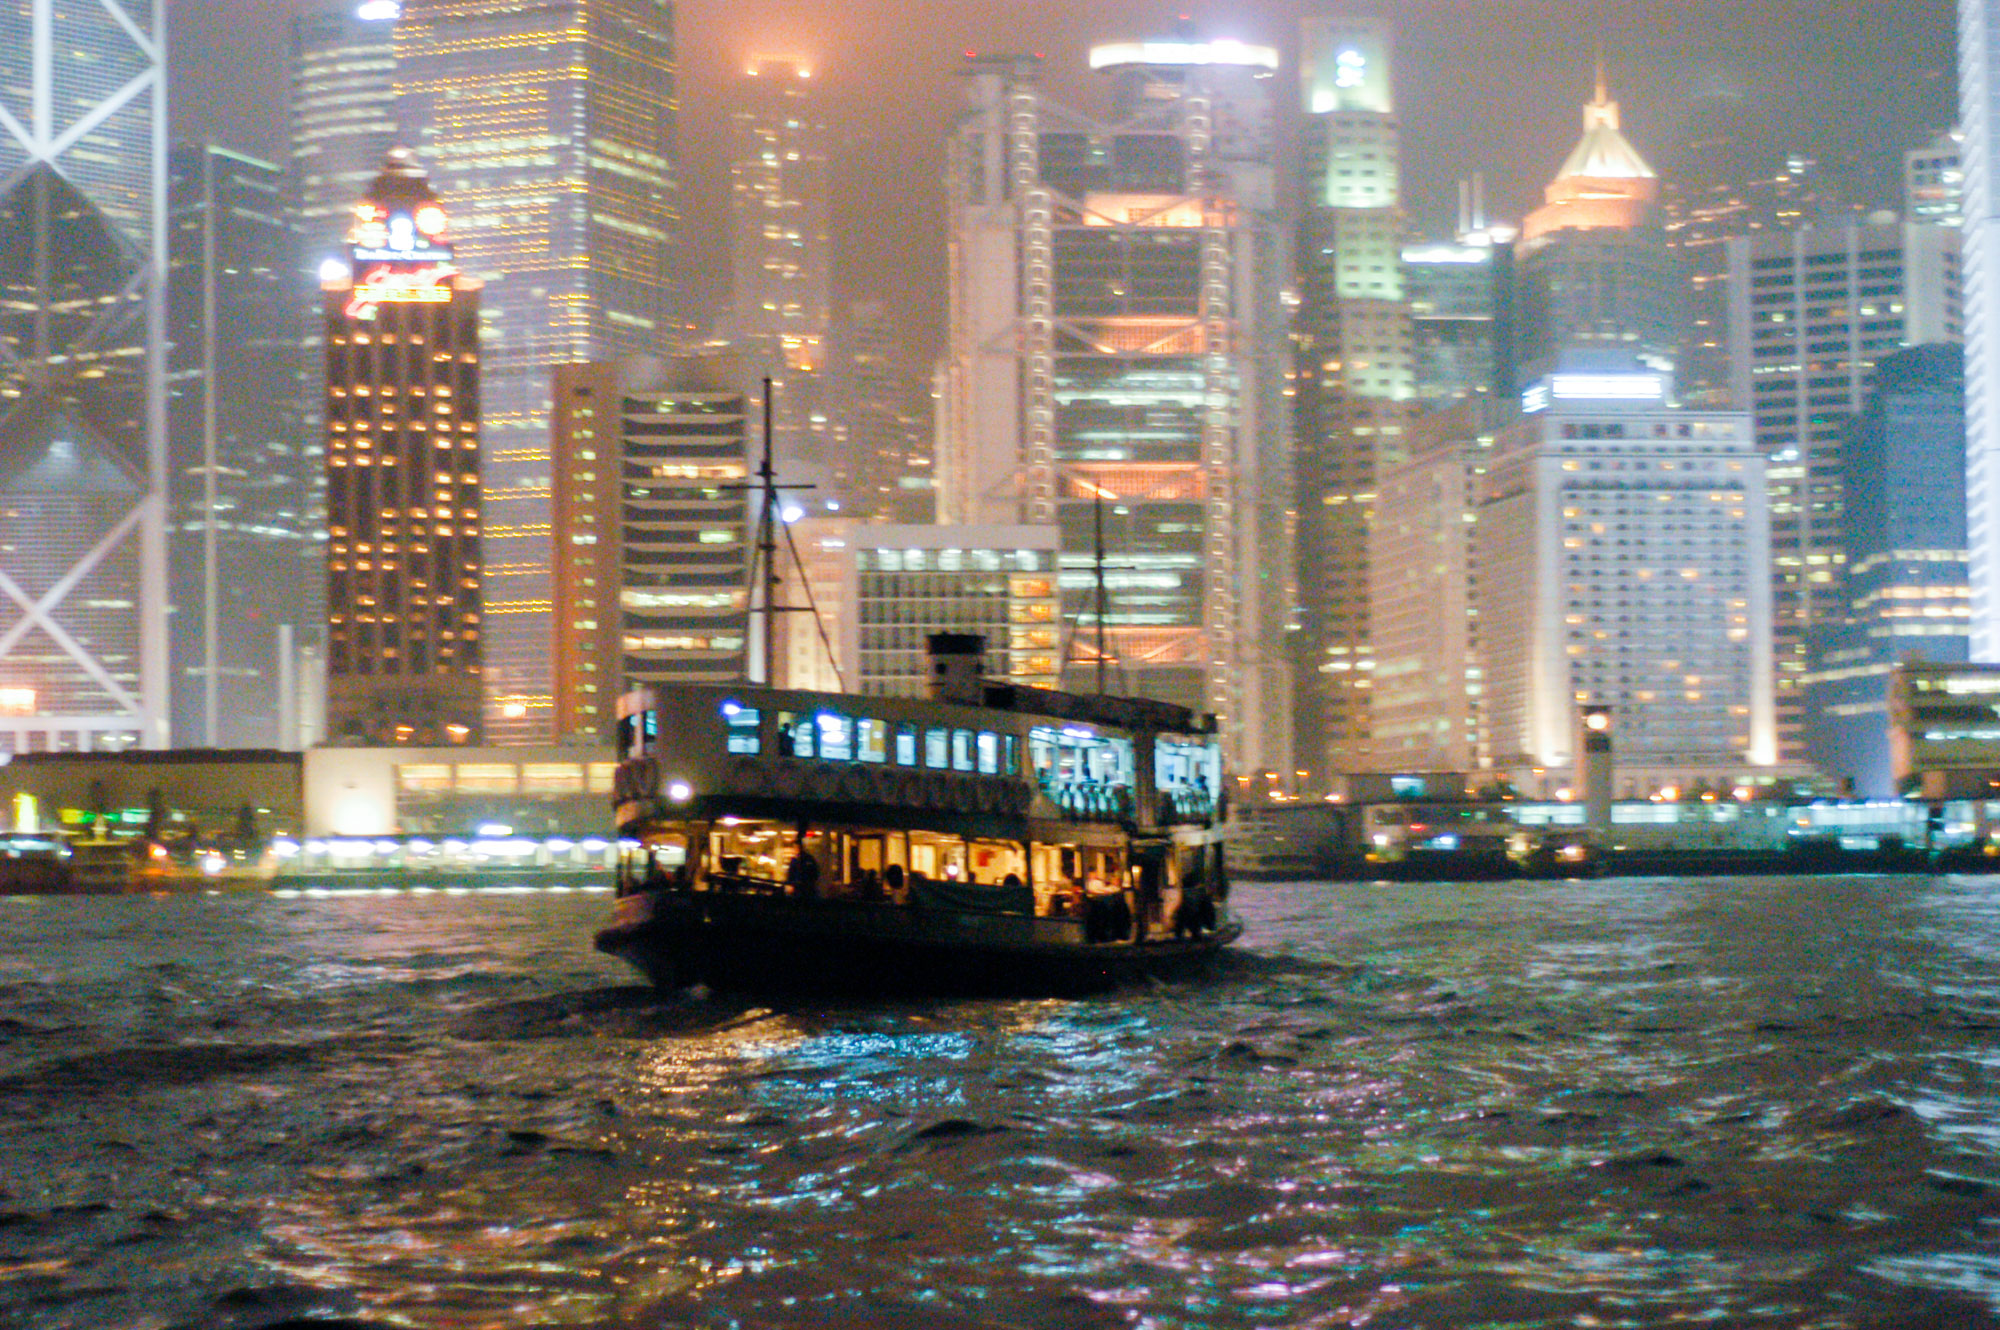
With a narrow maximum aperture, the biggest limitation of the kit zoom lens is its ability to give you a fighting chance at a sharp image when in low-light conditions. In bright daylight, the playing field is level. But, when the sun journeys to the other side of the planet, or when you are photographing indoors, a large-aperture prime lens can make amazing images possible.
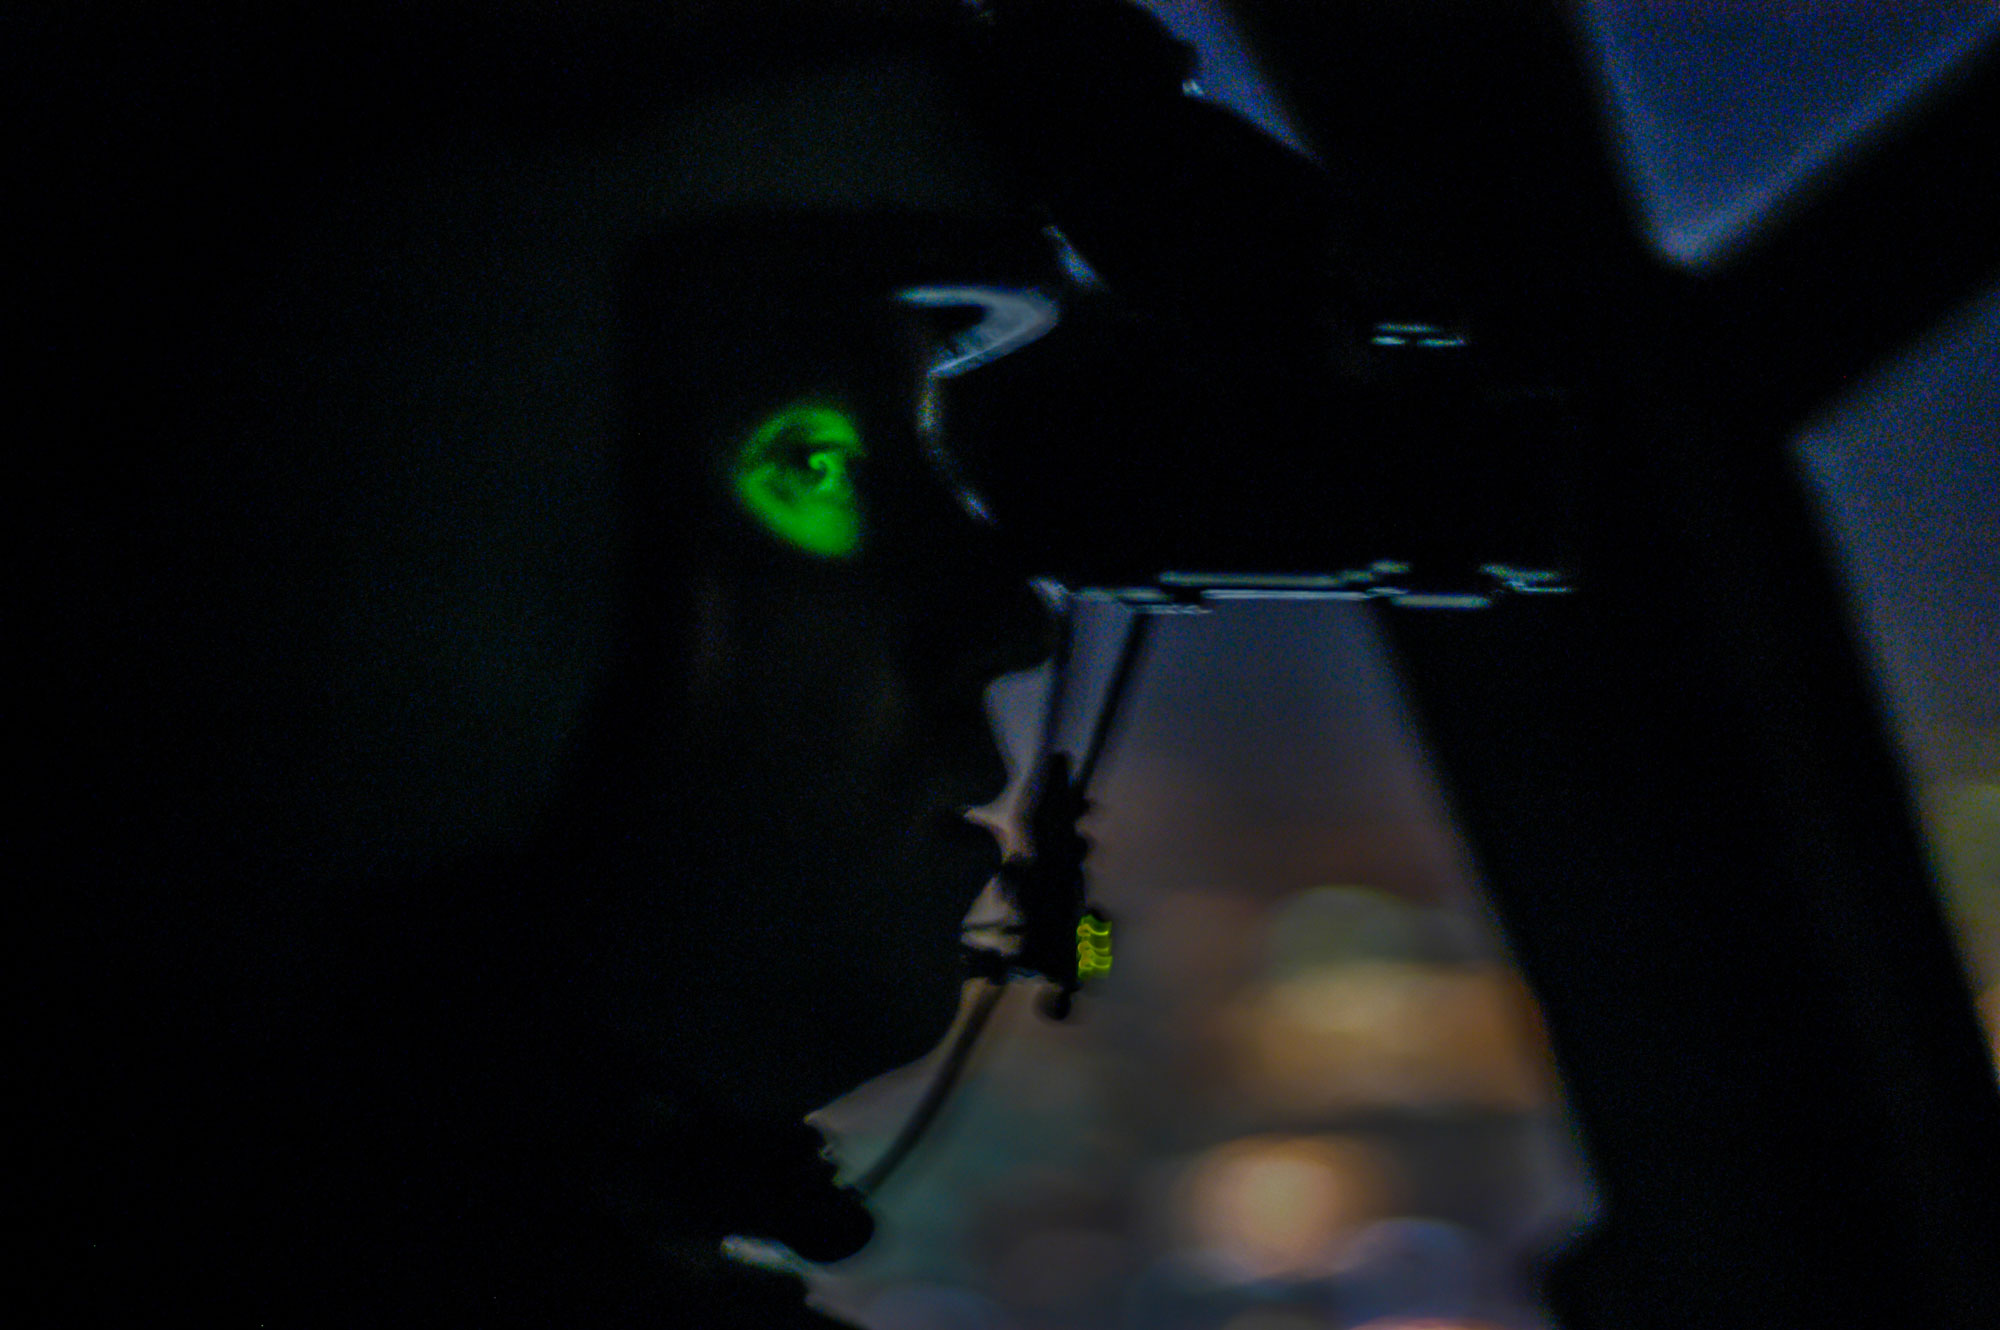
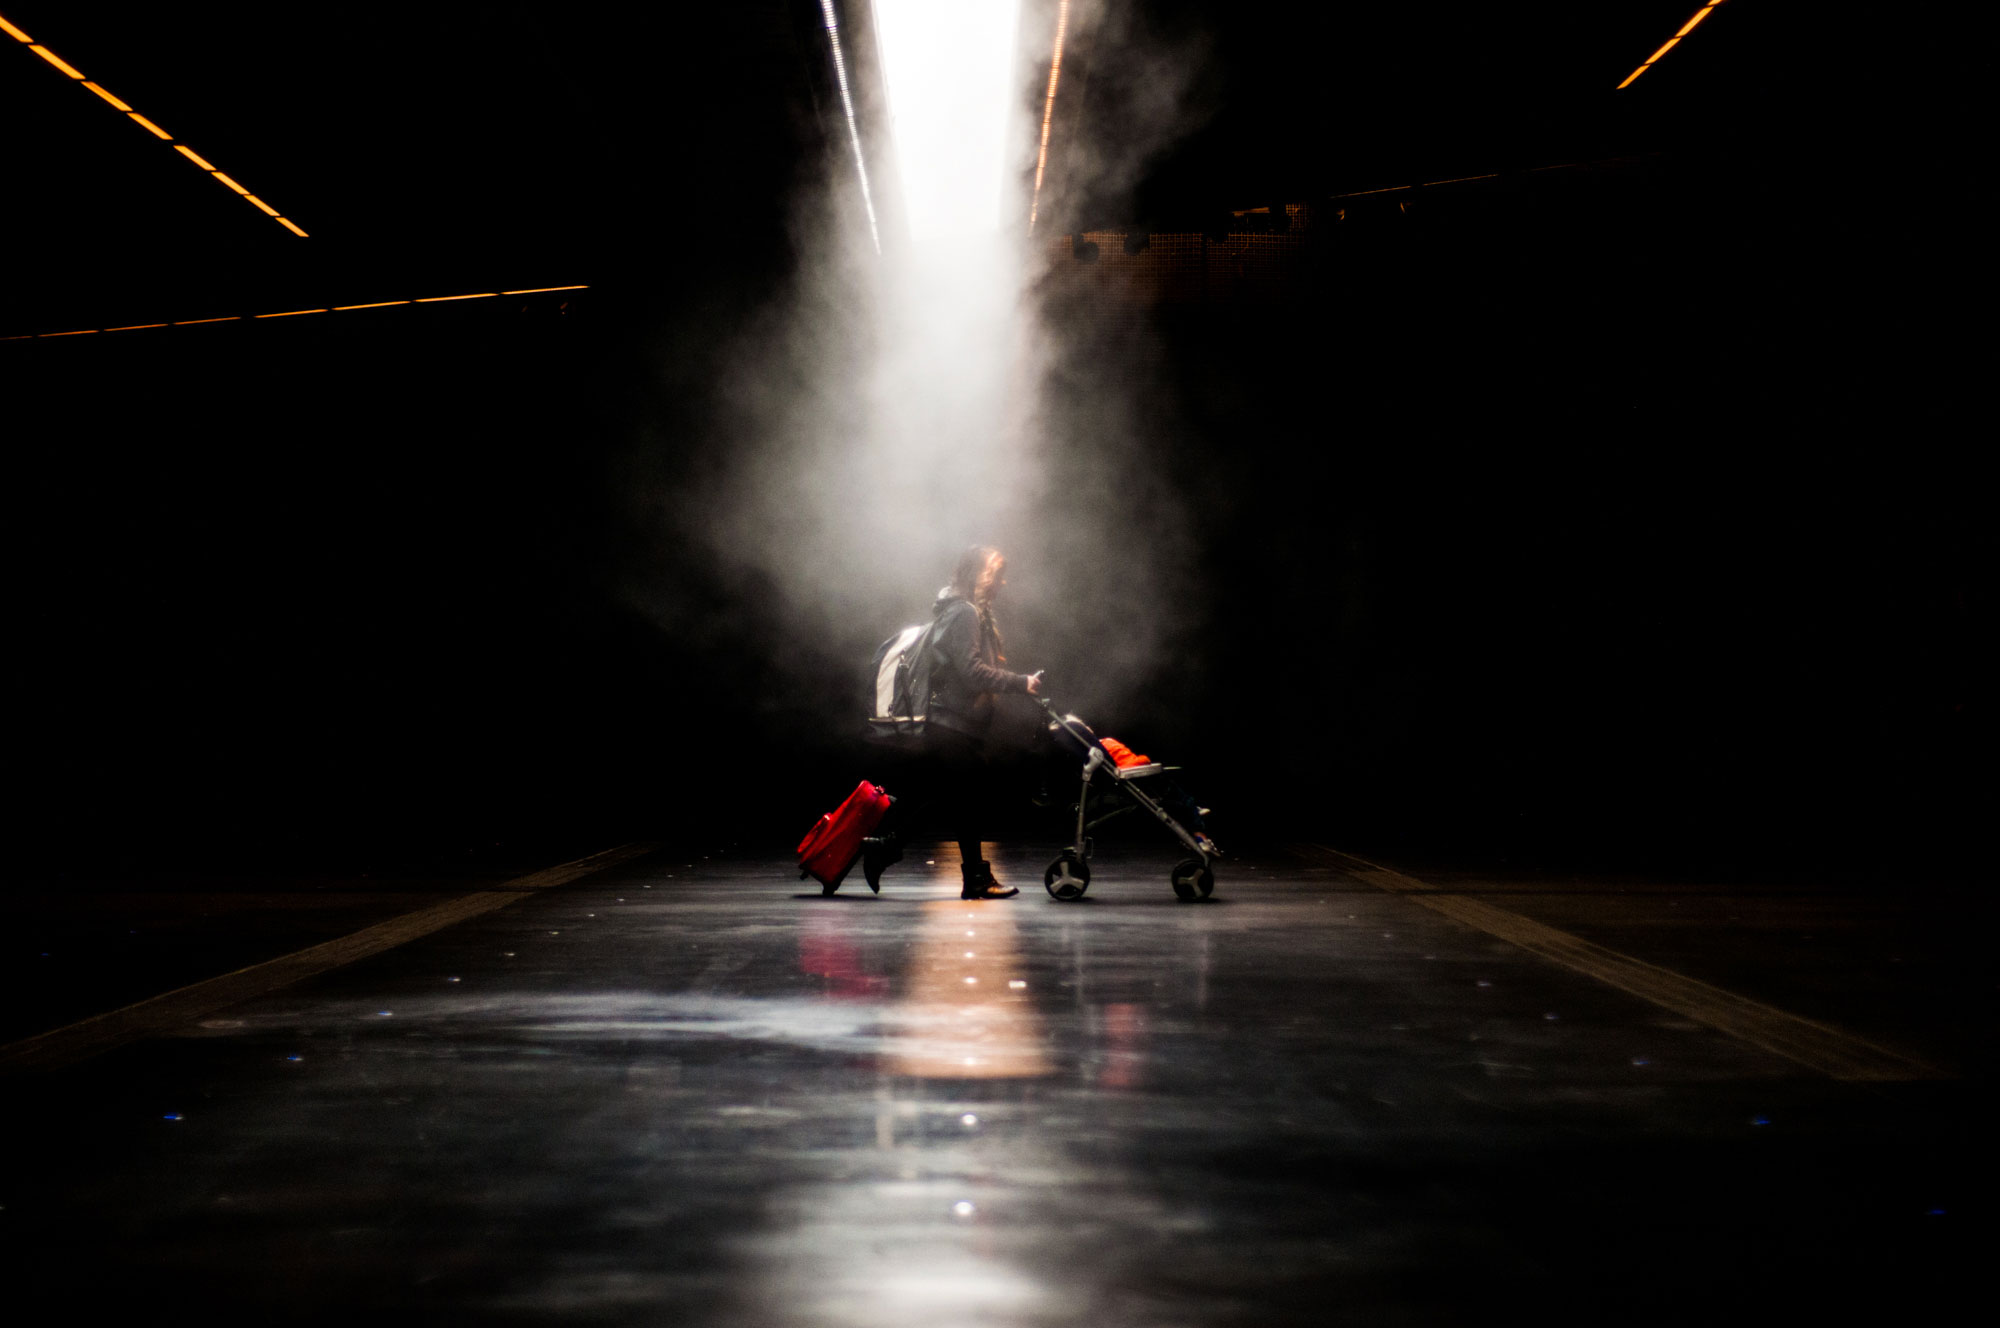
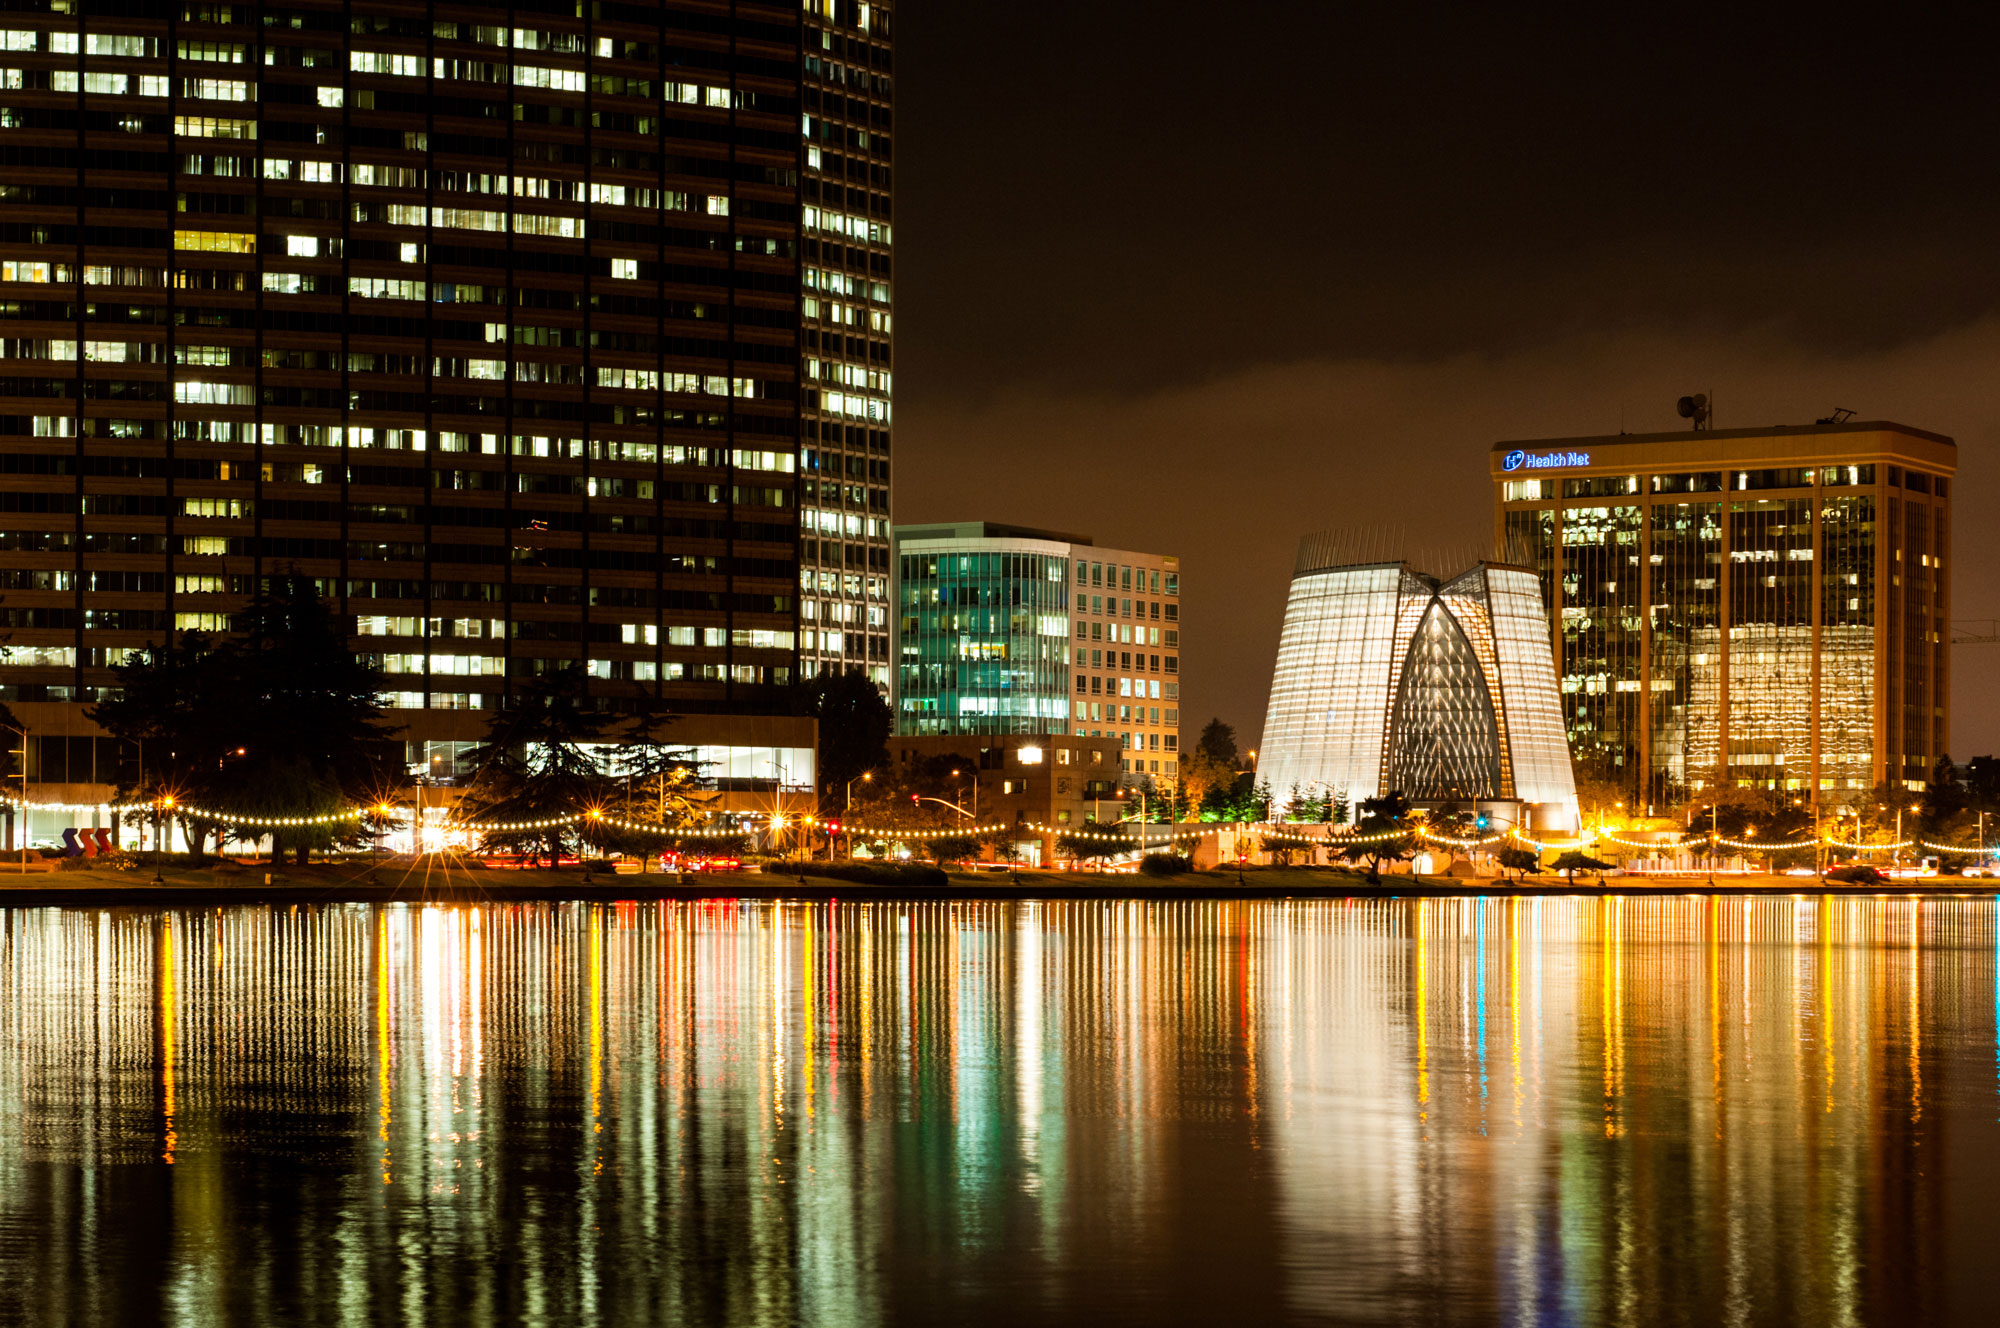
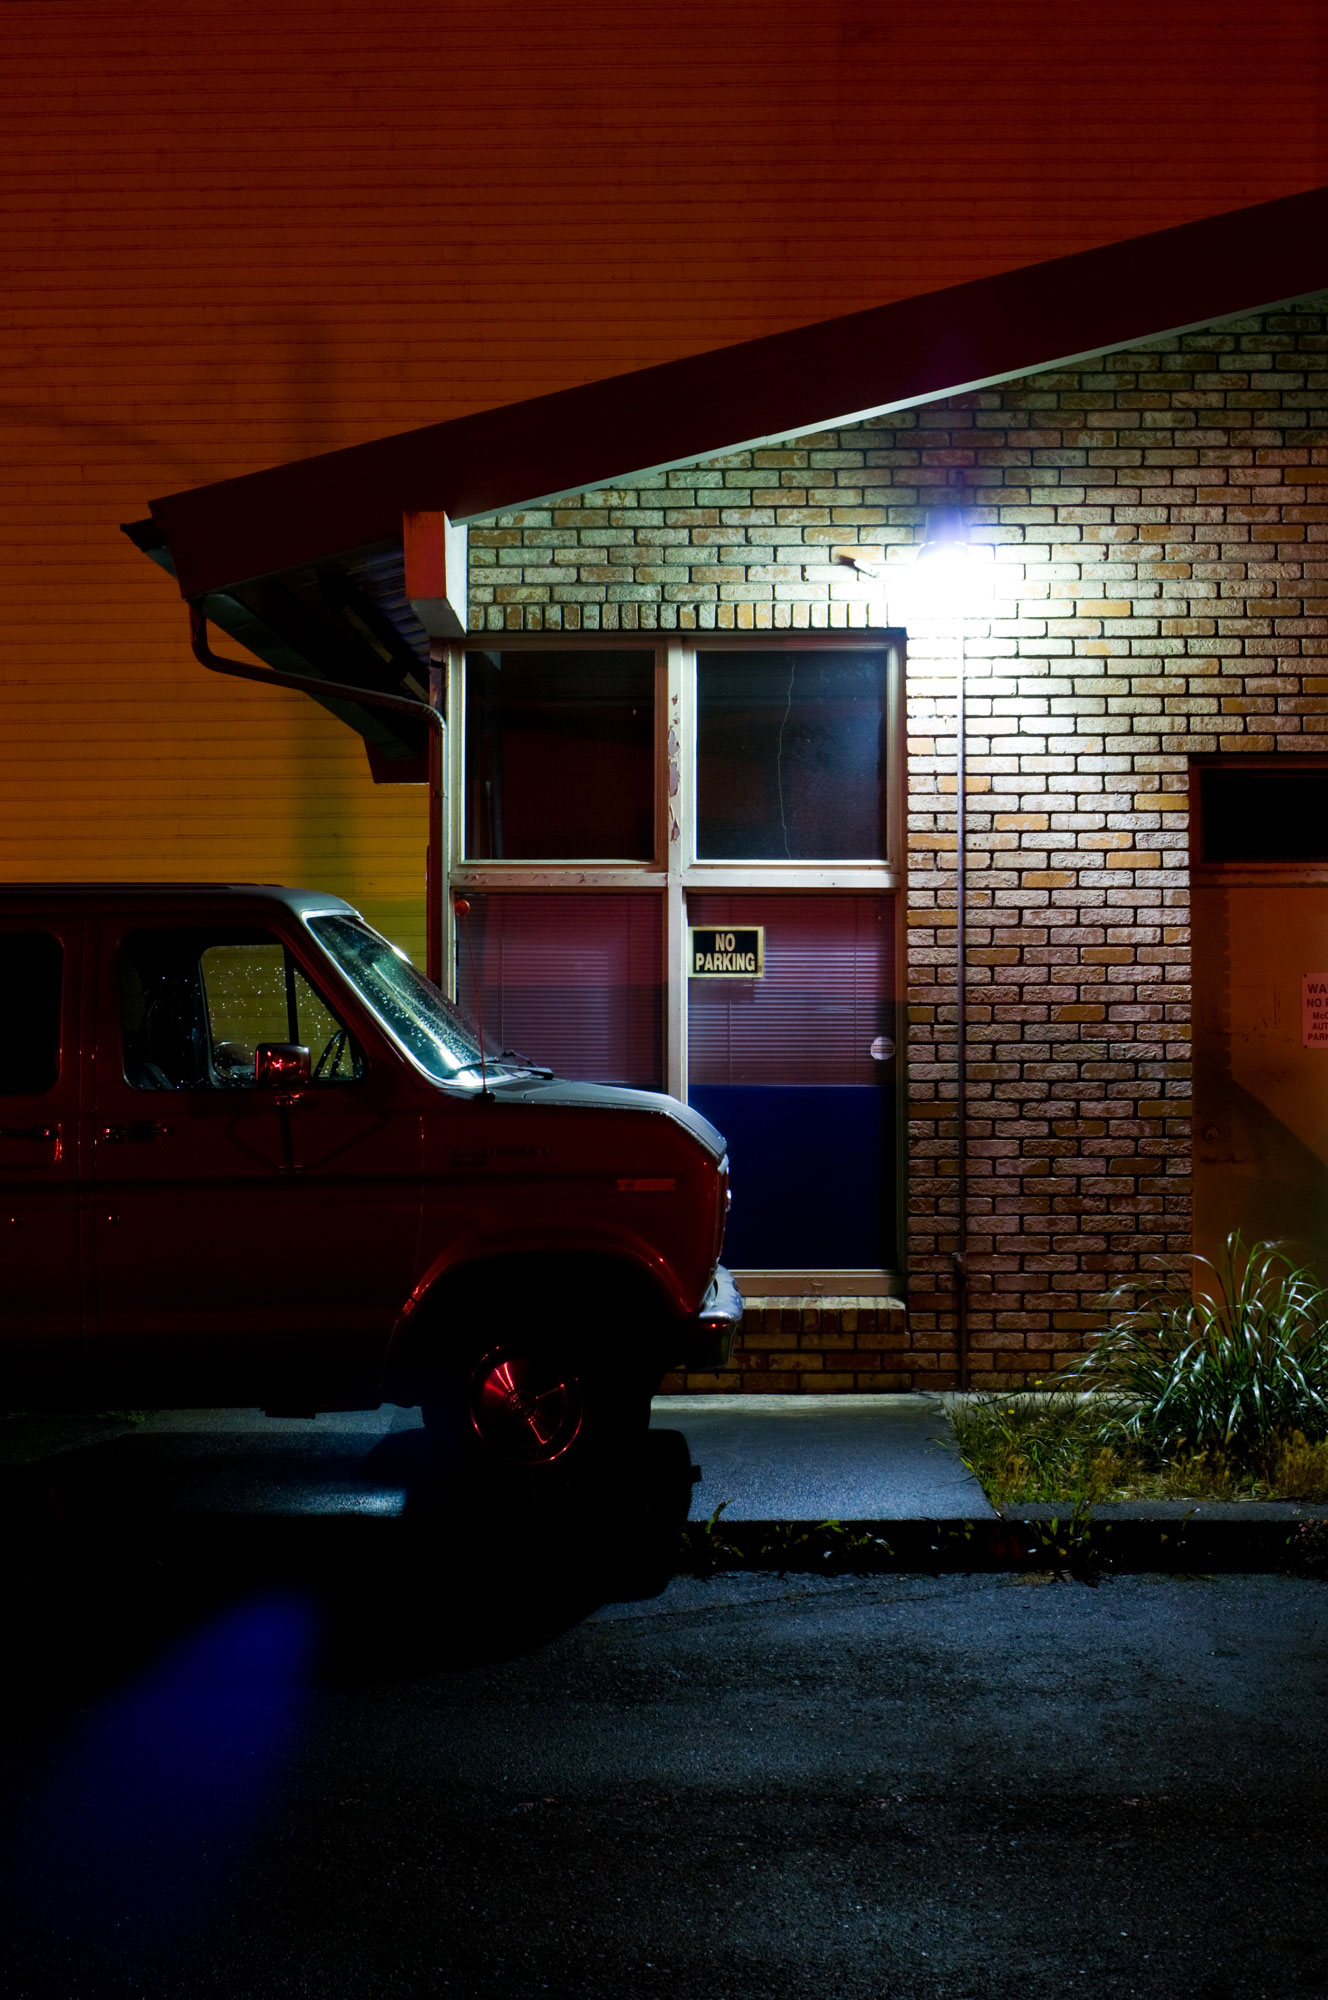
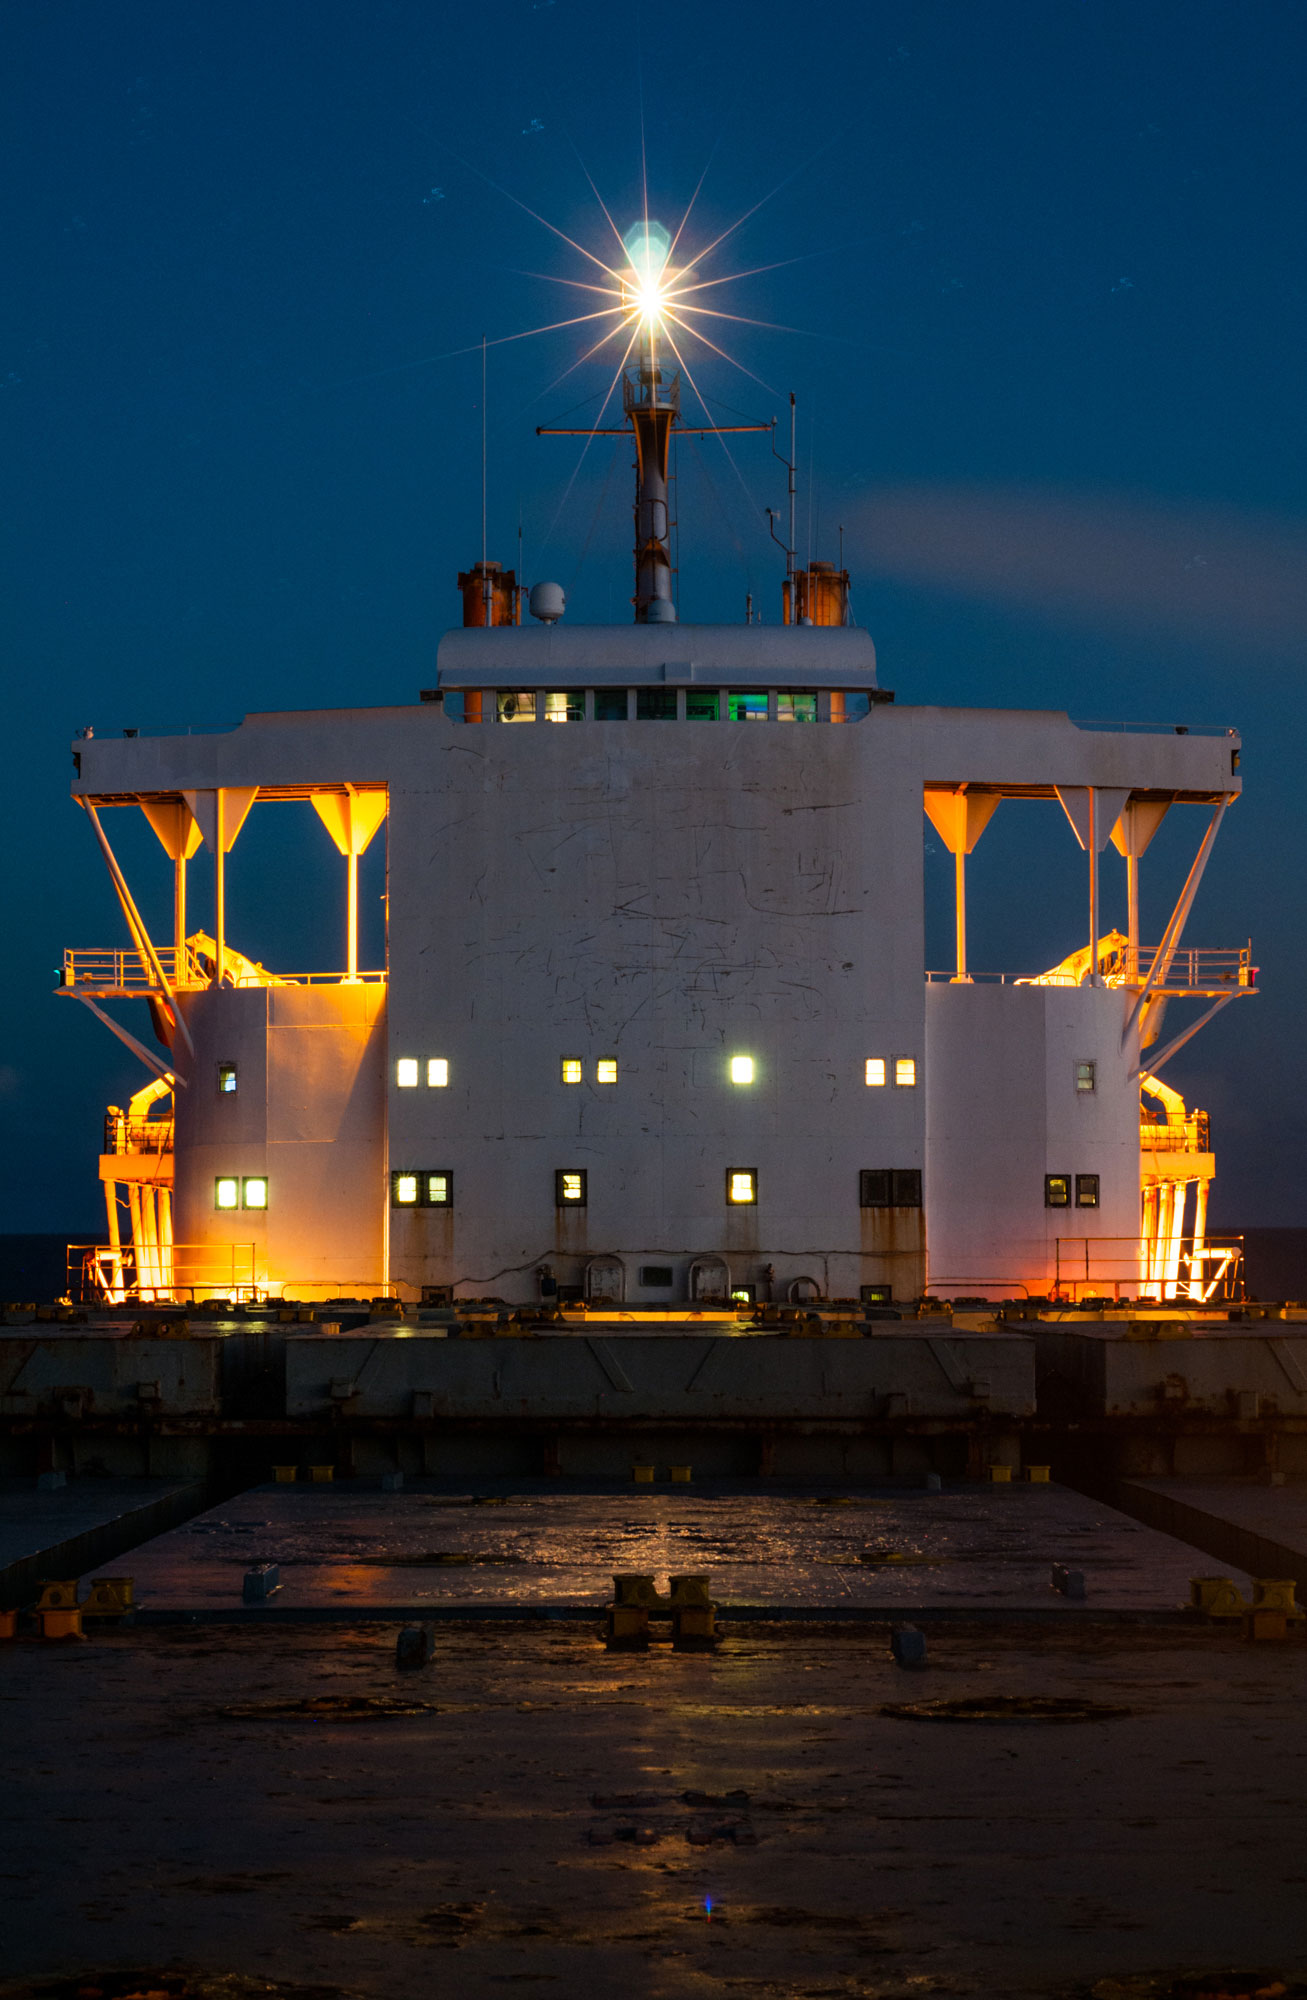
The larger the aperture, the more light gets to the film or sensor. Now you can photograph your partner in the dark restaurant by candlelight, get a photo of your kid playing in his bedroom at dusk, or grab that beautiful street shot under the glow of a streetlamp.


PRO TIP: Low-Light and Night Photos with Your Large-Aperture Lens
If you are out and about with your new lens and camera and the light is dimming, definitely start to open your aperture more and more to maximize the amount of light getting through the lens. And, if you have your lens opened all the way and the shutter speeds are starting to fall to levels where camera blur is happening, then bump up your ISO to compensate.
Also, do not forget, if you are shooting at night on a tripod, then you need not open the aperture all the way (unless you are trying to get a shallow depth of field). The tripod will let you shoot at the f/4 or f/5.6 sweet spot to maximize sharpness in low light, if that is your photographic goal.

Welcome to Portability
I used to think that, to maximize my chances of getting a great photograph when out and about, I needed to carry about 30 pounds of glass and metal in my camera bag. I was convinced that I had to carry a bunch of big f/2.8 zoom lenses that covered focal lengths from super wide-angle to super-telephoto.
Now that you have your small and lightweight 50mm lens with you, I challenge you to head out with only that lens on your camera and see how liberating the experience can be. Now you can sit down for a gelato or walk through a crowded train station without worrying about where to place your camera bag or who you are going to knock down with said bag.

PRO TIP: Challenge Yourself
Photographically, you might feel a bit strange without a zoom, but I encourage you to get used to “seeing” the world through the field of view of that lens by visualizing the framing and looking for images that fit into that area of vision.
Go Make Photos
Your new 50mm wide-aperture lens, when used correctly, can create magical images for you. These small 50mm lenses are exceptional for portraits due to their ability to create beautiful blurry backgrounds, and they are also great for gathering fading light so that you can keep on shooting as the light dims. No, it does not zoom and, no, it does not have image stabilization, but guess what? It is likely the sharpest lens you now own, it is tiny and unobtrusive, and it is ready and willing to help you create beautiful images!

Do you have questions on how to best use your new 50mm wide-aperture lens? Ask me in the Comments section, below!

