
Photographing pets is something you likely do daily, whether it be with a phone or a dedicated camera. I don’t know about you, but I have thousands of pics of my pup filling up my photos app. After all, pets are part of the family, and we want to capture them in the best possible light. In this quick guide, we’re going to look at 10 ways you can improve your pet photography with practical creative tips and techniques as well as gear.
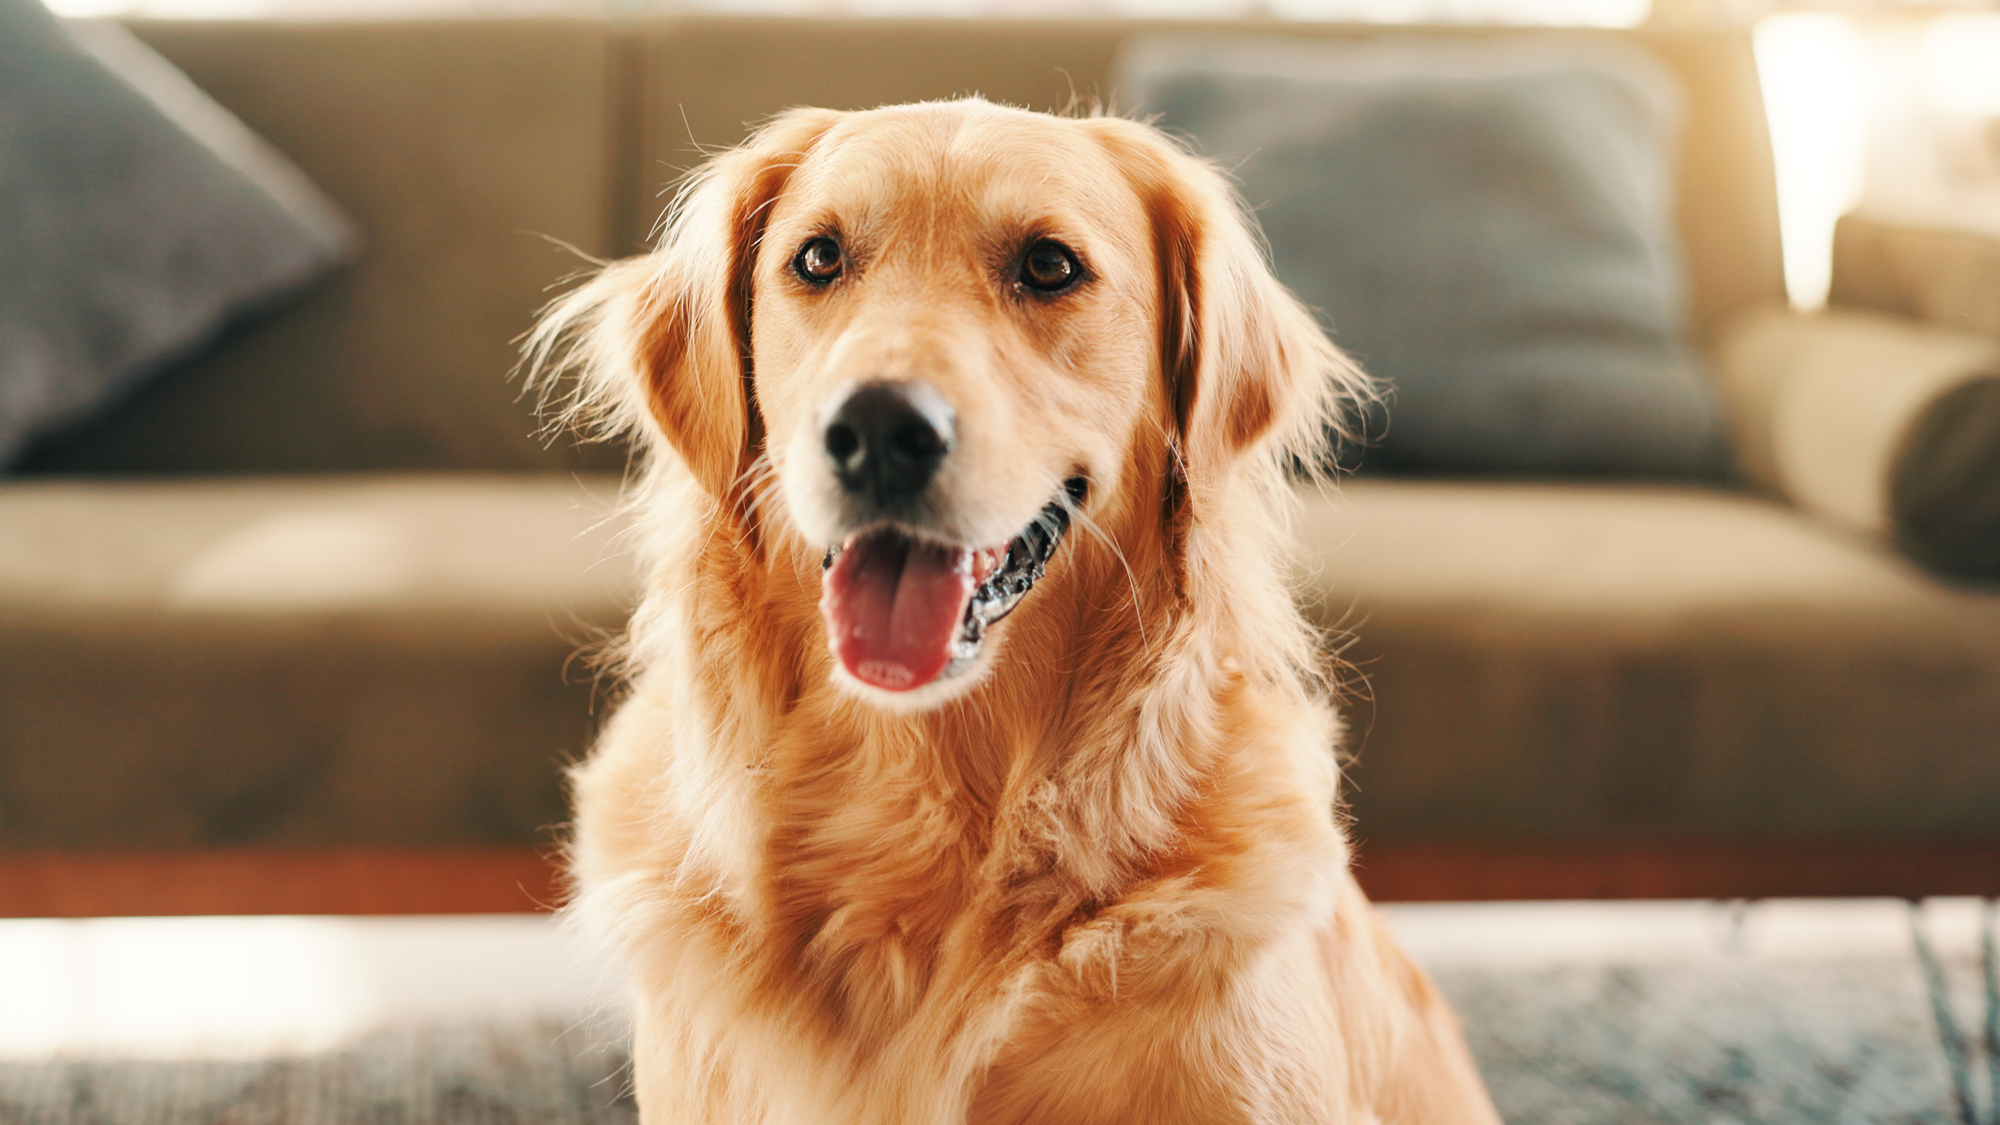
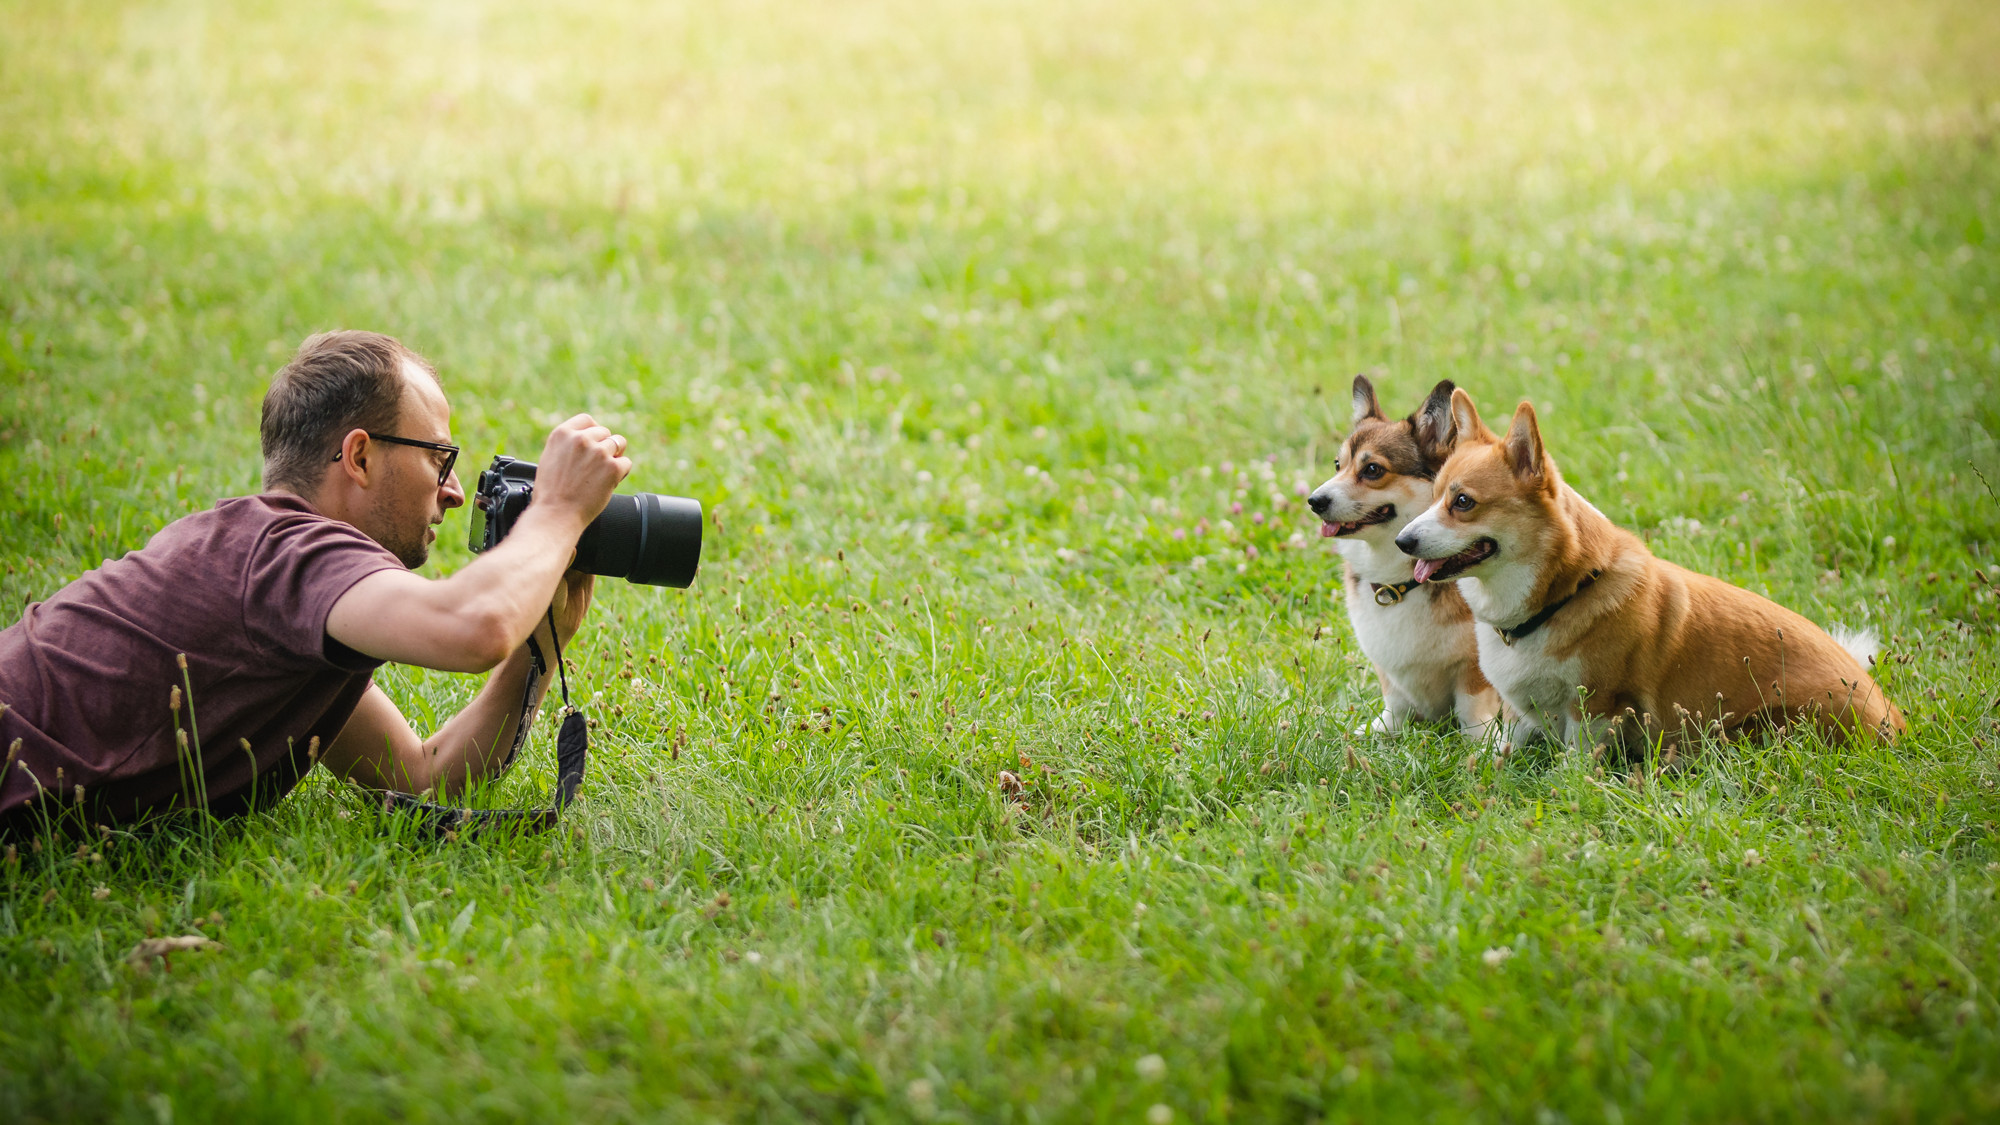
1. Get to your pet’s level. If there’s one trick to make your images more engaging, it’s to physically shoot from your subject’s eye-level. This is easy when shooting standard portraits but can go overlooked when working with non-human subjects. While shots from above can emulate the look of a pet lovingly staring at their human companion, a shot from their perspective does exactly what it sounds like.
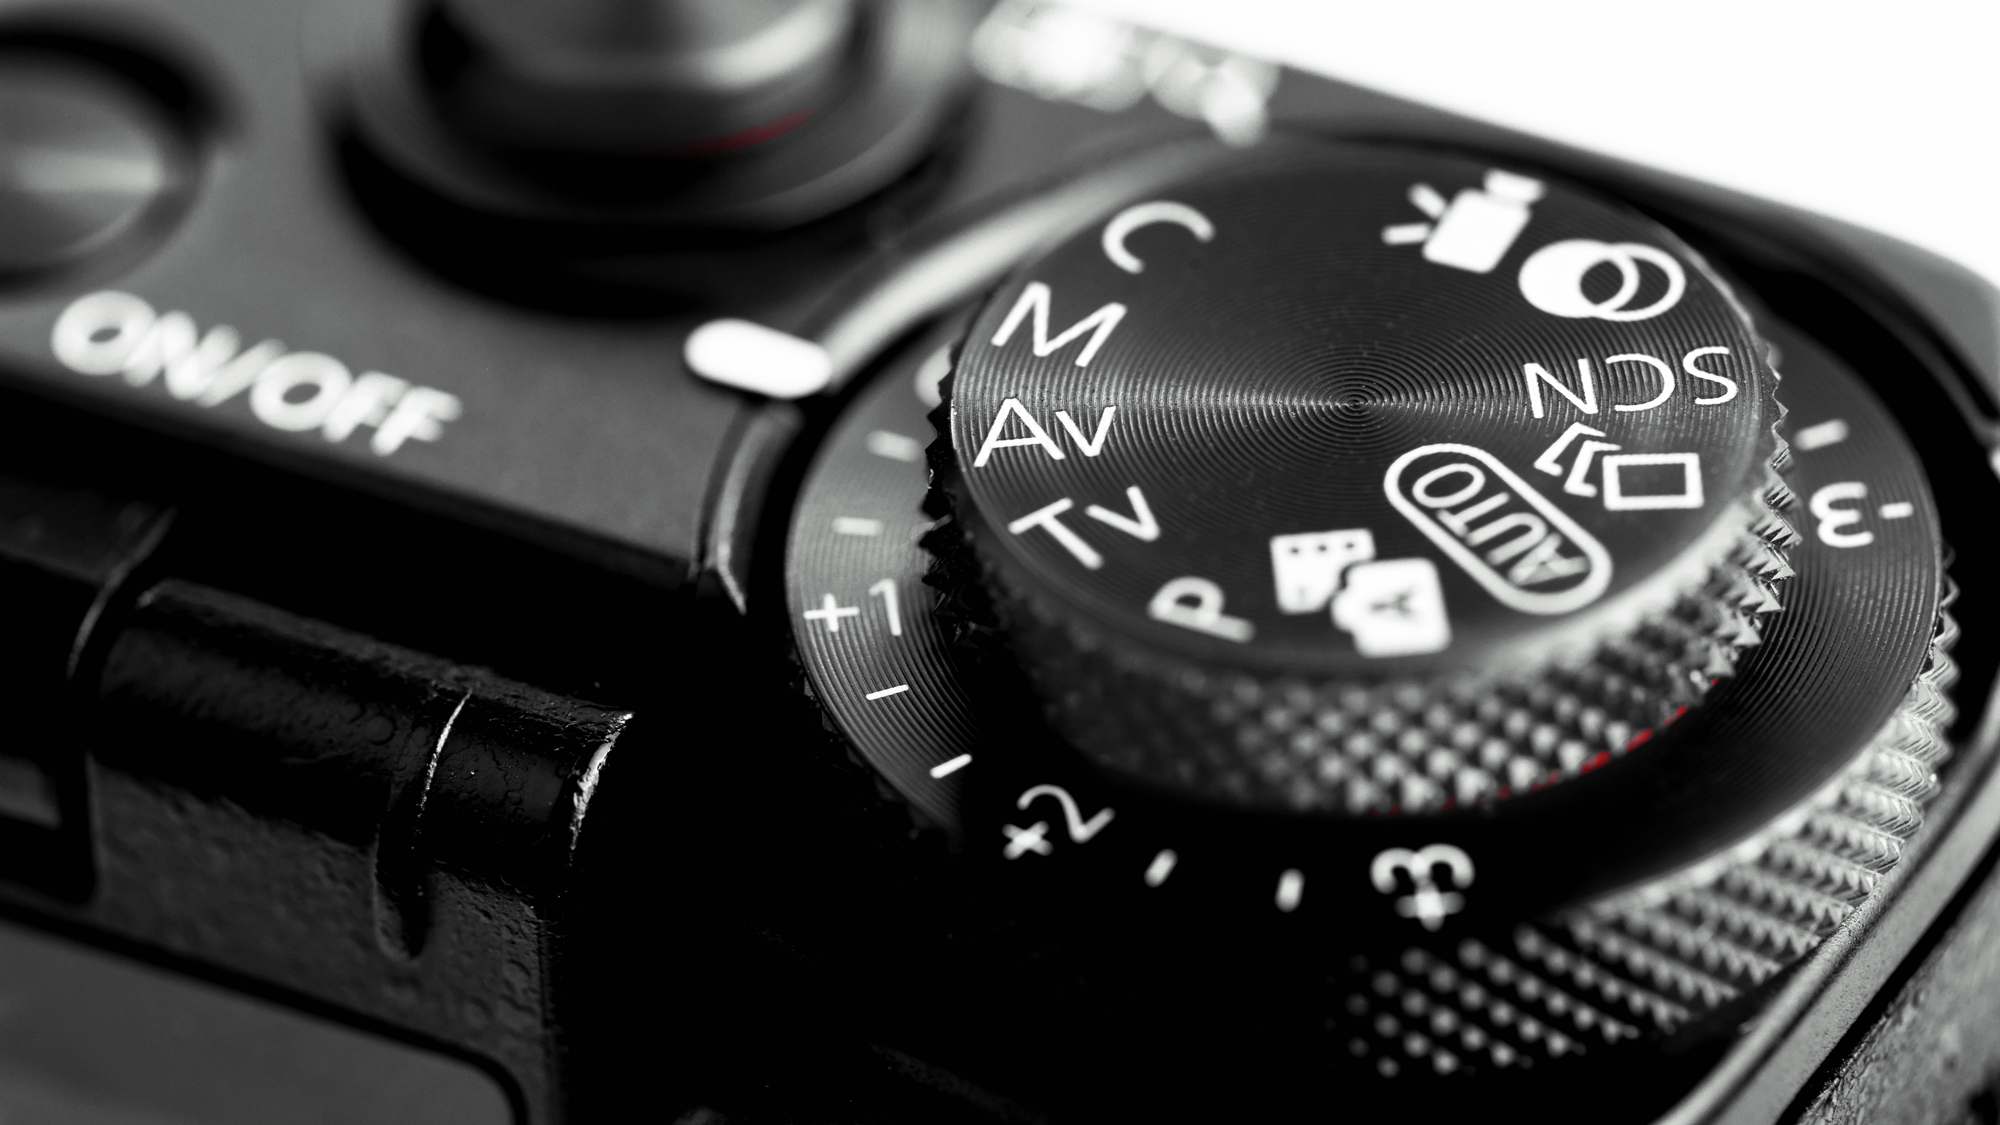
2. Get out of auto. So, you already have a camera with manual controls. Out of the box, this was likely set to Program or auto modes. Automatic mode is a great way to learn your camera and take quick “point and shoot” shots on the go. If you want to take more creative control of your photographs, turn your mode dial to Manual. Manual exposure requires a basic understanding of Aperture, Shutter Speed, and ISO, known collectively as the exposure triangle.
3. Know your subject. Understanding body language in pets is key to a successful shoot. A stressed dog will look as much, and as the owner of a perpetually nervous dog, I can attest. There’s no one solution to this problem as each pet has their own personality. A good practice is to get the animal accustomed to the camera. If you’re working with a client, see if you can get together before the shoot to meet your subject. When the day of the shoot comes, the cat or dog will have met you and will ideally be less cautious.
4. Focus on the eyes. After all, the eyes are known as the “window to the soul” for good reason. Eye contact is essential in human communication and that extends to our four-legged friends, so it’s only natural to simulate that act by directing your audience’s attention to your subjects’ eyes. When doing so be sure to keep your aperture in check, as wide apertures may result in an out of focus nose and even ears.
5. Watch your depth of field. It may seem beneficial to shoot with a fast aperture just as one would do when shooting a standard portrait but consider the following. All jokes aside, pets have longer faces, so stop down your aperture and watch your distance to your subject. The smaller our aperture and the farther away you are from the subject, the greater our depth of field. Obviously, a pug will require a different approach than a greyhound, so adjust your approach depending on the subject. Lastly, avoid longer telephoto lenses unless you’re outside and keeping a good distance. A 200mm lens naturally has a narrower depth of field than a 50mm lens.
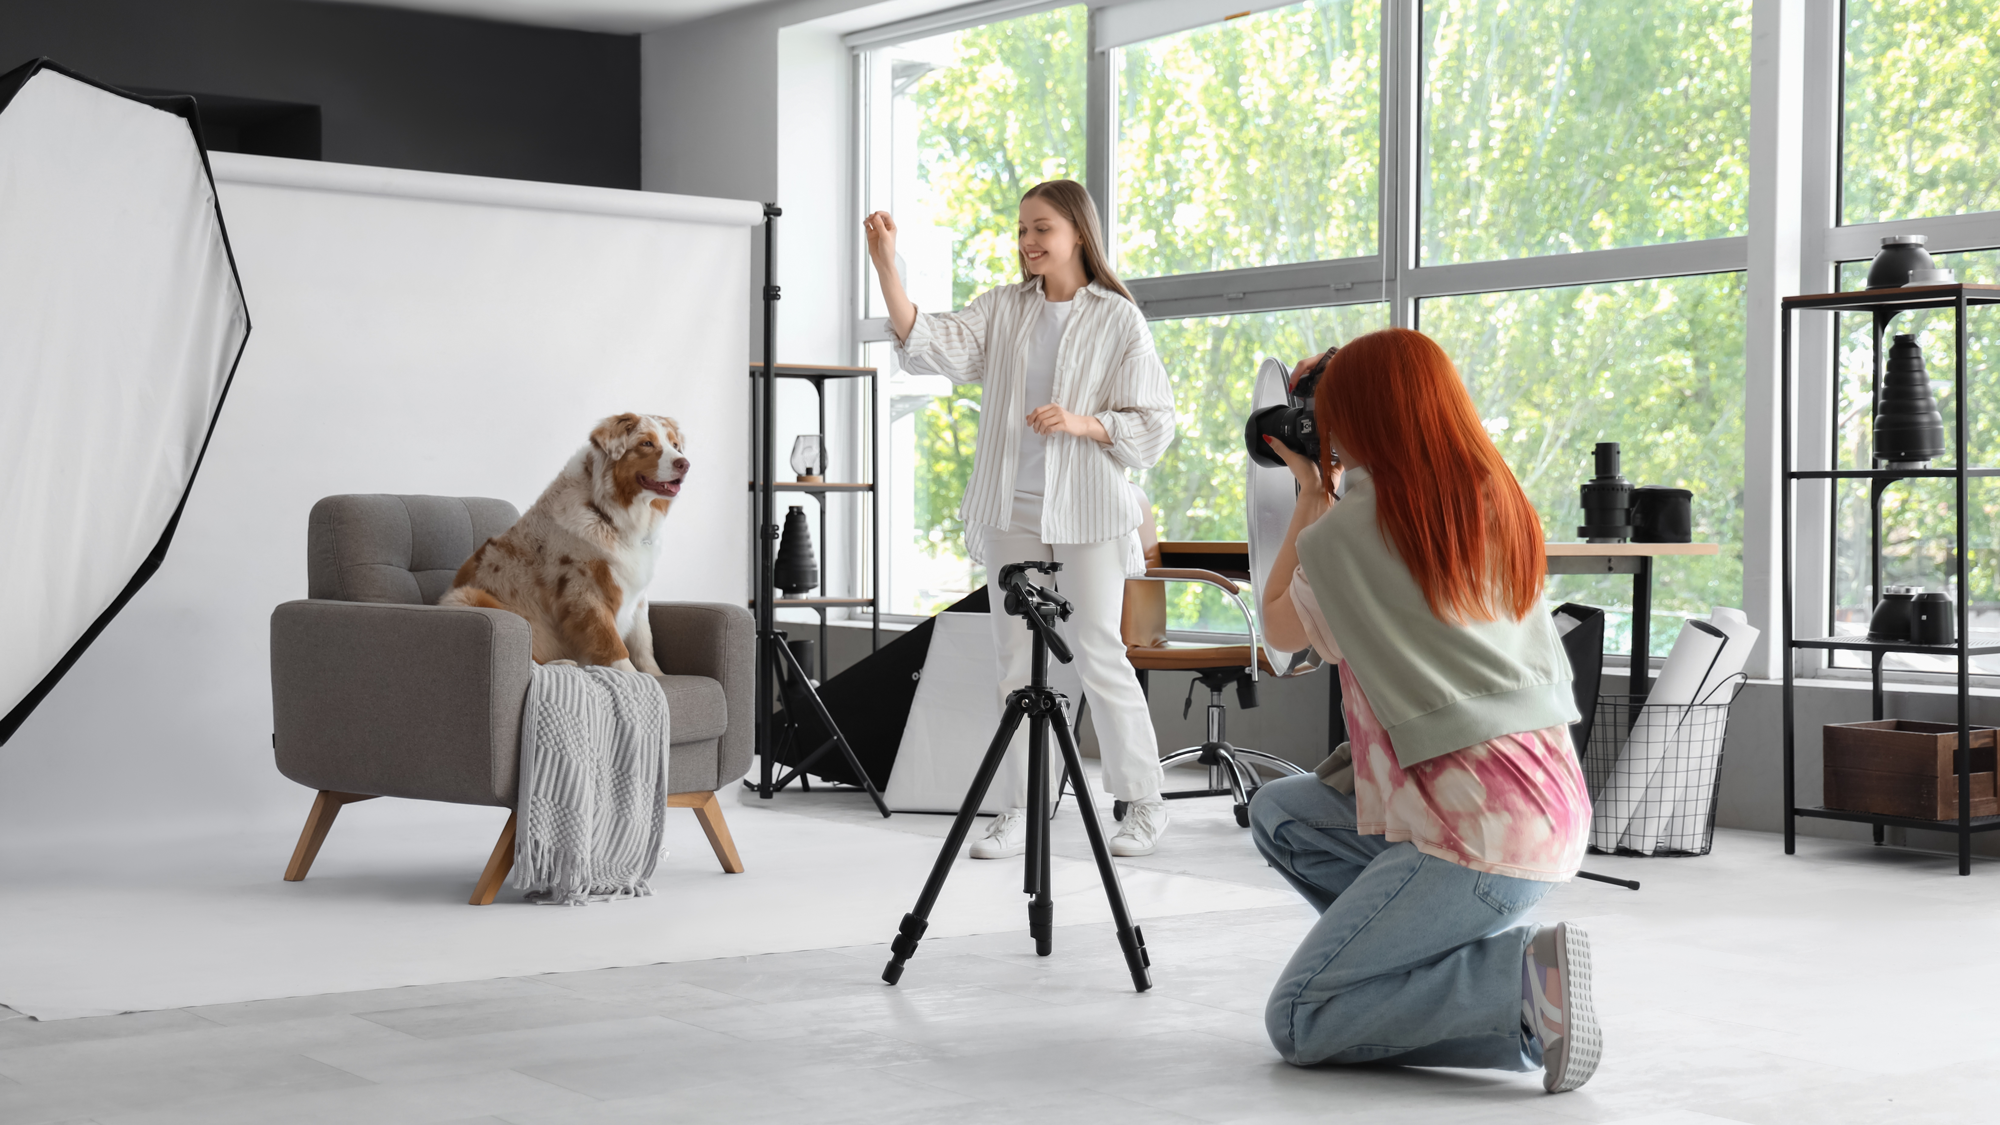
6. A familiarity with one’s gear is paramount as pets are unpredictable and may only give you passing glances. You don’t want to be caught fumbling around with dials when that decisive moment presents itself. Even when confident in your gear, it’s hard to do if you’re the one trying to do it all. If you can, employ an assistant to serve as a pet wrangler while you focus on the shots and remember, family members and friends make for great unpaid interns. Have them hold the leash or handle treats so you can focus on the task at hand. When the decisive moment arrives, strike hard, strike fast, no mercy.
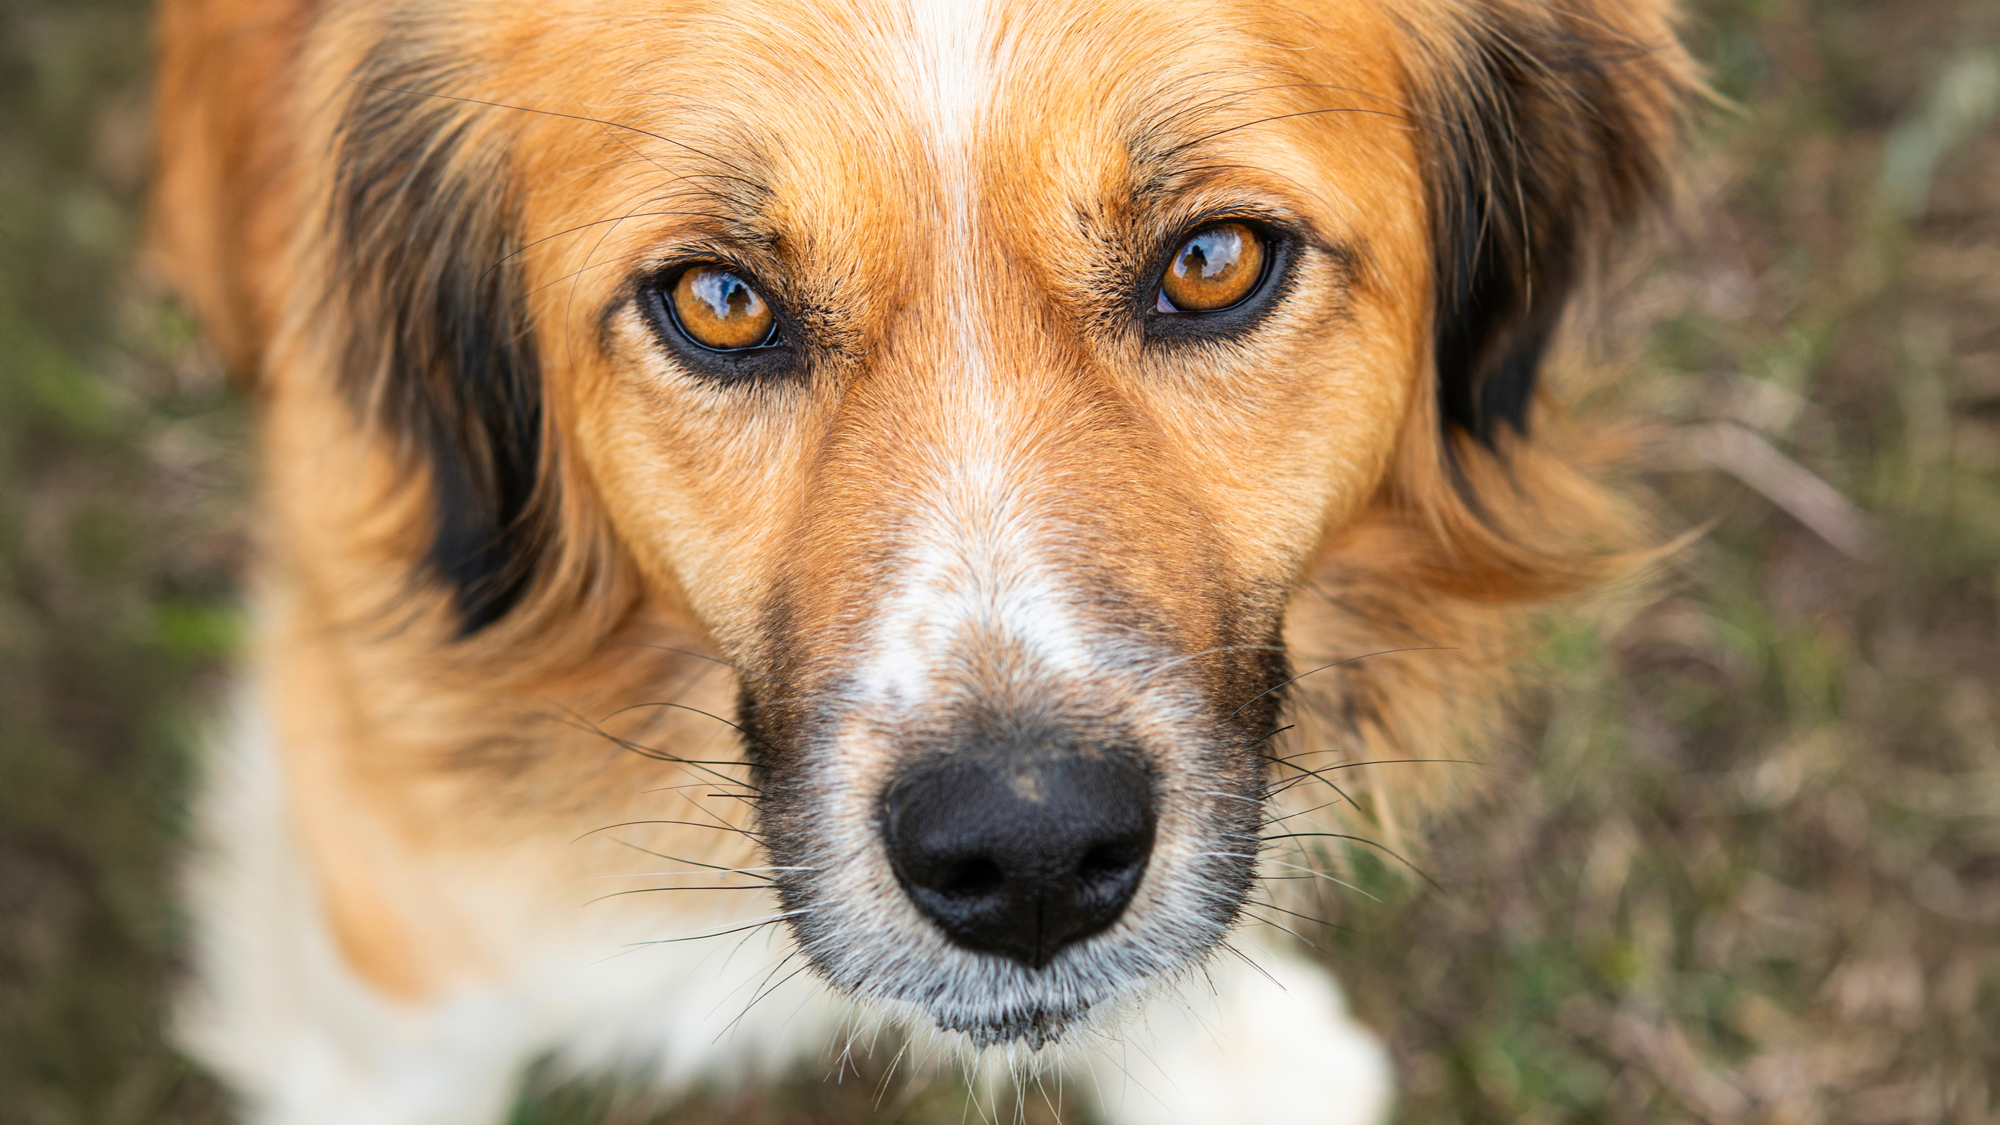
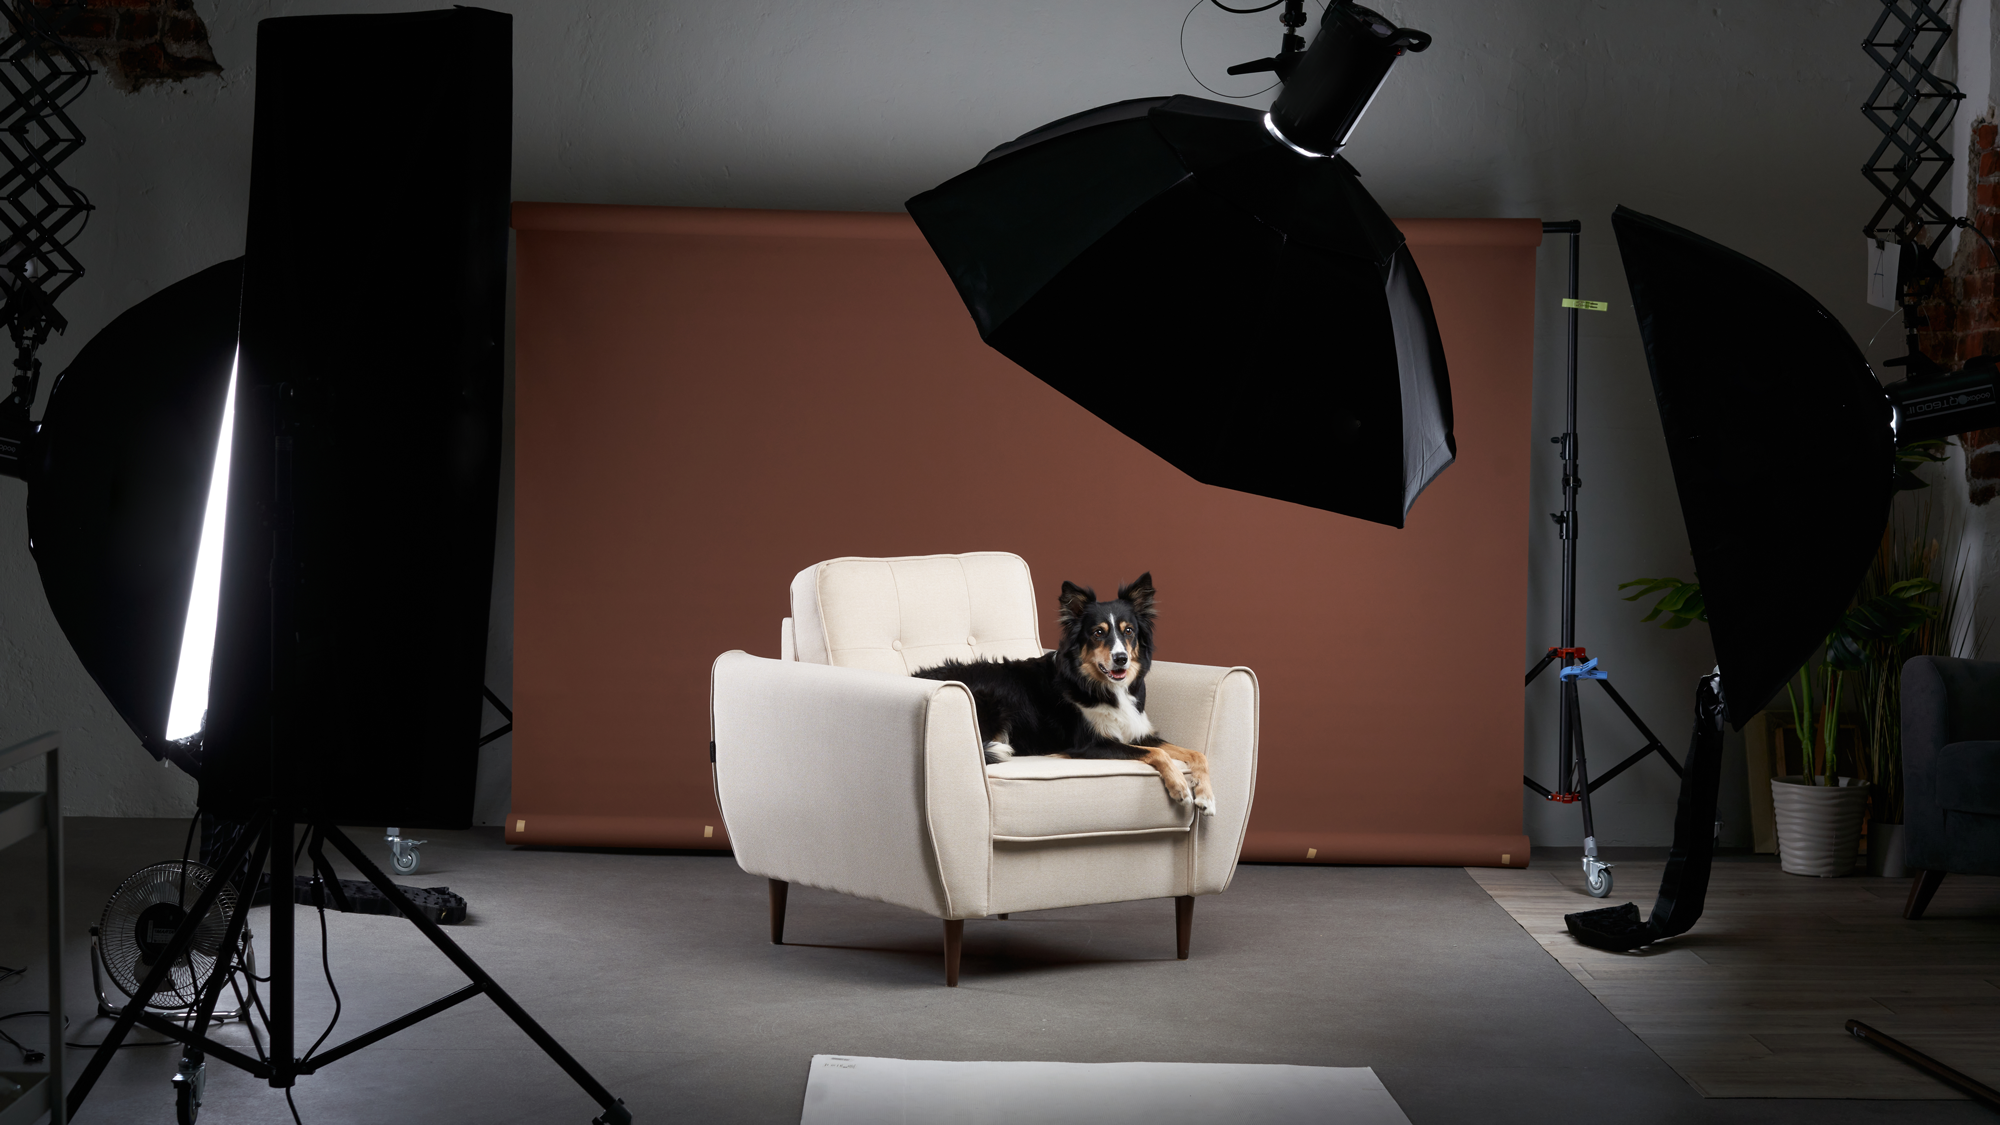
7. Add life to your images with a catchlight. This could be said for any type of portrait photography. One of the best ways to do so is by adding a catchlight. Catchlight refers to the reflection of your light source in the eye of your subject. It can naturally occur from the sun or ambient lighting. However, it could also be added artificially with flash or a studio strobe. Rounder catchlights appear more natural, though the exact shape depends on the light or light modifier you choose. A rectangular shape could be chosen for artistic reasons.

8. Make use of lighting tools. Flash is a great way to illuminate your subject indoors and as mentioned above, add that much appreciated catchlight to your shots. Lighting can also be used to isolate your subject, much like a shallow depth of field. If you choose to use any sort of lighting, remember to experiment and aim to get your flash off of your camera. Off-camera flash broadens your ability to shape light and create eye-catching photographs.
9. Watch your exposure. Cameras are designed to keep highlights and shadows under control. From one perspective, this is good, though it can result in drab images where whites look gray, and blacks look too bright. To combat this, we’ll need to learn to trust our camera’s meter a bit less. Slightly overexpose when photographing light fur colors and underexpose for darker subjects. Also, watch out for highlights on darker fur colors. This can result in a bright shine while the shadows remain too dark. This is where flash can be handy! If the highlights are too powerful, look for shade or make use of a large diffuser.

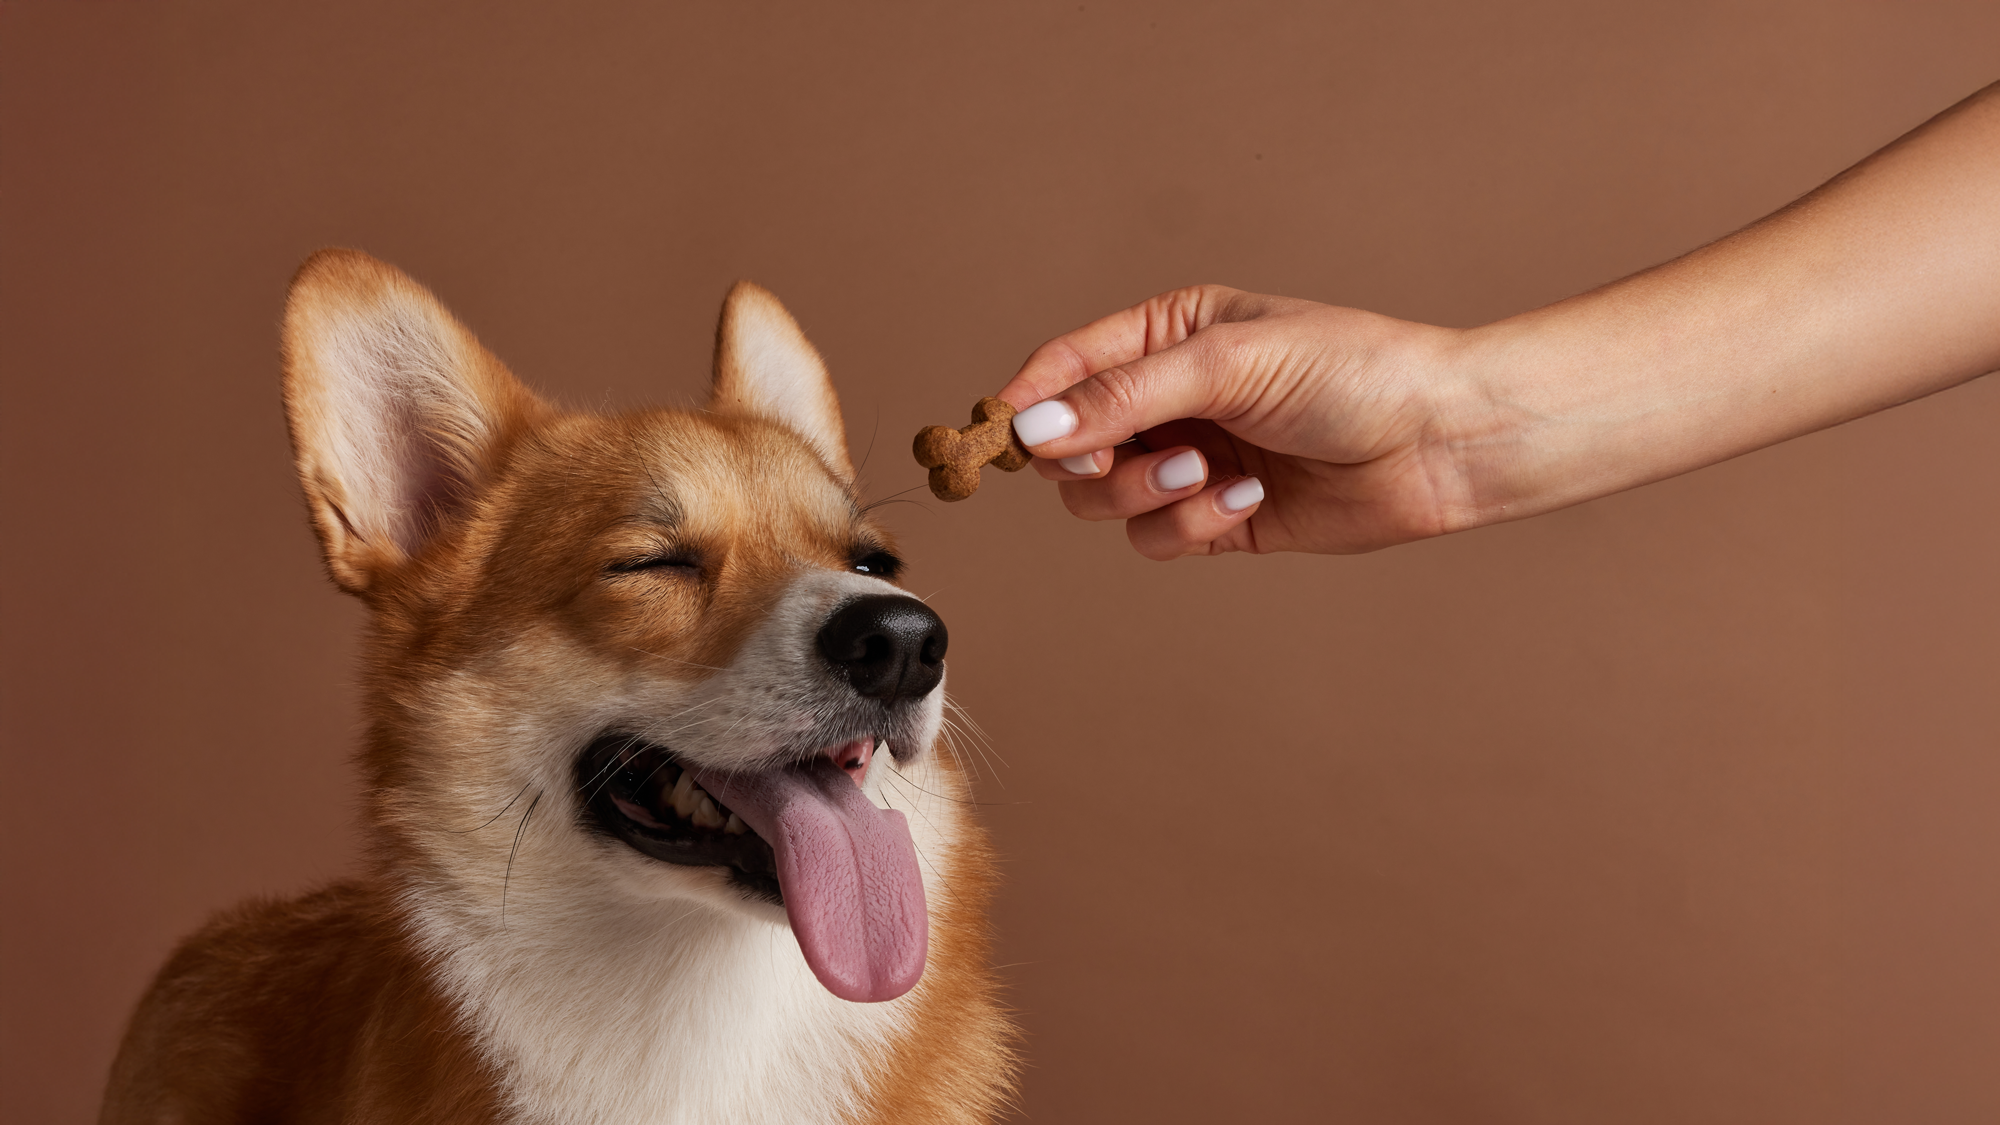
10. Keep your subject’s attention with treats or toys. If using treats, break them up into smaller pieces. You don’t want to overindulge your dog and lose what little attention you have. Keep the snacks small to keep your pup or kitty interested for a longer period of time. Toys have longevity on their side but may not hold your subject’s interest for as long. It’s good practice to have access to both.
If you’re looking to take your pet photography up a notch or just getting started, we hope these 10 tips help you out along your journey. If you want to learn more, check out our other pet photography guides, articles and videos on the B&H Explora page.
