
For many photographers, one of the most daunting tasks is loading a Rolleiflex TLR camera. While not very difficult, when approached haphazardly, one can feel a bit like the proverbial one-armed wallpaper hanger.
 |
 |
 |
| Photos by John R. Harris |
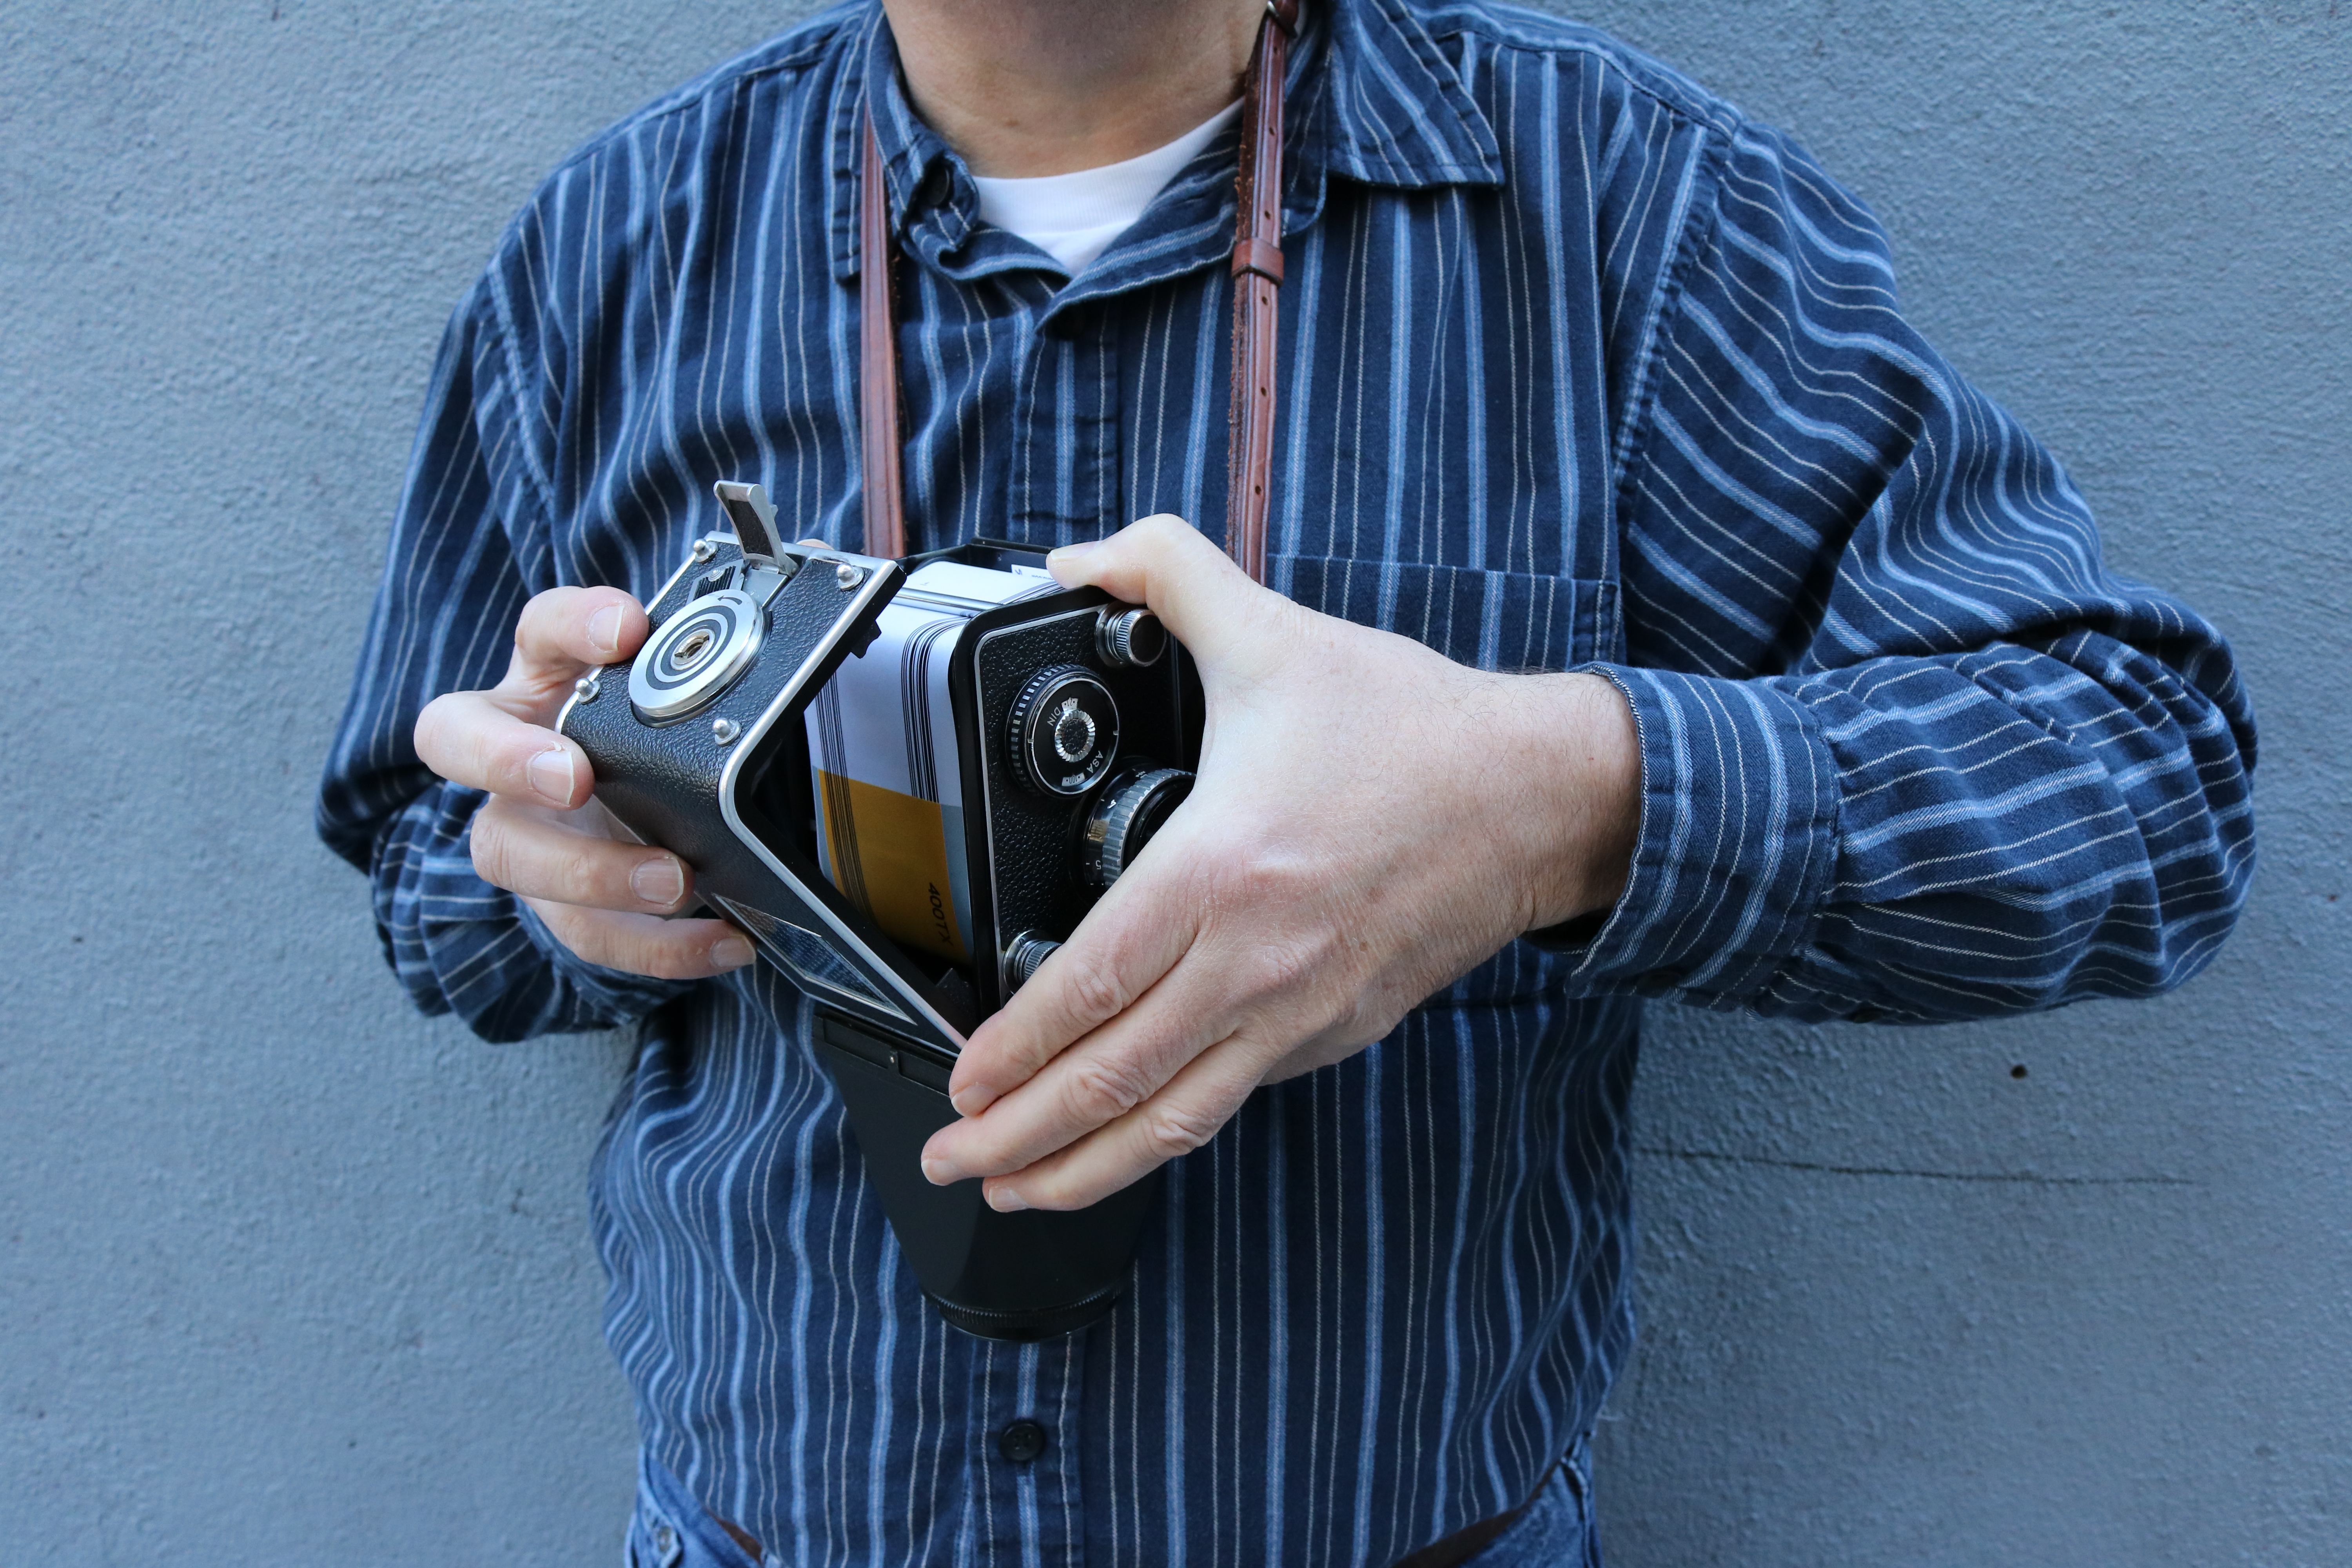
My method is to simply turn the camera upside down while it’s still hanging from its neck strap, open the rear door so it falls away from me, and begin the loading process. The advantage of this approach is that it may be employed while walking, without the need to set the camera on a flat surface. If there’s an exposed roll of film in the camera, I use one hand to prevent the film from unrolling, and my other hand to pull out the spring-loaded spool release.
 |
 |
 |
I then remove the roll, lick the adhesive-backed band to seal the roll tight, and secure the roll in my camera bag. Although the sealed roll is light-tight, one must still take precautions because the only thing preventing light from reaching the top and bottom edges of the film are the overhanging plastic ends of the spool and the slight overlap of the paper wrapped around the film. That’s why always keeping the roll tight is so important.
Preparing to Load a Rolleiflex TLR
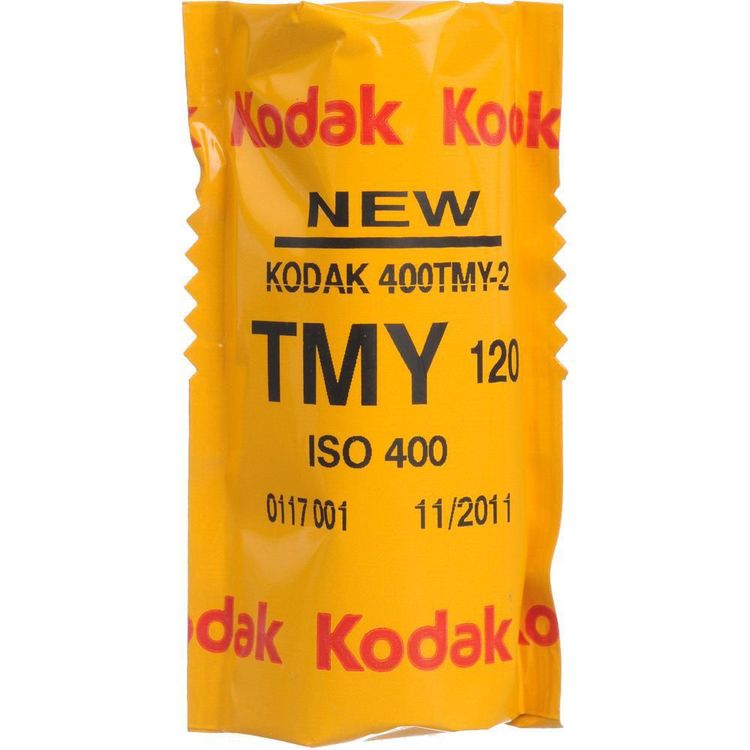
In a Rolleiflex TLR, 120 film, also referred to as 2¼-film, provides 12 square-format exposures. 220 film is roughly twice as long as 120 film and doubles the number of exposures to 24. Unless your camera is equipped with a 12/24 switch, it will only accept 120 film. Furthermore, owing to the digital age, most manufacturers have discontinued making 220. Additionally, if you process your own film, you would need 220-size reels, as well. Rolls of film are manufactured with a length of film and lightproof paper sandwiched around a plastic spool. The leading edge of the film is taped to the lightproof paper. The inside of the paper is black to prevent light from reaching the film, and also to prevent any light inside the camera from potentially fogging the film during exposure.
Numbers are printed on the outside of the paper for use with cameras that feature a round window covered with a dark red filter. With these types of cameras, users look through the window and advance the film until they see the number corresponding to the next exposure. Fortunately, later model Rolleiflex cameras have a sensor underneath the first film roller to automatically signal the transport mechanism when film passes over it. After the film is advanced to the first frame with the crank on the right side of the camera, the counter will display the number 1, and the crank will no longer rotate forward. With the film advanced to 1, the crank is wound one revolution backward to cock the shutter. The process is to shoot, then wind forward to the next exposure, and wind backward to cock the shutter. Rolleiflex transport mechanisms have a little play; so don’t worry if the spacing between the exposures on your negatives is slightly uneven.
How to Load a Rolleiflex TLR
Before the film can be advanced to the first frame, it has to be carefully loaded. When loading a Rolleiflex camera, one needs both a fresh roll of film and an empty film spool. Unlike a 35mm roll of film that is rewound back into its canister, a 120 roll of film is wound forward from the full roll onto the empty take-up spool. So, with the camera suspended upside down and the exposed roll of film removed:
1. Move the empty spool to the take-up chamber where the exposed roll of film recently resided. Once this is done, remove the paper band securing your new roll of unexposed film. Be sure to grasp the roll firmly so it doesn’t unroll or loosen. The paper band must be removed entirely, or leftover pieces may find their way on the inner side of the lens or film surface and result in ruined shots.

2. Insert the roll into the empty film chamber. This chamber will have a silver piece of curved metal, referred to as the brake. The brake helps maintain even pressure on the film as it unrolls. Take the paper film leader and slip it under the first metal roller and insert the tip into the slot in the empty take-up spool. Throughout this process, use a finger to maintain tension on the roll of film so it doesn’t loosen. The first metal roller is the only roller that the film goes under. And as mentioned previously, this is the roller that has the film-sensing mechanism beneath it.
 |
 |
 |
3. With the tip of the paper leader in the take-up spool, wind the crank slowly forward. The goal is to make sure the leader doesn’t slip out. Should it slip out, simply repeat the process. It’s only necessary to get a single revolution on the take-up spool.
 |
 |
 |
4. Once this is achieved, close the film door and lock it shut with the sliding mechanism.
5. Use the crank to advance to the first frame, take one reverse crank to cock the shutter, and you’re ready to shoot. The term “cock the shutter” refers to tensioning the shutter’s spring mechanism so it’s ready to release and open when you trip the shutter.

Some photographers may wonder whether or not it’s okay to leave the shutter cocked and under tension for long periods of time. While on some cameras this may not be recommended, I have not found it to be a problem with Rolleiflex TLRs. You can even change the shutter speed with no ill effect. Underneath the shutter release is a sliding lock to prevent the shutter from tripping if you inadvertently bump it. The downside is that one may forget they locked the shutter and wind up missing shots. This happens to me several times per month.
As some photographers may take days, weeks, or even longer to finish a roll of film, it’s a good idea to set the film speed on the dial on the lower left side of the camera as a reminder. This has the added benefit of communicating the film speed to the coupled exposure meter. The film speed dial reads ASA instead of ISO because at the time the camera was manufactured, film speeds conformed to the American Standards Association and not the International Organization for Standardization. No matter—although the name changed, the numerical setting remains the same. To help remember what type of film is loaded, many photographers tape the film band or packaging, which has the film type written on it, to the camera.
Selecting a Type of Film
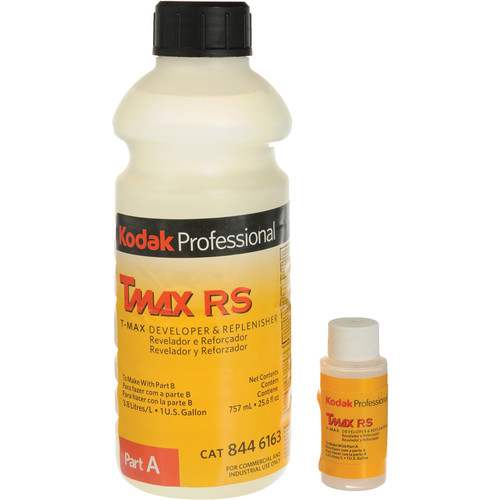
This brings us to choice of film. Rolleiflex TLRs render both color and black-and-white quite well, so it’s really a matter of personal preference and practical considerations. Personally, I like shooting Kodak T-Max 400 or Tri-X 400 and developing in T-Max developer. And for color, which I seldom shoot, I use Kodak Portra 400. I shoot mostly black-and-white because one of my goals is to build a body of work with an aesthetic consistency. The reason I shoot primarily 400-speed film is that it helps me get a usable negative at 1/30-second and f/2.8 in many low–light situations. It also gives me 1/125-second at f/8.0 in shade or overcast light. In sunny scenes with black-and-white, I use a 1.5 yellow filter (darkens the sky), for an exposure of 1/250-second at f/11.5, and with color I use a 2.0 neutral density filter at 1/250 and f/11.0. The great thing about a Rolleiflex TLR is that, at distances of 10 feet or closer, one can use smaller apertures such as f/11.5 and still achieve pleasing out-of-focus areas and subject-background separation. By using the same film speed, knowing the correct exposure is easier.
 |
 |
 |
 |
With only 12 shots on a roll of 120, photographers are forced to not only economize, but to pre-edit by deciding if a shot is even worth taking. Before shooting an event, such as a race or wedding that can’t be repeated, it’s important to take note of how many shots are left on a roll. If the roll is almost finished, then a photographer needs to decide whether or not to blow through the remaining frames in order to have a fresh roll loaded for when the action begins. Film management and loading can be made more efficient by:
• Saving time by removing foil film wrappers in advance.
• Remembering to completely remove the paper band when loading a fresh roll of film, lest part of it becomes lodged between the lens and film and interferes with light reaching the film.
• Keeping a bendable drinking straw in your camera bag in case part of the adhesive paper strip at the end of a roll breaks off and gets stuck behind the film pressure plate. Blowing through the straw will make it possible to retrieve the paper.
• For fast and convenient film loading, the easiest method is to turn the camera upside down while it hangs from the neck strap; open the rear door away from one’s body; remove the exposed film; move the empty spool to the take-up side; and then reload.
• Worth noting is that when using an Ever-Ready case, the neck strap is disconnected from the camera and attached to metal strap lugs on the case. The downside to this is that when removing the camera from the case, it won’t have the added security of being attached to a strap.
“The Wonderful World of Rolleiflex TLR Photography” is a three-part series. Please click here for “Part I: Buying a Used Rolleiflex TLR” and “Part 3: Street Photography.”
 |
Dan Wagner has been making images with Rolleiflex TLR cameras for years. His latest book is Never Seeing Nothing. Photo by Dan Wagner |
