
Before we talk gadgets, know that it is possible to do epic panoramic photographs handheld. Thanks to awesome modern post-processing software, the combination of digital camera and computer can crank out good panoramic results for many photographers. However, if you remember the early days of photo stitching, have gotten some wonky stitching results, or you simply want to make the cleanest, best panoramic photographs possible, there are some unique tools to help you. Here, we will start with the simplest tools and work our way through the more complex kit of the panoramic trade.
If you are looking for tips and considerations when creating panoramic images, click here. What follows here is a more in-depth look at some panoramic gear.
Handheld
All you really need to create a panoramic image is a camera. Hold the camera vertically (portrait perspective), and take multiple shots through the scene, overlapping the images by about 20-30%. I use the camera’s built-in thirds grid to assist with getting a consistent overlap. As I mentioned in the article linked above, your white balance, focus, and exposure must remain constant.

Some cameras, and even smartphones, have a dedicated panoramic mode that you can employ to assist you. You might be asking, “If I can do this handheld, why are there special panoramic photographic tools on the market?” The simplest answer is that the tools serve to increase precision to provide the computer with the best possible files to stitch together. For starters, let’s look at the devices that help you rotate the camera through the panoramic scene.
Panning Tripod Heads

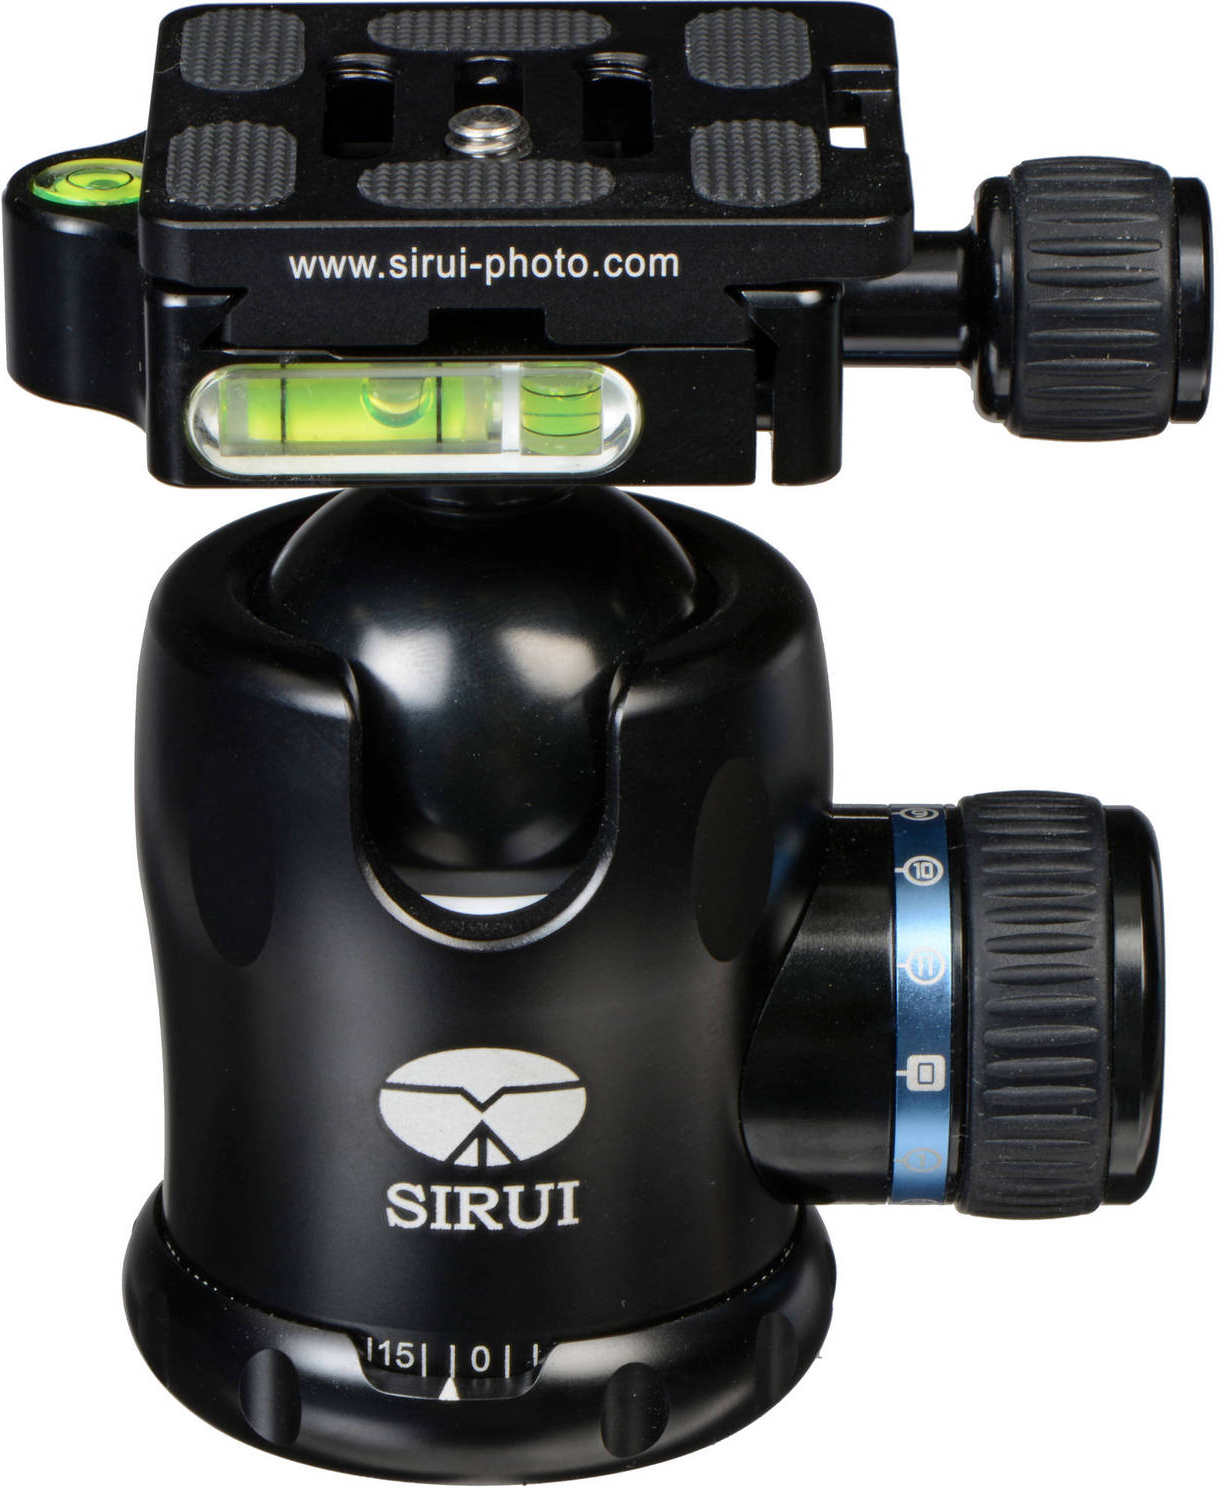
Many tripod heads, especially ball heads, have a dedicated panning function. If you are shooting a panoramic image with a wide-angle lens, panning the camera about the center axis of a tripod head runs the risk of introducing parallax errors into the image. With a normal or telephoto lens, this may not be an issue, and we will discuss parallax later in the article when we examine tools designed to remove the errors.


One key to an accurate panoramic image when using the panning movement on any tripod head is to have the tripod and the tripod head precisely vertical. If either device is not vertical, as you rotate the camera, the position of the horizon in the frame will move and, in extreme cases, whatever you are shooting might make its way out of the frame. Not being precisely vertical can cause computer-stitching errors when assembling the panoramic image, or even create a situation where stitching isn’t possible. This brings us to the next tool—leveling bases, but, before we go there, let’s talk about a special breed of tripod heads.
Double Panning Tripod Heads

Relatively rare in realm of tripod heads, Double Panning tripod heads do exist. These heads have a secondary panning movement mounted at the top of the head. If your tripod is completely level due to terrain or non-level surfaces, you can position the top of the ball head, using the onboard bull’s-eye level, to be as level as possible. Then, you can pan the camera about the top of the tripod head and achieve good results.
If you like this setup, but love your existing tripod head, you can add a panning top to your favorite ball head or, with some models of tripod heads, you can swap out the entire top part of the head for a panning version.
Speaking of “level,” there are many ways to help you level your camera and tripod.
Leveling Tools
Tripods and tripod heads often have bull’s-eye and bubble levels to assist in getting things level.
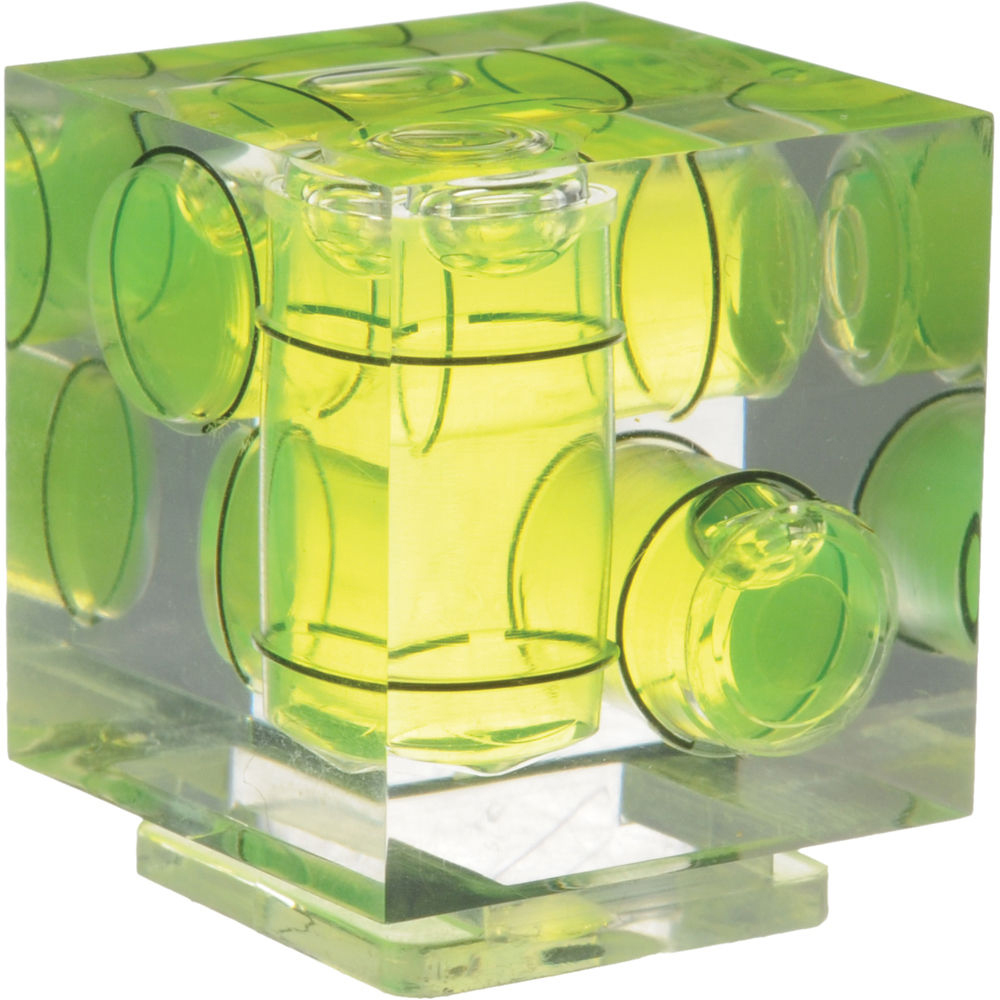
There are hot-shoe-mountable bubble levels for your camera, as well.
Additionally, there are several smartphone apps on the market that turn your mobile device into a precision level. But, there is a panoramic accessory that is specifically designed to level your kit for panoramic capture.
Leveling Bases

There are several leveling bases that a photographer will position between the tripod and the tripod head or panning base (more on panning bases soon). These allow you to level the camera, even if the tripod is not completely level. However, if you use a tripod head atop a leveling base, you will still have to get that head perfectly vertical for panoramic photos.
There are also tripods that have a leveling function in their center column, and there are specialized add-on leveling center columns available for other three-legged supports. And, there are some ball heads on the market that you can invert and use as a leveling base.

There are a few examples of leveling bases that include a panning function.

Even with a leveling base, getting the tripod head perfectly level is challenging, at times. As I mentioned earlier, if the panning motion is not perfectly level, there is the tendency to introduce errors into the equation when panned. If you don’t have the combination panning and leveling base shown above, or if you don’t want to risk misalignment by using your tripod head, you can add a panning base.
Panning Bases

A panning base gives you the 360º panning capabilities of the panning tripod head without the potential misalignment of the adjustable tripod head as part of the equation. If you are a master at getting your tripod perfectly level, you could certainly put a panning base directly on top of the tripod and press on, but most shooters will combine the leveling base with their panning base. Some panning bases accept the camera directly on top, while others require a compatible quick-release plate. As a bonus, some panning bases have features like indexed panning adjustments that have detents at different degrees of rotation.
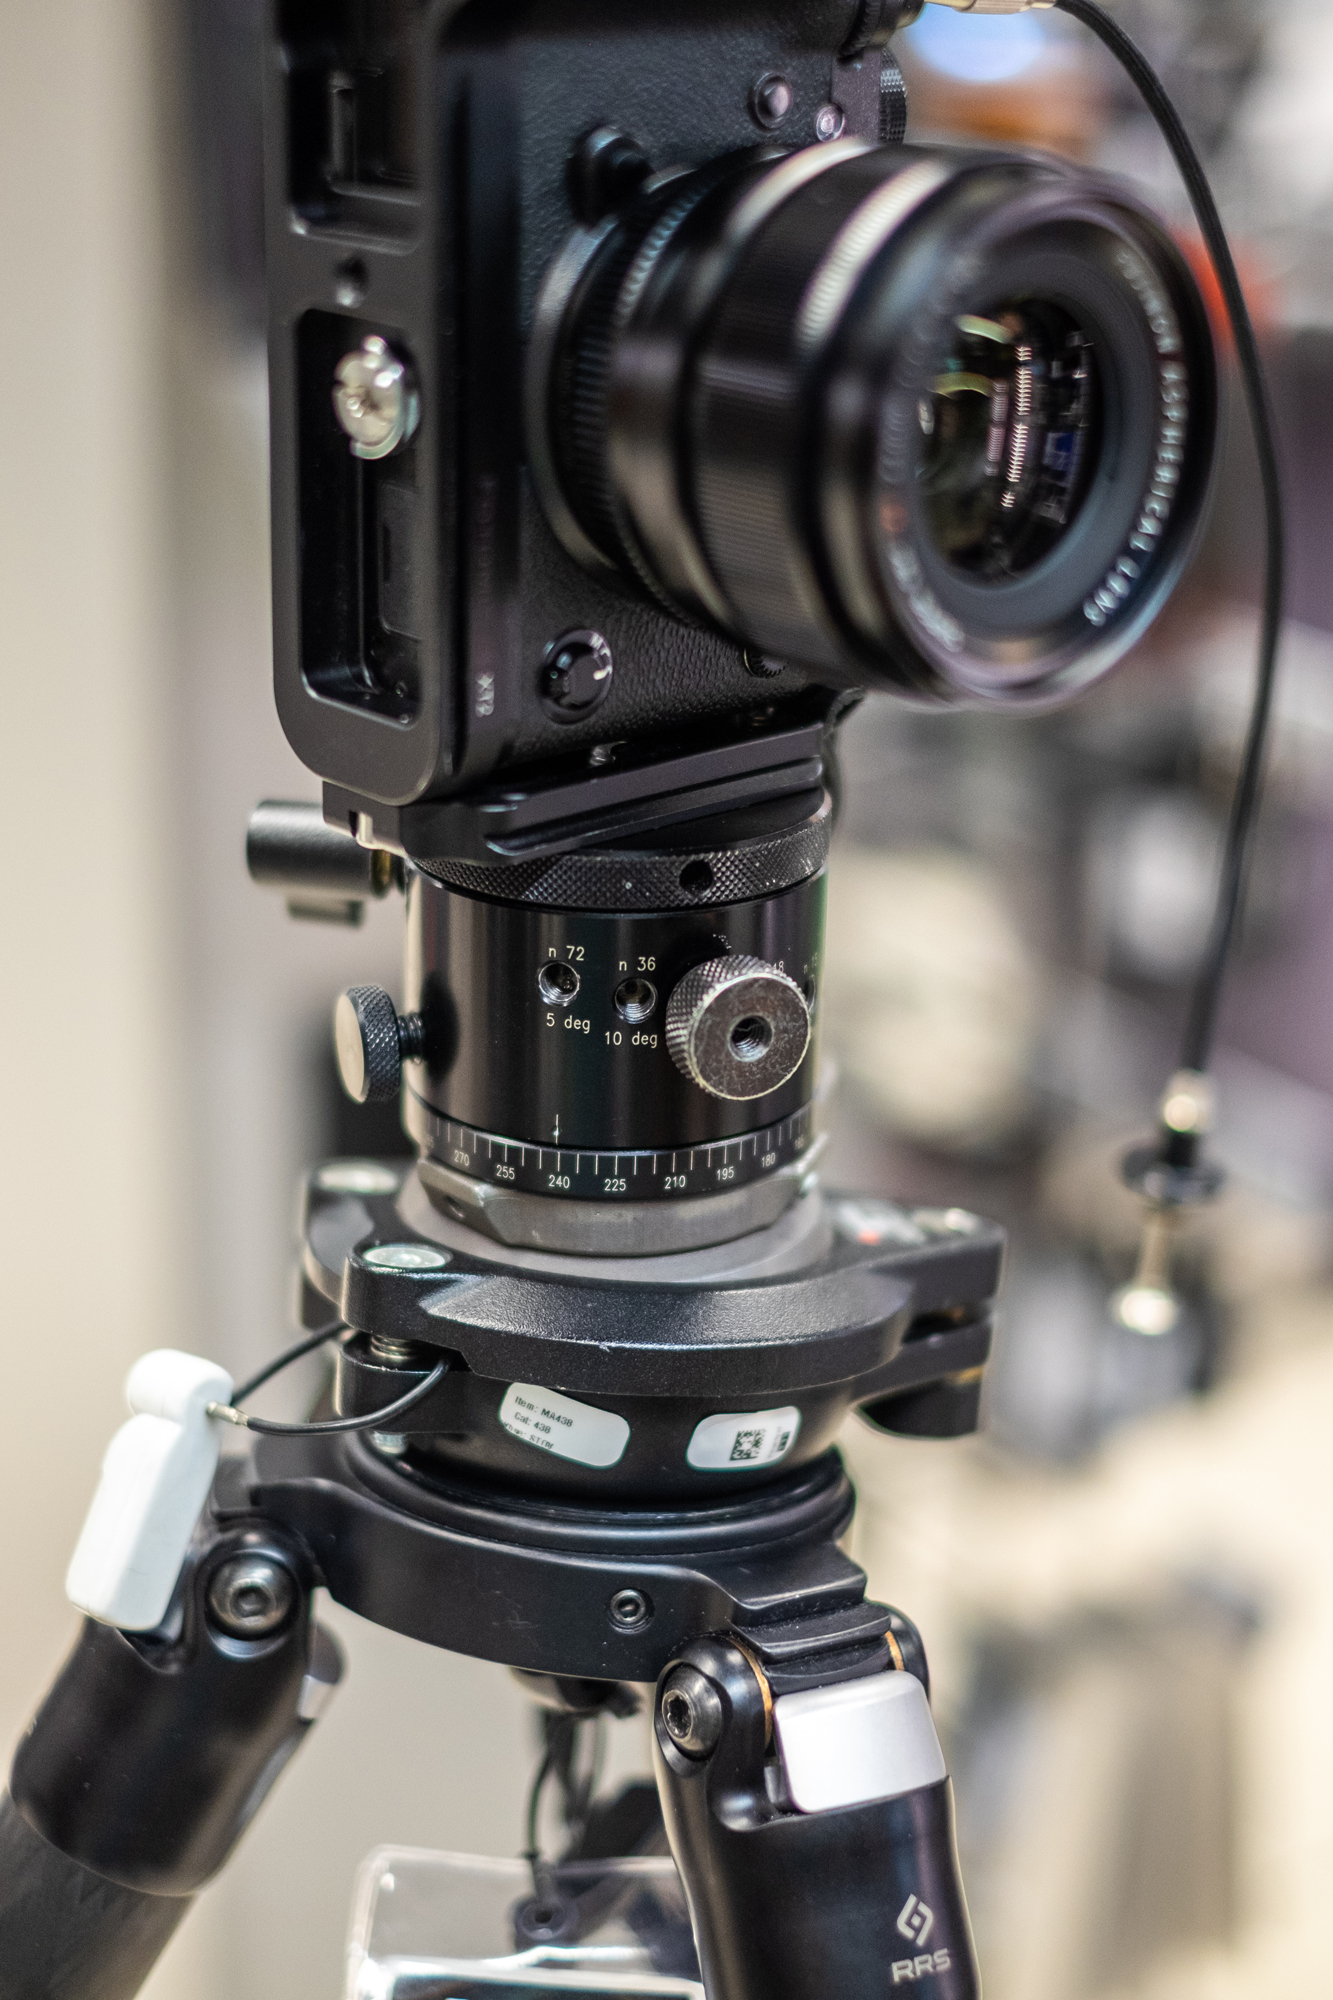
Note: If your camera’s tripod screw socket is not aligned on the main axis of the lens, you can introduce heavy parallax errors if you wanted to attach the camera directly on to the panning base’s screw.
Are you saving your arm strength for the gym? Is panning your camera manually a chore? Check out these options…
Motorized Panning Base

If you want to go hands-off, or head inside for a beverage while the camera does its thing, you can mount your camera on a motorized panning base. Many of these connect electronically to the camera and fire off images after a pre-programmed amount of rotation. Are you away from batteries and electricity? There are several mechanical motorized panning bases available, as well. An advantage to having a programmable motorized head is that you can also use it for adding rotational motion to a time-lapse sequence. As with the panning bases above, you will still need to get the unit level using the tripod legs or a leveling base. Oh—if you want to throw in some vertical tilt to your time-lapse panning movement, you can use one of these contraptions.
Do you remember what I mentioned above about holding the camera vertically? All of what I mentioned in the previous paragraphs allows you to pan with your camera in the horizontal position—not ideal for panoramic images—but not incorrect either. To go vertical, while mounted on some sort of panning head, you will want an L-Bracket.
L-Bracket
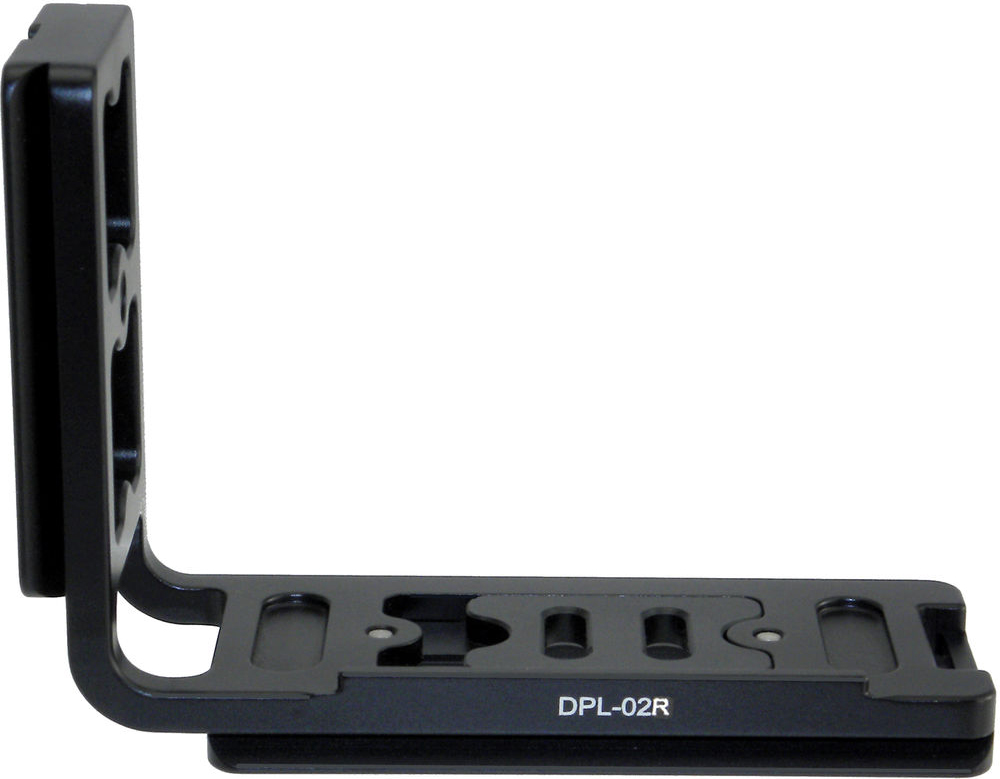
To be clear, you can shoot panoramic images with the camera in the horizontal position. But, it is advantageous to mount or hold the camera vertically when creating panoramas.
Tripod heads can usually rotate 90o for vertical shots, but, once you perform that sometimes-cumbersome rotation, panning can be problematic or you can introduce greater parallax. Enter the L-bracket. There are camera-specific models and there are universal one-bracket-fits-most versions. Often, L-brackets are designed with a quick-release plate so that, with a compatible tripod head, you can quickly detach the camera from the horizontal position and reattach it vertically without adjusting the tripod. And, because you now know that vertical orientation is best for panoramic photos, the L-bracket becomes a near necessity.
So, all of this above is, believe it or not, the basics. As you are about to find out, if you are going hardcore into your panoramic images, things are about to get a bit more complicated as we introduce parallax.
Parallax

: An illustration of parallax. From the same vantage point, the lamp’s relative position against the window changes (1) as the camera is panned. However, farther away, the scene outside (2) remains the same.
Parallax is the visual shifting of an object when viewed from two different points. If you have two functioning eyes, look at a nearby object while alternatingly closing one eyelid. The object jumps position relative to the background because the right and left eye register the object from different viewing angles.
Now, look at something farther away. Alternate eyelids again. The effect is reduced, but still present.
Most cameras have a single eye—let’s call it a lens—and as you rotate that camera around on a panning tripod head or panning base, the lens changes position and that causes parallax—especially with wide-angle lenses. For the panoramic photographer stitching together images of a distant skyline or mountain range shot with a telephoto lens, the effect is negligible. But, if the lens is wide enough to capture foreground objects in the panorama, the parallax shifting of those objects in relation to the background can wreak havoc on a panoramic stitching program.
To combat this, we need to be able to position the camera so that the camera and lens pivot around the no-parallax point or entrance pupil of the lens. [Note: This is not the optical nodal point of the lens. However, traditionally, in the world of panoramic images, the terms have been used interchangeably.] It is nearly impossible to imagine plopping a camera and lens on a tripod and having the axis of panning rotation align with this point. Because of this, you must adjust the rig to get the lens in the correct position. When the axis of rotation is aligned with the no-parallax point and the lens is rotated around whatever arc the photographer prescribes, the relative position of objects in the frame will not change. Pretty cool!
So, how do we manage to get our gear to rotate about the no-parallax point? There are a few ways.
Slider (or Nodal) Rails

Slider rails, also known as (misnomer alert) “nodal rails,” allow the camera to be repositioned on the head so that the panning axis aligns with the lens’s no-parallax point. If you are in front of the camera (or directly behind it), the right/left positioning is relatively simple—the no-parallax point falls on the center of the longitudinal axis of the lens—that is easy to align.

The fore-and-aft adjustment is the more difficult one to accomplish. The slider rail usually connects to the tripod head via a standard quick release or it attaches directly to the panning base. The slider rail allows the camera to be adjusted fore-and-aft by sliding along a plate.
To adjust the position of the camera and lens, find a scene (or set one up) with a nearby foreground object and something distant in the background. Pan the camera right and left and adjust the camera’s position on the slider (it is going to slide back toward you—the photographer) so that the near object maintains a constant position while the camera is panned. The slider will have incremental markings on it and you should record (or memorize) the correct position for that camera/focal length (zoom) or camera/lens (prime) combination.
Easy, right? Well, if you have been paying attention, all the above sounds a bit like homemade solutions for your panoramic adventures, right? If you want to do some one-stop-shopping, you can look into panoramic tripod heads.
Panoramic Tripod Heads (Single and Multi-Row)

Imagine a tripod head that combines some or all the above-mentioned panoramic needs—leveling, panning, and no-parallax positioning. That is what you find in the many panoramic heads on the market today.

Some add a third tilting adjustment capability that allows the camera to be tilted above or below the horizon to create multi-row panoramic images (also available in some motorized pan/tilt heads).

Other panoramic heads function has high-performance gimbal heads for steadying telephoto lenses, but also work as multi-row panoramic heads when not saddled with a super-telephoto optic.

Speaking of lenses, before 360º spherical cameras were a thing, photographers used fisheye lenses to create spherical panoramas using lens-specific mounts.
Lens-Specific Mounts
Because most panoramic mounts end up protruding into the field of view of a 180º fisheye lens, if you want to create your own spherical panoramas, you will need a lens mount specific to your fisheye lens, or a panoramic mount that has an integral fisheye lens.

Exhausted yet? The above should cover most of the bases, but, there are many homemade solutions, too.
Homemade Solutions
Many veteran panoramic shooters have concocted their own panning and leveling systems. Have you? Tell us about it in the Comments section below, or feel free to ask about what we have covered above!
