
The wealth of B&H is not measured in sales, but in the accumulated knowledge of its people. The breadth of such experience is impossible to quantify, let alone price, which is why we’re offering this batch of wedding photography advice completely free of charge.
Andrea Buritica, Sales Associate – Chat & Email
Burikitak Photography
One of the best parts about working at B&H is that I get to talk about gear all day. However, it’s doing wedding photography where I actually put my knowledge to the test. On a typical wedding day, I’ll run a Canon EOS-1N 35mm SLR film camera with a Canon EF 24-70mm f/2.8L II USM lens on one side of a Coiro dual harness and a Canon R5 mirrorless camera with the Canon RF 28-70mm f/2 L USM lens on the other. As the day goes on and the light drops, I’ll swap to the Canon R6 II mirrorless camera for its dynamic range and low-light performance.
For portraits I pull out a Yashica A twin reflex film camera for that medium format look. Sometimes I’ll throw a Godox mini flash on it during the party to get creative. I also keep an Olympus Stylus point-and-shoot in my pocket for the raw, in-between moments throughout the day.

What might surprise people is that I use film first. I use it to slow down, read the scene, and wait for the moment that actually matters before backing it up with digital. It sounds counterintuitive, but it works better than ending up with hundreds of digital frames of something you didn't really connect with.
Film is having a revival, and I think it goes deeper than aesthetics. We live in a time where it's hard to tell what's real and what's generated, and film cuts through that. A negative is proof of life. It's a physical record that this moment happened, exactly as it was, with no question. For couples, that material object turns their wedding photos into real heirlooms they can hold and pass down.
If you want to try it out, start simple: a point-and-shoot camera and a roll of your favorite stock (mine are Portra 800 and CineStill 800T) is all you need. Bring it to a family event or a day out with friends first, get comfortable, and train your eye to see before you press the shutter.
Samik Ghosh, Sales Associate – Chat & Email
Jonak Photography
I have been a Nikon shooter for almost twenty years, mainly because I’ve fallen in love with their colors, ergonomics, and how they handle low light. But gear is only half of the battle.
Before stepping out to document someone’s most important day, you really have to know your equipment and overall photography and lighting knowledge inside and out. Weddings are easily one of the toughest genres out there because they force you to be a jack-of-all-trades: you’re shooting fast action, candid photos, interiors, macros, and portraits all at once. Mastering both on- and off-camera flash is essential for indoor weddings and receptions. The faster you can control your lighting, the higher the quality of your final images.
It is also essential to meet with the couple at least a week before the event; getting to know them personally helps you understand their preferences and the specific style of photography they envision.
While I personally shoot with Nikon, Sony and Canon are equally formidable contenders; ultimately, most wedding photographers choose between these three giants based on personal preference and ergonomics.
If you are just starting out, the Nikon Z50 II mirrorless camera paired with the Nikon NIKKOR Z DX 16-50mm f/2.8 VR lens is an excellent entry point. To round out your kit, I highly recommend adding the Nikkor Z 50mm f/1.4 for stunning portraits. For capturing intimate close-ups and candid moments from a distance, the Tamron 70-180mm f/2.8 Di III VC VXD G2 is a versatile and essential addition to your bag.


If you’re looking to level up from an APS-C setup (like the capable Nikon Z50 II), stepping into the world of full-frame photography is a massive milestone. Nikon’s current lineup offers two standout paths for that transition: the Z5 II and the Z6 III mirrorless cameras.
Depending on your budget, I recommend either the Nikon NIKKOR Z 24-70mm f/2.8 S or the Nikon NIKKOR Z 28-75mm f/2.8 as your essential first lens. A dedicated portrait lens is also a must-have, and for that, the Nikon NIKKOR Z 85mm f/1.8 S is my top pick. Finally, for capturing intimate close-ups and candid moments from a distance, both the Tamron 70-180mm f/2.8 Di III VC VXD G2 and the Nikon NIKKOR Z 70-200mm f/2.8 VR S are excellent choices.
Mathew Malwitz, Writer - Explora
@mathewmalwitz
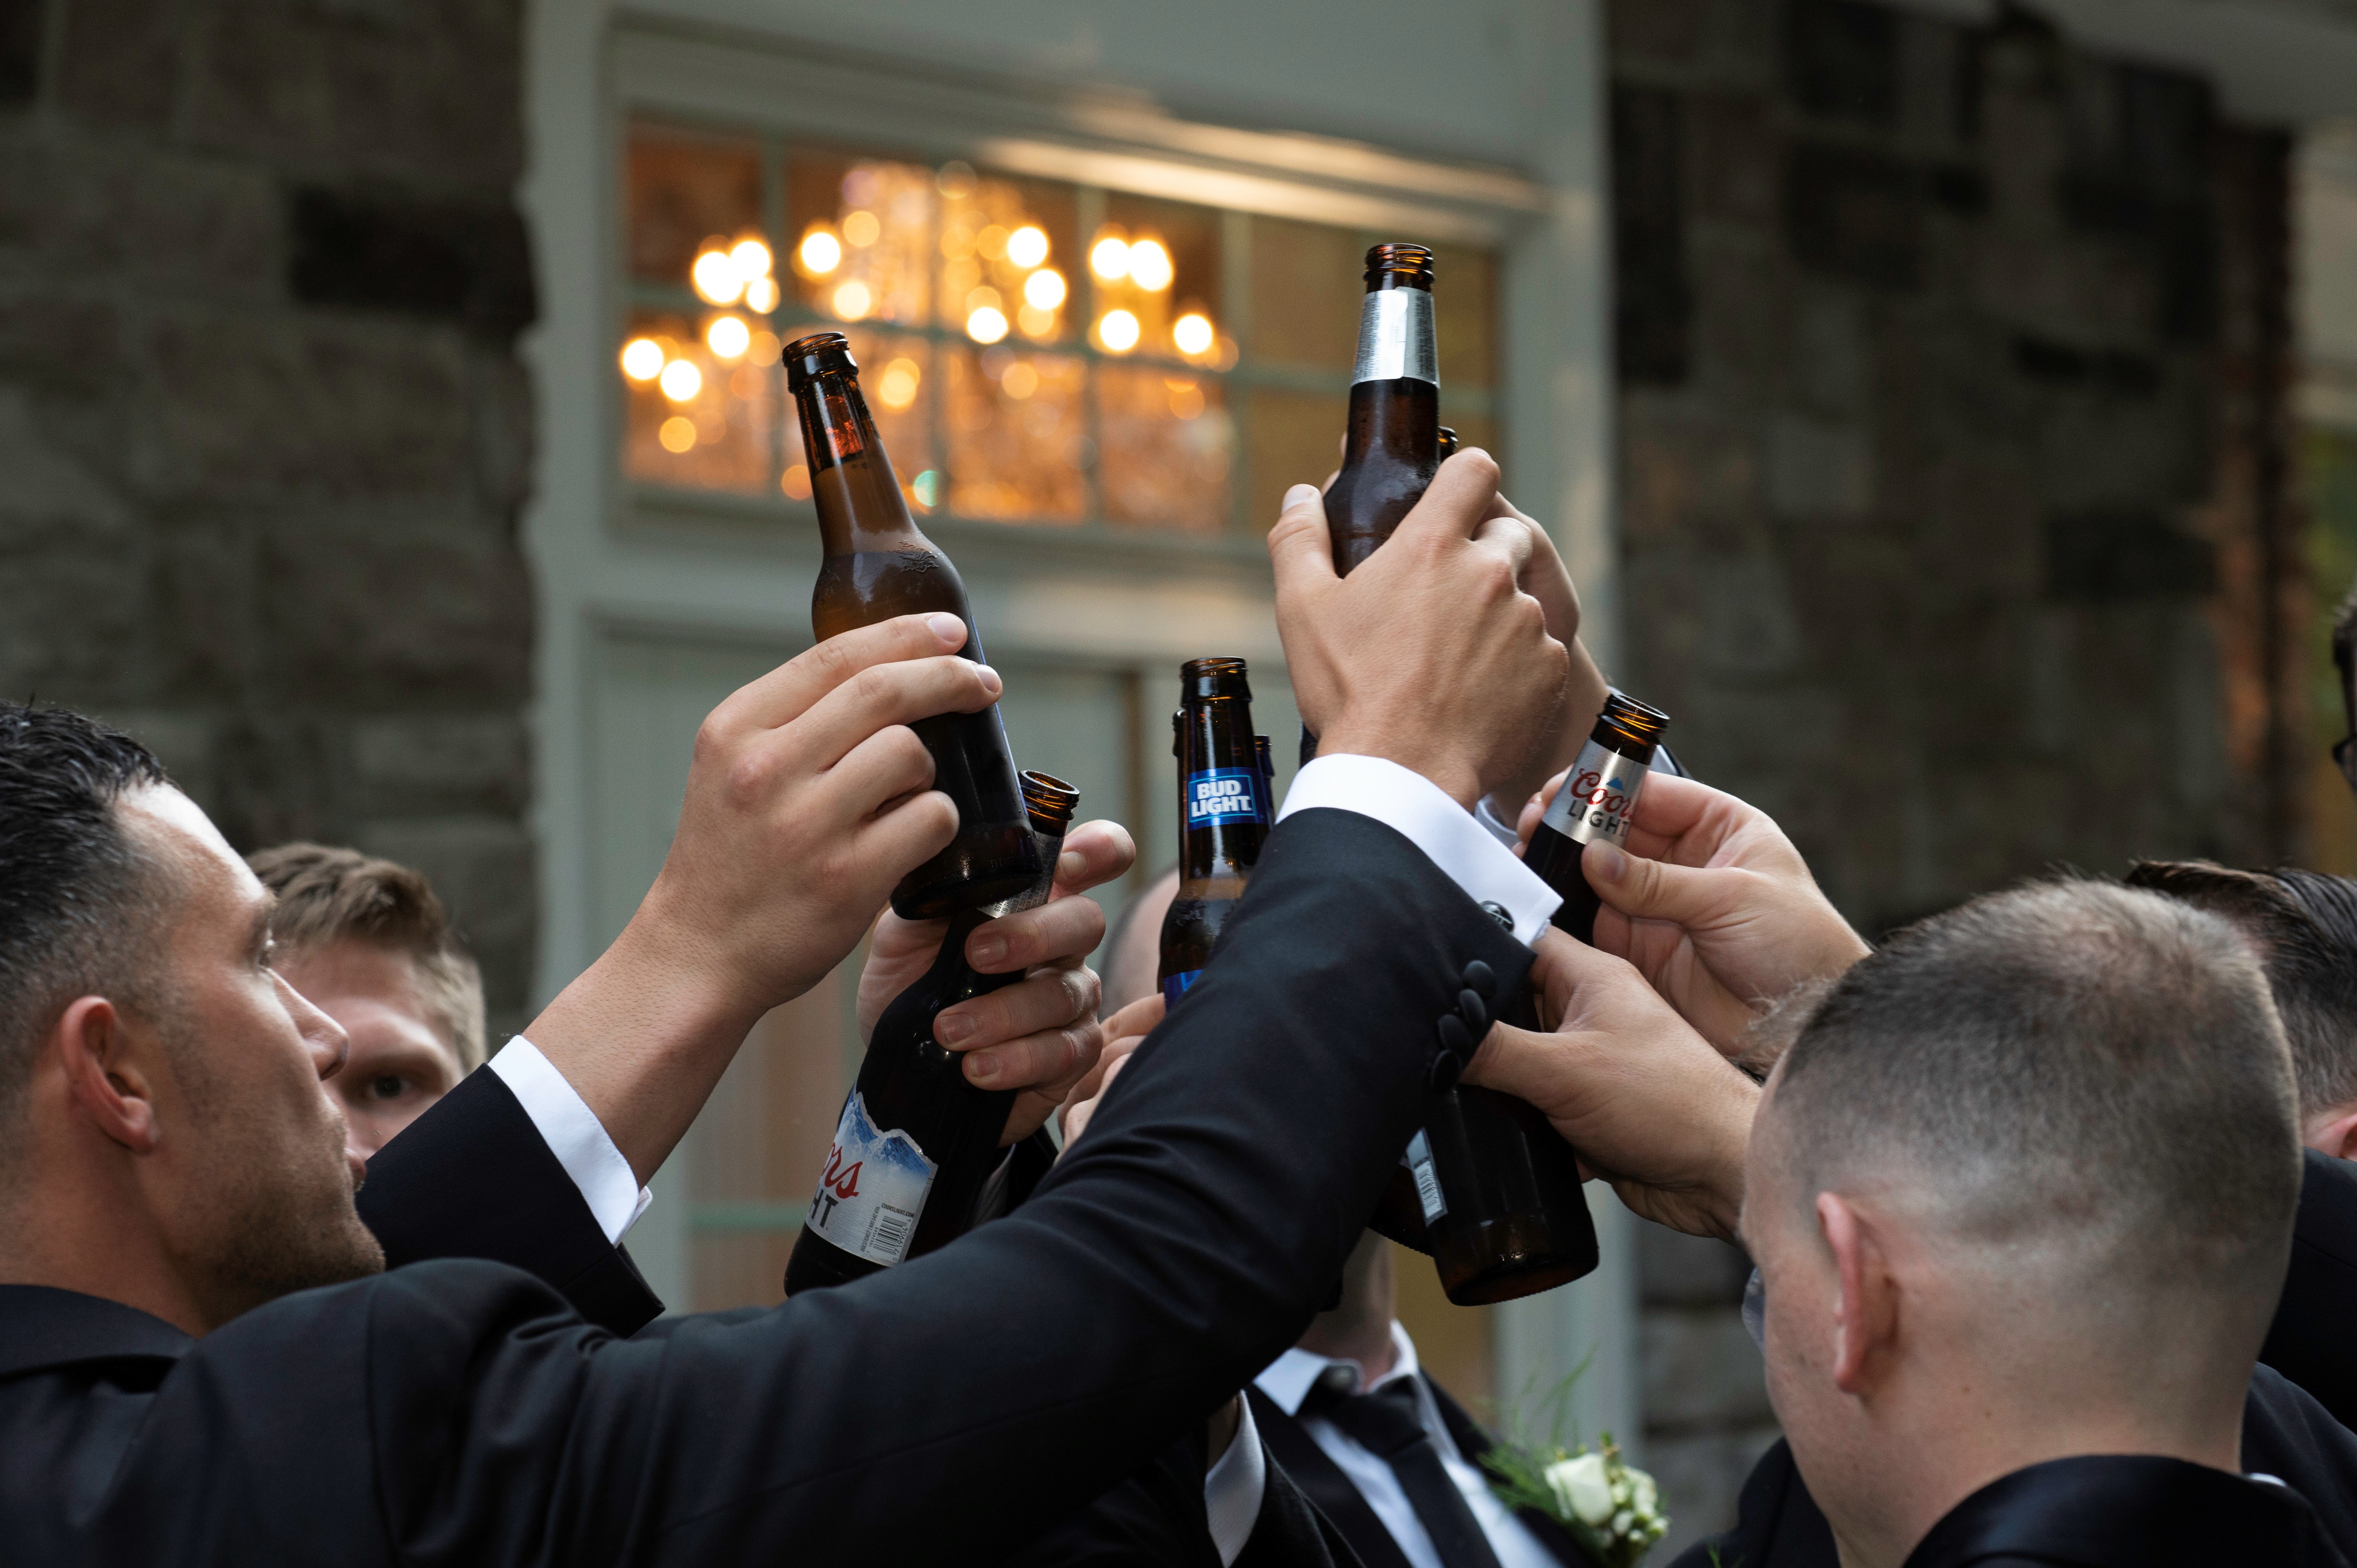
Second shooting is a great way to keep busy or to supplement your schedule in between your own wedding jobs. It is an important position for larger weddings where capturing all aspects of a couple’s special day just can’t be done with one set of eyes. The job itself is simple: just show up on the day of the wedding and give the main photographer your images at the end of the night.
Alright, it’s not that easy. The primary photographer may put you in charge of candid or table shots. You may even serve more of an assistant in some settings, moving lighting rigs around grabbing them a lens, but that’s quite simple when considering their workload. The editing and client relations are literally not your problem, plus you still get to make a little extra cash.


In a more practical sense, second shooting can also open our eyes to new techniques and approaches used by our peers. I myself learned the benefits of off-camera flash, a technique I was intimidated by beforehand. Lastly, and arguably most importantly, it almost always guarantees time for dinner, as long as it’s provided by the clients or venue. With two photographers on staff, one can stay out in the reception area while the other rests for a moment out of sight. That may just inspire you to hire a second shooter for your next large wedding job.
Robert Kern, Sales Associate – Chat & Email
Robert Kern Photography
Everyone has their one way of photographing weddings and events.
One philosophy I go with is to always think about who the bride and groom are and to problem solve as it comes and not to panic. Problem solving is a big part of wedding photography, and it is one of the parts I do like best. It makes life interesting.
Before one begins shooting weddings, it’s a good idea to learn the equipment. It takes practice, but eventually the process becomes second nature. Once you’re familiar and comfortable with your equipment, it’s a lot easier (and fun, even!) to take photos.
I personally use an on-camera flash and one or two off-camera lights. It depends on the specific space and situation you are in.
Back-lighting is a fun thing I like to do. Using the light on camera, or to the side a bit with another light behind the subject or setting the subject in front of the sun can result in some spectacular images.
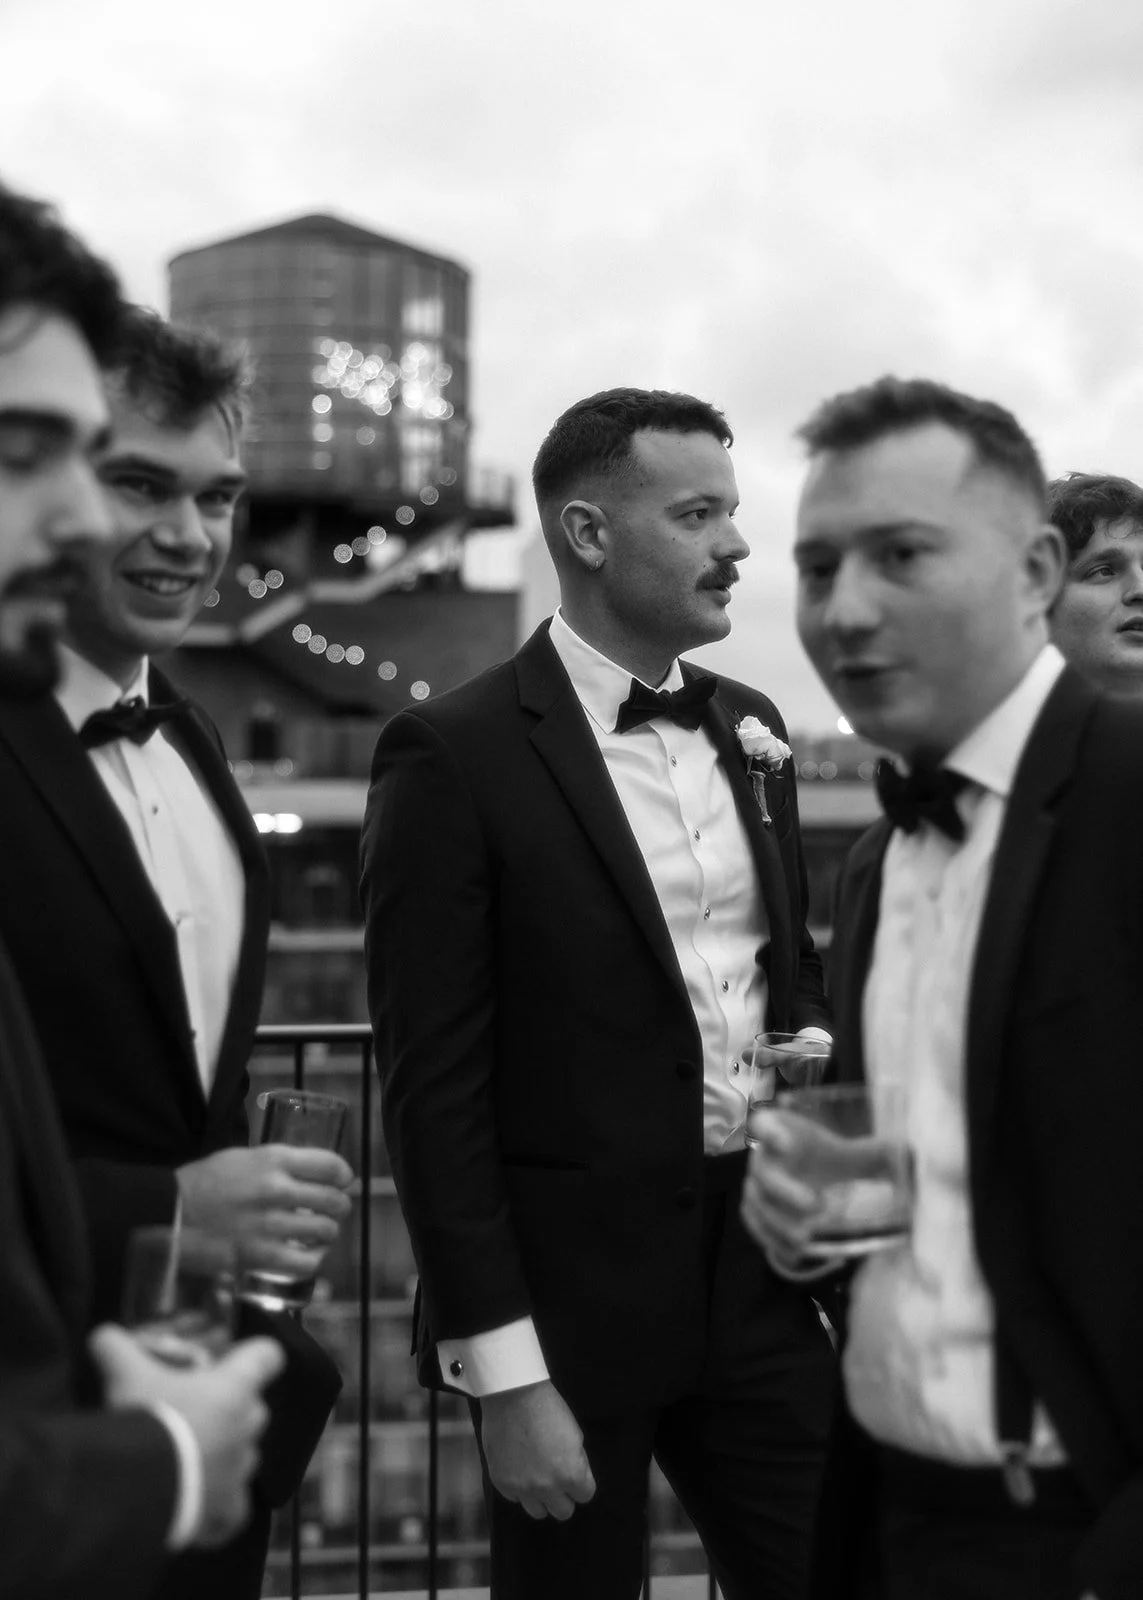
Image one, I used a Godox V1 for Sony with a dome and a bounce it is a very good way to diffuse the light and give it a little better direction. And behind them, I used the Godox TT600 Thinklite Flash for Sony Cameras. I set the flashes in manual, with the front set to low output for minimal fill and the backlight set about a stop above normal. This means that the front light is set to at least half the power as the back light.
For the other shot, I had to play with my on-camera flash to make sure image wasn’t overlit in the front. This way, I can still see an edge light on the bride and a great sunset background behind them. Once again, manual flash is the only way to get this.
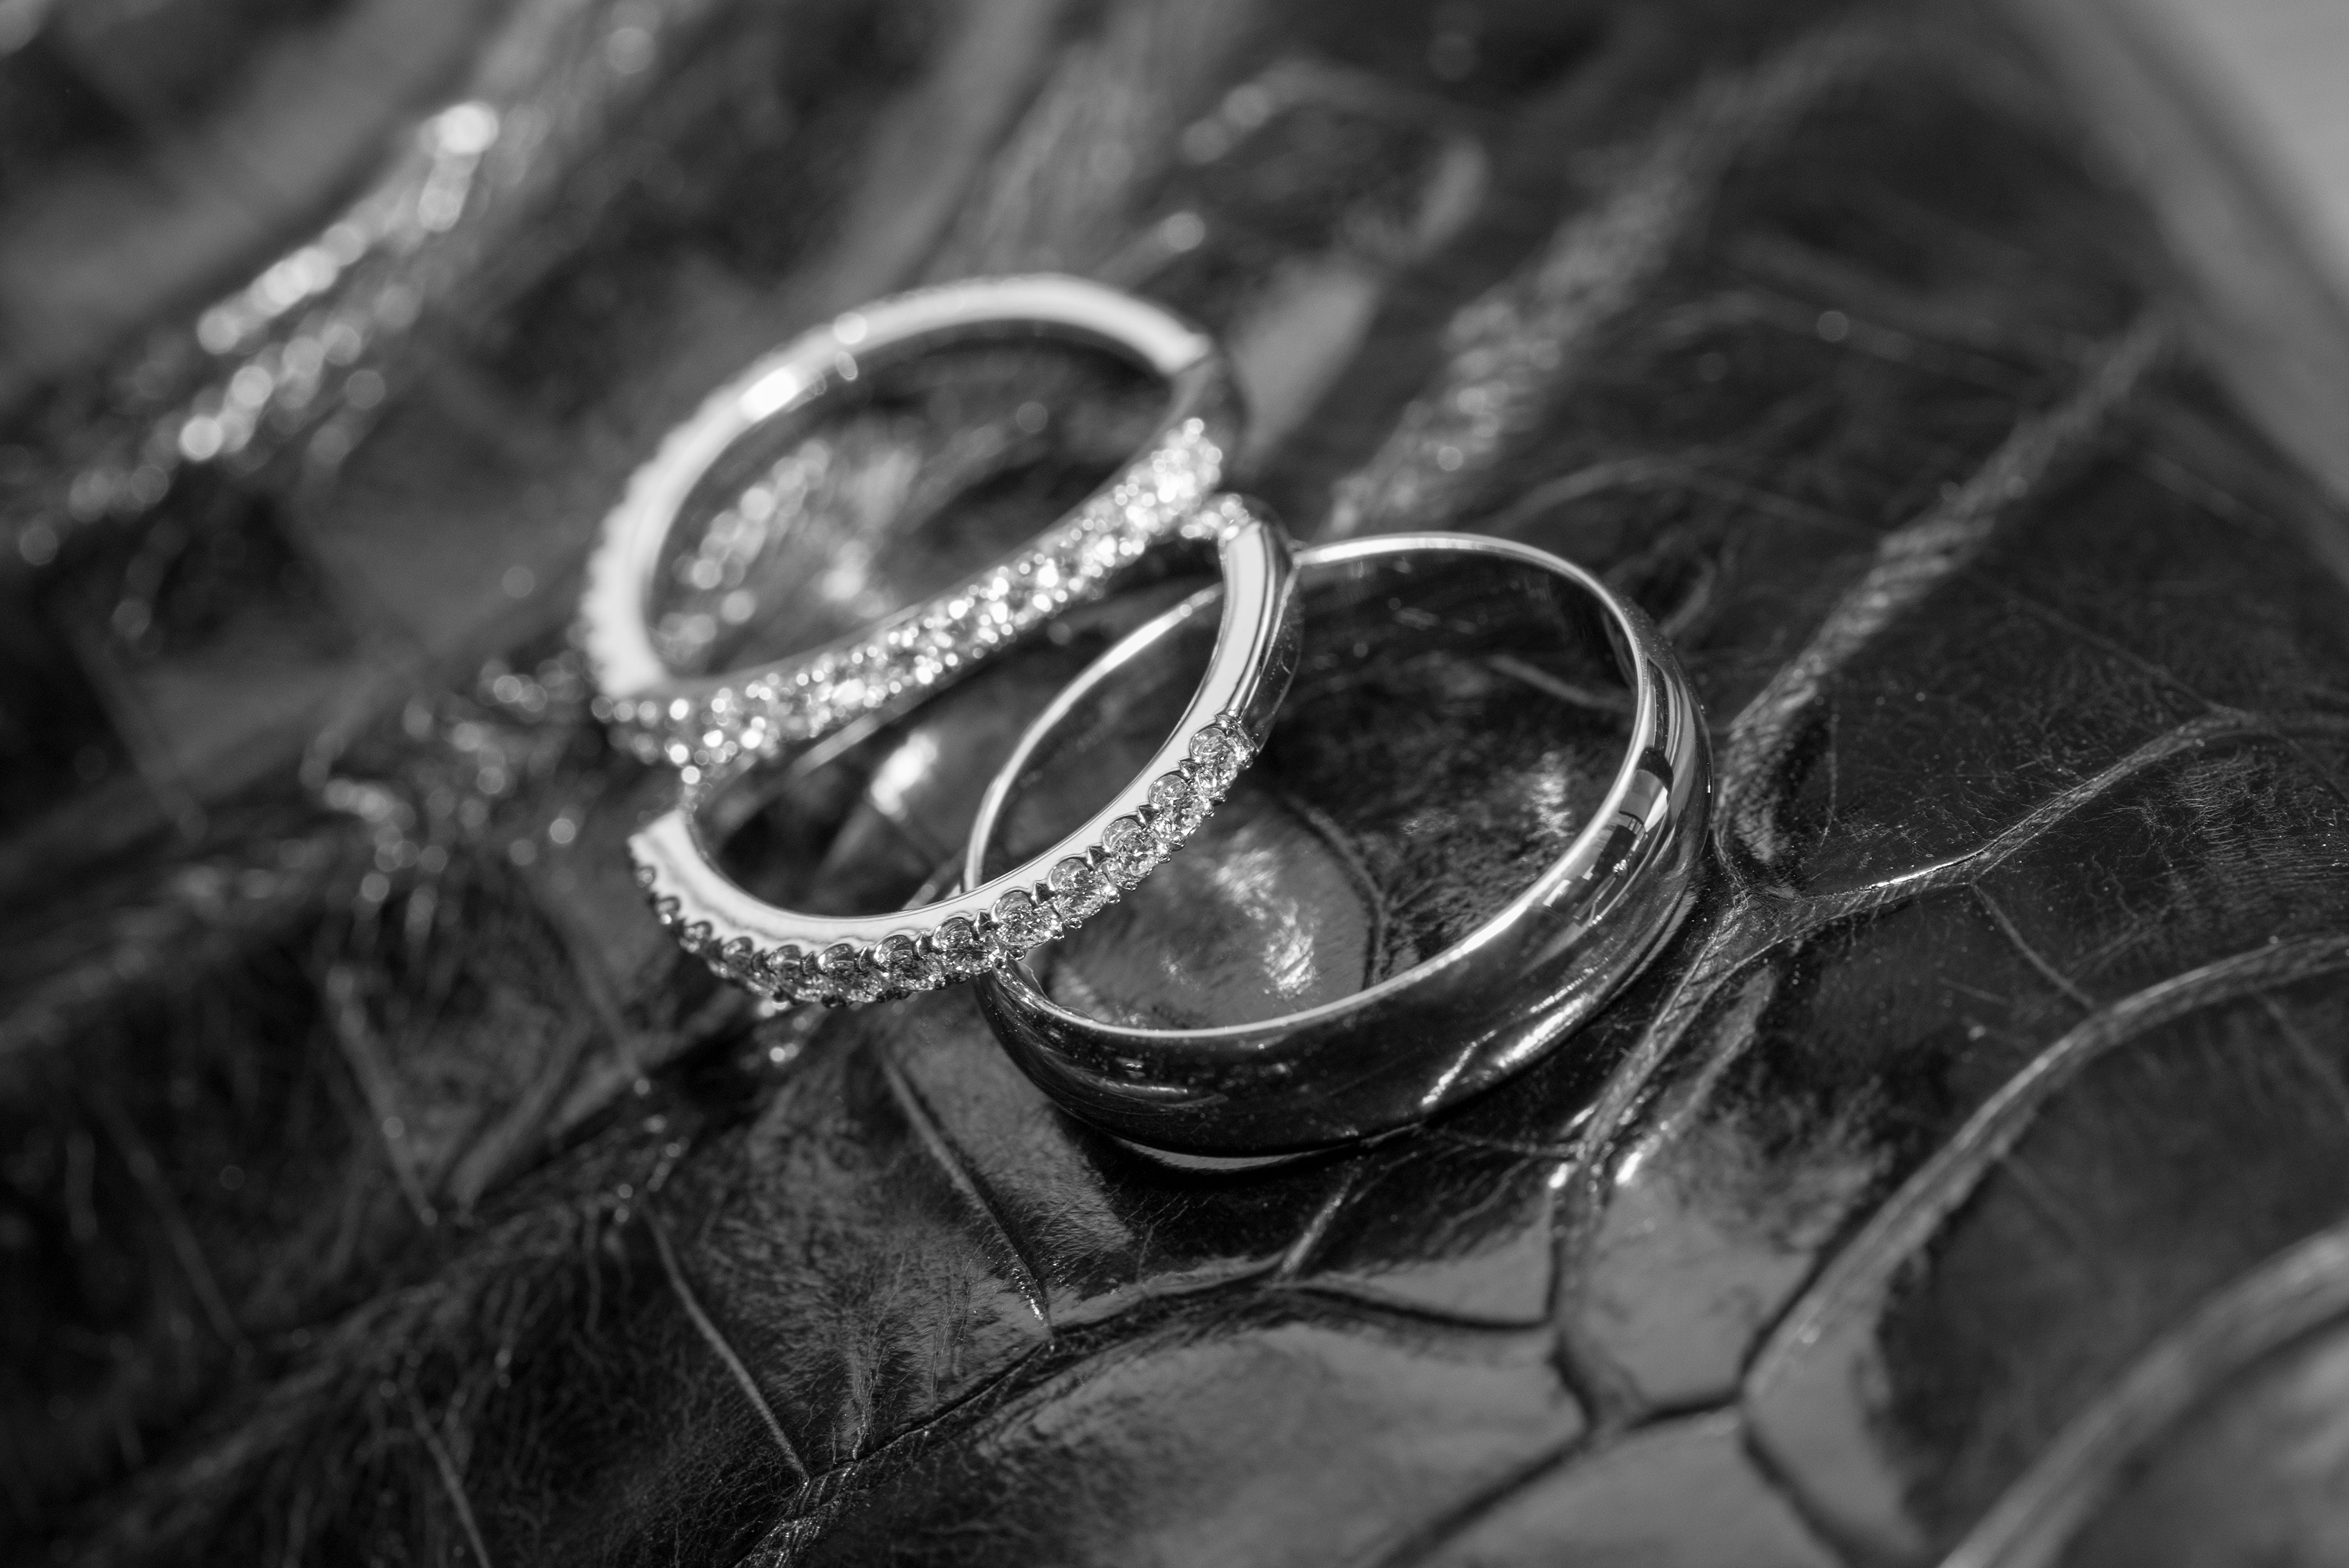
A lens I use infrequently but is worth discussing for its excellent results is the 1:1 magnification macro lens. There are many kinds, and I myself like to use an older Nikon Macro lens with a lens adapter to use it on my Sony A7rV. To achieve high quality macro shots, you’ll more than likely need to shoot in manual focus as it is next to impossible to use autofocus when shooting that close.
Photo three provides a very simple example of how I like to use macro photography in my wedding practice. For this shot, I used my on-camera flash, bouncing it off the ceiling and placing the rings on the groom’s shoe.
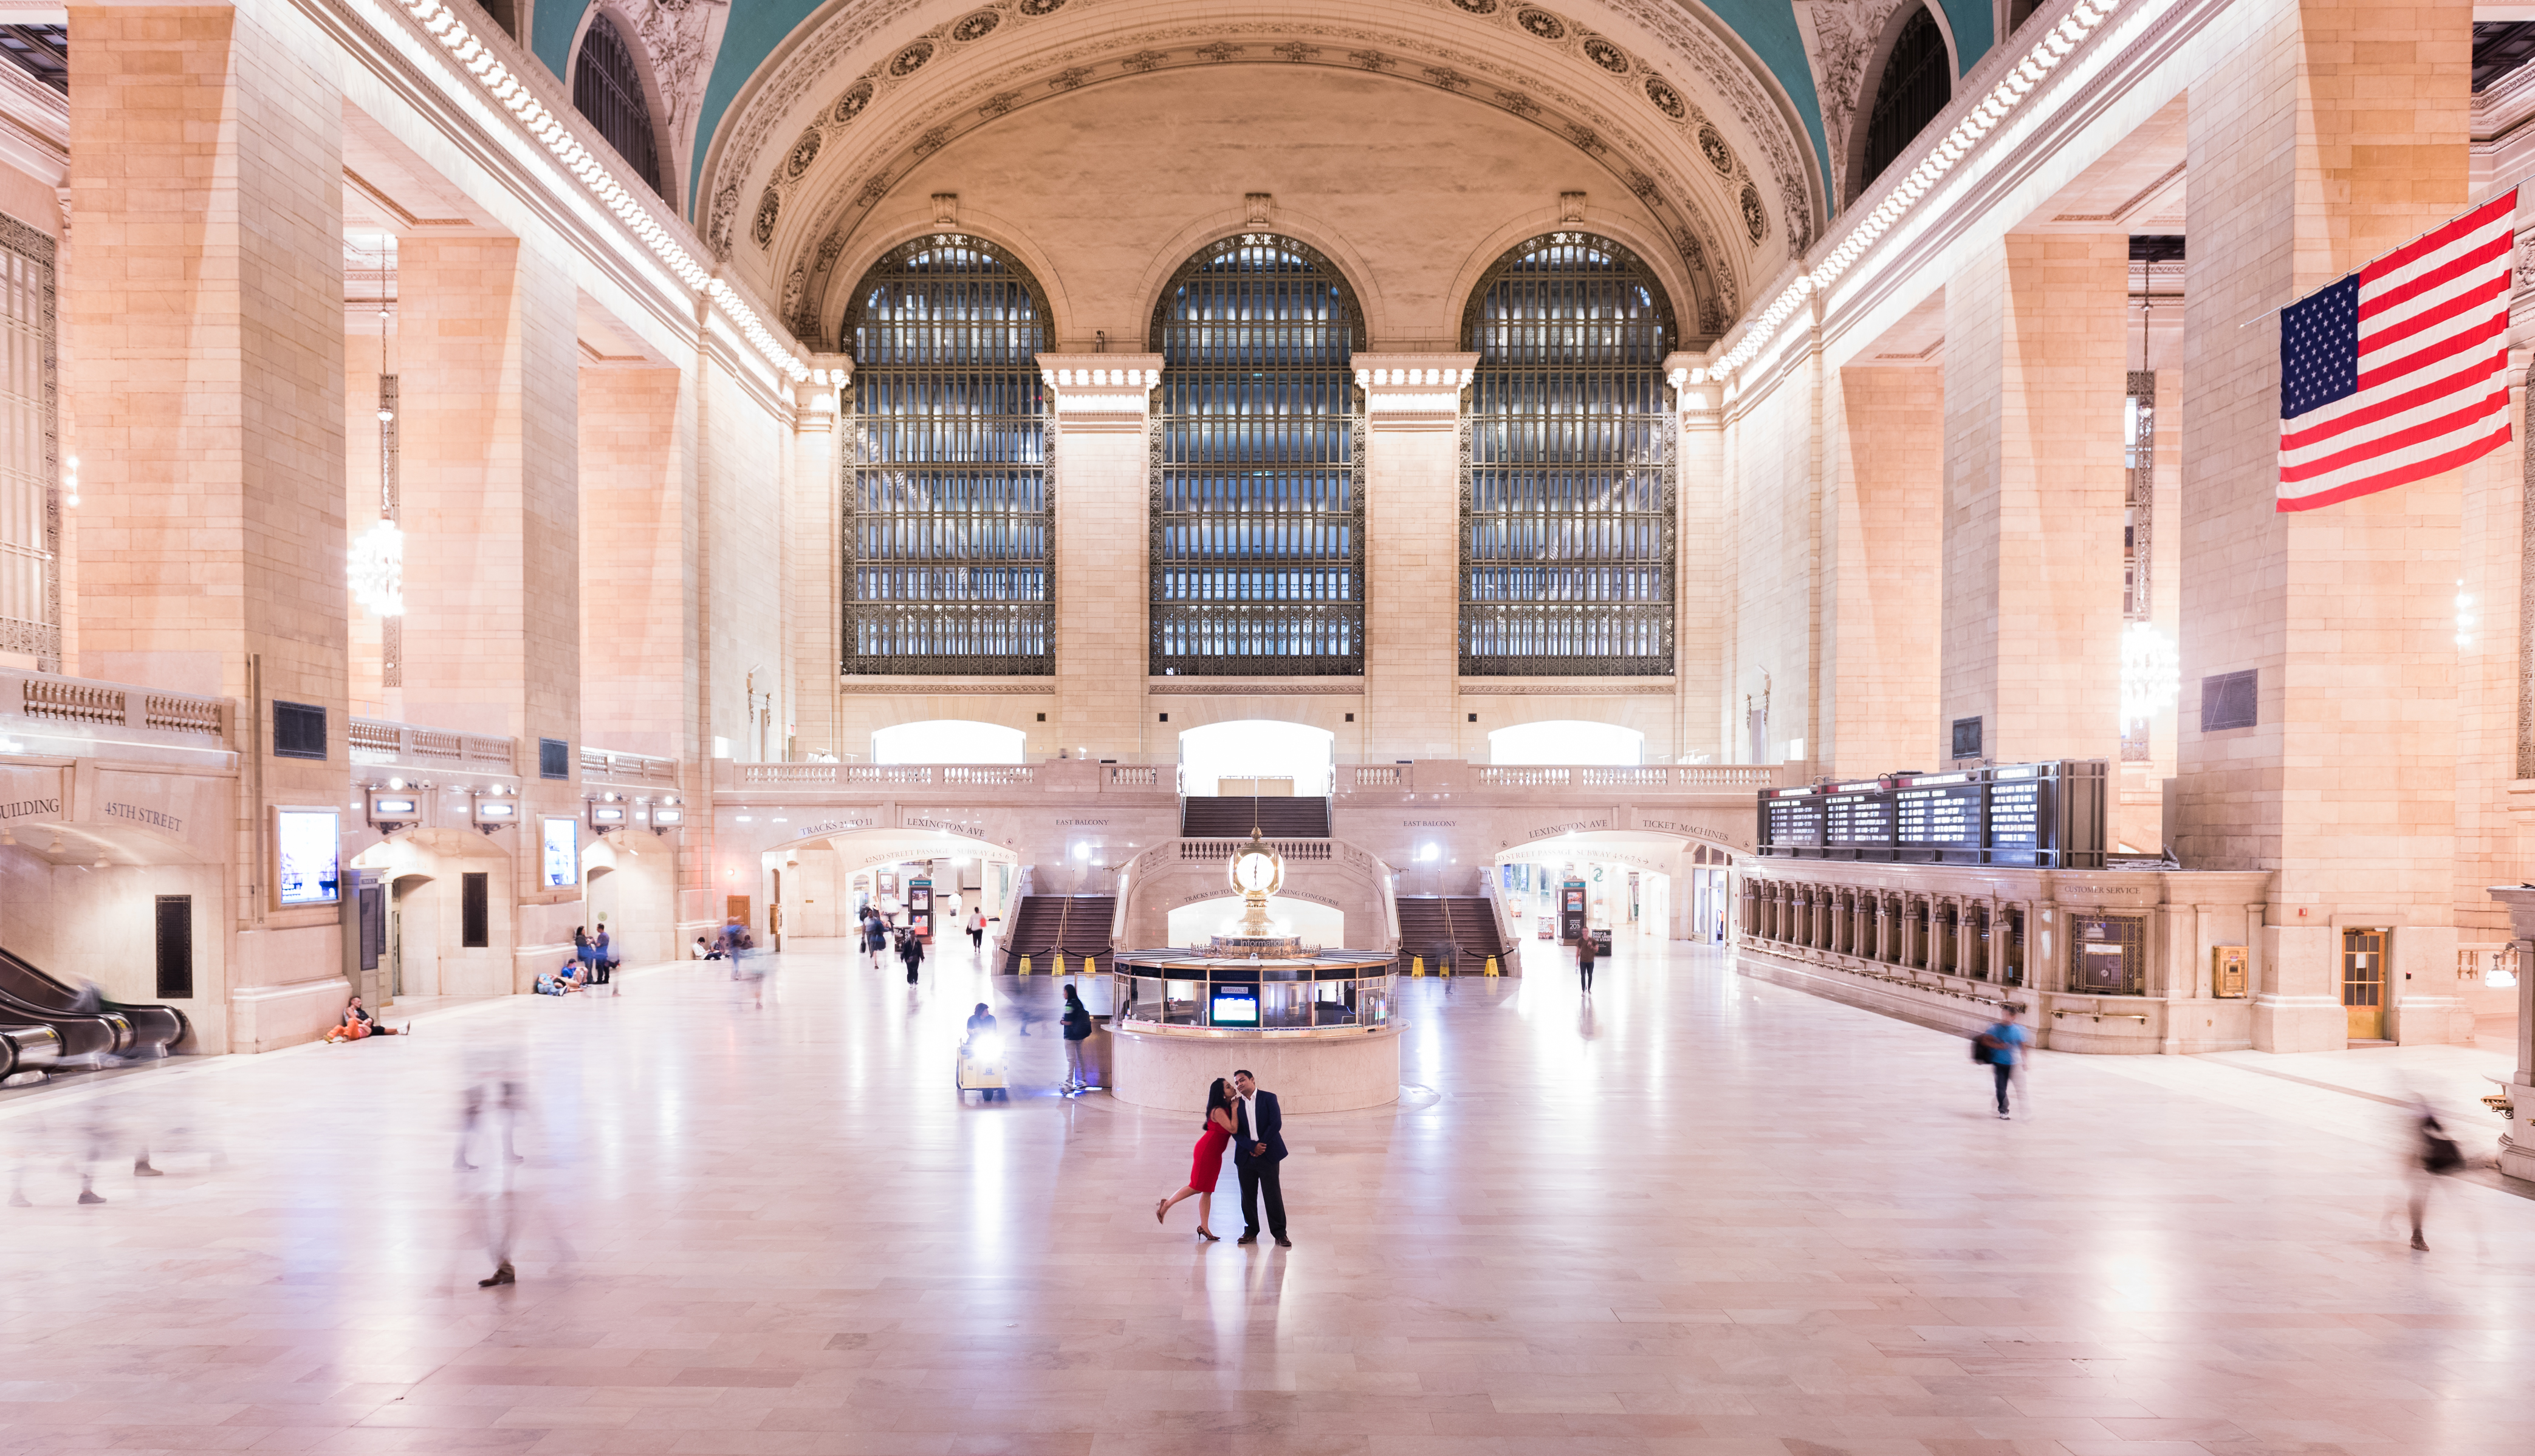
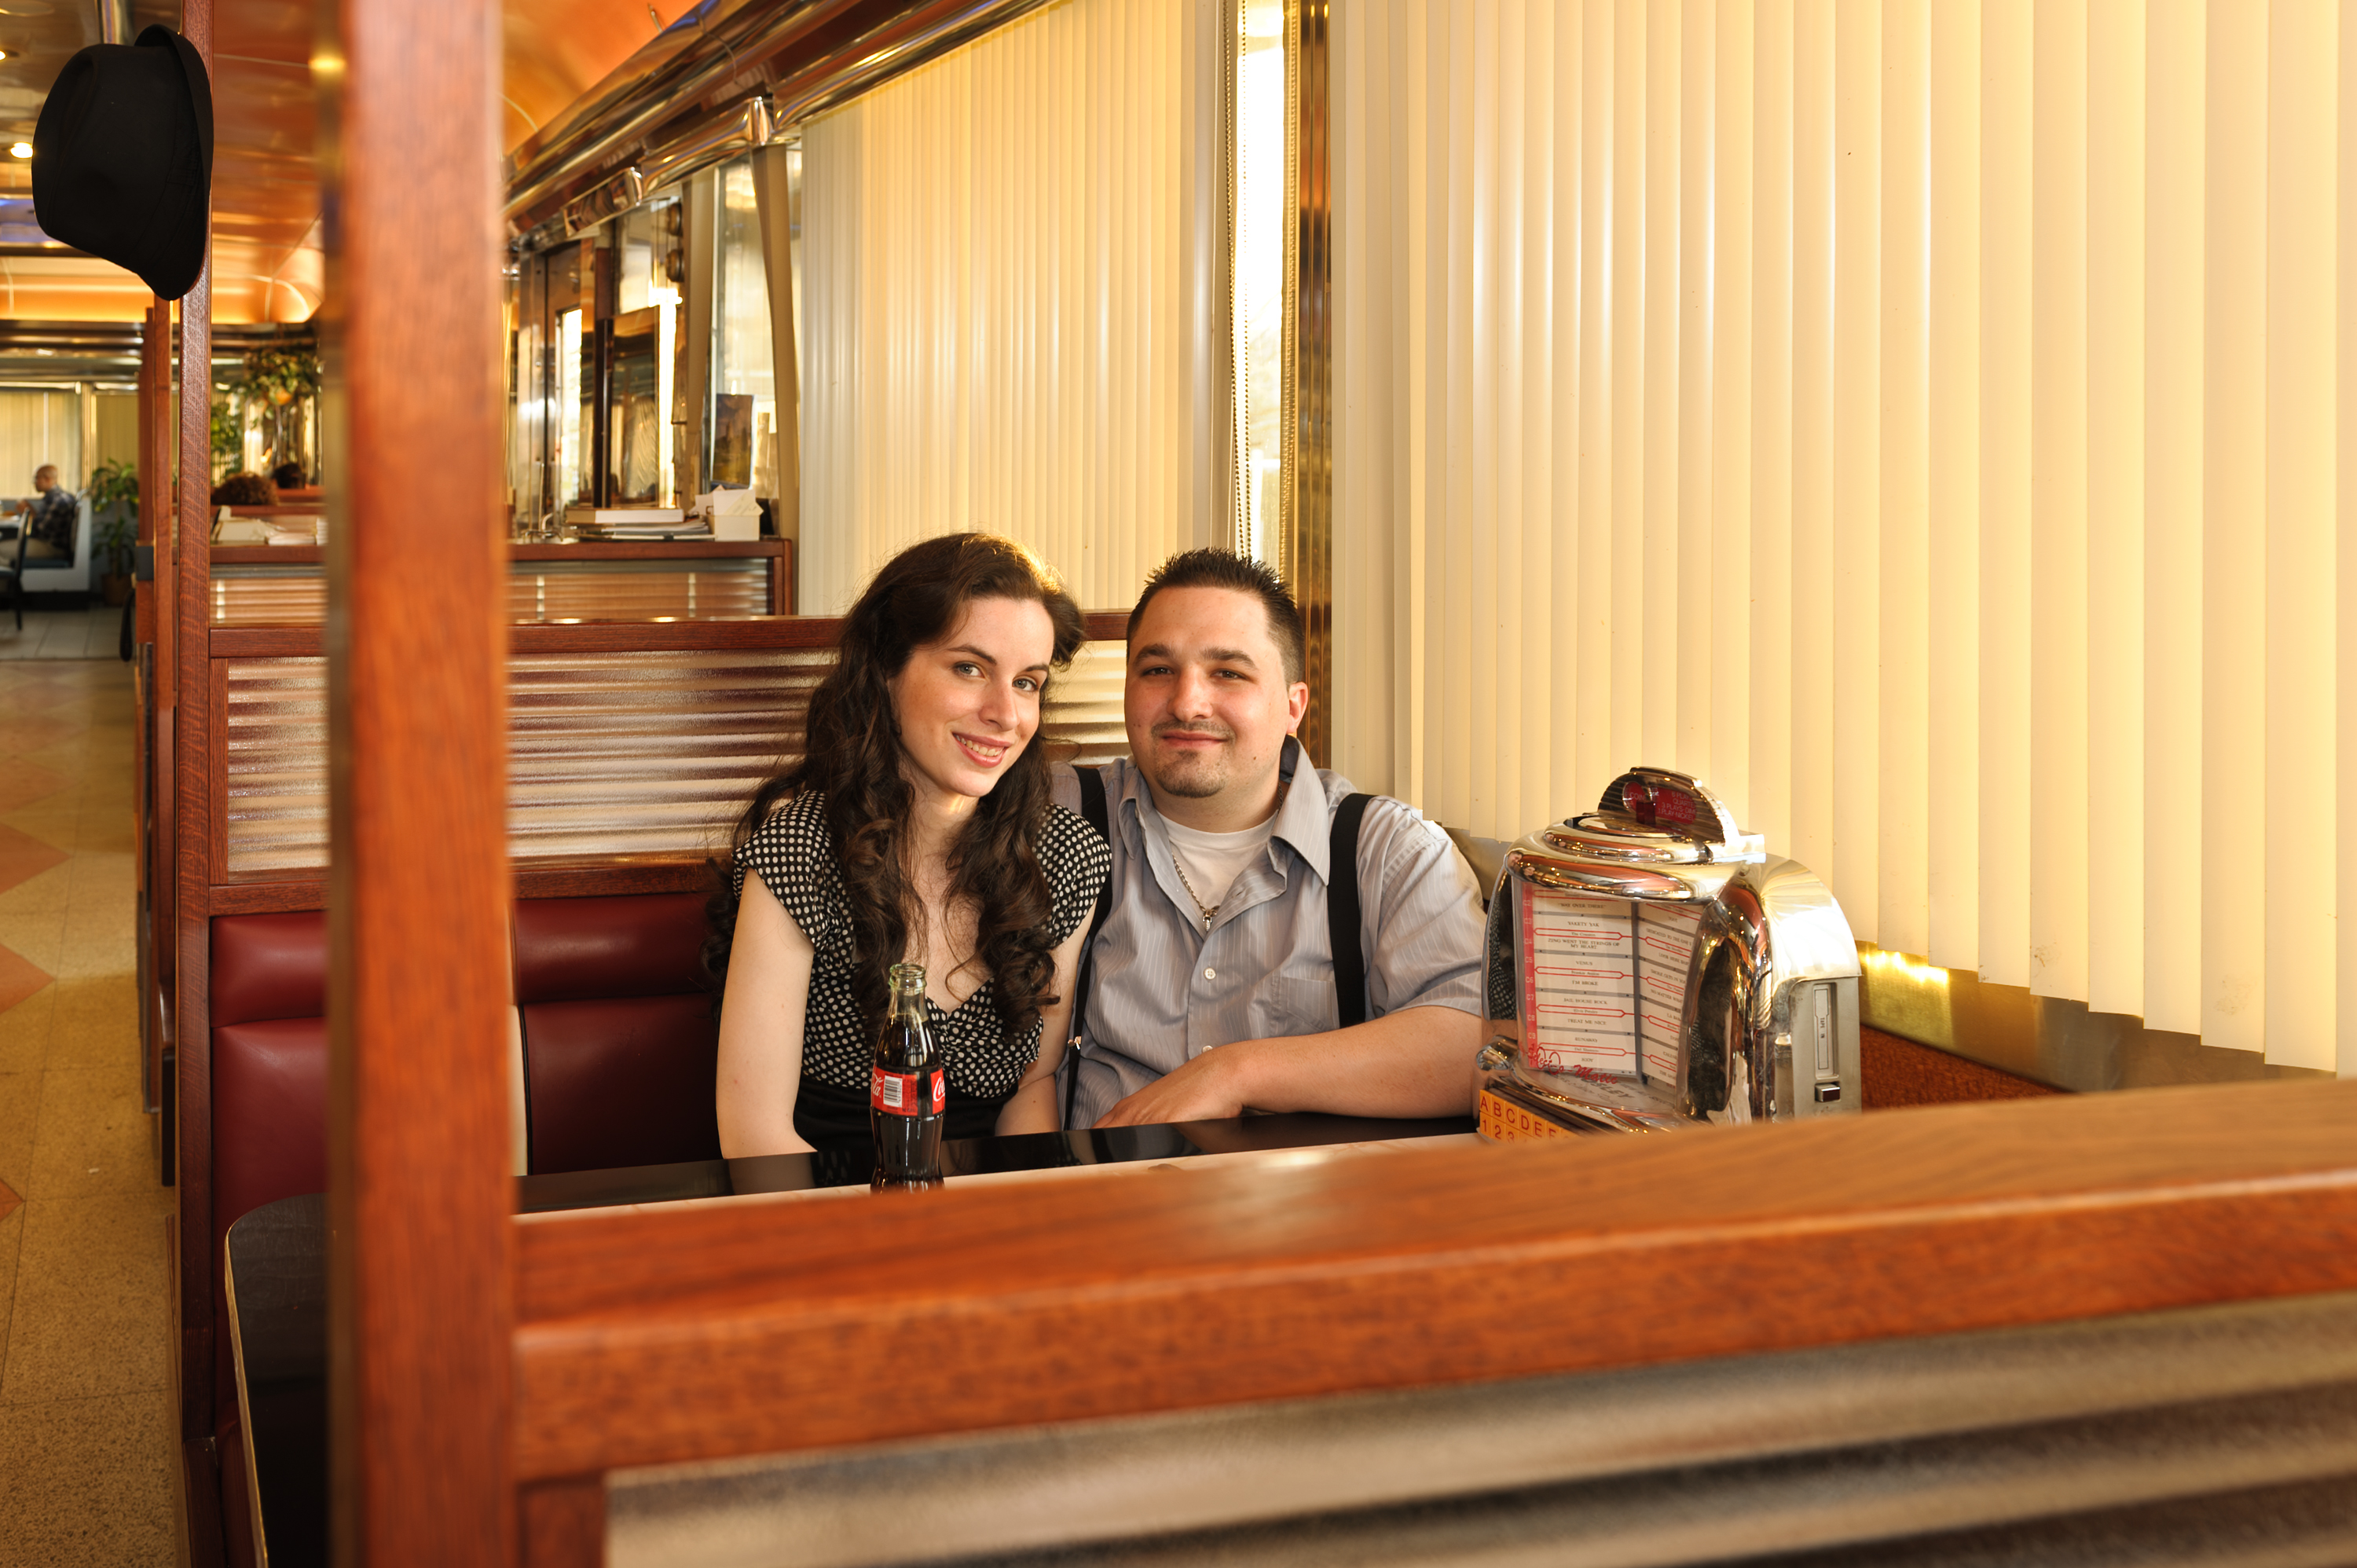
The last image is an engagement shoot at an old dinner. I shot this the same way I shoot the dance floors, by bouncing one or two lights off the ceiling to fill the background. Not too much, just enough to clean up the colors. And then just one on-camera light.
Go deeper on wedding photography, with more insights, tips, and advice, at the B&H Explora page. Shop wedding photography equipment and gear at our SuperStore.
