
You don’t have to go far to capture fun and engaging images of wildlife. In fact, you may not have to go anywhere at all. A carefully landscaped yard and the right tools can attract an impressive variety of animal life to observe and photograph. Pair that with a little patience and soon you’ll be capturing stunning images from the comfort of your own home.
Attracting Birds
Birds are part of nearly every environment, from the densest cities to rural areas. While they are common, we’ll need to offer three essentials—water, shelter, and food—to keep them coming to our yard consistently.
Water
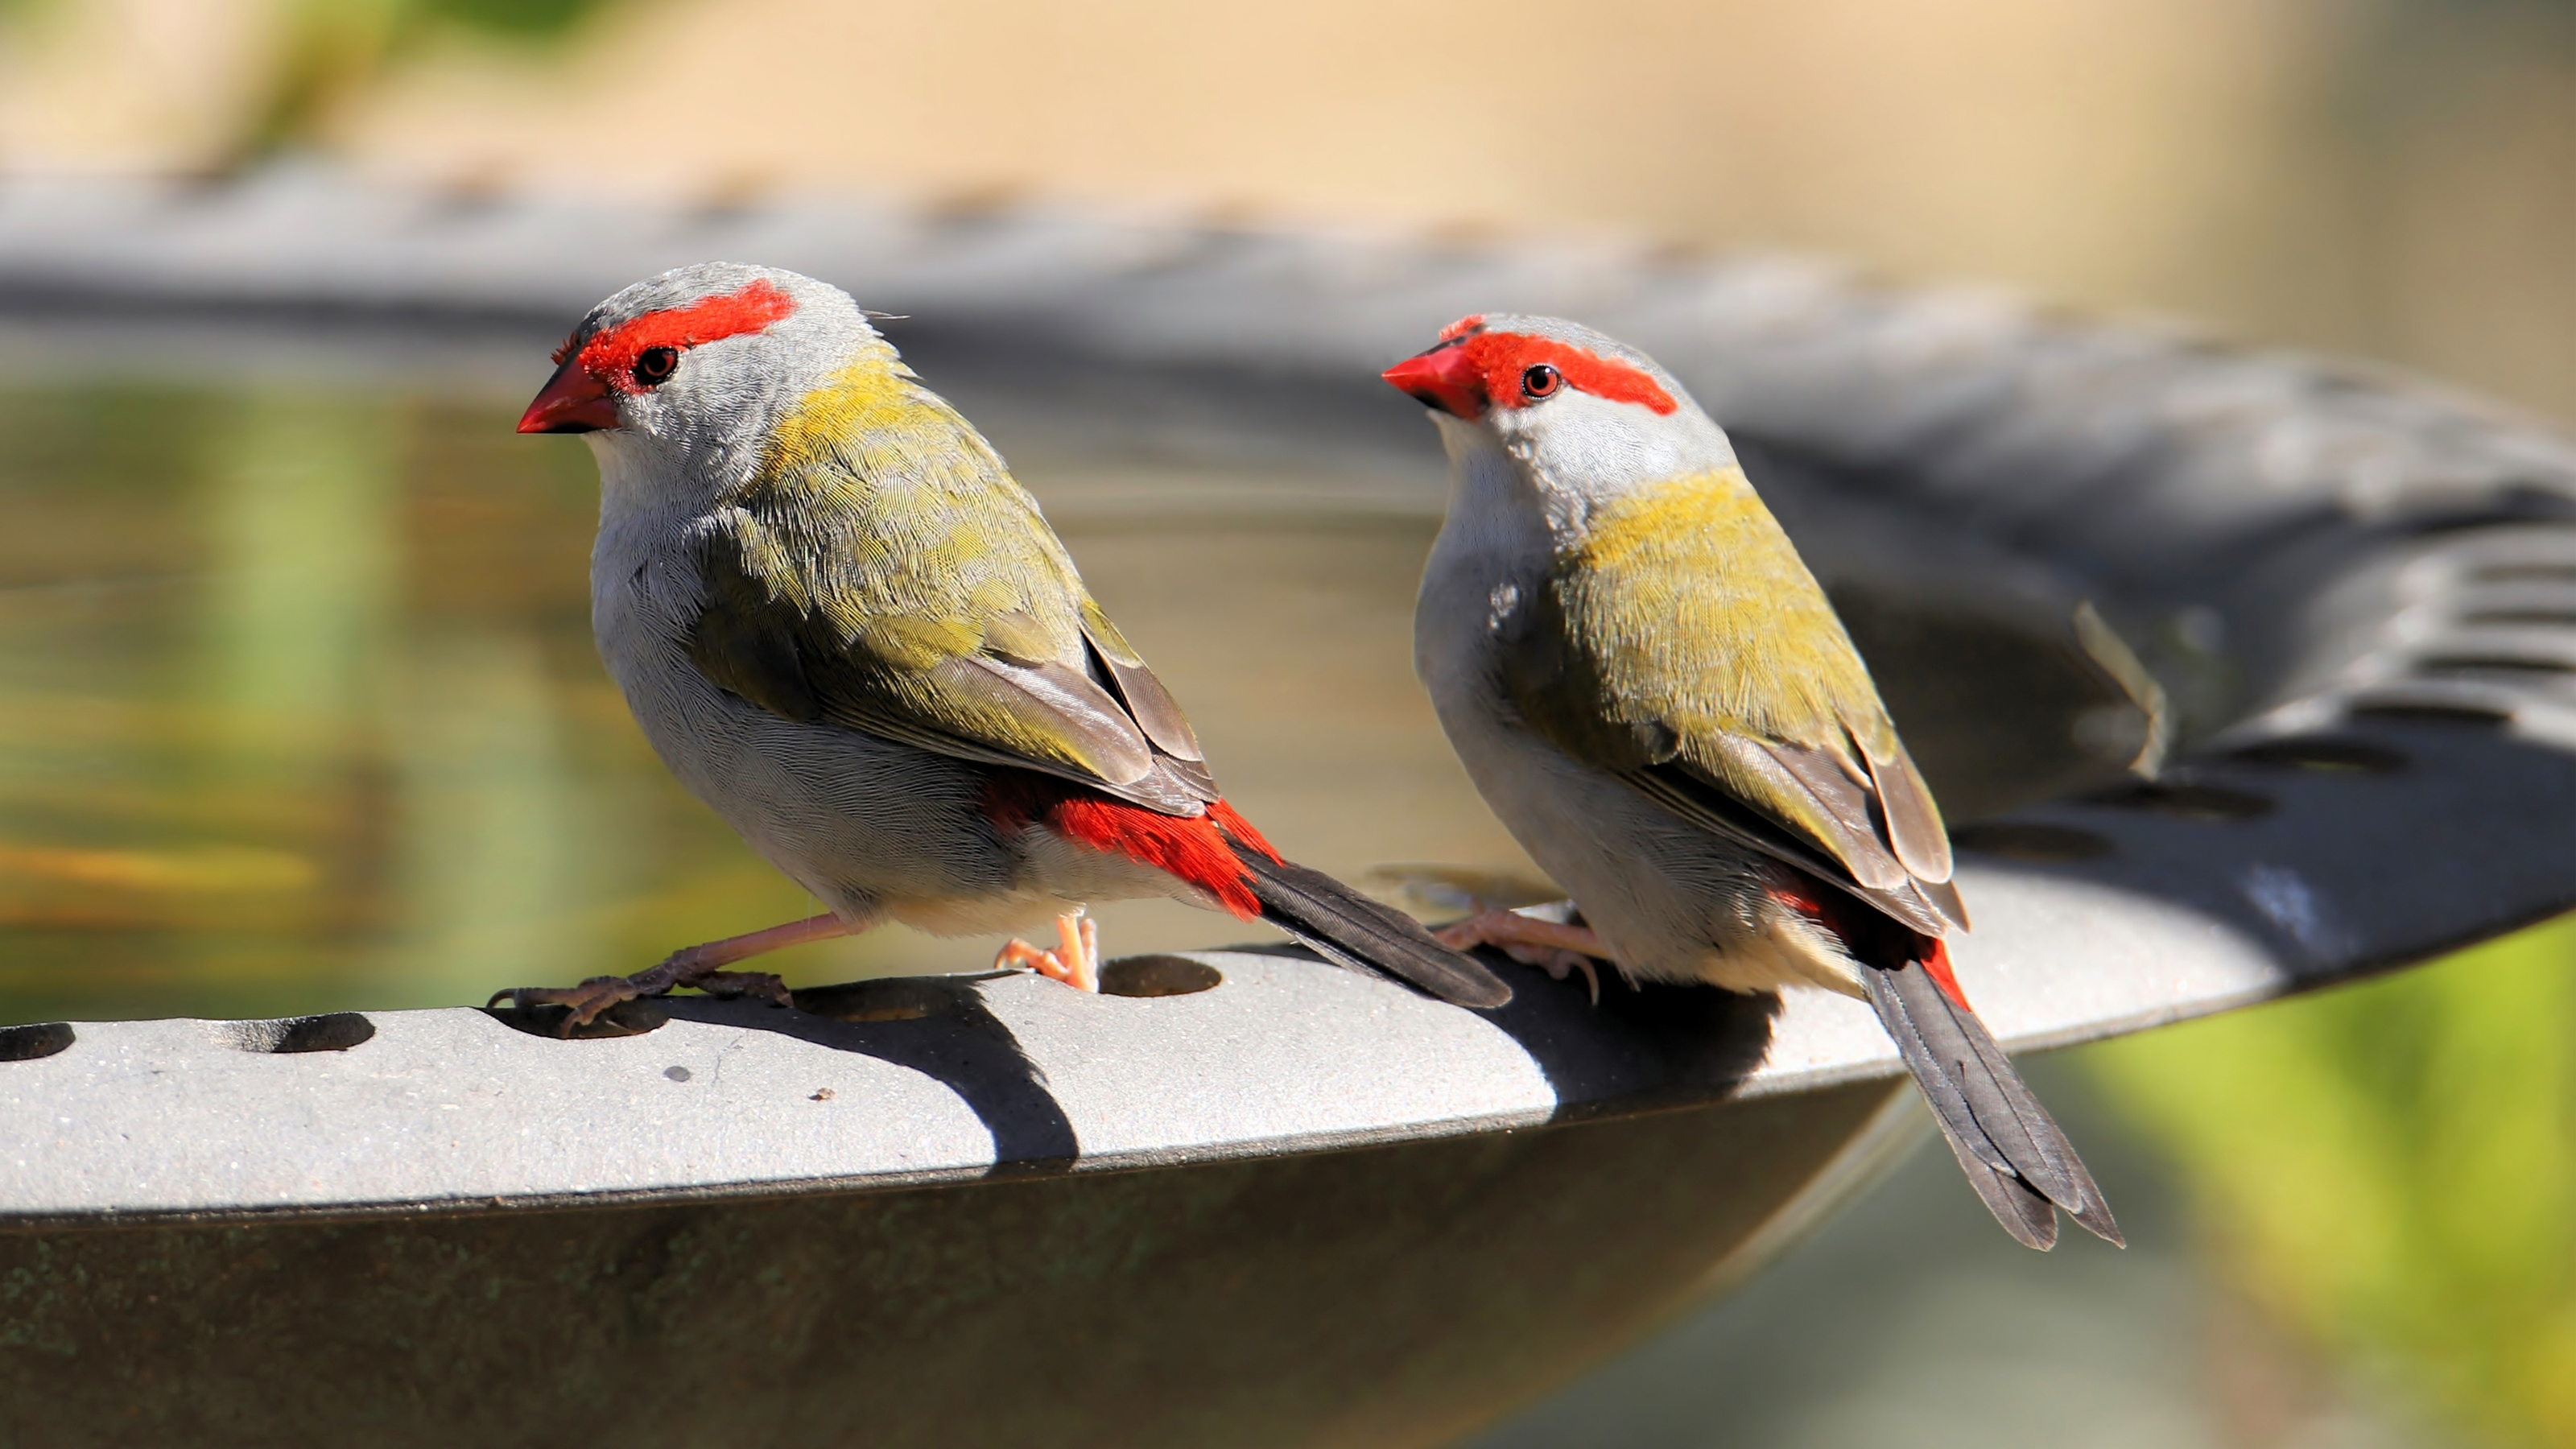
Above all else, water is the best way to attract birds to your yard. Every living creature needs water and it’s readily available. It’s also easy to set up, easy to clean up, and can be provided even in a small dish off of a balcony. Bird baths are the most popular option, but plant saucers can also be used. To catch a passing bird’s eye, place a rock or a water wiggler in your bird bath to create ripples.
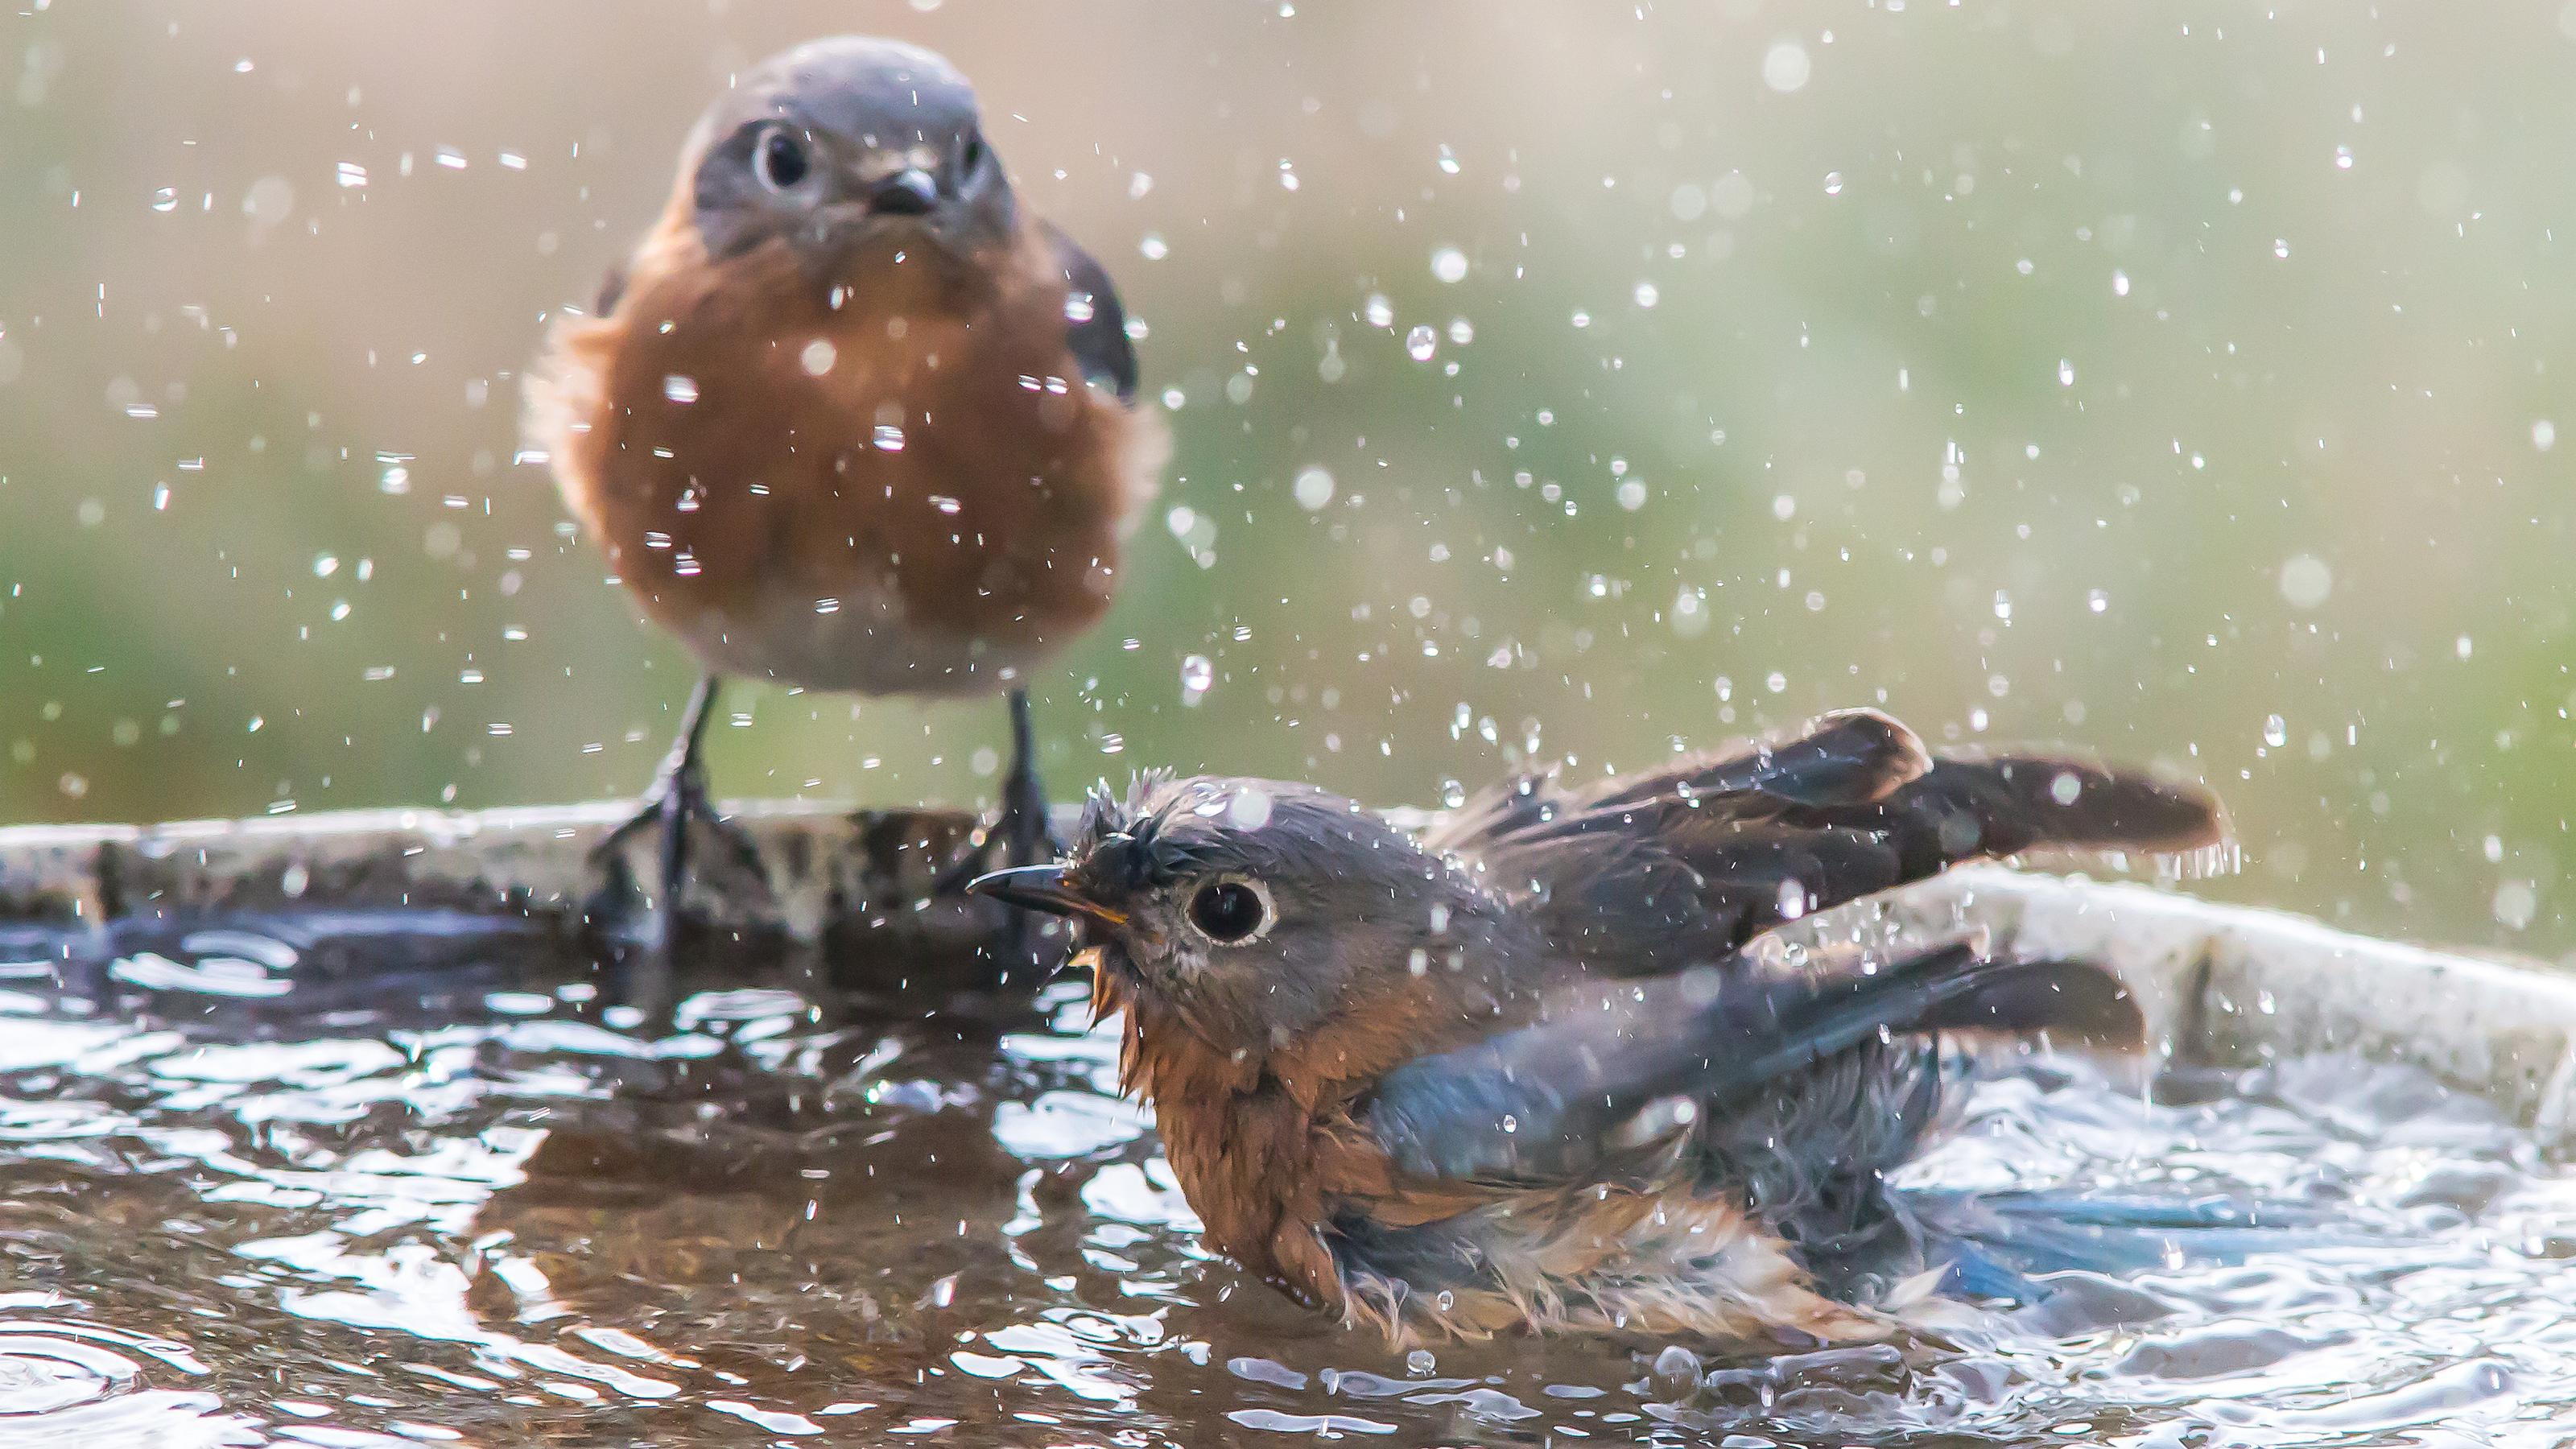
The sound and sight of moving water will draw them in, so you may want to consider a more elaborate water feature or fountain. This requires a bit more upkeep but will prove significantly more effective at attracting birds than a typical bath. If you decide to go this route, consider the various sizes of birds. Leave some shallow sections to accommodate smaller birds like warblers.
Food
After water, food is next on a bird’s priority list. Take one look around your neighborhood and you’re likely to see a number of feeder types sporadically placed off of trees, gutters, and shepherd’s crooks. To get started, head to your local hardware store or a dedicated feed store. Before you buy, think about the types of birds you want to attract. Different feed mixes and feeder types will draw in different species, so an understanding of this is key to building the most versatile setup.
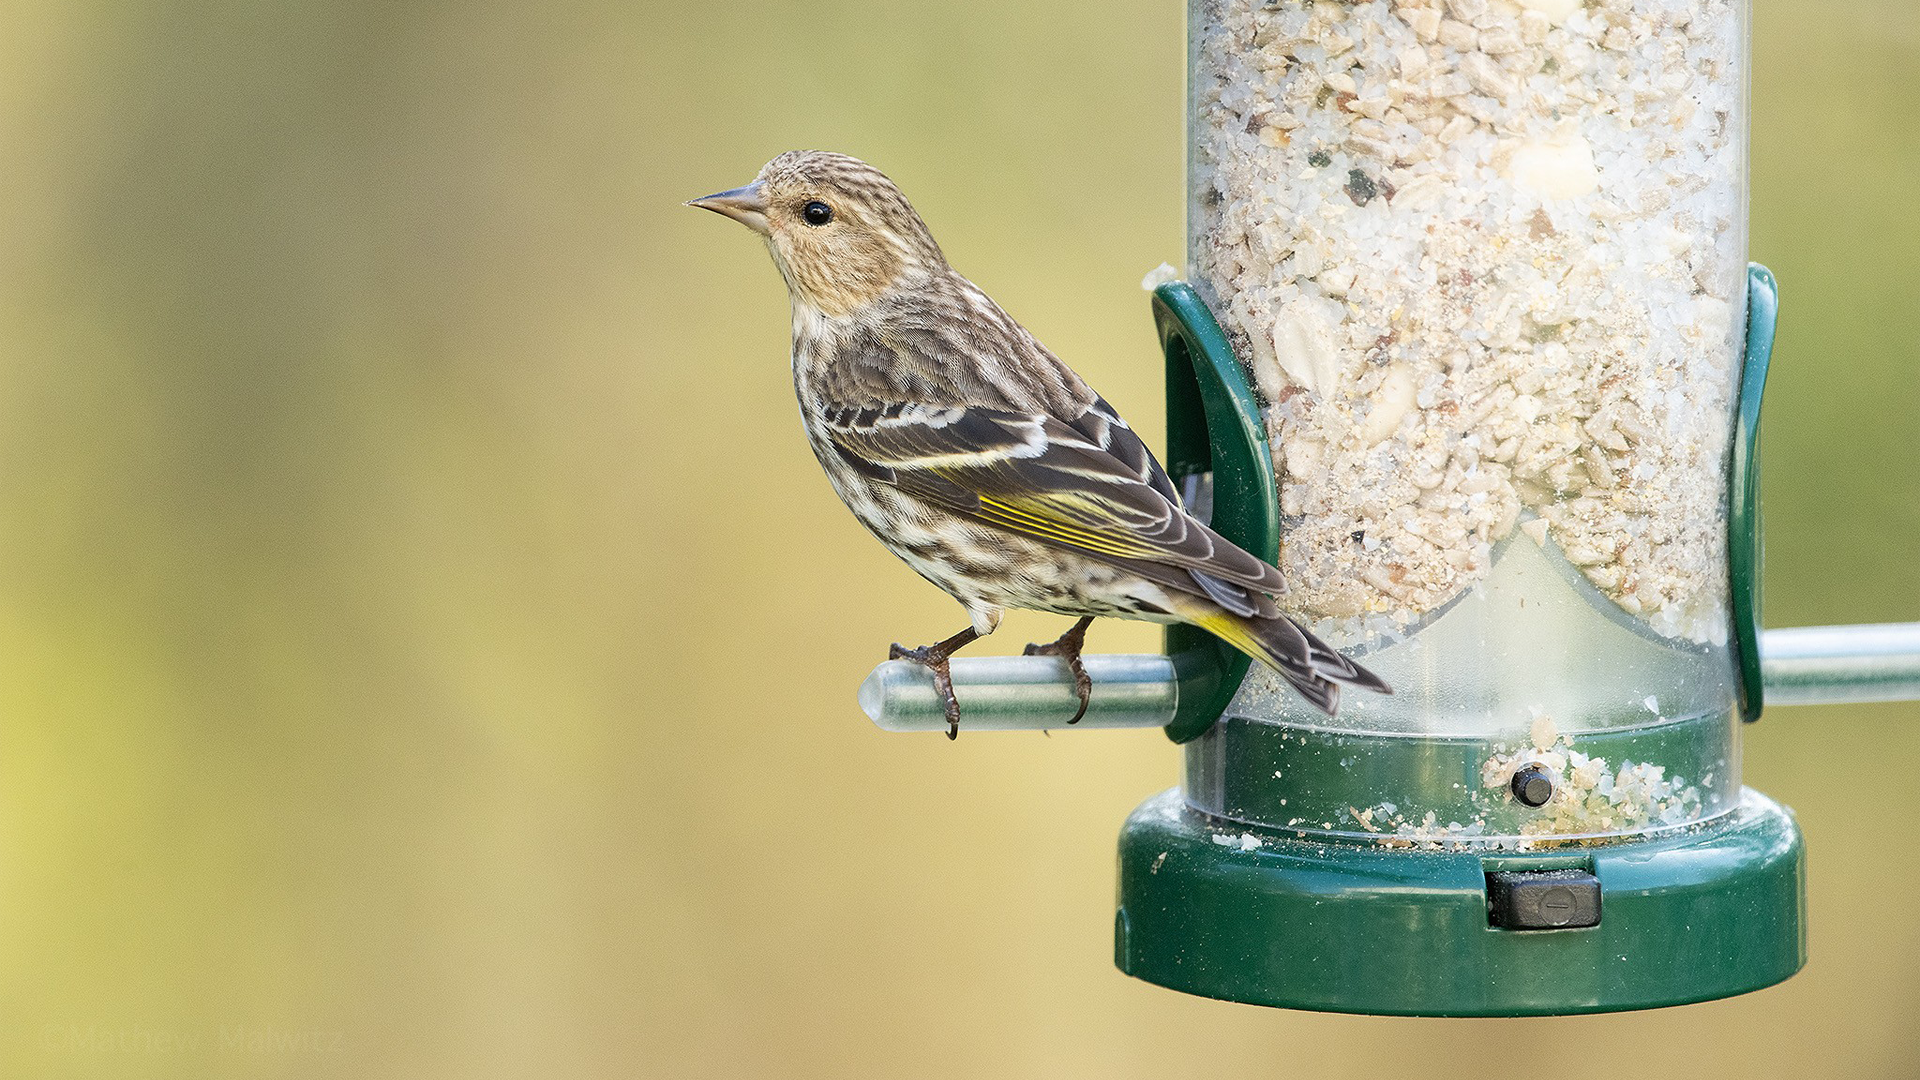
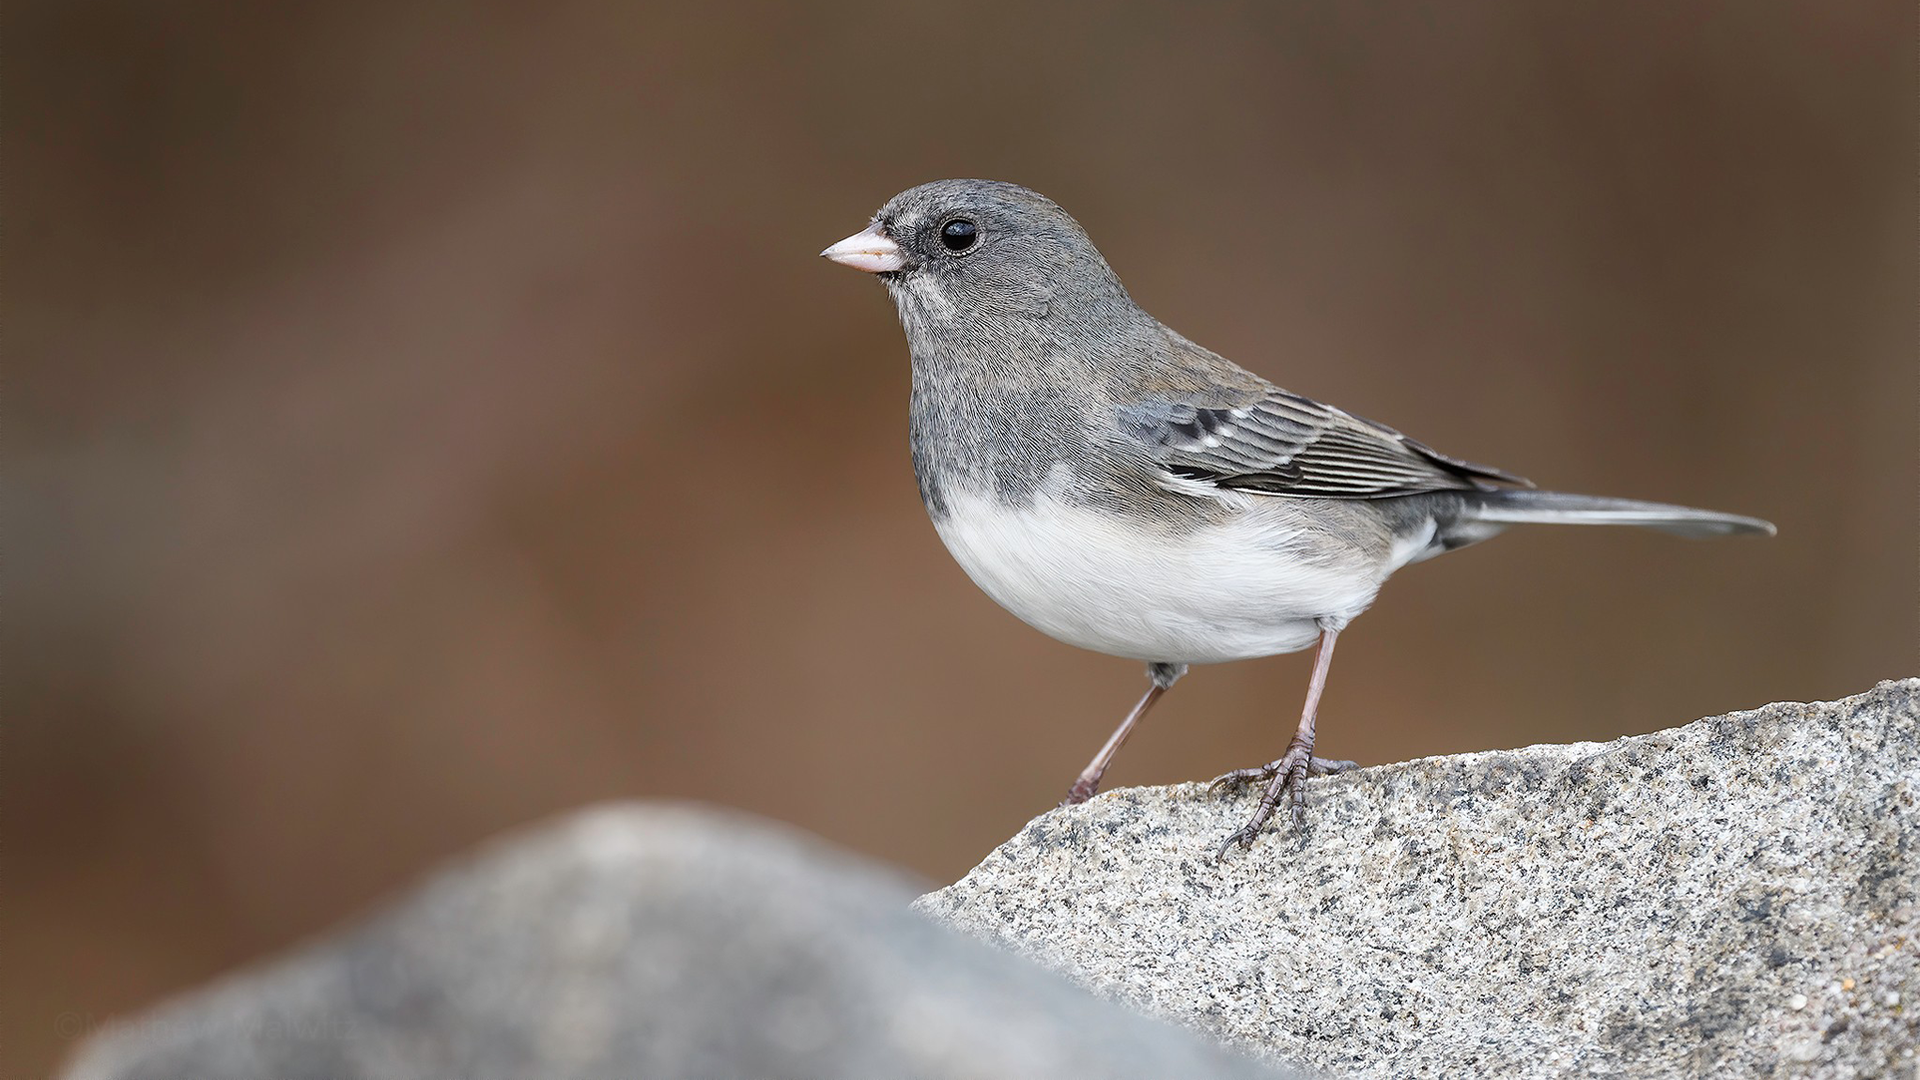
Two of the most common feeder types are tube and hopper feeders. These are preferred by most songbirds and, depending on the size of the perches, will allow the greatest variety of birds to visit. A hopper will generally allow larger birds to land, like blue jays and cardinal, but it also may invite nuisance species like starlings and house sparrows. Tube feeders are slender, and provide smaller perching spots for chickadees, titmice, sparrows, and finches.
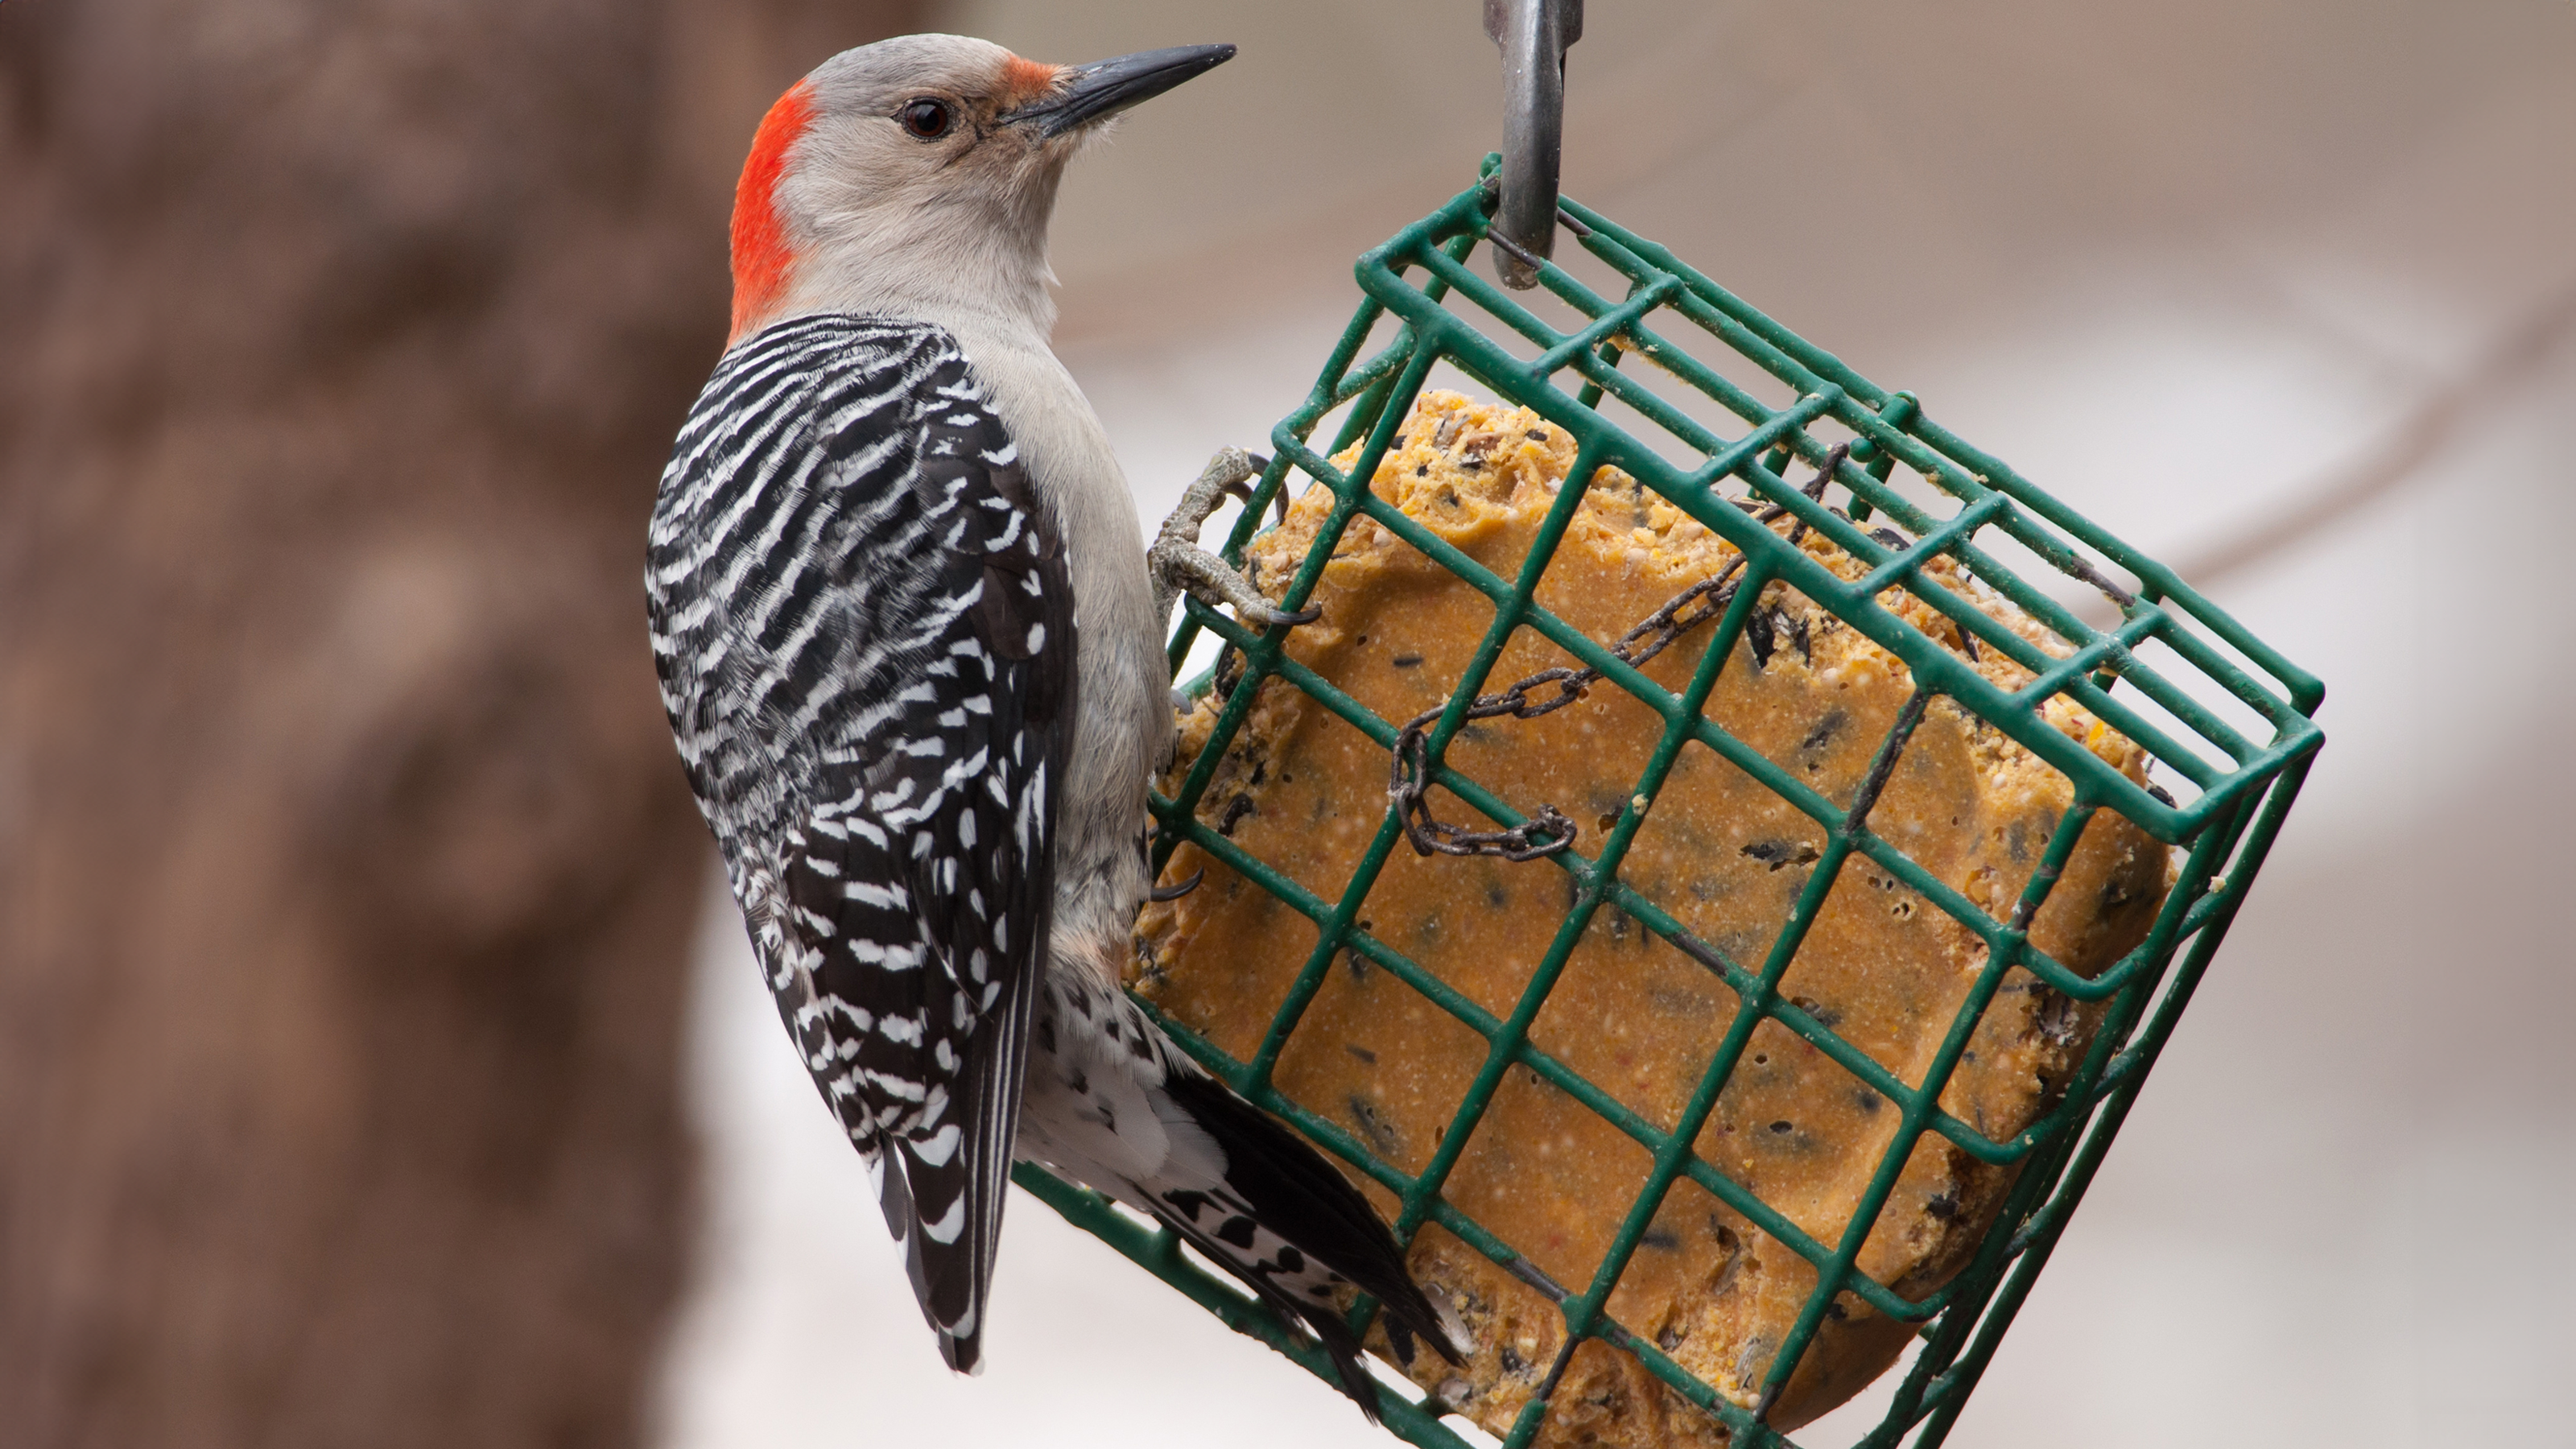
Another popular feeder option is the suet cage, which is specialized for clinging birds like woodpeckers and nuthatches. These feeders are specially designed for suet blocks, which typically consists of rendered beef tallow, seeds, nuts, berries, and the like. You can even make your own suet blocks at home!
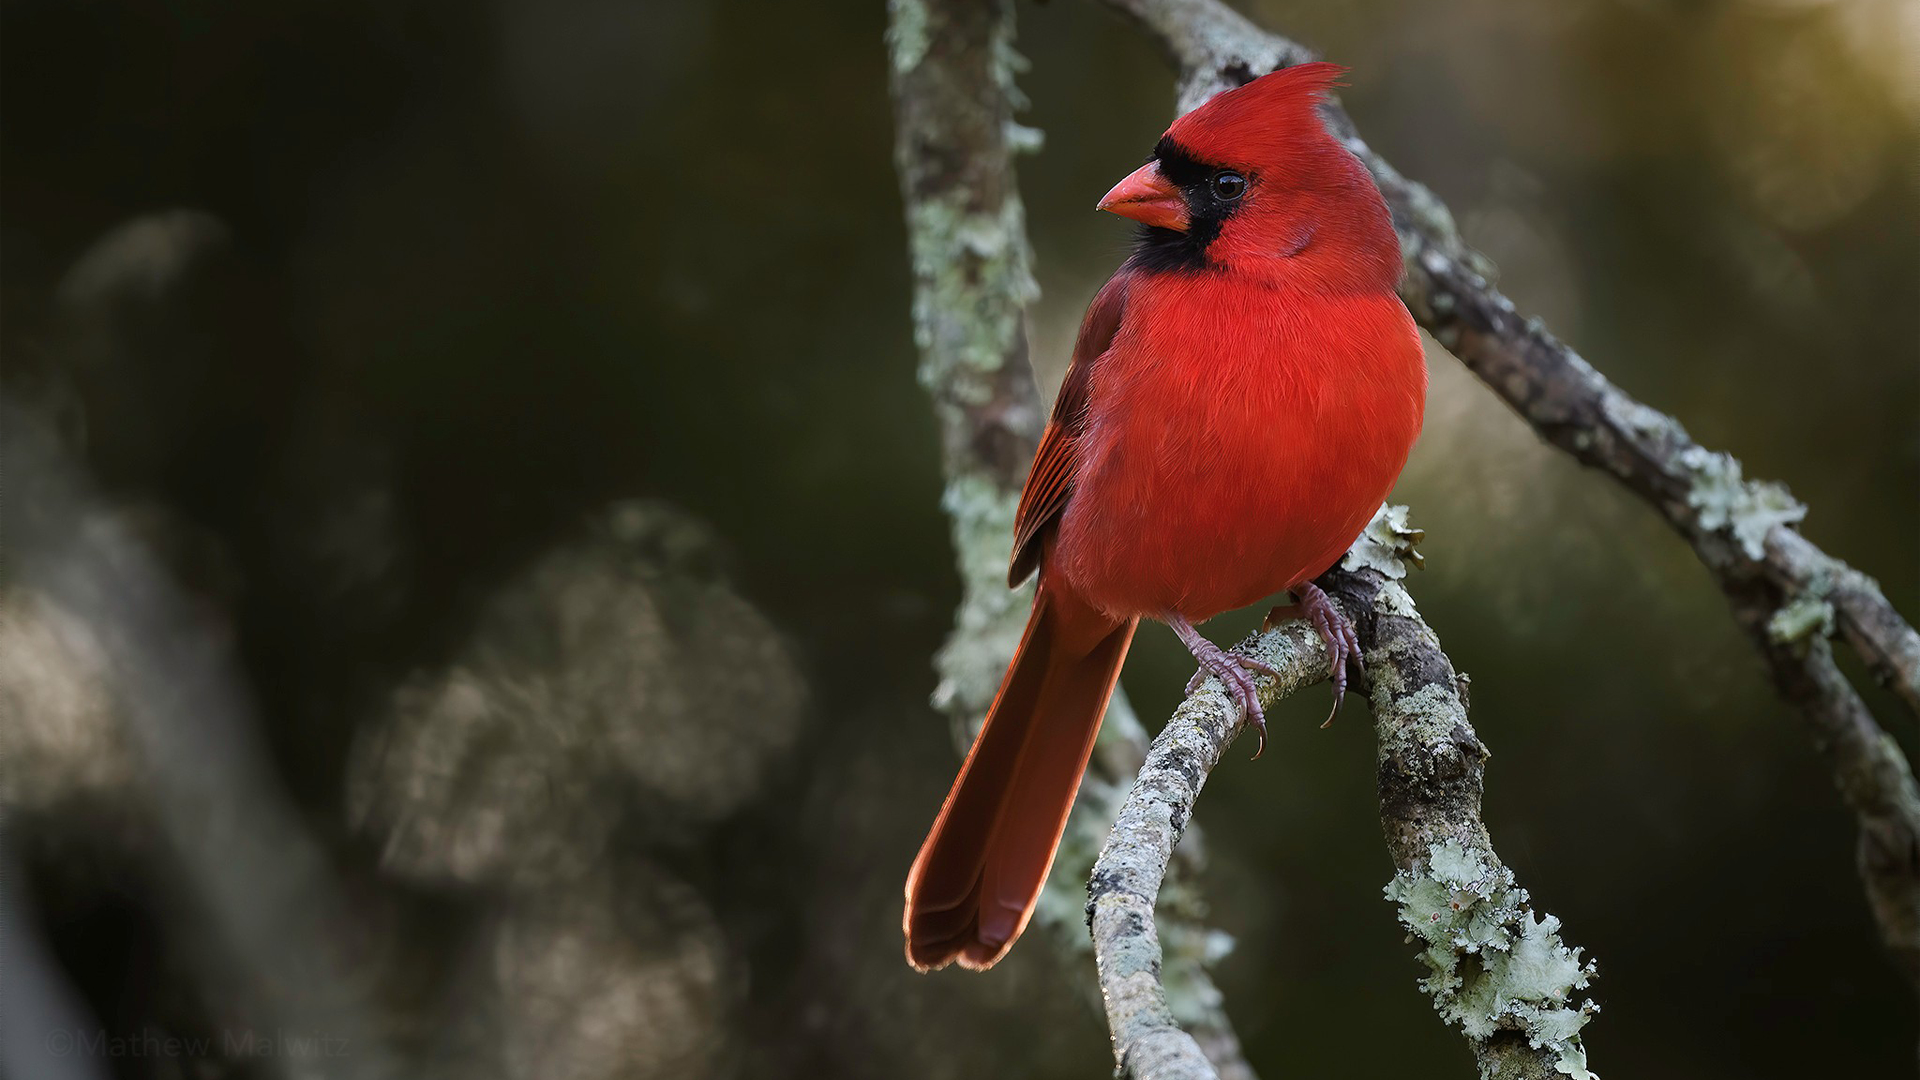
Outside of the types of feeders you choose, you also want to be selective as to the feed mixes you load them with. Black-oil sunflower seed is the most popular as it is favored by a number of species. Meanwhile, safflower is the preferred seed for cardinals and doves while thistle and nyjer seeds are best for smaller finches. Do some research into what the birds in your area prefer before stocking up on seed.
If feeder upkeep is too much, remember that all of these seeds have to come from somewhere. With that in mind, we may consider gardening with birds in mind. A well-tended, native garden supports your local ecosystem in more ways than one. It supports every facet of the food chain, from the smallest insects, to, of course, the birds. In fact, gardening for birds provides a greater variety of food including the seeds, insects, nectar, and even fruit.
Planting for Birds
Creating a native, wildlife friendly garden also requires less maintenance, as native flora is adapted to your local environment. Don’t let the names scare you either. Many native plants are often referred to as weeds since they thrive so easily. If you’re interested in taking this route, the National Audubon Society has created a database to learn more about bird-friendly native plants in your area.
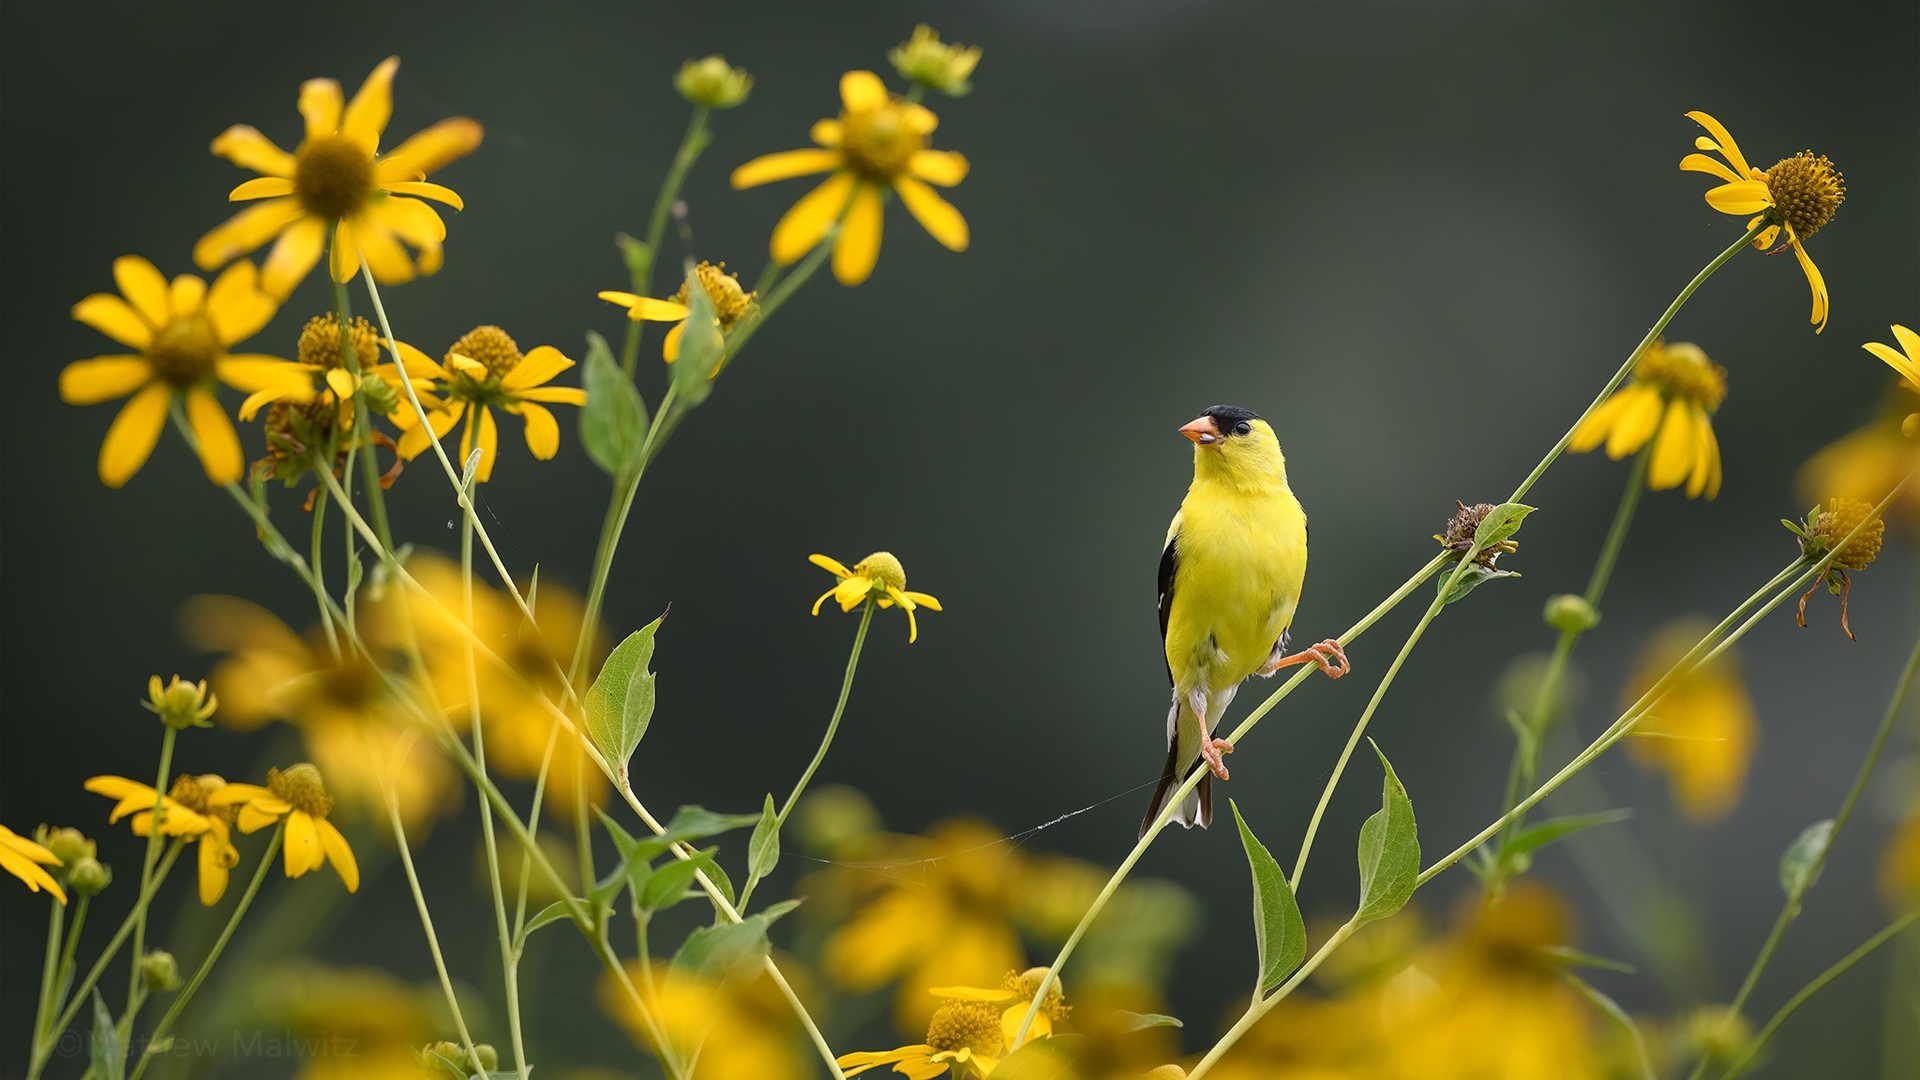
Gardening with birds in mind not only refers to feeding them, it’s also essential for cover. Birds need a safe location to stage before and after feeding. To accommodate this, plant dense shrubs for birds to hide in. Here in the northeast, American holly, mountain laurel, and rhododendron are popular choices, but consult with your local native plant guides to see what works best in your environment.
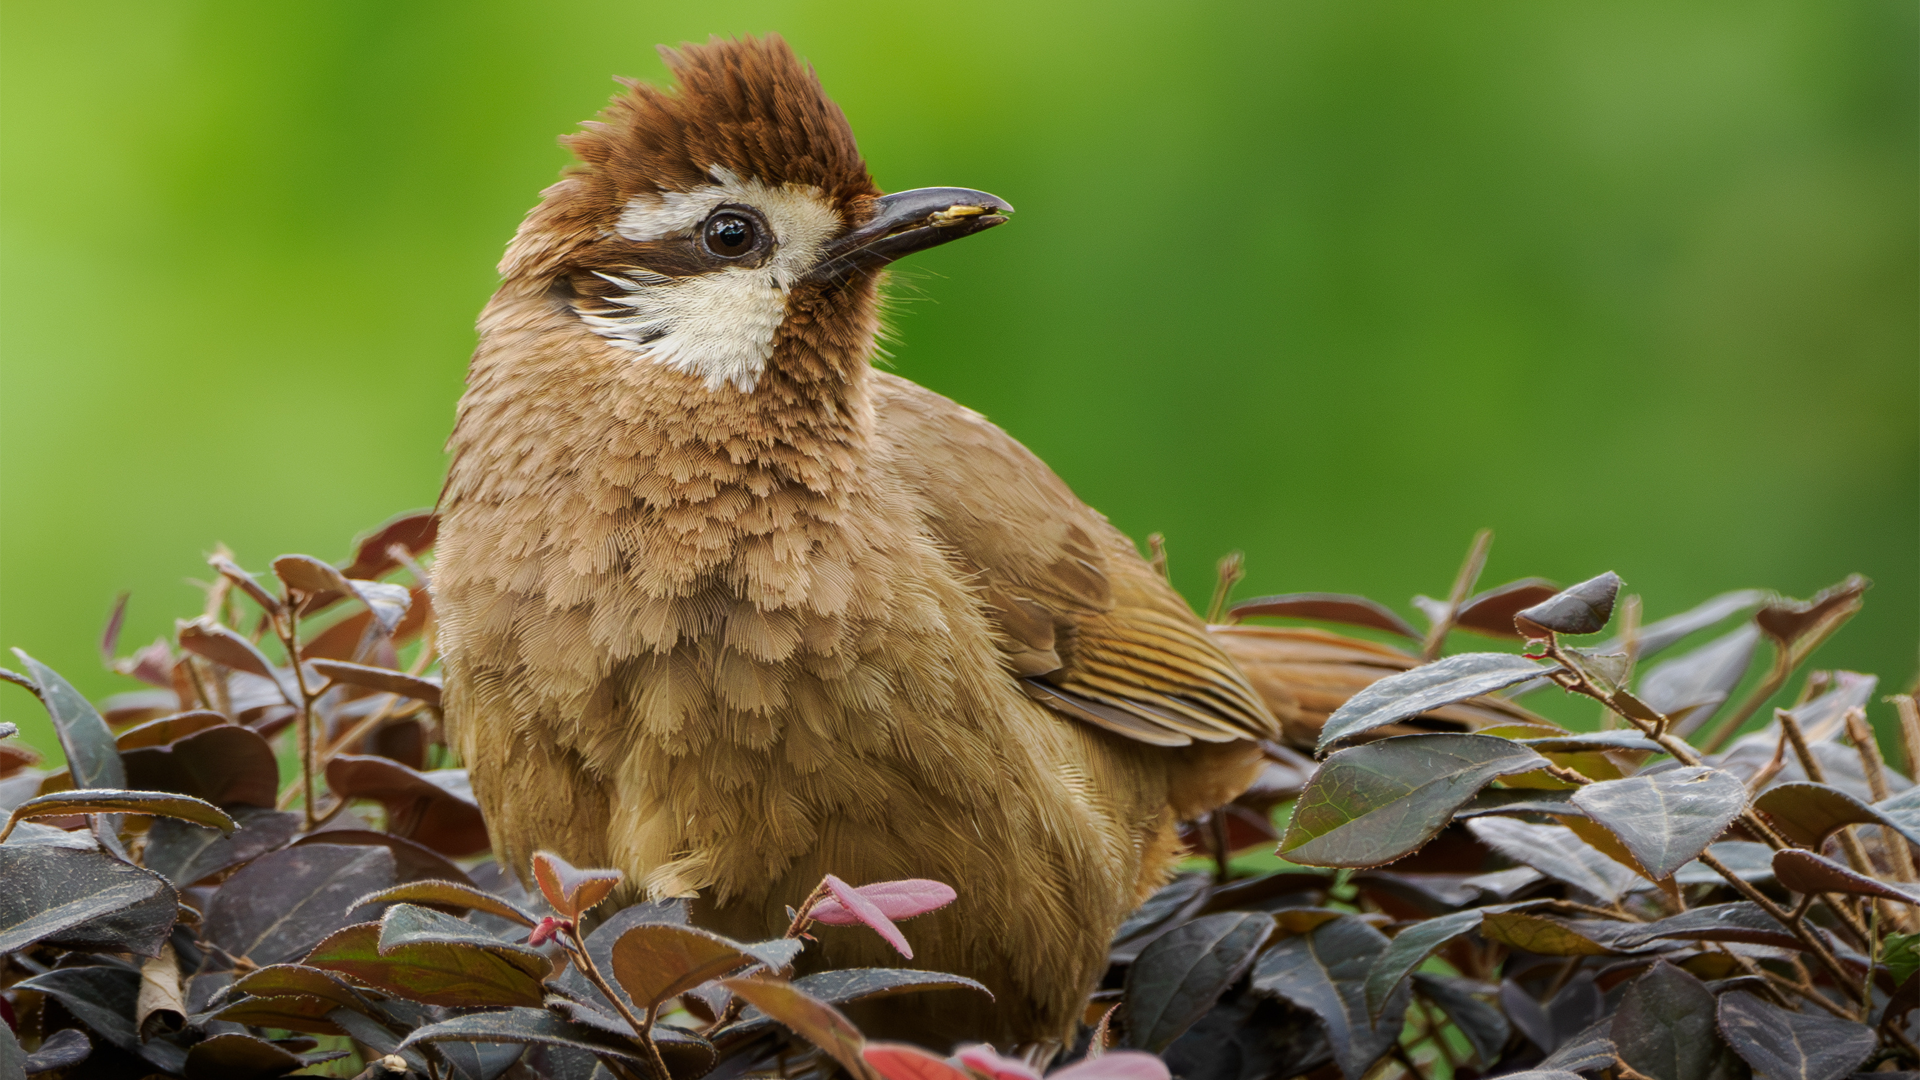
Another change in our gardens actually has to do with how we manicure our outdoor spaces. While we are accustomed to cleaning out our yards every fall, leaving the leaves can only serve to better our backyard biodiversity. Instead of tossing your leaves to the curb, leave them in garden beds or the edge of your property.
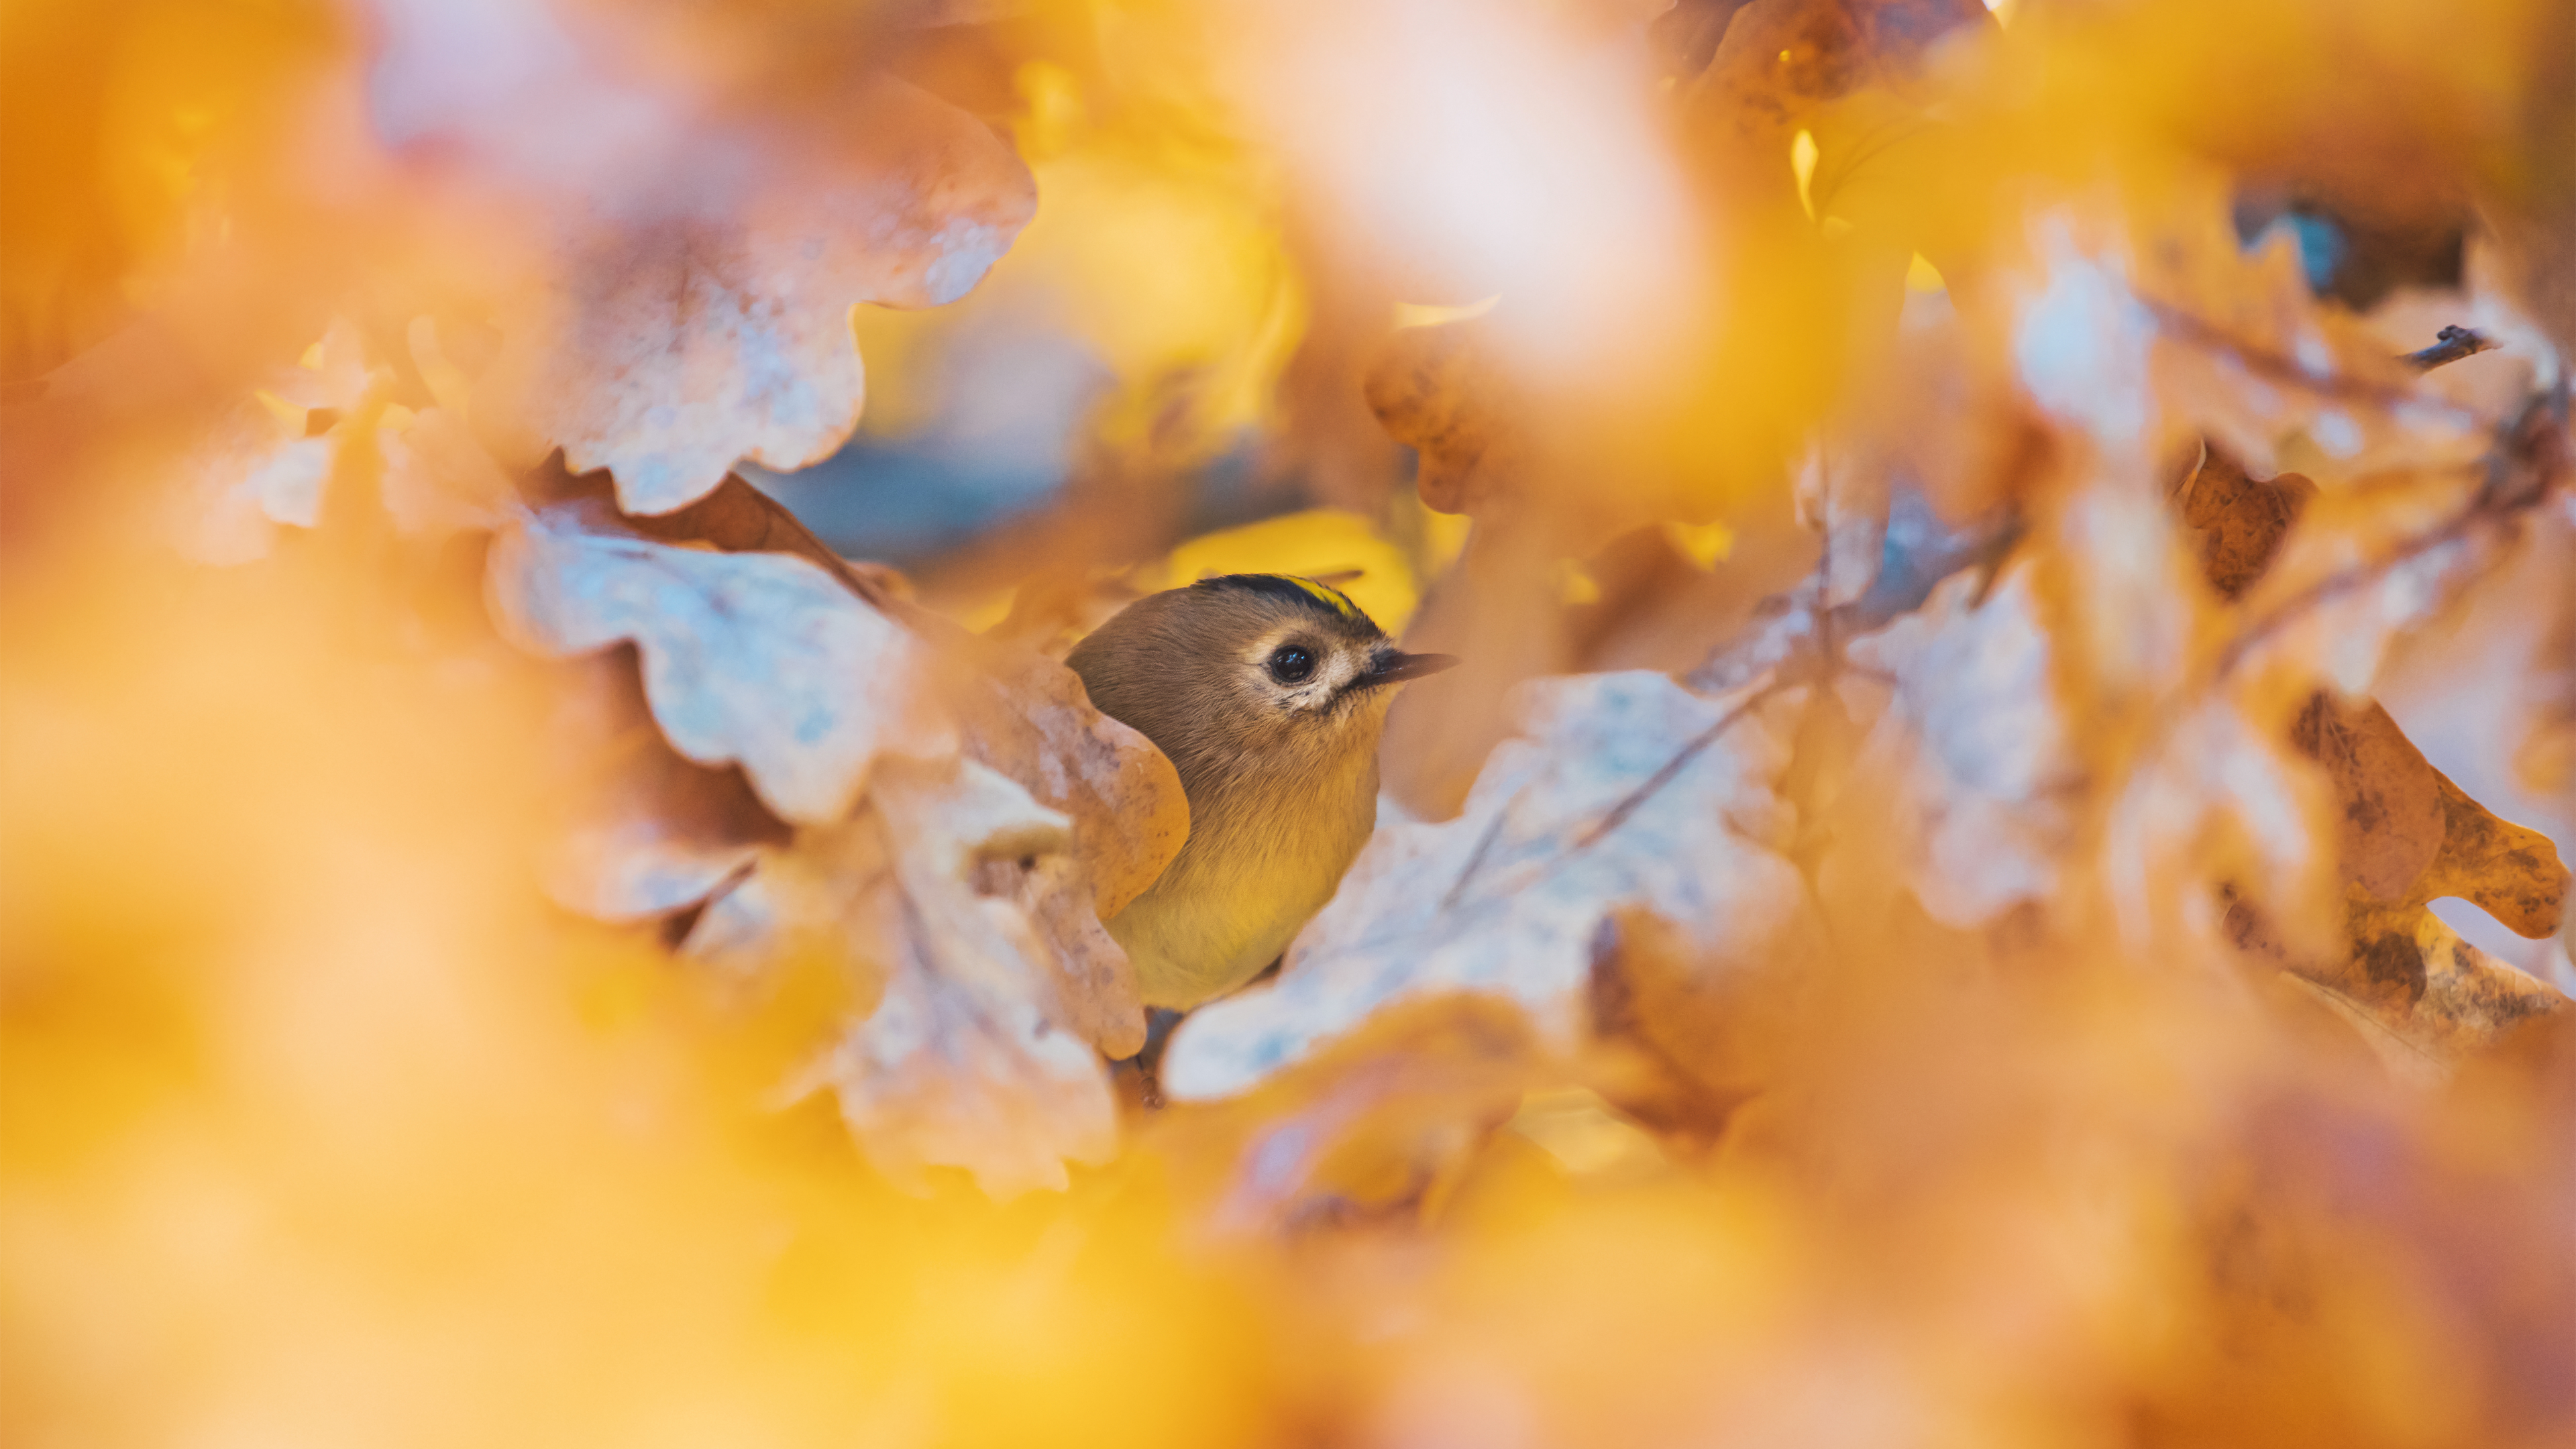
Wintering insects rely on leaf litter and ground debris in the colder months, and birds then feed on these insects. This can only serve to benefit your backyard microenvironment and other non-bird species like bumblebees, which keep our gardens pollinated and happy. Additionally, use fallen branches, old Christmas trees, and dead annual plants to build a brush pile. This provides even more shelter for the birds and serves as prime roosting habitat for certain species. When paired with native shrubs, you can simulate a naturally occurring woodland environment and attract a greater variety of species.
Location, Location, Location
There’s much to consider when deciding where to place our feeders. This is especially true where photography is concerned. First, a feeder should be at least 10 feet from any object that something like a squirrel can jump from. We mentioned this when talking about cover, but this applies to any object that a squirrel can jump from. From experience, we can say that they’ll still try and, in some cases, they will succeed. The trick here is to limit their opportunities.
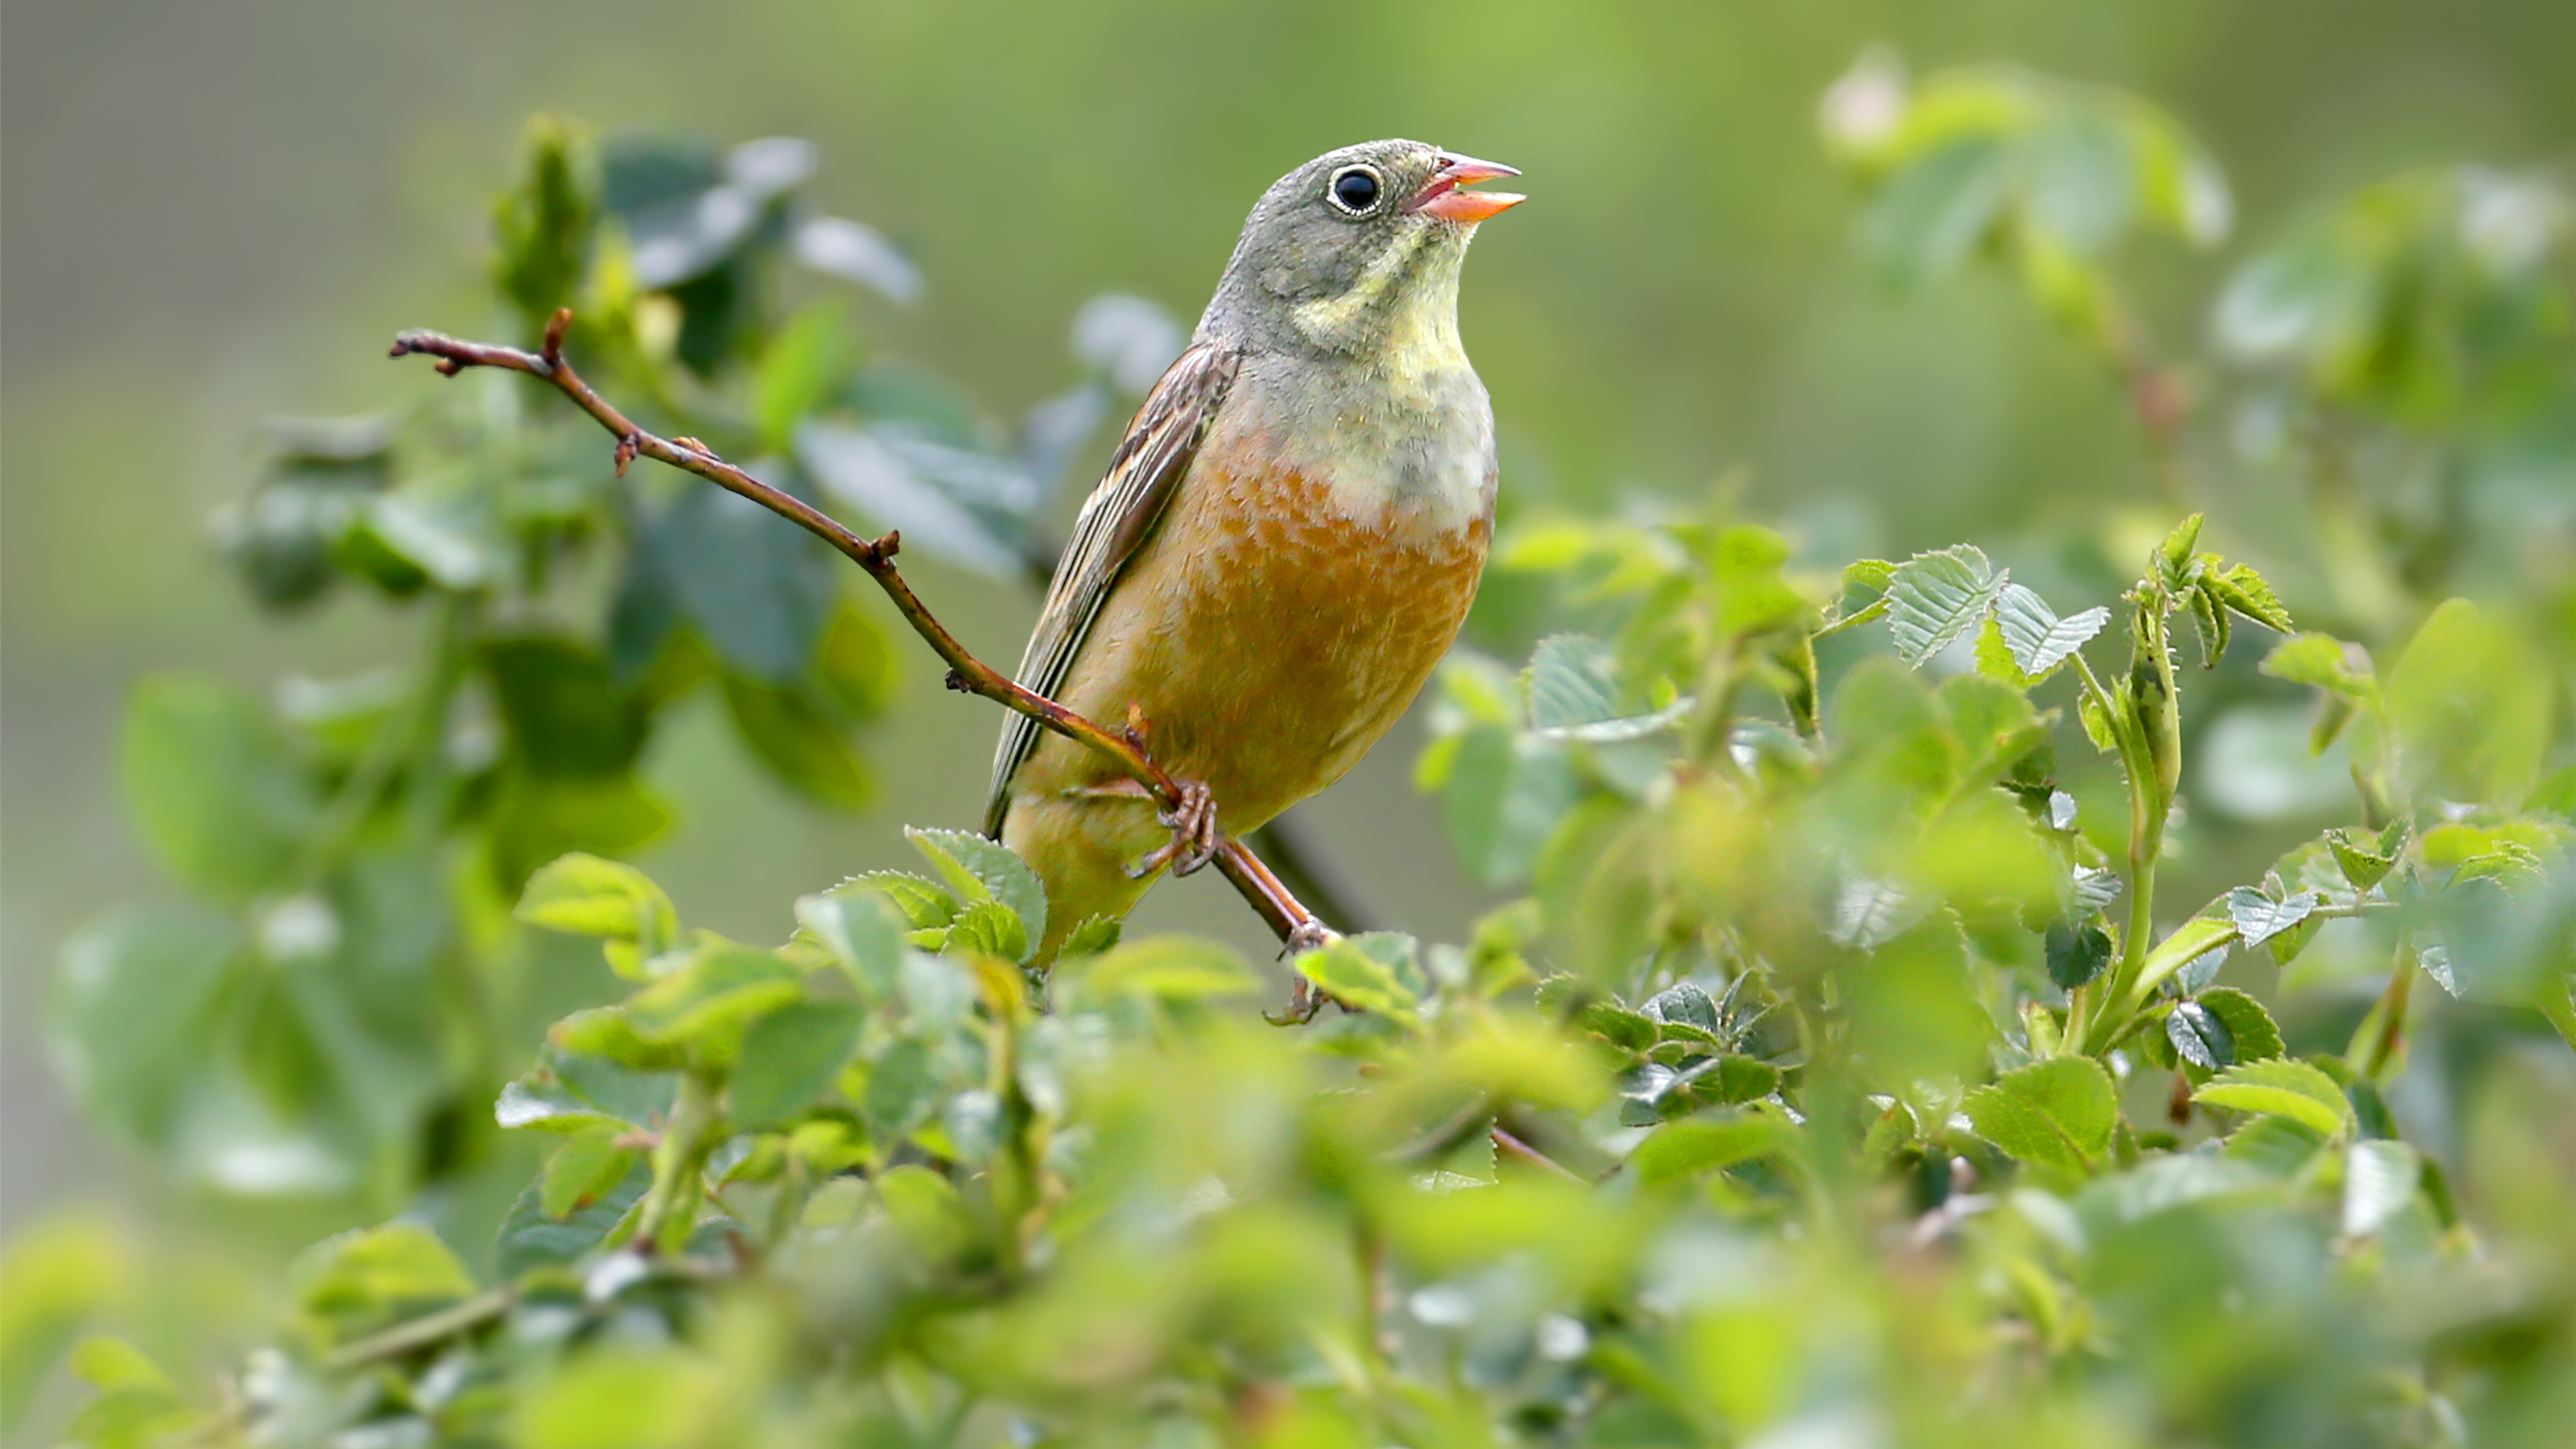
Second, as mentioned earlier, make sure that there is a clear path to cover, and if possible, situate yourself in a way that this cover can also be photographed, whether as a perch or in the background. Such dense shrubbery can make for clean, green backgrounds or can add depth to an image. This is a topic that the casual backyard bird watcher may not consider, but backgrounds are the key to great images.
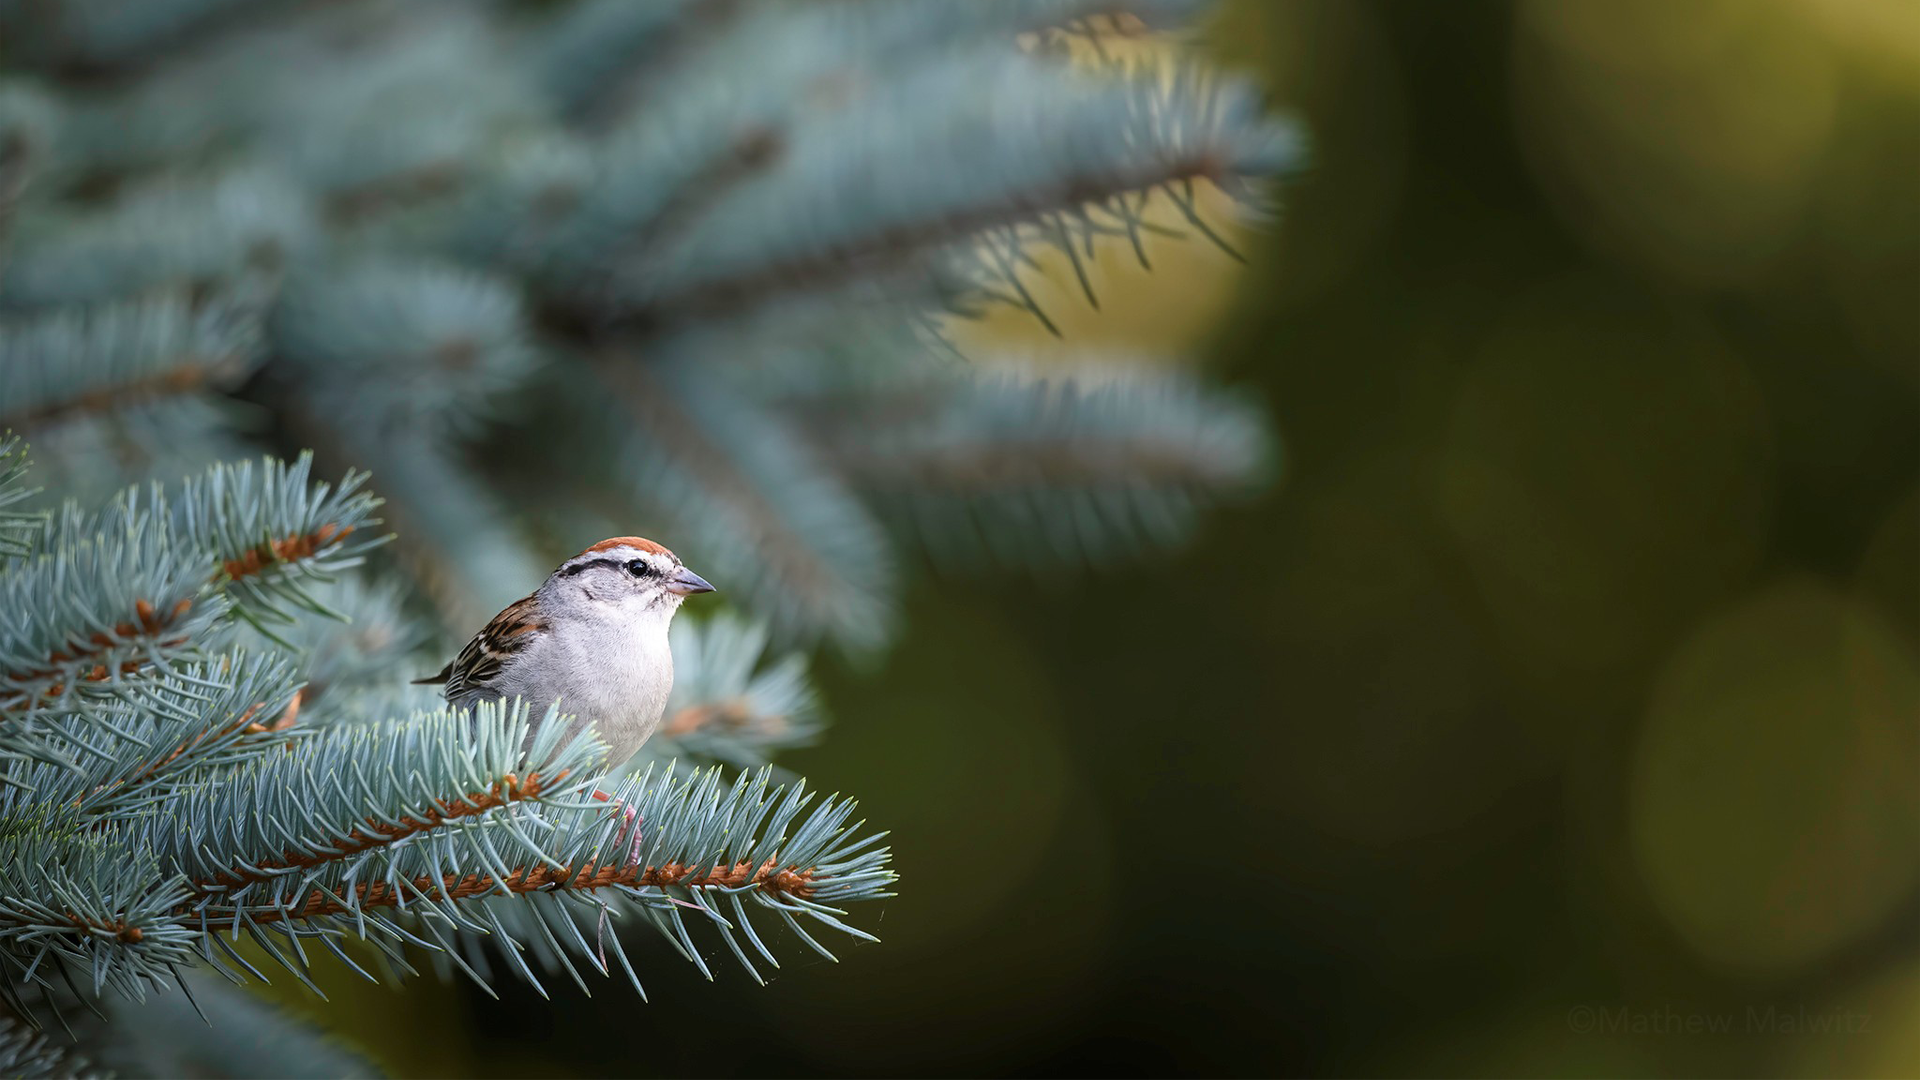
Consider where you’ll likely be photographing the birds from and look at the possible backgrounds visible from that spot. Set the feeder up in front of the best possible background and be sure it’s closer to your position than the background. We do this as the closer we are to our subject, and the farther it is from the background, the blurrier our background appears in the final image.
It's worth noting that you should also consider where you’ll be photographing the birds not just in the surrounding foliage, but when they come to the feeding station itself. This is what will drive them close and out into the open, but a shot of a bird on a metal pole or colorful plastic feeder isn’t necessarily eye-catching. How do we address this issue?
Setting the Stage
To give our birds a more natural spot to sit as they wait their turn at the feeder, we’re going to attach branches directly to the feeder poll itself. With both permanent and temporary solutions, we can clamp branches to our feeder and promote the birds to land on these as they stage, or wait their turn, before visiting the feeder. There are two easy ways to achieve this. A super clamp attached to the feeder pole paired with a smaller jaw clamp for the branch can support a good bit of weight.


A good perch should be more than just the first stick you find on the ground. Take into consideration shape, texture, and color.
Don’t stop with just one perch, as multiple birds photographed on the same stick will look like an artificial setup. We recommend an assortment of perches to give birds options when approaching the feeder, but also to add variety to your images.


Now just because we’ve provided food, water, and cover doesn’t mean birds will immediately arrive. We’ll need to wait for them to arrive, and this can take some time. Even after they find this new oasis, it won’t be a 24/7 show. Birds only feed and forage as needed, and it can be anywhere from a few minutes to a few hours between visits. In fact, if you’ve never had a feeder or bird bath set up before, the birds may take some time to find your newly added food source.
When they do finally arrive, first instinct may be to run outside and get the shot! More often than not, this will scare the birds. Quite counterproductive. The birds need time to get used to your presence before they’re comfortable feeding with a big scary human onlooker. To expedite this process, we have some handy tips and tools to recommend.
The Gear
What’s a wildlife photography article without some form of gear talk. Before you skip ahead, know that in this section we’ll be focusing on gear exclusive to our backyard studio setup and leaving the general wildlife photography gear—such as cameras, lenses, and the like—to our dedicated guide.

One of the most effective tools at our disposable is the pop-up photo blind or hunting blind. These obscure our presence and movements, provided we’re quiet enough to not disturb the birds. A blind can be set up well in advance, allowing our future subject to become acquainted with it as part of their environment. While a great way of quickly getting yourself out there shooting, a blind isn’t for everybody.

While waiting for the birds, you don’t want to be stuck holding your camera up. No matter the size of your rig, your arms will tire well before anything photo worthy happens. When it does, the sudden movement of you raising your camera is sure to spook the birds off. For this reason, we want to use a tripod with a gimbal head. This not only keeps our camera stable and upright, but the gimbal head can be balanced and the controls left loose for quicker engagement.

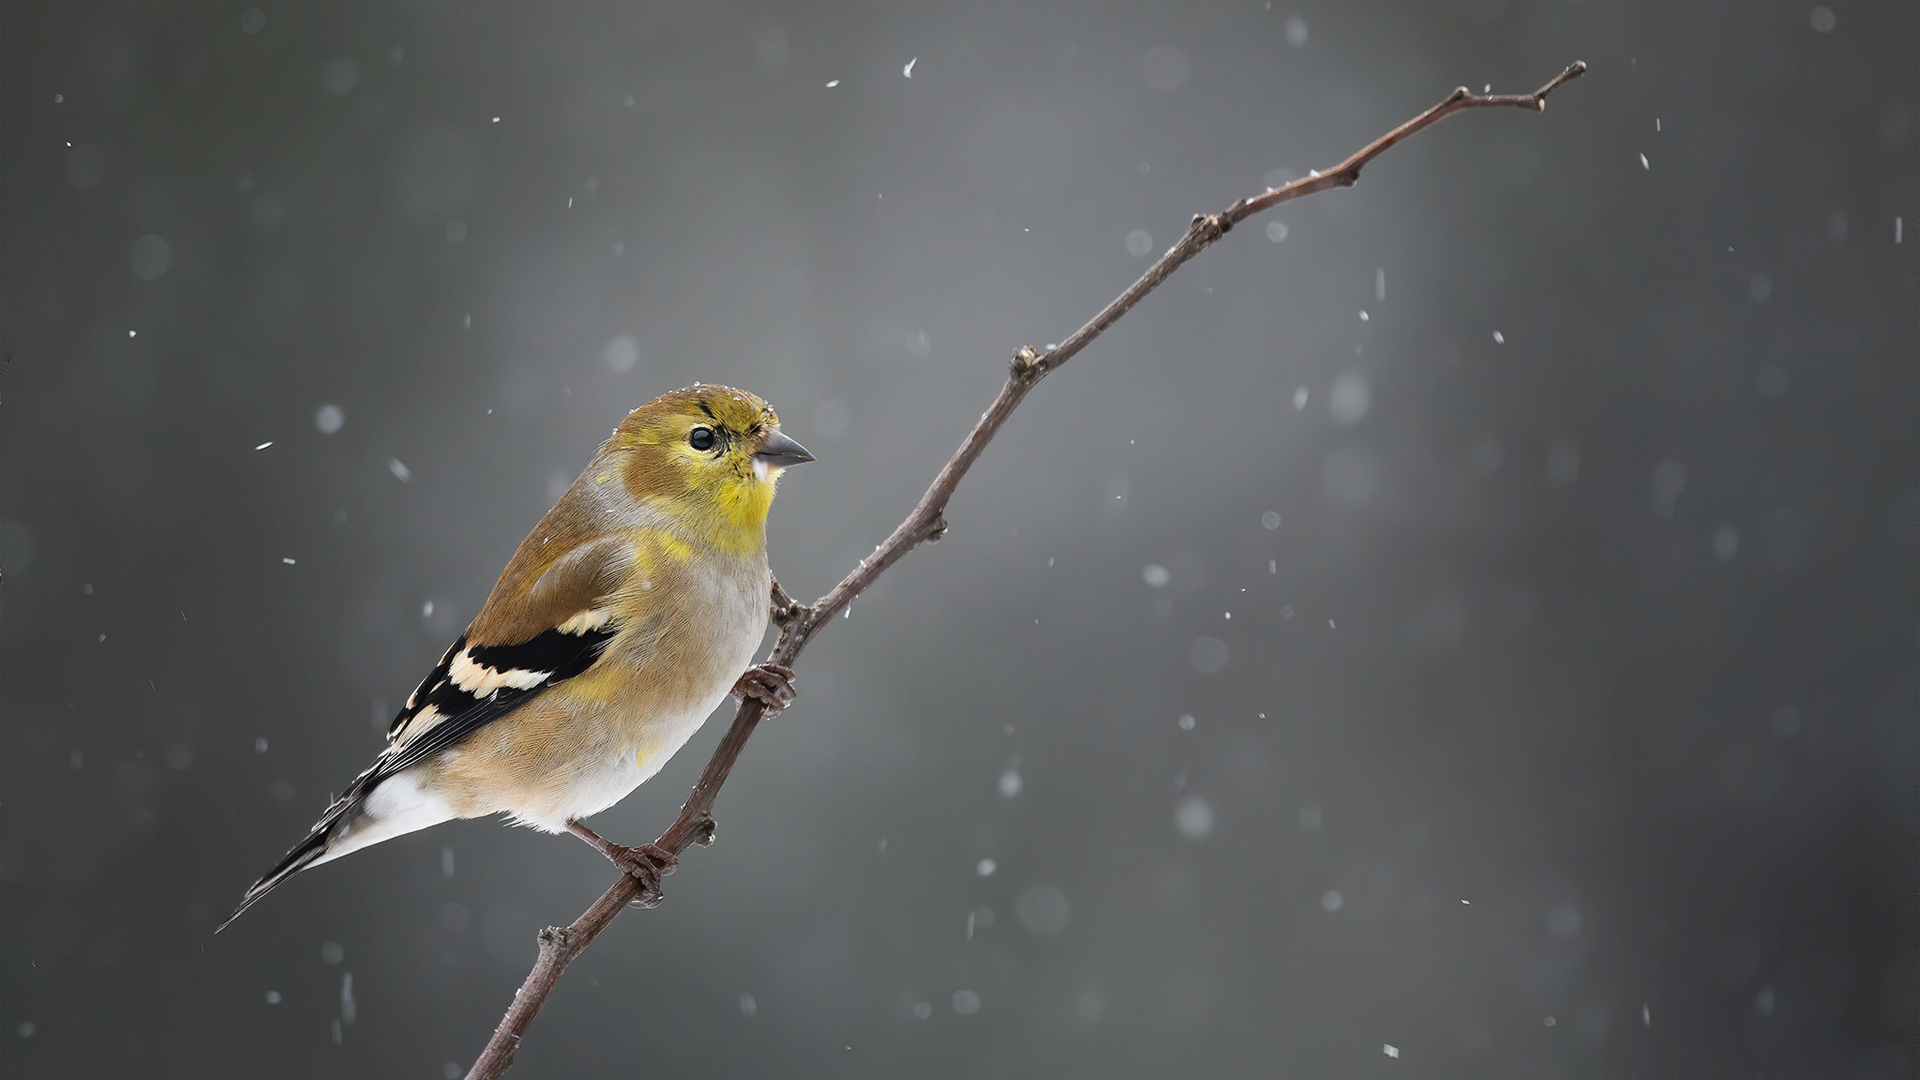
Inclement weather can lead to some of the most dramatic images imaginable. Don’t let a little rain or snow keep you hunkered down indoors and get out there! You’ll likely still want to head outside as shooting from inside your home can lead to the introduction of heat shimmer to your images as the warm air inside clashes with the colder air outside. As a result, a rain sleeve is highly recommended.
If attaching a perch directly to your feeder pole is not possible, or you’re just looking for a temporary solution, we have you covered. A general-purpose light stand can be used to prop up sticks and perches quickly. Alternatively, clamps and zip-ties can be implemented to secure these for longer term uses.

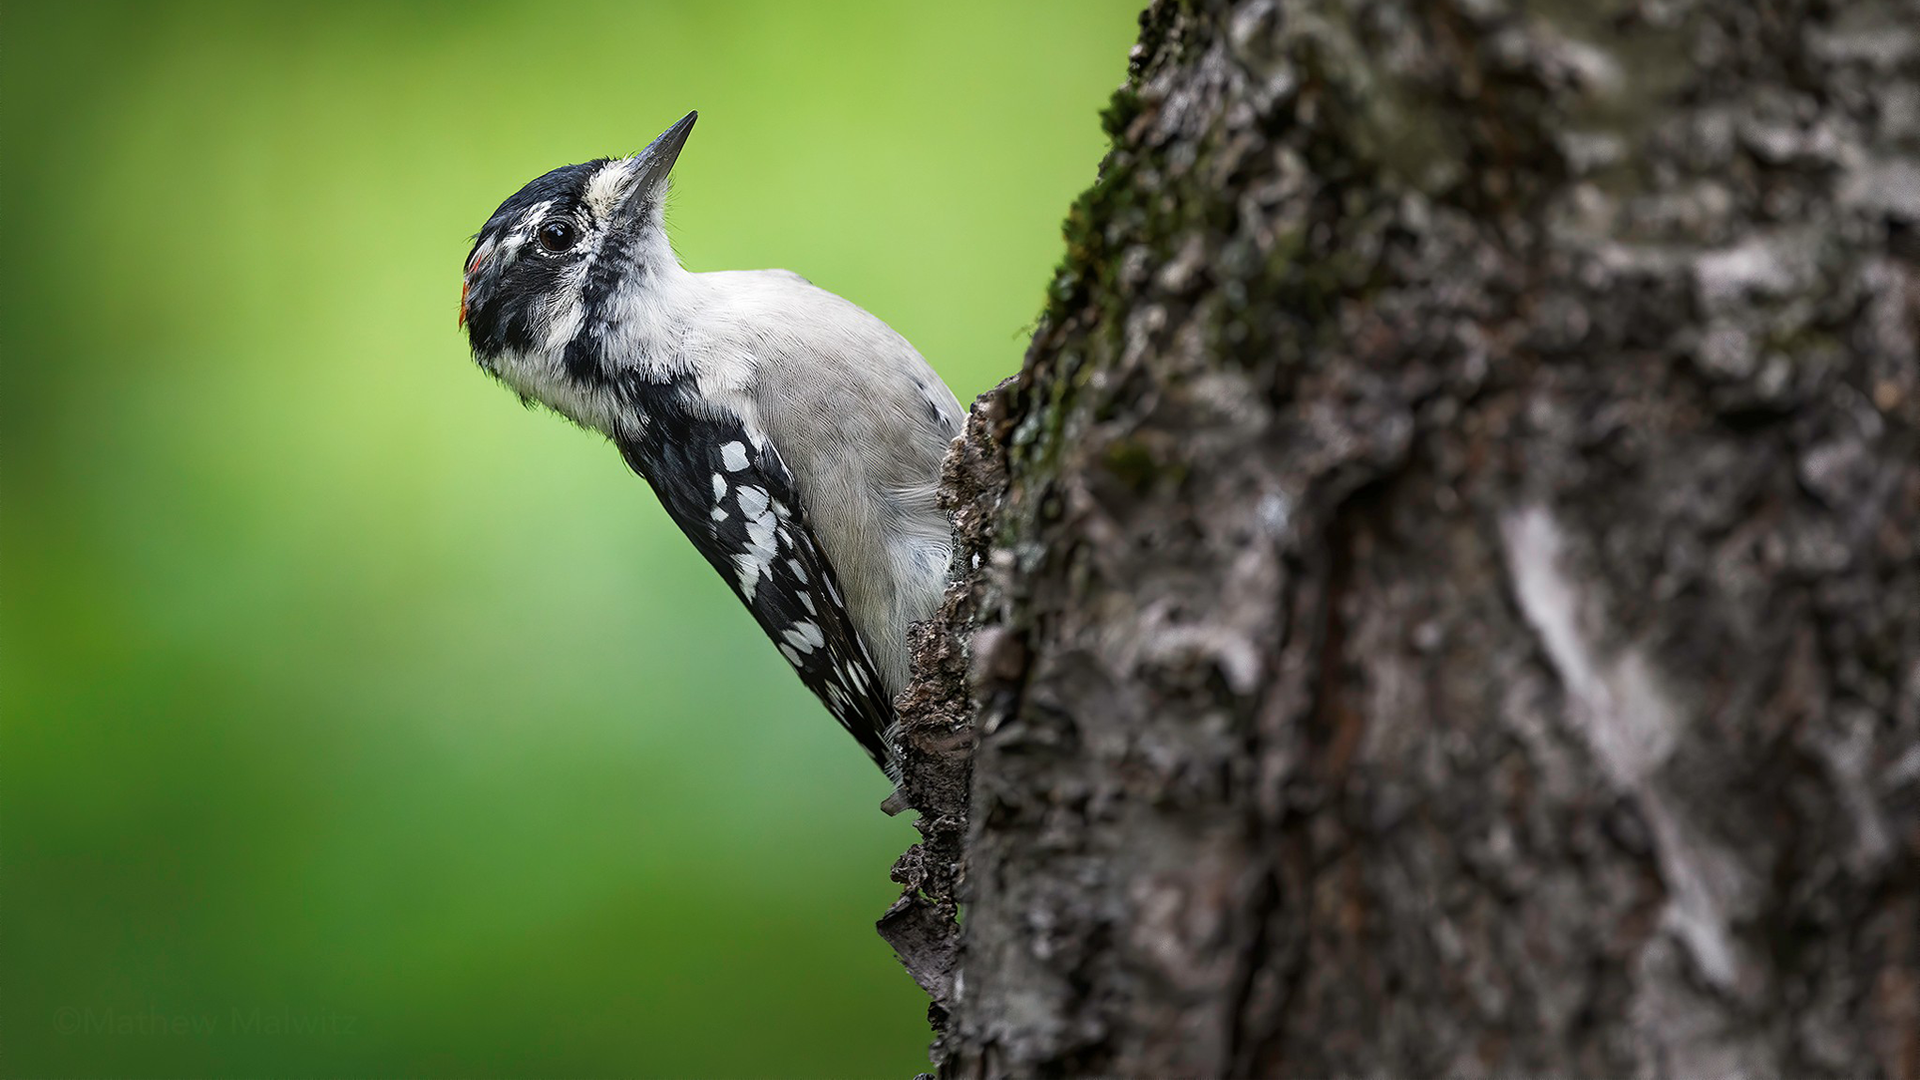
For woodpeckers, thicker logs are best as they most accurately represent the types of branches these birds would naturally forage on. While we’re sure you could find something at B&H to accommodate a heavier load, we’re in the business of saving you some money on the extras so you can still get that new lens or camera bag you’re thinking of.
There are two solutions for these larger branches, and both can be made with supplies found at your local hardware store. First is a simple Christmas tree stand. Specifically, the plastic tub looking ones with multiple thumb screws and a reservoir. The screws will secure the perch in place, while the extra reservoir space can be filled with sand or gravel to weigh the whole setup down. Alternatively, simply place your perch in a 5-gallon bucket and fill the surrounding space up with sand or gravel.
Tips & Techniques
We now have the tools and knowledge required to turn our yard into a mini bird paradise, but how do we conduct ourselves in the field? There’s a lot to cover here, and wildlife photography field craft is too dense to fully cover here. That said, here are some tips and techniques to aid you in capturing the shots you want now that you have the stage to do so.
Move Slowly
As mentioned above, quick movements can startle and scare off birds. If a photo blind is out of the question or simply unavailable, you can still get the photos you’re after. To do so, you’ll need to move slowly and fluidly. Be aware that some species are more skittish than others, and will subsequently take longer to become accustomed to your presence.
Patience Is Key
We know, we know, you’ve heard this one before, but patience is key. Wildlife, even when presented with a succulent buffet of delectable seeds and treats, do things at their own pace and in their own time. The birds in your yard need to become accustomed to your presence in their space, so don’t give up when it appears that you’re scaring the birds.
You may think that an easy way of skirting this process is to shoot from inside the house, but be aware of heat shimmer in the colder months. The warm air from inside will interact with the cold outdoors and result in less-than-optimal image quality. If you choose to try this method, both indoor and outdoor temperatures should be close, or simply stick your lens farther outside that window until you get the sharpness you’re after.
Keep It Clean
A clean setup is a happy setup. Empty and clean water dishes up to once a day, especially in warmer weather. Birds are not only drinking this water, but bathing in it and of course, leaving excrement. Feeders should also be cleaned anywhere from once monthly to once weekly, depending on weather conditions. Diseases can spread among certain species such as conjunctivitis, which can blind birds.
To clean your feeders, disassemble them and scrub all parts in hot, soapy water with a brush. Leave the components to dry completely before reassembling. If you see a sick bird or routinely find accumulations of feces and/or moldy seed remnants, you can take things a step further by soaking the parts for about 10 minutes in a solution of 1 part bleach to 9 parts water.
Clean the area beneath your feeders as well to prevent mold build-up and unwanted rodents from visiting. If this sounds like a hassle, you can choose “no-mess” or “deck-blend” mixes of seed which are free of shells and other waste items. Some debris will still make it to the ground, but not to worry. Anything that falls will likely be picked up by doves or sparrows, who prefer to feed on the ground.
Hummingbird Quick Tips
Hummingbirds are a common visitor to more wooded backyards and yes, there’s a feeder for them. Hummingbird feeders are a little different as they offer up “nectar” instead of seeds or berries. A sugar-water solution is the closest thing we can make, and it’s easy enough to do so at home. Avoid dyed store-bought nectars as these can be harmful to the birds and instead make your own by boiling a solution one part sugar to four parts water. Alternatively, hummingbirds benefit the most from gardening with birds in mind.
Hummingbirds are attracted by reds and oranges, as they typically feed on the nectar found in flowers with these colors. This is why many feeders are red or yellow in color. Planting flowers native to your region can aid you attracting these birds to your yard, though remember one thing. Hummingbirds are territorial. The more flowers you plant, the more options hummingbirds have when feeding and less conflict you’ll invite. Additionally, they don’t cohabitate well with other backyard visitors. For that reason, we recommend choosing an isolated space to plant and place at least one or two feeders nearby and way from where other birds dwell.
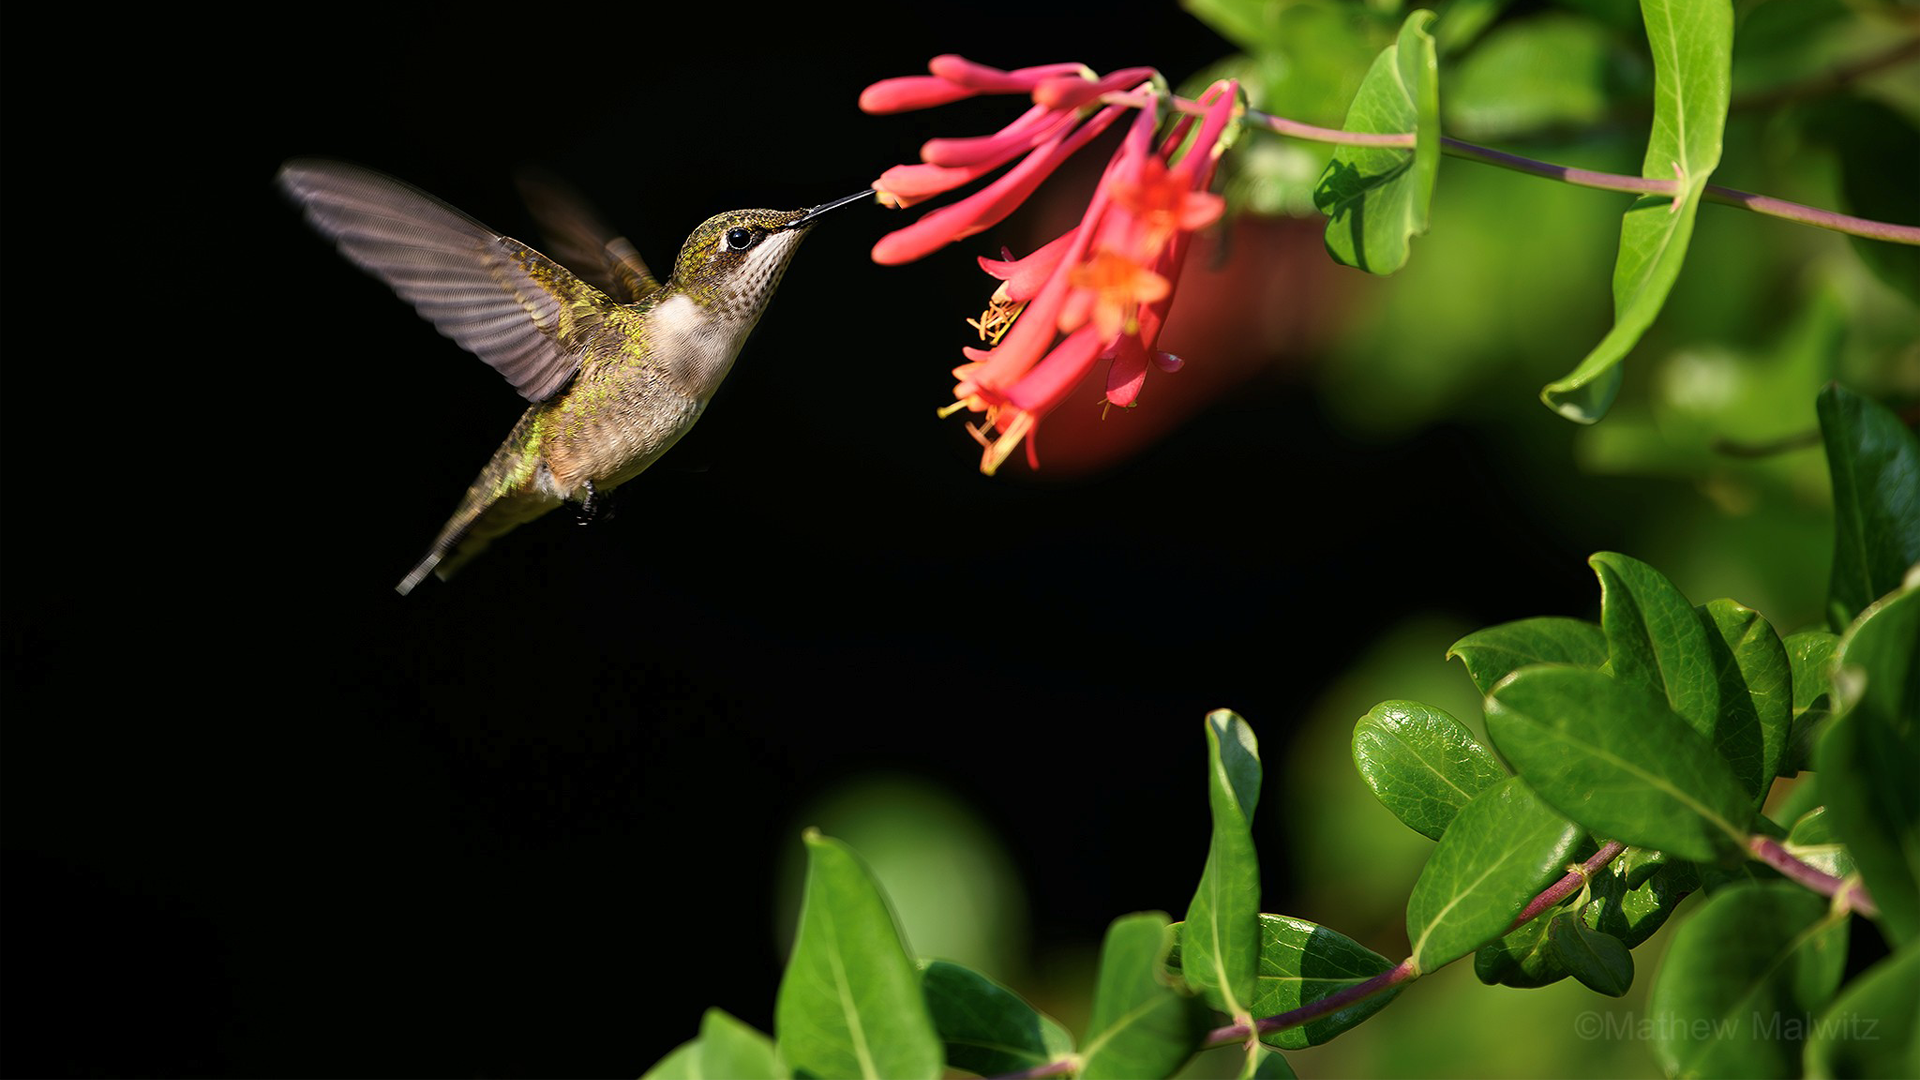
When ready to take some photos, there are steps we can take to maximize our chances. First, cover all but one or two of the ports on your feeder. This forces the birds to focus on one side, meaning you can prefocus on the feeder and know where the bird will likely be. Just before and while feeding, the birds will often pause briefly—this is the moment we’re after!
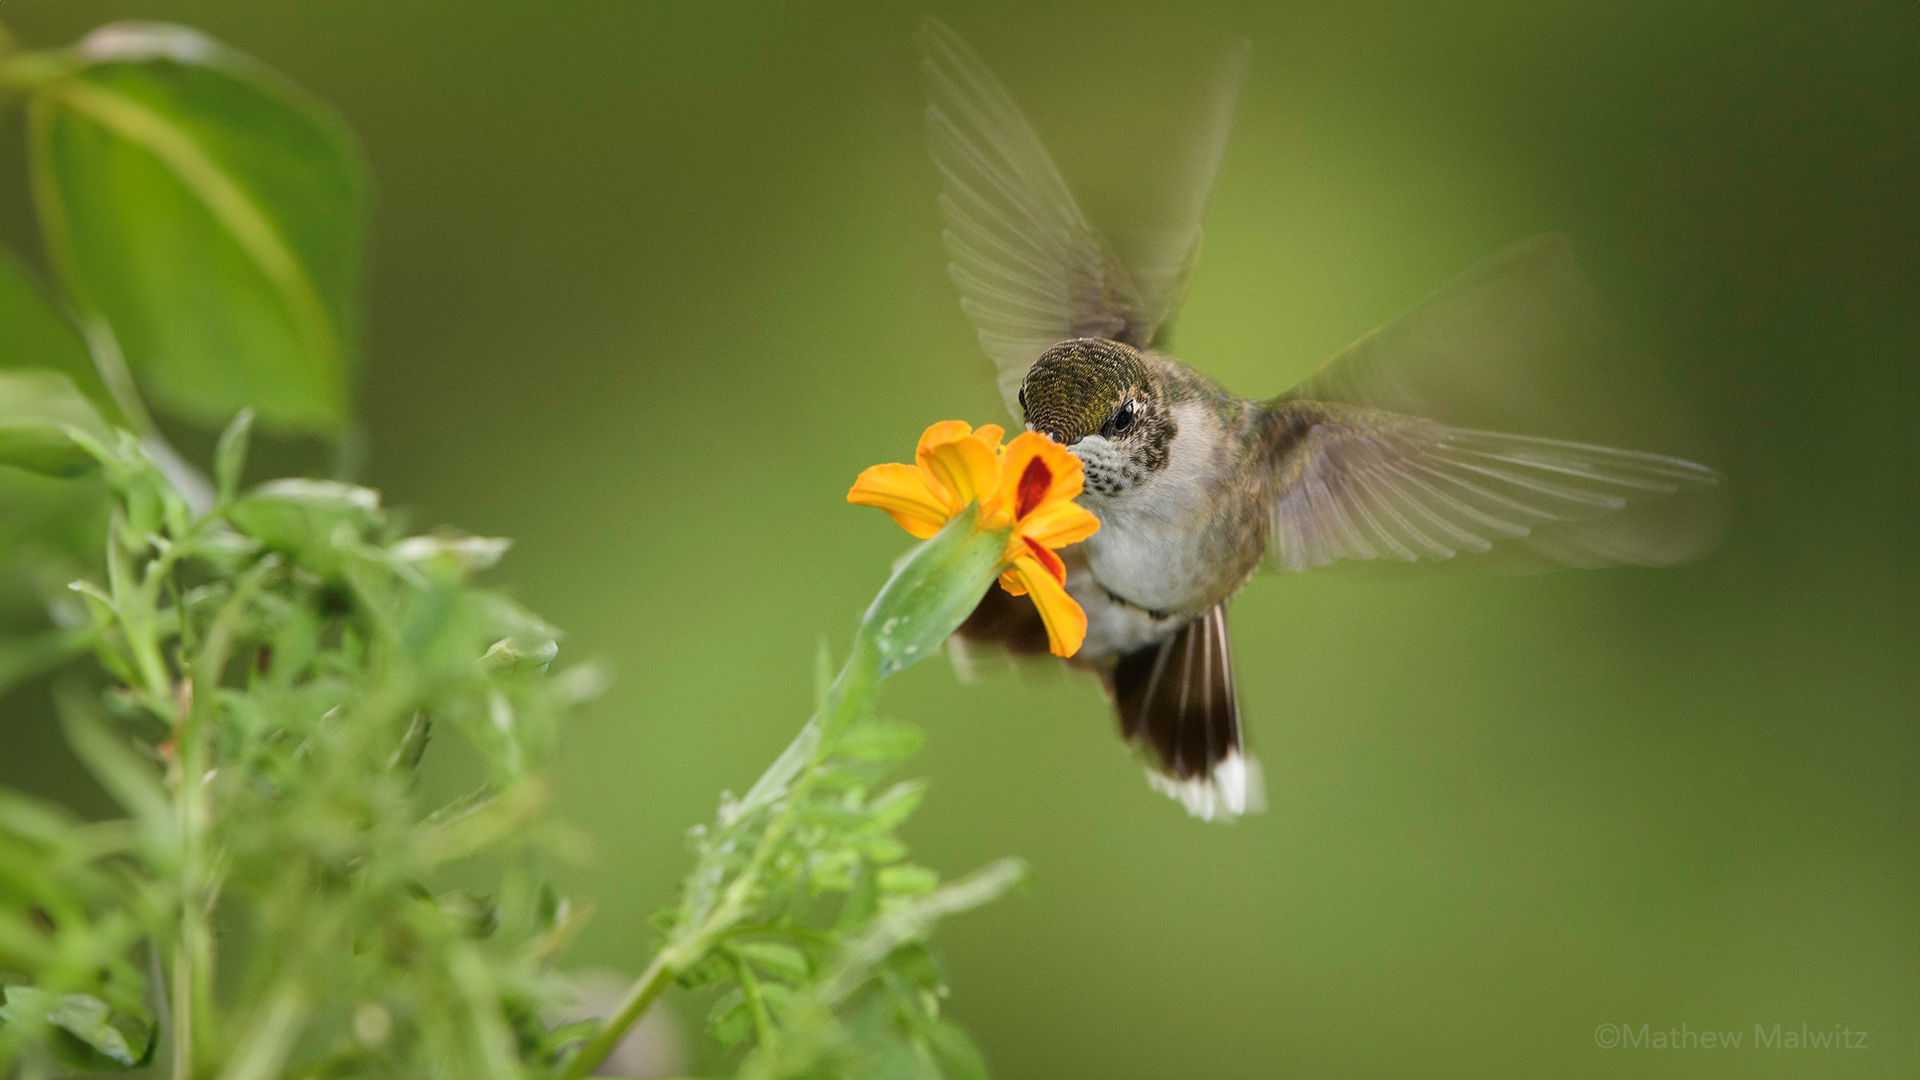
To take things up a notch, we can aim our efforts at the flowers. The goal is to capture an image in a natural-looking environment and both the flower the bird is feeding on, as well as other bits of foliage in the background can aid us in achieving this effect. If photography is your main goal, you can further control the stage by only supplying potted plants to your outdoor space. Remove all but one when you’re planning to take photos in order to limit where the hummingbirds can feed during the shoot. Return all flowers to their original places when done.
Put It to Practice
Bird photography can take you to some exotic places, but it should also be a relaxing past time. Next time you’re stuck not knowing where to go, head outside and see what’s in your neck of the woods. If you don’t have a sizable yard, or a yard at all, put a tray of water or a suet feeder on your balcony. You never know who may visit.
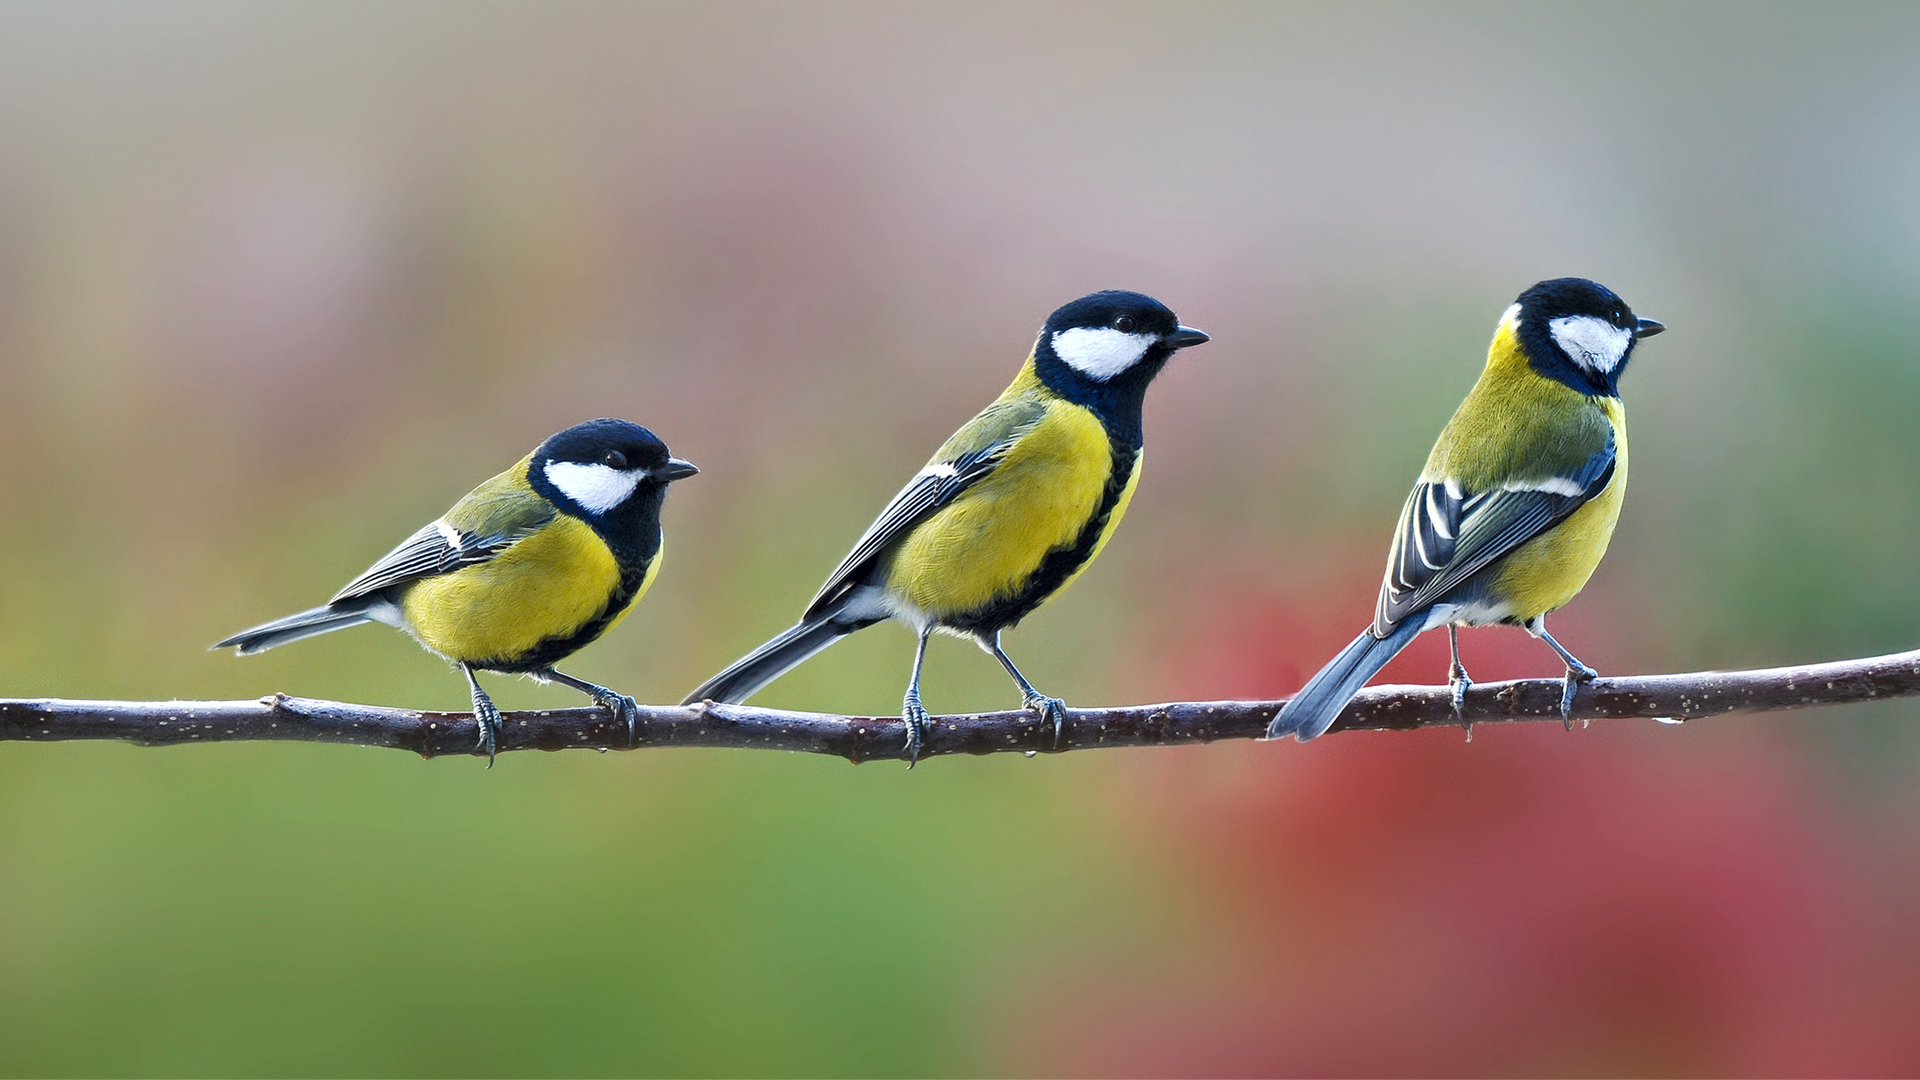
As artists, we’re always learning. Never discount the benefits of a new tool in your arsenal and always be open to new ways of doing things. To learn more about bird photography and all things in the medium, check out our educational guides, reviews and articles on the B&H Explora Page!
