
Despite what you might have seen on the internet, you don’t need all the money and time in the world to photograph wildlife. Sure, an African safari would be nice, but it is by no means the only way to capture stunning images of wild animals. In fact, regardless of where you live, odds are there’s a vast ecosystem that likely goes unnoticed. If you have trees in your neighborhood, you’re off to a great start.
What You Need to Photograph Wildlife
While gear plays a crucial role in our ability to photograph wildlife, it isn’t everything. In this guide, our focus will primarily be on the techniques used to make more compositionally strong images and not the tools needed to do so. However, we need to address the basics. For a more comprehensive look at gear, check out our guide to the top gear for wildlife photographers.
The Camera
The first step is getting a camera. If you already have one, great; if not, here’s what to look for. We want either a mirrorless or DSLR interchangeable lens camera. These give the user the ability to manually control exposure settings and will allow the use of high quality super-telephoto glass. There’s a lot to consider when selecting a camera, so much so that we have a handy guide focused on just that.
Long Lenses
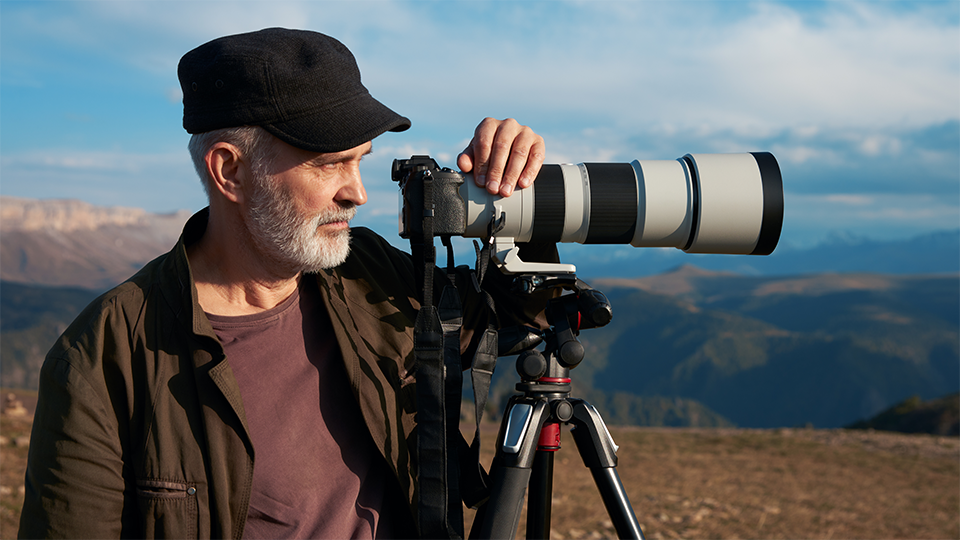
To choose the right lens, there’s a lot to consider. Do we want a prime or a zoom lens? What kind of maximum aperture do we want? Not all lenses are made equal, and it’s up to the photographer to decide which features they want to prioritize. As of the writing of this article, it’s safe to say that there are no wrong answers. Modern lenses of all levels are sharp enough to produce sharp images.
There are two lens types to worry about and those are prime and zoom lenses. Fixed focal length prime lenses deliver greater subject isolation via shallower a depth of field as well as greater overall image quality. That fixed focal length means you need to physically move to make your subject appear larger or smaller in the frame. Zoom lenses are smaller and often cheaper than primes. They don’t have the same light gathering ability, but they offer greater versatility, with the ability to simply rotate the zoom ring to extend your focal length.
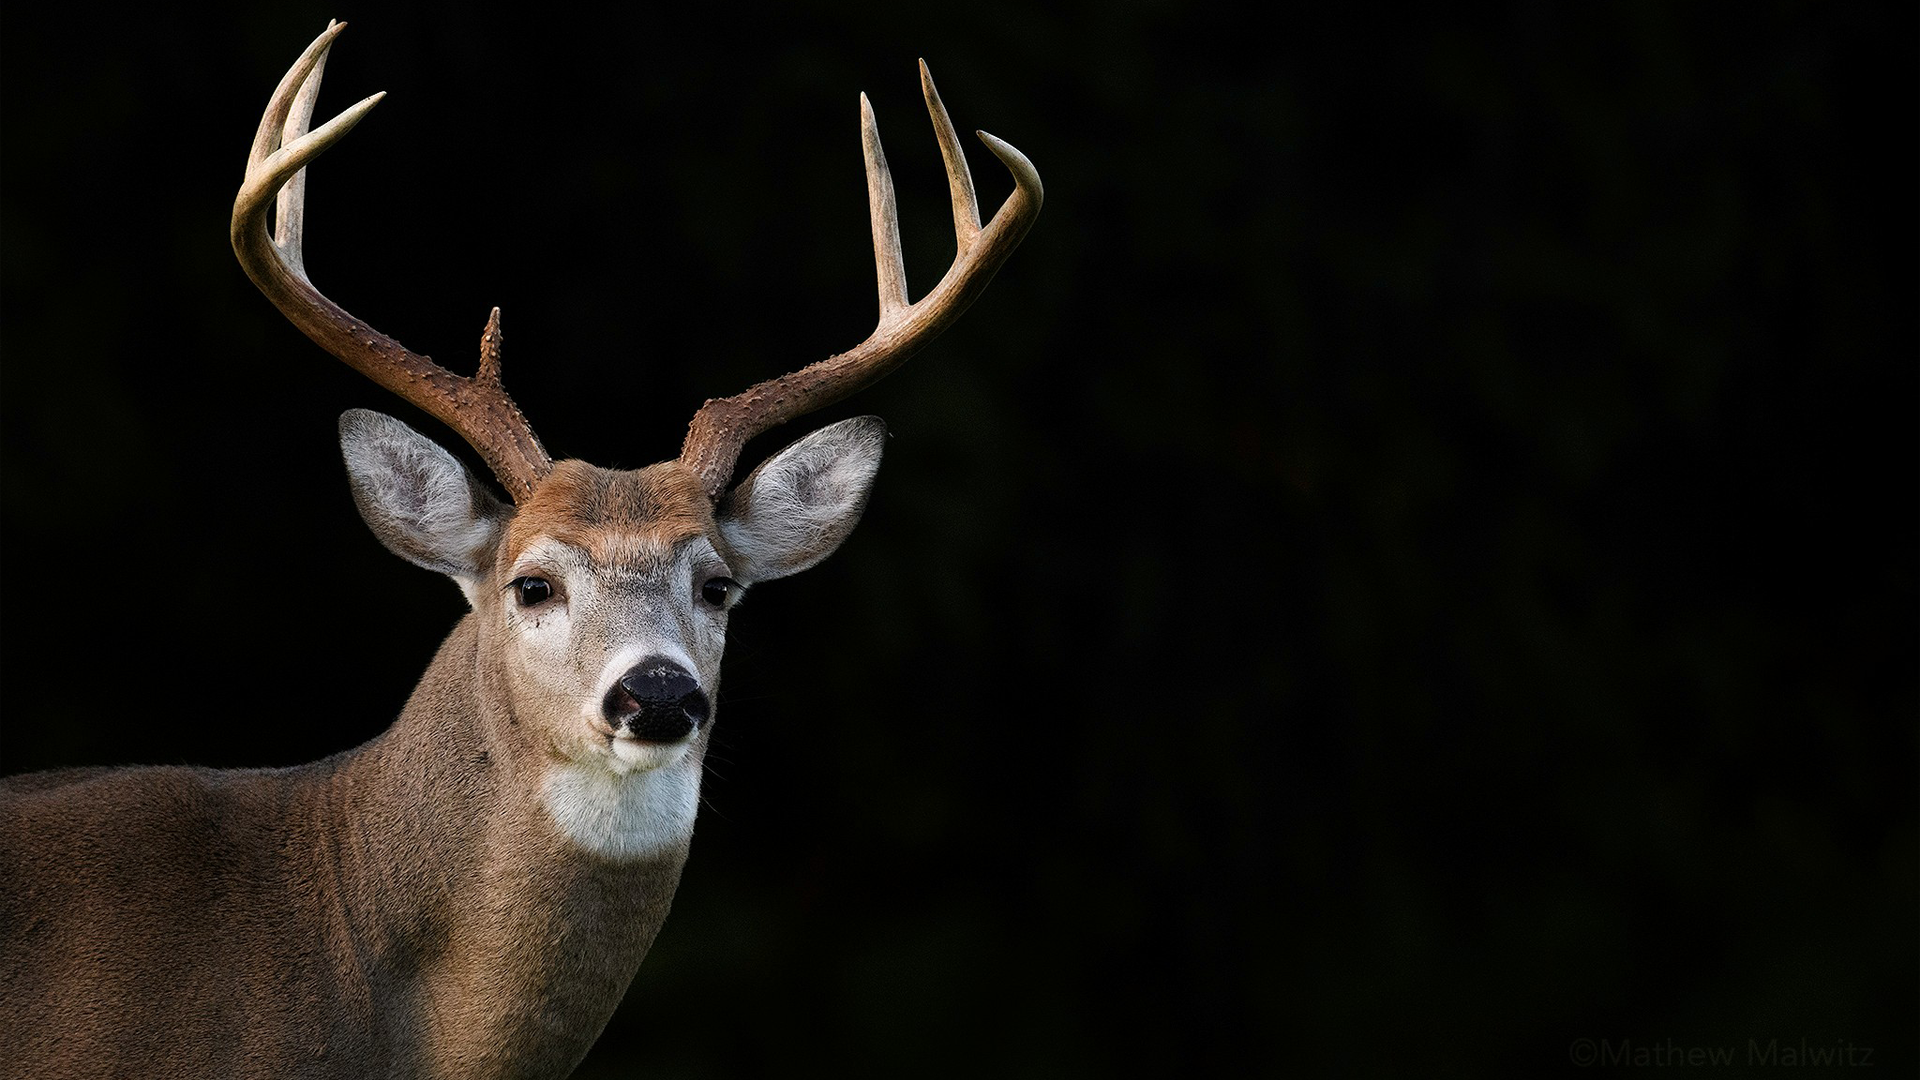
Focal length refers to the field of view and magnification of a lens. The greater the focal length, the more we magnify our image. Any lens with a focal length of 300mm or longer is considered long or super-telephoto. The smaller your quarry, the more lens you’ll likely want. 300-400mm is perfectly fine for big game like Elk or Moose. 400mm and longer is best for smaller subjects like birds. 600mm is the sweet spot for most wildlife photographers.
Getting Started
You’d be surprised at what you can see just by sitting in your own backyard, but if a backyard is not available, head to a local park or nature reserve. This doesn’t need to be some clandestine hideaway with little to know human presence. Busy suburban parks are perfectly suited for the fledgling wildlife photographer. Both because they’re accessible, but also because they tend to offer something the deep wilds of the world don’t. Animals that are accustomed to human presence.
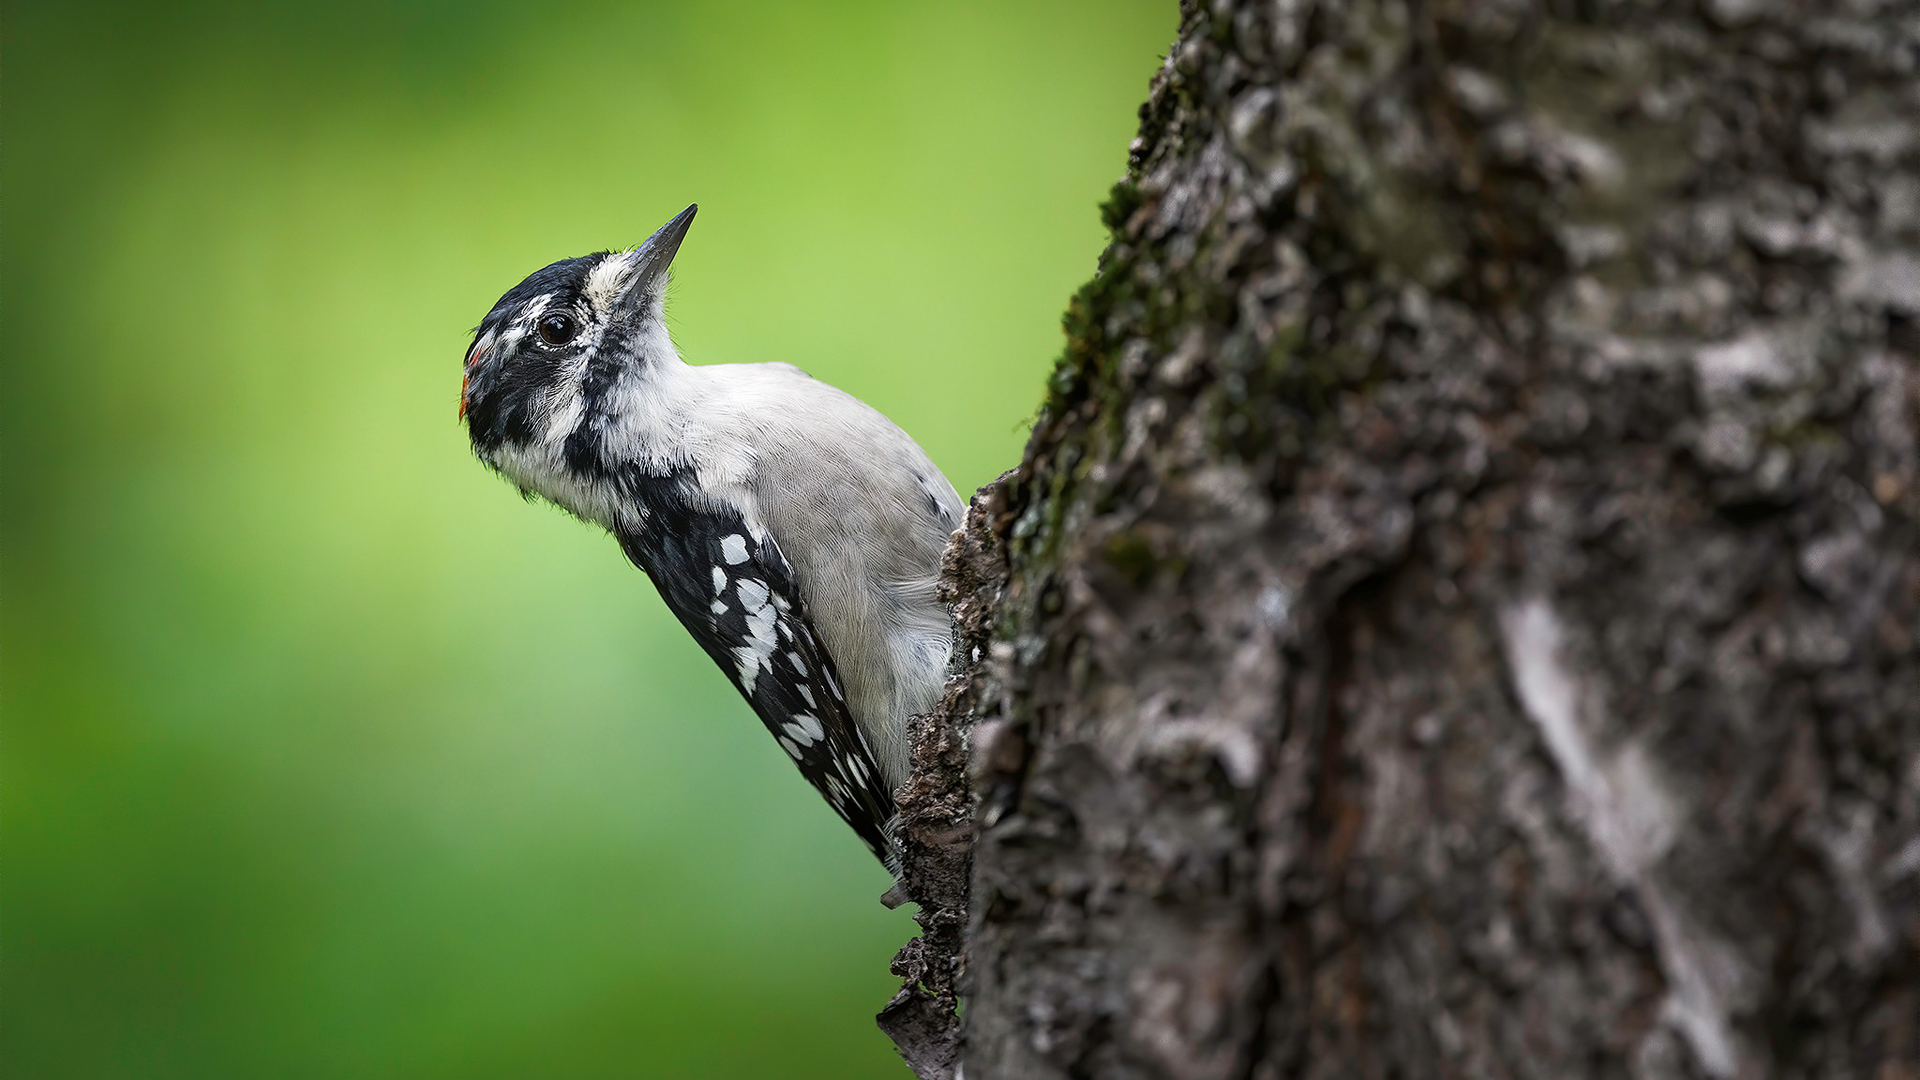
Some of the first wild animals you’ll likely see would be the lowly chipmunk or squirrel. Often viewed as pests, these woodland creatures are quite adorable when viewed out in their element. Another abundant species that frequents suburban park habitats are the Great Blue Heron, Red-tailed Hawk, and of course various woodpeckers.
Beaches are a great place to relax in the sun and put your skills to the test. You know them, you probably hate them, but gulls are some of the best large birds to practice on, as they’re too preoccupied figuring out how to rob you of your lunch than to fly away in fear.
The more time you spend outside, the more likely you are to see some of the less common wildlife in your area. One of the first species you may encounter is a heron. In our neck of the woods. That could be a Great Blue, Green Heron, or a Black-Crowned Night Heron. These birds are typically pretty used to people and frequent busy city parks.
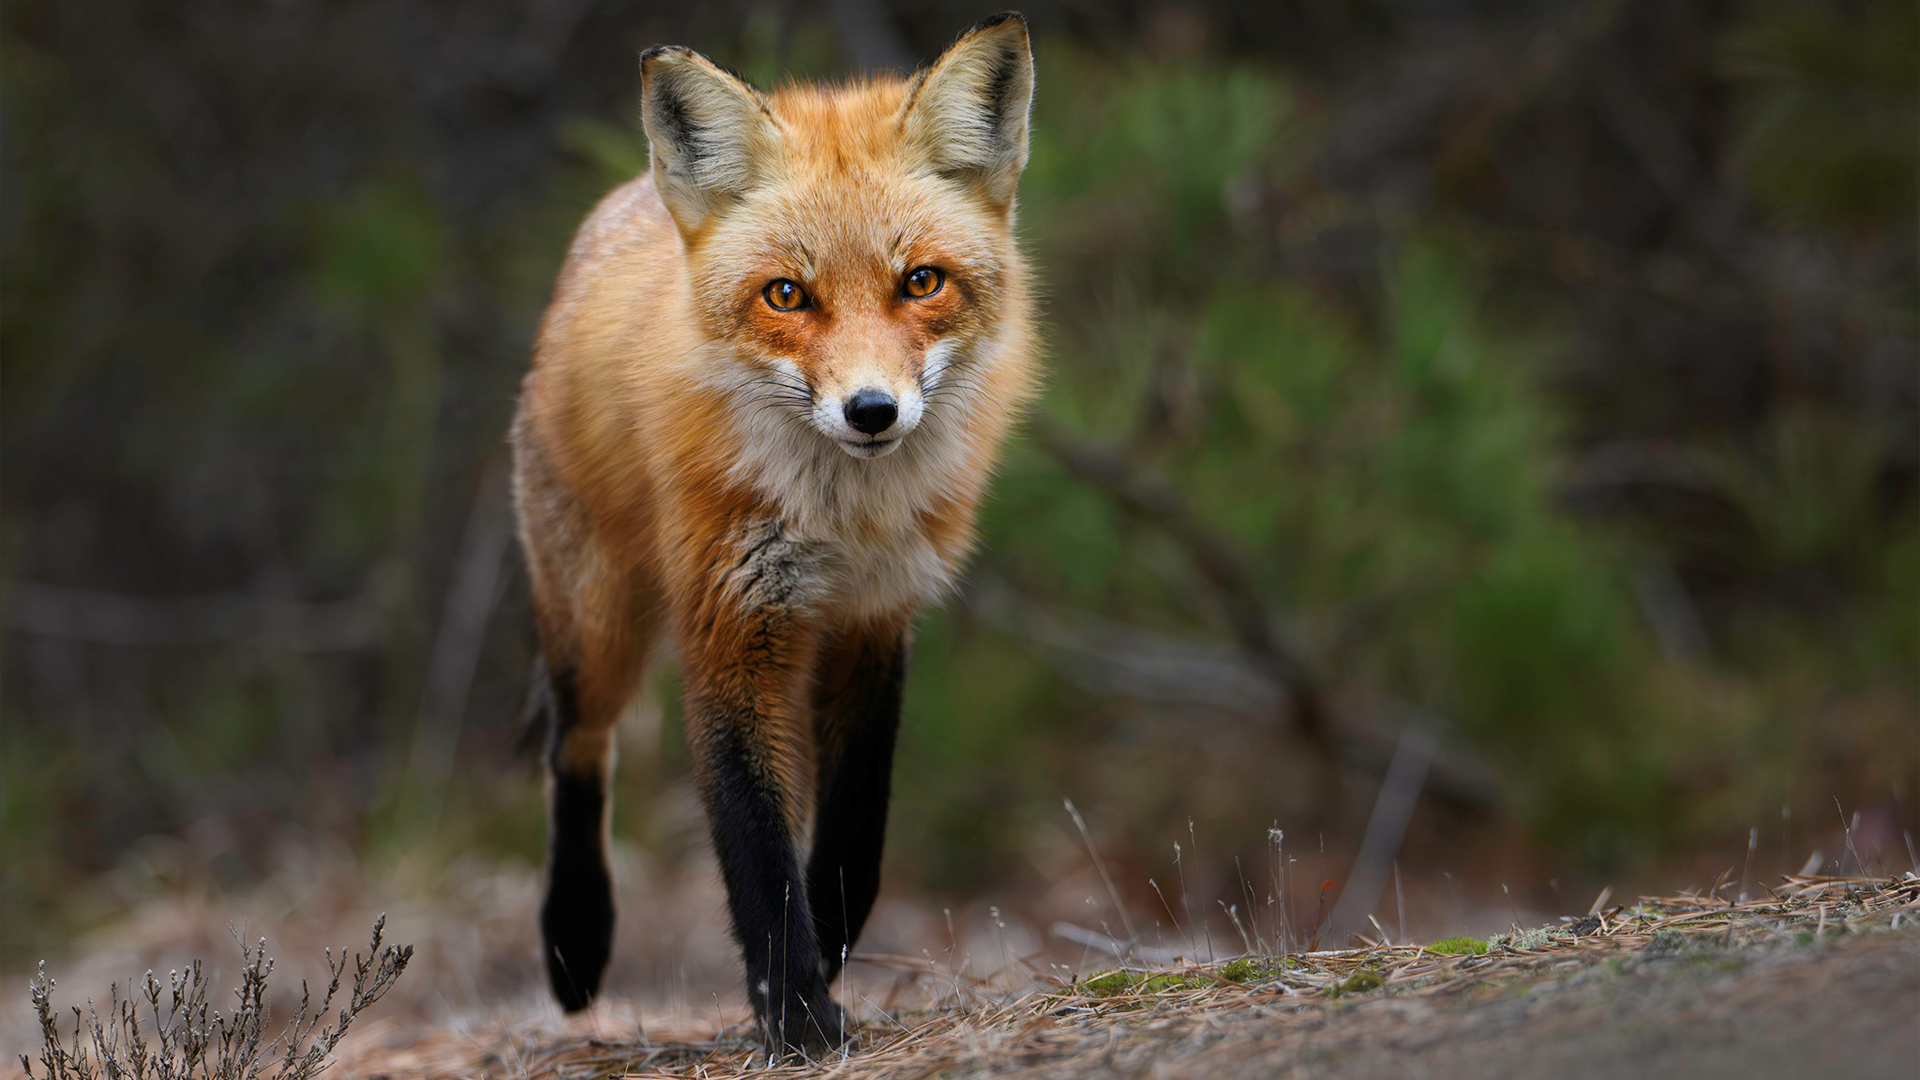
These animals only scratch the surface of what’s possible in an urban environment. The more you frequent a site, the more likely you are to see more elusive species and rarities. Join social media nature groups and use sources like Ebird and INaturalist to track sightings of animals and birds you’d like to see.
Gear, while necessary to take a photo, is not why we do this. As the saying goes, we photograph what we love, and if you’re reading this article, you likely love animals. So, let’s move on to the tips and tricks that’ll help us get the shot.
Best Time of Day to Shoot
Getting out early and getting out late are the first steps towards improving our photography. The first and last hours of the day provide the best light but also see the most activity from wildlife. They don’t call these times “golden hour” for nothing. These hours have the added benefit of being quieter than the midday hours when it comes to people as well.
The light is the main attraction of these hours. Golden hour light is soft, often eye level or near eye level, and it’s warm. That warmth is what makes images taken at these times really pop. Midday light is harsh and coming from overhead. The resulting shadows make it difficult to see the subject and all the detail that could otherwise be seen.


Even when the light becomes faint, there’s still time to grab a photo! This is where a tripod comes in extra handy. Some animals like owls, become more active as daylight dwindles. This is where we transition from golden hour to blue hour. The results create a very different atmosphere.
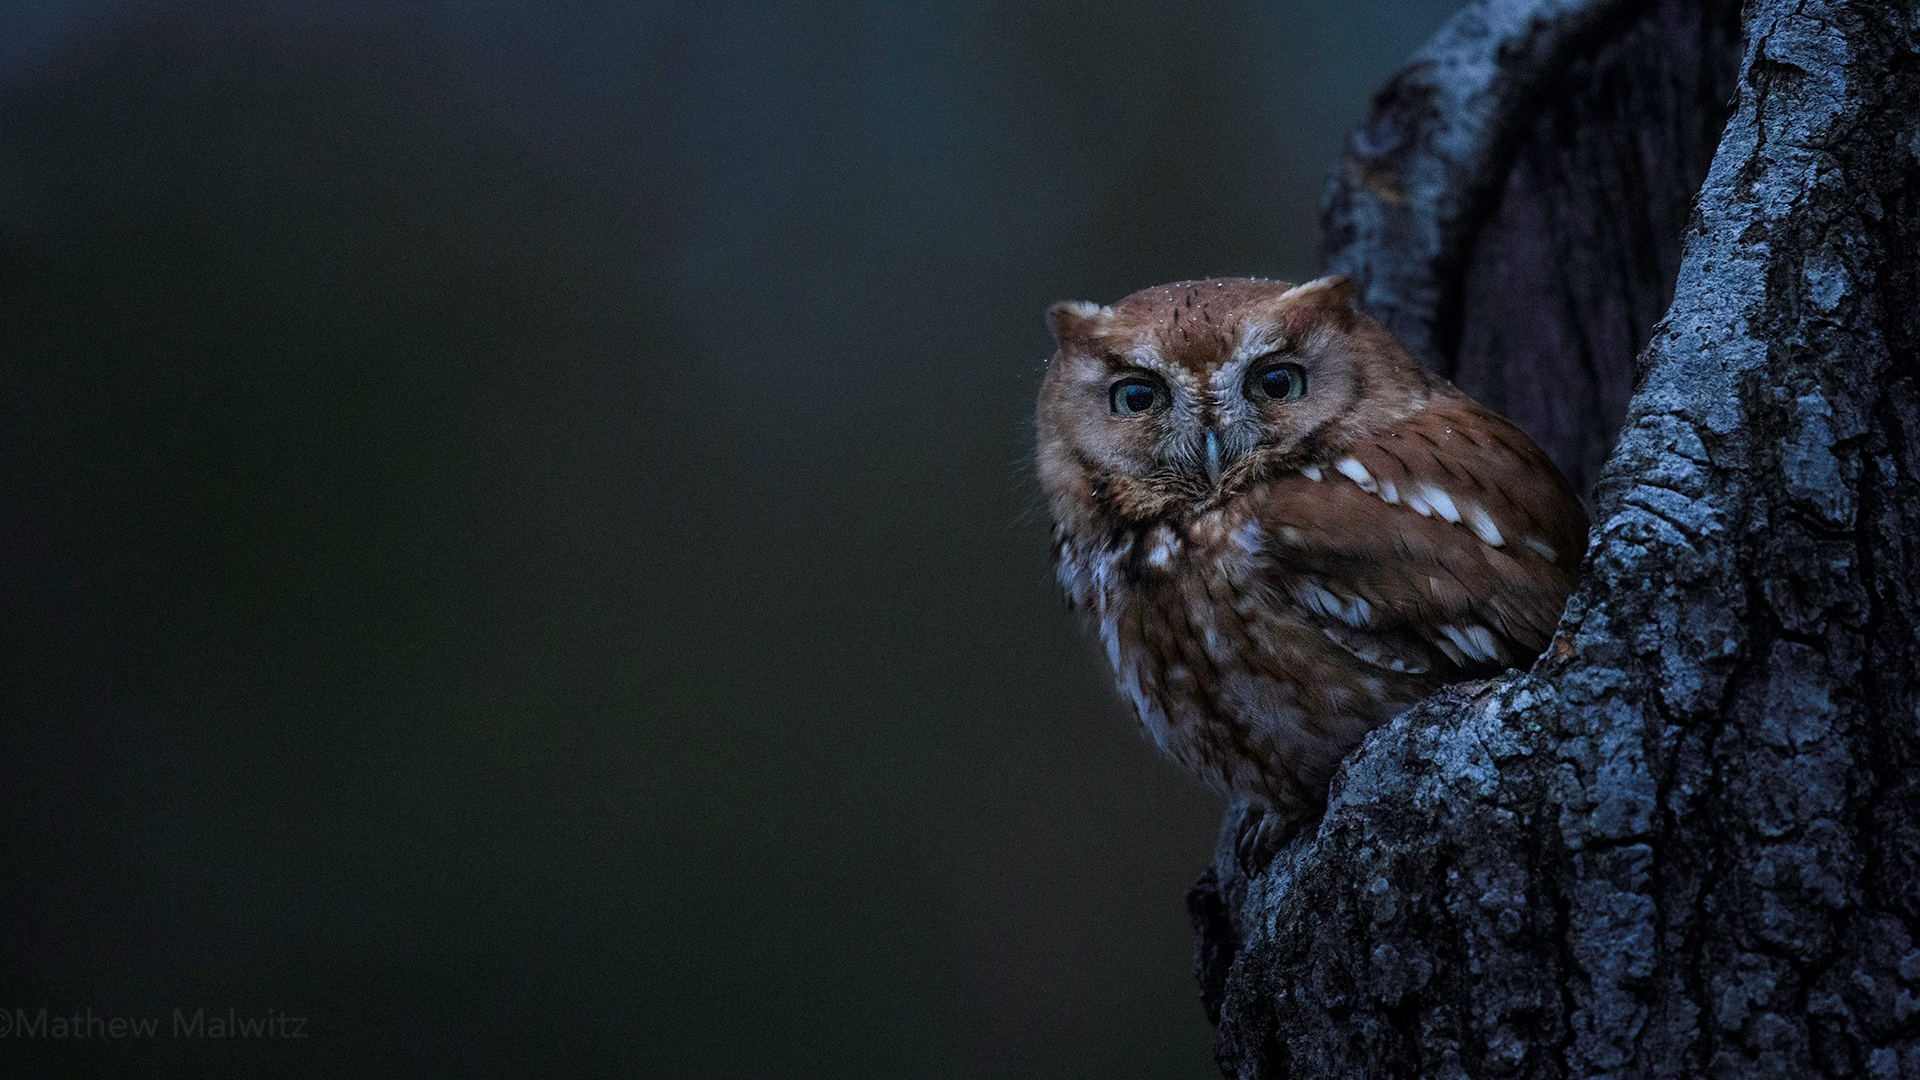
Cloudy, overcast skies are sometimes preferred, as they provide soft diffuse light throughout the day. The result is hours of harsh shadow free photography. Just be sure to expose to the right, as cloudy conditions can often lead to under exposed images.
It’s All About the Eye
Focus on the eyes. The eyes are the window to the soul, so we want them nice and sharp. Our audiences’ eyes will naturally meet the eyes of our subject, so it’s paramount we allow that connection to occur free of obstruction.
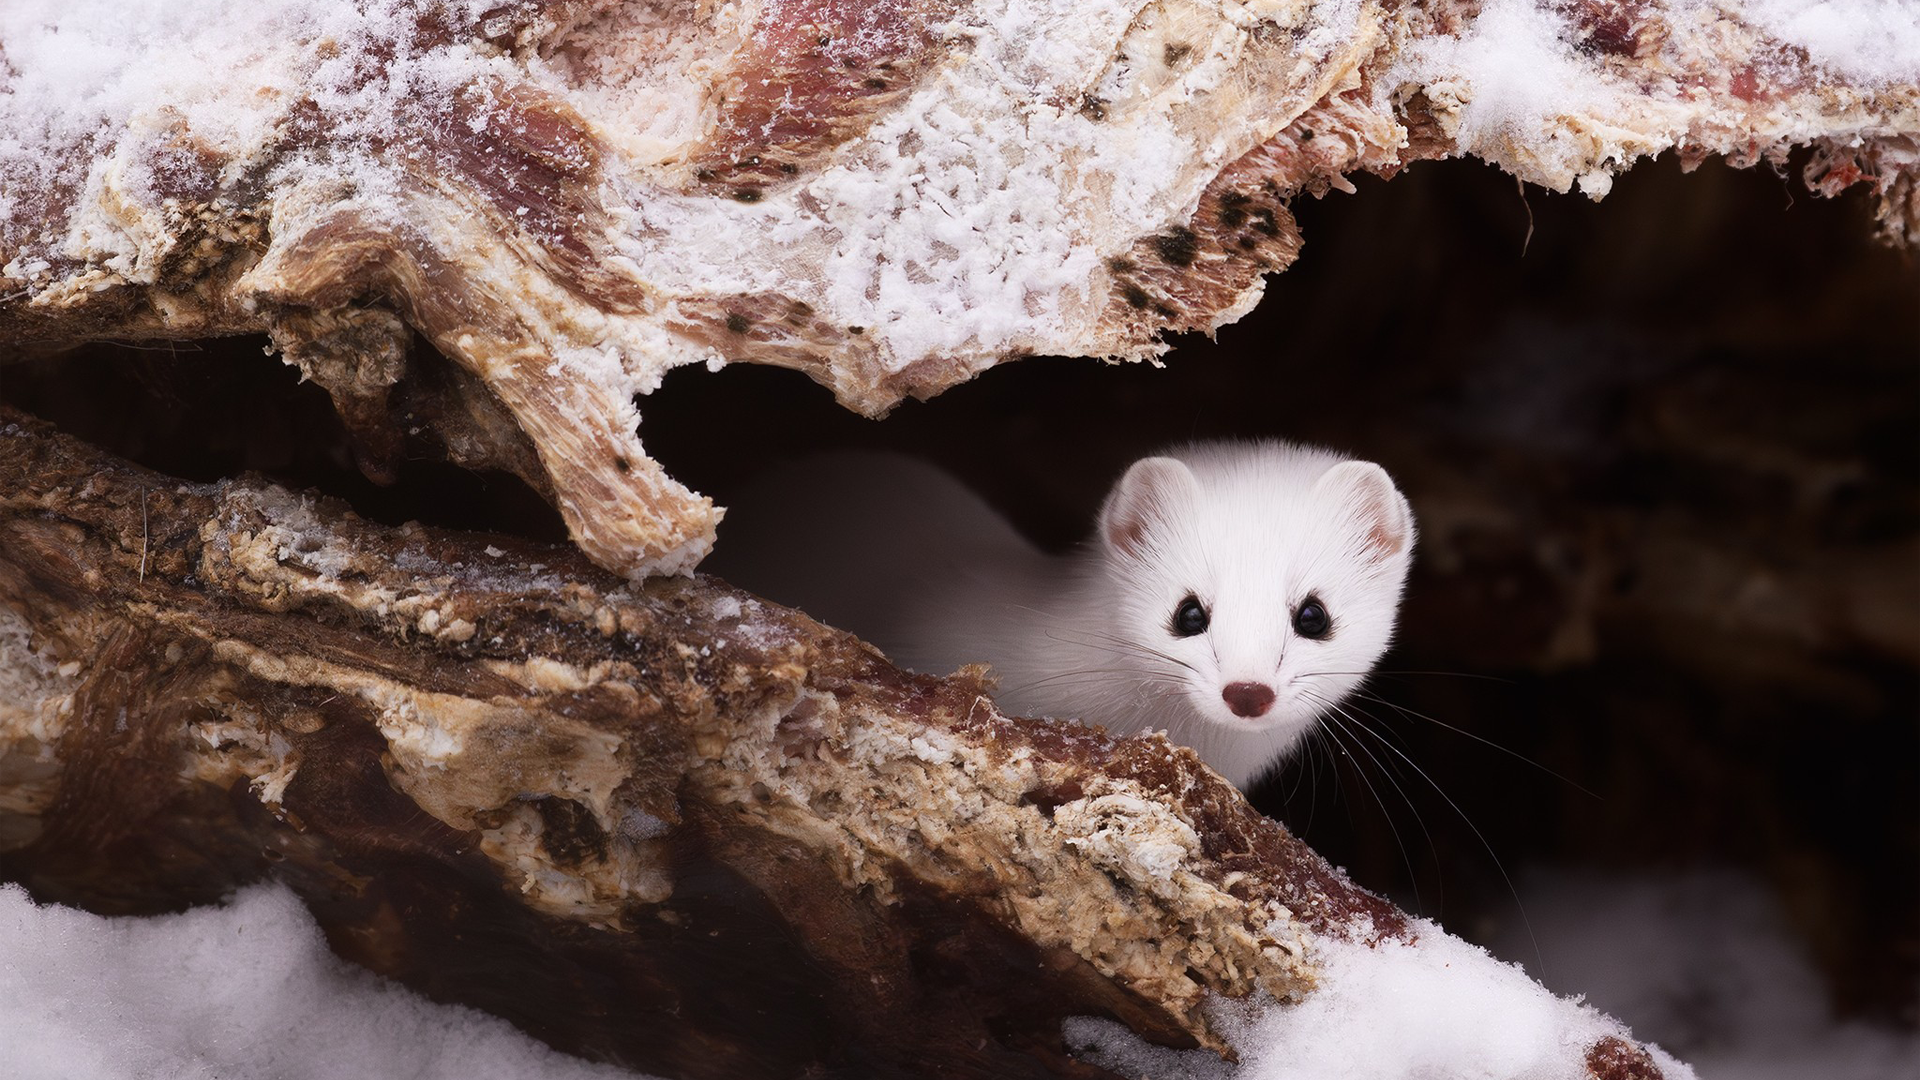
Head Angle can make or break an image. Ideally, a subject’s head should be angled toward the camera even by just one degree. This goes hand in hand with focusing on the eye, as it will determine the level of engagement our audiences feel when looking at our subject.
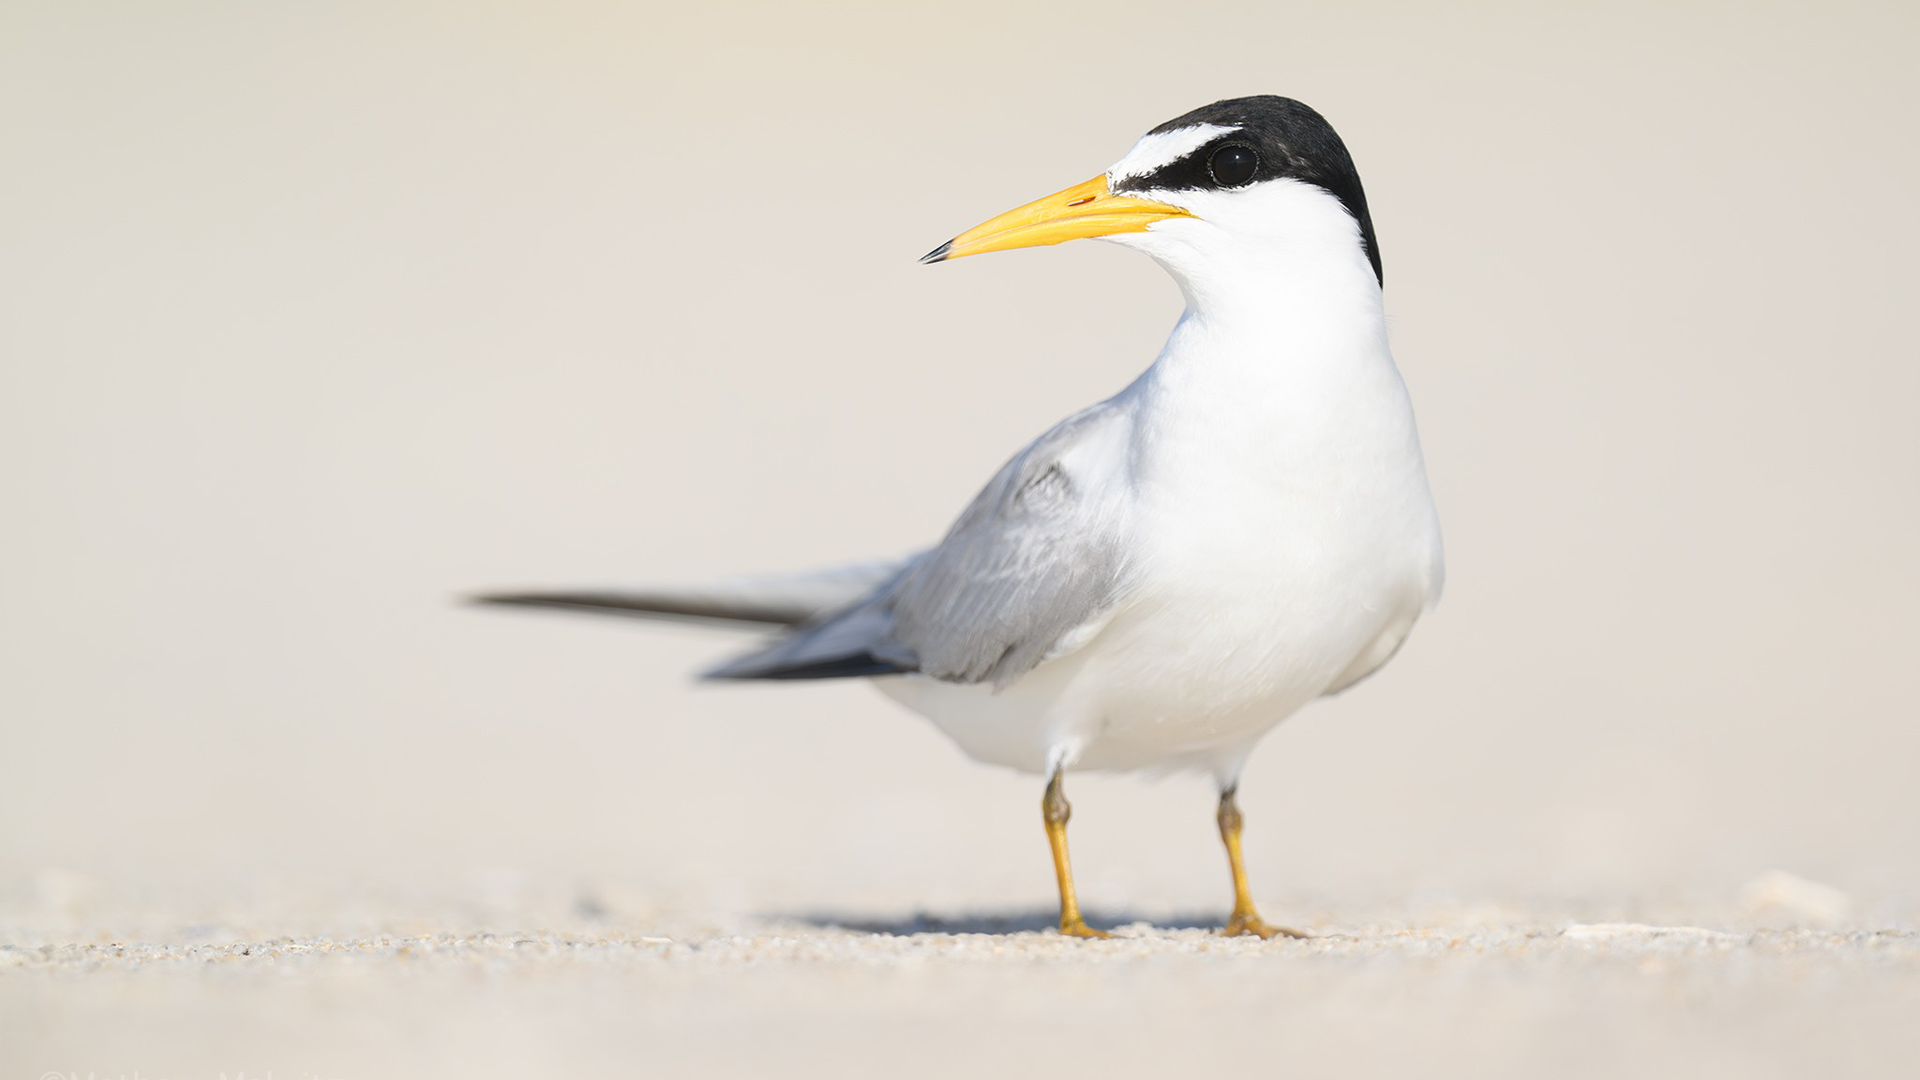
Another way to engage your audience is to shoot from your subject’s eye level. This puts your audience into the animal’s world and puts focus on the subject. This has the added benefit of cleaning up your background as well! By getting low, you also put your subject at ease, though we’ll discuss that topic below.
There are times when an in-focus eye free composition can work. Think of a fox diving through snow, or swans foraging with their rumps held high over the water below. These images focus on behavior or in some cases, have a more abstract appearance. Focus on details, shapes, or patterns.
Watch Your Backgrounds
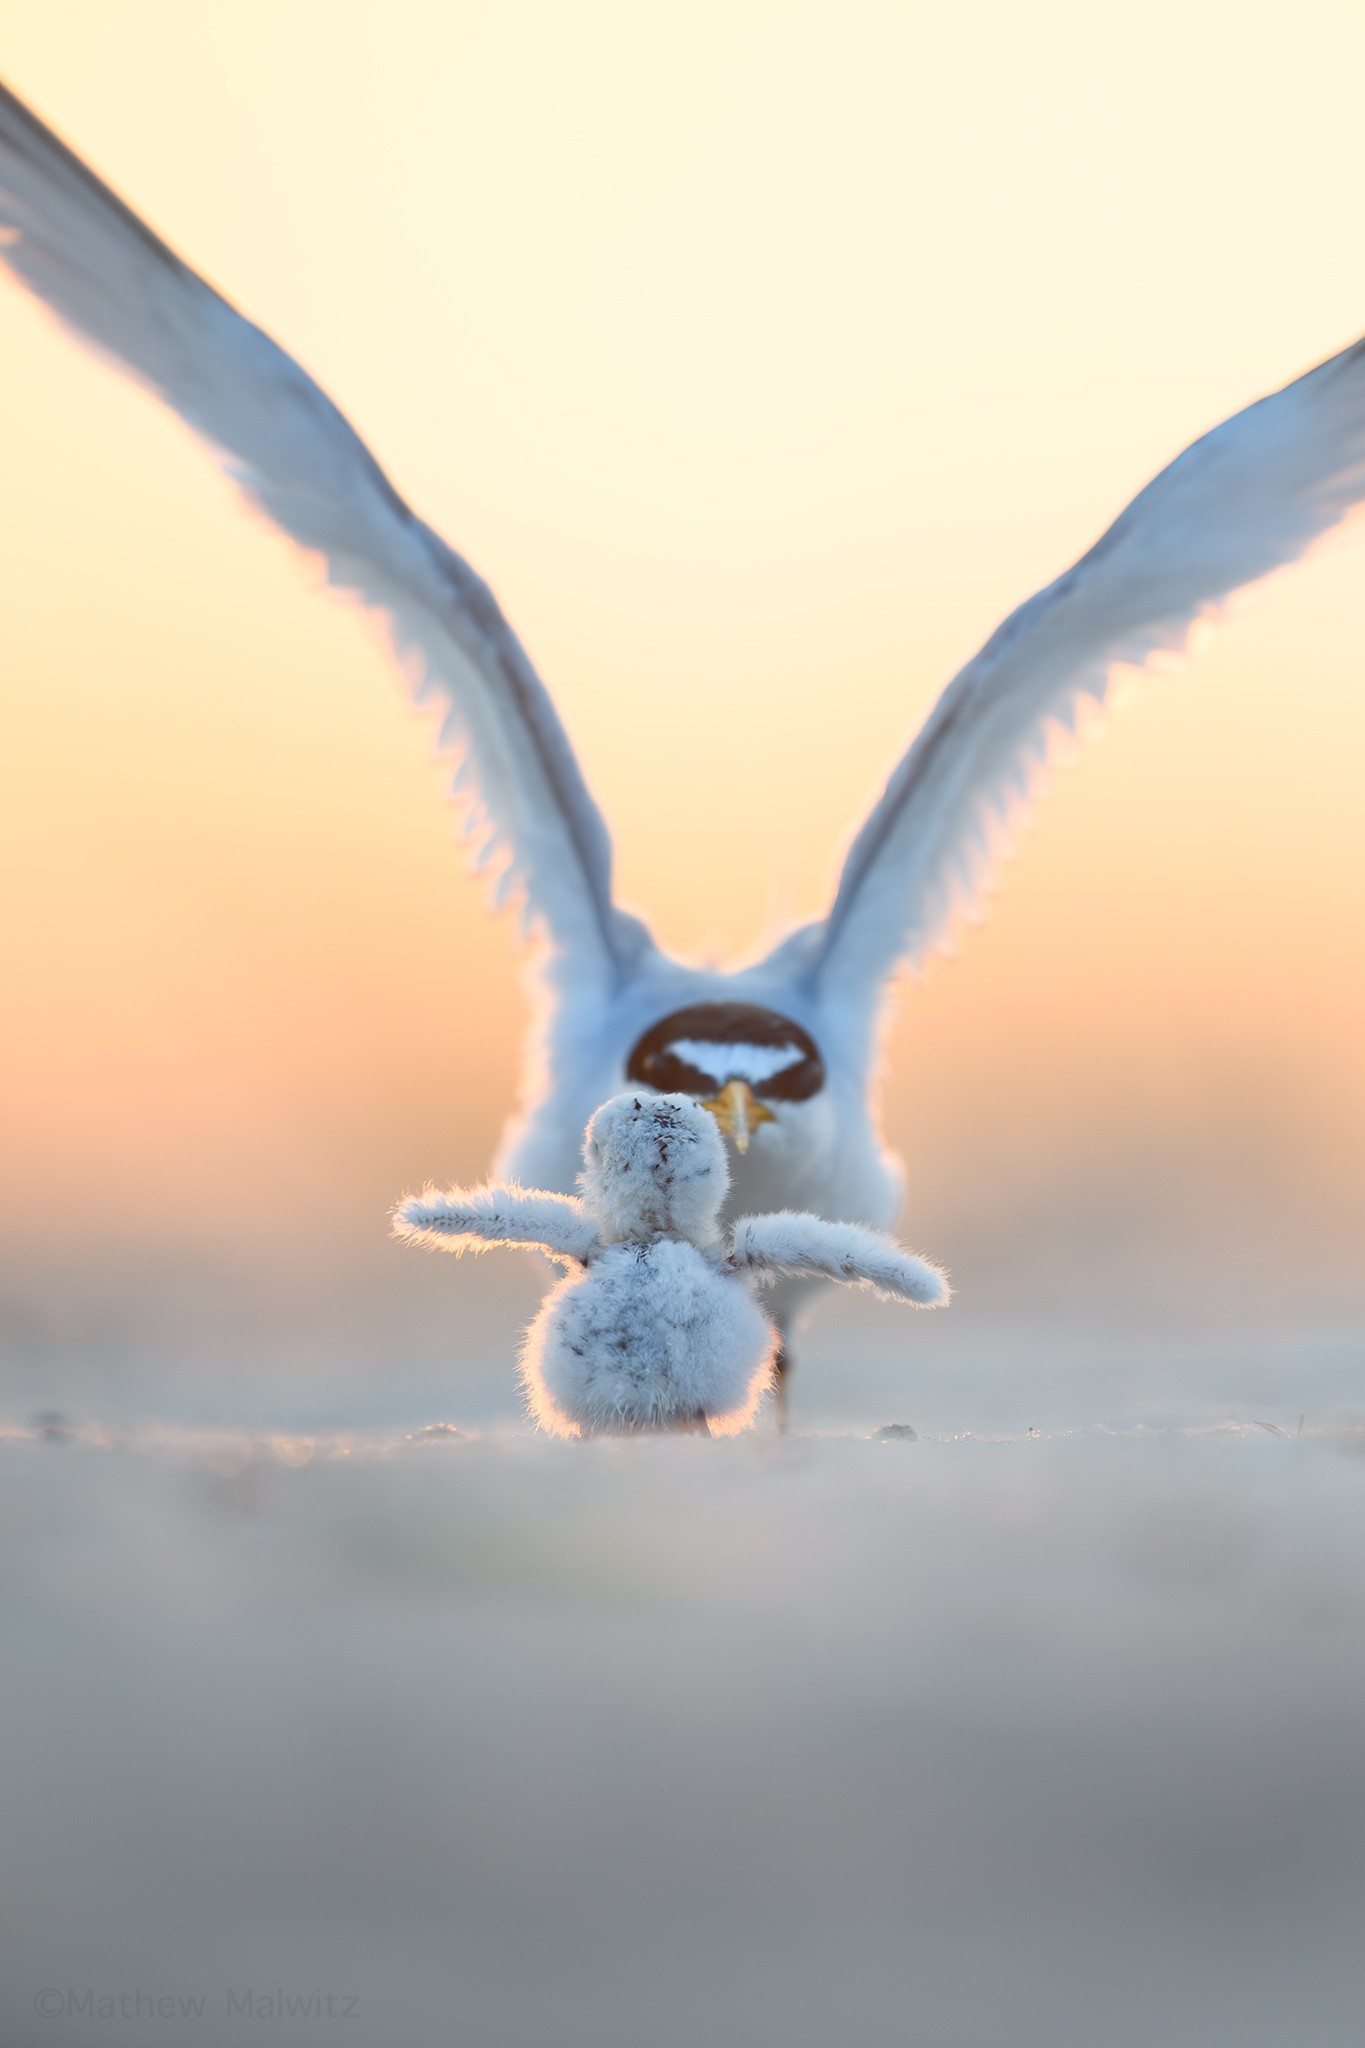
Watch the backgrounds for any distracting elements. A good background is just as important as the subject. Without a clean, pleasing background, our subject can be lost in the frame, and we lose our audience’s attention. A good way to make sure a background isn’t too distracting is to rotate our image. If our eyes are still drawn to the subject, that’s a keeper.
A clean background doesn’t need to be a solid wall of color, though these shots have their moments. If anything, environmental details or elements that frame the subject can result in stronger images than a bland portrait. Framing refers to the use of the surrounding environment to fill blank spaces in the frame, drawing focus to the subject. It is a great way of improving the quality of our work.
Another aspect in the same vein as backgrounds, is foreground. Any object between you and the subject can serve as a solid foreground element, but distance is key. The closer this object is to you, the less visible it will be. The closer it is to the subject, the more prominent it will appear. We want a happy medium, where the object is visible enough to have an impact on our composition, but not too visible as to distract from our subject.


The above images of Black-throated Blue Warblers show how various backgrounds alter an image. The first has a busy background and the bird angled away from us, though the head angled is toward us. The others are cleaner and feature better angles. The last implements foreground which not only adds depth to the image but frames the subject.
Moving Low and Slow
Move slowly and avoid sudden movements. Approaching wildlife is probably the greatest challenge you’ll face in your photographic journey. First and foremost, a familiarity with your subject will aid you in safely maneuvering around them. You’re certainly not going to sneak up on a bear, but a foraging heron is fair game.
Getting low solves two problems we face as wildlife photographers. As mentioned above, it aids in isolating the subject by putting more distance between the animal and background. What it also does is put our subject at ease in our presence. There’s no doubt that us simply being there affects a wild animal’s behavior, so making ourselves look as small as possible takes a way a bit of the predatory aura we exude.


What about situations where we need to cover a lot of ground? Getting low may be impractical in certain situations. In this case, simply walking will suffice. But hold on! Approaching a subject head on is never a great idea. This is only going to exacerbate the predator prey dynamic even further. What we need to do, is move slowly and look distracted.
Before moving any closer, be sure to learn the proper and responsible distance requirements for your desired subject. Remember, these safety measures exist for both you and the wildlife. Don’t be selfish. Another aspect to remember is that our natural instinct to approach wildlife is to hunt. The stalking stare down does anything but put our subject at ease and will likely send it running at first glance.
To avoid this conundrum, we have a specialized approach. We call this move the “dropped your wallet” technique. Imagine you dropped your wallet and are now retracing your steps looking for it. Your eyes should be practically glued to the ground and you’re moving slowly and in a zig zag pattern. Very scientific, yes? All kidding aside, by looking distracted, you put your subject at ease. You essentially become part of the environment, simply another animal grazing in the field if you will.
Another good way of becoming part of an animal’s environment is to stay low. As mentioned earlier, shooting from our subject’s eye level creates a more engaging composition, but it also makes us look less threatening to our subject.
Be Prepared
Always be ready for anything. Have your gear close by and ready to go at all times. That means the camera is attached to the lens, and the lens cap is off. If you’re in the car, keep your gear out of the bag and powered on nearby. Just driving along country roads can be quite fruitful. You never know when an animal will appear right off the shoulder.
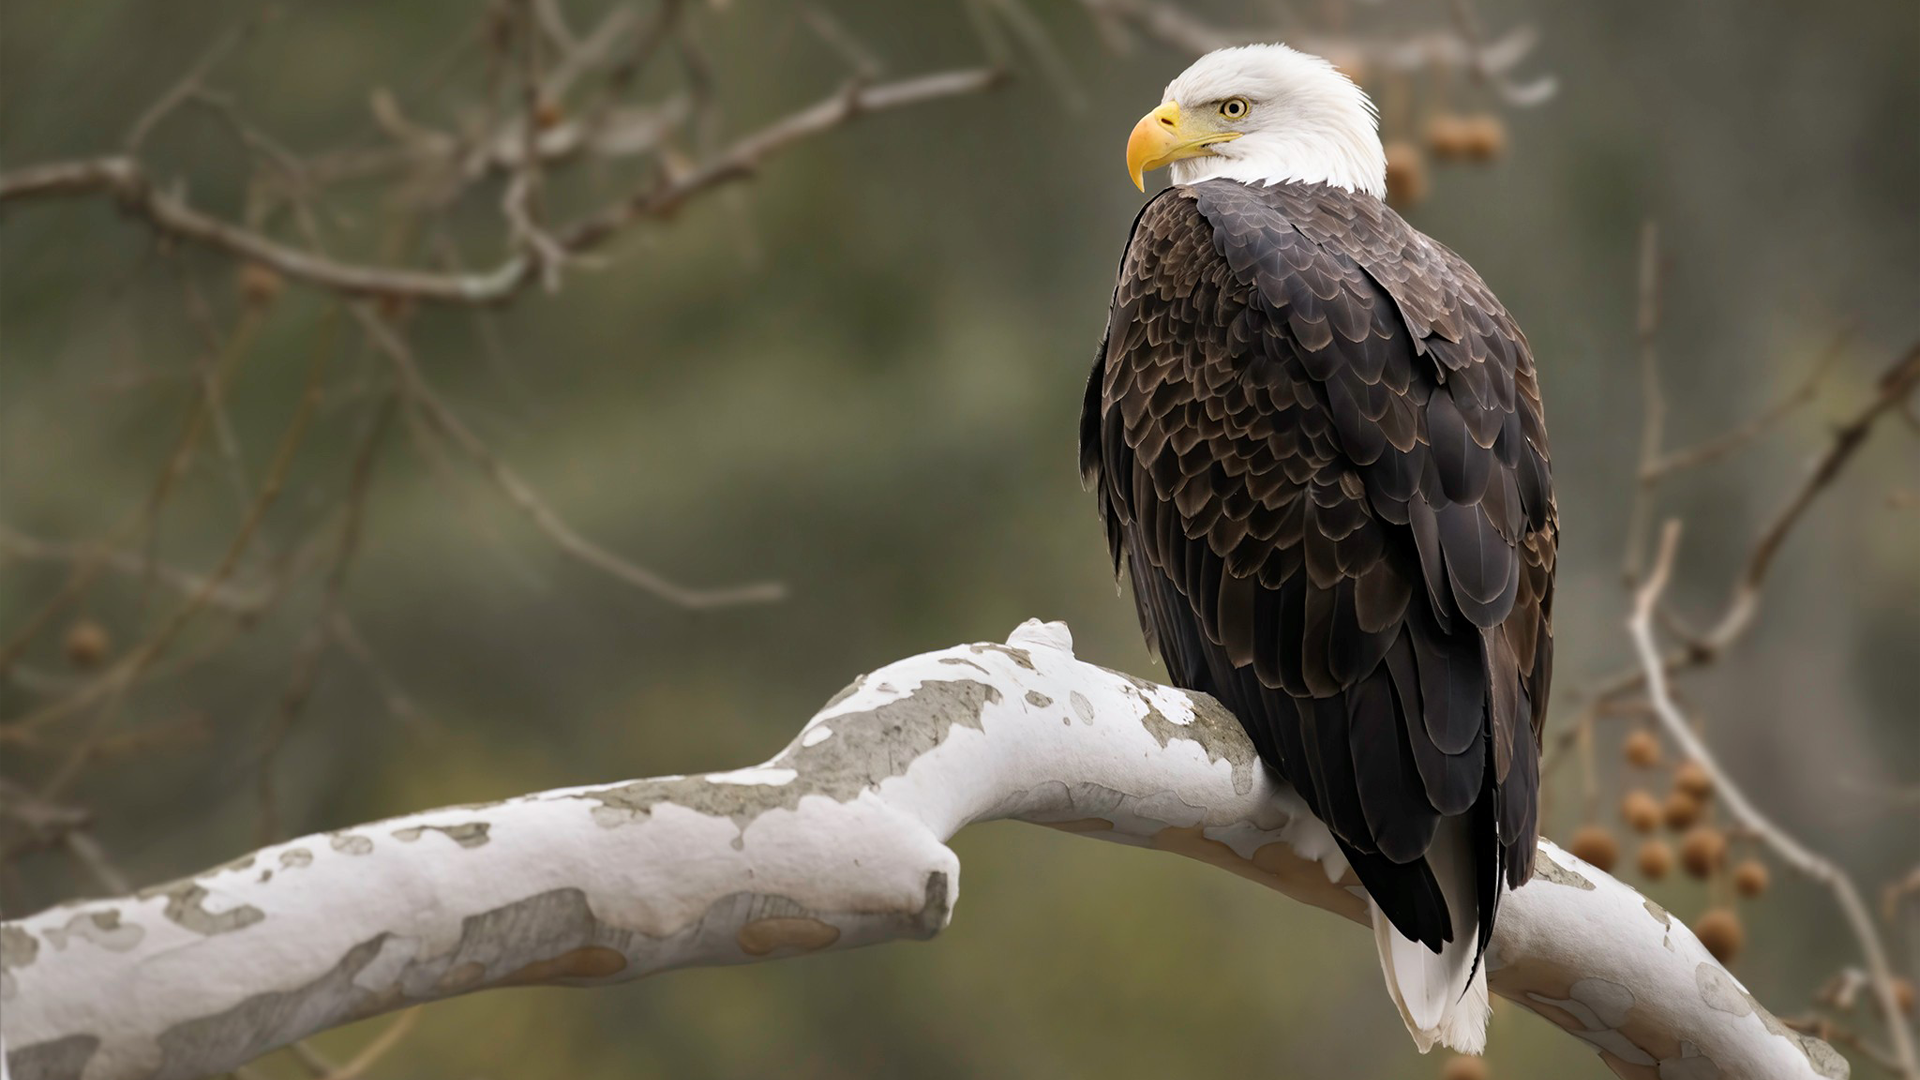
We mentioned readiness as a benefit of using tripods earlier. If you’re set up on a tripod and waiting for your subject, don’t mess around on your phone. This tip comes from experience. Be attentive and stay alert. Looking away is almost as bad as keeping your camera in the bag until you see something.
Thinking Ethically
Before anything else, we as observers of nature should prioritize the well-being of the animals we photograph. Never purposefully chase an animal to get a shot. Every last bit of energy counts, and time spent running from predatory photographers is time they could’ve been resting or foraging.
Never bait a wild animal. Baiting, or attracting animals with food, leads to animals becoming accustomed to humans. This can draw them closer to human activity, putting them at risk of getting hit by car or ultimately learning to associate humans with food, which can lead to disaster.
Be respectful of your fellow humans. Wildlife is the priority, but don’t forget your fellow observers or locals. Don’t step in front of others just to get the shot and never trespass. Follow refuge and park rules and regulations, stay on designated trails where required, and follow the classic leave no trace policy.
We hope you’ve enjoyed this introduction to wildlife photography, and that you’re feeling inspired to get out in nature. Whether you’re in Central Park or Grand Teton National Park, there’s much to see and photograph.


If you’d like to learn more about wildlife photography, check out our other guides in this series. We’re covering everything from the basics to choosing the right lens, and more advanced techniques such as capturing birds in flight. To read other photography guides, articles, and reviews, visit the B&H Explora page.
