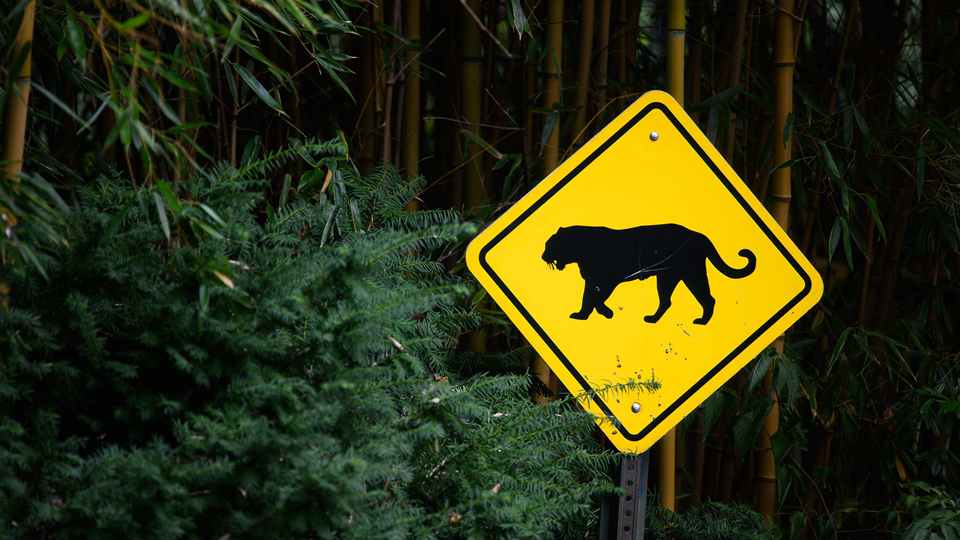
What better place to spend a Saturday morning than the zoo. You can enjoy some time outside, all while seeing a variety of both local and exotic animals you'd otherwise never dream of encountering. Zoos also are great place to try your hand at photographing wildlife! In this guide, we're talking about taking our camera to the zoo to capture natural looking images of animals in their element! We'll be covering what you need as well as tips and tricks that'll help you capture stunning, natural looking images of animals.
Above photograph © Mathew Malwitz
Gearing Up
Camera & Lens
Any interchangeable lens mirrorless or DSLR camera available is perfect for the task of zoo photography. Why an interchangeable lens camera? These give the user greater control over their settings and other physical attributes of our images such as depth of field, which determines how blurry our background appears. This is a significant tool in our arsenal when dealing with fences and other obstructions between us and our subjects.

Is there truly such a thing as a "best" lens? Well, yes. Obviously, a wide-angle lens isn't necessarily going to do the trick in most zoos. A long zoom is the best starting point. 100-400mm lenses provide a versatile range for both smaller and larger animals. When dealing with more indoor enclosures or challenging light, a fast apertured zoom like a 70-200mm f/2.8 is a great option.
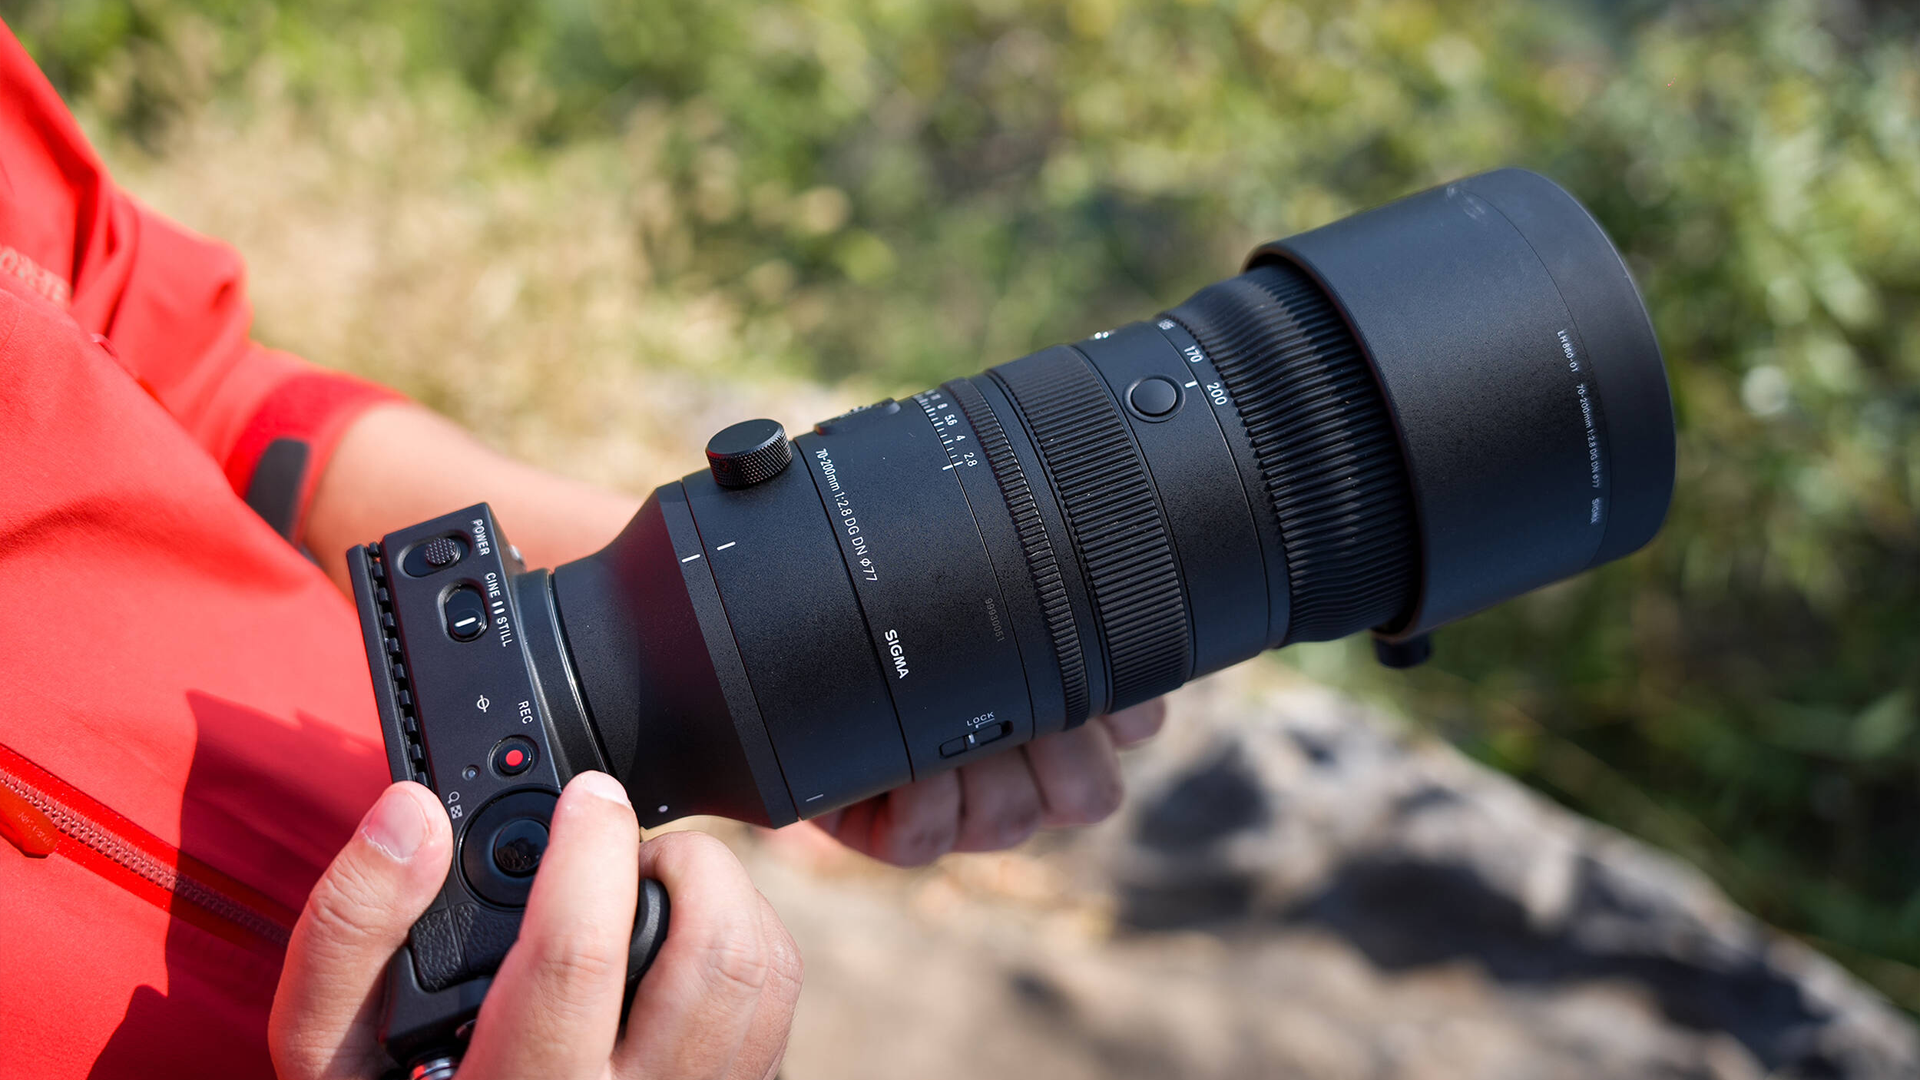
The zoom range is not as great, but the f/2.8 aperture will aid us in low-light situations—not to mention their unrivaled ability to blur fences or other man-made structures. Every zoo is different, and some may offer closer views of animals, while others keep you at a respectable distance. If you can get closer, a 70-200mm is more than enough.

Longer lenses can be used, but remember, you're likely going to be fairly close to some of the animals, so if you choose a longer lens, opt for a super zoom or pack a wider zoom alongside your larger lens. There is such a thing as too much lens!
Support
If you're going to be strolling around the zoo all day, a comfortable strap is a must. If additional support is necessary, a monopod is a useful tool to take the weight off. Tripods are too large and can block passageways, obstructing the view and movement of other guests. As a result, most zoos do not allow tripods. Even if they do, it's not advisable. Always check the rules of your local zoo before going.
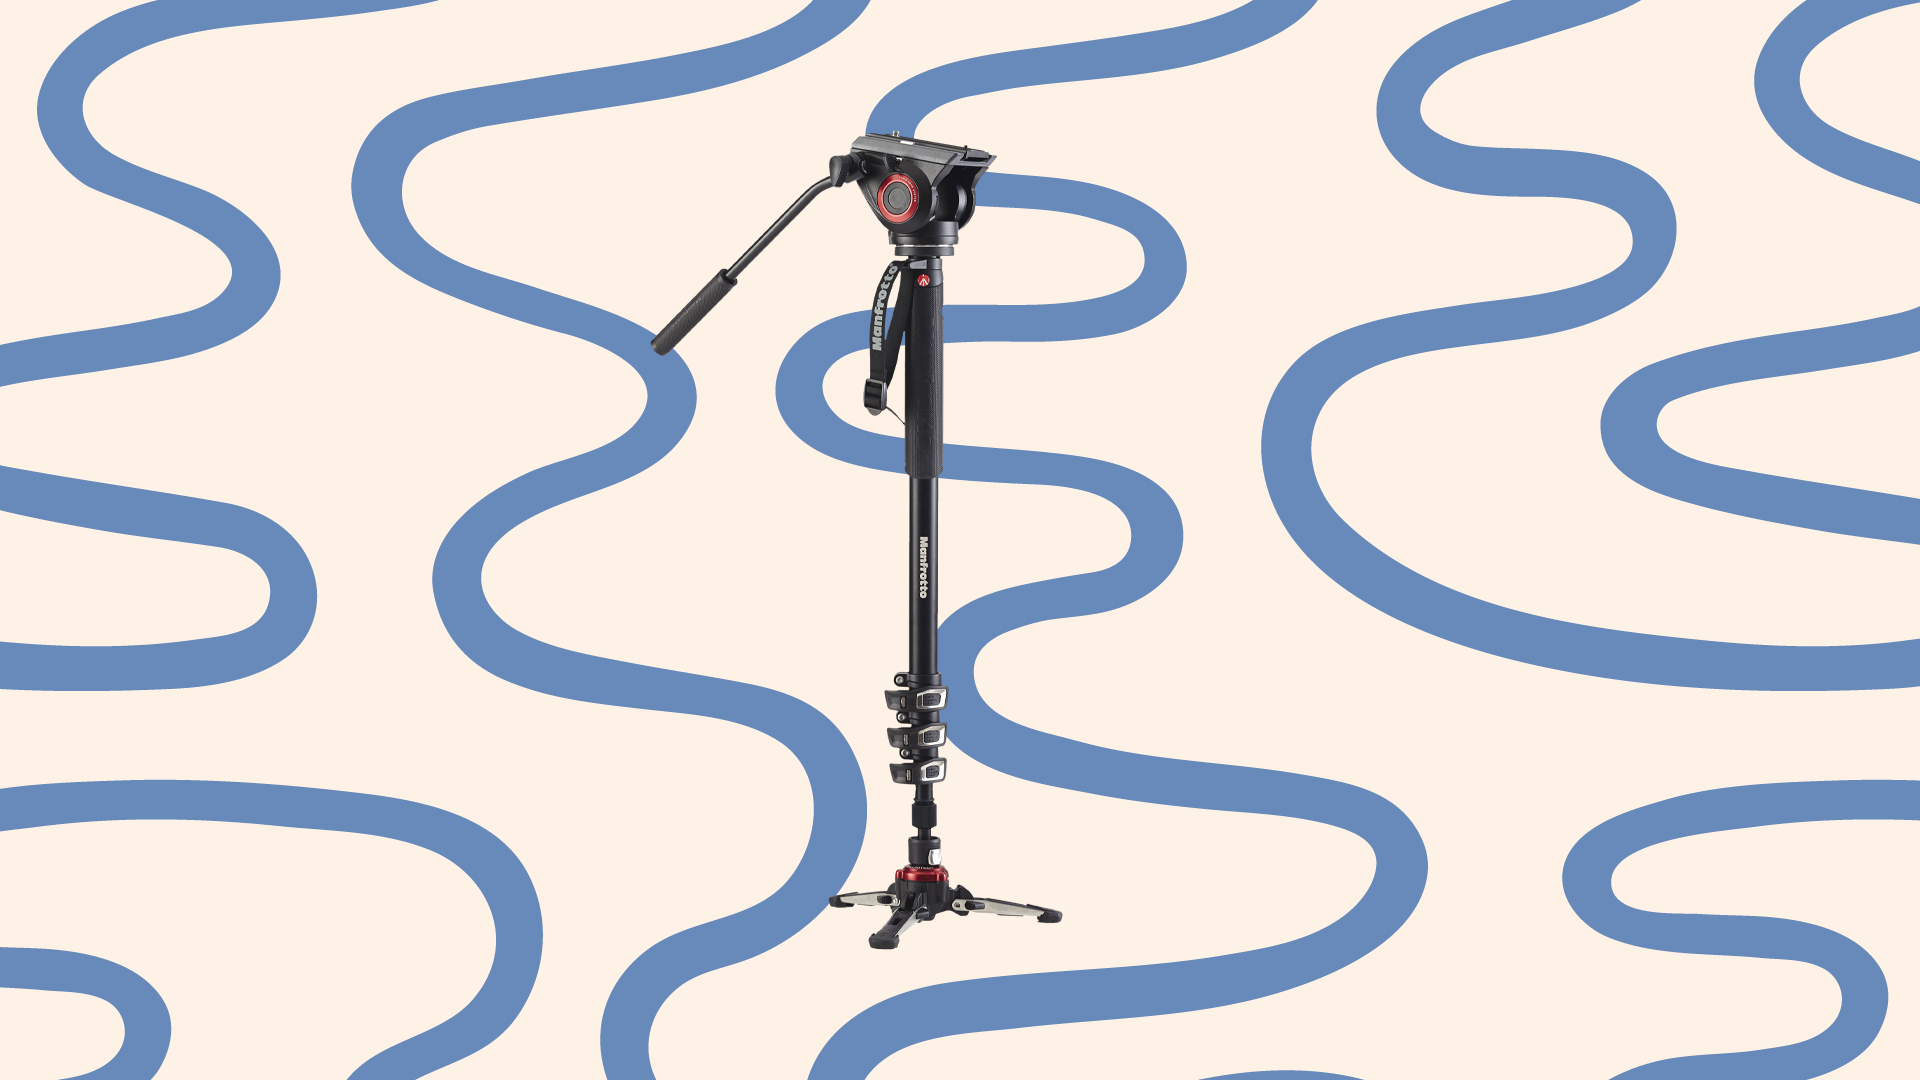
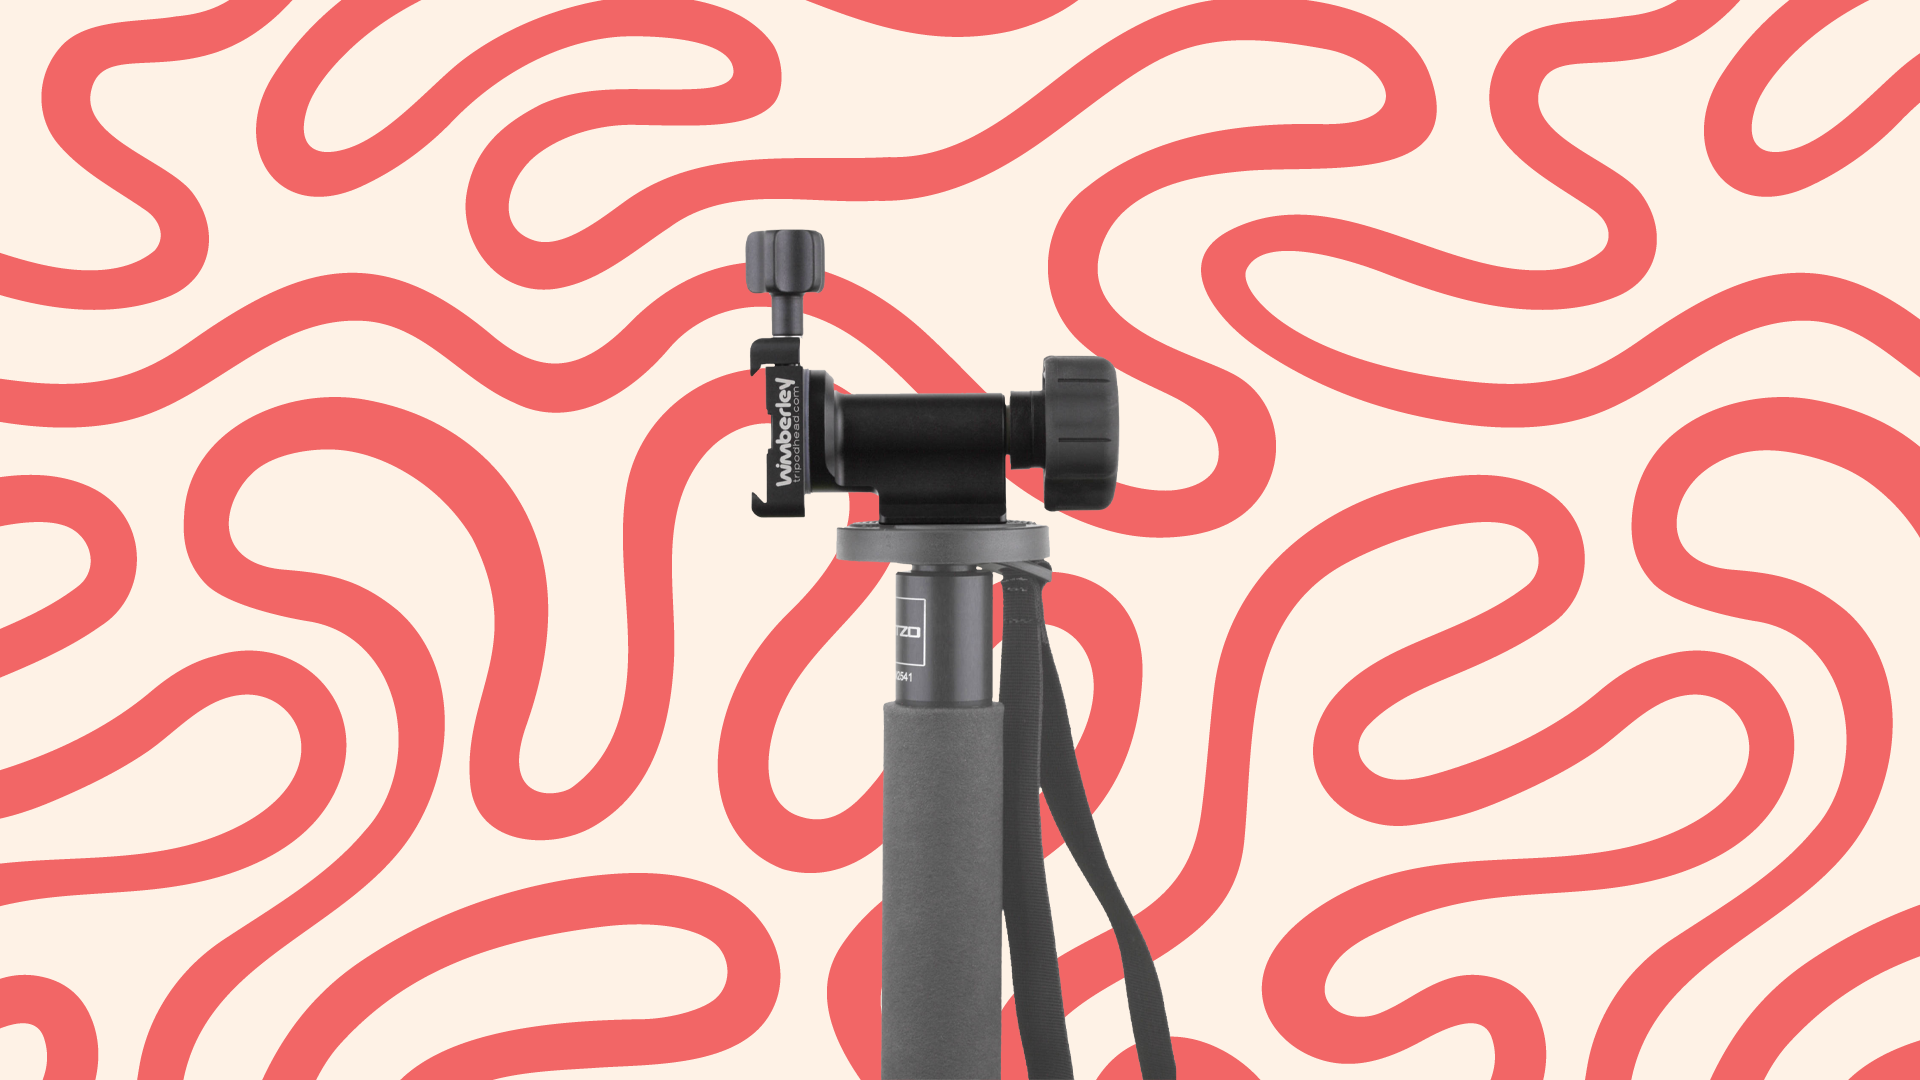
If you decide to bring a monopod, it's worth knowing that you can use a tripod head on your monopod! That's right. There are even dedicated monopod heads, which we recommend as they provide the tilting range of motion without needing to lean the monopod forward and back. Some have a rotation motion as well while others don't. If your head is missing this feature, just turn the monopod and you'll be set to go.
Accessories
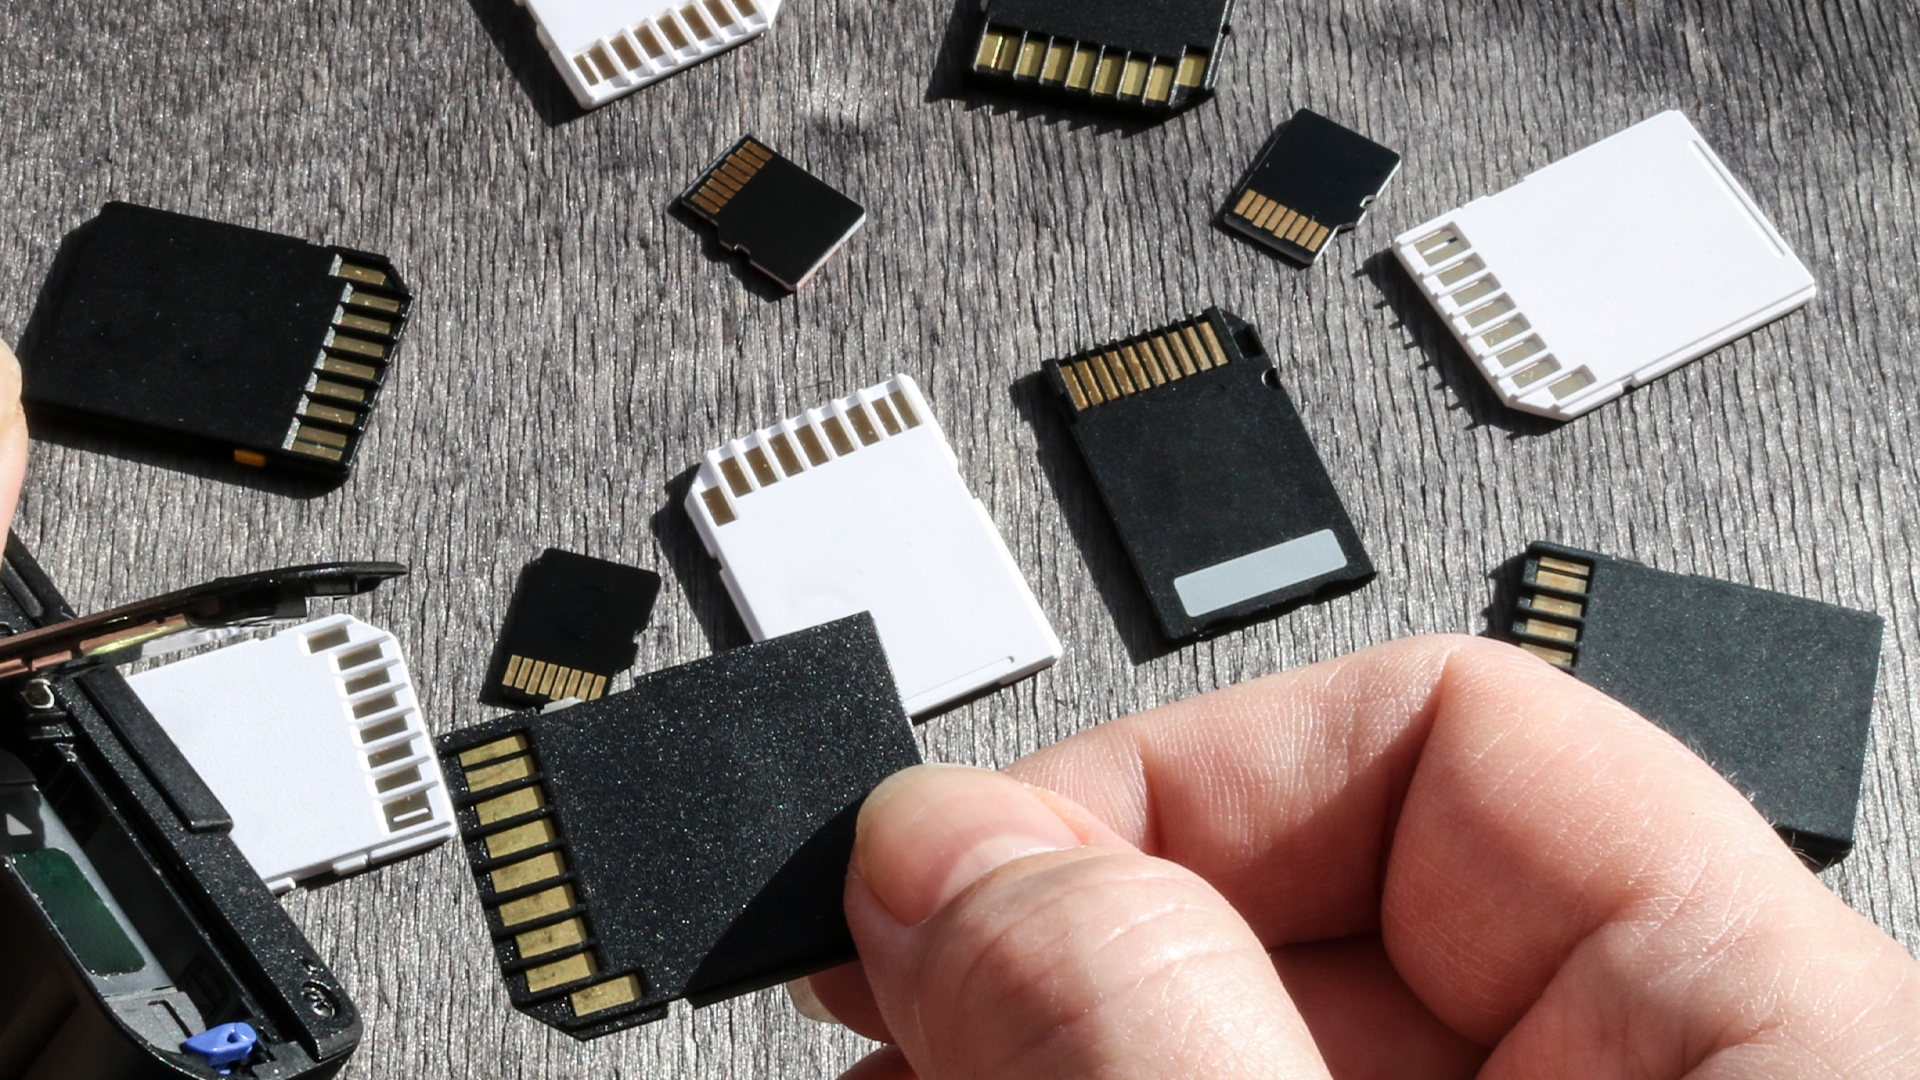
If there's one thing you can never have enough of, it's batteries and memory cards. Alright, that's two things. Batteries only last for so long, especially in mirrorless cameras. For that reason, extras are always a must have. You never know when a truly photogenic subject will present itself and you find yourself racking up quite a few photos. Before you know it, your 500 frames deep in pangolin photos and your battery is drained to 50% power.

Now let's talk about memory cards. What were once cheap, easily attainable accessories have become more specialized. Faster frame rates and higher megapixel counts found in newer cameras have rendered the local drug store SD cards largely outdated. Check your cameras manual for further information on recommended cards.
Bags & Cases
When selecting a bag for a zoo trip, there are two things to consider. First and foremost is comfort and space. A bag should fit everything you need and then some. When buying a bag, always leave room for future purchases, as photography features an ever evolving, revolving door of gear. This space can also hold snacks and/or souvenirs.

The second aspect to look up is your specific zoo's rules and regulations on bags. Most will allow backpacks without issue, but it's always better to be safe than sorry. For smaller camera setups, a simple shoulder bag or waist bag are perfectly suited for carrying the essentials. If you're planning on spending a few hours there, a backpack is always ideal as a way to carry other essentials like water bottles, sunscreen, and such. Buying a camera bag is a highly personal choice, so take the time to decide what's right for you.
What Are the Right Settings?
Are there really any best settings for photography? Yes, but only for a particular instance. Settings vary with the subject, light, and background. A light-colored subject—like a snow leopard—will require a different exposure to a panther, even in the same lighting conditions. Lighter colors reflect more light and thus, our exposure will vary. There are some basics starting points we can learn from.
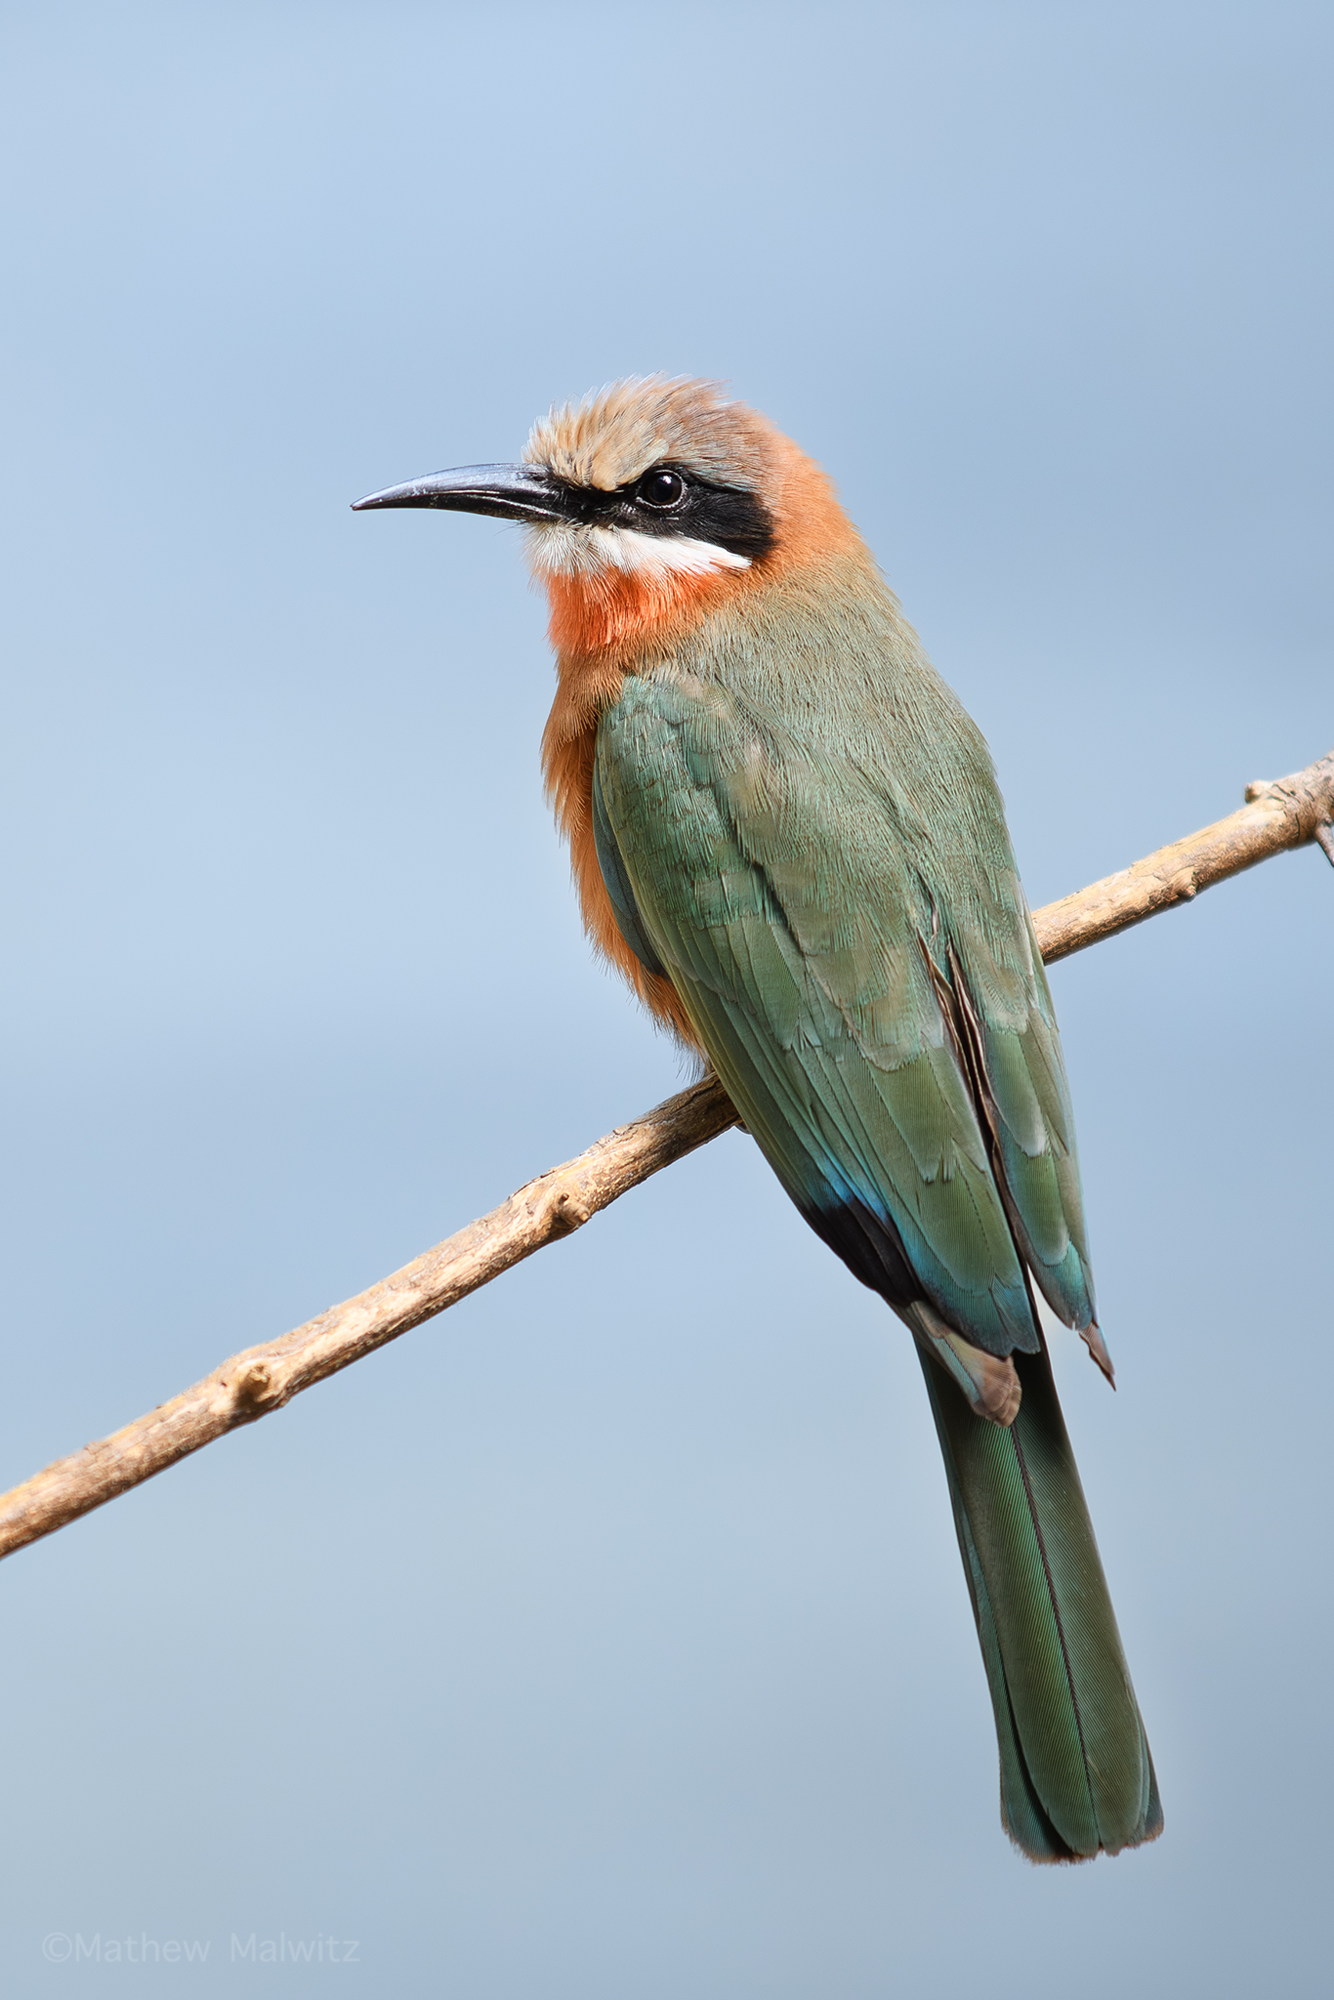
Aperture should be set wide open for the most part. This lets in the maximum amount of light and gives us that buttery smooth background we've all come to love. Of course, if opportunity strikes you can adjust as needed. A head on portrait of a snout bearing animal calls for a greater depth of field, so close your aperture down accordingly. The same can be said for multiple subjects.
Set your ISO to automatically adjust. Auto ISO is perfectly suited to more controlled lighting environments, and while it's not perfect, it'll get the job done more often than not. When faced with odd conditions, such a dark background, we'll need to manually control our ISO or make use of exposure compensation to ensure the camera doesn't overexpose the scene.

Shutter speed is variable based on what you're trying to photograph. In general, the traditional rule of thumb is that your shutter speed should be as fast as your lens is long. This means a 200mm focal length should be shot at no less than 1/200, though modern stabilization systems can aid us in tough situations. That said, it's worth noting that faster shutter speeds are often required to get sharp images. For the best results, aim to shoot at now lower than 1/400 and make sure your image stabilization is turned on.
Tips & Tricks
Go in the Morning
It pays to be one of the first through the gates, as every exhibit will be relatively accessible and animals are more active. In the wild, animals are always more active in the first and last hours of daylight. Speaking of daylight, the light is also better early in the morning!
Watch the Weather
Mornings are best for the light, but that's assuming we have direct sunlight to worry about. Overcast skies may be preferable, as they provide soft diffuse light throughout the day. Cooler weather also promotes more activity, as the animals aren't baking under the hot midday sun. For that reason, spring and fall are arguably the most ideal times to visit a zoo, as the weather tends to be cloudier and cooler than a humid mid-August day.
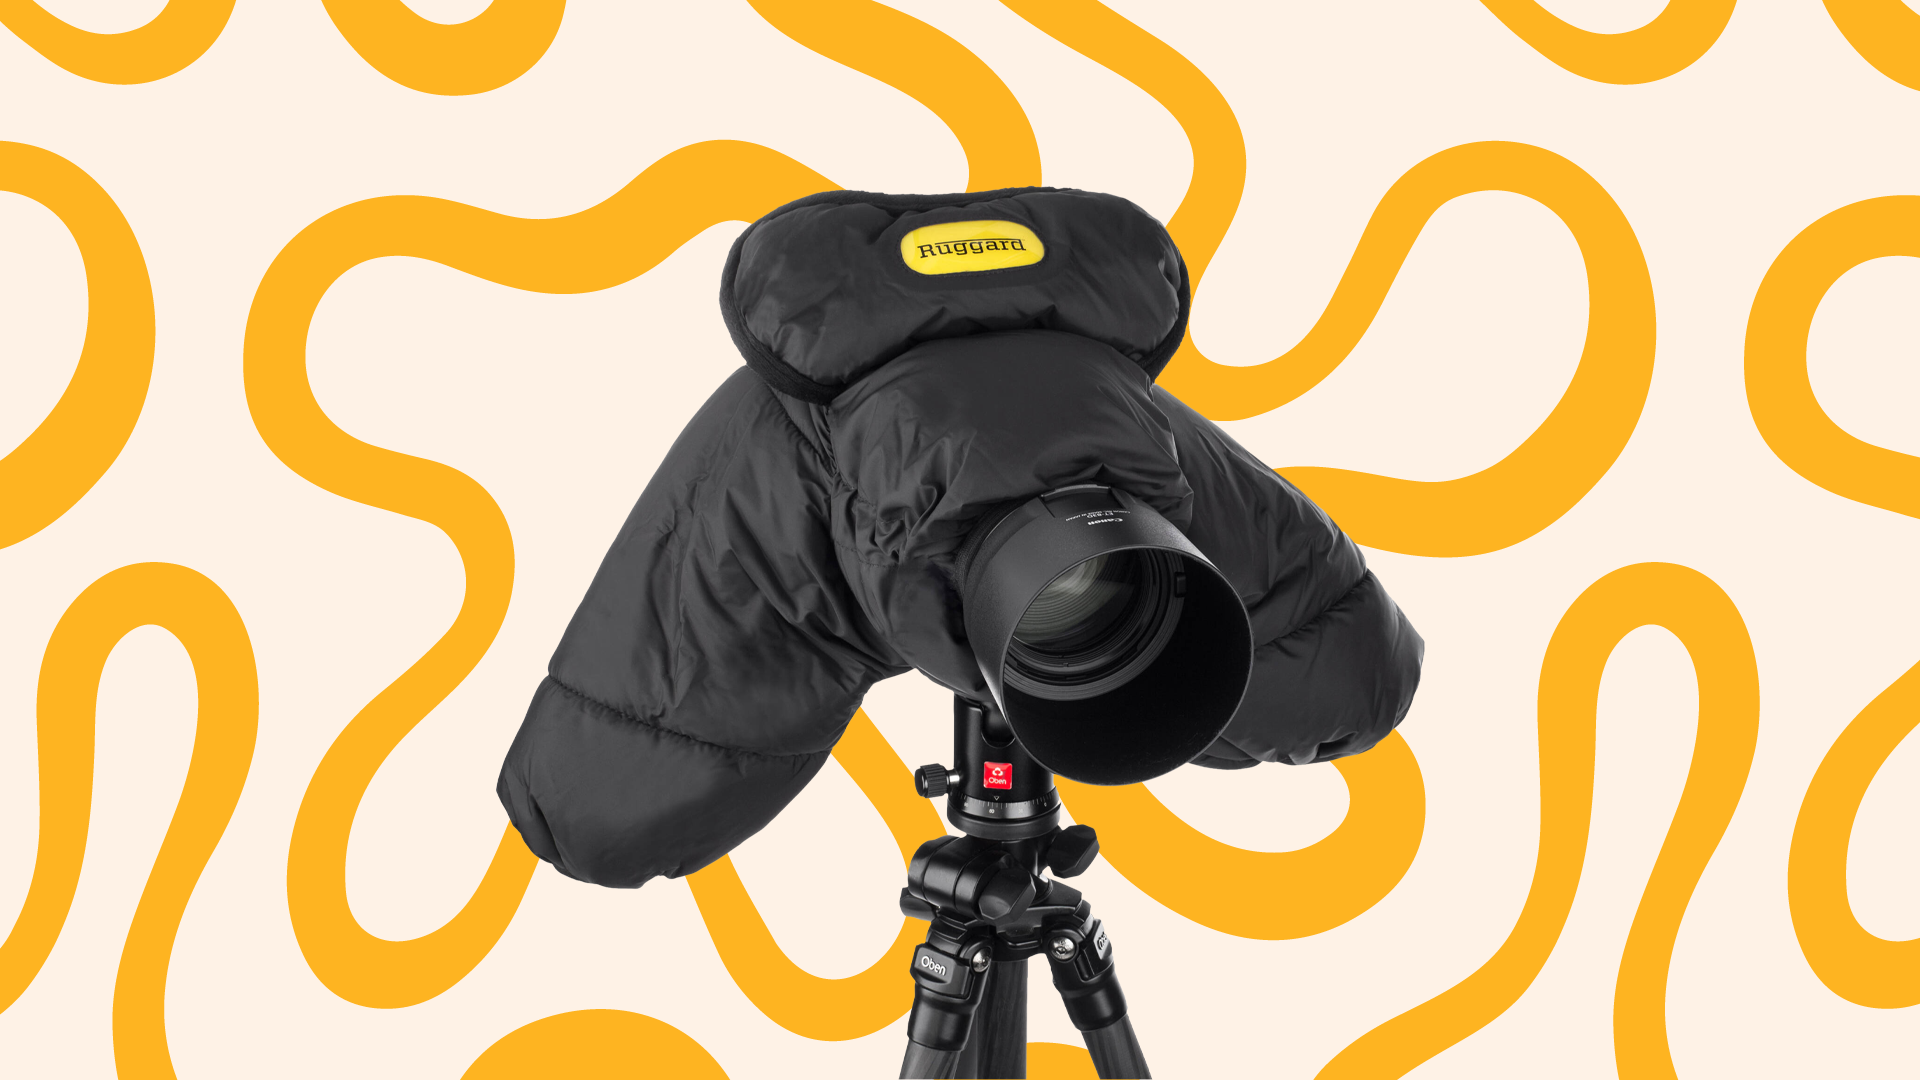
Rain is another factor to consider, as a heavy downpour makes a day outside unappealing. Light or scattered showers can be beneficial, as this keeps the temperatures down while also cooling the animals down. They may react to the weather, which could make for more interesting images. If you're worried about your gear, rain sleeves can always be equipped to keep our cameras nice and dry.
Watch the Eyes
Eyes are the "window to the soul" and a key element of how we communicate. Eye contact is an essential act, and our photos should promote that level of connection. As with all portraiture, focus on the eyes to guide your audience. Additionally, watch your head angles. Aim to have your subject looking parallel to or slight towards the camera. Any angle away will cut off all engagement between your audience and the subject.

Watch Your Backgrounds
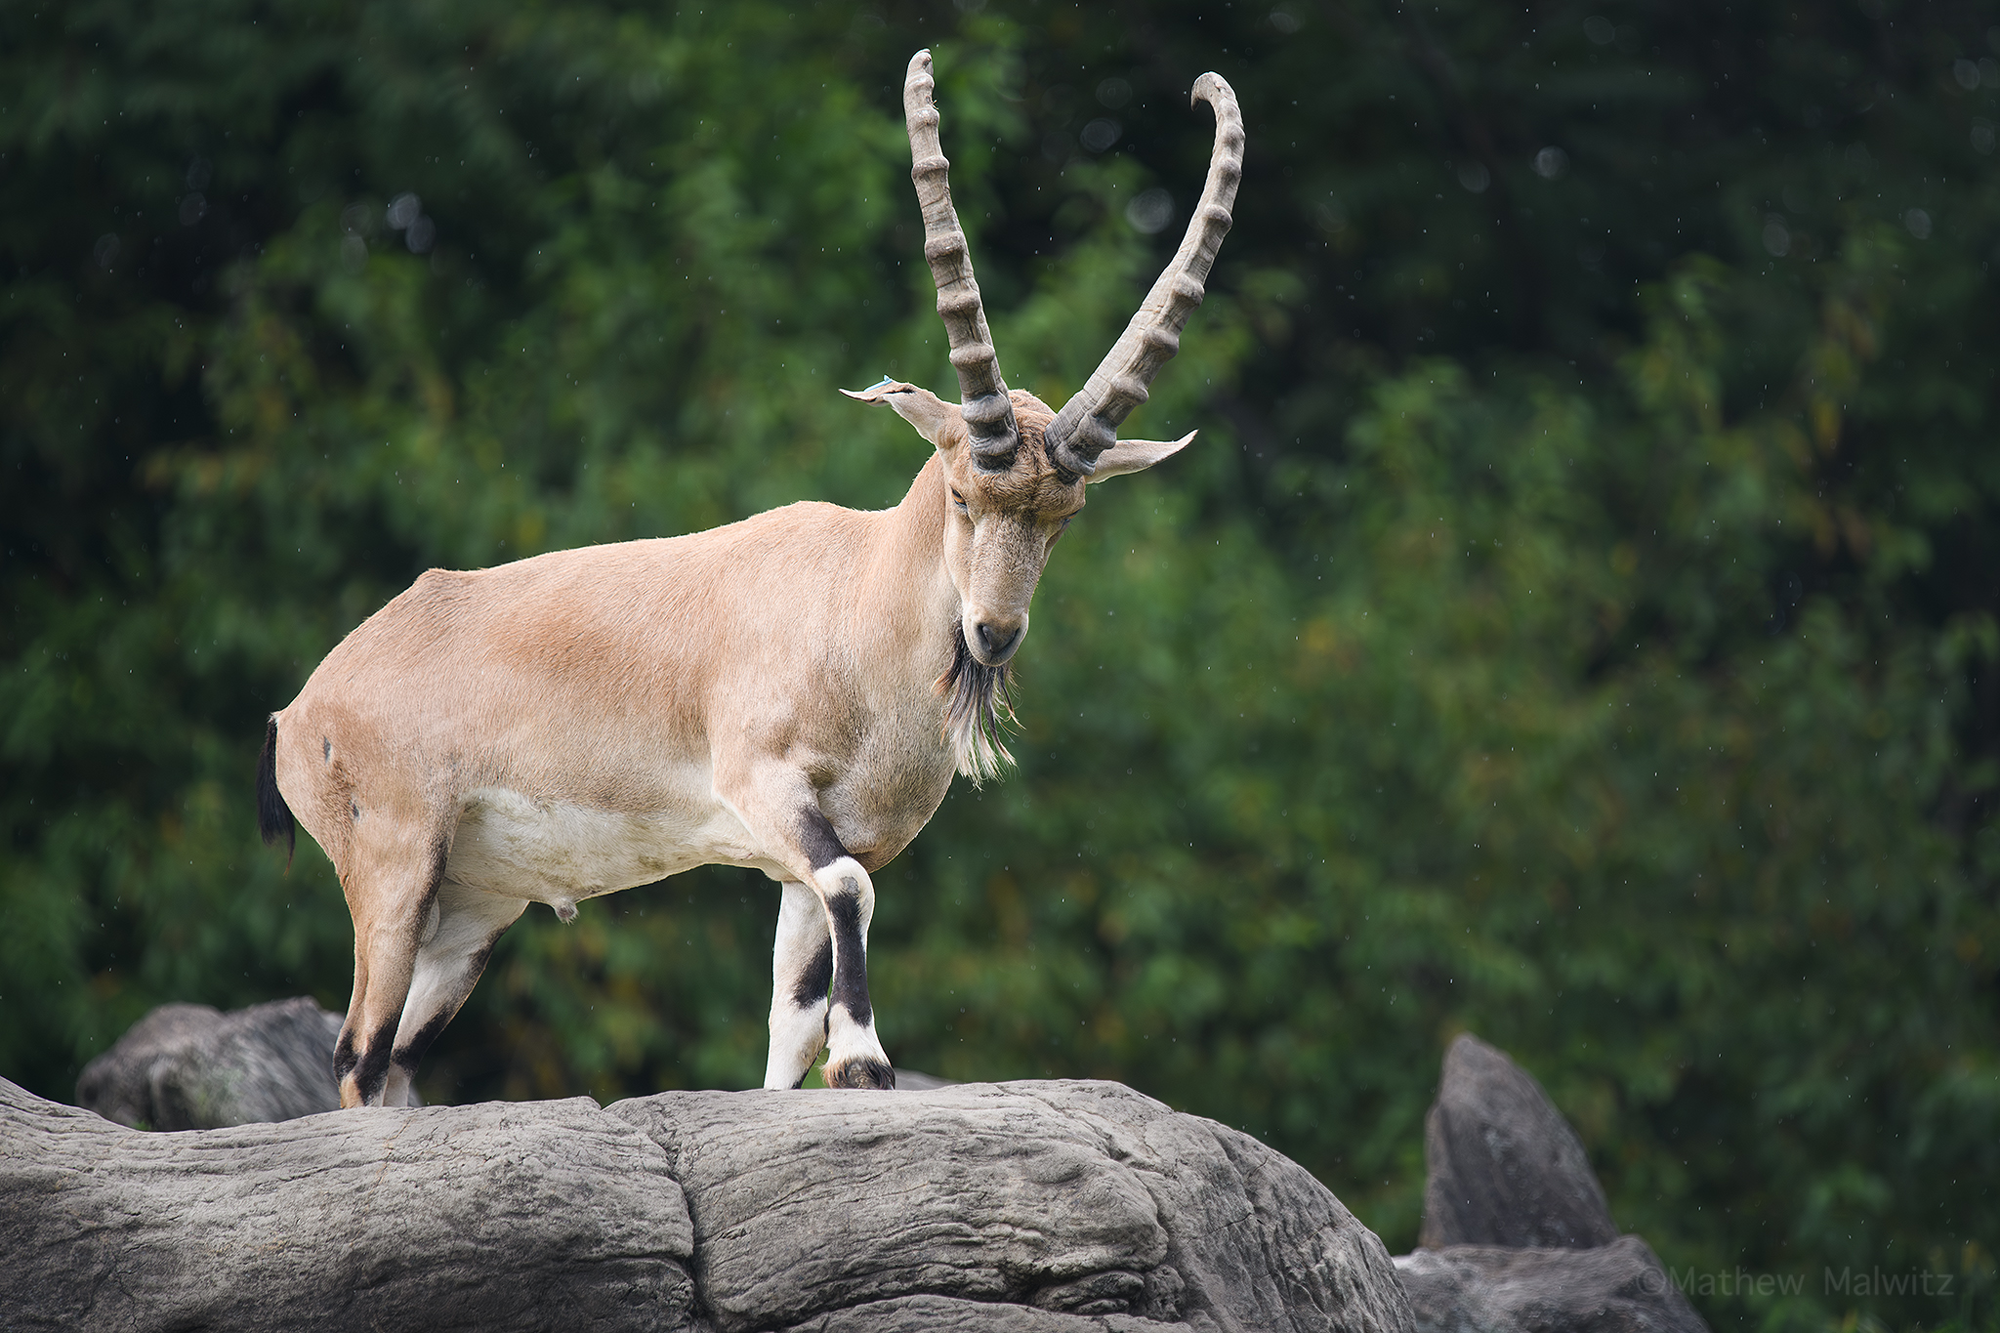
Avoid distracting highlights, hard edges or lines, and visible fences to give your images a natural look. The farther your background is to the subject will also play a role in how blurry your background gets. This goes hand in hand with your choice of lens. A fast lens like a 70-200mm f/2.8 shot at 200mm and f/2.8 will aid in creating a narrower depth of field.
Work the Subject
"Working the subject" simply refers to being creative and trying different things. It's quite easy to walk up to an exhibit, take a sharp shot, then walk away. Shoot from different angles, alternative backgrounds, and alter settings to capture a variety of images of the same subject. Spend some time with an animal and you may be lucky enough to capture something truly unique.
Light alone can be used to alter the look of our images. Let's look at the Bronx Zoo's world of birds for instance. This entirely indoor aviary features birds from all around the world. An obvious choice for the bird watchers out there. The lighting of the aviaries varies from bird to bird, but dark corners can be used to produce low-key images, focusing our attention entirely on the subject.

Hiding Cages
One of the greatest challenges of photographing captive animals is hiding fences and other man-made structures. To avoid this, get your lens as close to the fence or glass as possible. Of course, we mean to do so without breaking any rules. Please do not hop any fences or get too close to an enclosure if it is forbidden to do so.
Why we do this is simple. The closer we are, the less likely we are to see the enclosure itself in the frame. But hold on! Isn't it dangerous to get our expensive glass front element super close to fencing? How can we do this? Why, by using a rubber lens hood of course. These not only add a layer of protection to your lens, but also block stray light from sneaking in.

Another tool we can use to keep our lens safe is a UV or protective filter. These are clear and have little to no impact on image quality while putting a piece of glass between the scary dirty world and our expensive front element. God forbid you scratch your filter; you can simply replace it. A lot less stress inducing than scratching the lens itself.

The last tool at our disposal is our feet. If you're still getting a lot of fence detail in your background, try moving around. A few steps in either direction can be all you need to drastically change and improve your background. Use natural elements within the enclosure to hide fences. Let's take a look at the bobcat portraits from earlier again


Watch for Fun Behaviors
Spending time with a subject also increases our chances of seeing odd or interesting behaviors. Be ready for anything, as these convey character and personality in your subject. This is also good practice if you plan on trying your hand at true wildlife photography, as behaviors are the key to understanding your subjects. Certain behaviors can tell you if an animal is stressed, relaxed, curious, and so on. Or, they can be fun and inquisitive, such as a lemur gnawing on a thorny branch.

Let's Go to the Zoo
Next time you're headed to the zoo, put some of the topics mentioned above into practice. The zoo is an excellent place to try something new or warm up before a big safari trip. There are great opportunities to test your gear and skills in daylight, low light or even indoor settings. For more helpful tips and guides, check out our other articles on the B&H Explora Page!
