
This will be a crash course in recording music anywhere you can find a power supply. We’re not talking about traditional studio recording—this is about turning whatever you have into a working studio, making the most out of the situation. You’ll find a buying guide, some concrete tips, and suggestions for further reading.
The Simple Setup
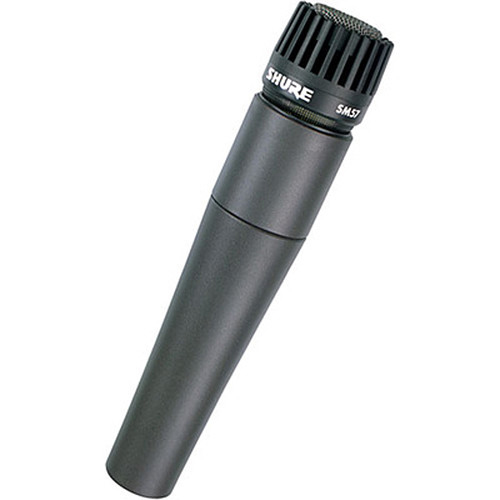
There’s an old adage that a good engineer can make a whole record with a Shure SM57. I know from experience this is the case, especially if the record is on the simpler side, and doesn’t require multi-miked drums. If you’re a multi-instrumentalist, and you want to test your mettle, you can record an entire record by your lonesome with a Shure SM57 and a good-quality interface.
For this purpose, we shall recommend the Focusrite 2i2, which provides a clear and transparent signal path, low latency, two different pieces of recording/producing software, and a variety of studio-quality effects to add character to your signal.
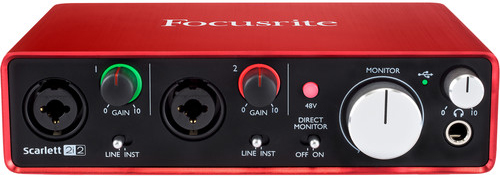
Bass and electric guitar can go straight into the interface, and you can make use of the effects to give them the flavor they require in the mix.
Any acoustic instrument can be miked with the Shure SM57; the key lies in knowing how to mic it, and also, how to use your room to your advantage.
For an acoustic guitar, try aiming the mic where the neck meets the body about four to six inches away; similar schemes can work for ukes and mandolins. A banjo often responds better if you mic it like a drum, pointing it at an angle across the head of the body. Percussion instruments, such as hand drums and tambourines, can all work with the SM57.
You can find tutorials for miking instruments all over the Internet—here’s one I wrote—but experimentation will be your best teacher. As for how to make the best of your room, peruse this article.
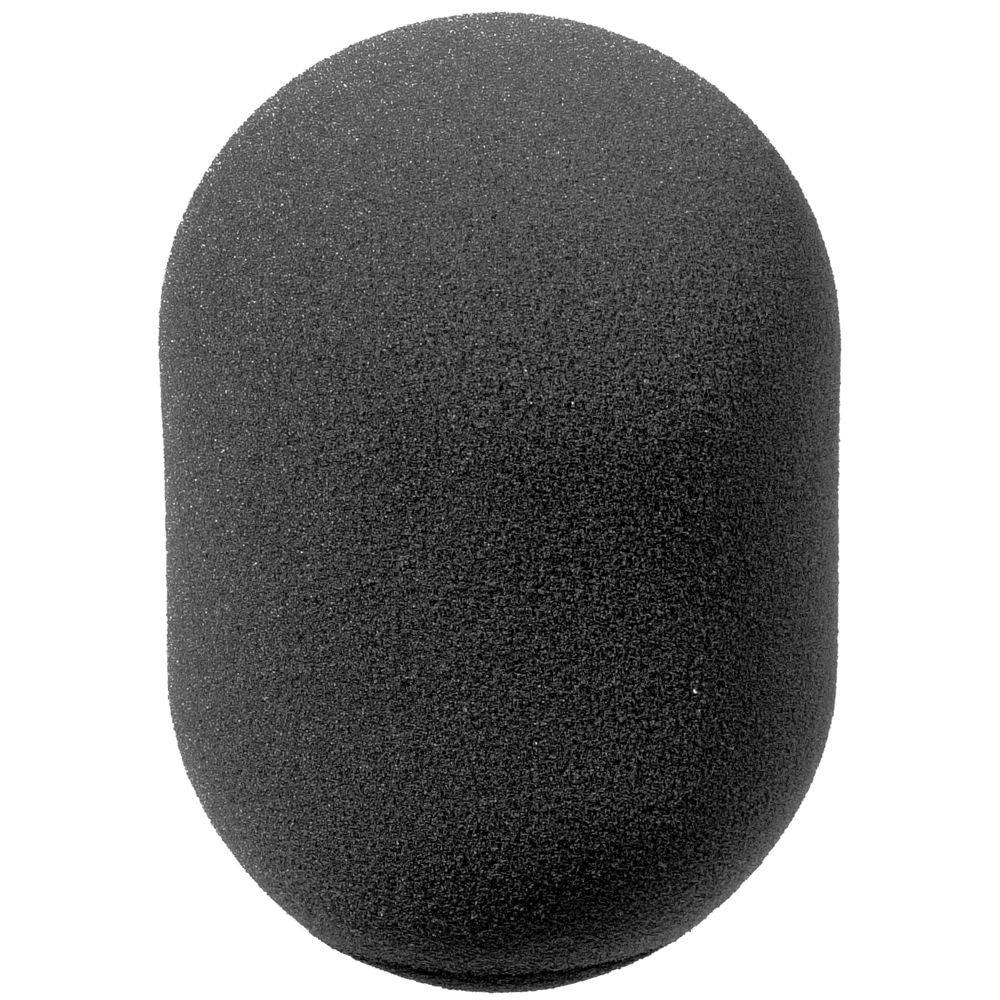
What about your delicate voice? Well, if the SM57 is good enough for every American president from LBJ onward, it’s good enough for you. Buy a windscreen if you care about plosives, or read up on vocal mic technique to tailor your performance to the mic.
Get yourself a pair of headphones, some mic cables, and a mic stand to round out your purchases. Provided you already have a computer, the total combined cost is less than $500.
It Gets Complicated…
If you plan on recording a full drum set with multiple mics, your budget increases exponentially. Consider that the drum set often uses at least four mics. So, you’ll need an interface with at least four channels, though six might be better for close-miking everything. Once you have such an individuated, focused drum sound, you may find you need a clearer, more intimate-sounding vocal to match the drums. This means securing a separate mic tailored for the lead vocals.
Still, it can be worth it, and it’s not altogether impractical. With the configurations offered below, you can record a fully tracked, multi-mic record for between $1,000 and $1,500—far less than it would cost you for two days of studio tracking time, mixing, and mastering. Record more than one album, and the value of this setup skyrockets, though only if you know what you’re doing!
You first option involves the following pieces:
- Instrument Mics: Shure PGAStudioKit4 4-Piece Studio Microphone Kit
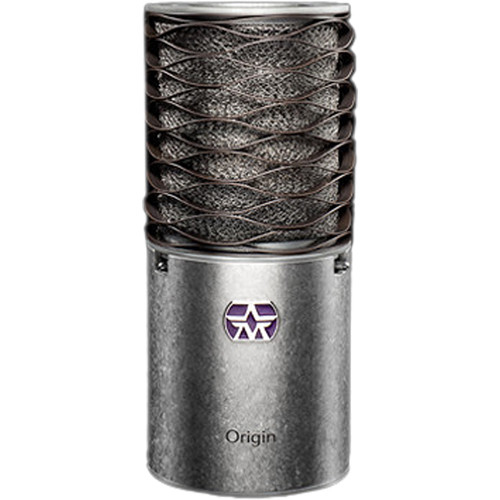
- Vocal Mic: Aston Origin
- Interface: PreSonus Studio 1810
- Headphones: Audio-Technica ATH-M50x
- Kick-Drum Mic Stand: Auray MS-5340 Stand
- Mic Stands and XLR Cables: This package from Auray and one extra mic cable
Now, you will have microphones for the kick, snare, and overheads. You’ll have stands to place them on, and cables to rig them to the interface. The interface comes with recording software, so that helps.
The Aston Origin, a condenser for your vocals, is an absolute steal—it can sound better than mics three times its cost. Between the snare mic, the kick mic, the two overhead mics, and the vocal mic, you have more than enough to address any other acoustic instrument coming your way. You can monitor the recording through headphones.
For a multi-mic setup that includes rigging the toms (better for hard-rock, modern gospel, and metal), the list goes as follows:
- Instrument Mics: Audio-Technica PRO-DRUM7
- Vocal Mic: Aston Origin
- Interface: Focusrite Scarlett 18i20
- Headphones: Audio-Technica ATH-M50x
- Kick-drum mic stand: Auray MS-5340 Stand
- Mic stands and XLR cables: This package from Auray, and three of these mic cables
The order of events is the same as above, but now you have close-mics that clip onto your toms. You also have more mics overall, so you can do a lot more. For instance, if your live guitar sound involves two amplifiers, and you want to capture it faithfully, you have the mics for the job.
With the gear amassed, the question becomes: how do we make this sound good for any given location? Here you have to be adaptable to your environs, but do keep some guidelines in mind.
- Before you do anything else, walk around the room you’re recording in and clap your hands slowly; listen for flutter echo—if you hear it, you’ve got to treat the room.
- Walk about the room while striking a low-tom and note the place where the low end seems the most full; this is a good area to set up drums.
- Similarly, walk around a room while playing a guitar (or any portable instrument), and note where it seems the most full and the most clear; this is a good place to record that instrument.
- When recording drums, try to find a room with a tall ceiling.
- In the absence of tall ceilings (if you’re trapped in a basement, say) consider miking your overheads behind the drum set, rather than above it, and place the mics lower to the ground.
- The closer you mic the instrument, the more low-midrange you’ll pick up, and the less ambiance you’ll pick up.
- If the instrument sounds harsh through the mic, try turning it off axis to the source a bit; this can dull the harshness.
- Shut off all the air conditioners or fridges when recording; they will make noise.
A short list of condensed tricks is no substitute for education and experience. Get out there and mic some sounds, and read all you can in the off-time. I particularly enjoy the The Recording Engineer’s Handbook.
That’s all for now, but are you interested in expanding your knowledge, fine-tuning your workflow, or figuring out what gear to get? Visit B&H’s Audio Week page to read tutorials, comparisons, and buying guides about audio for video, podcasting, live sound, music recording, and more.
