
Entry level, starter kit, beginner. The words evoke the idea of something inexpensive that you start with and grow out of quickly. But it doesn’t have to be that way. When I’m looking at an accessory, I look for what I need now, and what I may need a couple of years from now. I’m looking for room to grow, because what is the point of getting something now, if I’m going to have to pay more to buy a new version next year?
Audio
A good mic is important, especially when you are doing everything yourself without a sound recordist. The Polsen CS-88A DSLR-Video Shotgun Microphone does a nice job. Small and lightweight, it mounts easily on my camera. It comes built into a shockmount, so I can mount it on a boompole to capture audio from up close. The mic features a cardioid pickup pattern, so the term “shotgun” may not be entirely accurate. It offers good audio rejection, which is very important, to minimize camera noise when mounted on your camera.


The CS-88A is powered by a single AA battery, so no worries about having to stockpile batteries in exotic sizes, or carry around multiple button batteries. For connectivity, it has a standard TRS connector, which plugged perfectly into the mic-in port of my Panasonic GH5, giving you much cleaner sound than the camera’s built-in mic. The built-in on/off switch helps conserve battery life, and the three-step gain control is a nice feature because it is mic mounted, so you don’t have to go diving into the camera menu to boost or lower the gain.
The mic also incorporates a low-pass filter switch—again, a nice little extra to help deal with audio issues. The CS-88A floats on a shockmount that houses the shock-reducing bands, and the cold-shoe mount. This is made of plastic, reducing the weight of the mic assembly. I’ve had no problems with it in my limited time. Of course, there is a wind screen included. All in all, it’s a decent mic that should be on your wish list.
On-Camera Monitor
I’ve been fortunate to work with a variety of on-camera monitors, and I am hoping to relegate my current 7" monitor to the director, and pick up a smaller 5" monitor, so I very much enjoyed my time with the Elvid 5" RigVision HDR On-Camera Touchscreen Monitor. The name is a mouthful, but it will accept signals up to 4K, features loop-through HDMI, and a headphone jack. It also features a simple menu system, touch-screen control, and a host of camera/signal evaluation tools.

This is one of those entry-level bits of gear that you aren’t going to grow out of easily. Just the 4K input alone means it should be viable for years to come. To be clear, the monitor doesn’t display 4K—it scales it to 1920 x 1080, but for a 5" monitor, that is plenty of resolution, and if you really need to check that something is sharp, there is a pixel-to-pixel mode. You could consider the monitor entry level because of the ease of use, and not for the feature set. Five minutes with it, and you’ll be ready to go. The menu system is very clear. The monitor has four easily assignable function buttons, and a push-to-select Menu wheel to go along with the touch-screen control.
The monitor features good contrast ratio, and 1500 cd/m2 brightness, so you can shoot with it outside without a hood. The IPS screen provides 160° viewing without color or contrast shift, which helps if you get off-axis while shooting. Another feature that extends the usefulness of this monitor is that you can view HLG on it. HLG has been around for a while, but it is gaining in popularity for delivering an HDR image right out of the camera. So, even if you aren’t working with HLG now, it is nice to know your gear will have that capability when you need it. In addition to HLG monitoring, you can also upload LUTs to the monitor from a USB drive. False color, waveform, and histogram are image-analysis tools that can come in very handy, and for the old-school types, zebras can help you get a handle on your video. Did we forget focus peaking? There is focus peaking, so you can leave that off on your camera’s display, which I’d suggest relegating to technical info, and set the Elvid to show focus peaking. This monitor has many more features than you would expect from an entry-level monitor, although it is lacking vectorscope and SDI in/outputs. However, for on-camera monitoring, it is simple to use, and able to suit your needs as they grow, which makes it an excellent choice in an entry-level on-camera monitor.
On-Camera Lighting
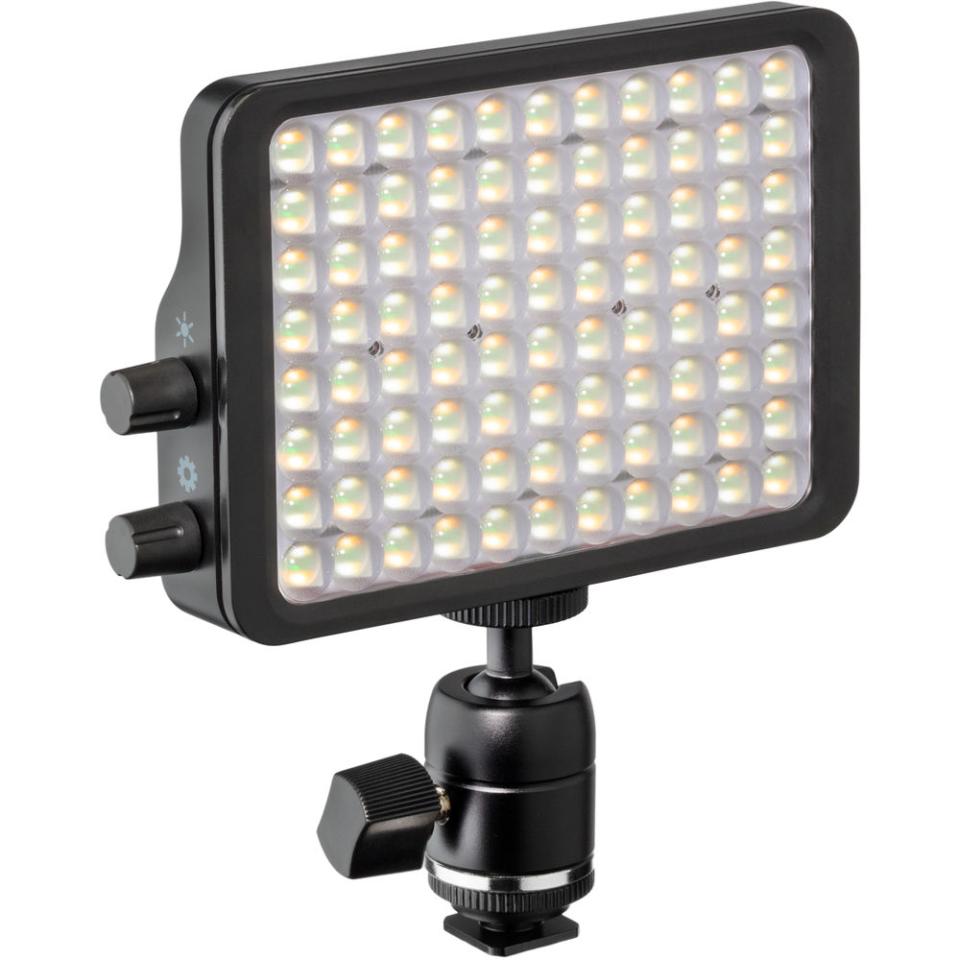
Do I need to sing the praises of the Luxli Viola2? An entry-level on-camera light in my mind means on/off, dimming, and maybe bi-color. But I suppose you could consider the Viola2 entry level because it is the smallest light that is part of the Luxli Orchestra ecosystem, which currently includes the Viola2, the Cello, the Timpani and, the Taiko. With a color temperature range of 3000 to 10000K, the light has a tremendous range, and it can be controlled locally or by your smartphone using the downloadable Bluetooth app. It is simple to operate, but it is not a simple light at all. Offering effects modes, color pattern reproduction from a cell phone still or video, it can be controlled by itself or in groups from the single app. You can start off using the Viola2 as just a basic light, and it has a good value but, as you get more used to it, the many operating modes and built-in effects will help you realize your creative vision.
Using the Gear
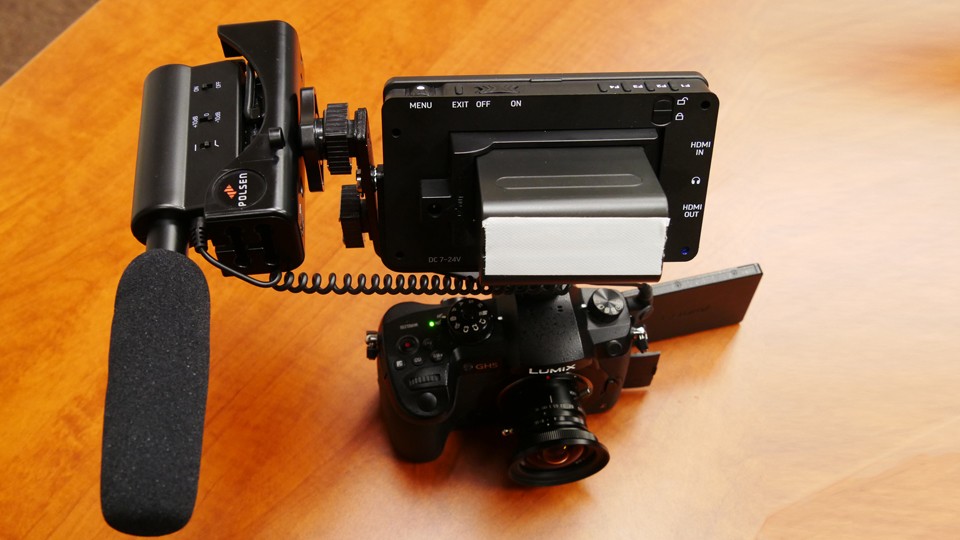
So how do you use these wonderful items? How do you mount them on your camera and start using them? I’ve got a cage for my GH5, and it has many, many attachment points. However, a cage is another investment, but it wasn’t the first accessory I went out and got for my camera. If you are just building up your package, you may want to explore other accessory mounting options. Mounting only one accessory on your camera at a time is pretty straightforward, but you will quickly realize how valuable an external monitor can be and, if you are doing sound or need the light, as well, it is going to get crowded and fast. In any case, you will to want to use an articulating arm arrangement with the monitor, like these articulating arms, one for the monitor and another one for the light, or you could use this double arm, or the tilting bracket that comes with monitor. The bracket has a friction hinge, which allows you to set the position of the monitor without having to loosen and retighten it when you are adjusting the monitor. The bracket has two cold shoes on the side, great for attaching accessories, but not so great for using the mic and the on-camera light at the same time.

Mounting the mic on its side doesn’t seem right to me, lightweight or not. I’m not sure how well the shock-absorbing bands will work in that configuration. Plus, the mic is no longer over the lens, so you may not get good sound from someone in front of the camera. You can see in the photo below that I was able to use a small ball head to reorient the mic to mount normally, and the ball head even allows me to adjust the mic’s angle. I did remove one of the cold shoes from the side of the tilt-arm bracket, but the Elvid monitor includes an Allen key (hex wrench) for just that purpose. You are still going to want to use an articulating arm for your on-camera light, and to make sure there is enough room, I’d recommend getting a cold-shoe extension. I was using a 3' long HDMI cable, which is way too long—I’d recommend using a much shorter cable from your camera to your monitor.

Wrapping it Up
Once you’ve gotten all these items, and have configured them to your liking, your next stop will most likely be a camera cage. You should be able to mount all your new accessories on the cage, which has the bonus of not stressing out your camera’s cold shoe, which is supporting all these accessories.
I hope you’ve found this article useful, and remember, thinking about an entry-level purchase as something that you can use for several years, instead of something to get you through the next couple of days, will make you much happier in the long run. If you have any entry-level items that have served you well for a long time, please share about them below, and remember to stop by the B&H Photo SuperStore to accessorize your camera in person, and explore our wide selection on the B&H Photo website.
