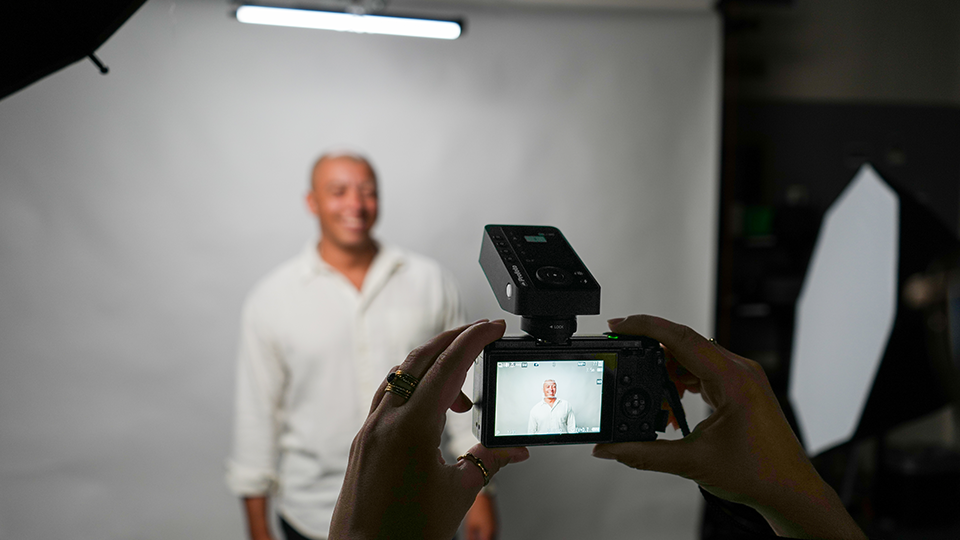
At first glance, studio photography and the compact camera may seem strange bedfellows. The type of work associated with the studio—still life, product photography, portraiture, macro photography—usually wants cameras with larger sensors and interchangeable lenses, especially in professional applications. Compact, point-and-shoot cameras, for their part, have their natural home in everyday, travel, nightlife, and street applications, where their discretion and size become virtues.
It might seem almost cruel to introduce the compact to the constraints of the studio, given the format's freewheeling spontaneity. However, an underappreciated aspect of studio photography is that its constraints can end up compensating for many of the things that would otherwise distinguish an expensive camera from a cheap compact. The stationary subject and camera, the control over light and settings—these all help elevate image quality independent of a camera's specifications.
The chief concern for compact cameras in the studio is whether and how the camera will communicate with the lights. Studio lighting breaks down into two categories: continuous and strobe (flash). While strobes are the lingua franca of studio lighting in photography, continuous lights have some advantages. You can read a more in-depth treatment of the difference here, but the short of it is that a speedlight or strobe is more powerful, more controllable, and more versatile, whereas continuous light is easier to see, and therefore understand, and compatible with literally every camera.
If your goal is to achieve studio-level image quality using your compact, point-and-shoot camera, there are a few obstacles you're likely to face. Below are some navigational strategies geared toward realizing the full studio potential from your compact camera.
Studio Photography with Continuous Lights for Compact Cameras
Continuous lights offer two fundamental advantages that make them ideal for beginners in studio photography: visual immediacy and universal camera compatibility.
The educational benefits of a continuously running light cannot be understated. The studio becomes a live lighting laboratory. Much of what constitutes studio lighting is understanding the relationship of the light source to the subject, and continuous lights lay those relationships bare to the naked eye. You don't have to guess as to how the distance of a light source from a subject will affect contour, nor how the shadows will fall, how hard or soft they will be on the subject, the amount of positive or negative fill you may need: it's all right there in front you.
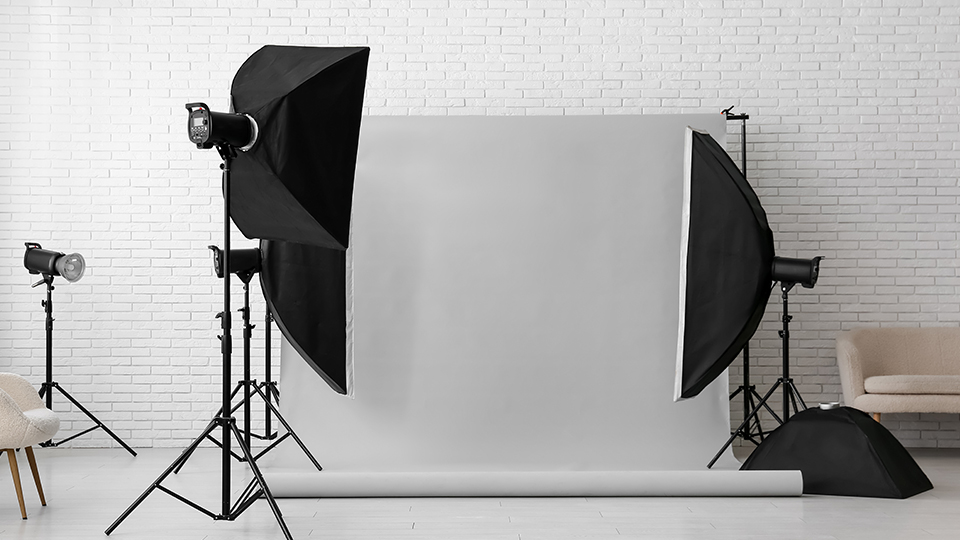
Secondly, whereas strobes demand synchronization between the camera and the fixture, continuous lights relieve the camera of its responsibility to communicate with the light, and return to the humble responsibility of simply recording what's in front of the lens. This means, essentially, that if the camera can take a picture, it can be used with continuous lights. In turn it liberates the studio from dependence on the camera, where all the pictorial decisions (outside of exposure settings) can be made through light and modifier adjustments. In short, the more of the picture you construct before it reaches the camera, the less sophisticated the camera itself needs to be.
A final consideration—less fundamental but no less important—is that a continuous light studio offers seamless transition between photography and video setups, benefitting hybrid workflows. This is especially true of still subjects like products, still life photography, and macro photography among others.
Choosing a Lighting Setup
A recent and accessible guide to budget-friendly lighting strategies can be found here, but in brief, the main categories of continuous studio light are the ring light, the LED light panel, and the chip-on-board (COB) LED fixture.
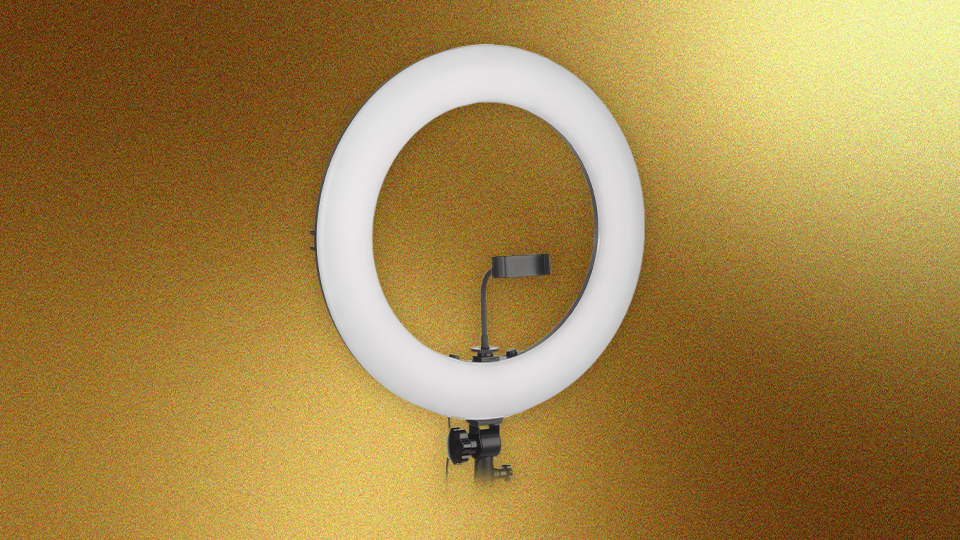
A ring light is the fastest route to even, frontal facial illumination and is well-suited to portraiture. A compact LED panel provides portability and greater directionality. A COB fixture paired with a modifier offers the most control over source size, placement, spill, and overall lighting design.
Ring lights and small panels can often be mounted directly to a phone, camera, or desktop support, creating a compact setup in which the light remains close to the lens. Moving into larger COB fixtures generally means moving the light off-camera and placing it on a dedicated stand.
That transition requires more equipment and floor space, but it also opens the door to far greater creative control. Instead of merely making the subject visible, you can begin deliberately shaping the direction, texture, contrast, and atmosphere of the scene.
Choosing a Camera
As stated earlier, continuous lighting allows for literally any camera to be introduced into the studio environment. Any compact, point-and-shoot camera will function in the continuous light studio space. That said, there are a couple of compact cameras worth mentioning here for their imaging quality and specific lack of external flash compatibility of any kind.
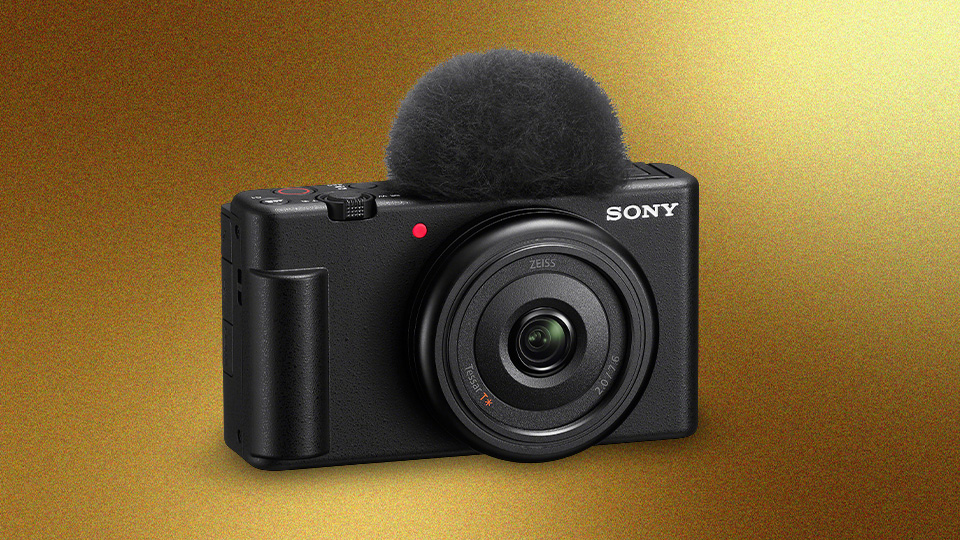
First is the Sony ZV-1F Vlogging Camera, which, as the name suggests, is primarily marketed toward video creators. It's an excellent camera choice for the hybrid creator who intends to double their studio efforts using continuous lights. It features a 1" sensor, 20mm-equivalent f/2 lens, and full manual exposure controls. While it's no doubt a quality compact imaging machine, its wide-angle perspective may limit its broad applicability.
The other compelling current-market compact camera whose studio functionality is limited to continuous lights is the FUJIFILM X half Digital Camera. While technically it possesses a small, front-facing LED flash, the built-in unit cannot communicate with strobes and strobe-triggering equipment and so is only usable in the studio with continuous lights. It also has a 1" sensor, 32mm equivalent f/2.8 lens, and manual focusing capabilities.
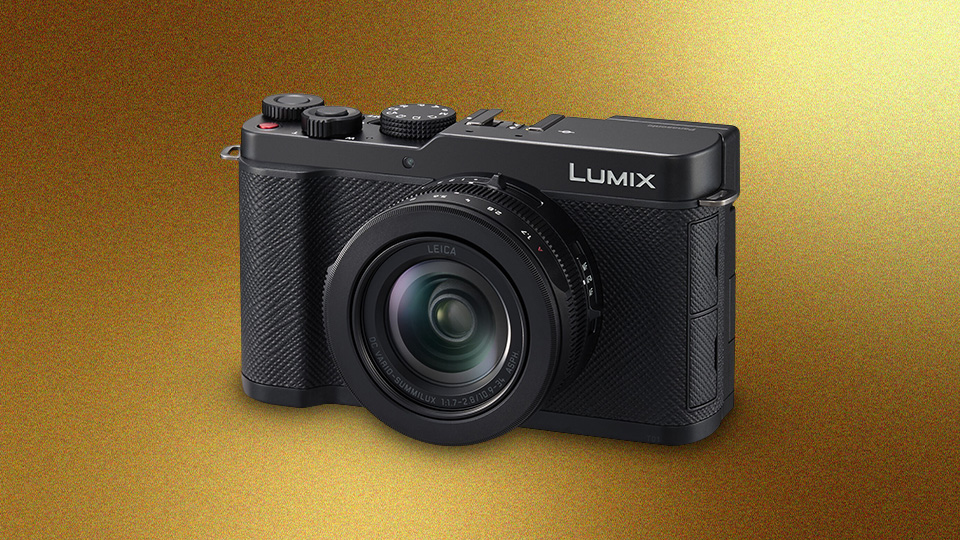
A final discontinued suggestion, if only for its intrigue: the Panasonic Lumix CM1, a quirky cellphone-digicam hybrid from 2015. Like the other two, it has a 1" sensor, shoots RAW images, manual exposure control, manual focus, and a 28mm equivalent f/2.8 Leica lens. That's serious compact imaging power in a cellphone form factor.
Studio Photography with Strobes for Compact Cameras
For most photographers, studio photography is synonymous with strobes. While the intricacies of flash and flash photography can be intimidating for beginners, those same tentative photographers, after enough exposure and practice with the gains in power and efficiency—and their downstream effects—never look back.
Compact Cameras with a Hot Shoe
This is the first route I'd recommend, simply because it allows the camera to most seamlessly enter the world of studio photography. The hot shoe is the camera's flash unit mounting interface, where a flash both sits upon and communicates with the camera. It also accommodates radio flash triggers, equipment that signals to compatible radio receivers for the flash or strobe unit to fire, and enabling sophisticated multi-fixture setups.
Choosing a Camera
The only catch, of course, is that there are very few of them currently on the market. Of the ones that are, even fewer are available, as cameras like the FUJFILM X100VI, Ricoh GR IV and GR IIIx, and Leica D-Lux 8 are perennially backordered. Pooled with the announced-but-not-released Panasonic LUMIX L10, the hefty-priced Sony RX10 V, and the astronomically priced Sony RX1R III, and you're looking at a steeply priced and largely unavailable set of cameras.
At first glance, the Canon PowerShot V1 seems like an ideal option, as its sub-$1000 price tag, point-and-shoot form factor, 1.4"-type sensor, and general content creation chops would make it an ideal all-around production workhorse. However, it will require an additional accessory, the AD-E1 Multi-Function Shoe Adapter, for any third-party flash or flash trigger to work.
The Sony ZV-1 II lands in a similar space, with 1" sensor, compact form factor, zoom lens, and a even a Product Showcase setting applicable in both video and photo modes. Unlike the PowerShot V1, it does not require an accessory adapter to accommodate third-party flashes and triggers.
There are a few budget options on the table: the City Series from Yashica—the 100, 200, and 300 cameras—all have a functioning hot shoe. What they lack is full manual control, which will add extra emphasis to your fixture's output as the site for exposure control. Same with the Minolta MNZ3X.
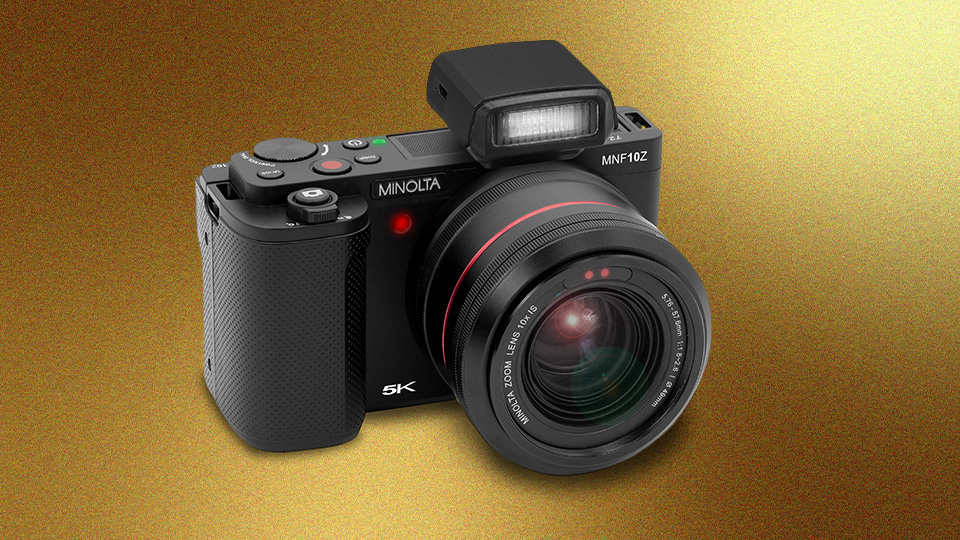
Perhaps the best budget option is the Minolta MNF10Z Digital Camera, which, in addition to its hot shoe, offers both manual exposure control and manual focus control.
The above budget options come with "unspecified"-sized sensors, which usually translates to "microscopic." However, this is one of those cases where the studio confers its advantages, especially with strobes, as they can provide the kind of light these sensors need to produce quality images.
There is a third way, one that puts high-quality imaging tools in your hands for a fraction of the cost: buy used. It broadens the pool of possible cameras, lowers the price, and makes some surprisingly capable cameras available, even if it means you're getting some older tech. There are too many to name here, but there are several to highlight: the Sony ZV-1, the Canon PowerShot G5X, the Panasonic Lumix LX100 II, the Olympus XZ-2, the Nikon P7800, the Samsung EX2F. Canon's PowerShot G series cameras, onward from the G10, all have hot shoes, manual exposure controls, and other highly studio compatible features.
The above cameras are all excellent, if dated, options that will most likely cost you less than their current market equivalent.
I want to give a brief mention to the Sony RX100 II. Of all the cameras on this list, it's the only one that managed to meet all of the specification requirements for true studio versatility--hot shoe, large 1” sensor, RAW capture, full manual exposure, 28-100mm full-frame equivalent zoom—while remaining pocketable.
Choosing a Lighting Setup
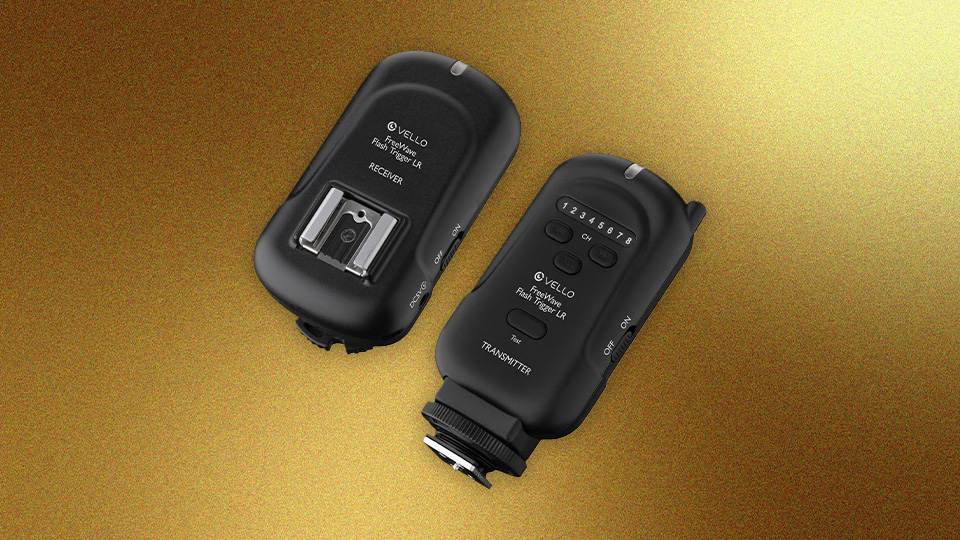
If you're choosing a point-and-shoot camera with a hot shoe, it's with the idea of creating a wireless system that allows you to adjust and control the fixture's position, angle, and output. This allows for a surprisingly wide range of lighting options, including inexpensive, manual speedlights that can be paired with a simple universal trigger and receiver set like the Vello FreeWave LR Wireless Flash Trigger, which comes bundled in One Receiver and Two Receiver kits. These receivers have their own hot shoe for mounting speedlights in addition to an included 3.5 to 3.5mm sync cable for connecting the trigger to any larger and more powerful studio flash.
The higher leverage solution, however, is investing in a system. And there's probably no better place to start than with the Godox X-System, because it offers extremely affordable and compatible manual speedlights on the starter end, like the TT600 Speedlight, workaday outdoor strobes like the popular AD200Pro II, and indoor-professional monolights on the top end like the QT1200IIIM Flash Head, all controllable from the central triggering node, the X3 Touchscreen TTL Wireless Trigger, a small, hot shoe-mountable device.
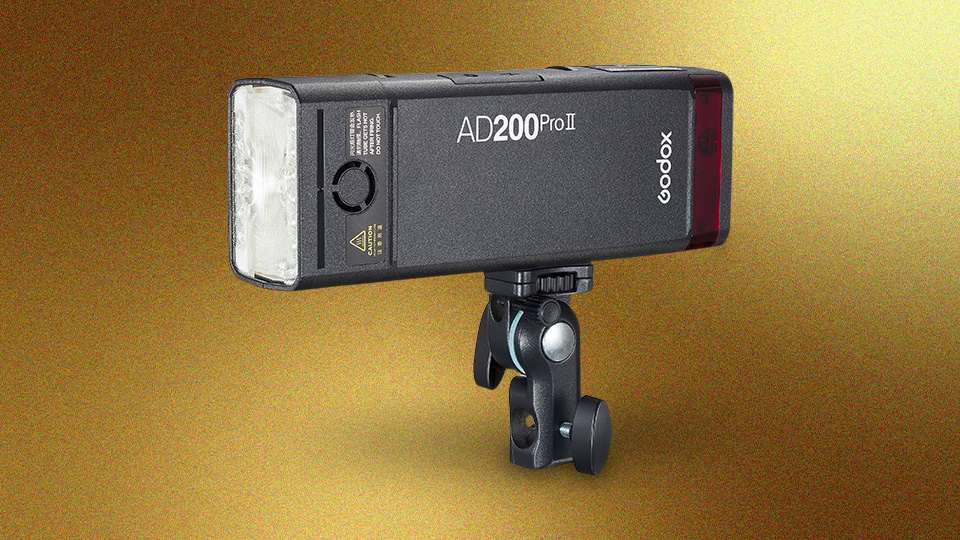
Godox also sells an XR receiver, in Canon/Nikon and Sony variants, that can translate TTL (through-the-lens) metering with lights from the compatible manufacturers. More importantly, however, is that they can fire any flash or strobe, mounted or connected via the included 2.5mm-to-3.5mm sync cable.
Compact Cameras with a Built-in Flash but No Hot Shoe
A compact camera without a hot shoe can still be compatible with studio strobes. If it has a built-in xenon flash (not LED flash), this internal unit can function as the triggering mechanism for an off-camera flash or a larger and more sophisticated lighting setup. For the duration of the article, assume that built-in flash refers to a flash with a xenon bulb, not an LED.
The upshot is that while the field of potential compatible cameras grows exponentially, the method gets trickier and more prone to pitfalls.
The Optical Trigger
The core of the method involves a studio technique and common speedlight feature known as an optical trigger, or an optical slave. In an optical trigger, which can be built into a fixture or connected as an accessory, a sensor detects ambient flash from a source unit and causes the connected speedlight or strobe to fire its own flash.
The key limitation is the reliability of optical reception: the off-camera flash has to "see" (receive enough) light from the source flash, usually requiring the optical sensor of the off-camera flash to be in the line of sight of the source flash. In a small studio, that’s usually easy, but in environments with a considerable amount of ambient light—outdoors in direct sunlight, for example—some optical sensors can have trouble registering the signal.
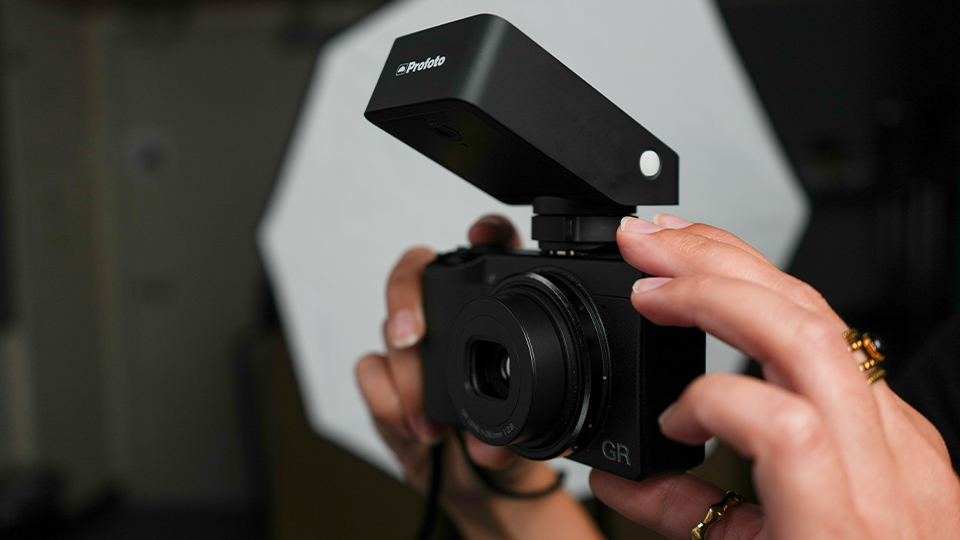
In the context of studio lighting with a compact camera, the built-in flash's role should be limited to command signal. This requires reducing the source flash's total output. Ideally, the camera will allow manual flash-power adjustment, in which case the move is to reduce it to the lowest reliable output, allowing the off-camera flash to both receive the signal and overpower it. This keeps the subject solely illuminated by the off-camera flash.
In the case where manual adjustment is not available, or the built-in flash only fires at full power, your best options are to either manually reduce output with the application of a neutral density gel over the flash or to physically obstruct the light path so that the optical sensor receives the command signal while very little direct flash reaches the subject.
Additionally, many compact cameras will deploy a preflash as part of their TTL metering apparatus. Many speedlights will accommodate this by offering two optical triggering modes, known as S1 and S2. The first mode, S1, fires the off-camera flash at the first detection of light by the optical sensor, while S2 tells the sensor to ignore the first flash (preflash) and fire on the second flash synchronized with the camera shutter.
Some flashes only come with an S1 mode. If the camera allows it, disable the TTL preflash. Otherwise, you'll need a strobe that has both S1/S2 optical trigger modes. Many inexpensive flashes, like the TT600 Speedlight, offer both.
Choosing a Lighting Setup
Given the larger set of variables at play with optical triggering, the character of the lighting solutions gets increasingly complex the more lights are to be introduced and controlled.
The simplest setup is a single off-camera flash triggered by the camera's built-in flash. As mentioned earlier, it's best to purchase a speedlight that has both S1 and S2 modes to avoid complications with pre-flash. Reduce the built-in flash's output to the reliable minimum and ensure the off-camera flash's optical sensor has a direct line of sight to the source.
The next step up in complexity is to add a second off-camera flash with an optical trigger. Treat it like the first, in direct line of sight with both S1 and S2 modes. In small indoor studio environments, this is often sufficient, as bounced and reflected light can be enough to trigger the optical sensor. Theoretically, one can continue adding lights in this manner as long as they satisfy those conditions.
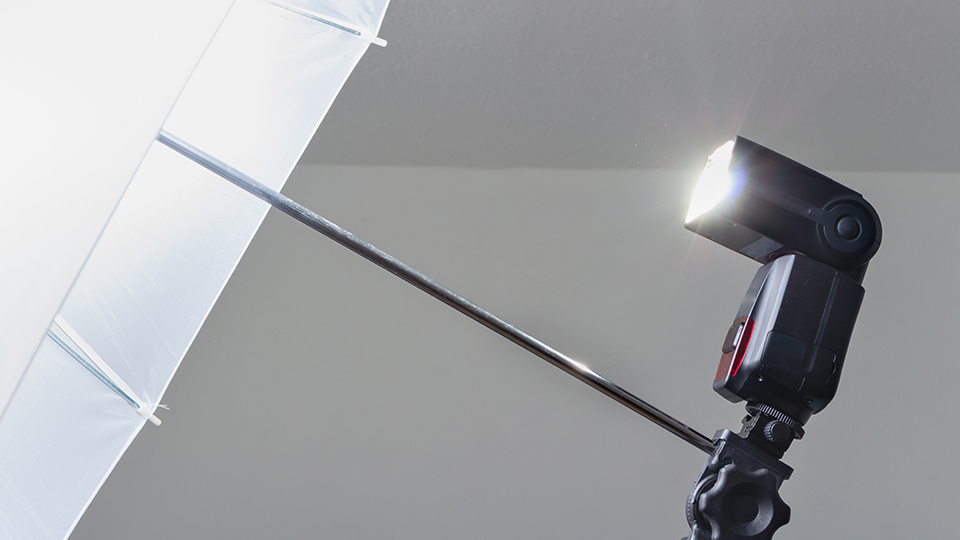
However, the demands of effective lighting can quickly exhaust the competence of this approach. Lights positioned behind the subject, far enough to the side or at a distance, around a corner, or inside a modifier can easily fall outside of the built-in flash's effective range or line of sight, making them unreliable or unusable. Environmental constraints like relative brightness and the presence of other photographers using flash can further disrupt the system's functioning.
The first solution here is to have the speedlights double as optical relays. In an example with the above strategy, the built-in flash triggers lights A, B, and C in a three-fixture setup. However, if light C is out of the effective range of the source flash, perhaps below and behind the subject, it's possible instead that the triggered flash from lights A and/or B can be used to trigger light C, and so forth with additional lights.
It's important to note that the modes will matter in configuring the sequence. The first off-camera flashes in the sequence (Flashes A and/or B), the ones that receive the source flash and will double as repeaters, will be set for S1 (no preflash) or S2 (TTL preflash) modes depending on the camera's flash configuration. However, all subsequent off-camera flashes (Flash C, et al.) must be set in S1 mode, as their triggering flashes (A and/or B) always fire once and never have a TTL preflash.
There's another, perhaps more elegant solution possible, but one that requires the purchase of an extra gadget: a separate, standalone accessory optical trigger, specifically one with a hot shoe.
The idea is to turn the standalone optical trigger into an "optical hub" by mounting a wireless radio trigger to it. The camera's built-in flash now only has to communicate with one single optical sensor—that or the standalone optical trigger—which fires the hot shoe-mounted wireless radio trigger, in turn firing all the flashes connected therein.
There's an important caveat with the current B&H inventory of optical triggers: all, save one of them, are first-pulse fire, meaning they behave like speedlights in S1 mode. They will not be compatible with cameras with TTL-metering preflashes.
The lone stand out among the current B&H inventory is the FotodioX Optical Triggered Tri Flash Umbrella Bracket with Light Stand Mount. A mouthful of a name, but the bracket has an optical sensor for firing up to three flashes mounted on its three hot shoes. More importantly, the optical trigger allows for preflash configuration for up to four flash pulses, or zero to three preflashes. This makes it maximally compatible with cameras of all sorts, including compact, point-and-shoot cameras, so long as they have a built-in flash.
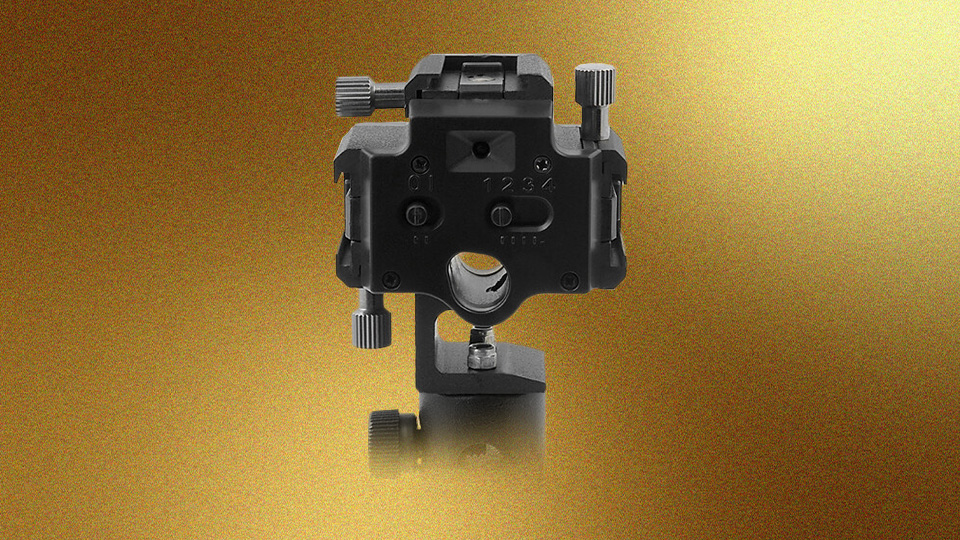
Again, the idea here would be to mount the wireless radio trigger to one of the hot shoes, evaluate the camera's preflash configuration, and set the optical trigger accordingly.
Suddenly, we're back to realm of the wireless radio trigger system discussed earlier. When integrated with a comprehensive ecosystem like the Godox X-System, you've potentially unlocked a level of creative lighting potential that is simply unheard of for compact cameras. The possibilities become nearly endless for experimentation across media: instant film cameras, point-and-shoot film cameras, disposable film cameras, ancient digital point-and-shoot cameras, and more all become potentially compatible with a full-scale studio lighting system.
Choosing a Camera
Theoretically, any camera with a built-in flash can be used to trigger an optical sensor, which as mentioned earlier, opens the door for maximal artistic experimentation. That said, some cameras are better suited for conventional and consistent studio use
I'm going to split the recommendations between cameras available to purchase new at B&H and used cameras with surprising capabilities at lower prices.
There's a reason that the camera at the top of our list tends to top many lists: bestseller lists, best camera lists, most consistently unavailable lists. The popular Canon PowerShot G7 X Mark III is a great imaging tool, with a 1" CMOS sensor, RAW capture, and an 24-100mm equivalent f/1.8-2.8 zoom lens.
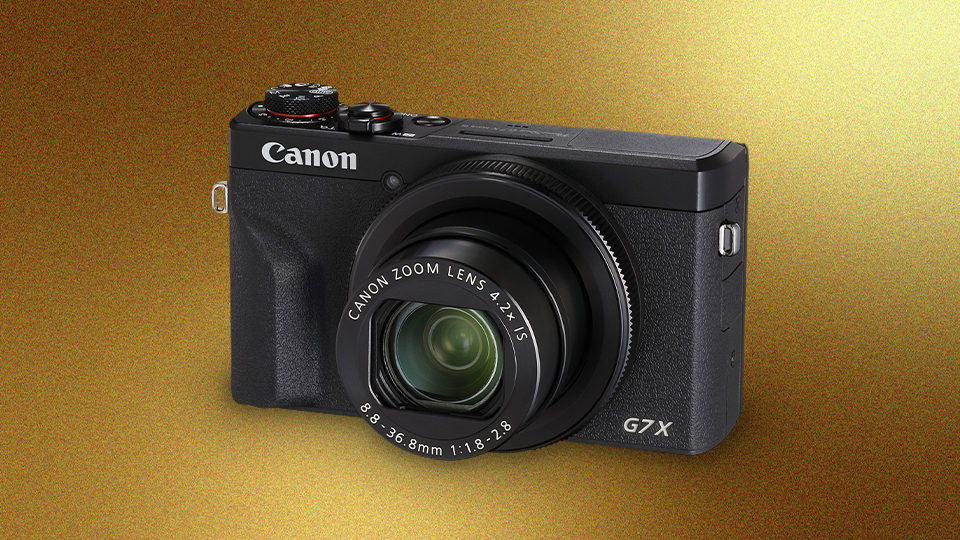
More importantly for studio purposes, the camera offers full manual exposure controls, three-level manual control of the built-in flash, and sync speeds up to 1/2000 sec. More importantly, its manual flash modes are single pulse, requiring no preflash/S2 workarounds and broadening optical trigger compatibility. Of the current, on-the-market offerings, the G7 X Mark III has the cleanest route to studio integration.
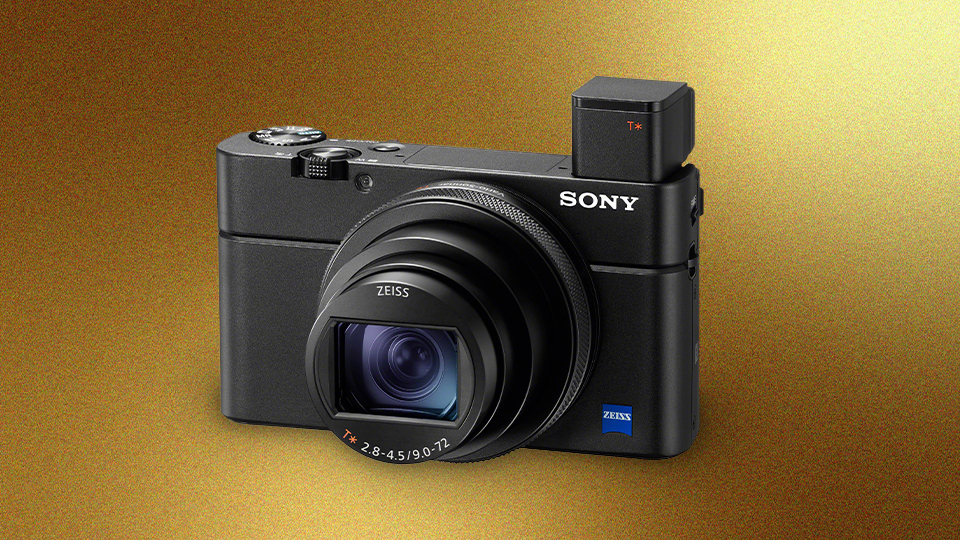
The next two options are excellent compact cameras—the Sony RX100 VII and the Panasonic ZS300—each offering a 1" sensor, full manual exposure controls, RAW output, and optical zoom lenses with incredible reach. Both, however, are less flexible in their control of the built-in flash, requiring S2 mode on a speedlight or a programmable preflash optical trigger like the FotodioX.
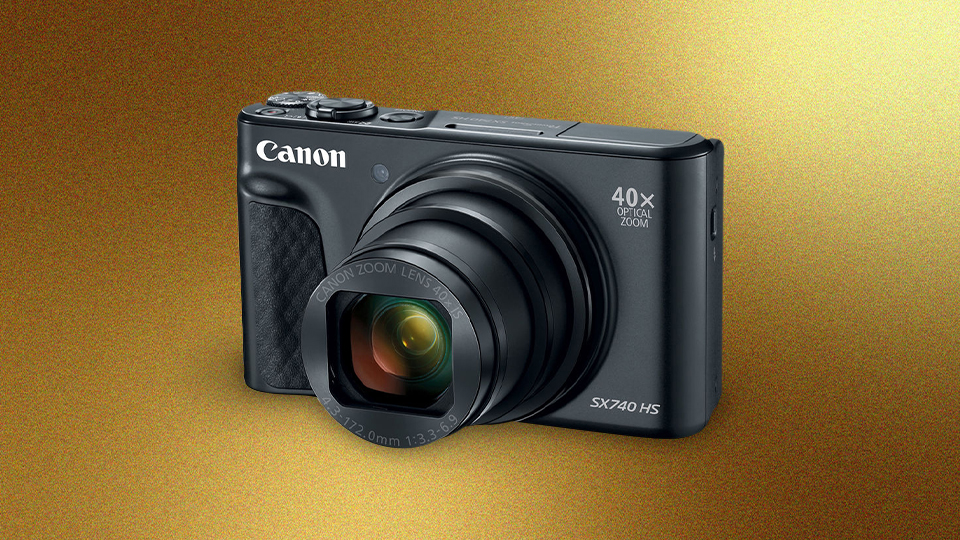
On the inexpensive side, you have the Panasonic Lumix ZS99, as well as the PowerShot SX740 HS and PowerShot ELPH 360 HS A from Canon. Smaller sensors in these options, but the studio lighting can help keep ISO low and image quality high. The ZS99 has RAW capability, while the Canon cameras do not. All three will require TTL preflash management, whether through speedlights or the compatible optical trigger.
Among used discontinued cameras, the options become much broader, with a lot of potential for value.
Canon, among all the camera brands, is the manufacturer who most consistently outfitted their compacts with manual flash control and single flash-pulse firing. An obvious choice here is the Canon PowerShot G7 X Mark II, which retains all the imagining quality of its successor and the manual flash adjustment, but has grown to be almost as expensive on the used market. The Canon G5 X II and the G9 X II are also excellent camera options but again suffer from used market's inflation.
Among Canon's discontinued cameras that offer the clean route to studio integration, perhaps the best combination of size, price, control, and compatibility is the PowerShot S120. A true pocketable point-and-shoot, the camera offers RAW capture, manual exposure controls, a 24-120mm f/1.8-5.7 equivalent lens, with the same three-level manual flash control and a high 1/2000 sec. flash sync.
Canon's older S-model point-and-shoots, the PowerShot S95, S100, and S110, all offer similar features and value as well.
The PowerShot S120's true value competition comes from the Olympus XZ-10. While sacrificing slightly on size, it tends to run cheaper than the Canon PowerShot S-series cameras, with a similar-sized sensor, RAW capture, manual exposure controls, a 26-130mm equivalent f/1.8-2.7 lens. The real gem is that its built-in flash can be manually controlled from full power down to 1/64, or seven steps of output adjustment, all with single flash-pulse firing for simple synchronization.
The last group I'll mention are the other no-hot-shoe RX100 generations. The RX100 III and IV are probably the sweet spots for price and specs, with the V offering improvements in autofocus and the VI achieving the zoom reach of the VII.
Basic Studio Setup for Compact Cameras
Once you've decided on your camera and how you're going to achieve the scene's lighting, you're stepping into the basics of straightforward studio photography. You can revisit some of the basic strategies here.
It's best to begin with a single light and a modifier. For portraits, that modifier can be a softbox or an umbrella, with the fixture 45 degrees to one side of the subject and slightly above eye level. It should be reasonably close, with the option for an additional white reflector modifier for filling in shadows. For products, start with a large, diffused light source above and to the side, deploying white and/or black cards to manage reflections and shadows.
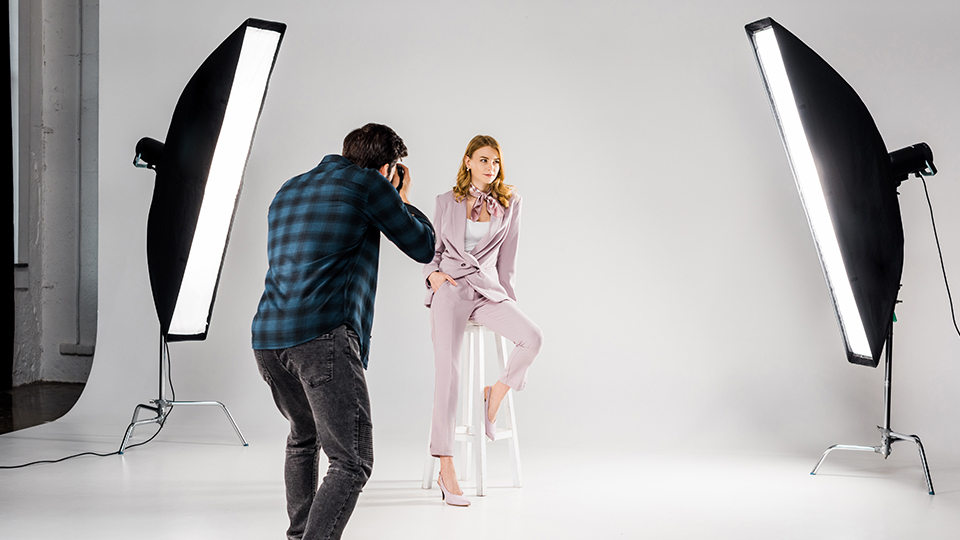
For products in particular, it's important to remember that you're often photographing the reflection of the light source, making its size, shape, and position extremely important.
Use manual mode no matter the subject or the light source. Keep the ISO low for the best image quality, made possible by either the amount of light from the strobe or the slow shutter speeds unlocked with stationary subjects. Shoot at a mid-range aperture for solid depth of field, around f/4 to f/5.6 for portraits and f/5.6 to f/8 for products and other objects. Additionally, the smaller sensors in compact cameras will afford you more depth of field than what would be available at an equivalent full-frame focal length, which you can use to your advantage.
Another benefit of many compact cameras is their broad zoom range, where the mid-to-long end of that range can offer your subjects natural perspectives, comfortable working distance, and exaggerated relationships between foreground and background elements. This is not to forbid working at the wide end, only to encourage its purposeful and strategic deployment.
If you can, shoot on a tripod, which will help you nail focus, execute long exposures, and maintain identical framing when necessary. Also, shoot RAW if the camera has it. Shooting RAW unlocks tremendous post-production flexibility, especially with white balance, highlight recovery, color, and tonal adjustment.
It's better to rely on manual focus than autofocus if you can, especially with stationary subjects. When using autofocus, use single-point AF, placing it exactly where you want the focus to land.
When it comes time to introduce new lights, consider their purpose: fill, rim or hair light, a light on the background, other accents or edge lights. Every light should solve a specific problem in the construction of the final image. If you can’t say what the light is doing, turn it off and see whether you miss it.
Ultimately, the final image is the thing, and with enough patience and savvy, nearly any camera can produce pictures of outstanding quality. Compact, point-and-shoot cameras, long ignored as studio operators, are more than capable of producing extraordinary results that punch above their weight class. Whether in artistic exploration, technical wizardry, or cost-efficient content creation, compact cameras are an effective, if unlikely, studio tool.
You can find everything you need to bring your compact camera into the studio right here at B&H. For more information about compact cameras, lighting, and lighting design, check out our other articles here at B&H Explora.
